
by Iris Rodriguez
The idea of sending a message in a bottle has been around since 310 B.C. The Greek philosopher Theophrastus used to plop sealed bottles in the sea to prove that the Mediterranean was formed by the inflowing Atlantic. In the 16th century, Queen Elizabeth I of England believed that some bottles might contain secret messages sent home by British spies or fleet. As a result, she appointed an “Uncorker of Ocean Bottles”; making it a capital crime for anyone else to open one.
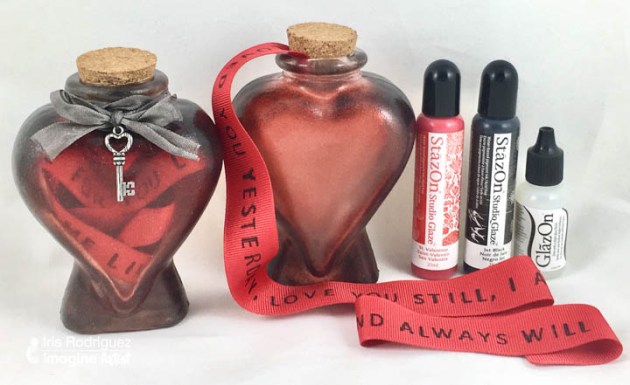
Today the idea of message in a bottle is more of fun romantic notion, thanks to literature and Hollywood movies. Show some love with this heart shaped glass bottle containing a custom stamped message, on a ribbon, using StazOn ink. Embellish the bottle with StazOn Studio Glaze and other adornments.
Skill: Intermediate
Time: 1 Hour
Directions
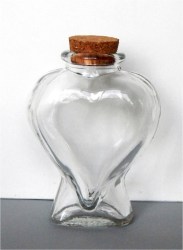
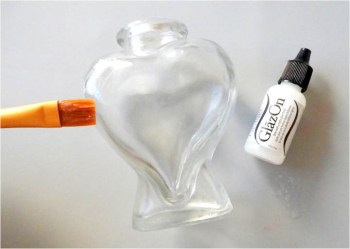
Step 1
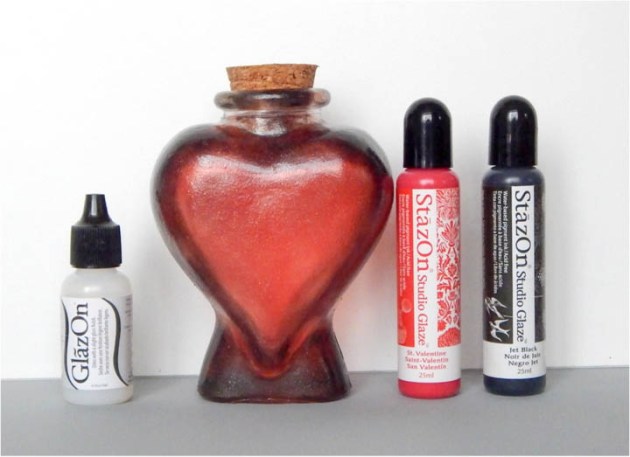
Begin by selecting a heart shaped bottle. I found this wonderful bottle at my local craft store. Working on glass can be a little tricky. For instance, getting some things to stick, getting an even texture (e.g. brush strokes) and color. It helps to prime the glass. For this project the glass is primed with on GlazOn. It is added to the glass; and in between the StazOn Studio Glaze layers. The Studio Glaze is a pigment ink medium. Start by brushing the GlazeOn onto the bottle. Brush using a crosshatch pattern; create X patterns without washing the brush. By doing a crosshatch pattern, allows you build up the GlazeOn evenly and eliminates brushstrokes. Brush on a section at a time. Let the glass dry completely. This product dries fast. Wash your brush in water right away. Dry the brush before using with the GlazeOn again. If you have water, it will active the GlazeOn or Studio Glaze and you will remove any medium you may have on the glass and get uneven surface.

Step 2
Squeeze out a small drop of the St. Valentine Studio Glaze on your grey craft mat. Using an Inkblusher sponge on the StazOn Studio Glaze, sponge one section at a time. Only place a few drops of the Studio Glaze at a time, then sponge. To increase color intensity, keep adding layers. Sponge one layer at a time, and allow each layer to completely dry. Brush on a thin layer of the GlazeOn in a crosshatch pattern. Ensure your brush is dry. Allow this layer to completely dry.
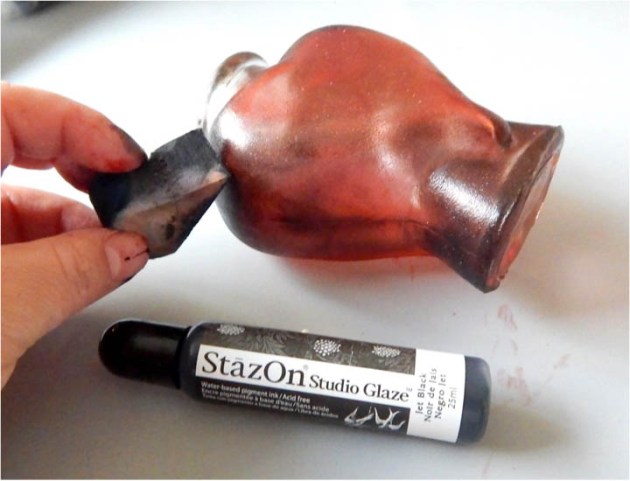
Step 3
Sponge on the Jet Black StazOn Studio Glaze on the sides and bottom of the heart. This adds dimension and interest. Allow the layer to completely dry. Brush on a thin layer of the GlazeOn in a crosshatch pattern. Ensure that the brush is dry. Allow this layer to completely dry.

Step 4
Squeeze a few drops of the Shimmer IrRESISTible Pico Embellisher, then sponge. This gives the bottle a slight shimmer. If not adding the Shimmer brush on a final layer of GlazeOn. Allow the layer to completely dry.
Step 5
The bottle is complete at this point. For added measure, once all layers have dried, seal the glass with a final sealer to protect the beautiful finish. Brush on a thin layer of Indoor water based Polyurethane. Any brand will do. Polyurethane is great for sealing art work on just about any surface. It comes in matte, satin, and gloss. It has a nice strong, but soft finish (does not have that plastic feel, looks natural.
Step 6
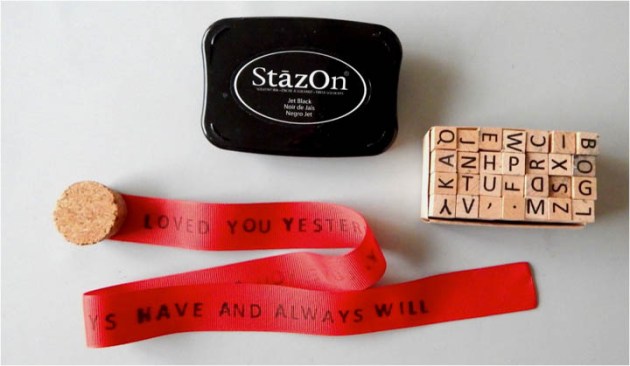
Stamp the message on the ribbon. This can be done while you wait for the products to dry on the glass. First a little about ribbons. Recommend using a Grosgrain ribbon. I tried stamping on satin and polyester ribbons, but the ink bled. The Grosgrain ribbon performed better due to its design; it’s heavy and tightly woven. This type of ribbon is widely available and comes in many colors and widths. Choose a size that will fit your alphabet stamps. I liked the one inch ribbon; it filled up the glass nicely and it fit my larger alphabet stamps as well.
This sounds silly to even say it, but before you begin to stamp your message, write it out on a piece of paper. There is something about concentrating on the stamping that makes you miss a letter here and there, if you’re not careful. You don’t want to send the wrong message (pun intended, lol!). Stamp the message while the ribbon is on the roll, you don’t know exactly how much ribbon your will need. Cut the ribbon after you finish stamping the message; leave a little extra ribbon at the end of the message.Singe the end of the ribbon with a cigarette lighter or it will unravel over time. The ribbon is flammable; singe by quickly running a cigarette lighter across the edge.
Step 7
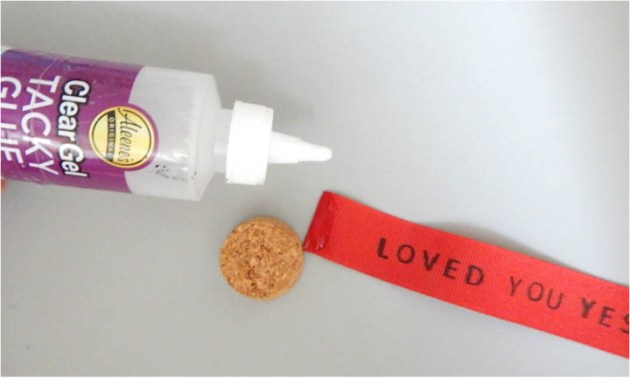
Using heavy clear glue, adhere the ribbon to the center of the cork. Glue about ¼ inch of the ribbon.

Step 8
Allow the glue to dry. Use a piece of piece of tape or place something light on the cork to hold it in place while the glue dries.

Step 9
Place the cork and ribbon in the bottle and embellish.
Supplies
Imagine
- Craft Mat
- StazOn – Jet Black
- StazOn Studio Glaze – St. Valentine, Jet Black
- GlazOn – Original
- IrRESISTible Pico Embellisher – Shimmer
- InkBlushers
Other
- Heart shaped glass bottle
- Embellishments
- Grosgrain red ribbon- between ½ to 1 inch width
- Alphabet rubber stamp
- Varathane indoor water based Polyurathane

Reblogged this on Tracey in Maine.
LikeLike