Make a Fun Pair of Embossed Skull Earrings with StazOn

By Alison Heikkila –

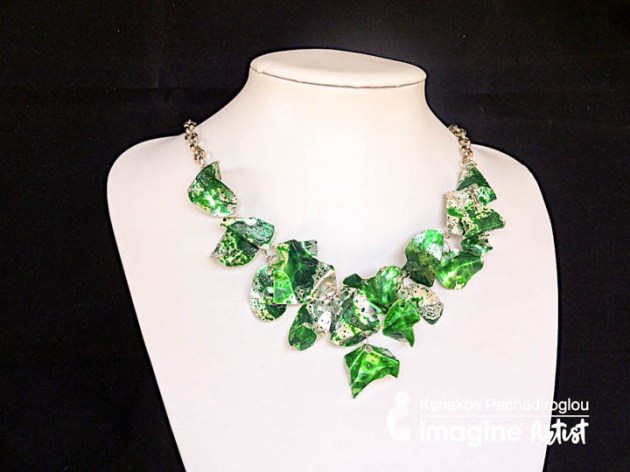
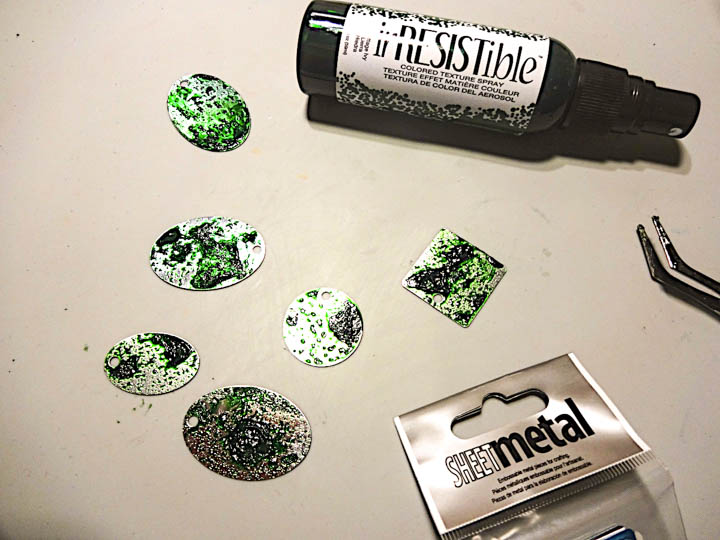
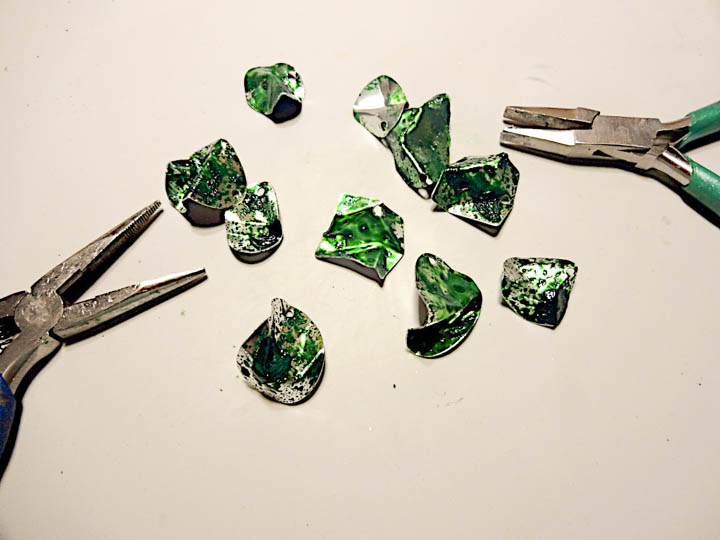
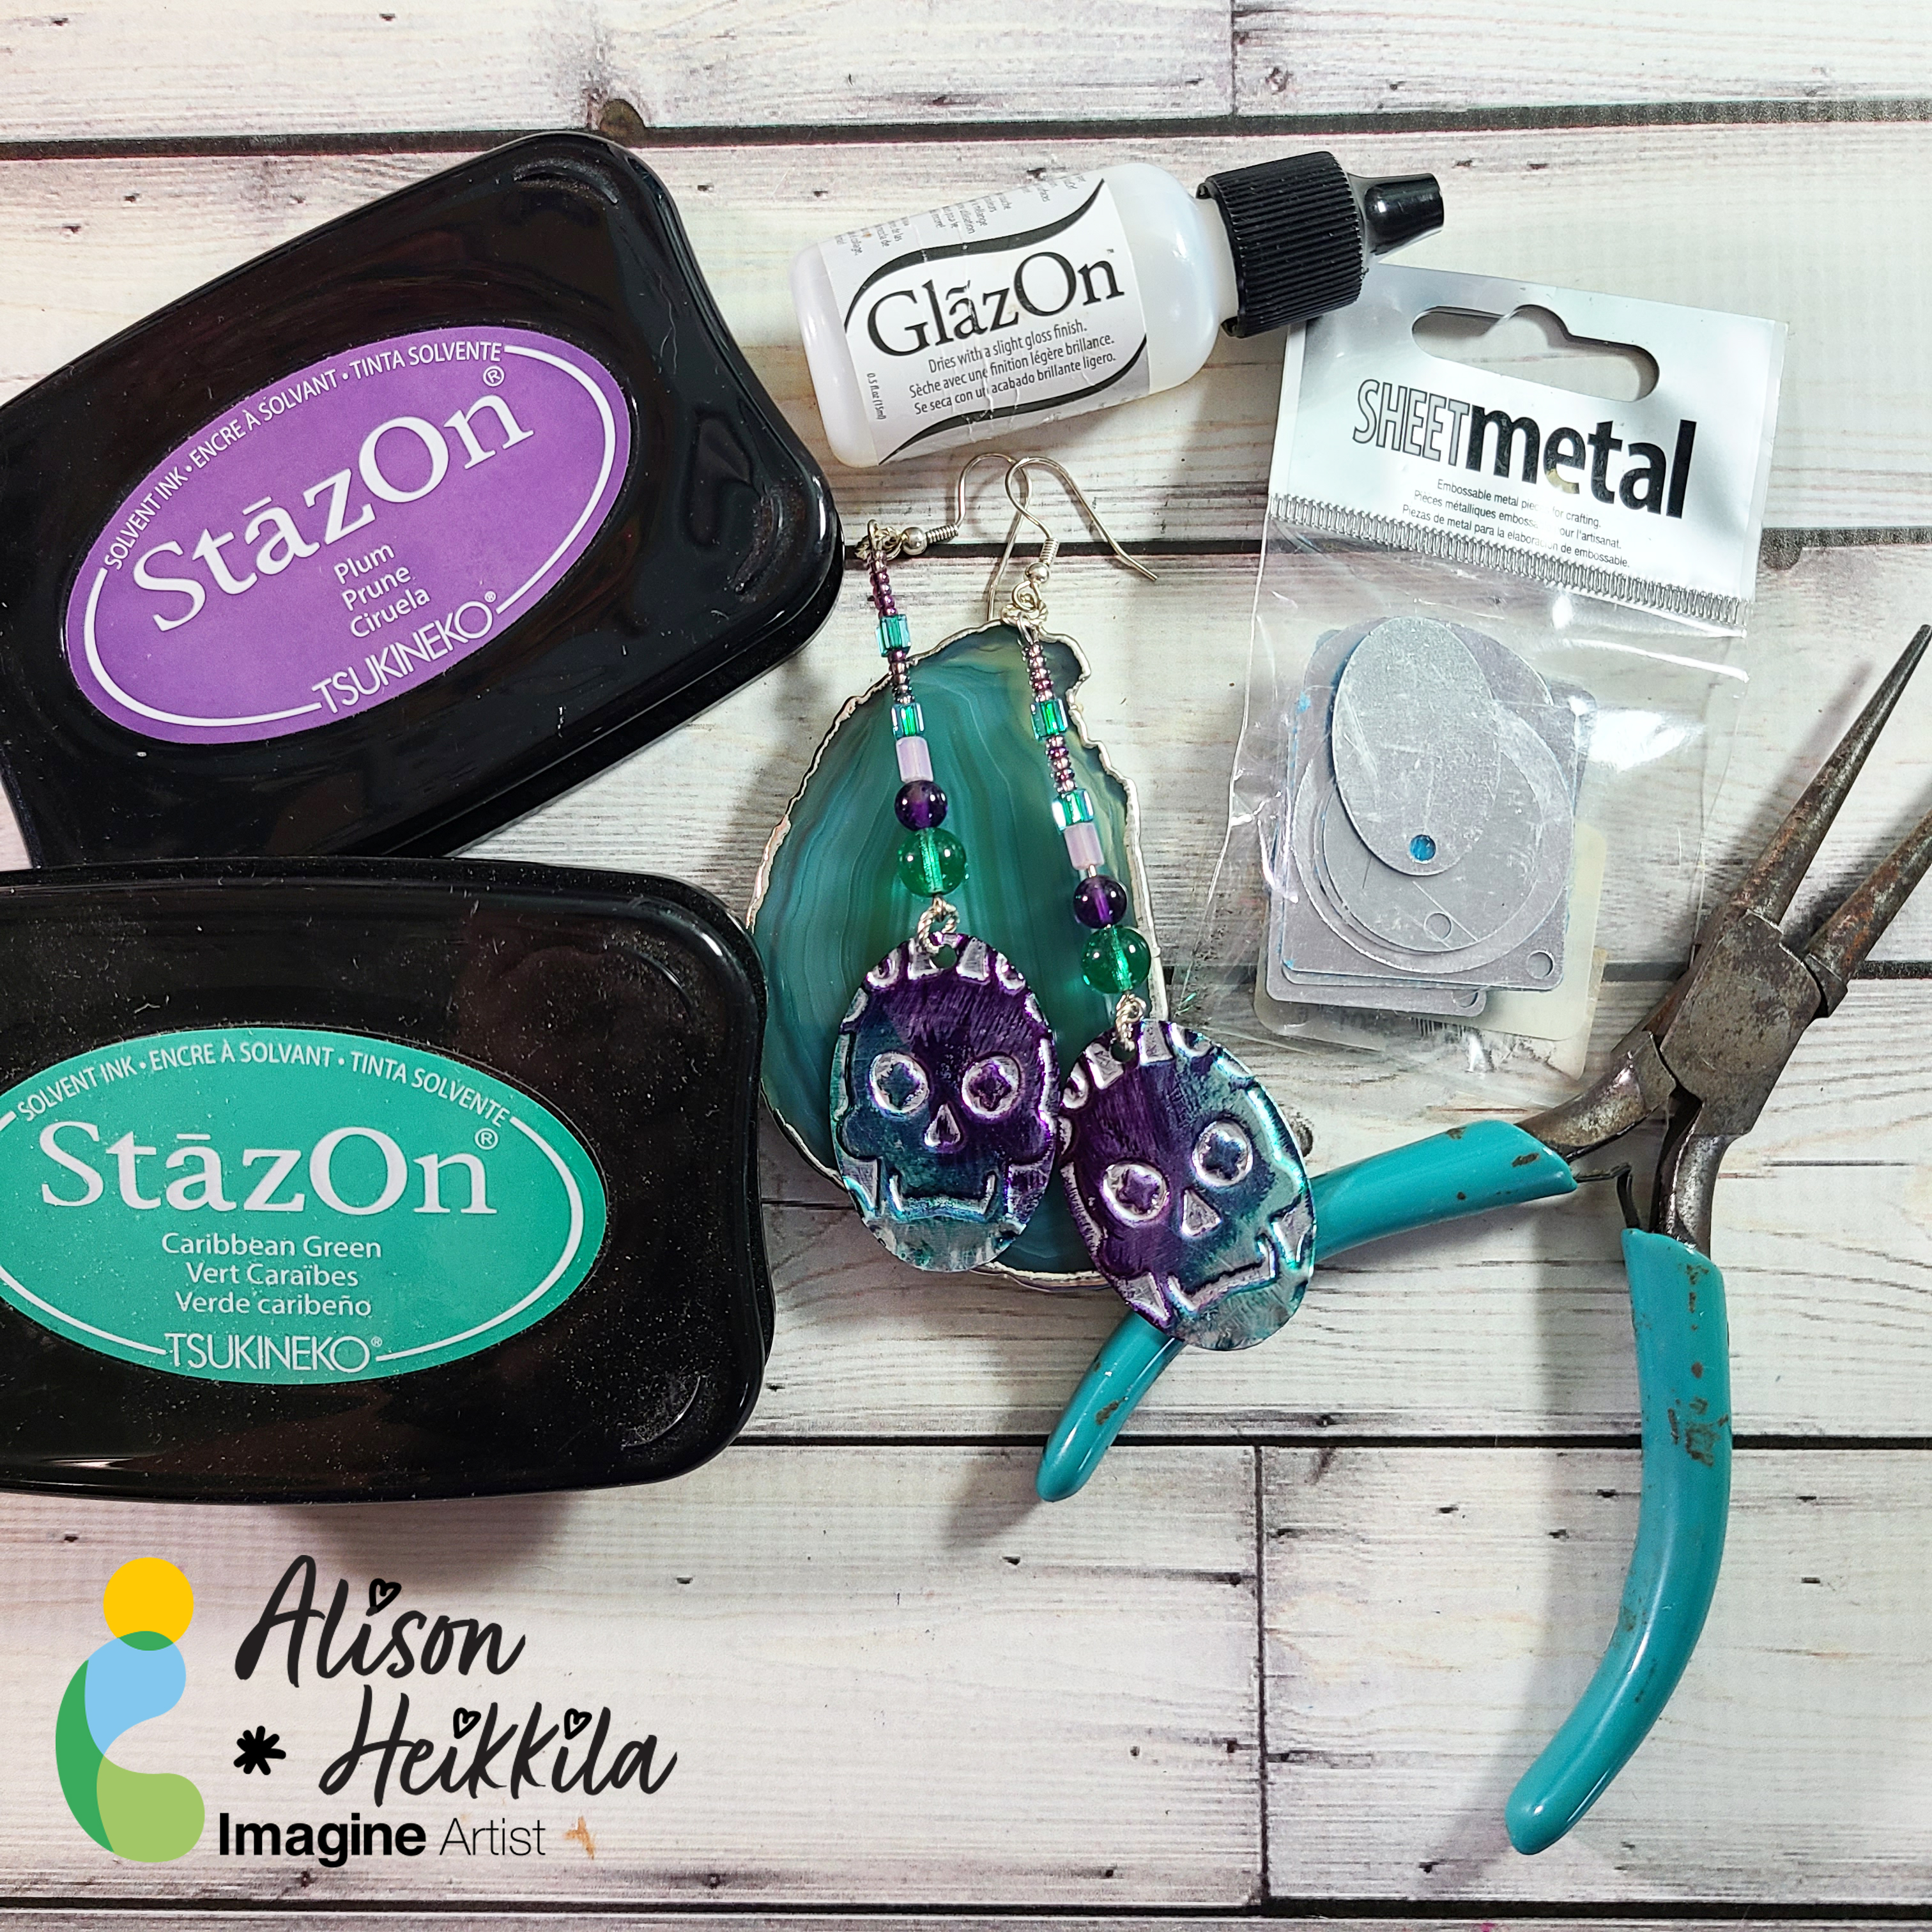
Hello! I’ve got a fun YouTube video for Imagine today that shows a fun way to use embossing folders…for jewelry! We’ll be using Sheet Metal pieces and StazOn to make fun earrings. This is a simple technique that can really be jazzed up depending on how you finish the jewelry.

Skill Level: Intermediate
Time to Complete: 20 minutes

Supplies:
Imagine:
SHEET Metal Assorted Pack
StazOn: Plum
StazOn: Caribbean Green

GlazOn: Original
Other:
Cuttlebug Midnight Hauntings Embossing Folder: No longer available. Use what you have!
Beads, eye pins, ear wires (fish hook style), jump rings, pliers.

I made them pretty long, but again, make your jewelry however you like! I love wearing long earrings with lots of movement.

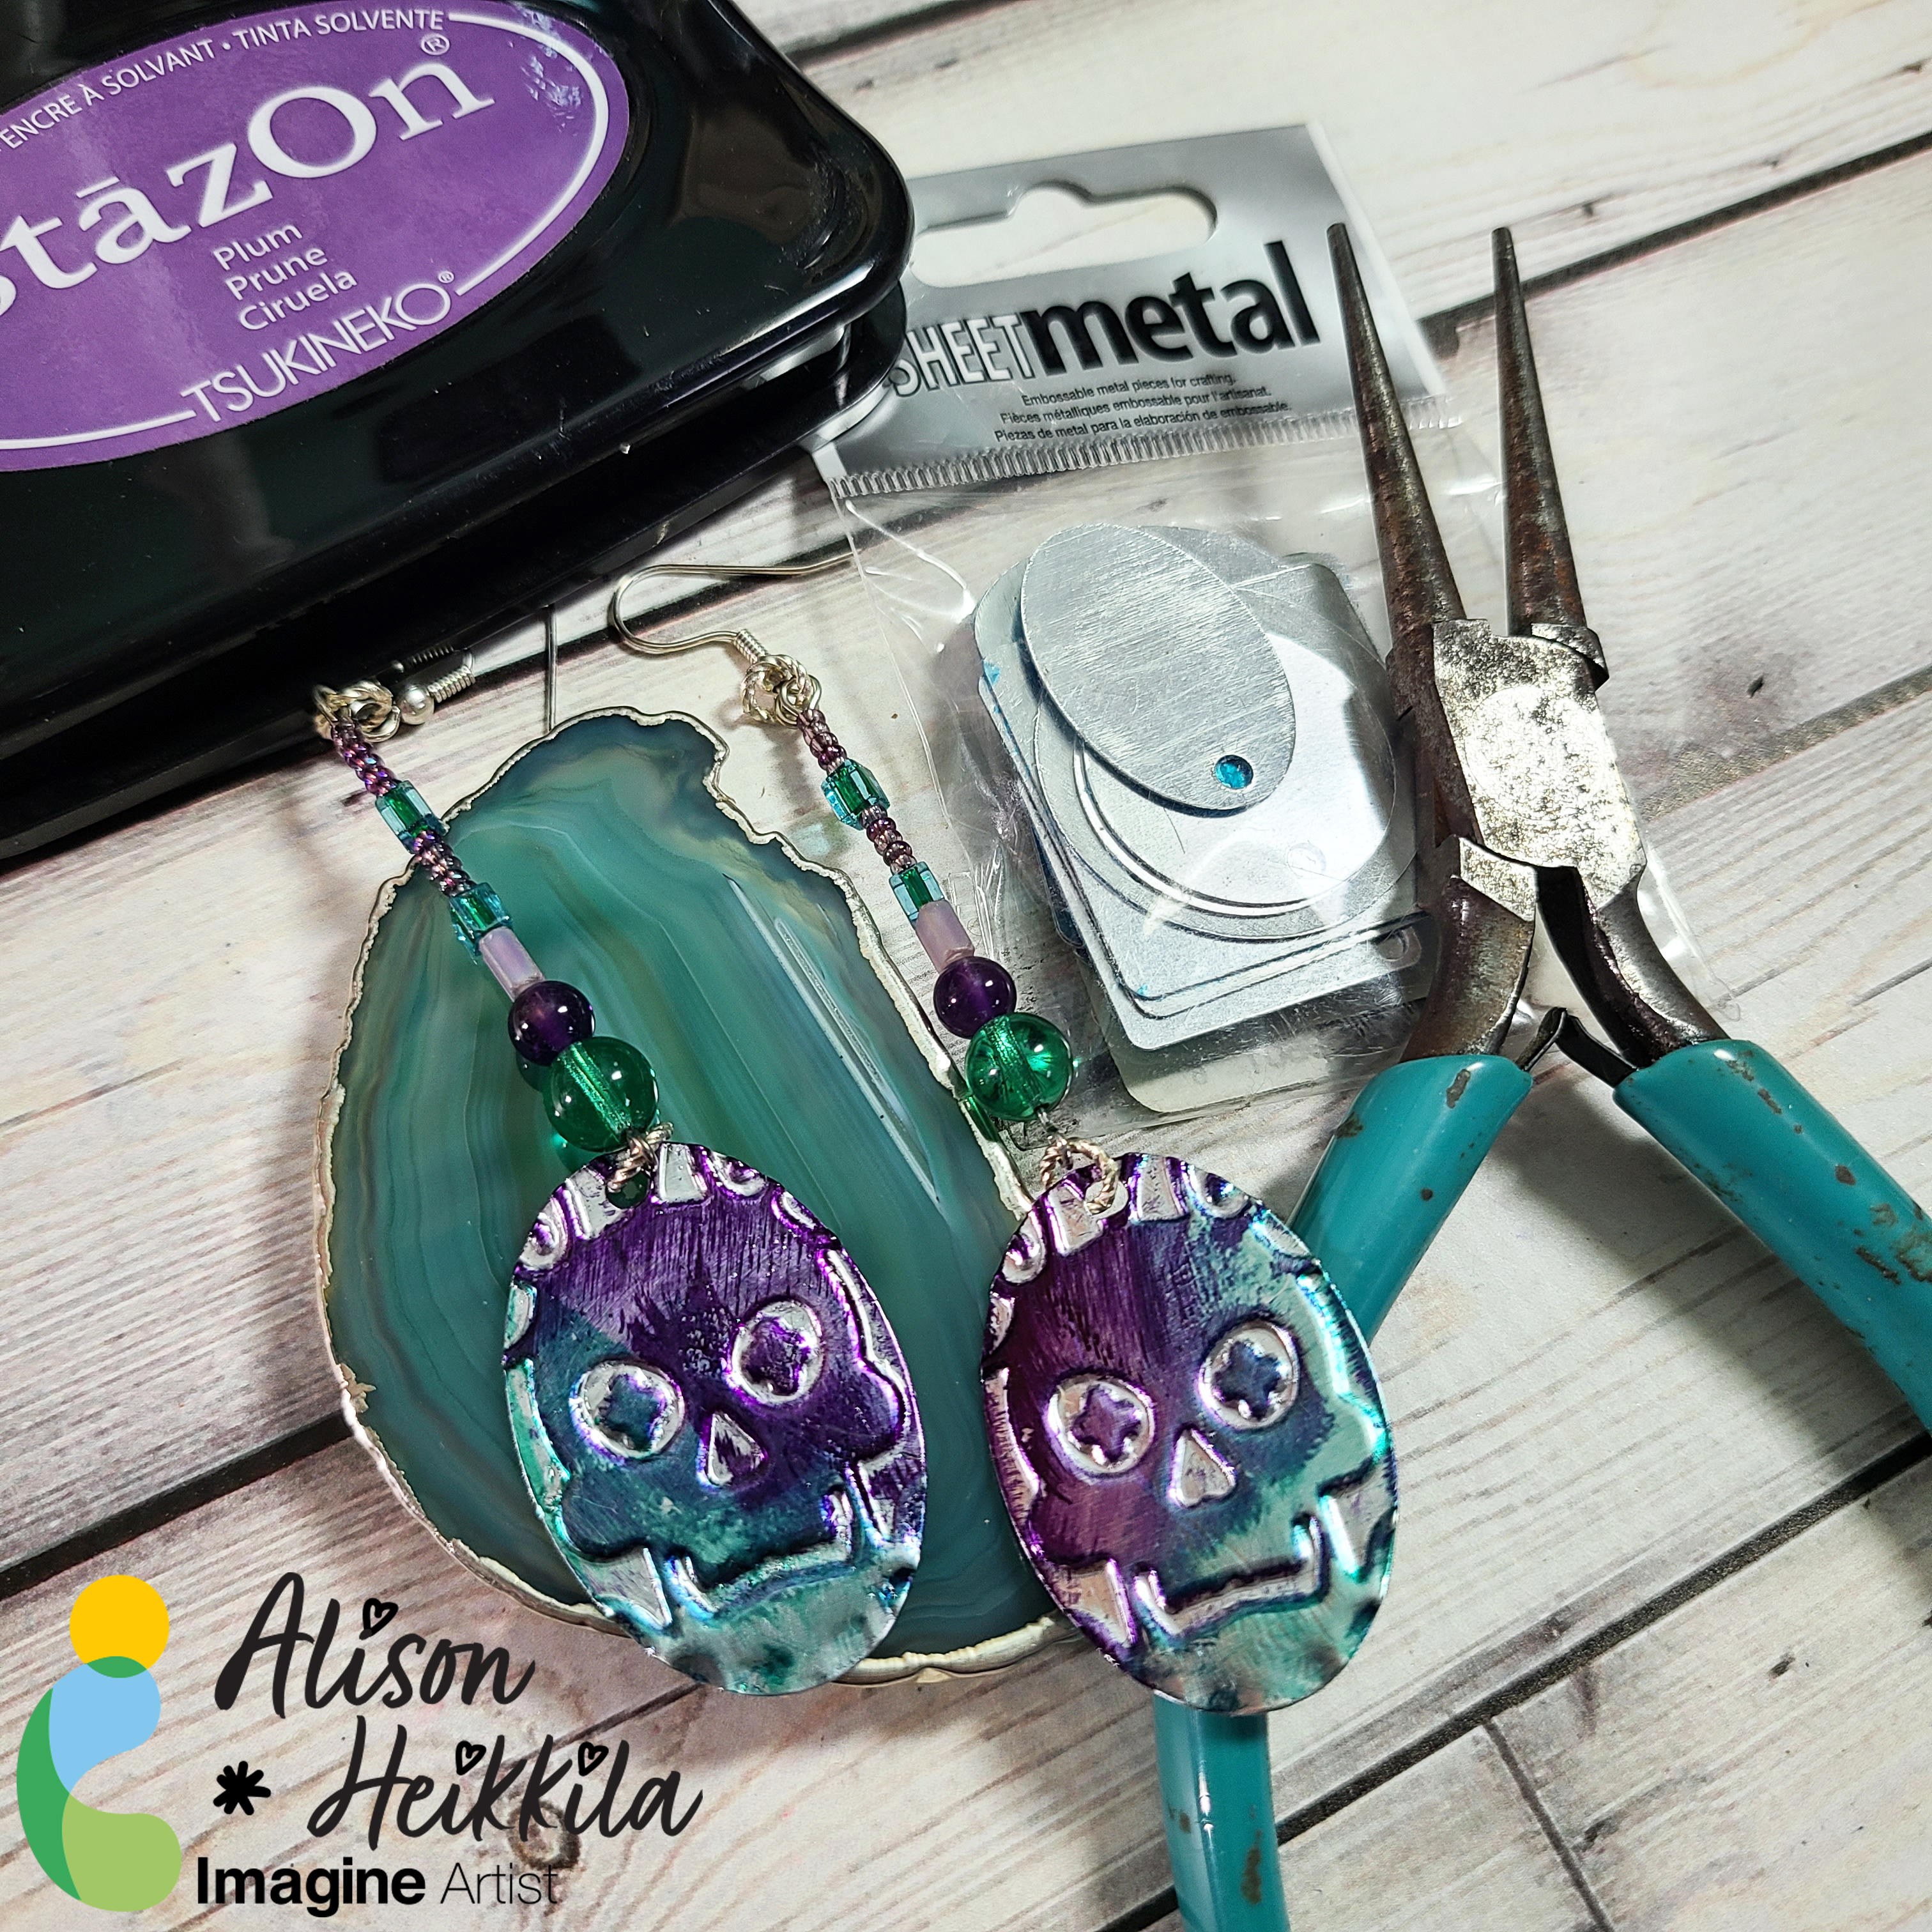
I just love how these came out. I’ll definitely be wearing them all year round. I hope you give this a try and expand the use of your embossing folders. Thanks so much for stopping by. Have an inspiring day!

Beginner Guide: Kaleidacolor Ink Variety of Colors for Any Time of the Year


kaleidacolor swatching video

by LeeAnn McKinney

Greetings crafty friends! In this quick ink swatching video, I used the Waffle Flower Swatch Stamp and Die set for Kaleidacolor Ink Pads to show how these multicolor inks can be used throughout the year. These dye, water-based inkpads are a favorite of mine for fun quick backgrounds, easy stamp pad storage, keeping colors organized and the 5 colors in one ink pad make it even better.

Kaleidacolor in Baby Powder has a light pastel variety — perfect for baby shower invitations with light pinks, blues, and yellows. Kaleidacolor in Autumn Leaves and Vineyard – perfect for Fall themed cards – Halloween + Thanksgiving. My favorite for Winter Christmas Cards or Holiday Cards is Blue Breeze which is an all-blue palette giving that icy winter wonderland mood.

Other 

A Gift for Someone Special – Create a Chipboard Pendant with StazOn

by Lori Warren

A Gift for Someone Special –  Create a Chipboard Pendant with StazOn. A beautiful teal and blue jewelry piece that features a paintbrush image and reads "create".

This mixed media project is a great example of how you can use different inks and mediums to create a piece full of texture and color. It’s a step by step layering technique to add depth and interest to mixed media artwork.

Skill: Intermediate
Time: 30 minutes

Directions

Written Instructions:

  1. Cut chipboard into a pendant shape and punch a hole at the top. Place a piece of paper under the book cover to protect the pages below.
  2. Cover the front and back of the chipboard piece with white gesso.
  3. Cover the front and back of chipboard piece with white gesso.
  4. Stamp chipboard pendant with VersaFine CLAIR.
  5. Cover pendant with a stencil and apply Creative Artist Medium – Clear.
  6. Stamp brush onto watercolor paper with StazOn Pigment Ink – Piano Black.
  7. Add color to the tip of a brush with StazOn Pigment –Peacock Feathers.
  8. Sponge StazOn Pigment onto Pendant to highlight stencil pattern.  Adhere stamp brush image.
  9. Highlight elements of the pendant with ALL PURPOSE INK – Frost White (using a Doodlestix)
  10. Apply splatters in ALL PURPOSE INK – Tropical Lagoon.
  11. Cover element with GlazOn – Slight Gloss Finish.
  12. Add MBOSS Powder to pendant while GlazOn is still wet.  Heat set.  Round corners of the pendant.
  13. Edge pendant with StazOn Pigment Ink – Piano Black.
  14. Adhere sticker saying.
  15. Use the Waffle Flower – Clear Dies and Combo Swatch Tag Die to record color scheme for this project.

Supplies

Imagine

• All-Purpose Ink – Vegas Gold, Tropical Lagoon, Frost White

• Creative Medium

• Mboss Embossing Powder

• Sheer Shimmer Spray – Sparkle

Hope & Strength Call for Art

Call for Hope & Strength Art

In tough times we all need to focus on being strong and supporting each other. Submit a photo of an Inspiration-themed project. Some of the themes can include: Hope, Love, Faith, Prayers, Be Strong, Hang in There, Stay Strong, Brighter Days are Ahead, Journal pages, At-home crafts, etc.

Submit an attractive 600 x 600 pixel square or 900 x 900 pixel square photo of your project, a short description and a link to your Instagram profile or blog to marketing@imaginecrafts.com. Submissions are due by Monday, March 30th, 2020

We will review all submissions and post a collection in one blog post and will share it on our social media platforms. Potential reach = 10,000 followers.

Call for Spring Time Art

Call for Spring Time Art

Be published on the Imagine Blog! Submit a photo of a Spring related project using (mostly) Imagine or Tsukineko products. Some of the spring themes can include: Spring is Coming, Happy Spring, Happy Birthday, Baby Shower, St Patricks’s Day, Easter, Spring Cleaning, Organize the Home, Mason Jar Crafts, Wedding Preparation, Earth Theme crafts, Floral Wreaths on cards or large Paper flower wreaths.

Submit an attractive 600 x 600-pixel square or 900 x 900-pixel square photo of your project, a short description and a link to your Instagram profile or blog to marketing@imaginecrafts.com.

We will review all submissions and post a collection in one blog post and share it on our social media platforms. Potential reach = 10,000 followers.

Submission Deadline is Tuesday, March 10th, 2020


Learn How to Create this Dynamic Looking Ruffle Necklace

by Kyriakos Pachadiroglou

Learn How to Create this Dynamic Looking Ruffle Necklace

In today’s tutorial, I crafted this lightweight ruffle necklace with Sheet Metal pieces and irRESISTible in Cottage Ivy. This necklace can be given as a gift or added to your collection of handmade jewelry.

Time: 1 hour
Skill: Beginner to Intermediate

Directions


Step 1

Spray the Sheet Metal pieces with the Irresistible Cottage Ivy color and let them dry. Irresistibles is an acrylic based gel that will adhere to the metal. Allow moderate dry time. Be sure to clean the nozzle after each use.


Step 2

Use pliers to bend and shape the Sheet Metal pieces to any shape avoiding breaking them.


Step 3

Imagine’s Sheet Metal comes with one hole punched at the top. To create the chain, open additional holes to allow jump rings connections. Sheet Metal is durable yet soft enough to punch holes easily.


Step 4

Start connecting the Sheet Metal pieces with jump rings and when you achieve the desired result, add the chain and the ending hooks.

Supplies

Imagine
Other
  • Jewelry chain, jump rings and hooks
  • Pliers
  • Piercing tool (or round hole punch)