by Lori Warren
This mixed media project is a great example of how you can use different inks and mediums to create a piece full of texture and color. It’s a step by step layering technique to add depth and interest to mixed media artwork.
Skill: Intermediate
Time: 30 minutes
Directions
Written Instructions:
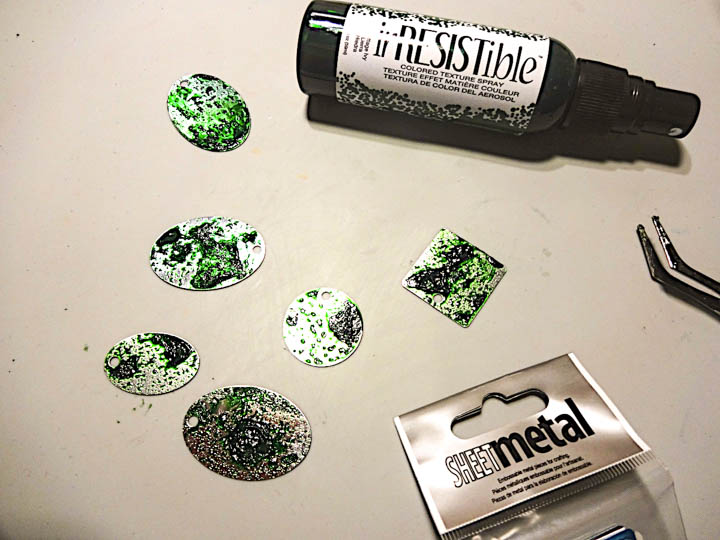
- Cut chipboard into a pendant shape and punch a hole at the top. Place a piece of paper under the book cover to protect the pages below.
- Cover the front and back of the chipboard piece with white gesso.
- Cover the front and back of chipboard piece with white gesso.
- Stamp chipboard pendant with VersaFine CLAIR.
- Cover pendant with a stencil and apply Creative Artist Medium – Clear.
- Stamp brush onto watercolor paper with StazOn Pigment Ink – Piano Black.
- Add color to the tip of a brush with StazOn Pigment –Peacock Feathers.
- Sponge StazOn Pigment onto Pendant to highlight stencil pattern. Adhere stamp brush image.
- Highlight elements of the pendant with ALL PURPOSE INK – Frost White (using a Doodlestix)
- Apply splatters in ALL PURPOSE INK – Tropical Lagoon.
- Cover element with GlazOn – Slight Gloss Finish.
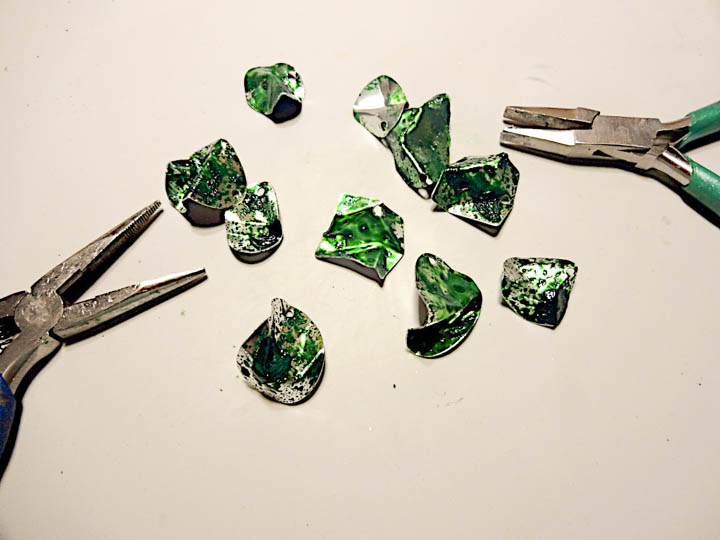
- Add MBOSS Powder to pendant while GlazOn is still wet. Heat set. Round corners of the pendant.
- Edge pendant with StazOn Pigment Ink – Piano Black.
- Adhere sticker saying.
- Use the Waffle Flower – Clear Dies and Combo Swatch Tag Die to record color scheme for this project.
Supplies
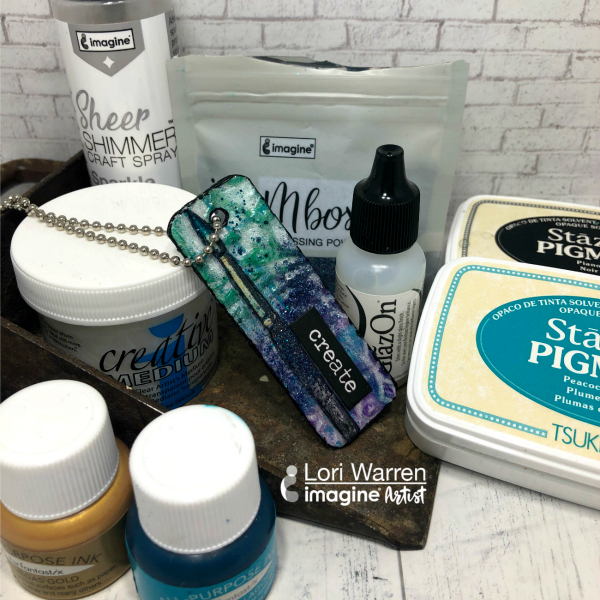
Imagine

• All-Purpose Ink – Vegas Gold, Tropical Lagoon, Frost White
• Sheer Shimmer Spray – Sparkle