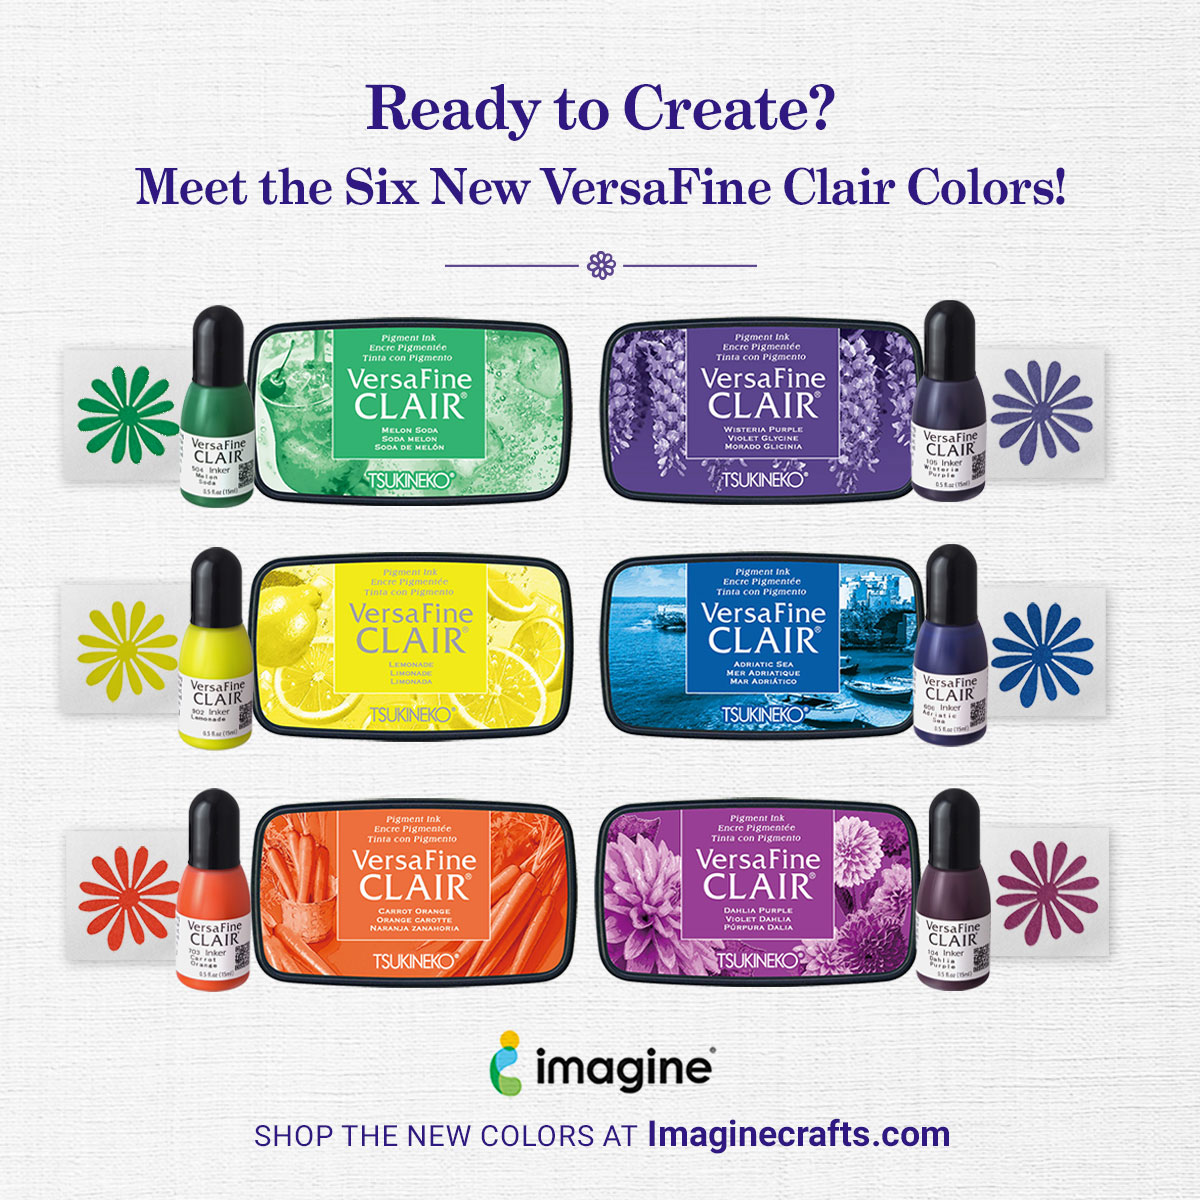
Meet the Newest Additions to the VersaFine Clair Family!

By Imagine

Whether you’re stamping detailed images, creating handmade cards, journaling, or experimenting with mixed media, the six newest VersaFine Clair colors are ready to inspire your next creation!

From vibrant citrus hues to rich florals and deep ocean blues, these beautiful additions expand the VersaFine Clair family with fresh, versatile shades you’ll reach for again and again.

Why Crafters Love VersaFine Clair

VersaFine Clair has become a favorite among stampers for a reason. Its richly pigmented formula creates crisp, detailed impressions that capture even the finest lines.

Perfect for card making, mixed media, journaling, and more, VersaFine Clair also:

  • Produces exceptionally detailed stamped images
  • Dries quickly, making it ideal for heat embossing
  • Becomes water resistant when dry
  • Works beautifully on a variety of papers
  • Features an airtight case that helps keep your ink pad fresh longer

Meet the New Colors:
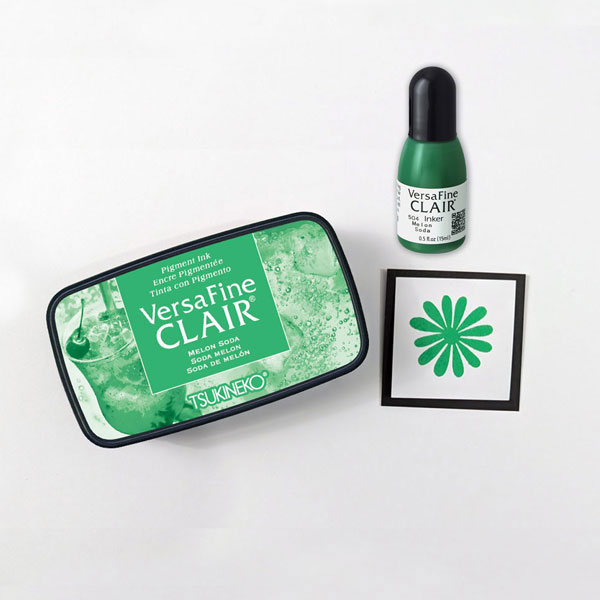
🍈 Melon Soda

A refreshing green that’s perfect for leaves, spring projects, and fresh botanical designs.
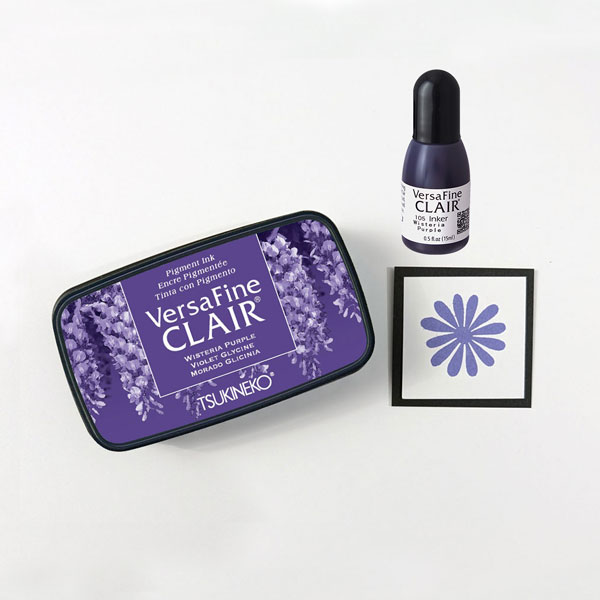
💜 Wisteria Purple

A soft, elegant purple inspired by blooming wisteria.
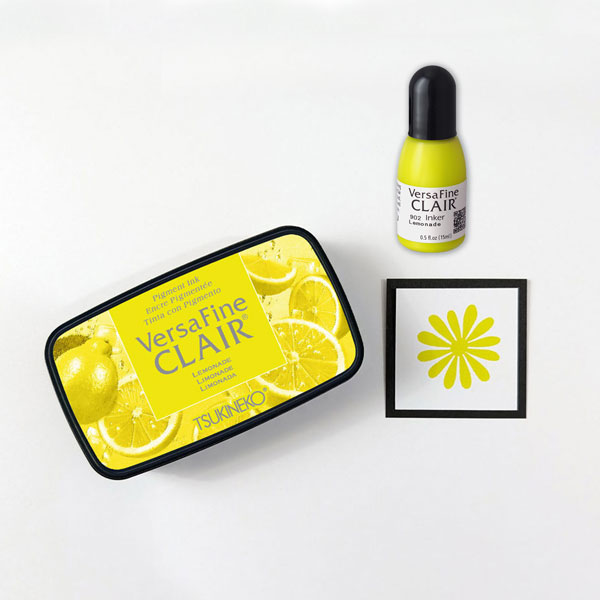
🍋 Lemonade

A cheerful yellow that adds sunshine to flowers, backgrounds, and sentiments.
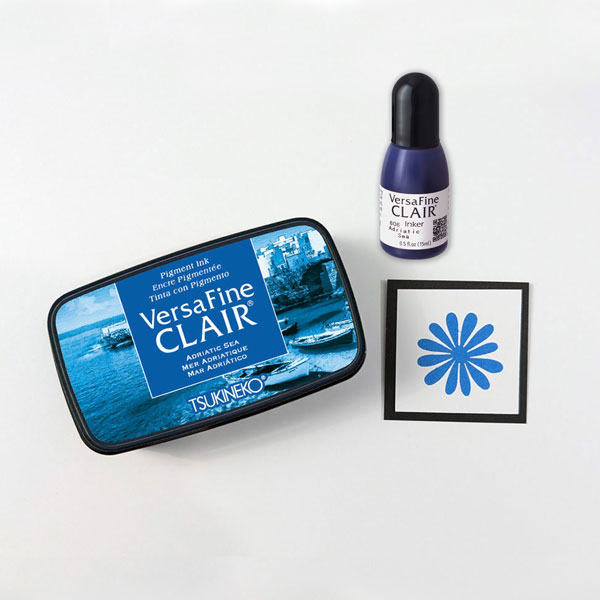
🌊 Adriatic Sea

A splash of deep, beautiful blue for skies, sea and everyday stamping.
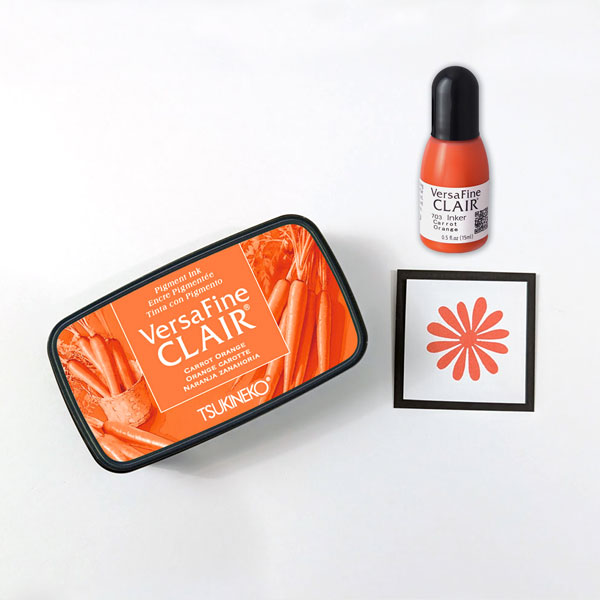
🥕 Carrot Orange

A warm, energetic orange that brings bold accents and autumn inspiration.
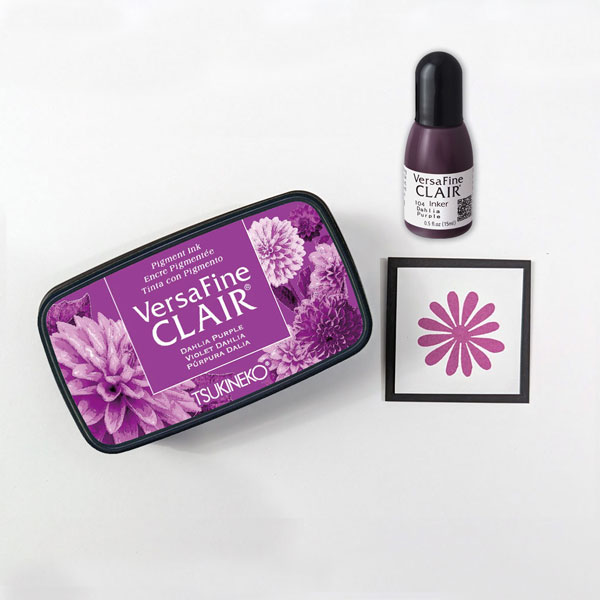
🌸 Dahlia Purple

A vibrant floral purple that’s perfect for blossoms, backgrounds, and dramatic focal points.

Ready to Add These Colors to Your Collection?

Visit Imaginecrafts.com to explore the complete VersaFine Clair collection and find your new favorite shade!
Make a Father’s Day Card for Your Home Improvement Hero

By Jessica Lin

Skill Level: Medium
Time: 30 min

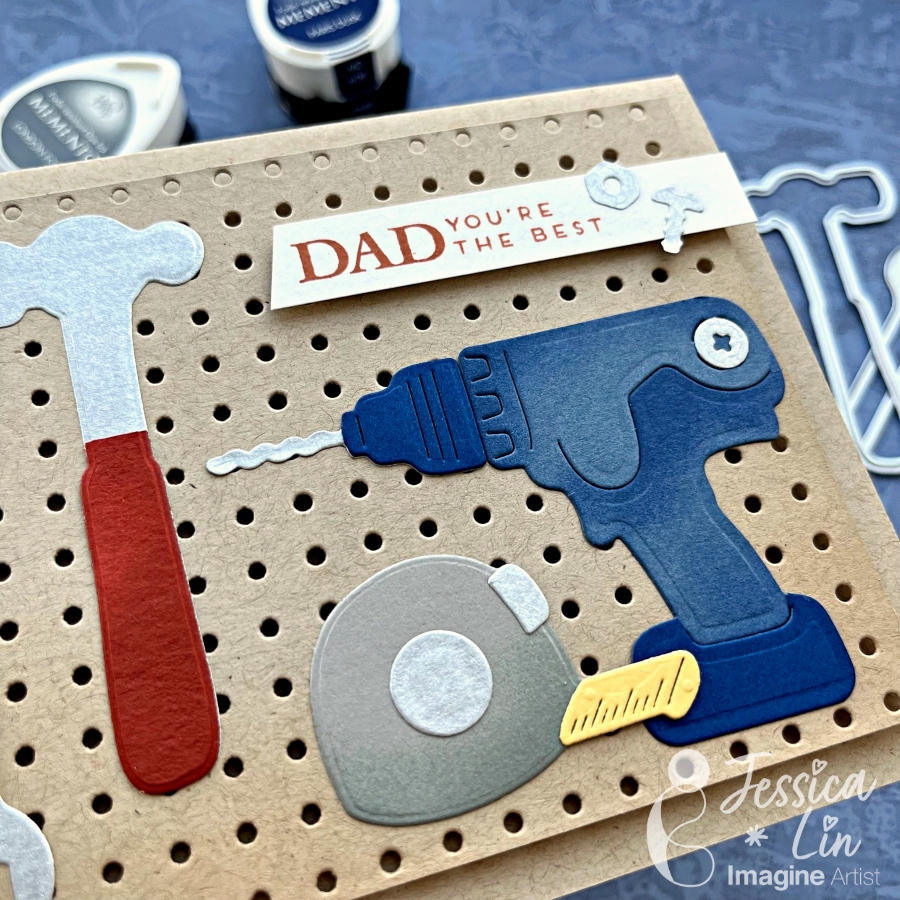
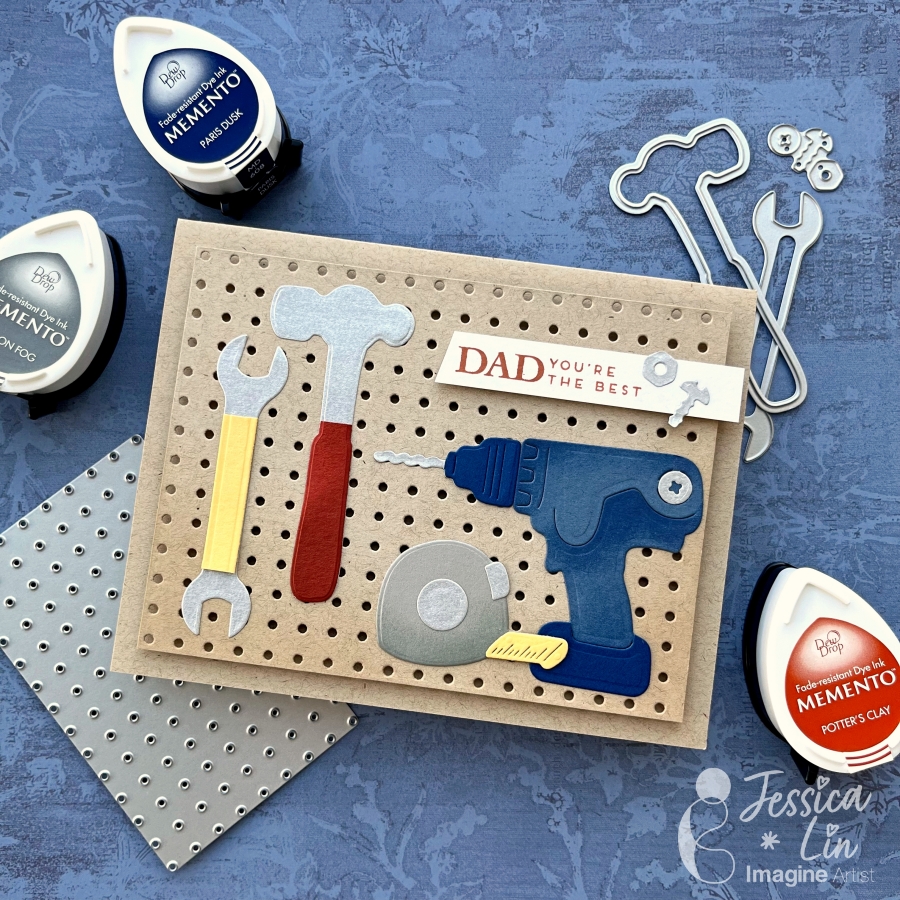
Hi everyone! It’s Jessica here. Today I would like to share a Father’s Day card that showcases different tools to thank my dad for all the home improvement projects he has done in the past year. I also ink blended Memento inks on the die cut pieces to create more depth. If you’d like to learn some tips and tricks on ink blending small paper elements, just keep reading!

Step 1:
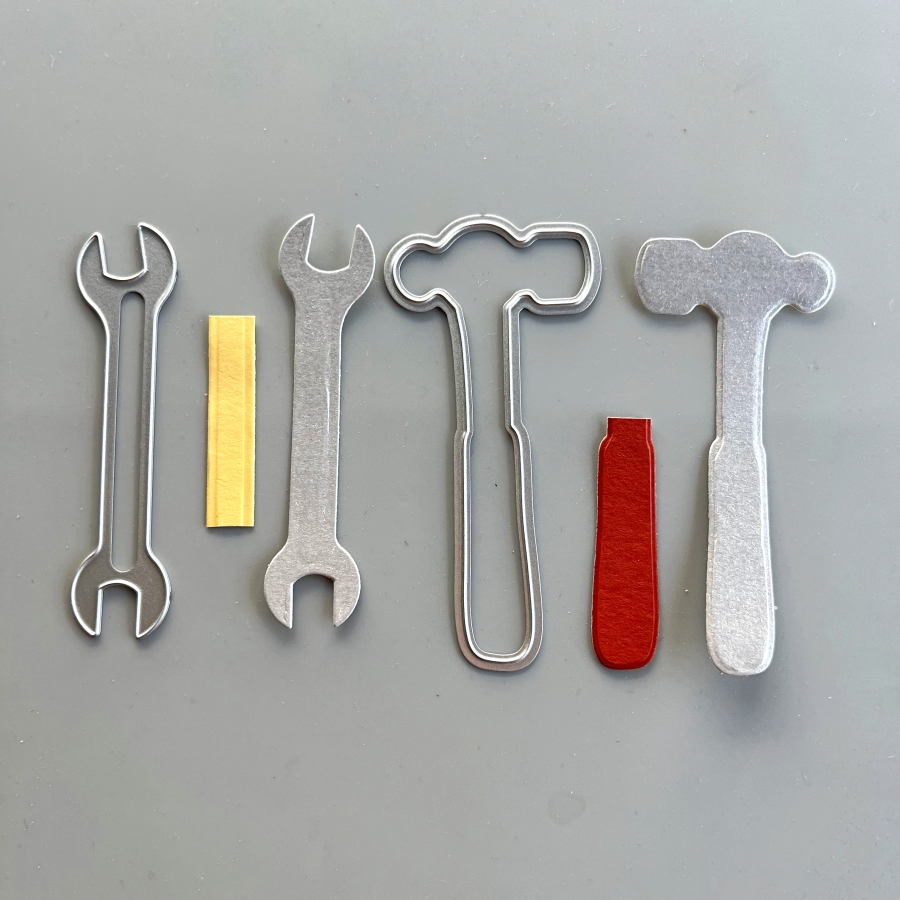
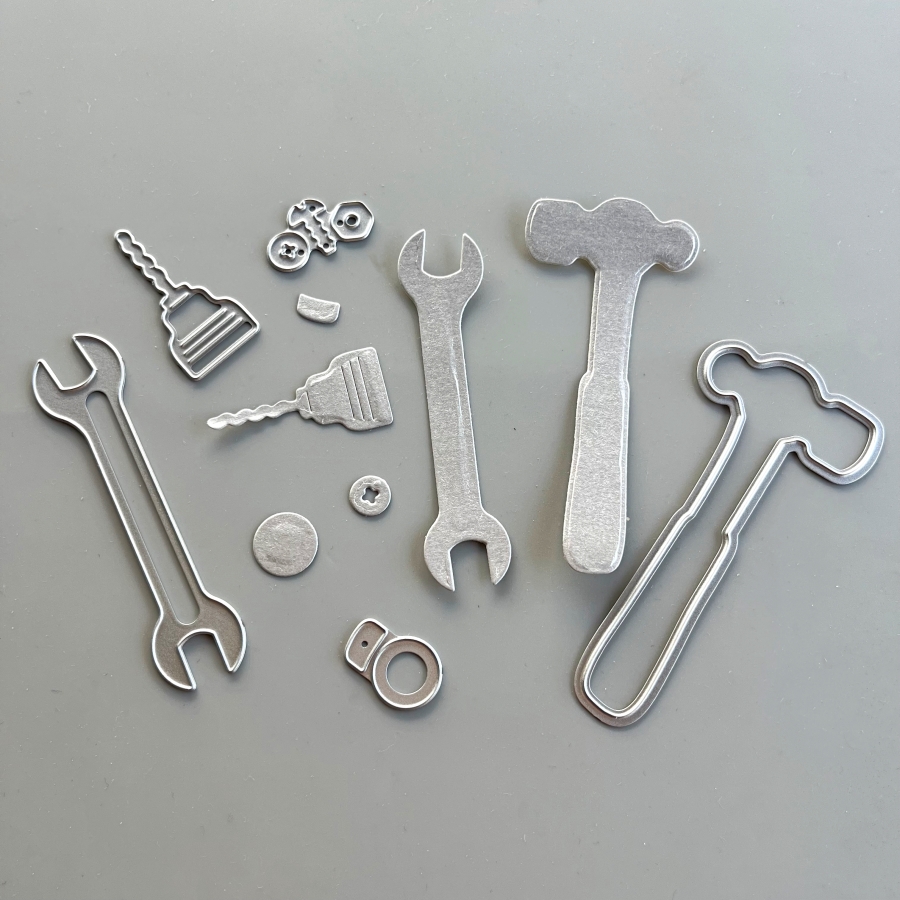
First, I die cut several tools from a silver cardstock. I’ve had this paper for a long time since my scrapbooking days, and I am glad to finally use it again. I also adhered Stick It sheets to the back of the silver cardstock before die cutting, so that all of the elements are adhesive backed. This will make adhering to the small tool pieces easier and mess-free.

Step 2:
Die cut again with colored cardstock to create the handles on the tools. I used So Saffron cardstock for the wrench and Cajun Craze cardstock for the hammer.

Step 3:
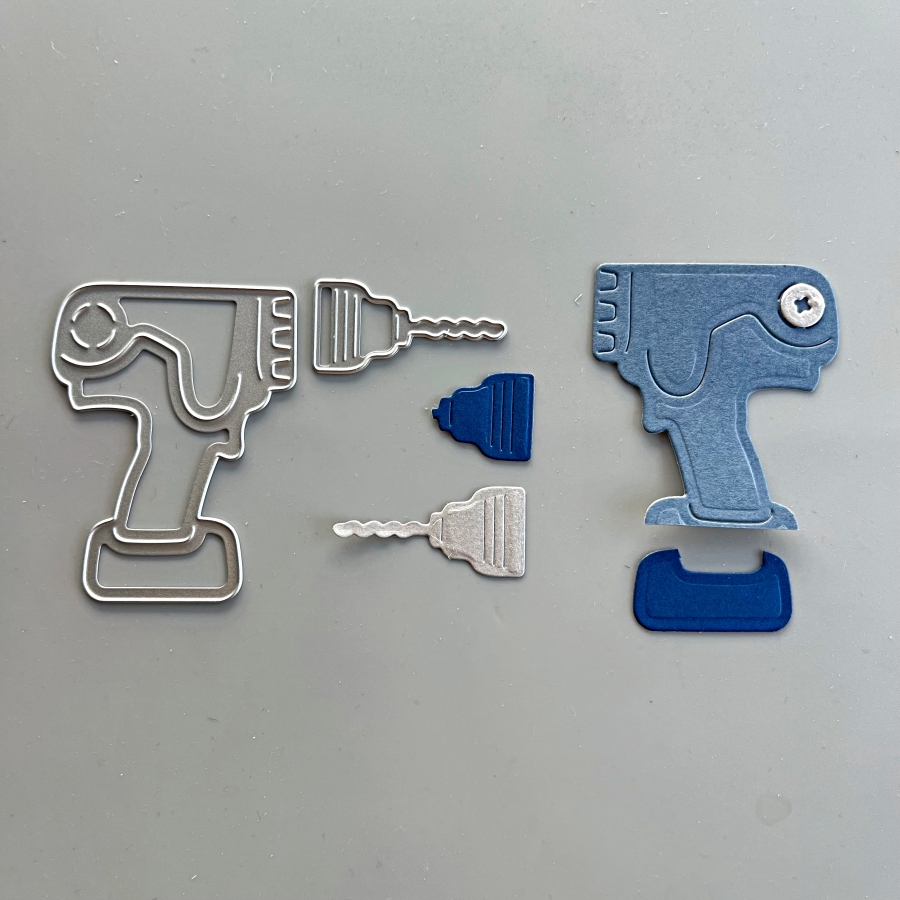
For the power drill, I used Misty Moonlight and Blueberry Bushel cardstock. I also die cut a bolt from the silver cardstock to decorate this power drill.

Step 4:
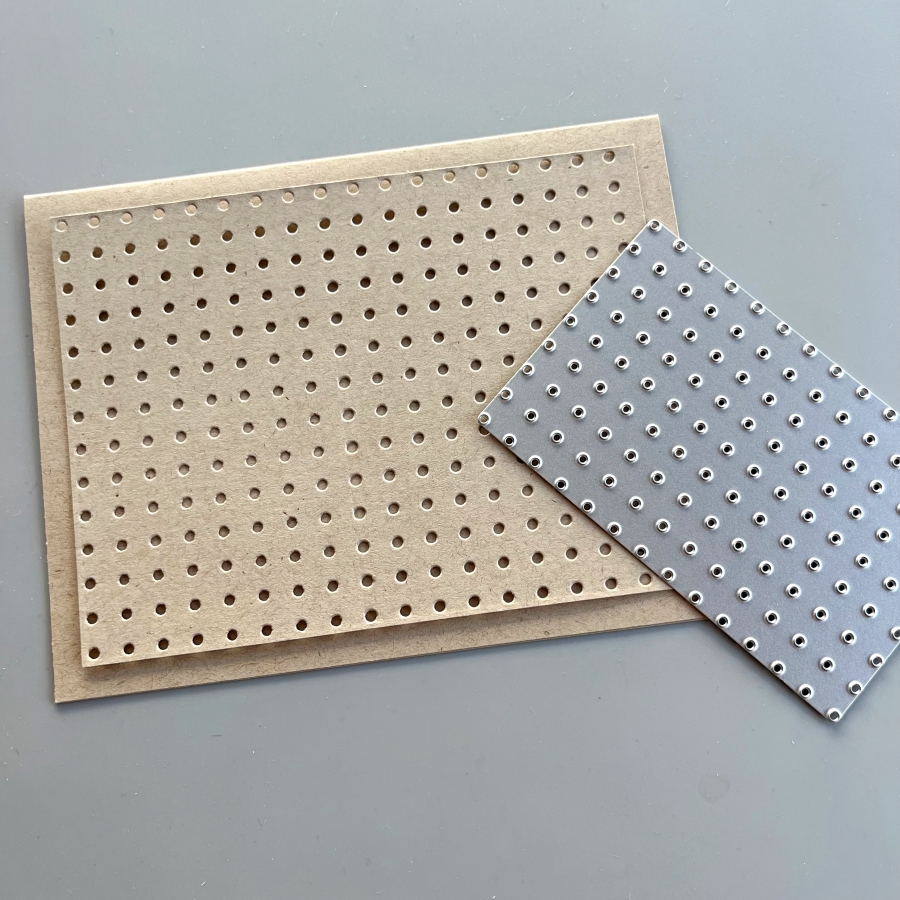
One of the things I love about this die set is that it includes this pegboard die. You can extend the size of this die by matching up the holes on the die with a row of die cut holes and die cut again. They will fit like a puzzle and it almost feels like it is “locked” once the fitting is matched up.

Step 5:
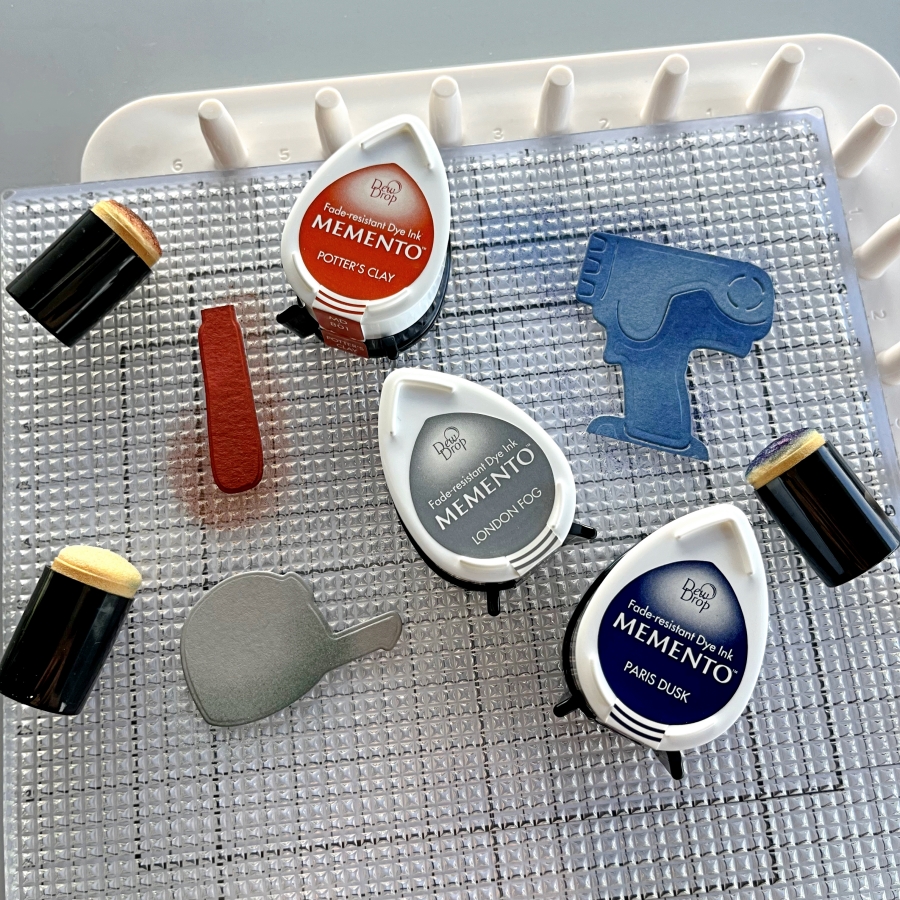
I decided to dress up the die cuts further by ink blending the edges with Memento Inks. Since the die cut pieces are small, I opted for the small sponge daubers instead of my regular blending brushes. These small daubers are great for precise ink blending. I also lay the die cuts on Altenew’s Grip Mat, which conveniently secures the paper pieces and ink pads so they don’t shift around when ink blending.

Step 6:
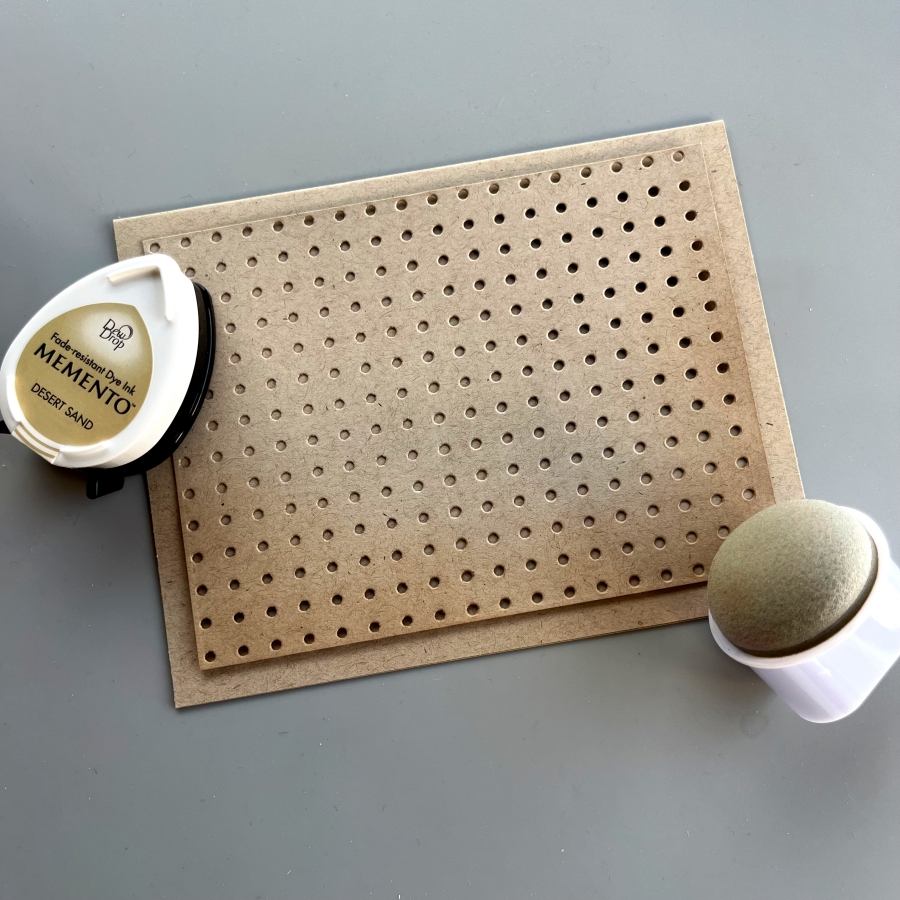
The Jumbo Dauber is also a great blending tool. I used Desert Sand Memento Ink to add some shadows to the bottom edges of the pegboard piece.

Step 7:
Finally, I adhered the pieces with Tear It Tape and stamped the sentiment from Stampin Up’s Heartfelt Hello set. This card was fun to put together and I hope you enjoyed it.

Craft Supplies

Imagine Supplies:

Other Supplies:

  • Stampin’ Up! – Stamps – Heartfelt Hellos
  • Stampin’ Up! – Dies – Trusty Tools
  • Foam Tape
  • Colored cardstock

See How to Make Your Own Customized Ink Pads + Slimline Holiday Cards

by Lisa Mensing

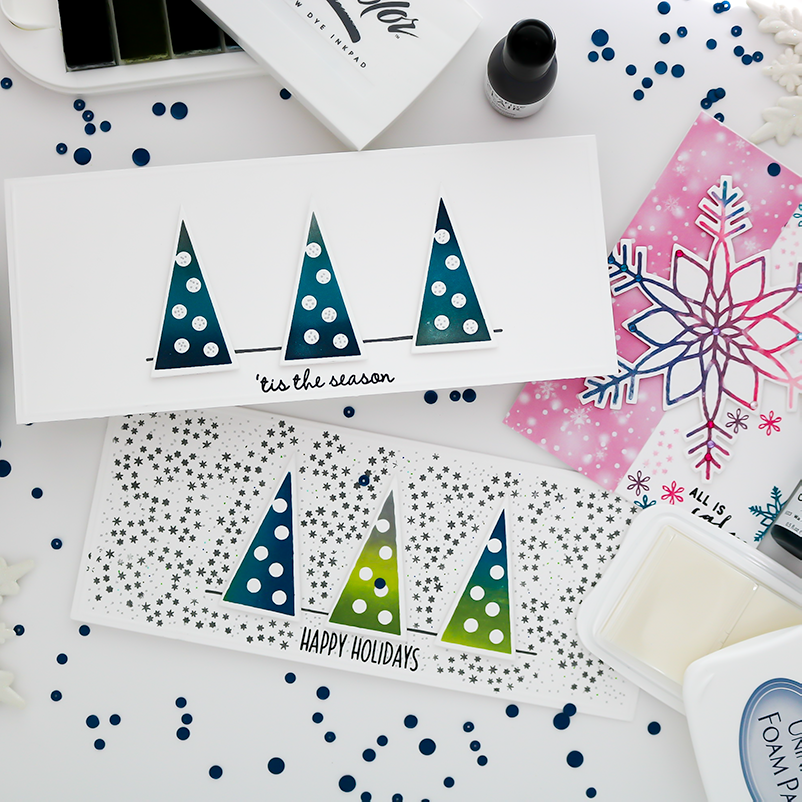
In this video, Lisa is sharing how to create your own customized color palettes with uninked ink pads, Memento dye inkers, VersaFine Clair inkers and demonstrates her customized ink pads creating slimline Christmas or Holiday cards.

Creating your own color palette with Kaleidacolor un-inked pads is super easy! The sliding ink pad can be used as an ombre effect or as individual ink swatches.

Skill: Beginner
Time: Varies

Directions

Art Supplies

Imagine
Other

Letterpress Technique with Embossing Folders and Memento Dye Inks

Letterpress Technique with Embossing Folders and Memento Dye Inks

by Lisa Mensing

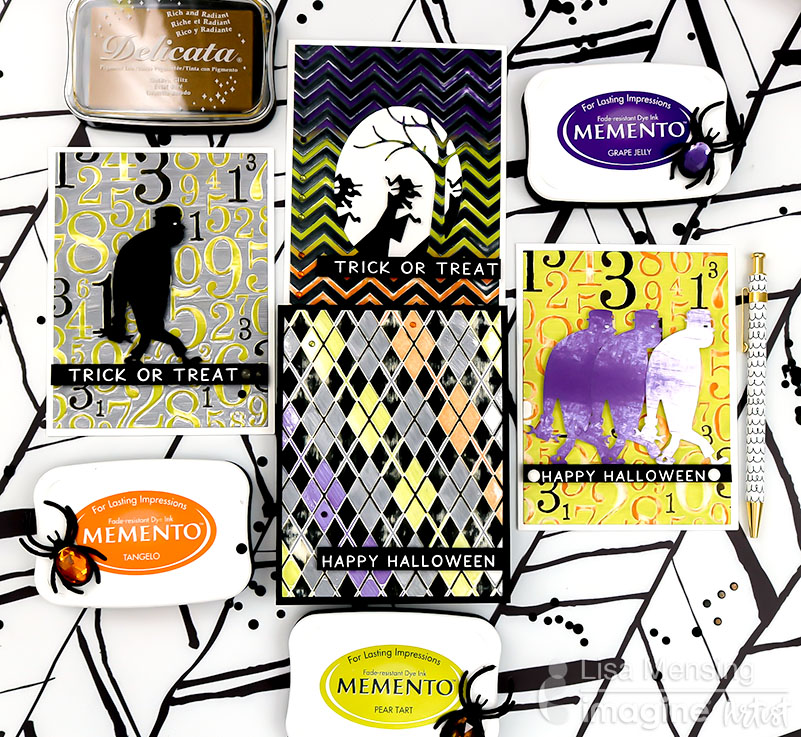
In this video, Lisa shares how to use everyday embossing folders to create fun Halloween backgrounds by using the letterpress technique with several different styles plus she shares a few tips along the way.

Use Memento dye inks with direct-to-paper techniques to create a distressed look across several card backgrounds such as a numbers theme, an Argyle plaid theme, and a chevron style. These matching trick or treat cards are perfect to pair with candy and gifts for Fall!

Skill: Advanced
Time: 10 minutes per card

Directions

Art Supplies

Other

  • EK Success POWDER TOOL Applicator 54-04002
  • Sirio Ultra Black | Cardstock Warehouse Paper Company Inc
  • CLASSIC CREST Avalanche White Card Stock – 8 1/2 x 11 in 100 lb Cover Smooth 250 per Package
  • Wagner HT400 Precision Heat Tool-0503038 
  • Hero Arts Nesting RECTANGLE DIES DI198
  • Journey Platinum Machine w/Plates
  • Embossing Folder – Take a Number
  • Darice Argyle Embossing Folder, 5-Inch by 7-Inch
  • Darice 1218-96 Embossing Folder, 5 by 7-Inch, Chevron
  • Copic Sketch Marker – Special Black 110
  • Whimsy Stamps – NEW Monster Parade Die Set 
  • FaBOOlous Sentiments – 4×6 Stamp Set

Clean and Simple Handmade Card with Memento Dye Inks

by Lisa Mensing

Clean and Simple Handmade Card with Memento Dye Inks

In this video, I share how to watercolor, heat emboss, and ink blend with dye inks. Follow along as I show you how to get the most out of your Memento Dye Inks and create this clean and simple card.

Skill: Intermediate
Time: 25 minutes

Directions

Supplies

Imagine

Hope & Strength Call for Art

Call for Hope & Strength Art

In tough times we all need to focus on being strong and supporting each other. Submit a photo of an Inspiration-themed project. Some of the themes can include: Hope, Love, Faith, Prayers, Be Strong, Hang in There, Stay Strong, Brighter Days are Ahead, Journal pages, At-home crafts, etc.

Submit an attractive 600 x 600 pixel square or 900 x 900 pixel square photo of your project, a short description and a link to your Instagram profile or blog to marketing@imaginecrafts.com. Submissions are due by Monday, March 30th, 2020

We will review all submissions and post a collection in one blog post and will share it on our social media platforms. Potential reach = 10,000 followers.