By Ceal Pritchett
Hello crafty friends!
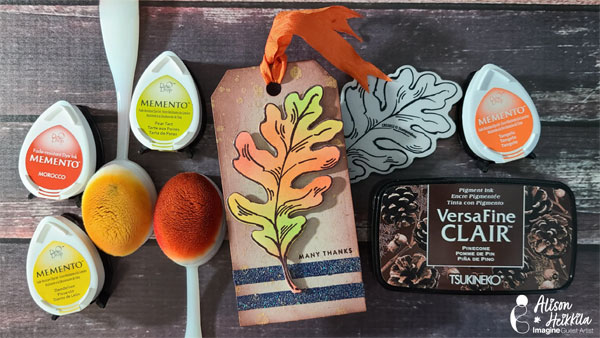
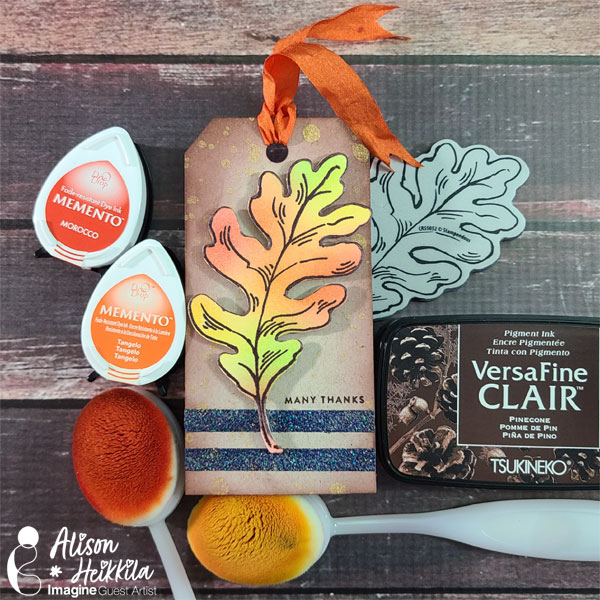
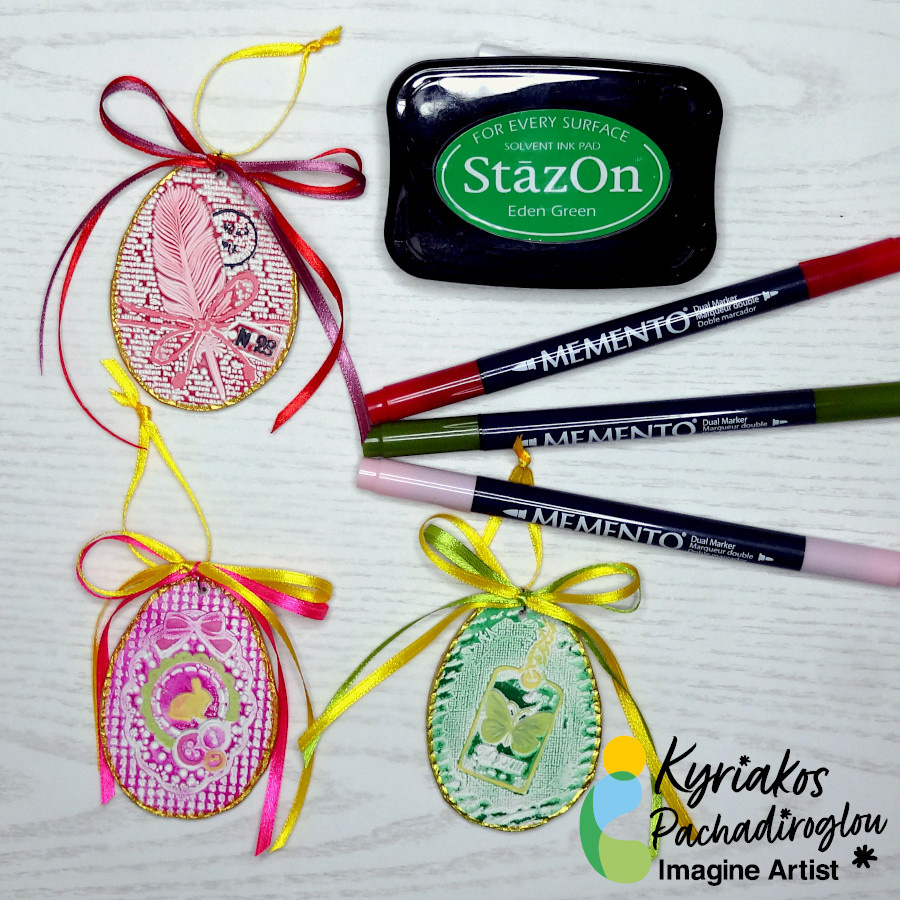
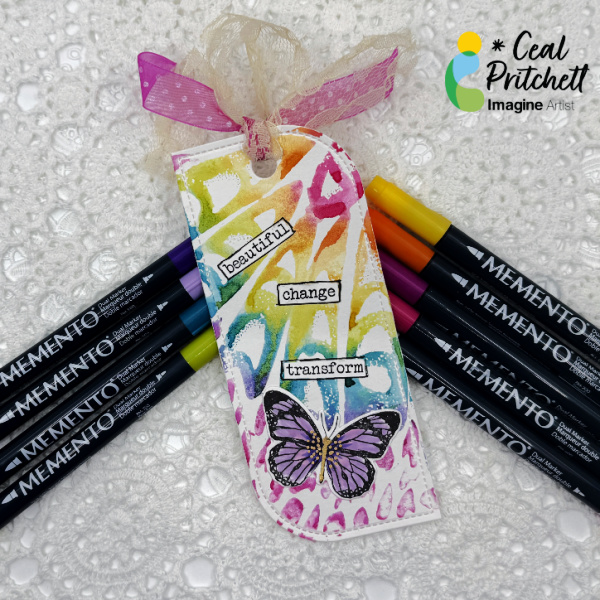
It’s Ceal, here. Today I am sharing this mixed media tag/bookmark with you. It’s a lot of fun to make and is fairly simple.
Skill: Intermediate
Time: 45 minutes
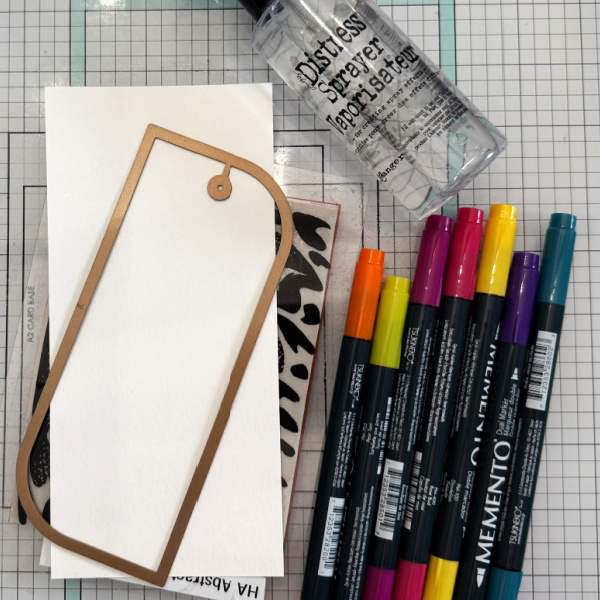
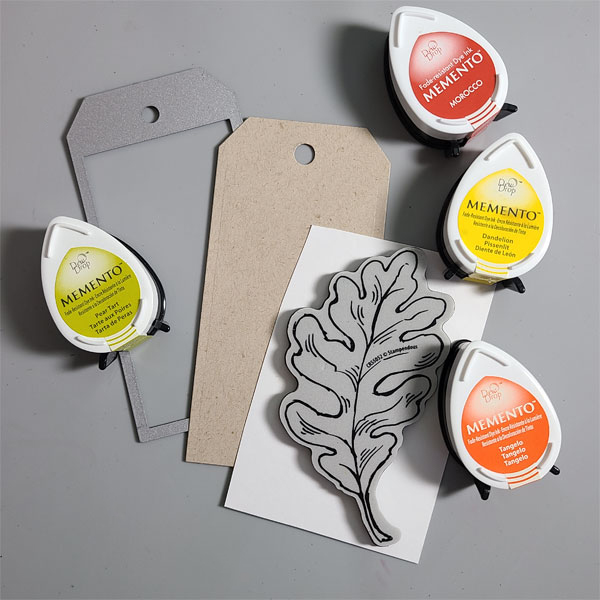
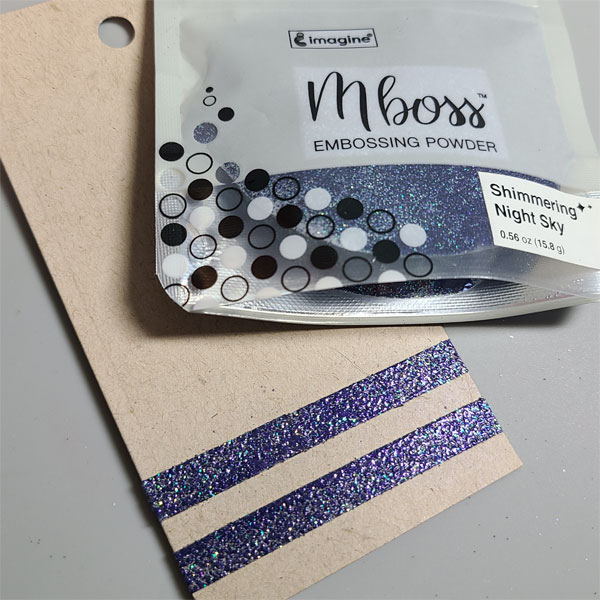
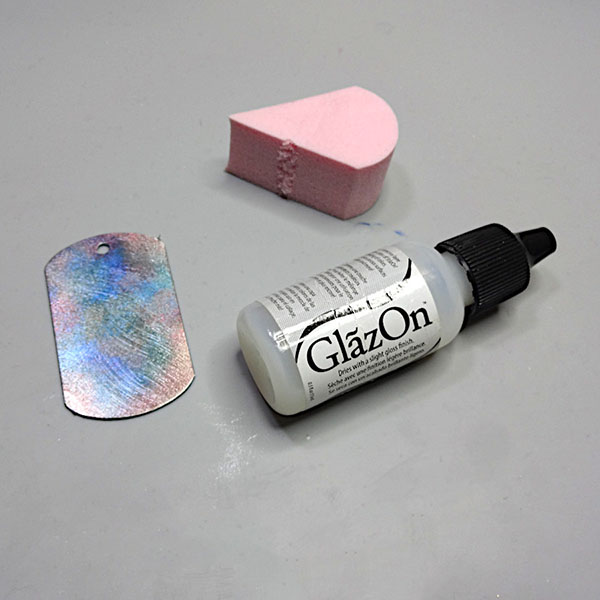
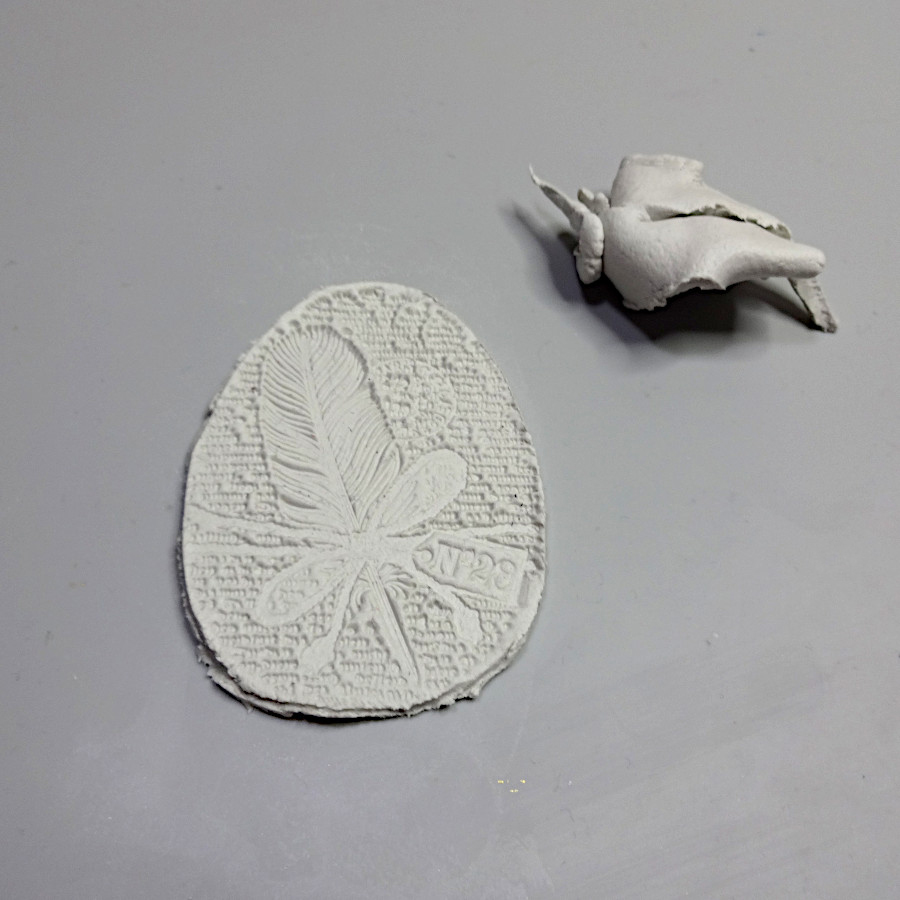
Directions: Gather your supplies, for this project you will need a tag made of water friendly paper, (I used Bristol cardstock), several colors of water based markers, and stamp sets to decorate.
Step 1:
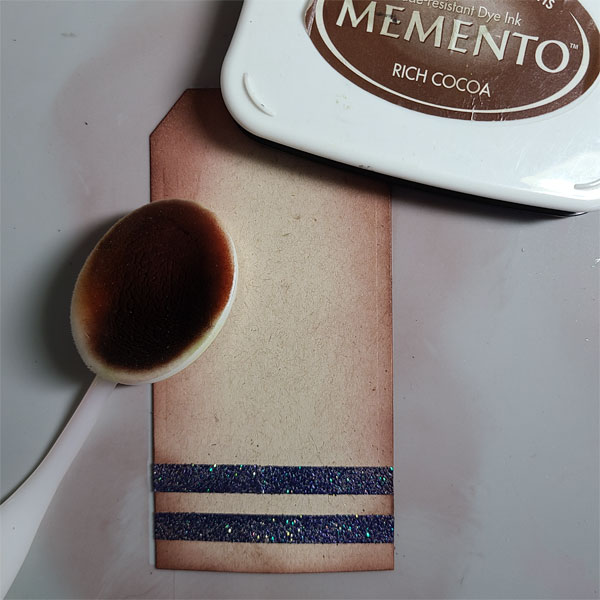
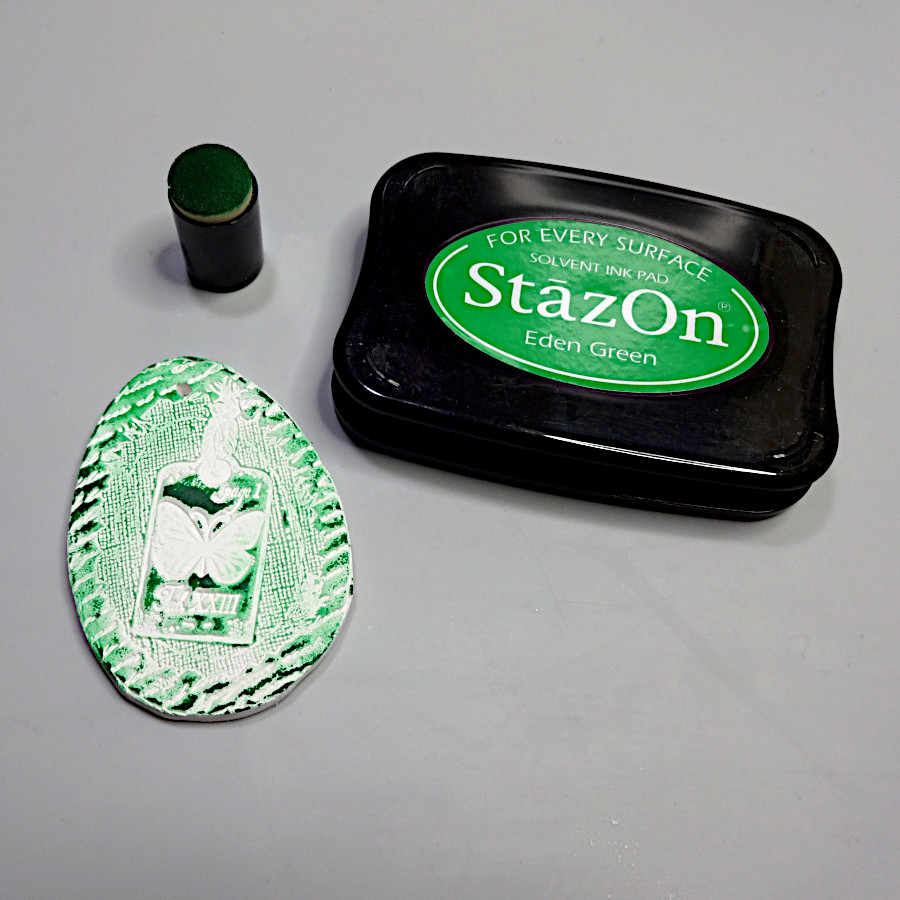
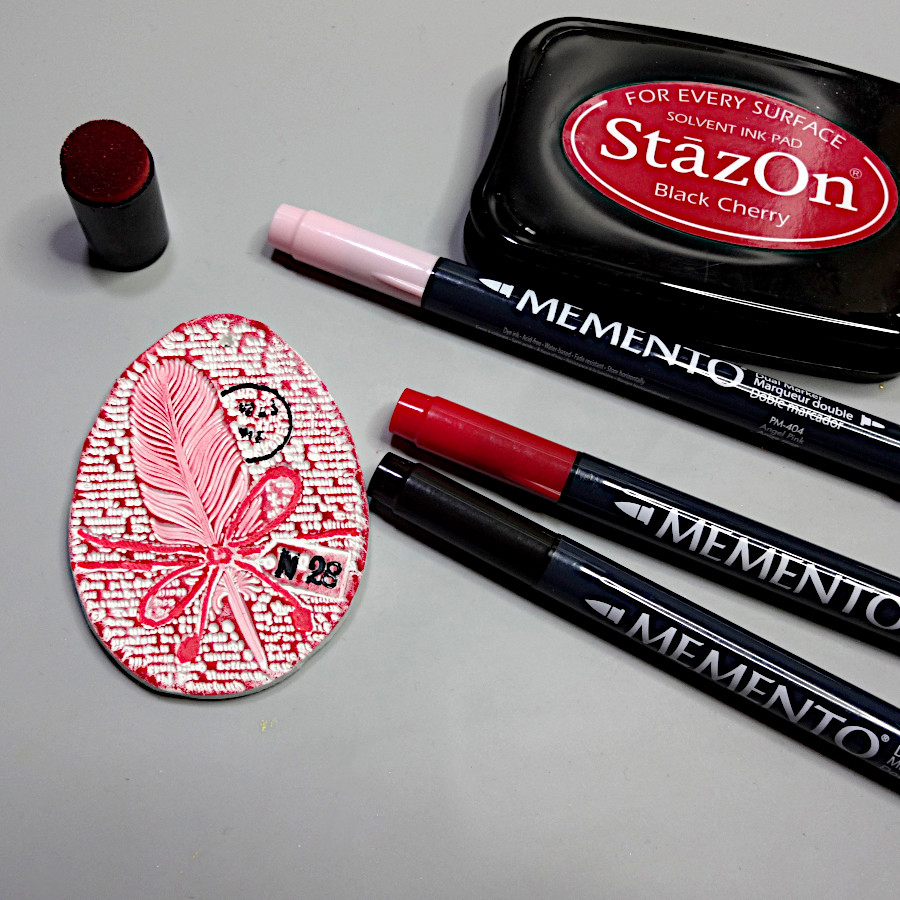
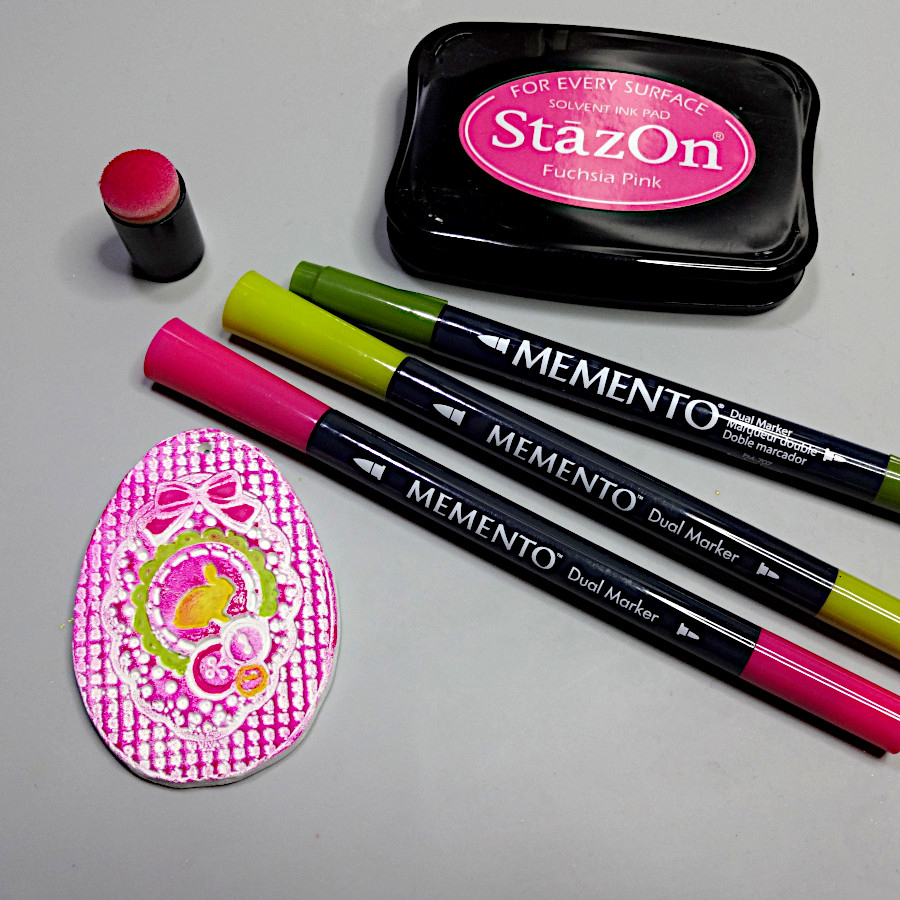
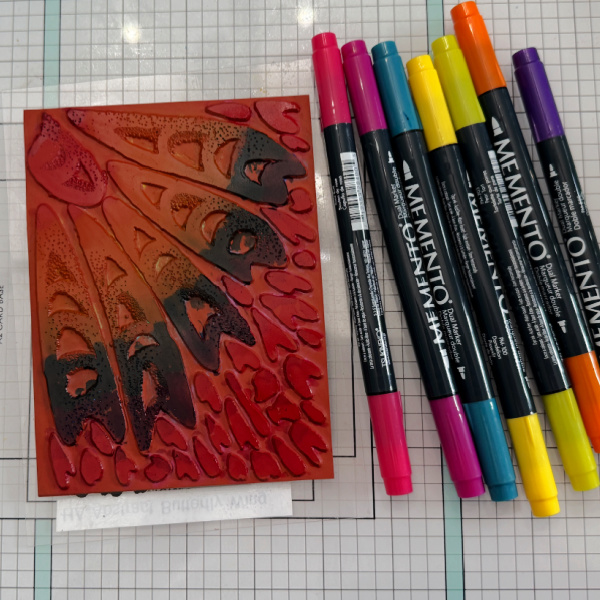
Using a red rubber cling stamp and water based markers, ( I used Memento) color the stamp as desired.
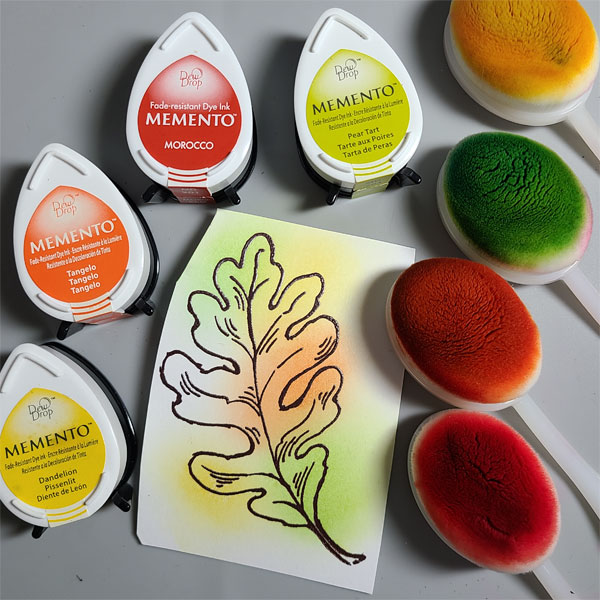
Step 2:
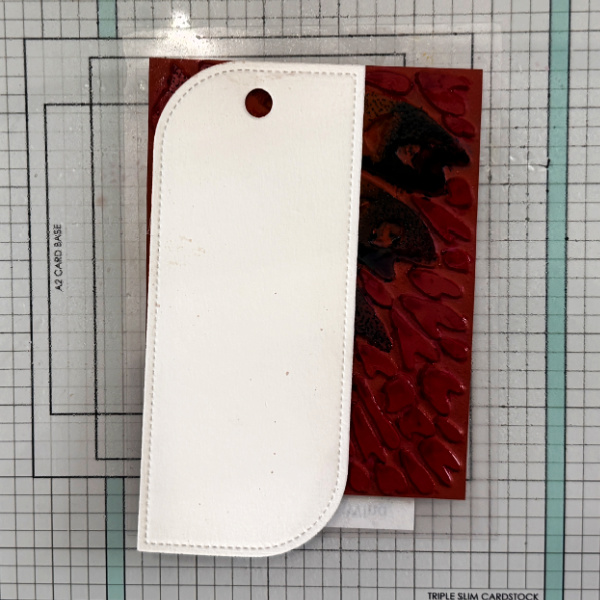
After you have finished coloring the stamp, spritz it with water and lay the tag on it and rub lightly.
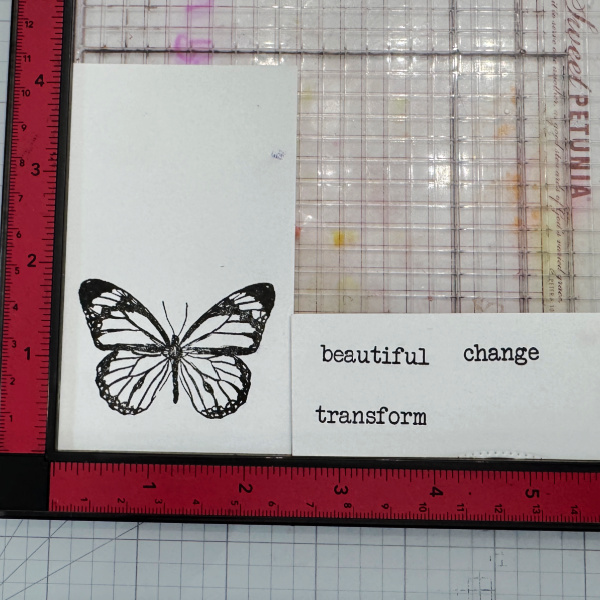
Step 3:
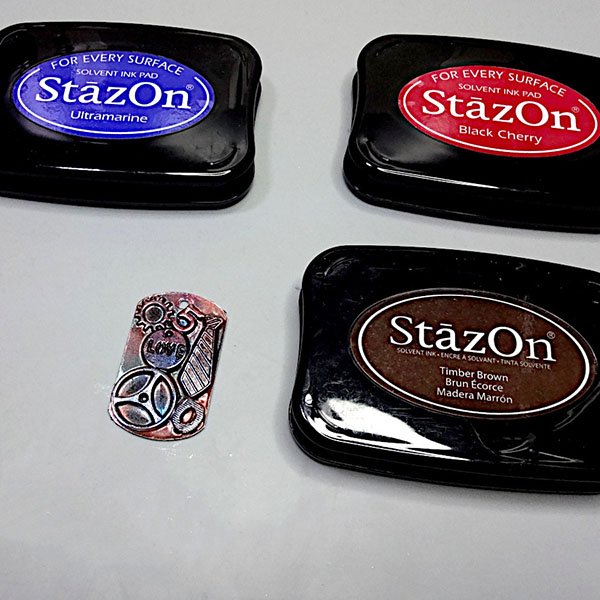
Stamp the images you have chosen for and stamp them in black ink (VersaFine Clair used here).
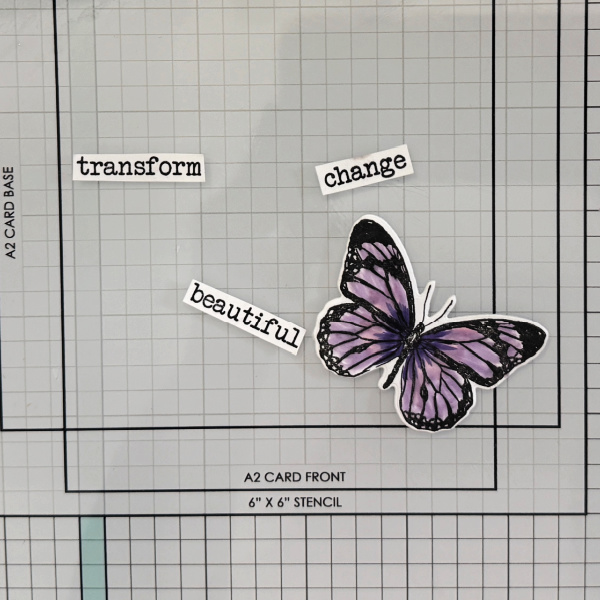
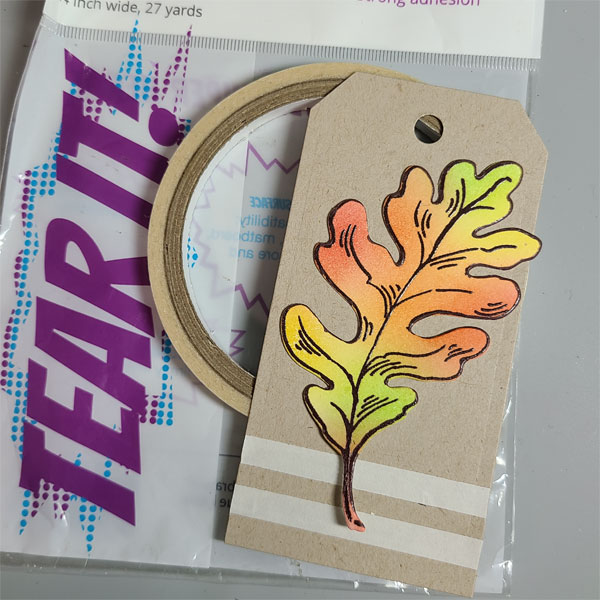
Step 4:
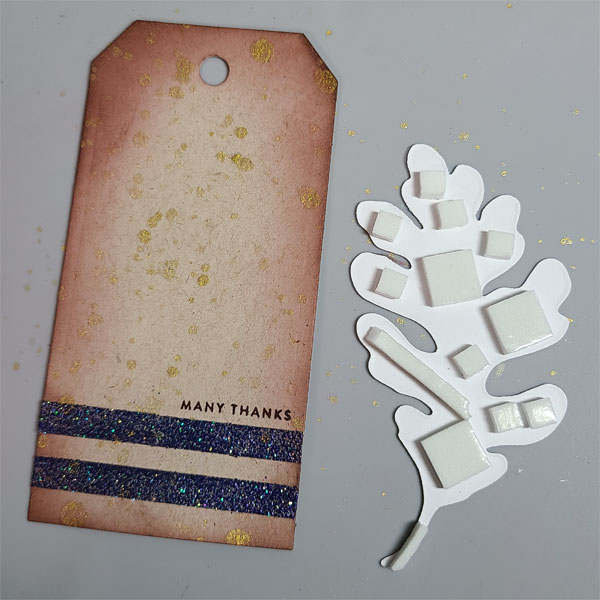
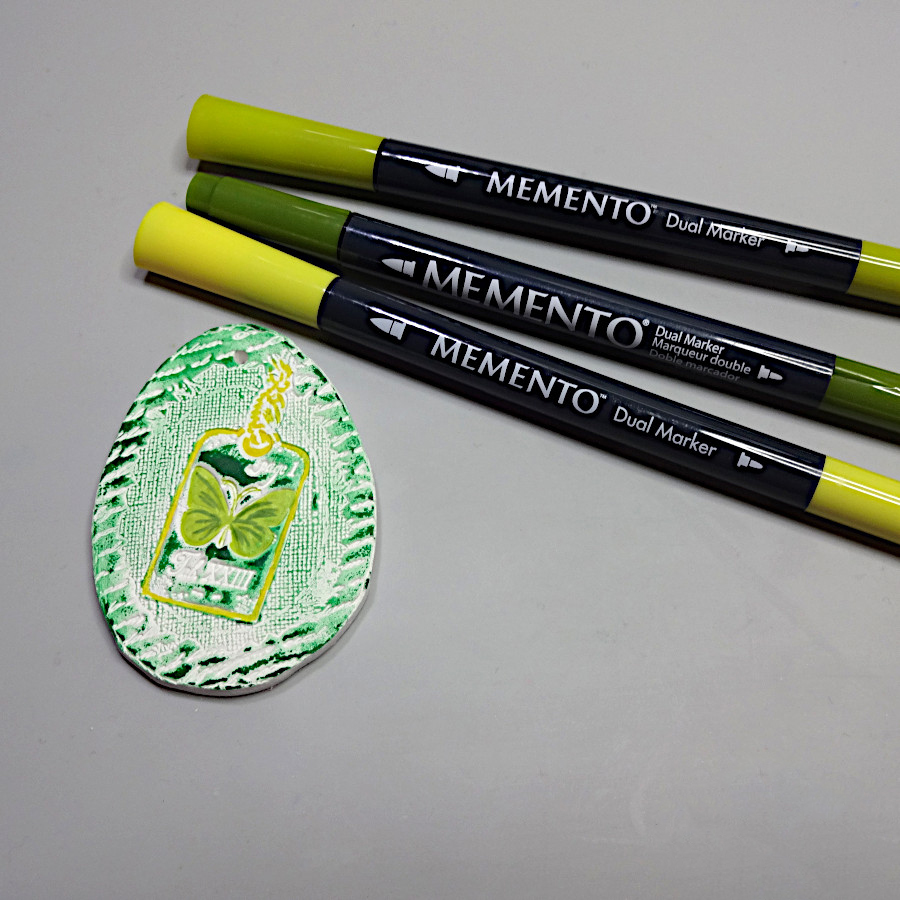
Color and cut out the elements to decorate the bookmark.
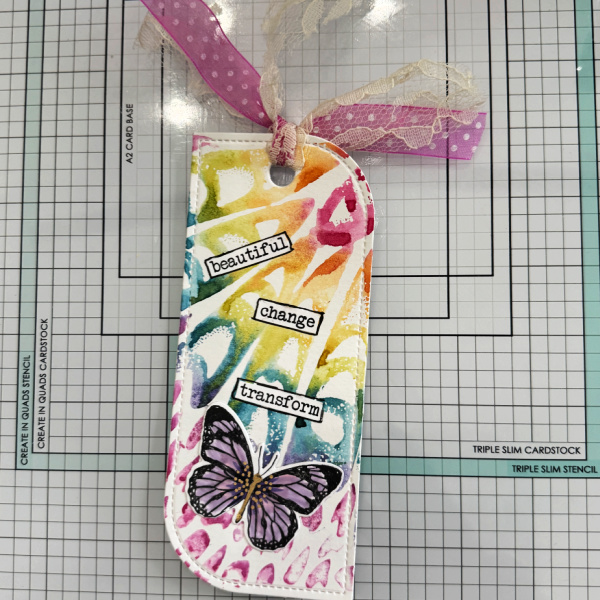
Step 5:
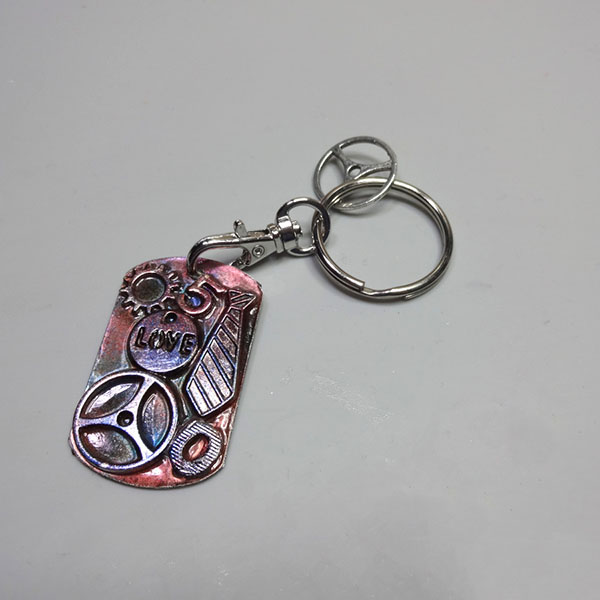
Add elements to bookmark ad add ribbon to finish it.
Supply List:
Imagine Products
Memento Markers in the following colors
– Angel Pink
– Lulu Lavender
– Rose Bud
– Lilac Posies
– Teal Zeal
– Grape Jelly
– Tangelo
– Pear Tart
– Dandelion
VersaFine Clair – Nocturne
Other Products
Abstract Butterfly Wing – Hero Arts
Made New Stamp set -Creative Worship Stamps