By Jessica Lin
Skill: Medium
Time: 30 minutes
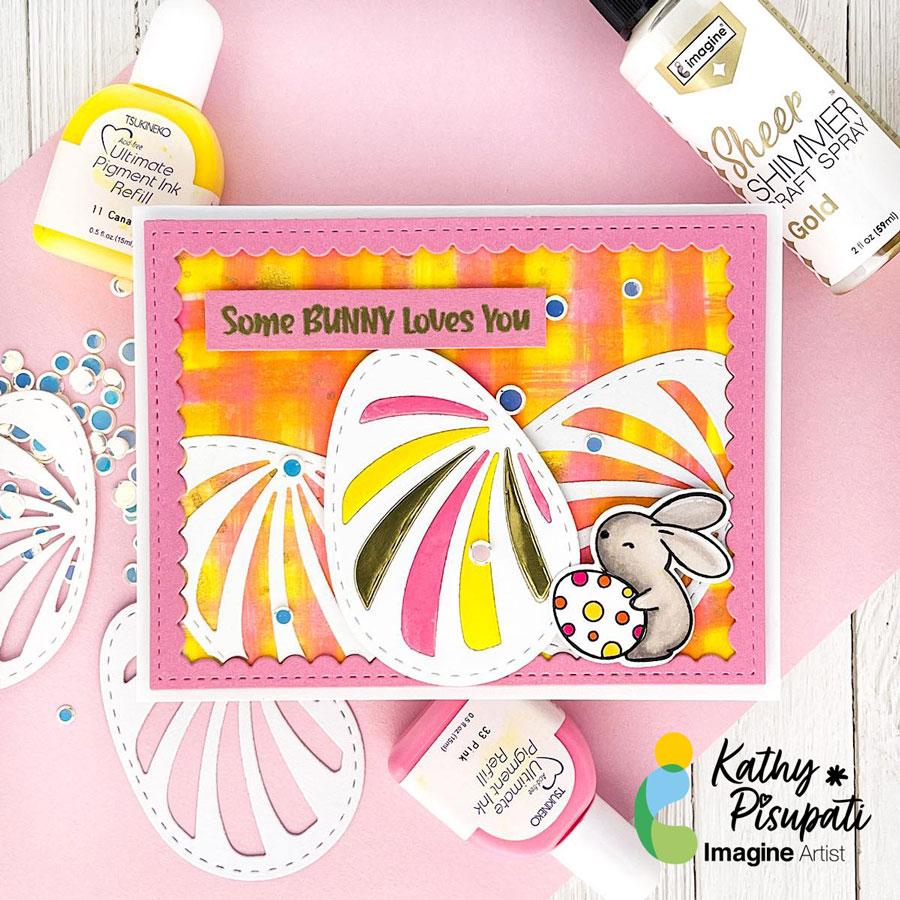
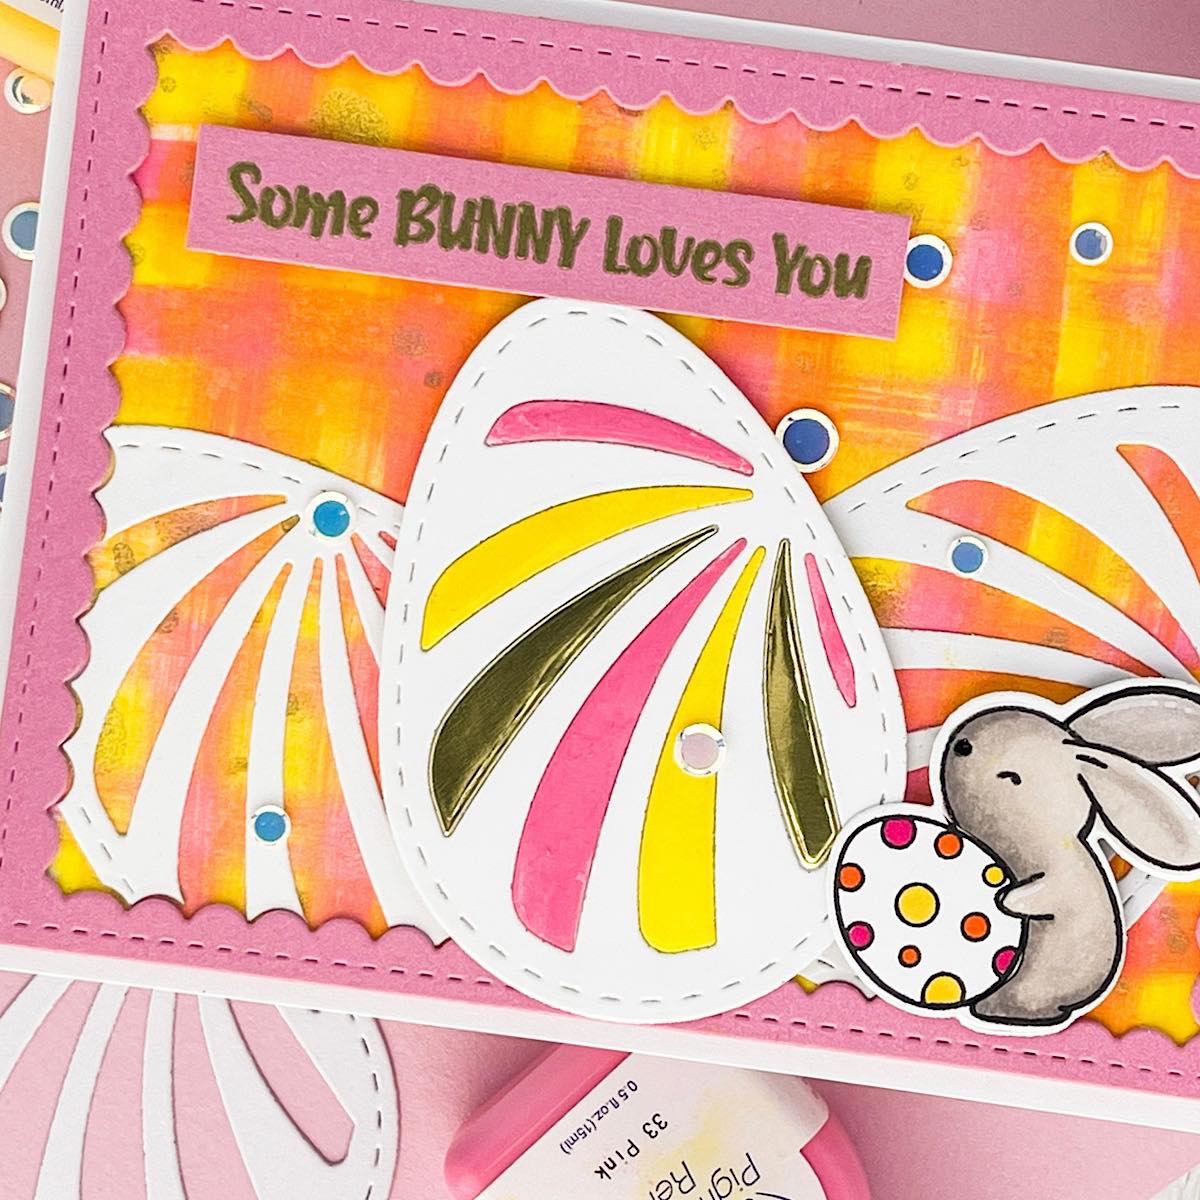
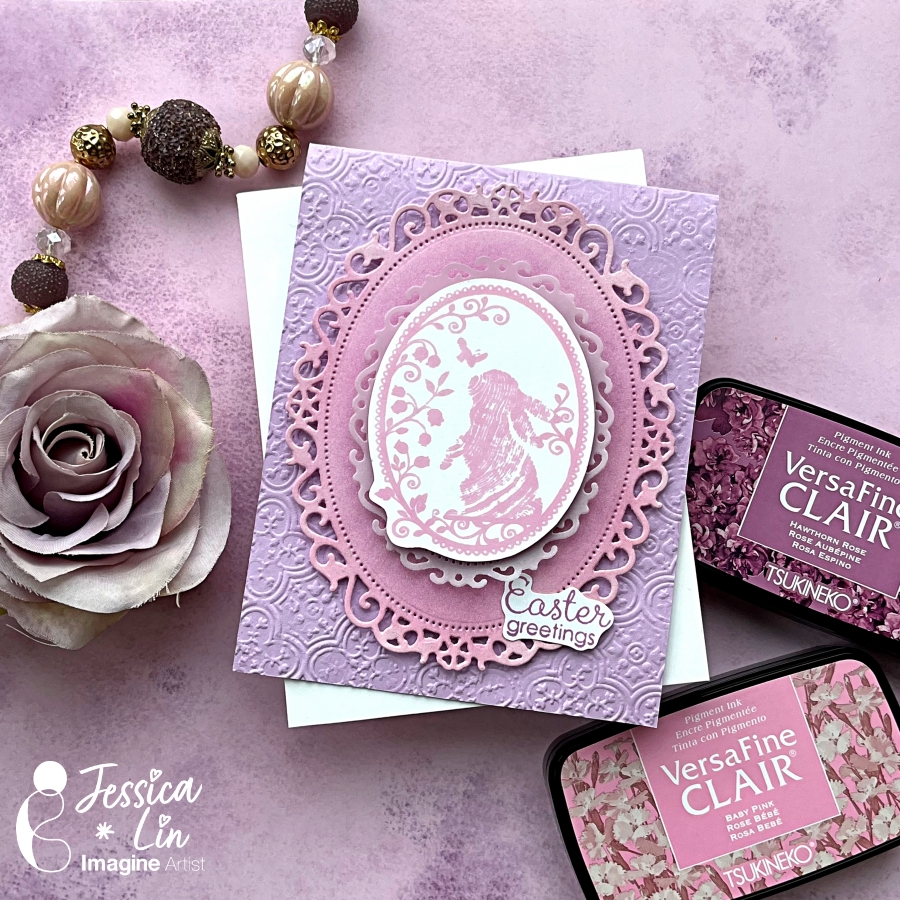
Hi everyone! It’s Jessica here. Today I want to share an Easter card with a soft and romantic color palette. This color scheme turned out so well, and I think it would be perfect for a birthday or Valentine’s card! If you are interested in the colors I used, just keep reading!
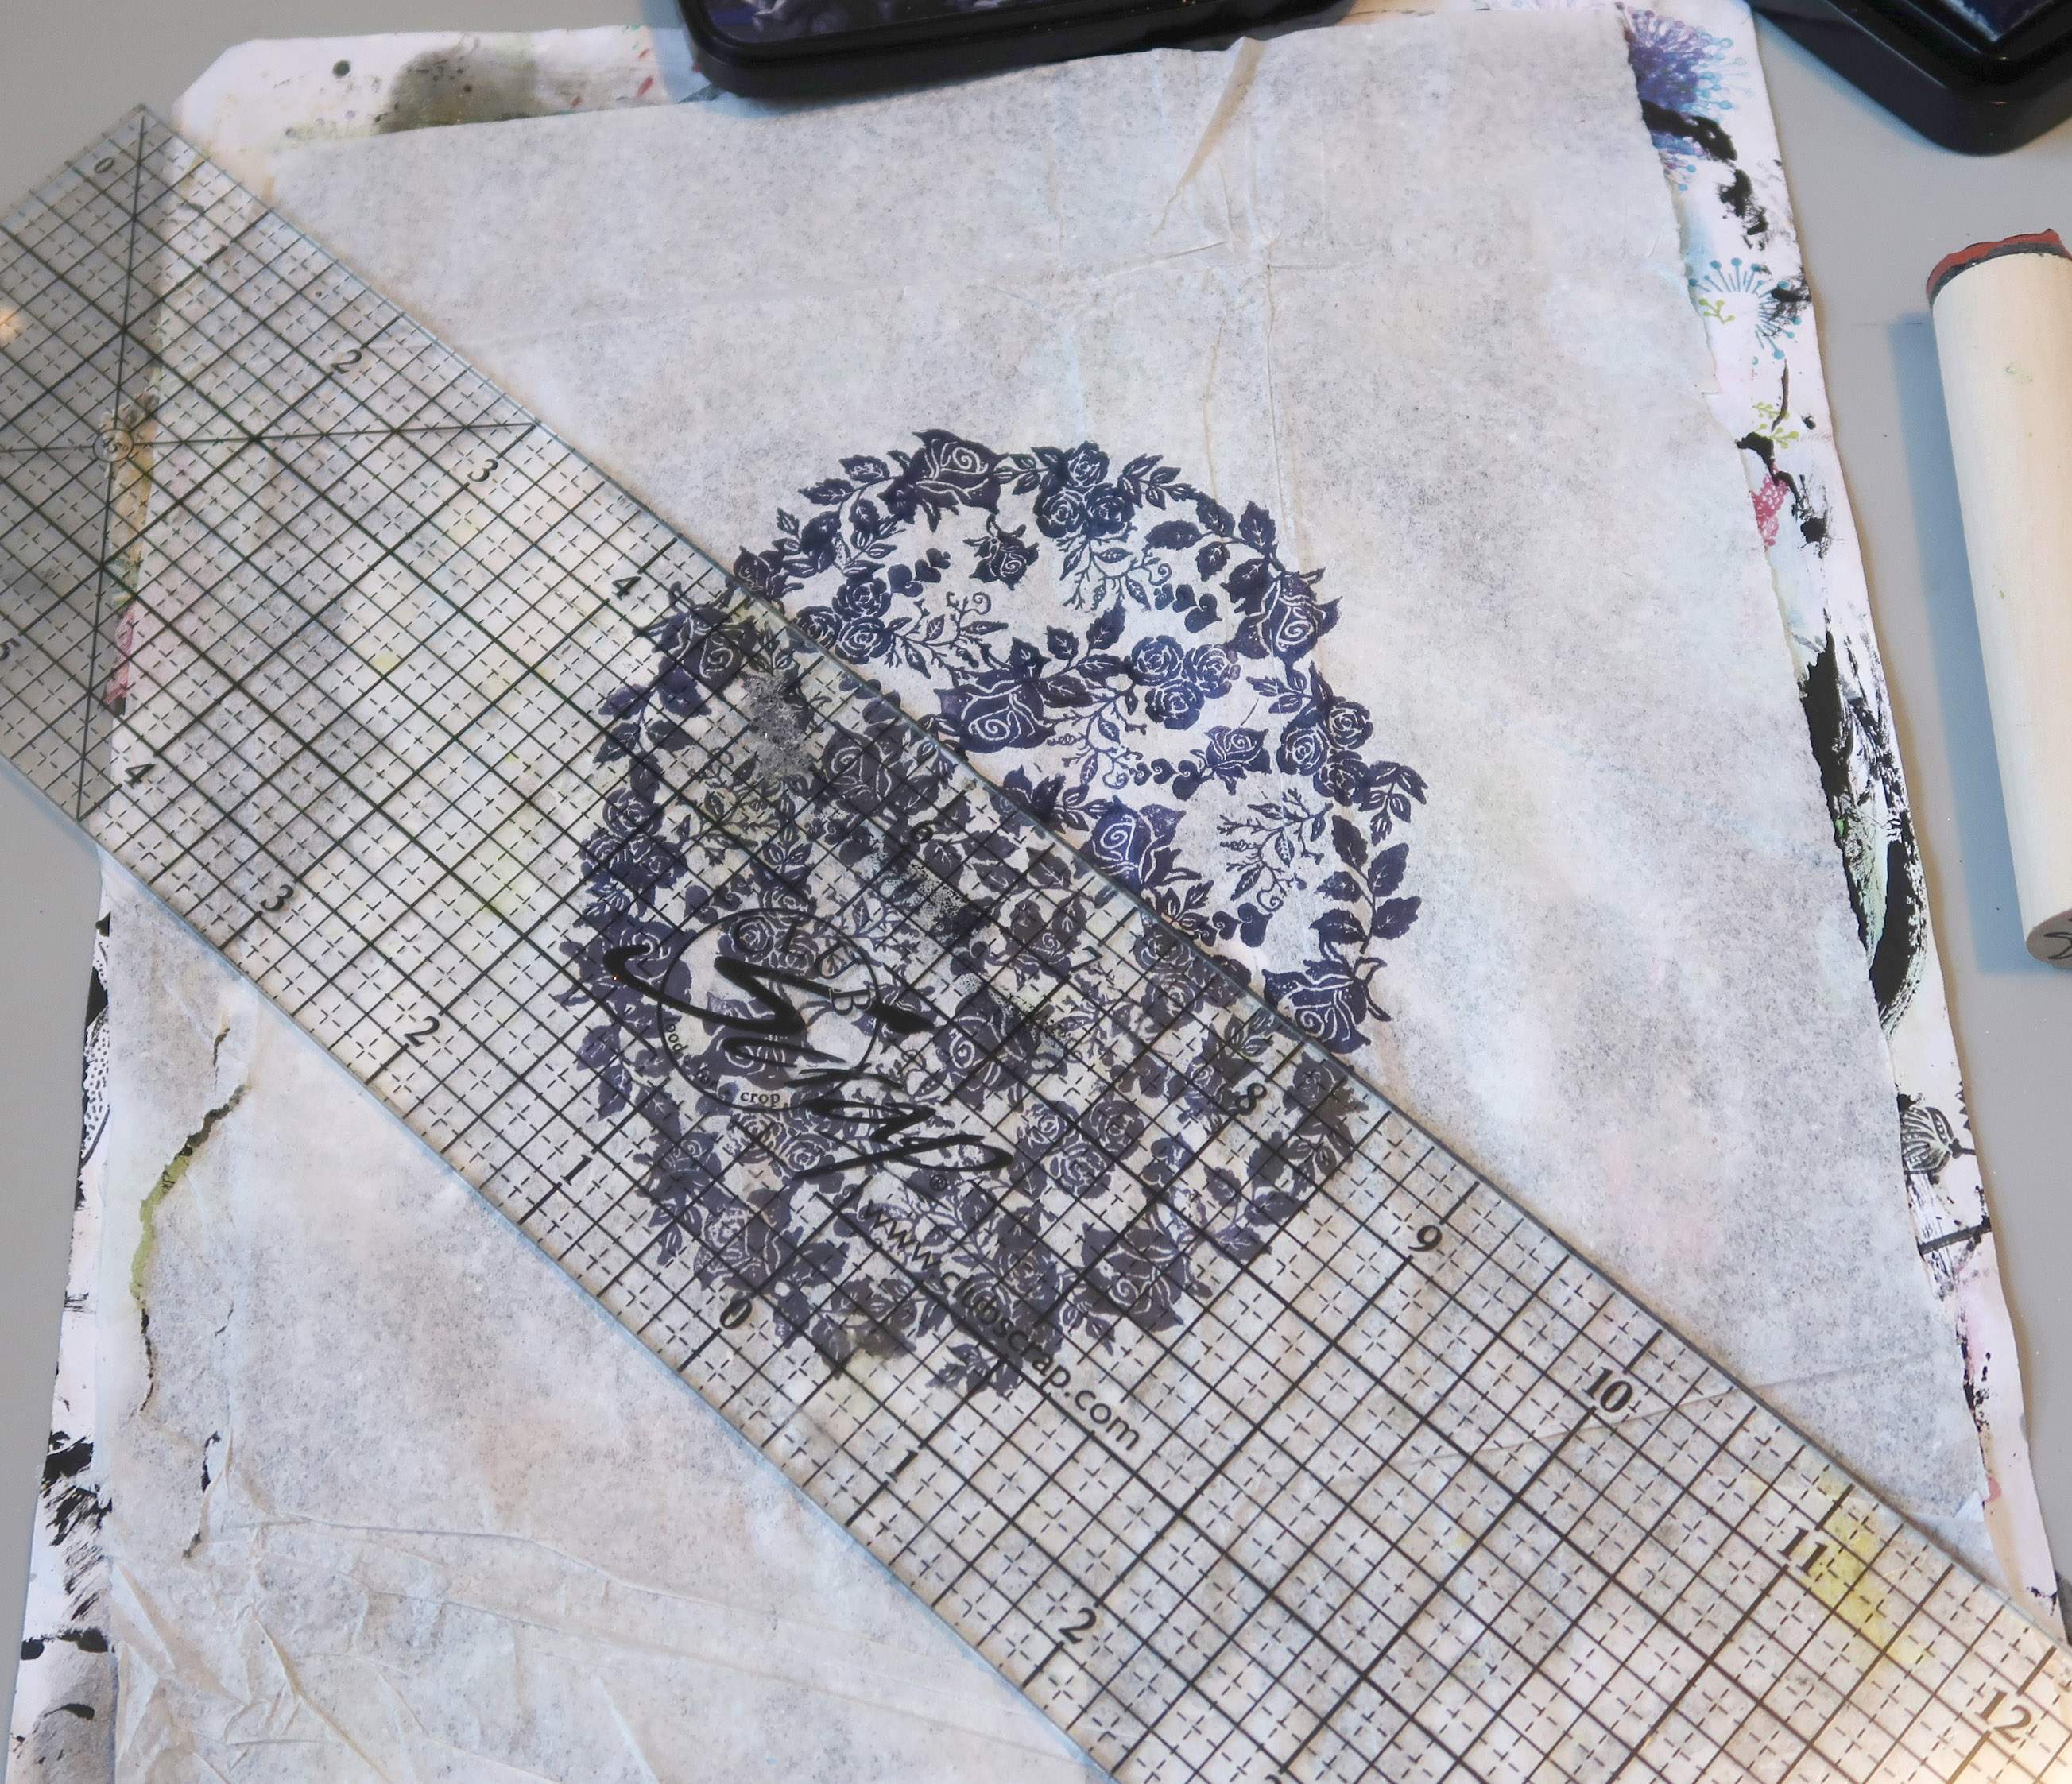
Step 1:
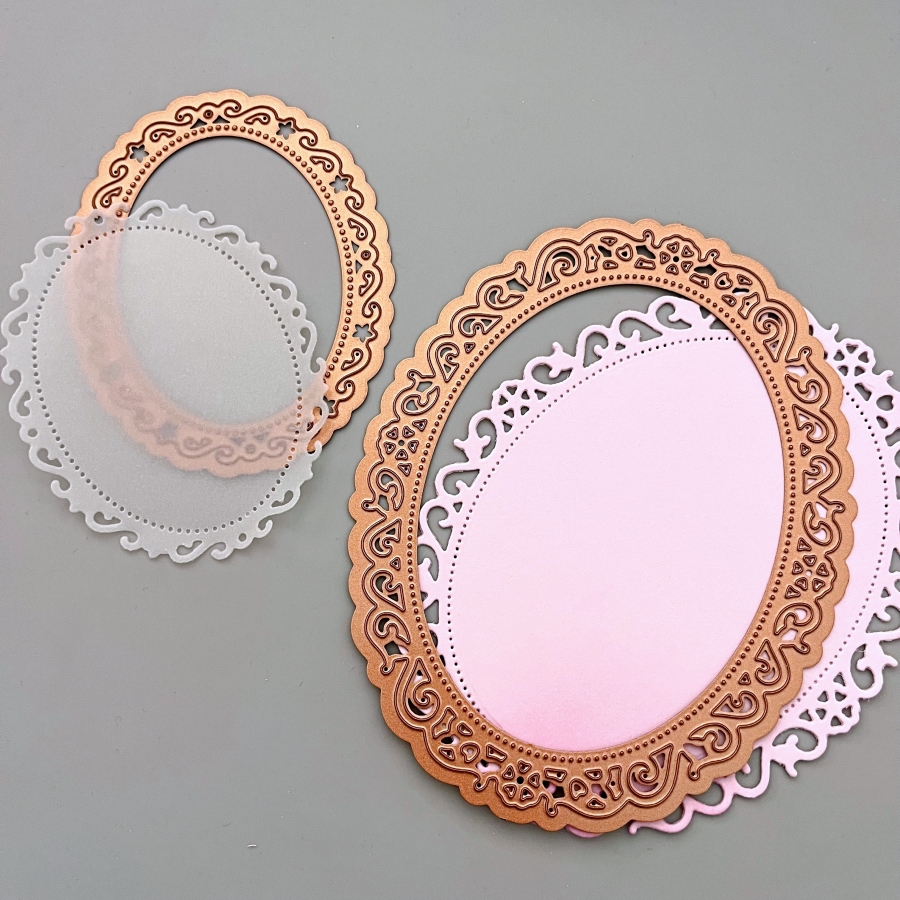
Die cut the largest two shapes from Spellbinder’s Nestabilities Floral Oval die set. For the largest oval, I used Stampin’ Up!’s Bubble Bath cardstock. For the second largest oval, I used vellum.
Step 2:
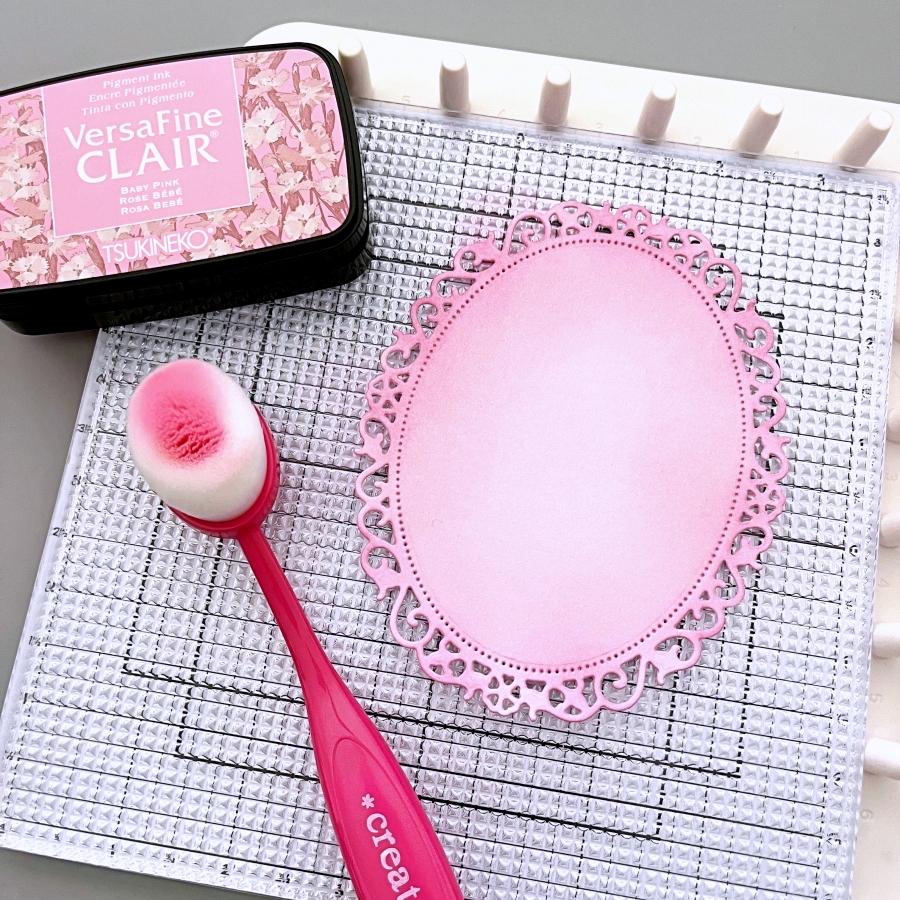
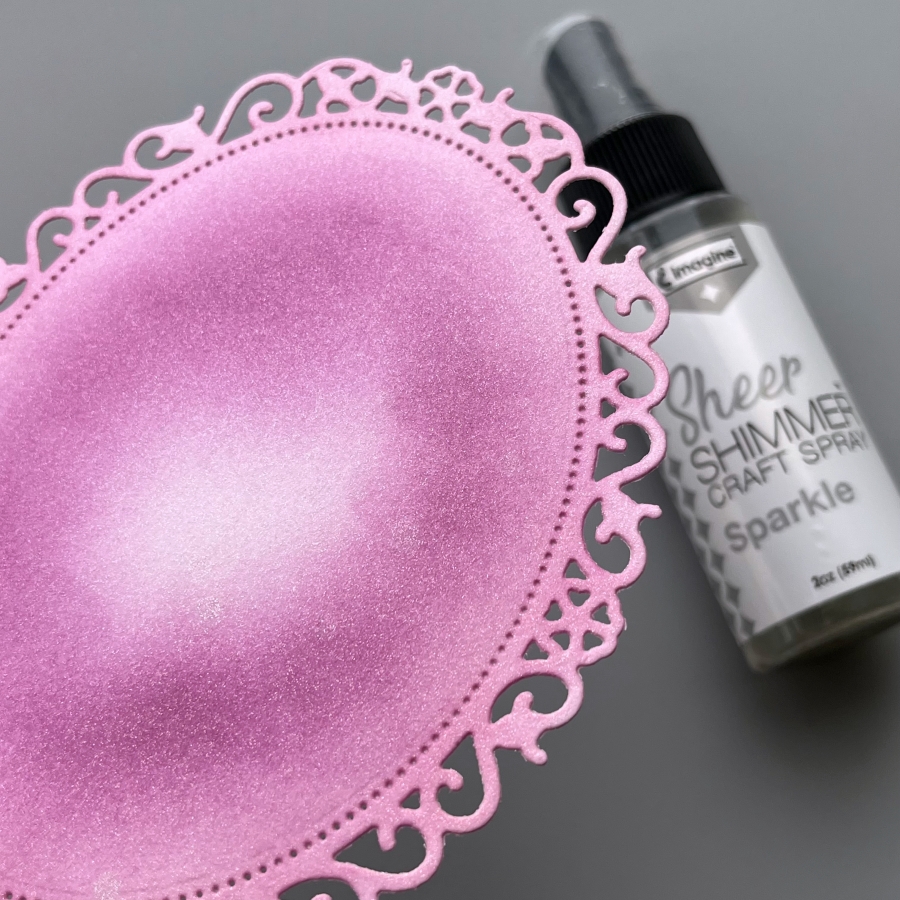
For some added dimension, ink blend VersaFine Clair Baby Pink ink around the edges of the largest die cut. I recently bought the photopolymer sticky mat from Altenew and it’s a great tool for ink blending. It grips the die cut (or stencil) firmly so you don’t have to worry about anything shifting during ink blending.
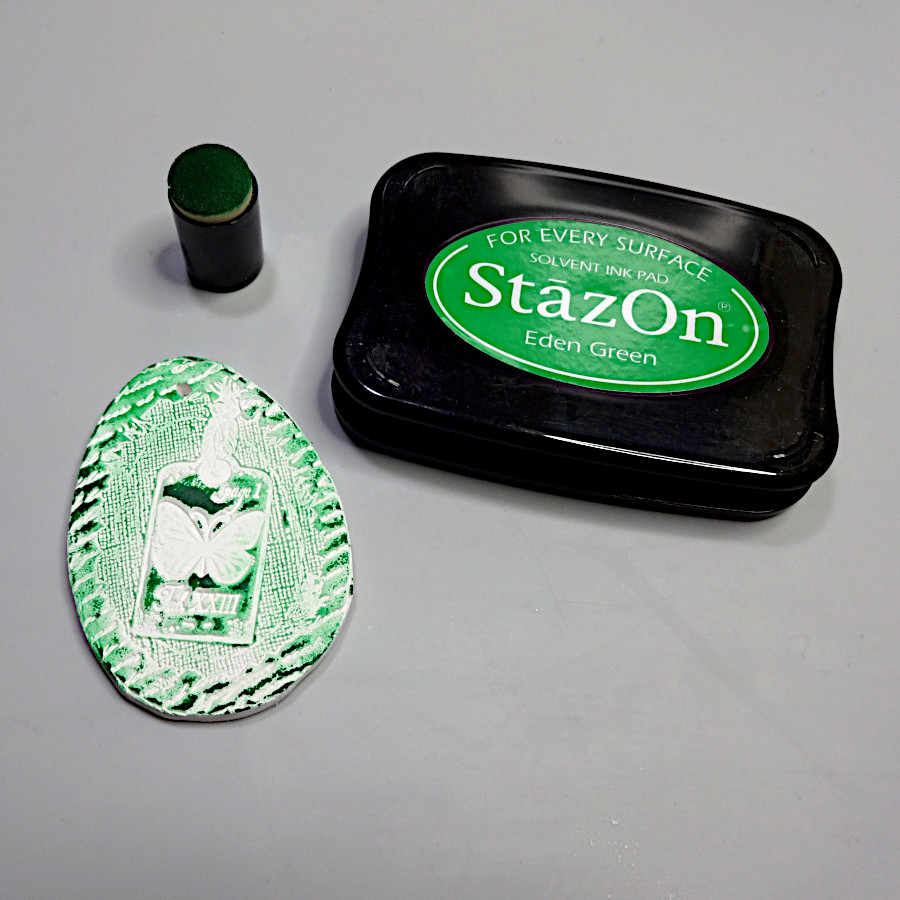
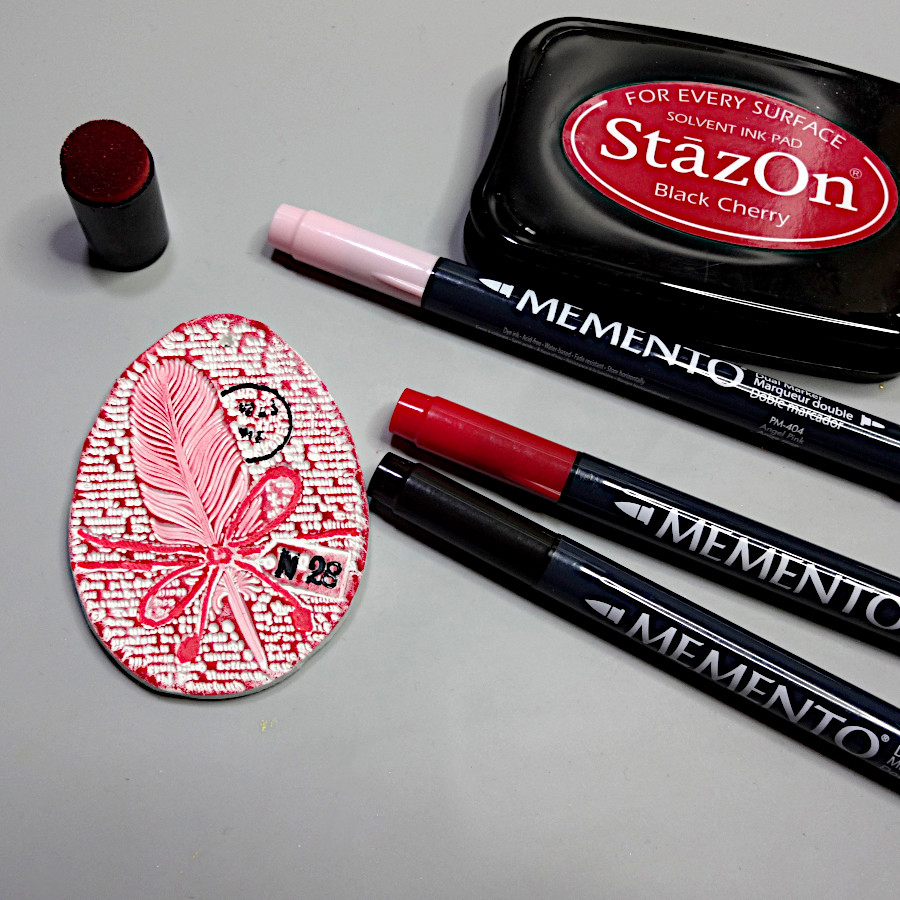
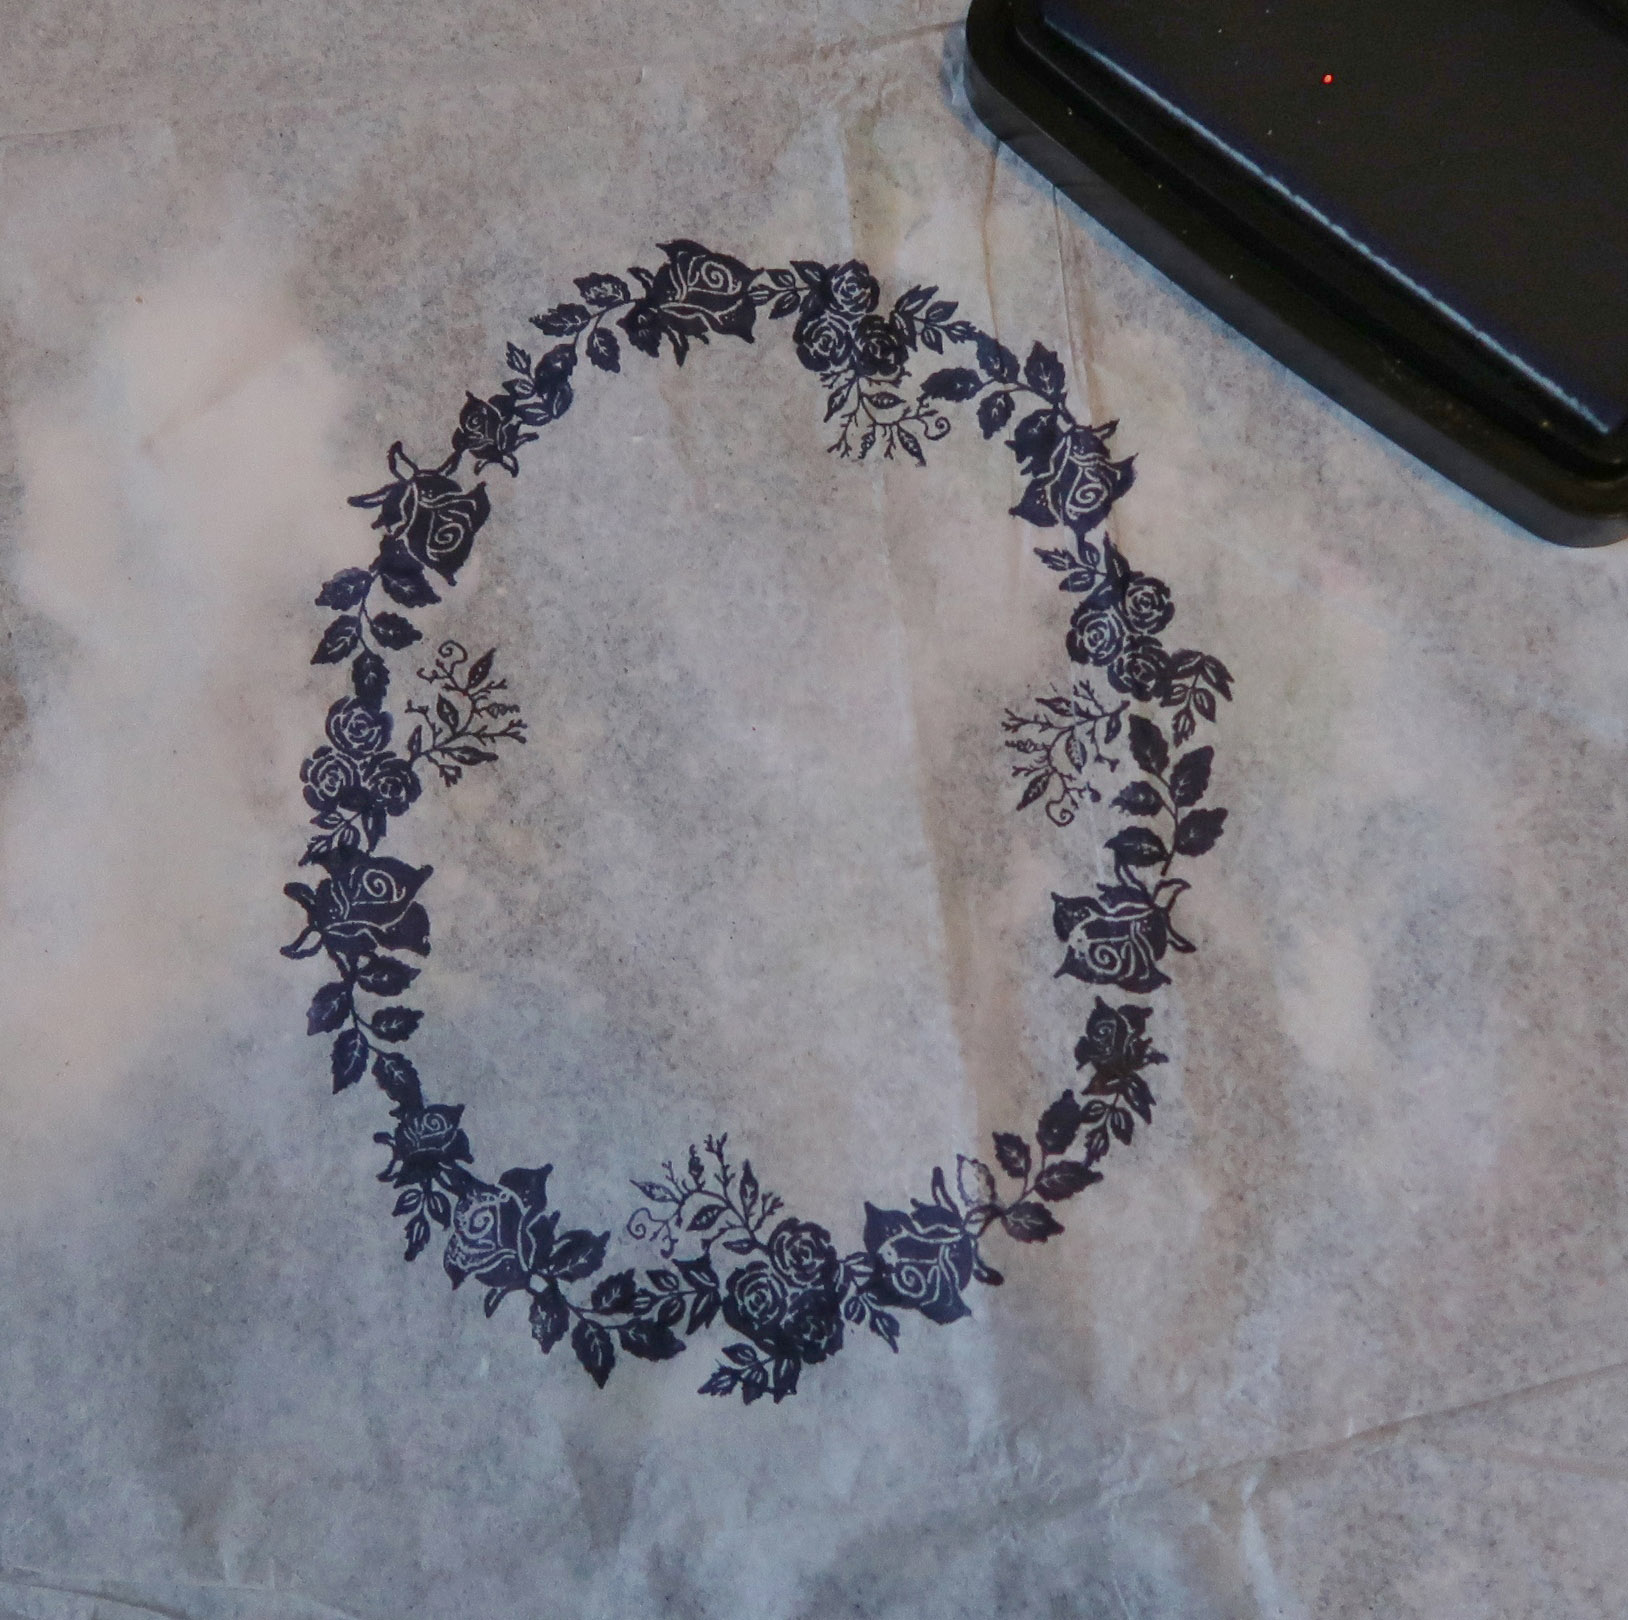
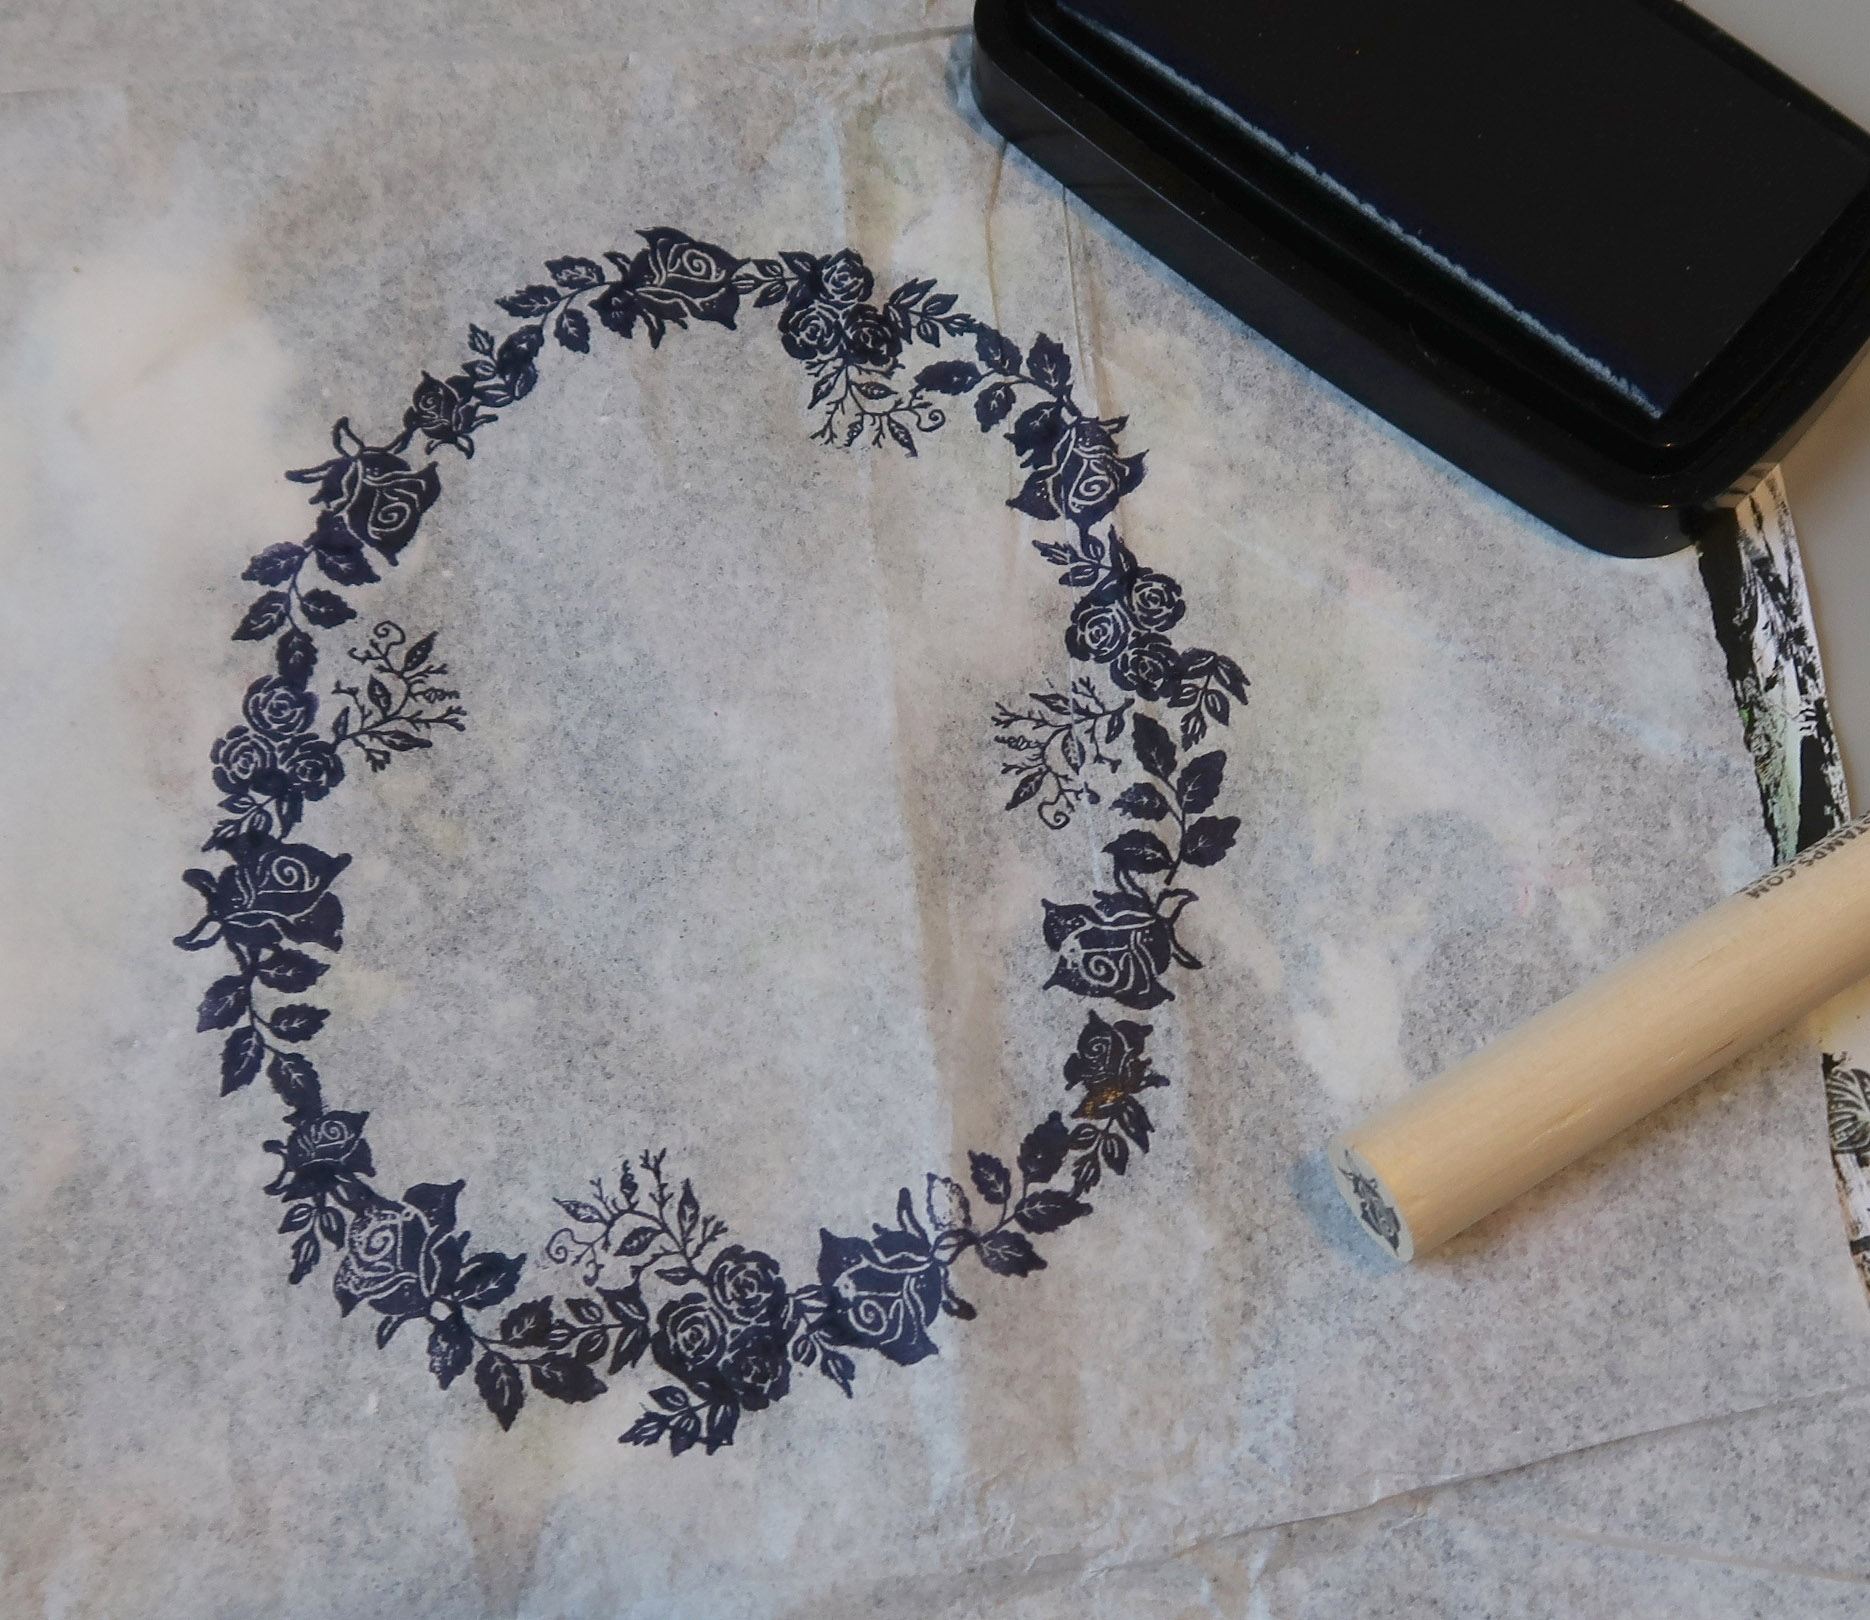
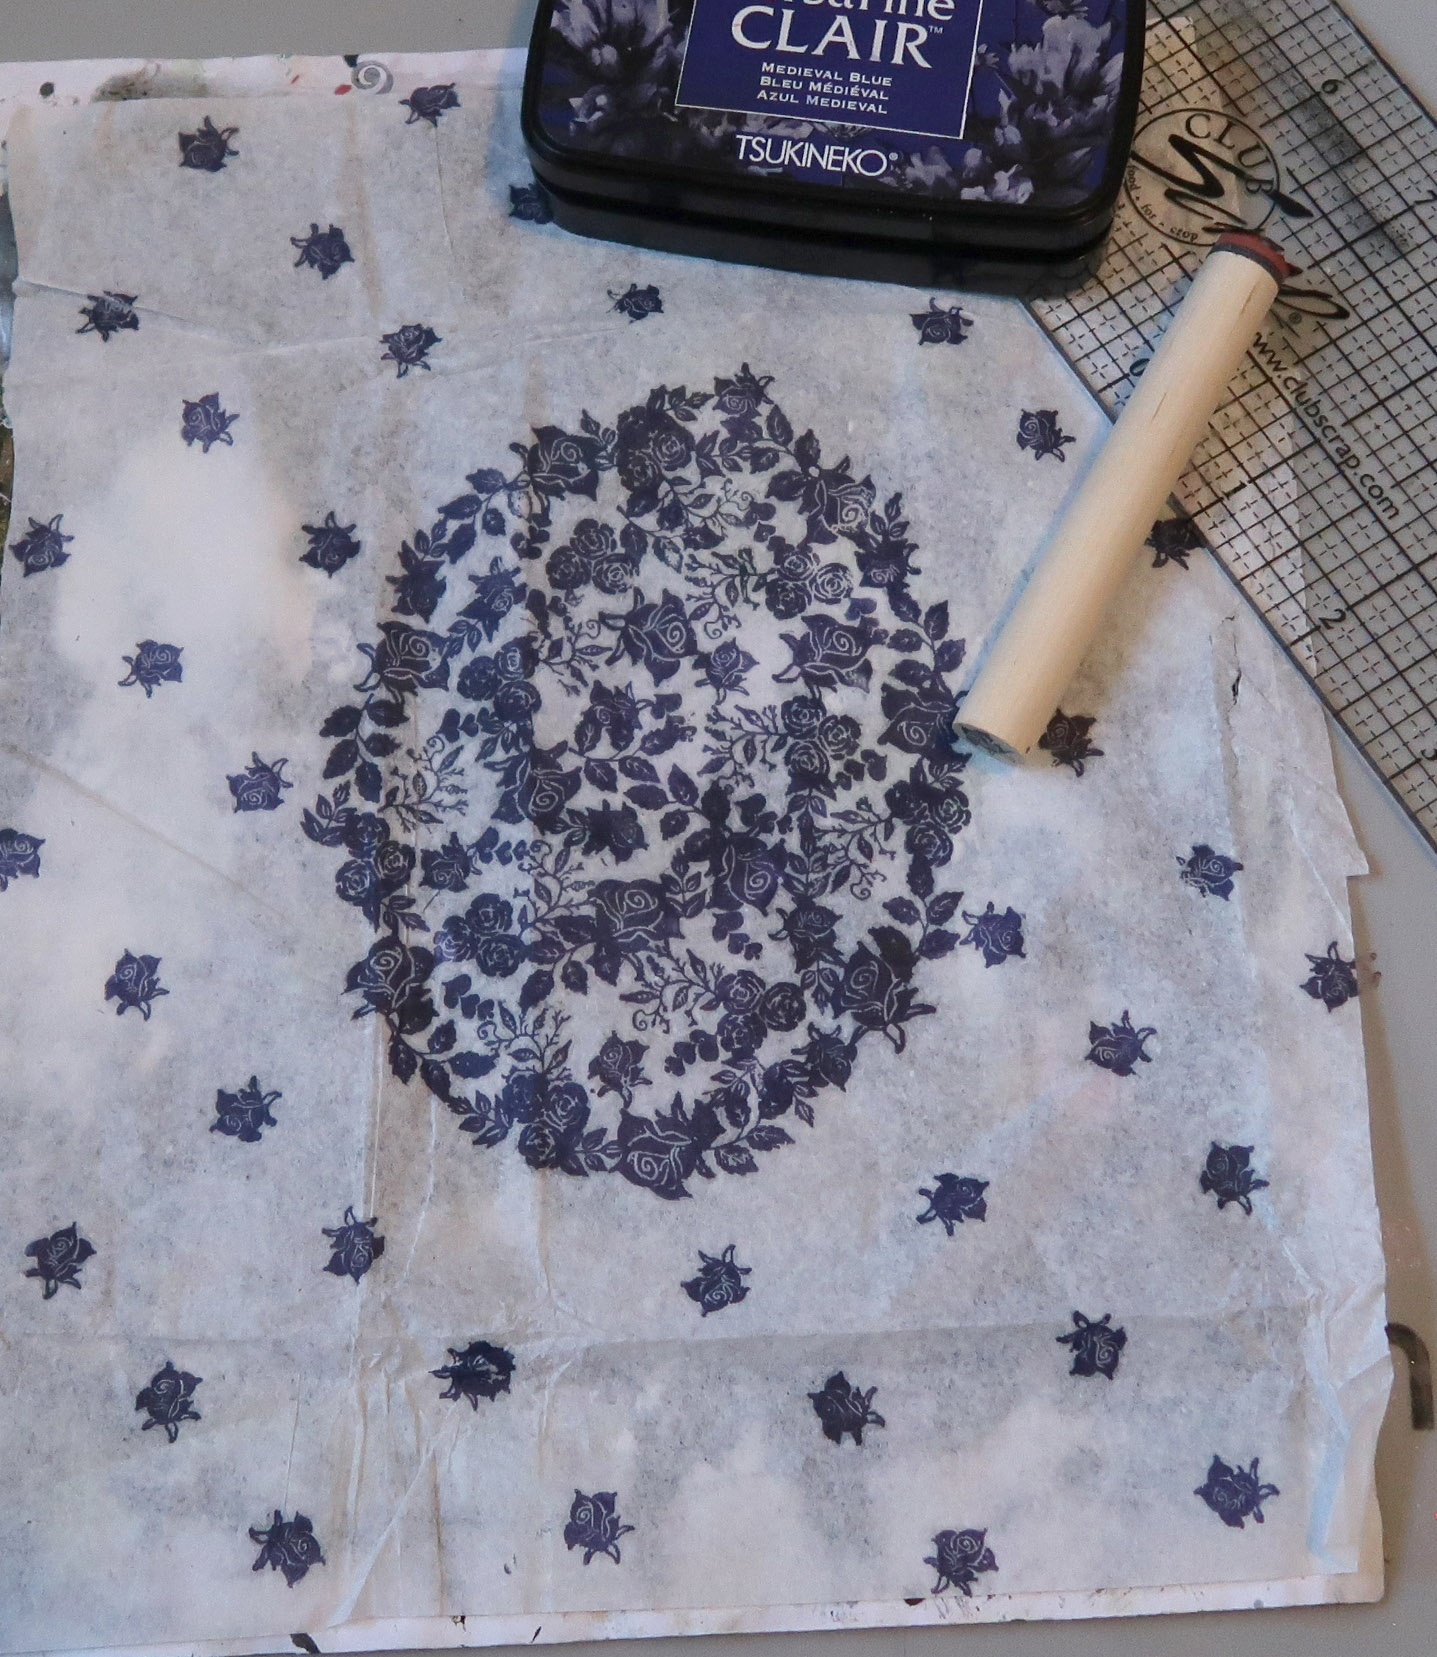
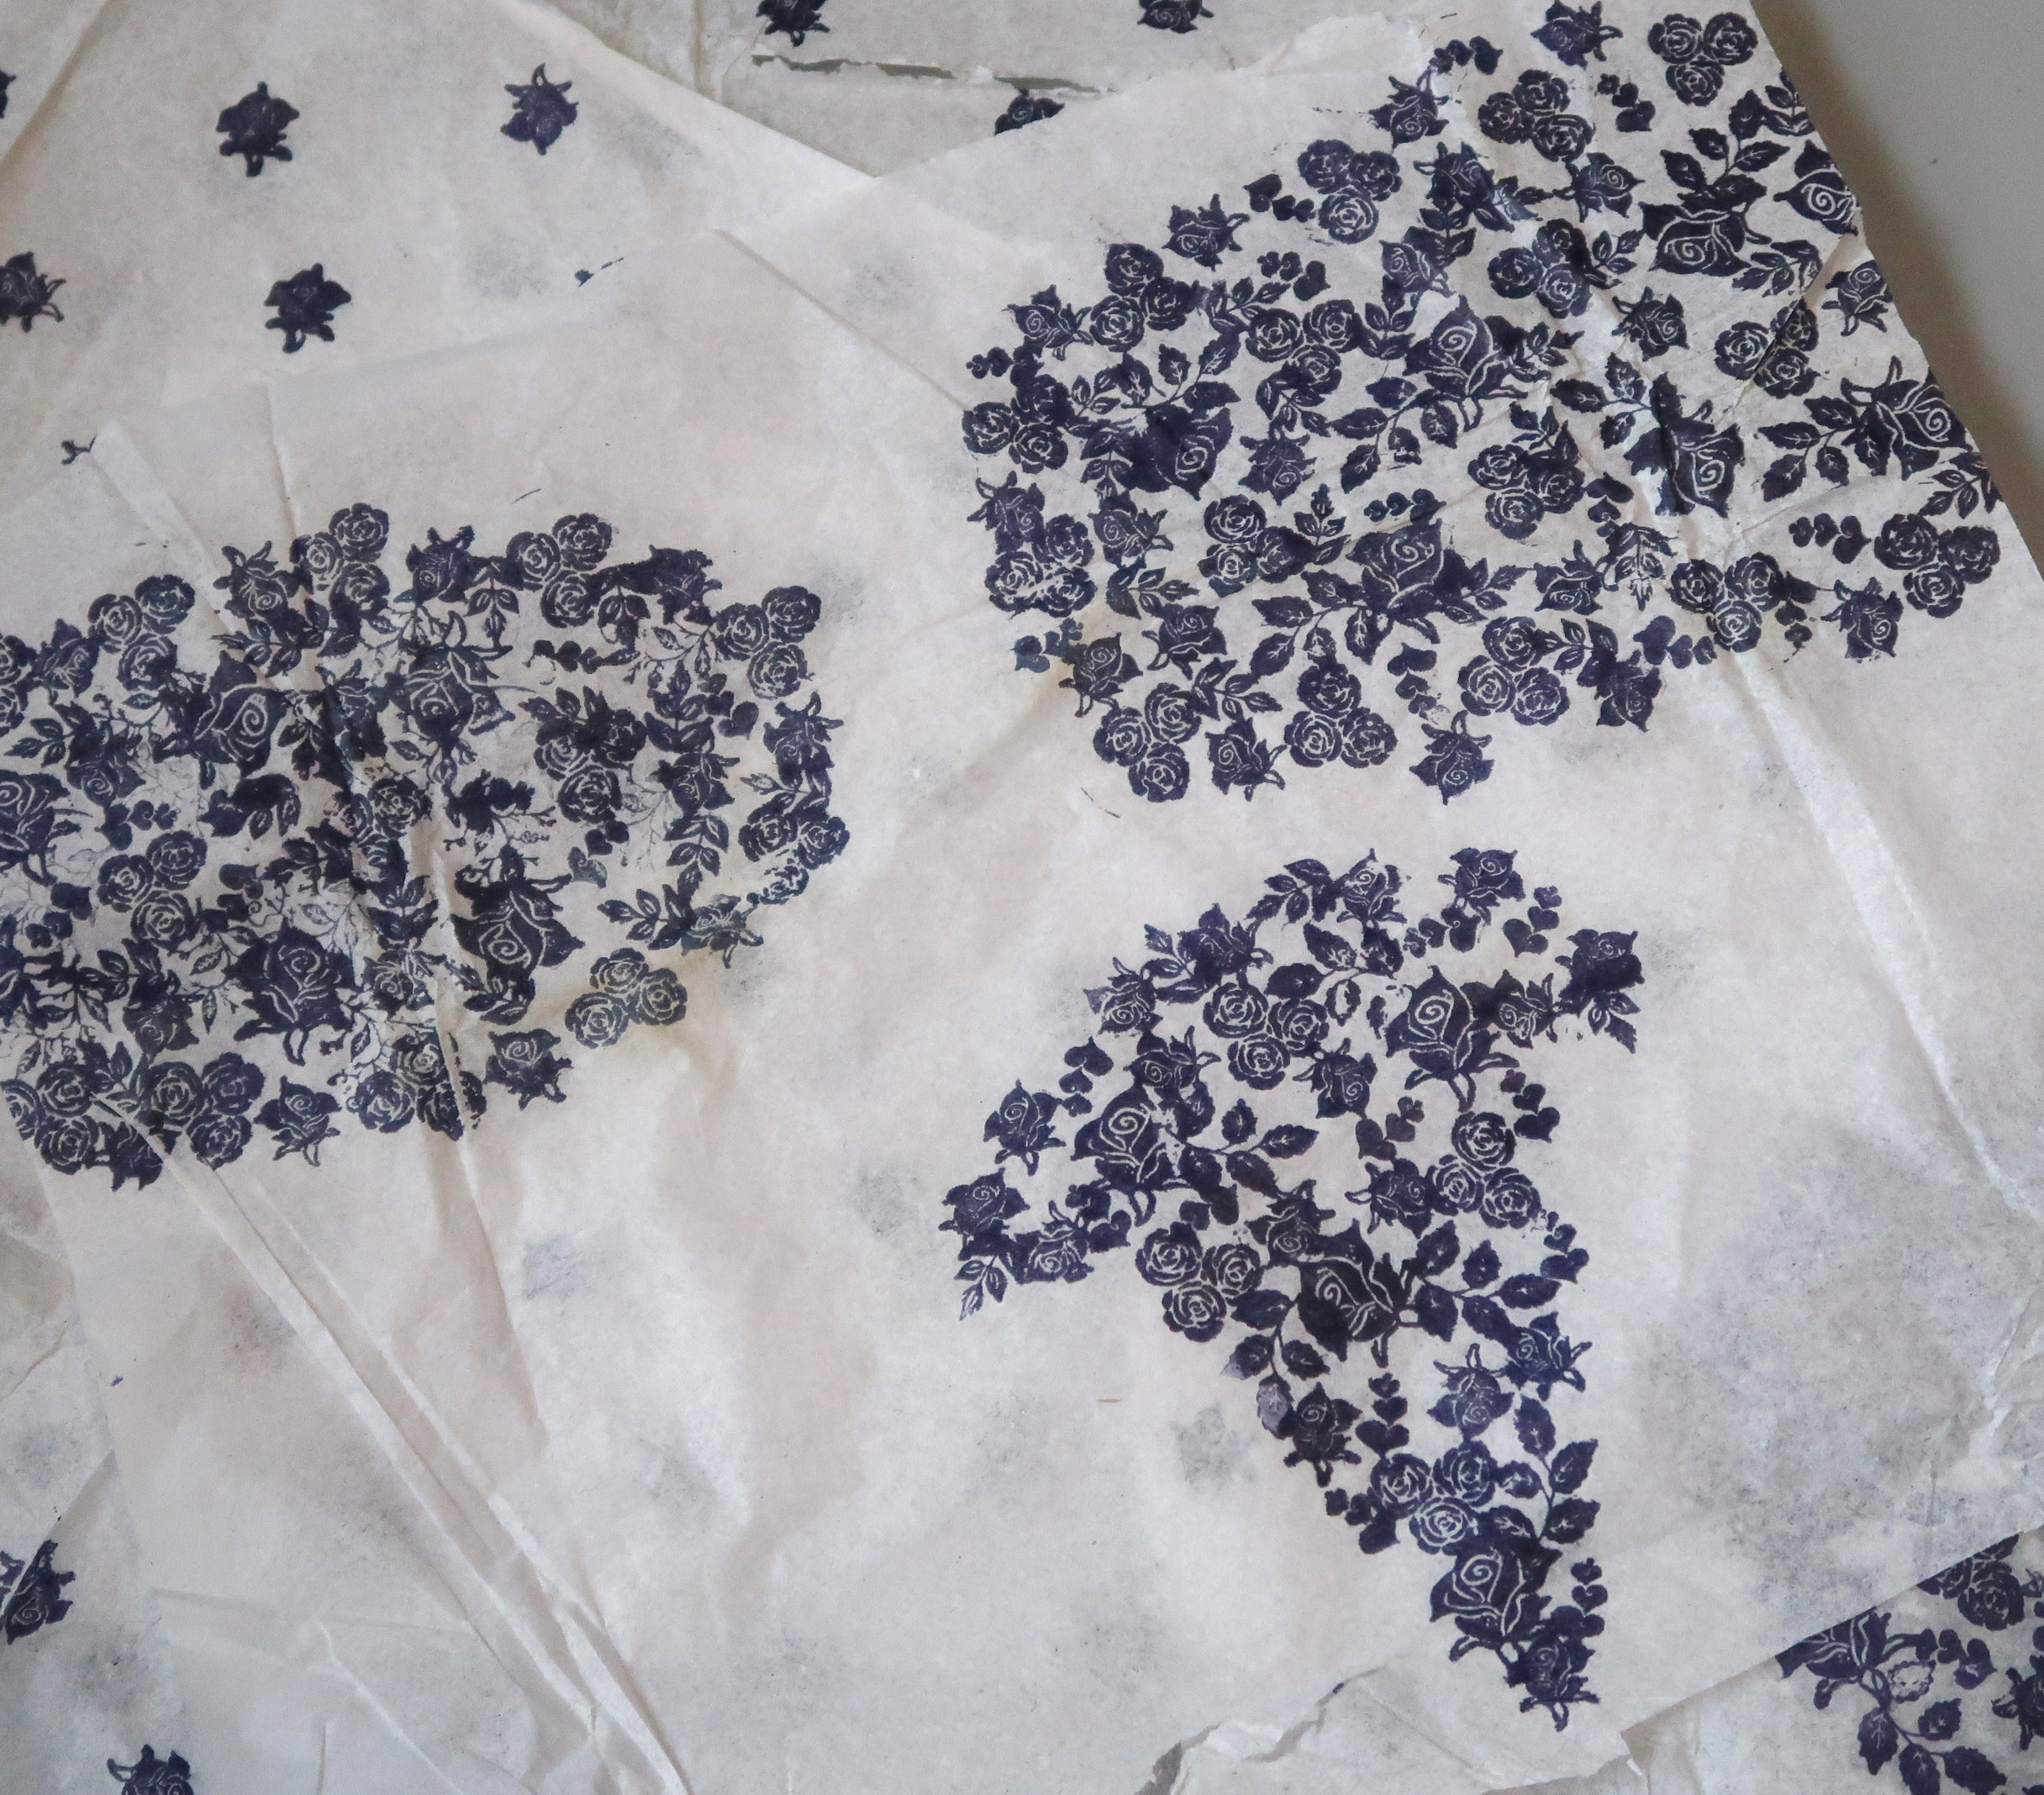
Step 3:
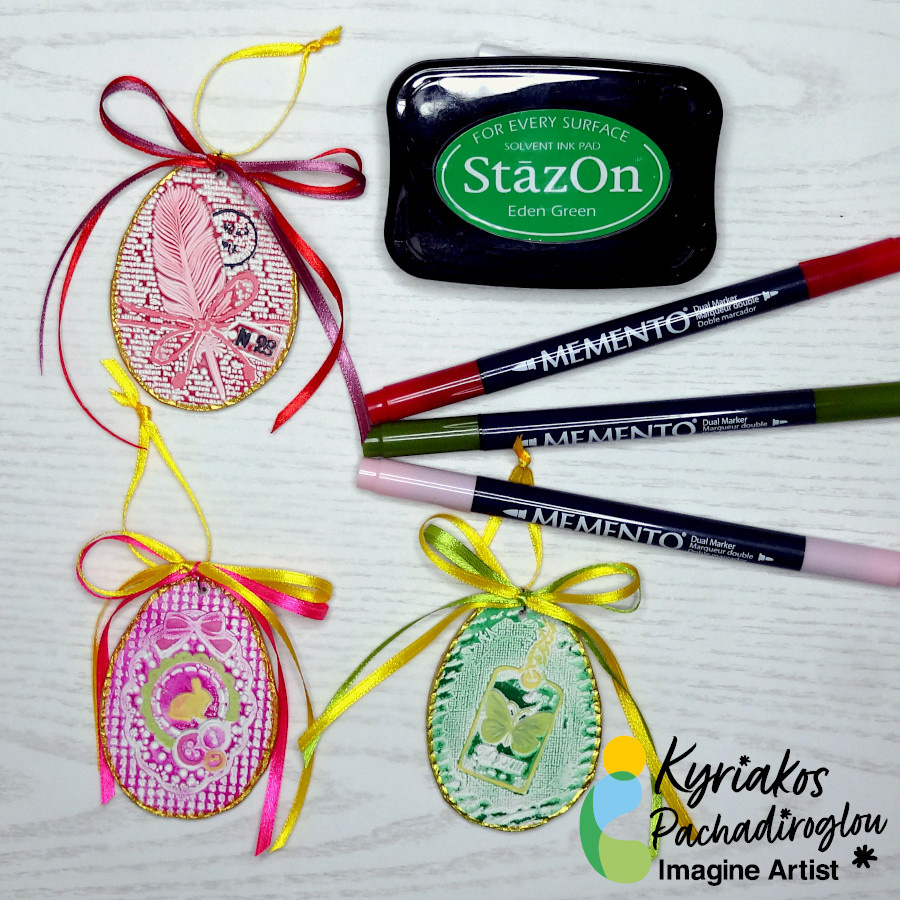
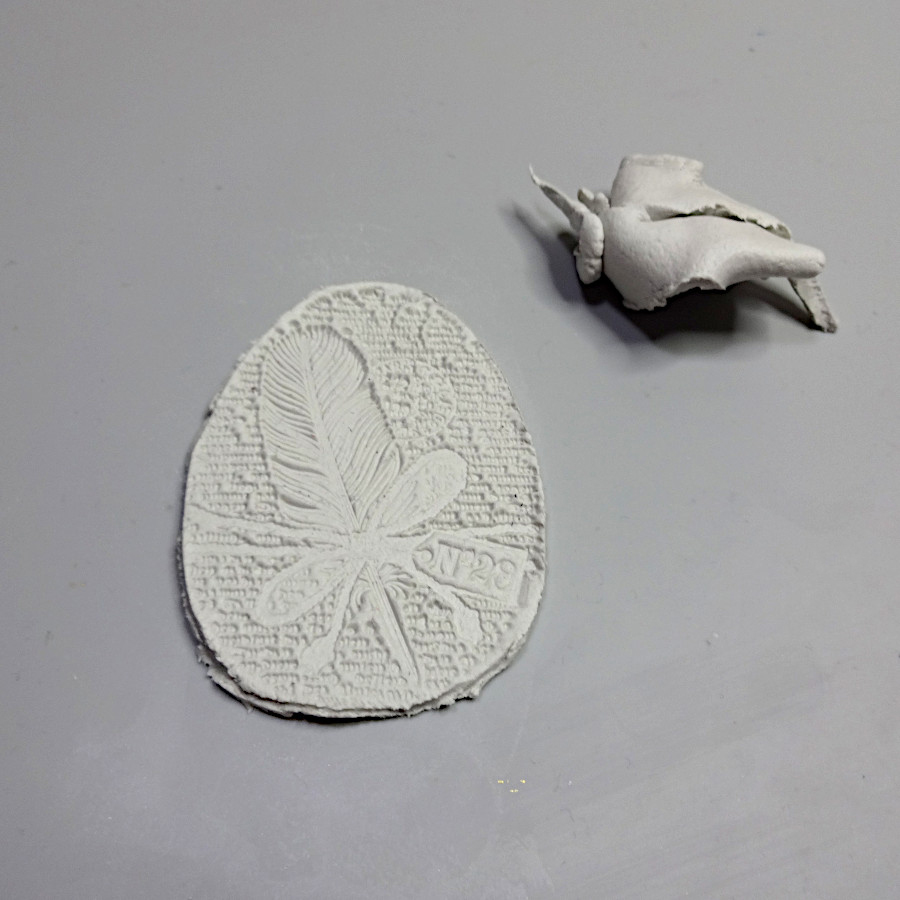
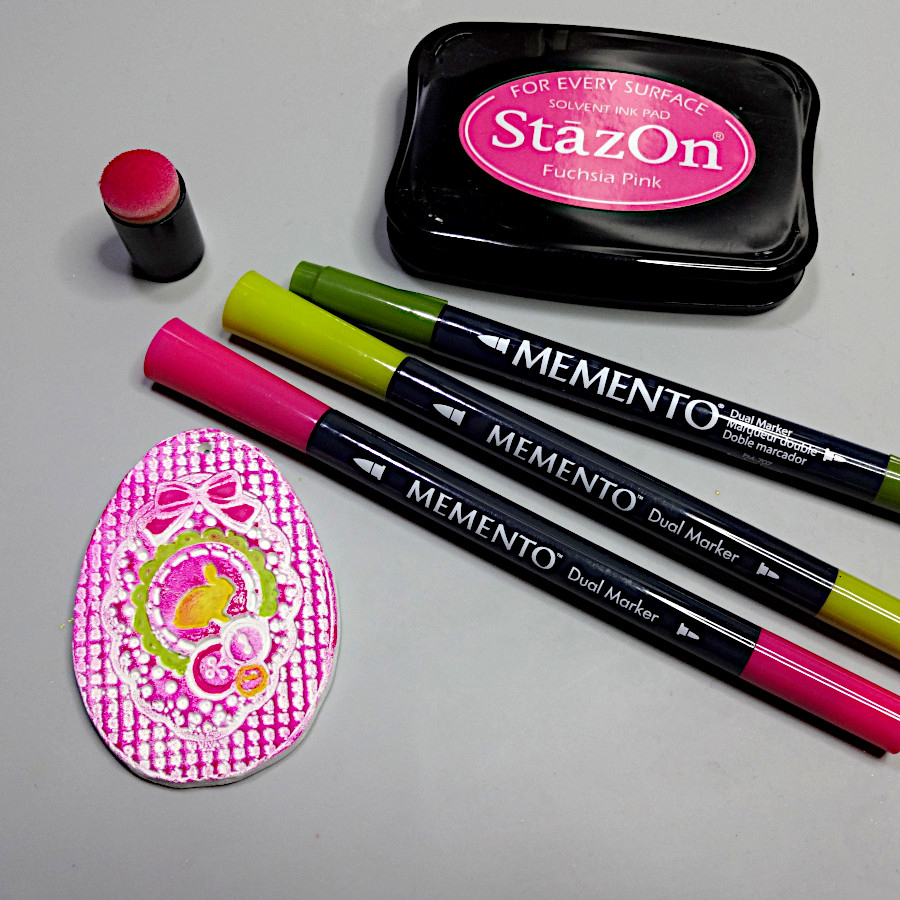
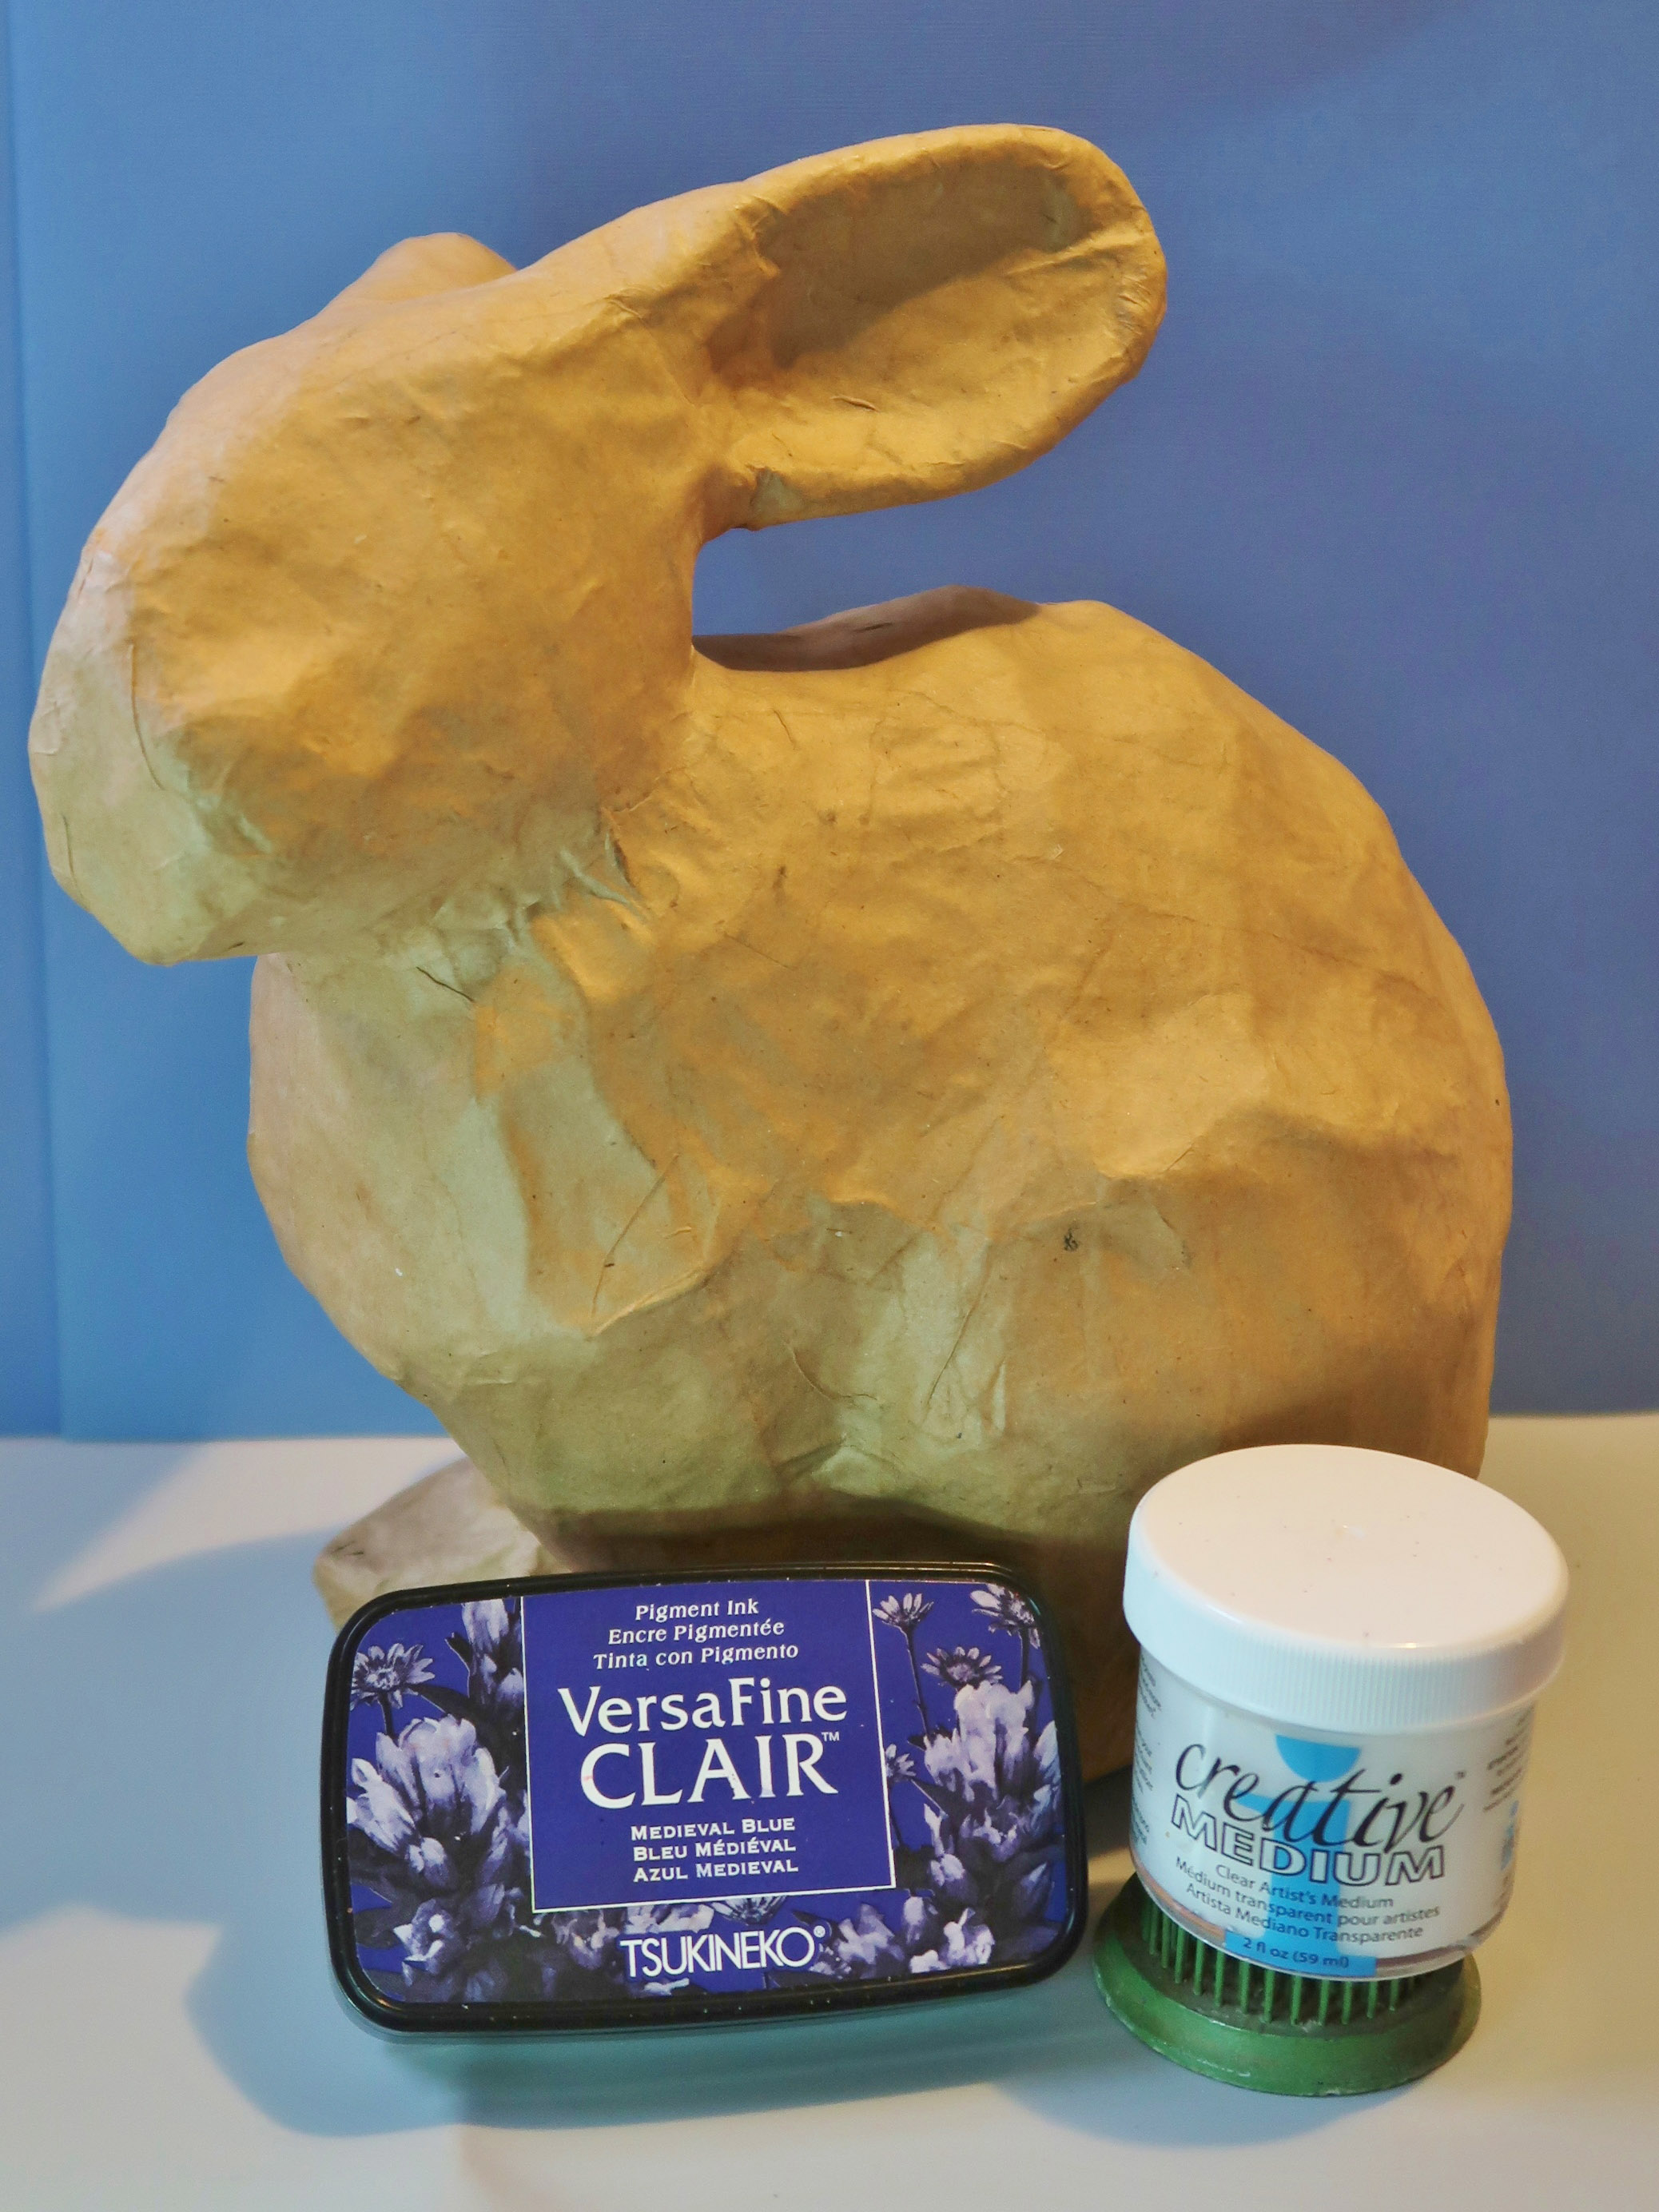
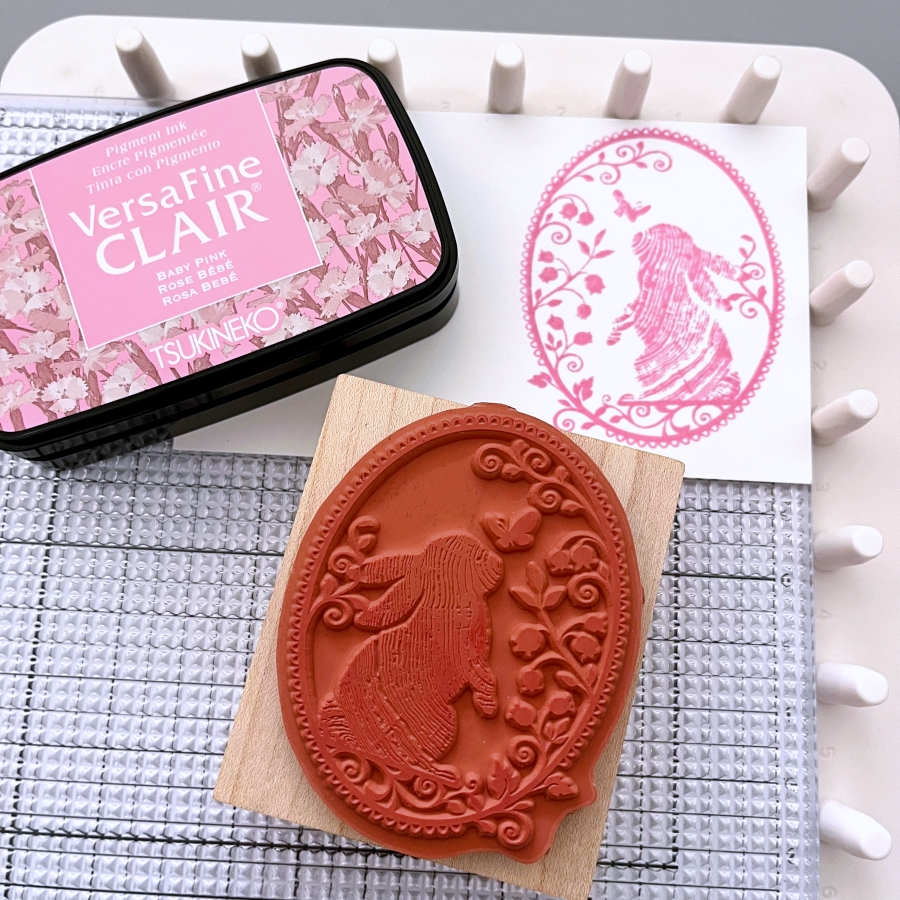
Stamp the focal image with VersaFine Clair Baby Pink ink. This is an old wooden stamp from K-Kingdom that I got back in the days before I discovered photopolymer stamps. The dainty floral frame with the lacey details is what inspired the theme for this card. The VersaFine Clair ink is also great for showcasing the fine, wood-grain details on the rabbit.
The stamped image looks a bit dark when freshly stamped. It will turn into a softer, pastel pink that you see in the cover photo.
Step 4:
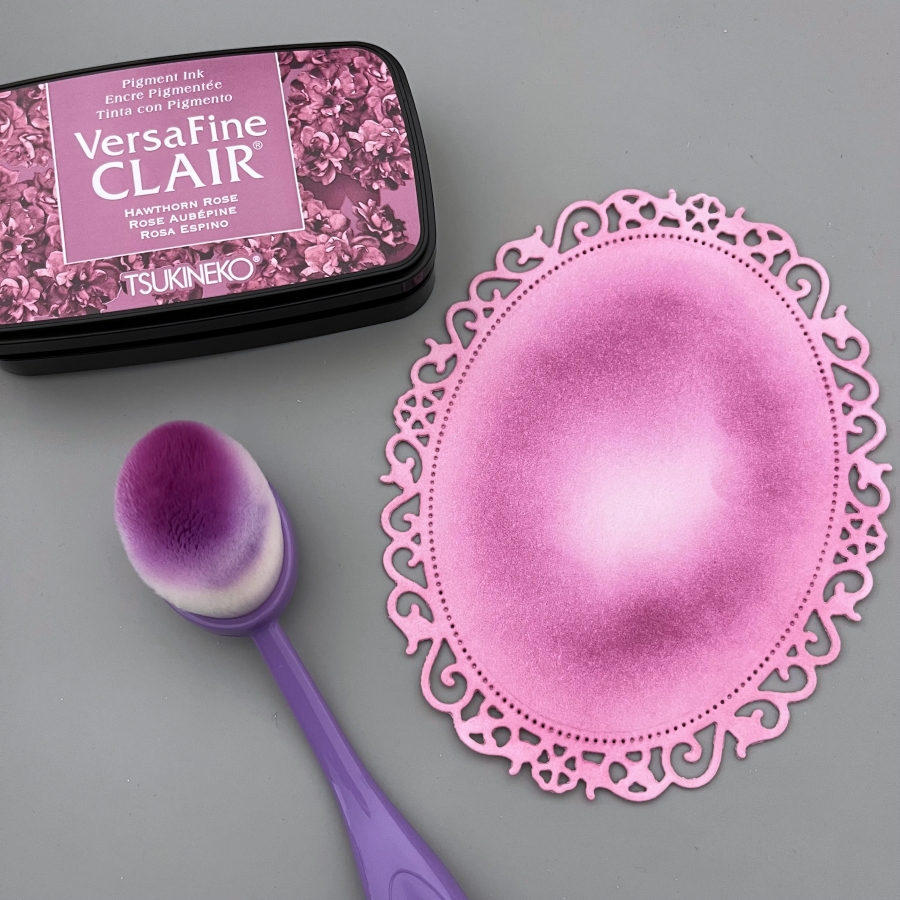
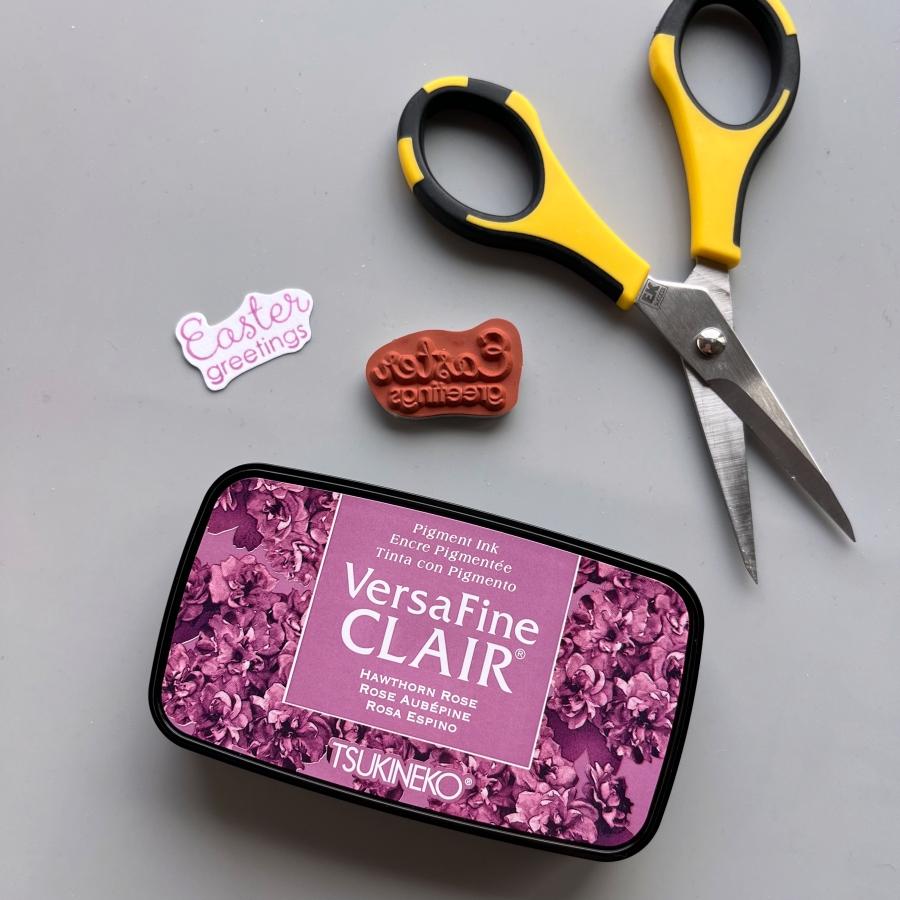
I decided to add some shadows behind the vellum die cut layer with VersaFine Clair Hawthorn Rose. Baby Pink and Hawthorn Rose compliment each other so well. I think they might be my favorite new color combo!
Step 5:
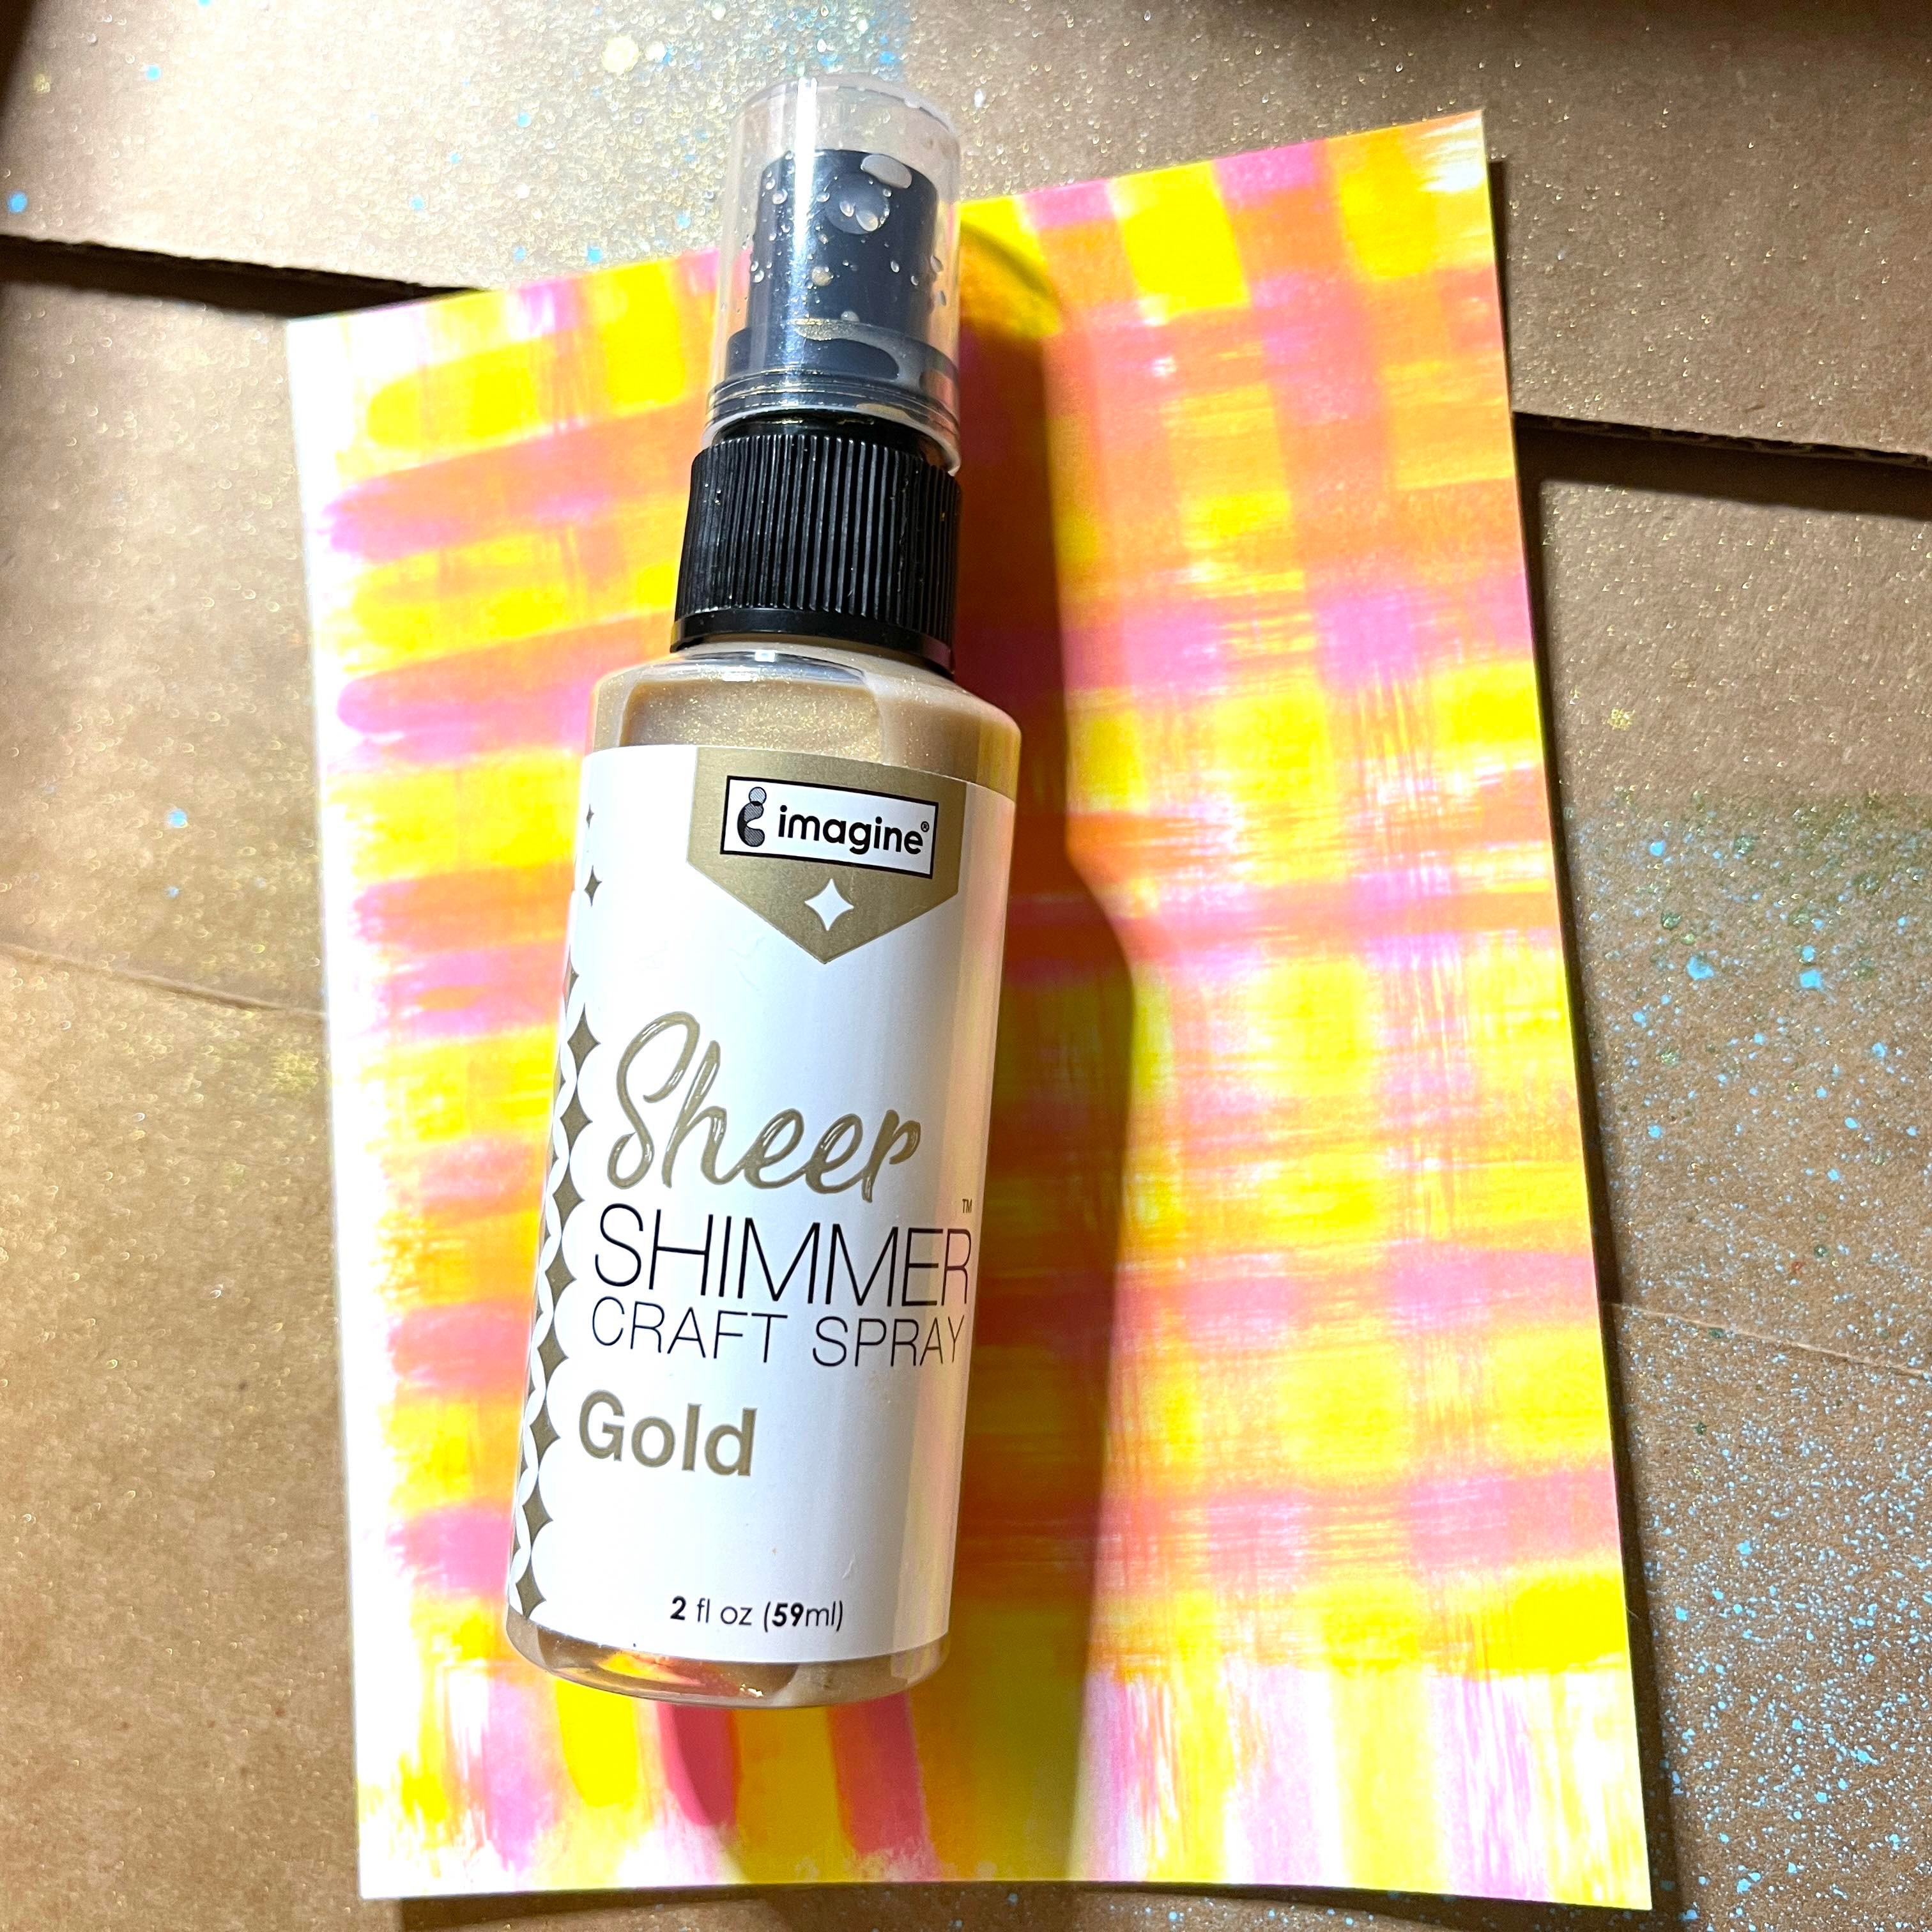
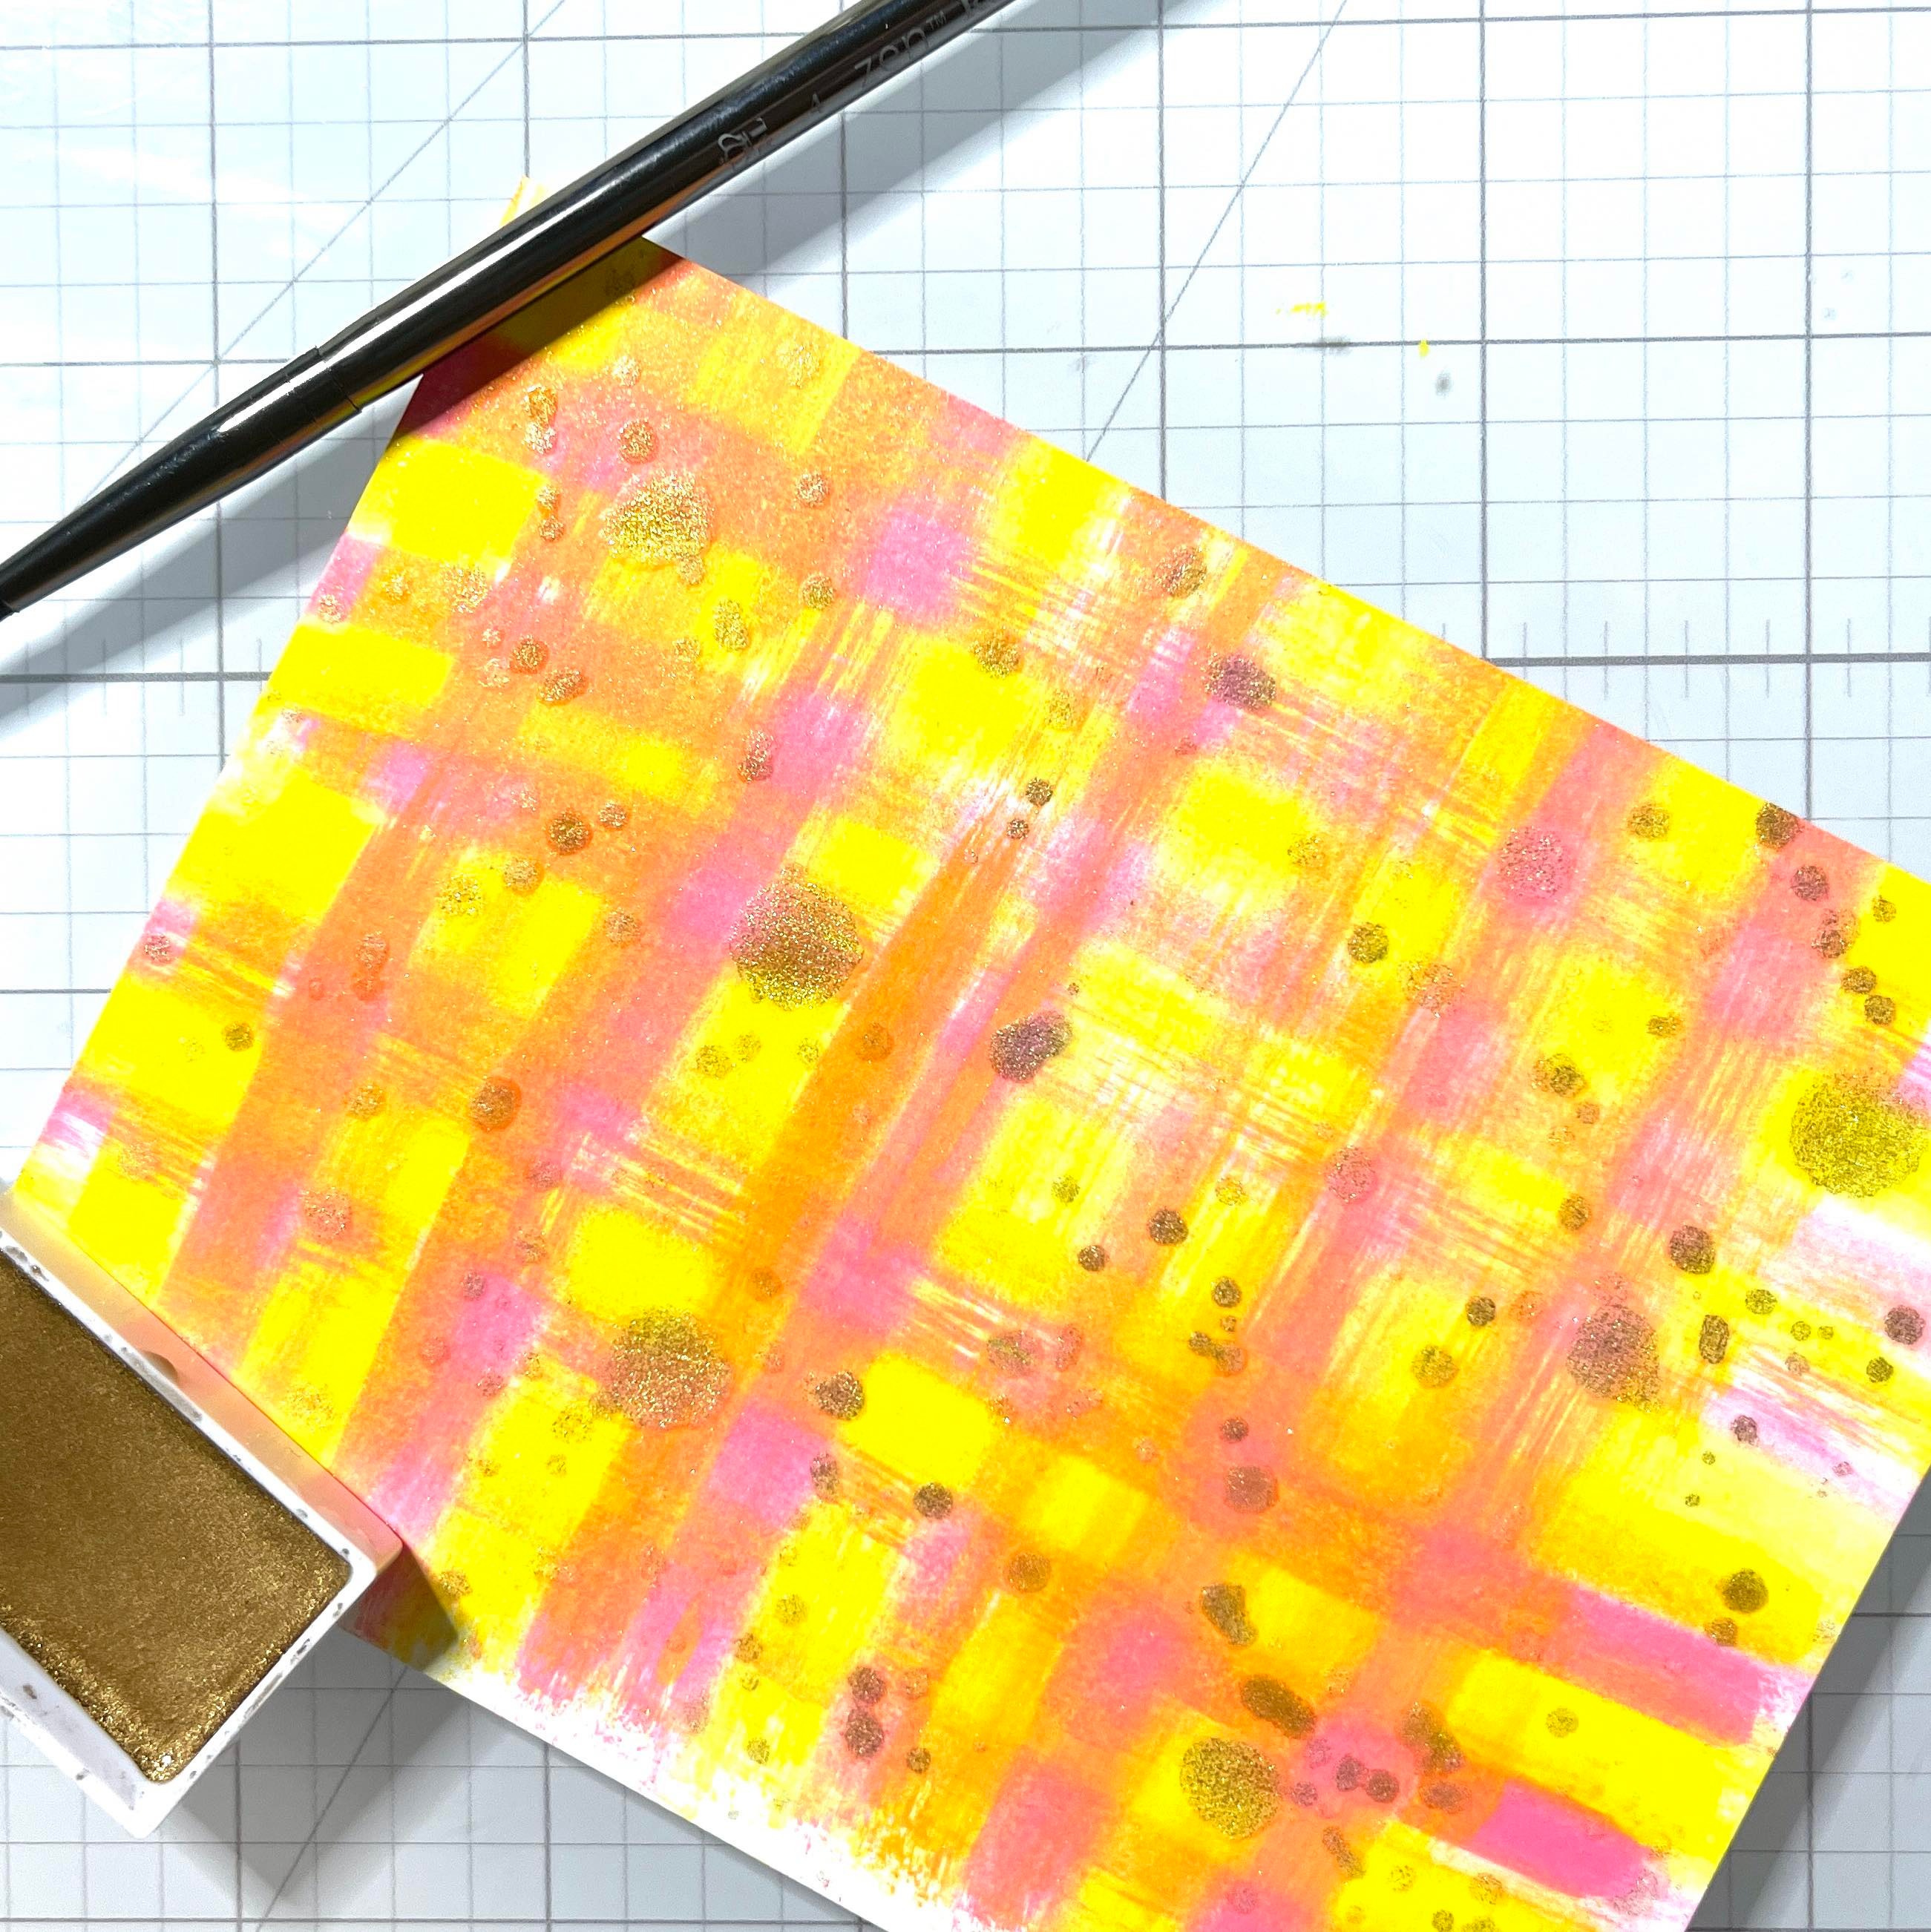
Apply a generous coat of Sparkle Sheer Shimmer Craft Spray onto the ink blended die cut. I wish the camera could capture the shimmery effects of this spray; it is mesmerizing and the sparkle never dulls!
Step 6:
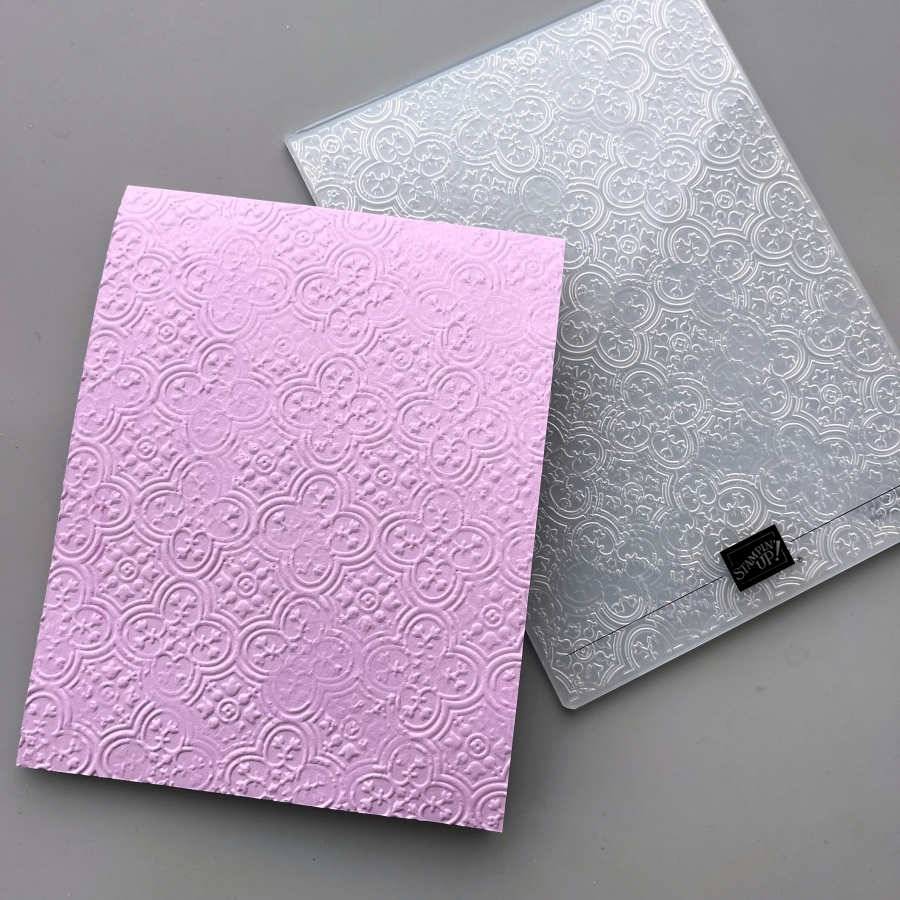
For the card base, I chose Stampin’ Up!’s Fresh Freesia cardstock and embossed it with Distressed Tile embossing folder. It adds the perfect touch to this shabby-chic look.
Step 7:
Finally, stamp the sentiment with VersaFine Clair Hawthorn Rose ink and fussy cut the sentiment. I fussy cut the rabbit image as well since there were no coordinating dies for wooden stamps.

Step 8:
After some quick assembling with Tear-It Tape and foam tape, the card is completed! I love how this card turned out, and I hope you enjoyed it, too. Thanks for stopping by!
Imagine Supplies:
- VersaFine Clair – Baby Pink, Hawthorn Rose
- Sheer Shimmer Craft Spray – Sparkle
- Tear-It! Tape
- StazOn Cleaner
- Craft Mat
Other Supplies:
- Spellbinders – Dies – Nestabilities Floral Oval
- Stampin’ Up! – Cardstock – Bubble Bath, Fresh Freesia, Whisper White
- Stampin’ Up! – Embossing Folder – Distressed Tile
- K-Kingdom – Wooden Stamp – Woodgrain Rabbit
- Stampin’ Up! – Sentiment Stamp – Fable Friends
- Foam Tape