By Kathy Pisupati
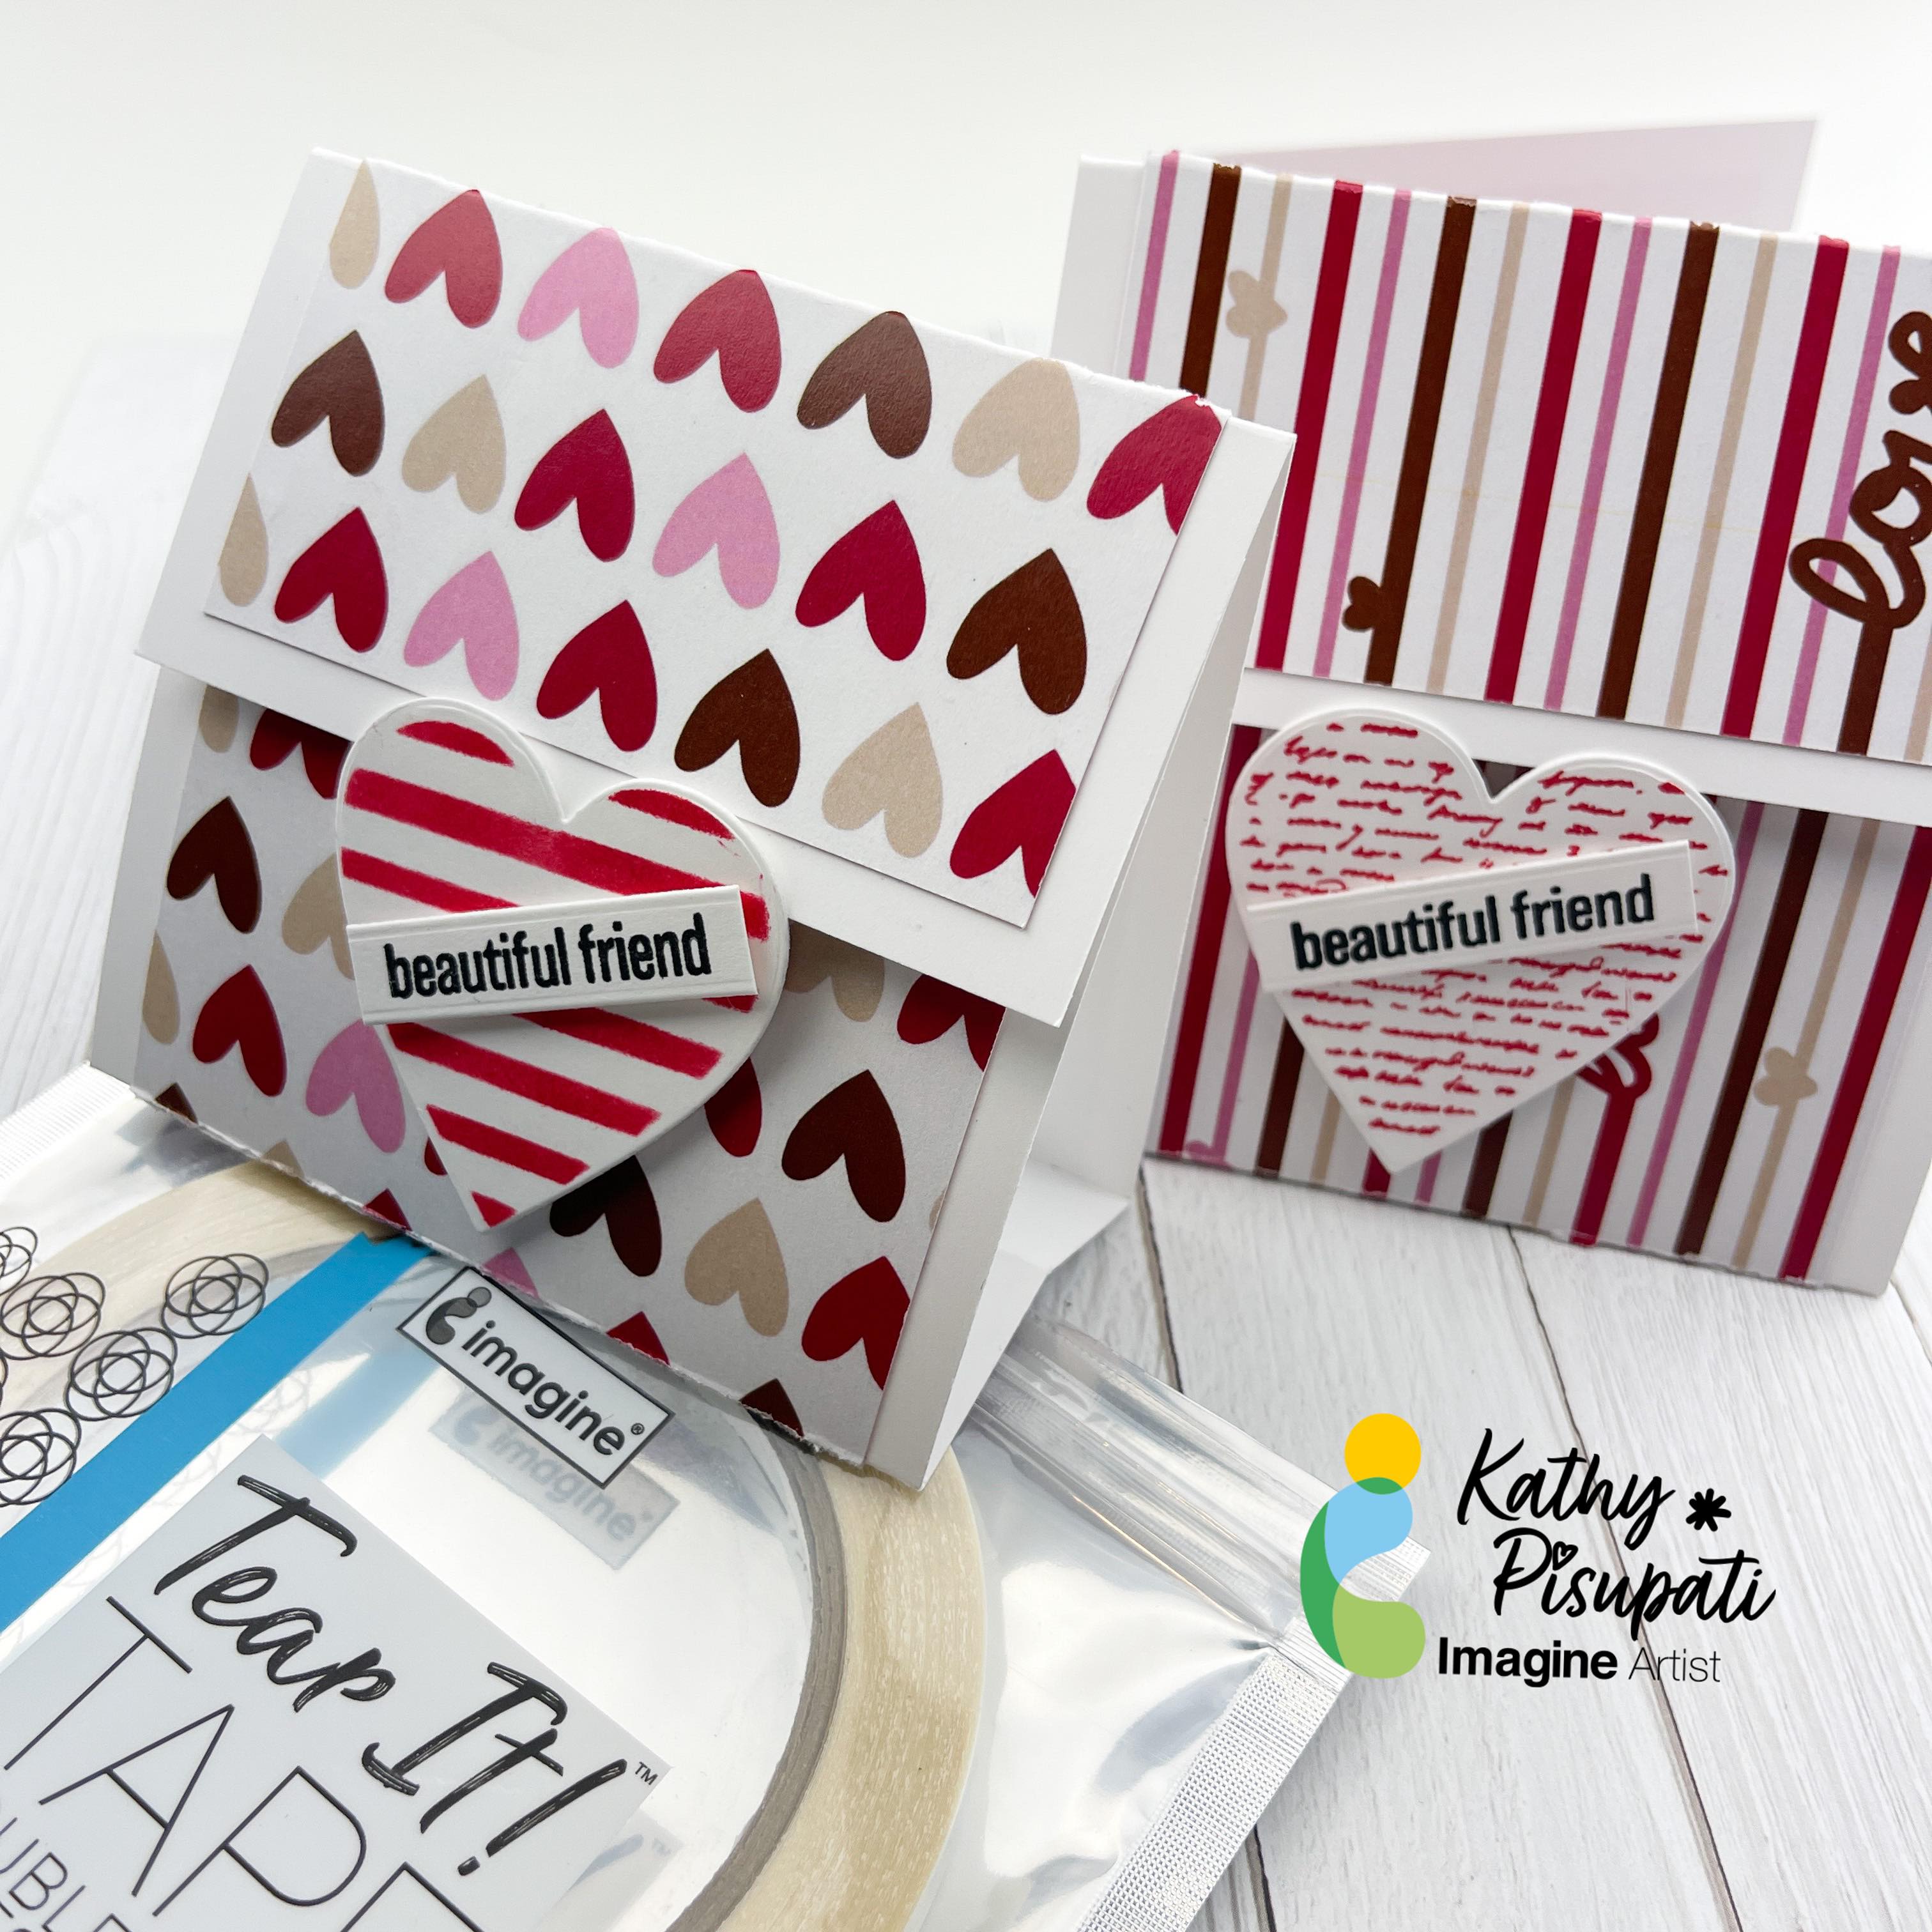
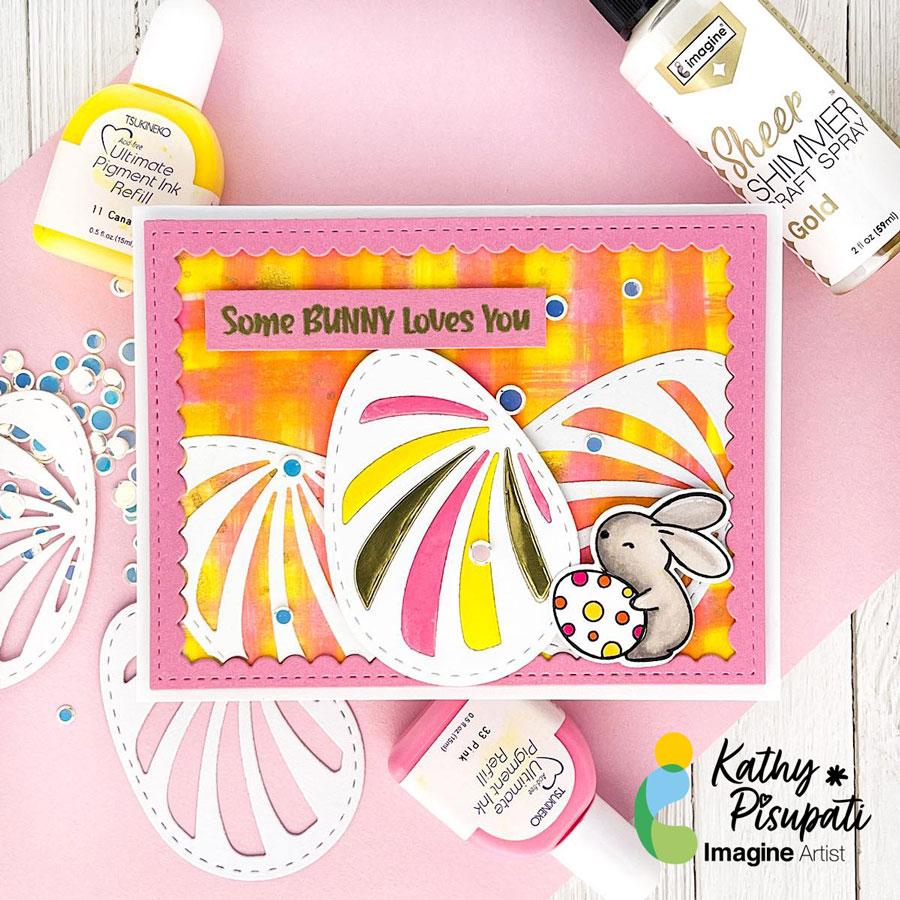
Good morning! Kathy here, creating art for Imagine Crafts! Today I have a new tutorial for you. Today’s project is an Easter card but it is also about creating your own backgrounds with Imagine Craft’s Ultimate Pigment Ink Refills! If you don’t have much patterned paper this is an easy background using the refills and baby wipes!
Skill Level: Easy
Time to complete: 1 hour
Step 1
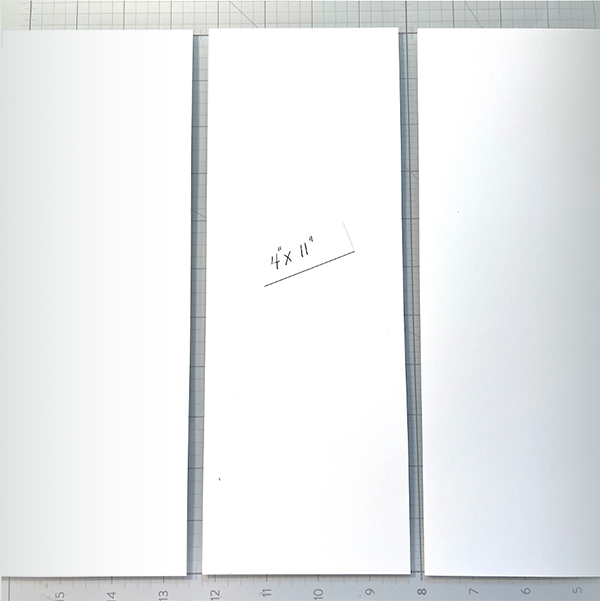
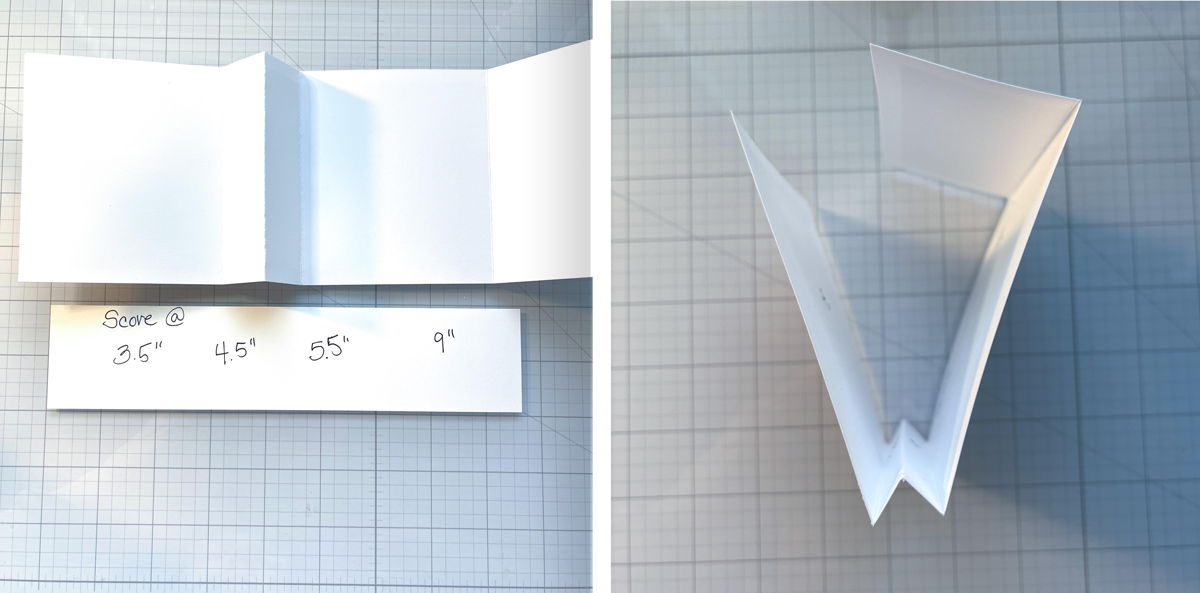
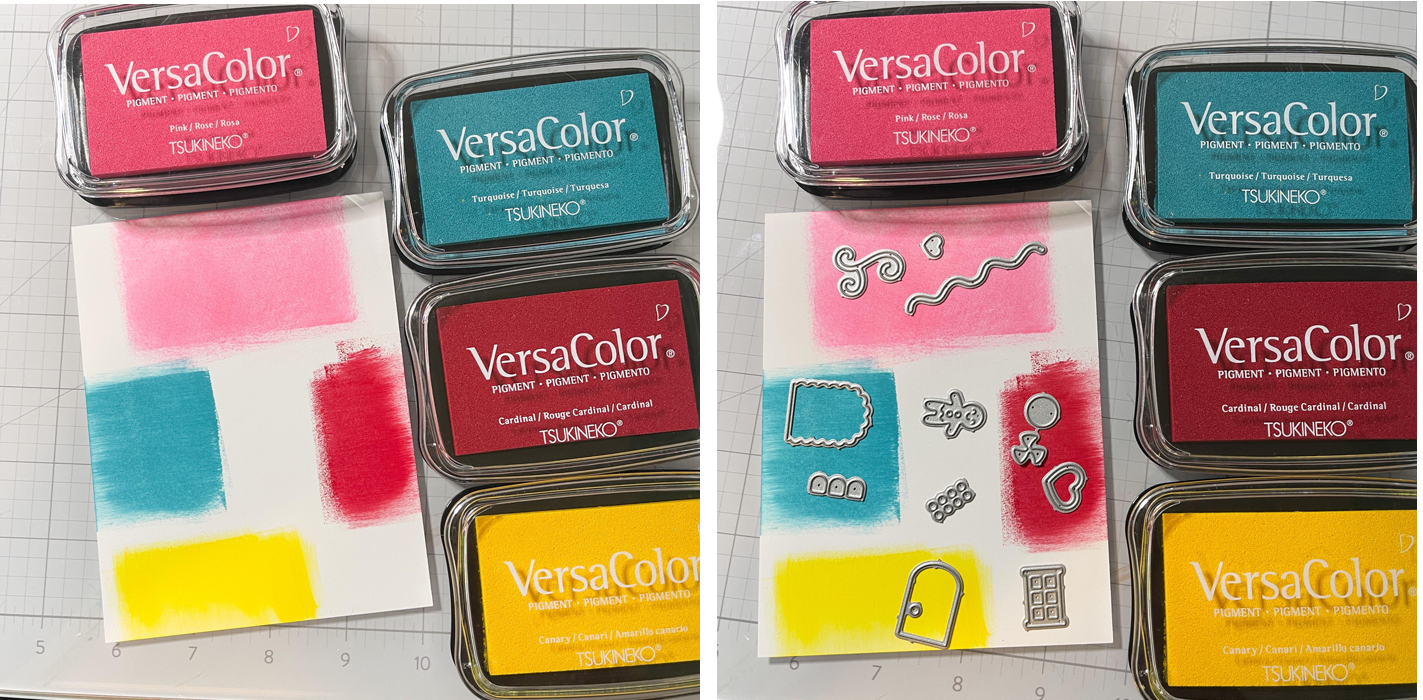
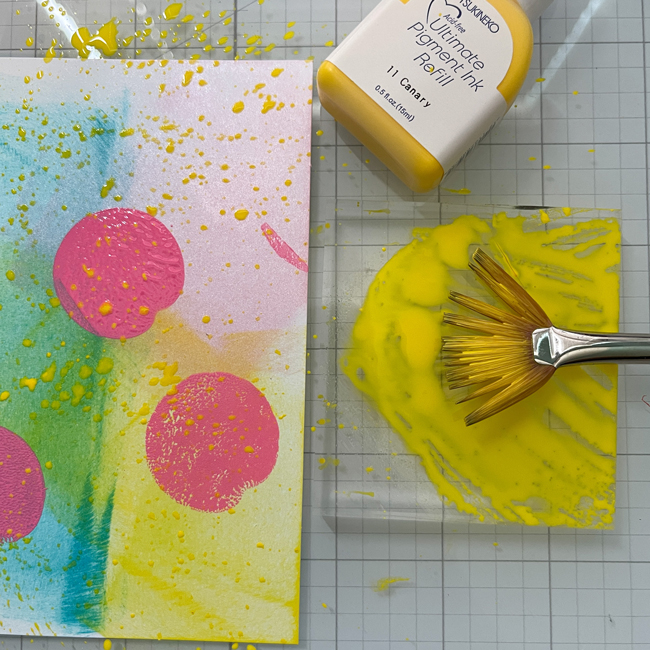
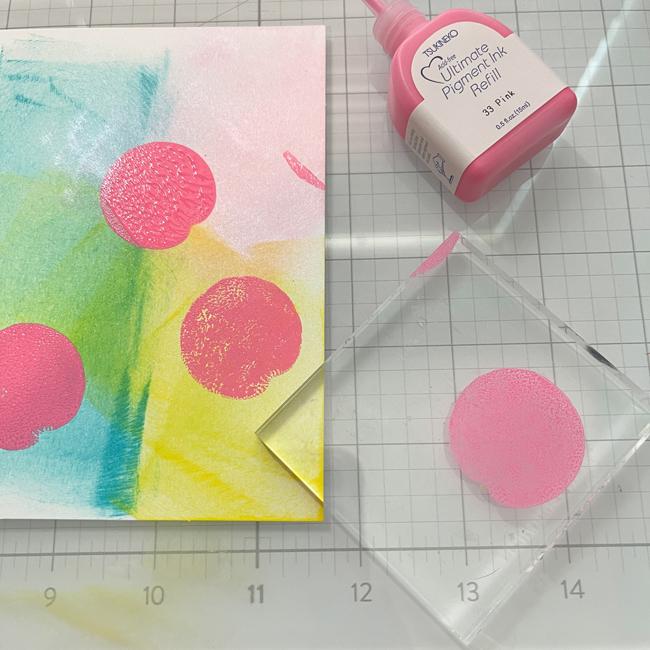
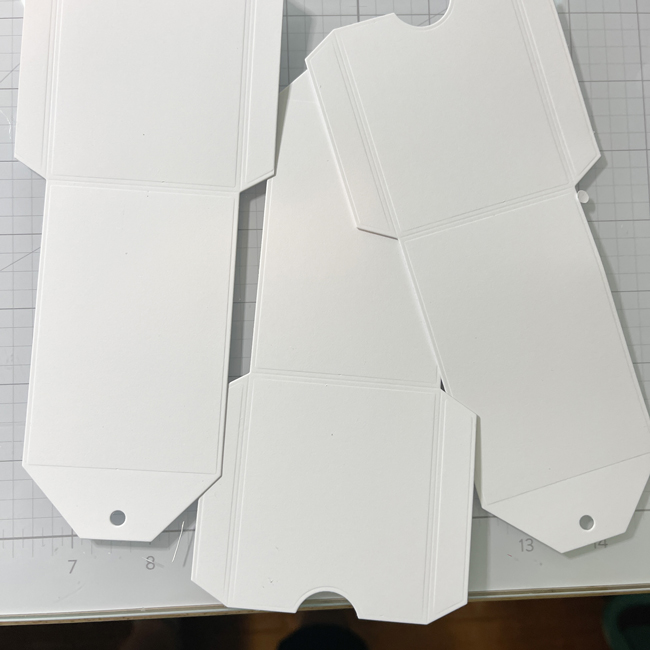
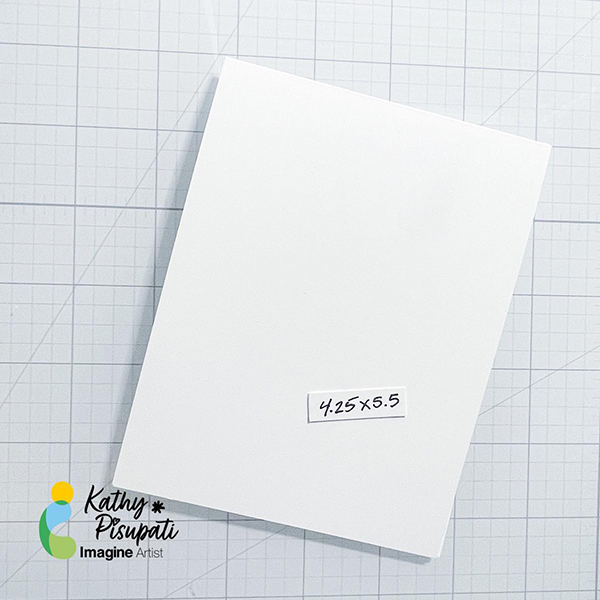
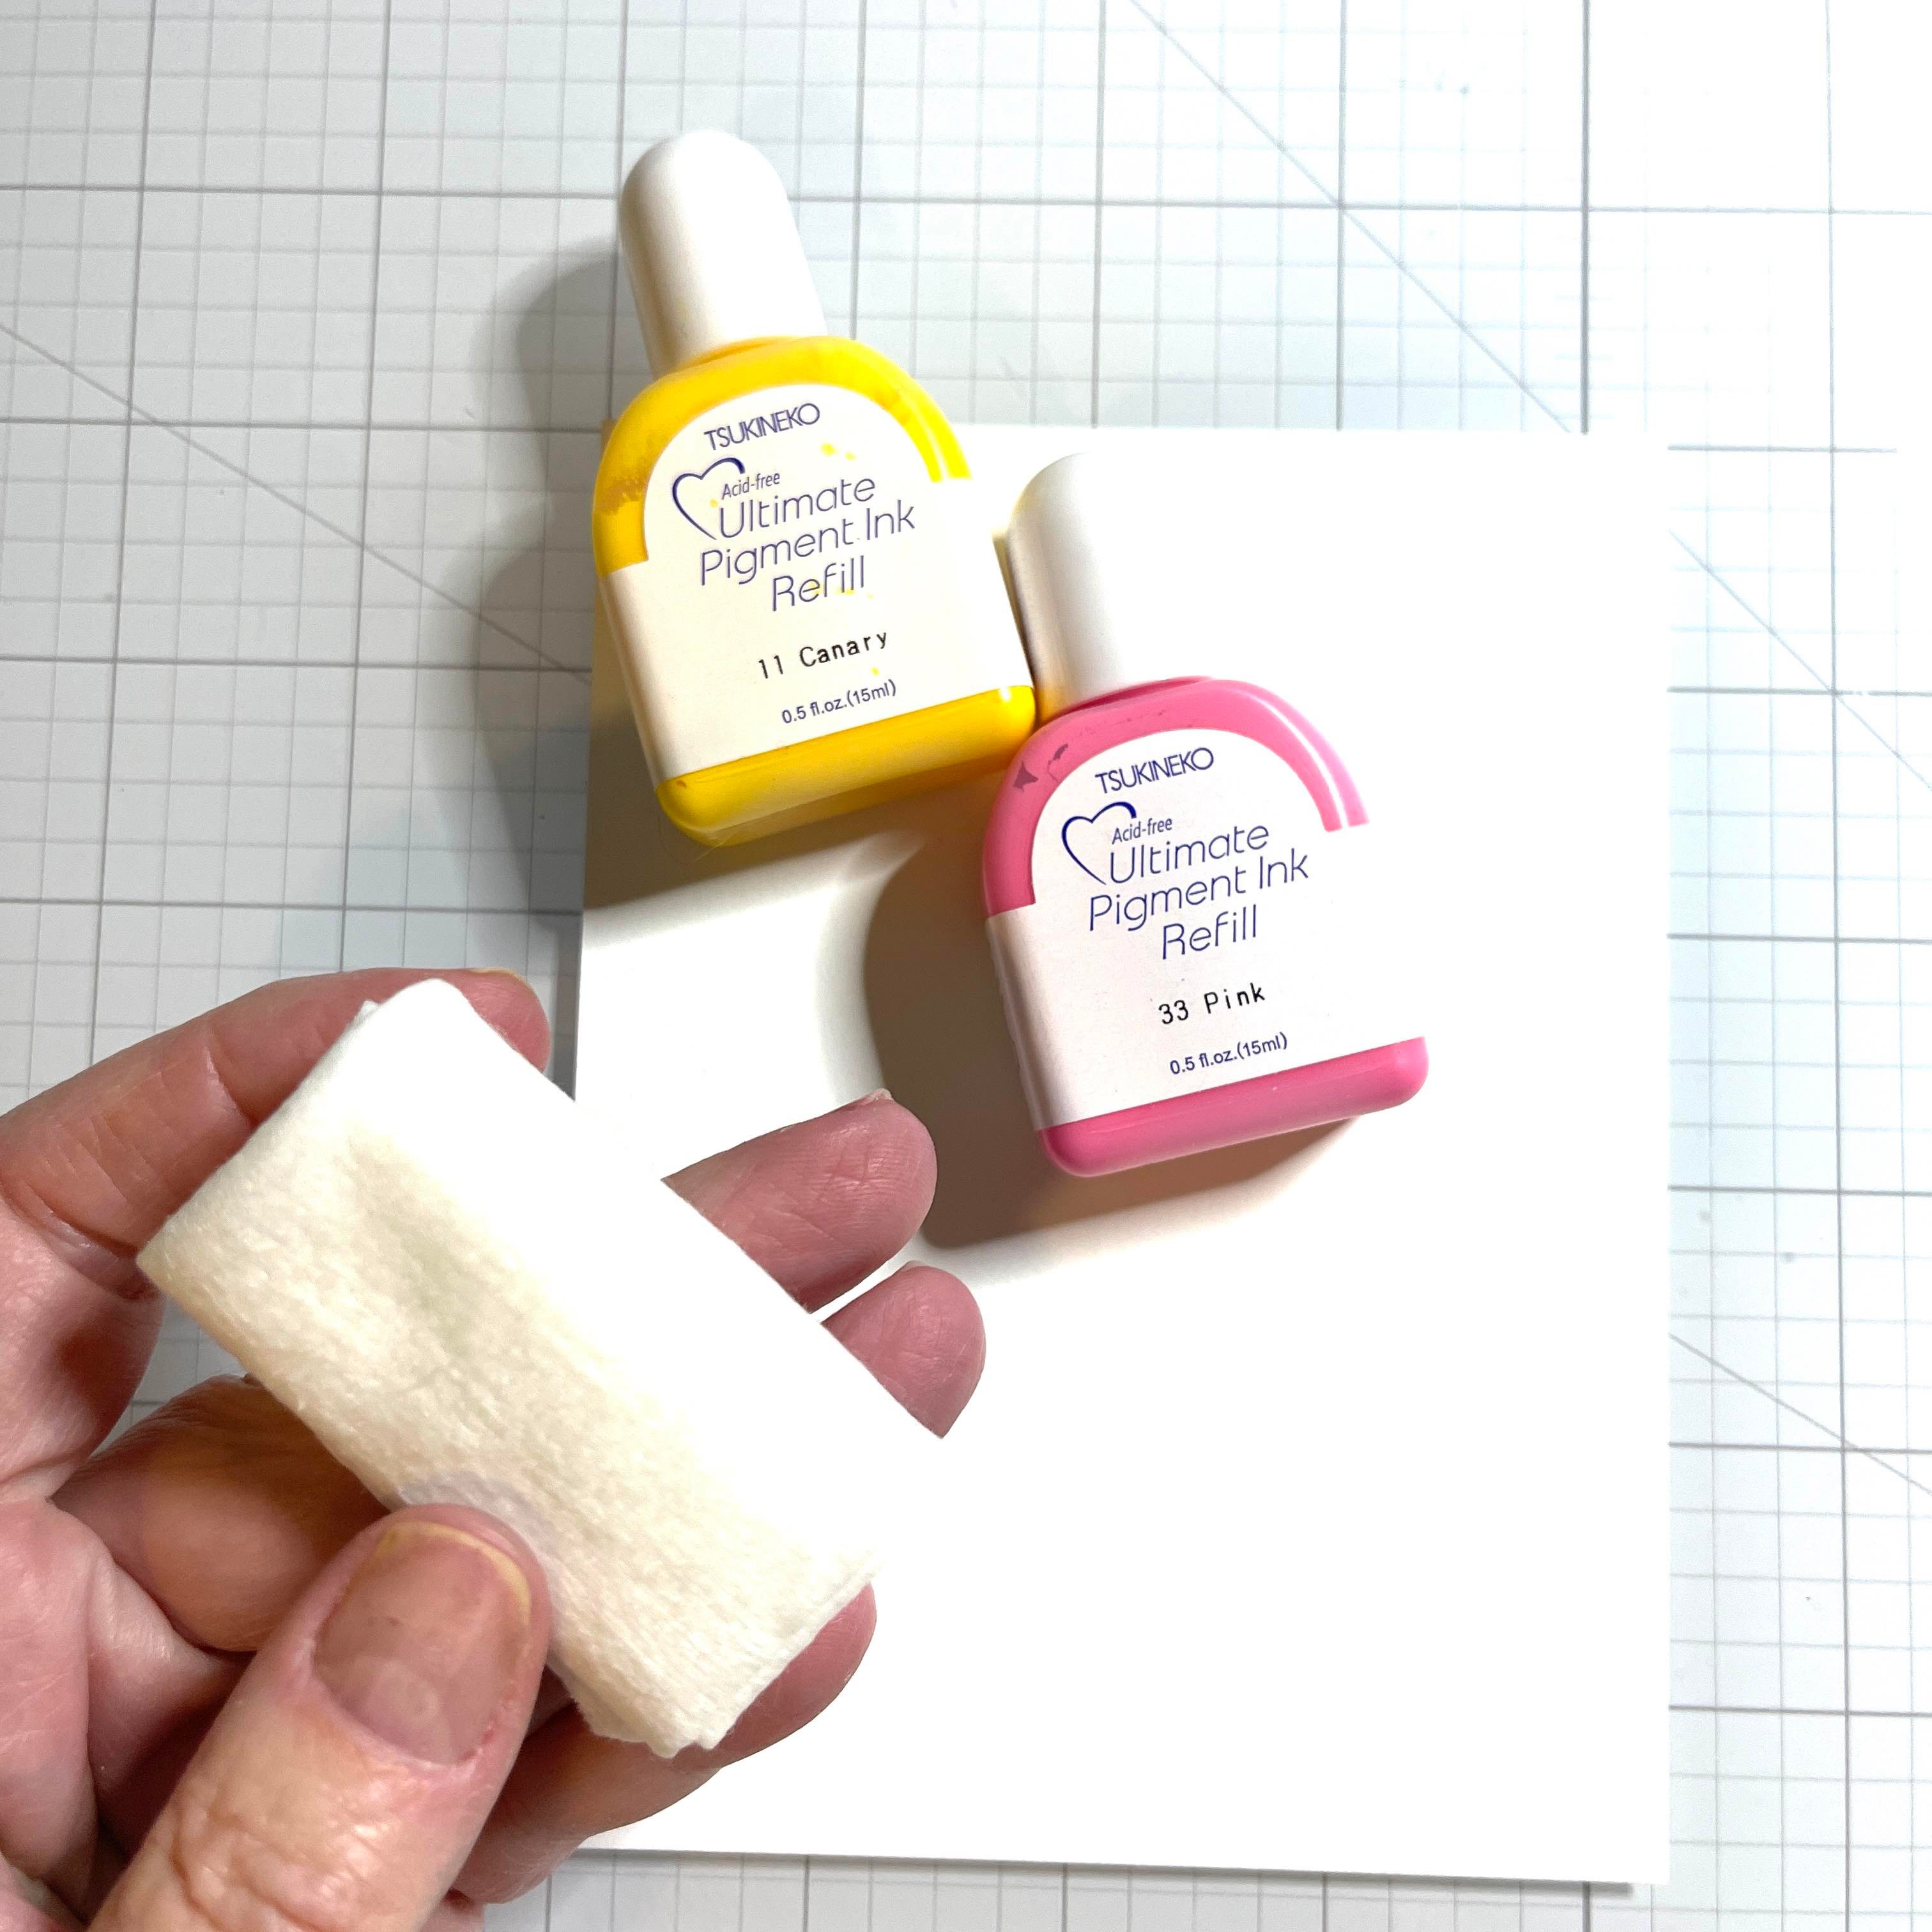
Cut a piece of a layering weight, white card stock to 4.25” x 5.5”. This will be enough for three holders. Grab your favorite ink refills. For today’s card I used Imagine Craft’s Ultimate Pigment Ink Refills in Canary and Pink. Grab a baby wipe and fold it up nicely.
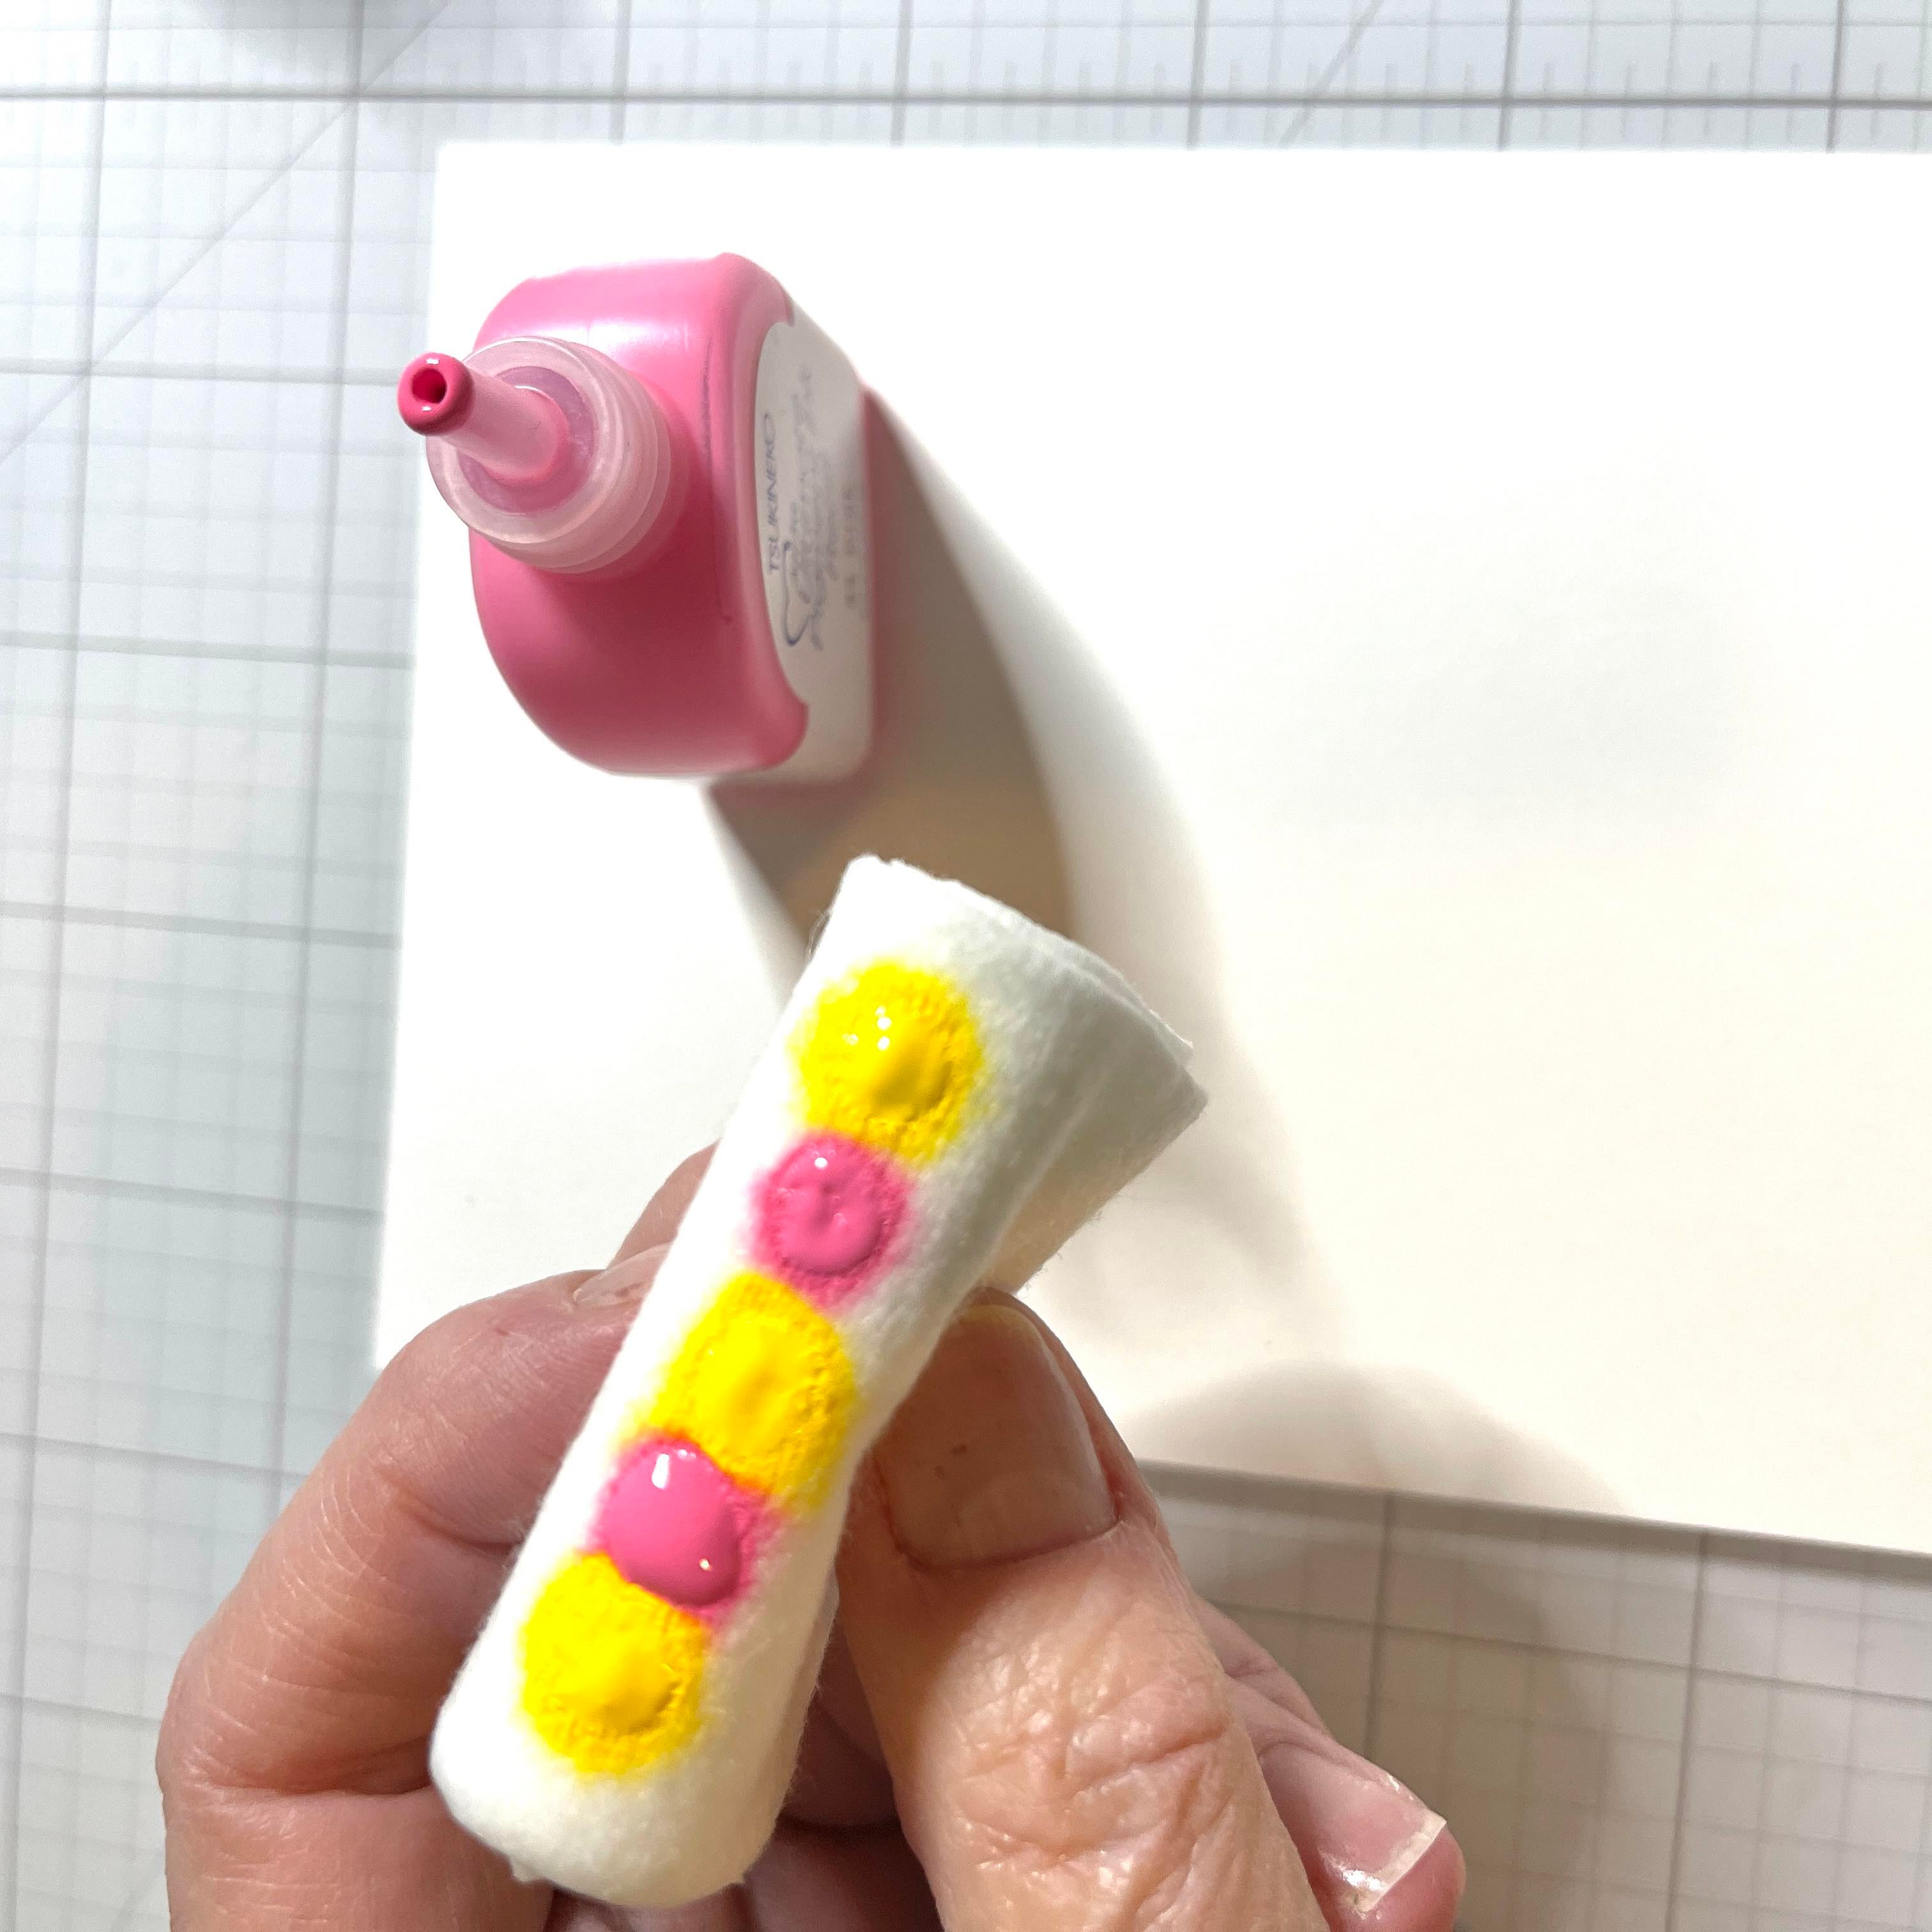
Step 2
Dab your ink onto the baby wipe in an alternating order.
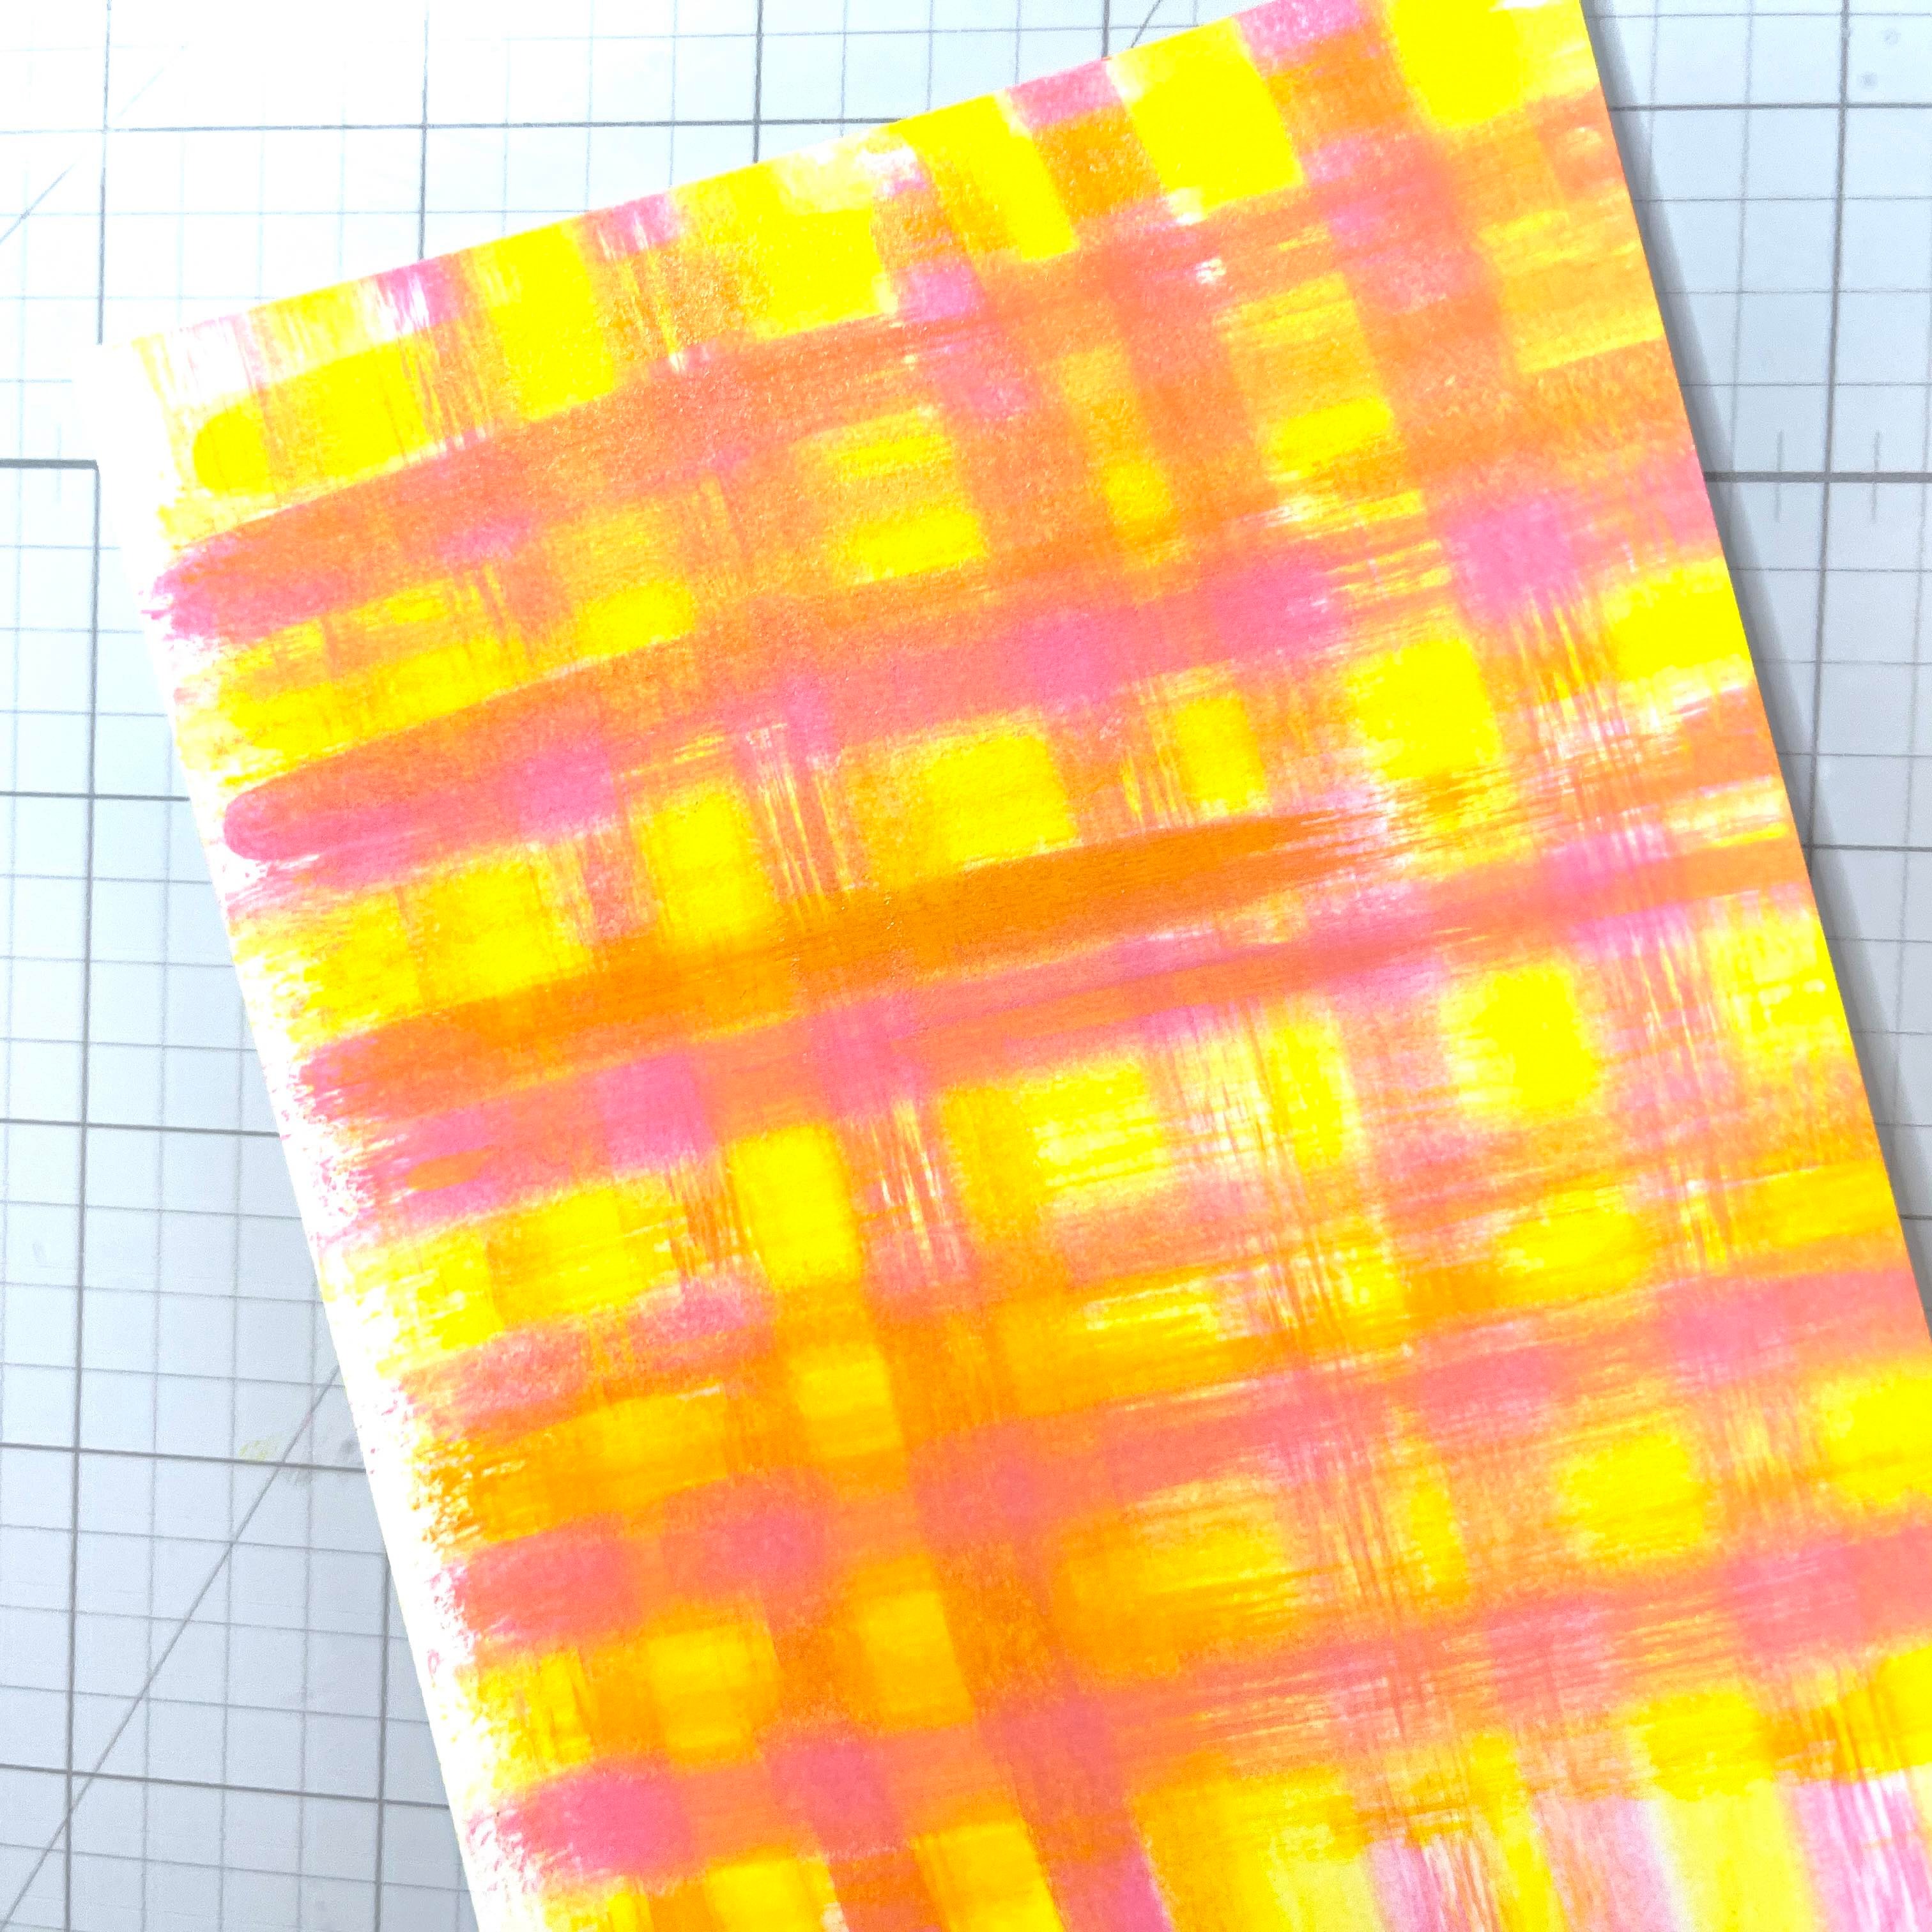
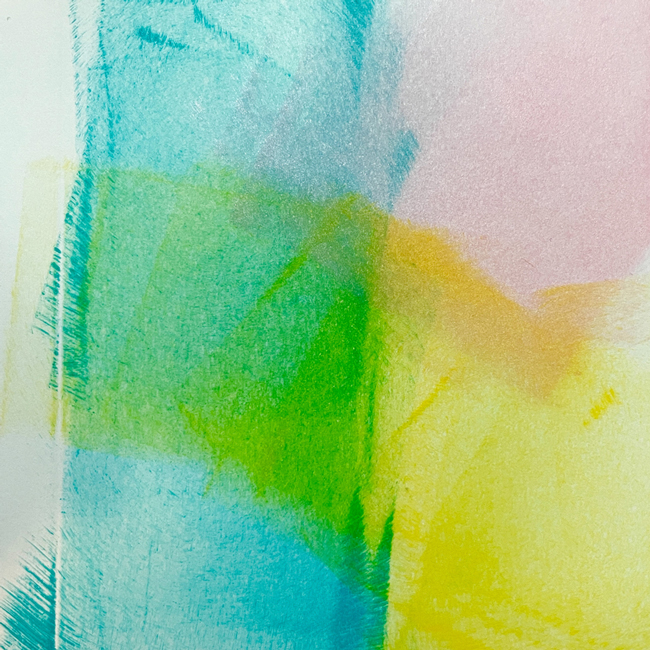
Step 3
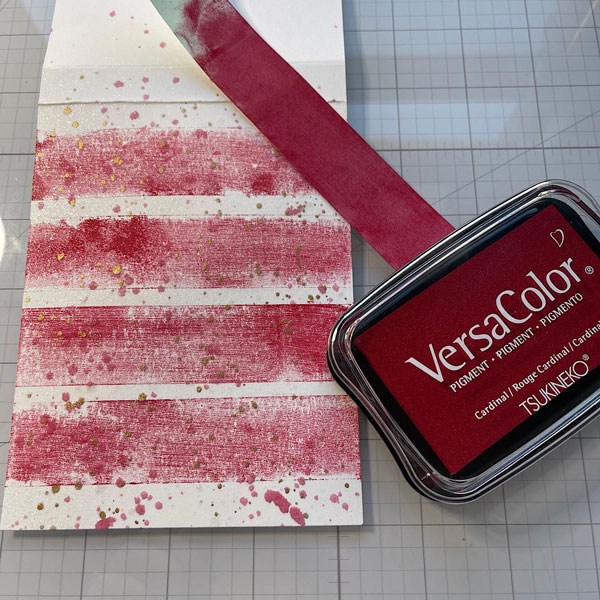
Now just swipe across your card stock. YES you will get messy! But it’s fun. You may need to add some more drops. Make sure when swiping that you line up your baby wipe with the last swiped color as you move along.
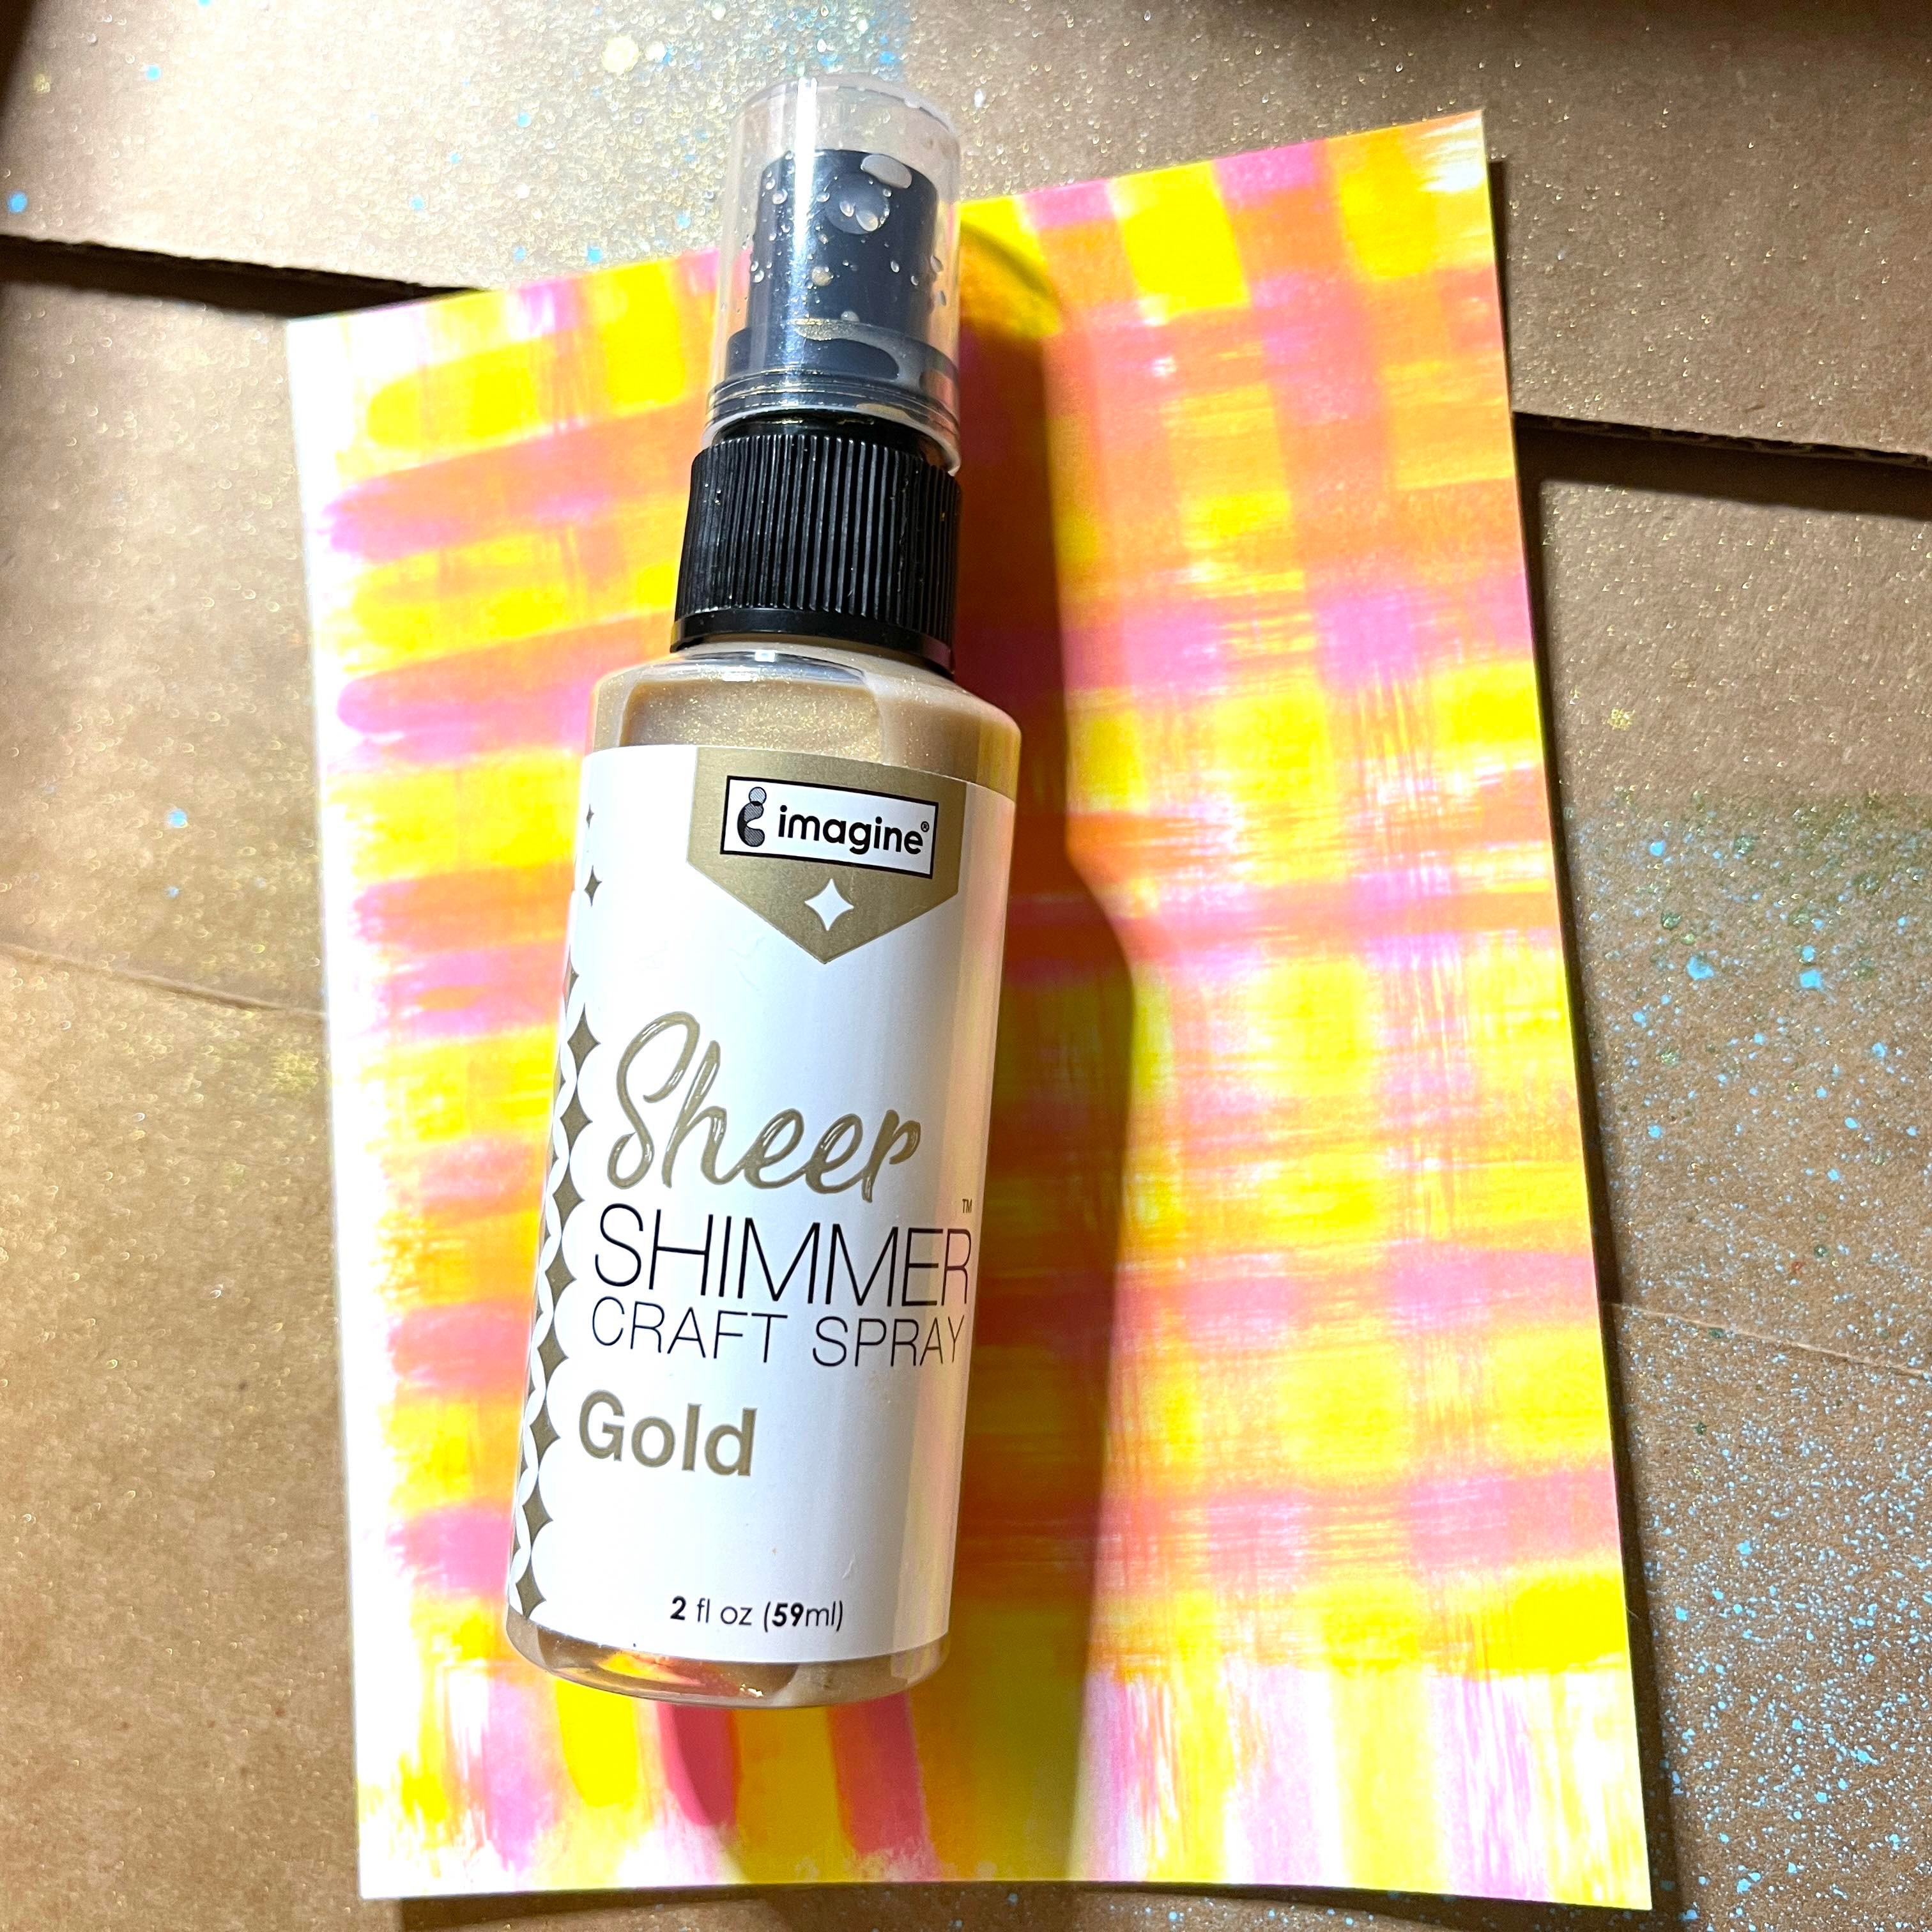
Step 4
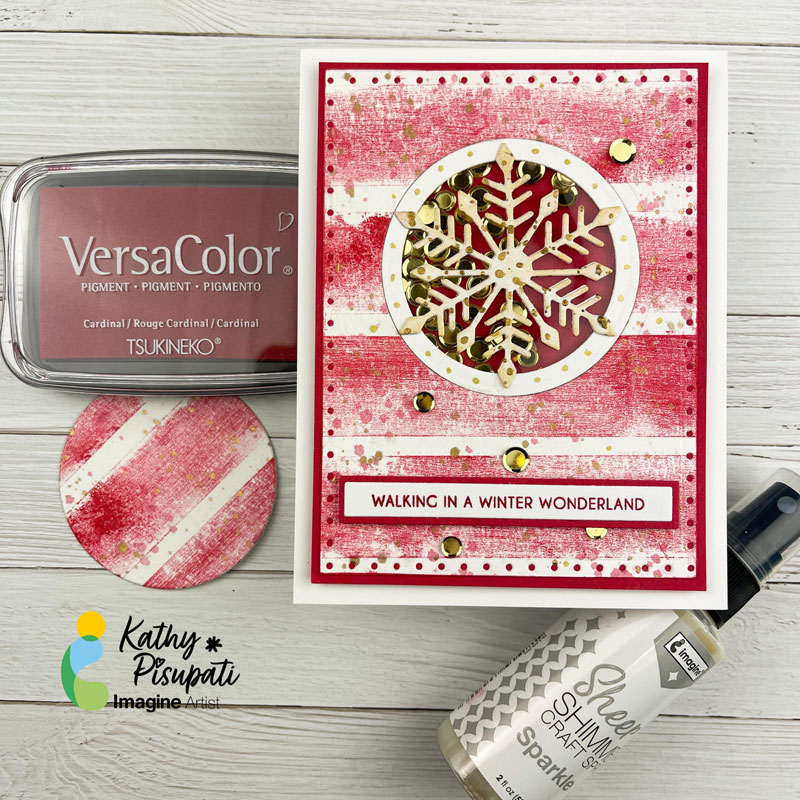
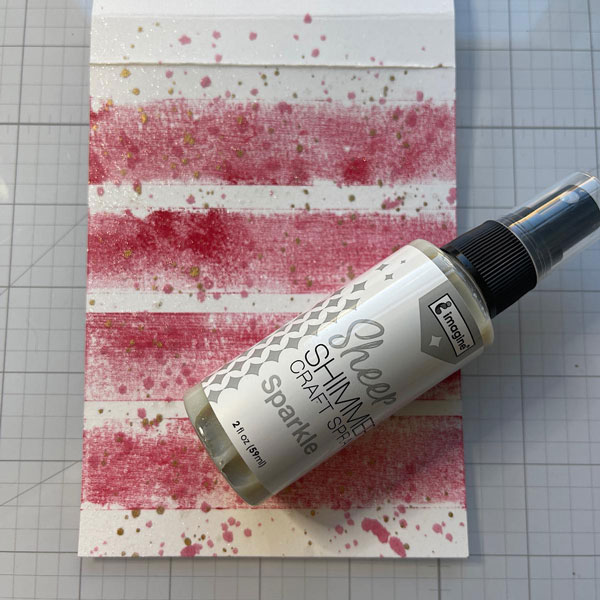
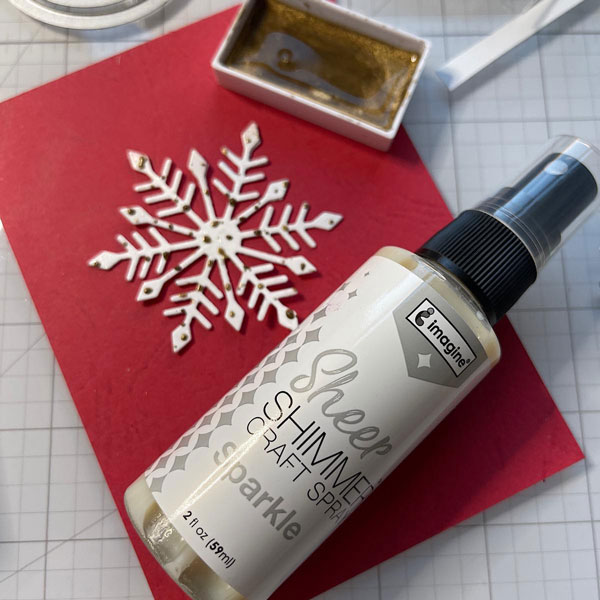
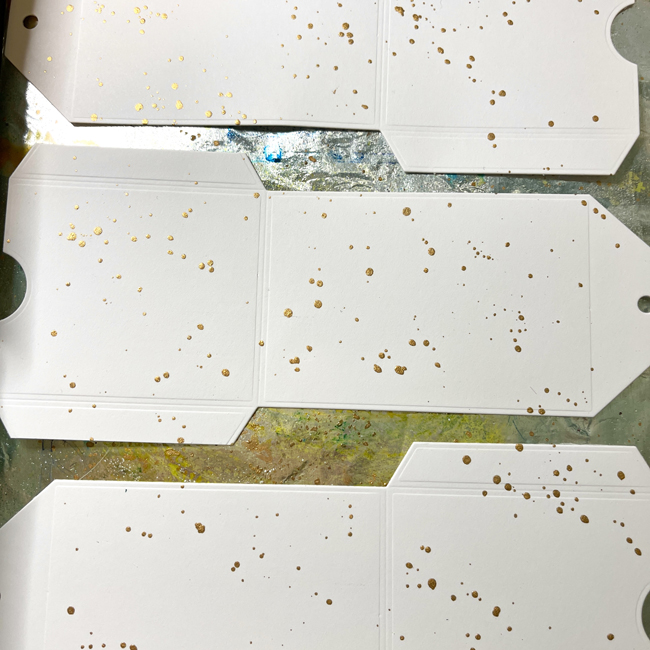
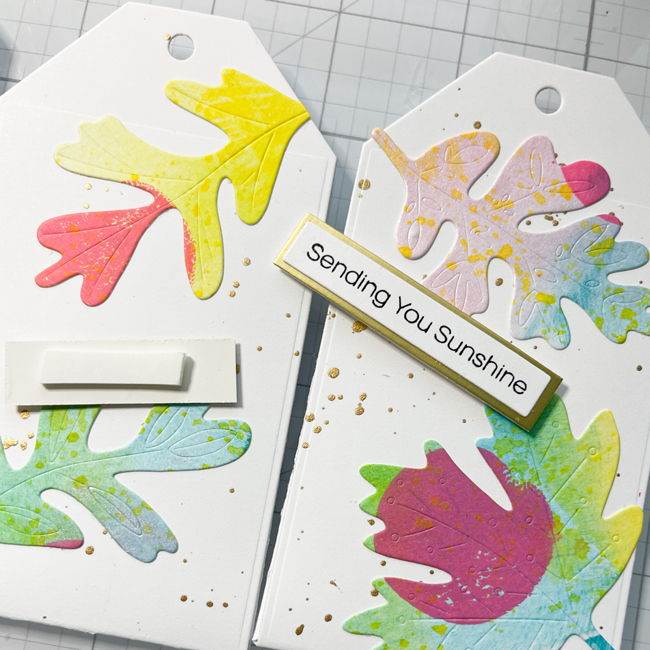
Time to get messy again! We will spray Sheer Shimmer Spray in Gold all over the panel. I use an old box and lay the panel inside. This contains the spray a bit. The sparkle of these sprays is so pretty and available in so many colors!
.
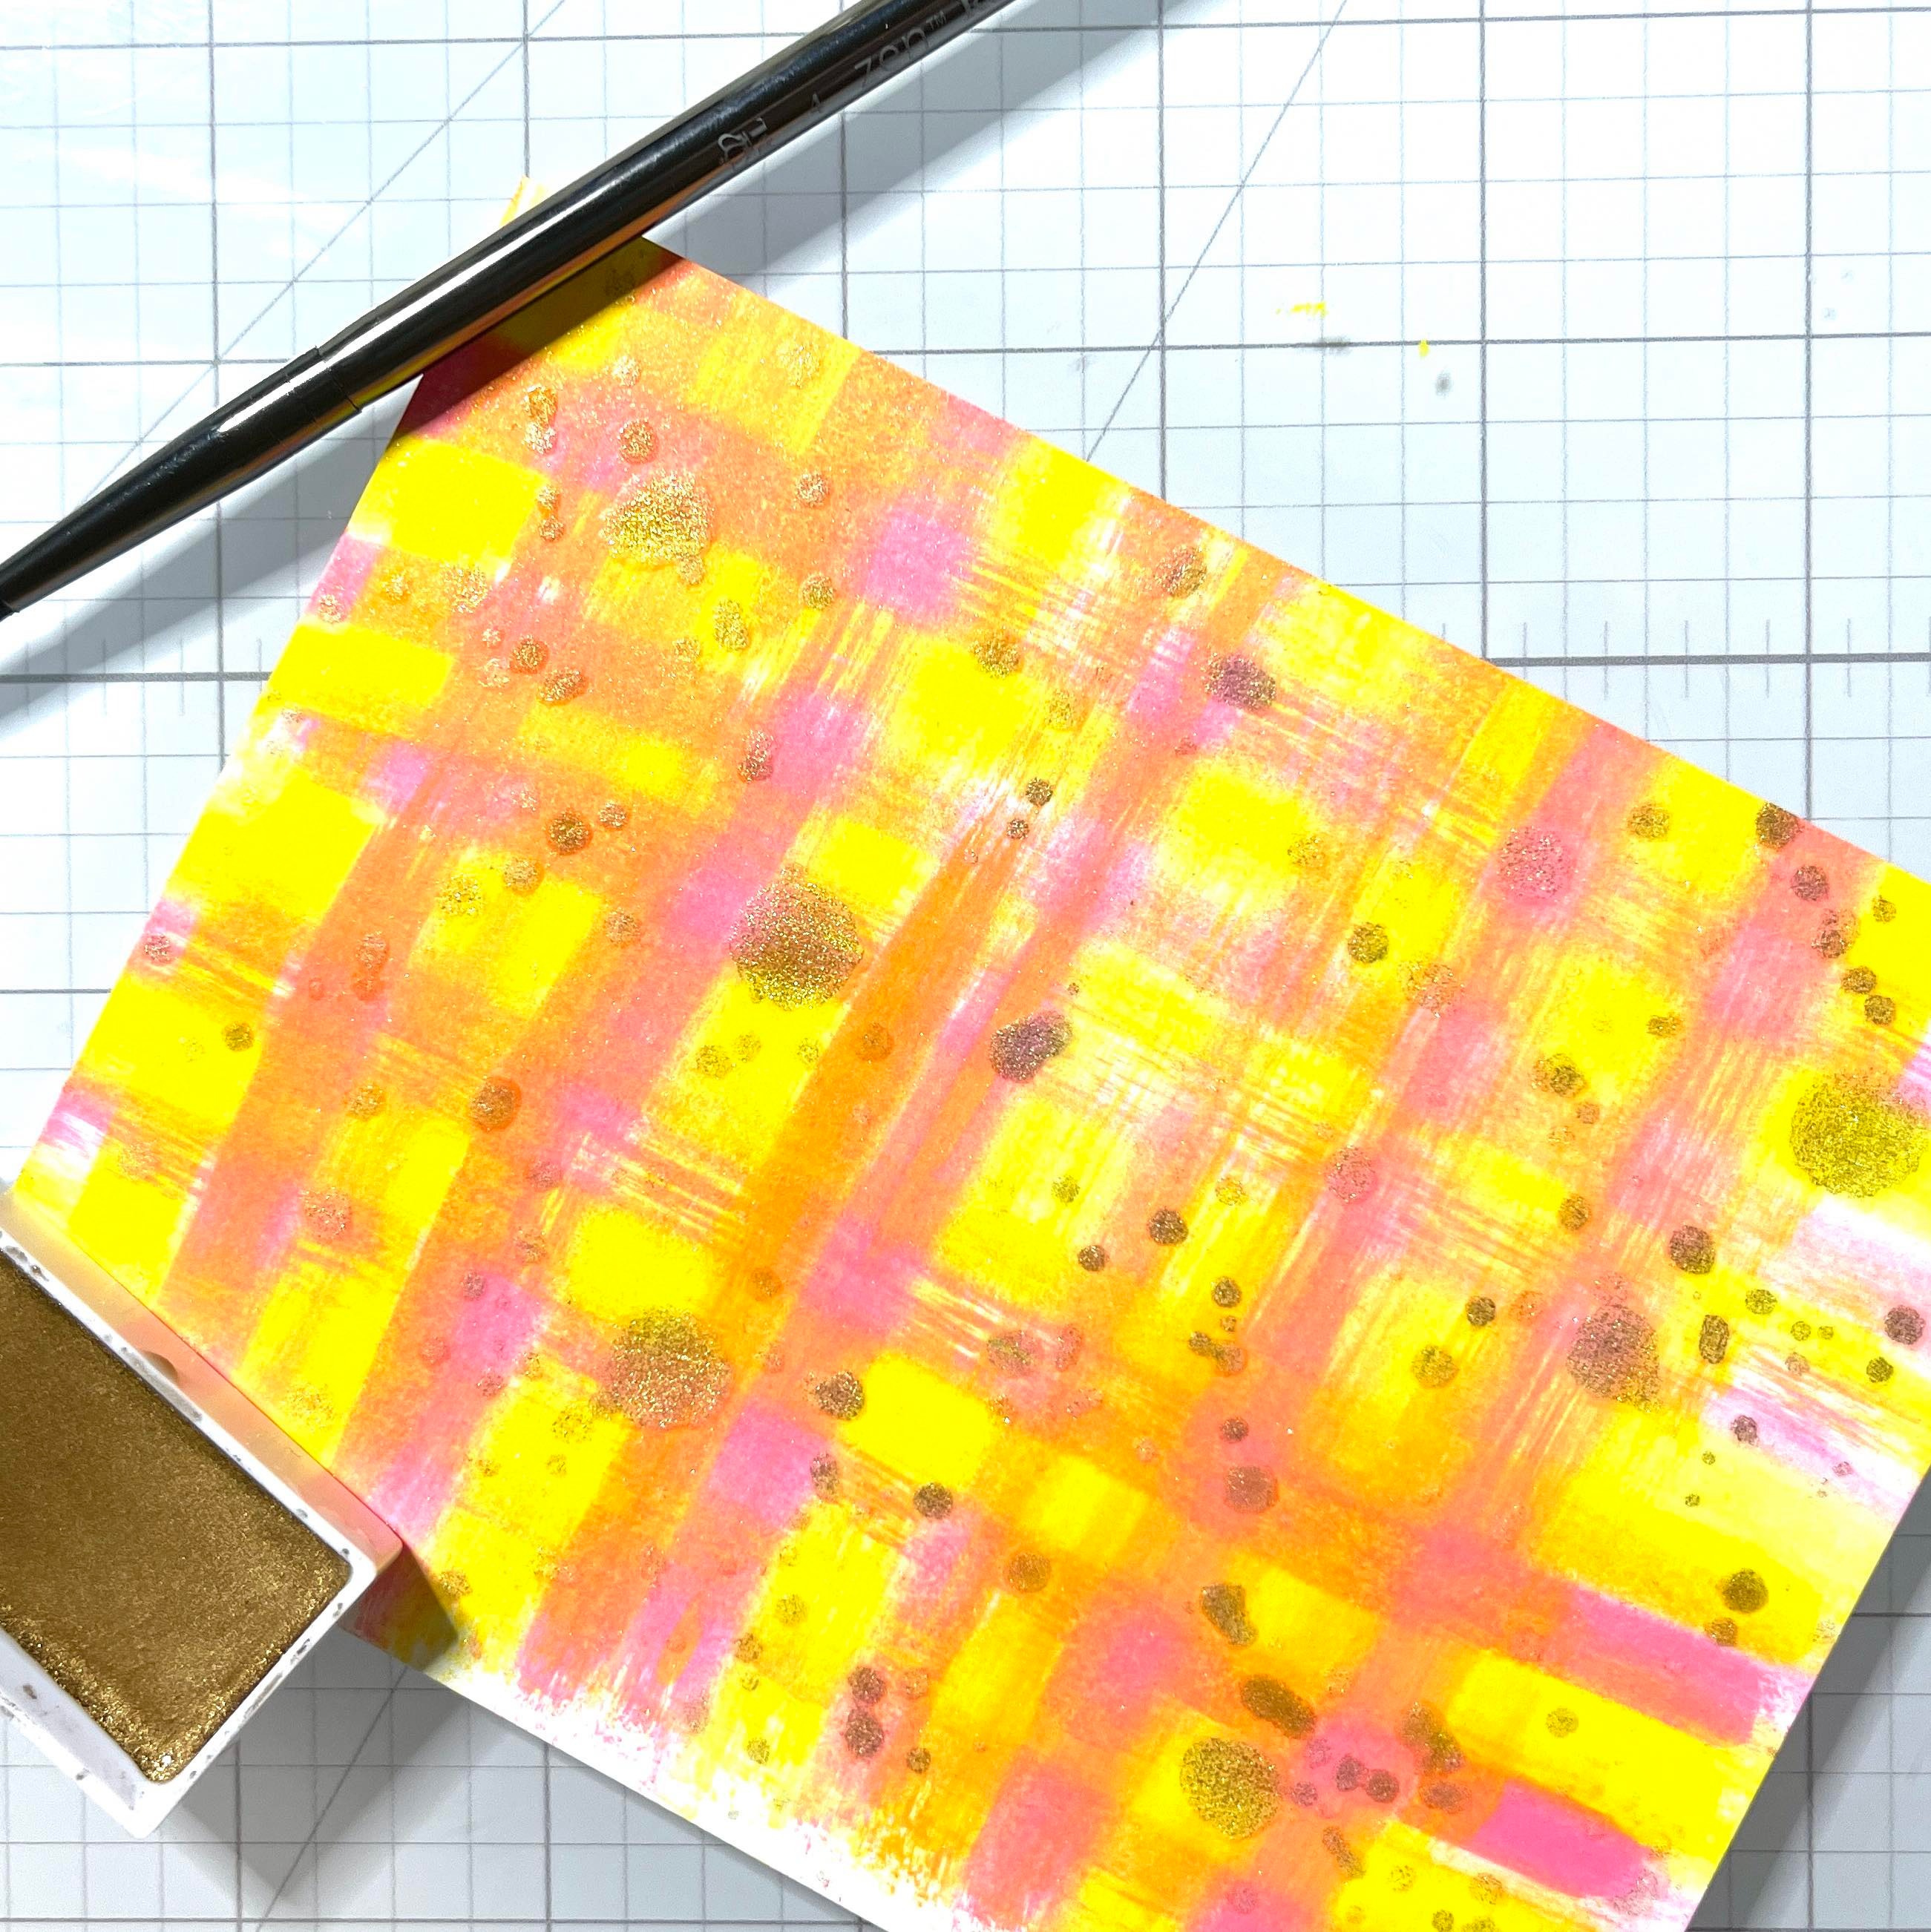
Step 5
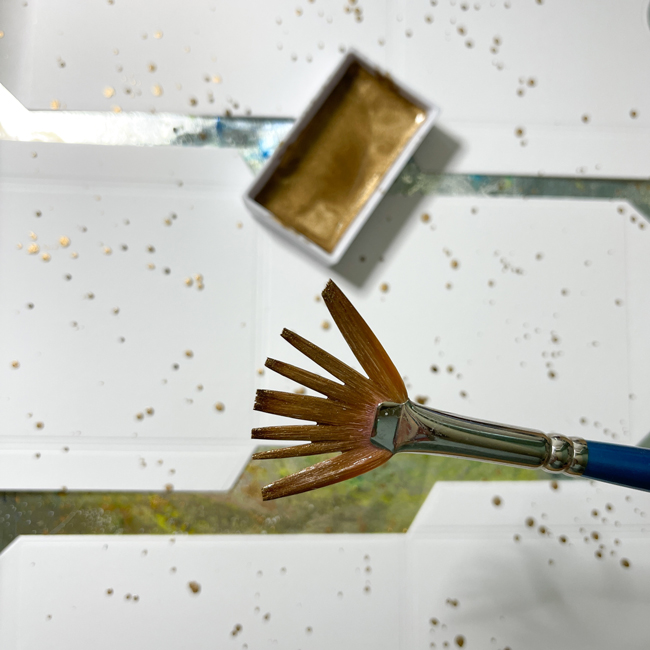
I also unscrewed the top of the Shimmer Spray and splattered some random spots. I splattered some small spots using metallic watercolor paint.
Step 6
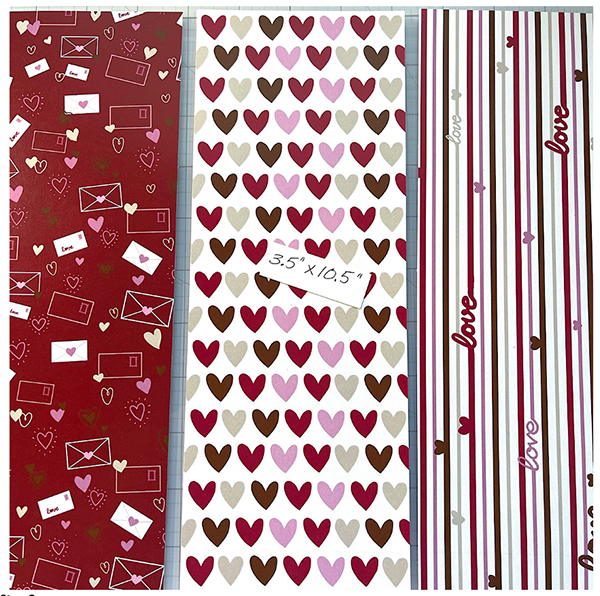
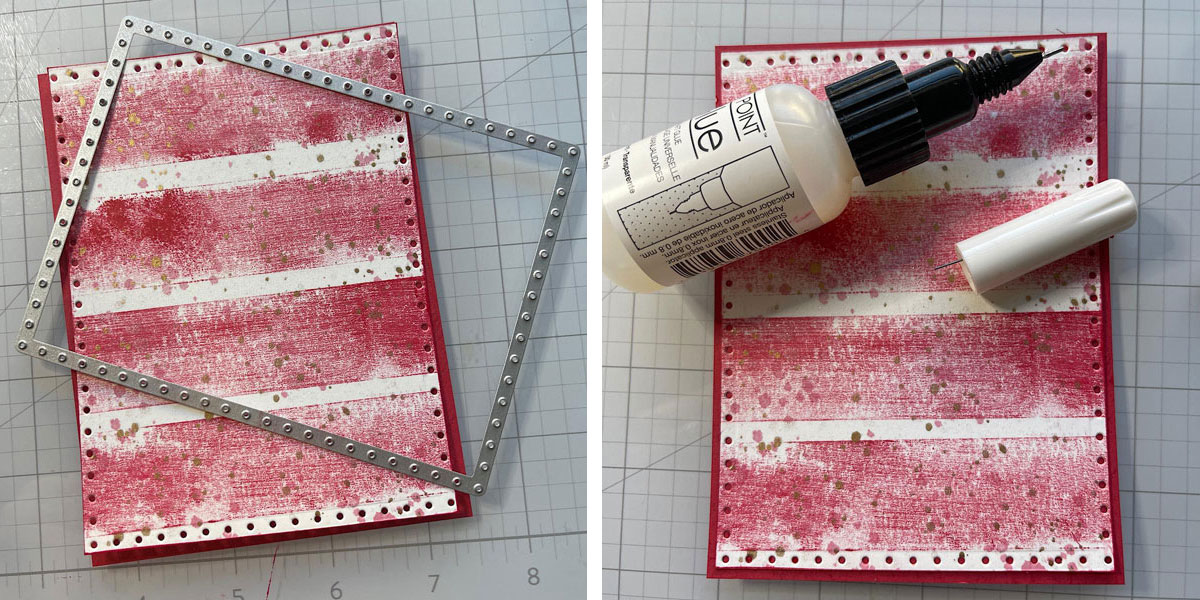
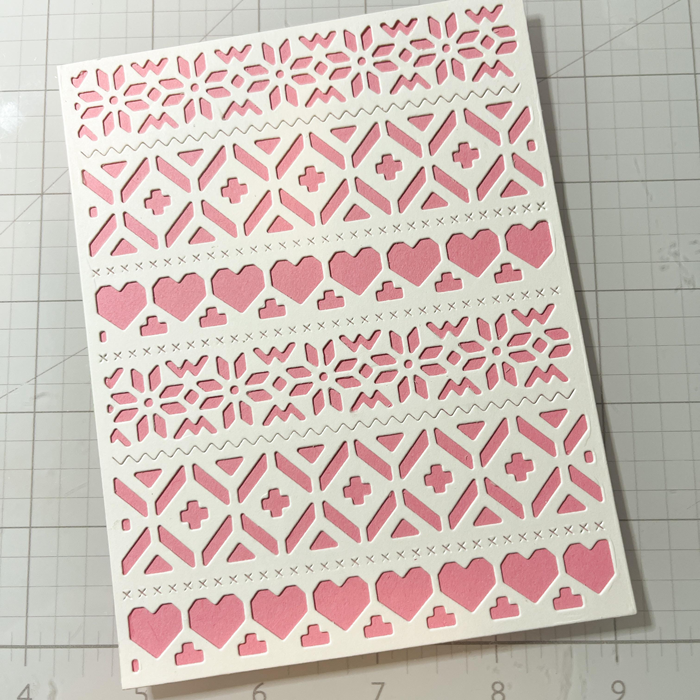
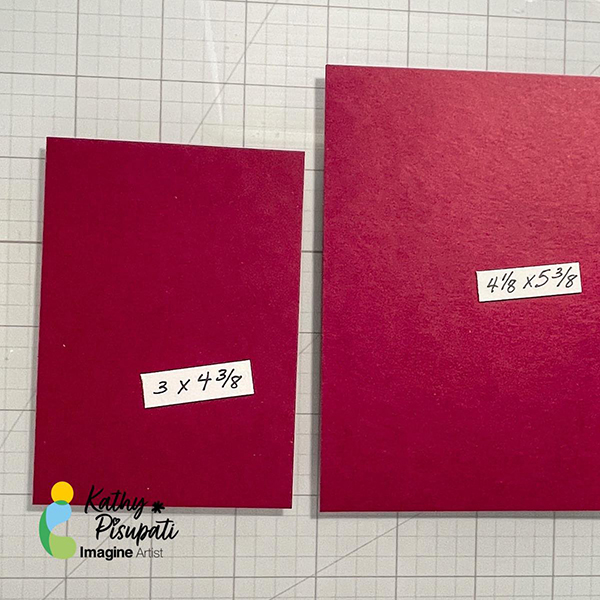
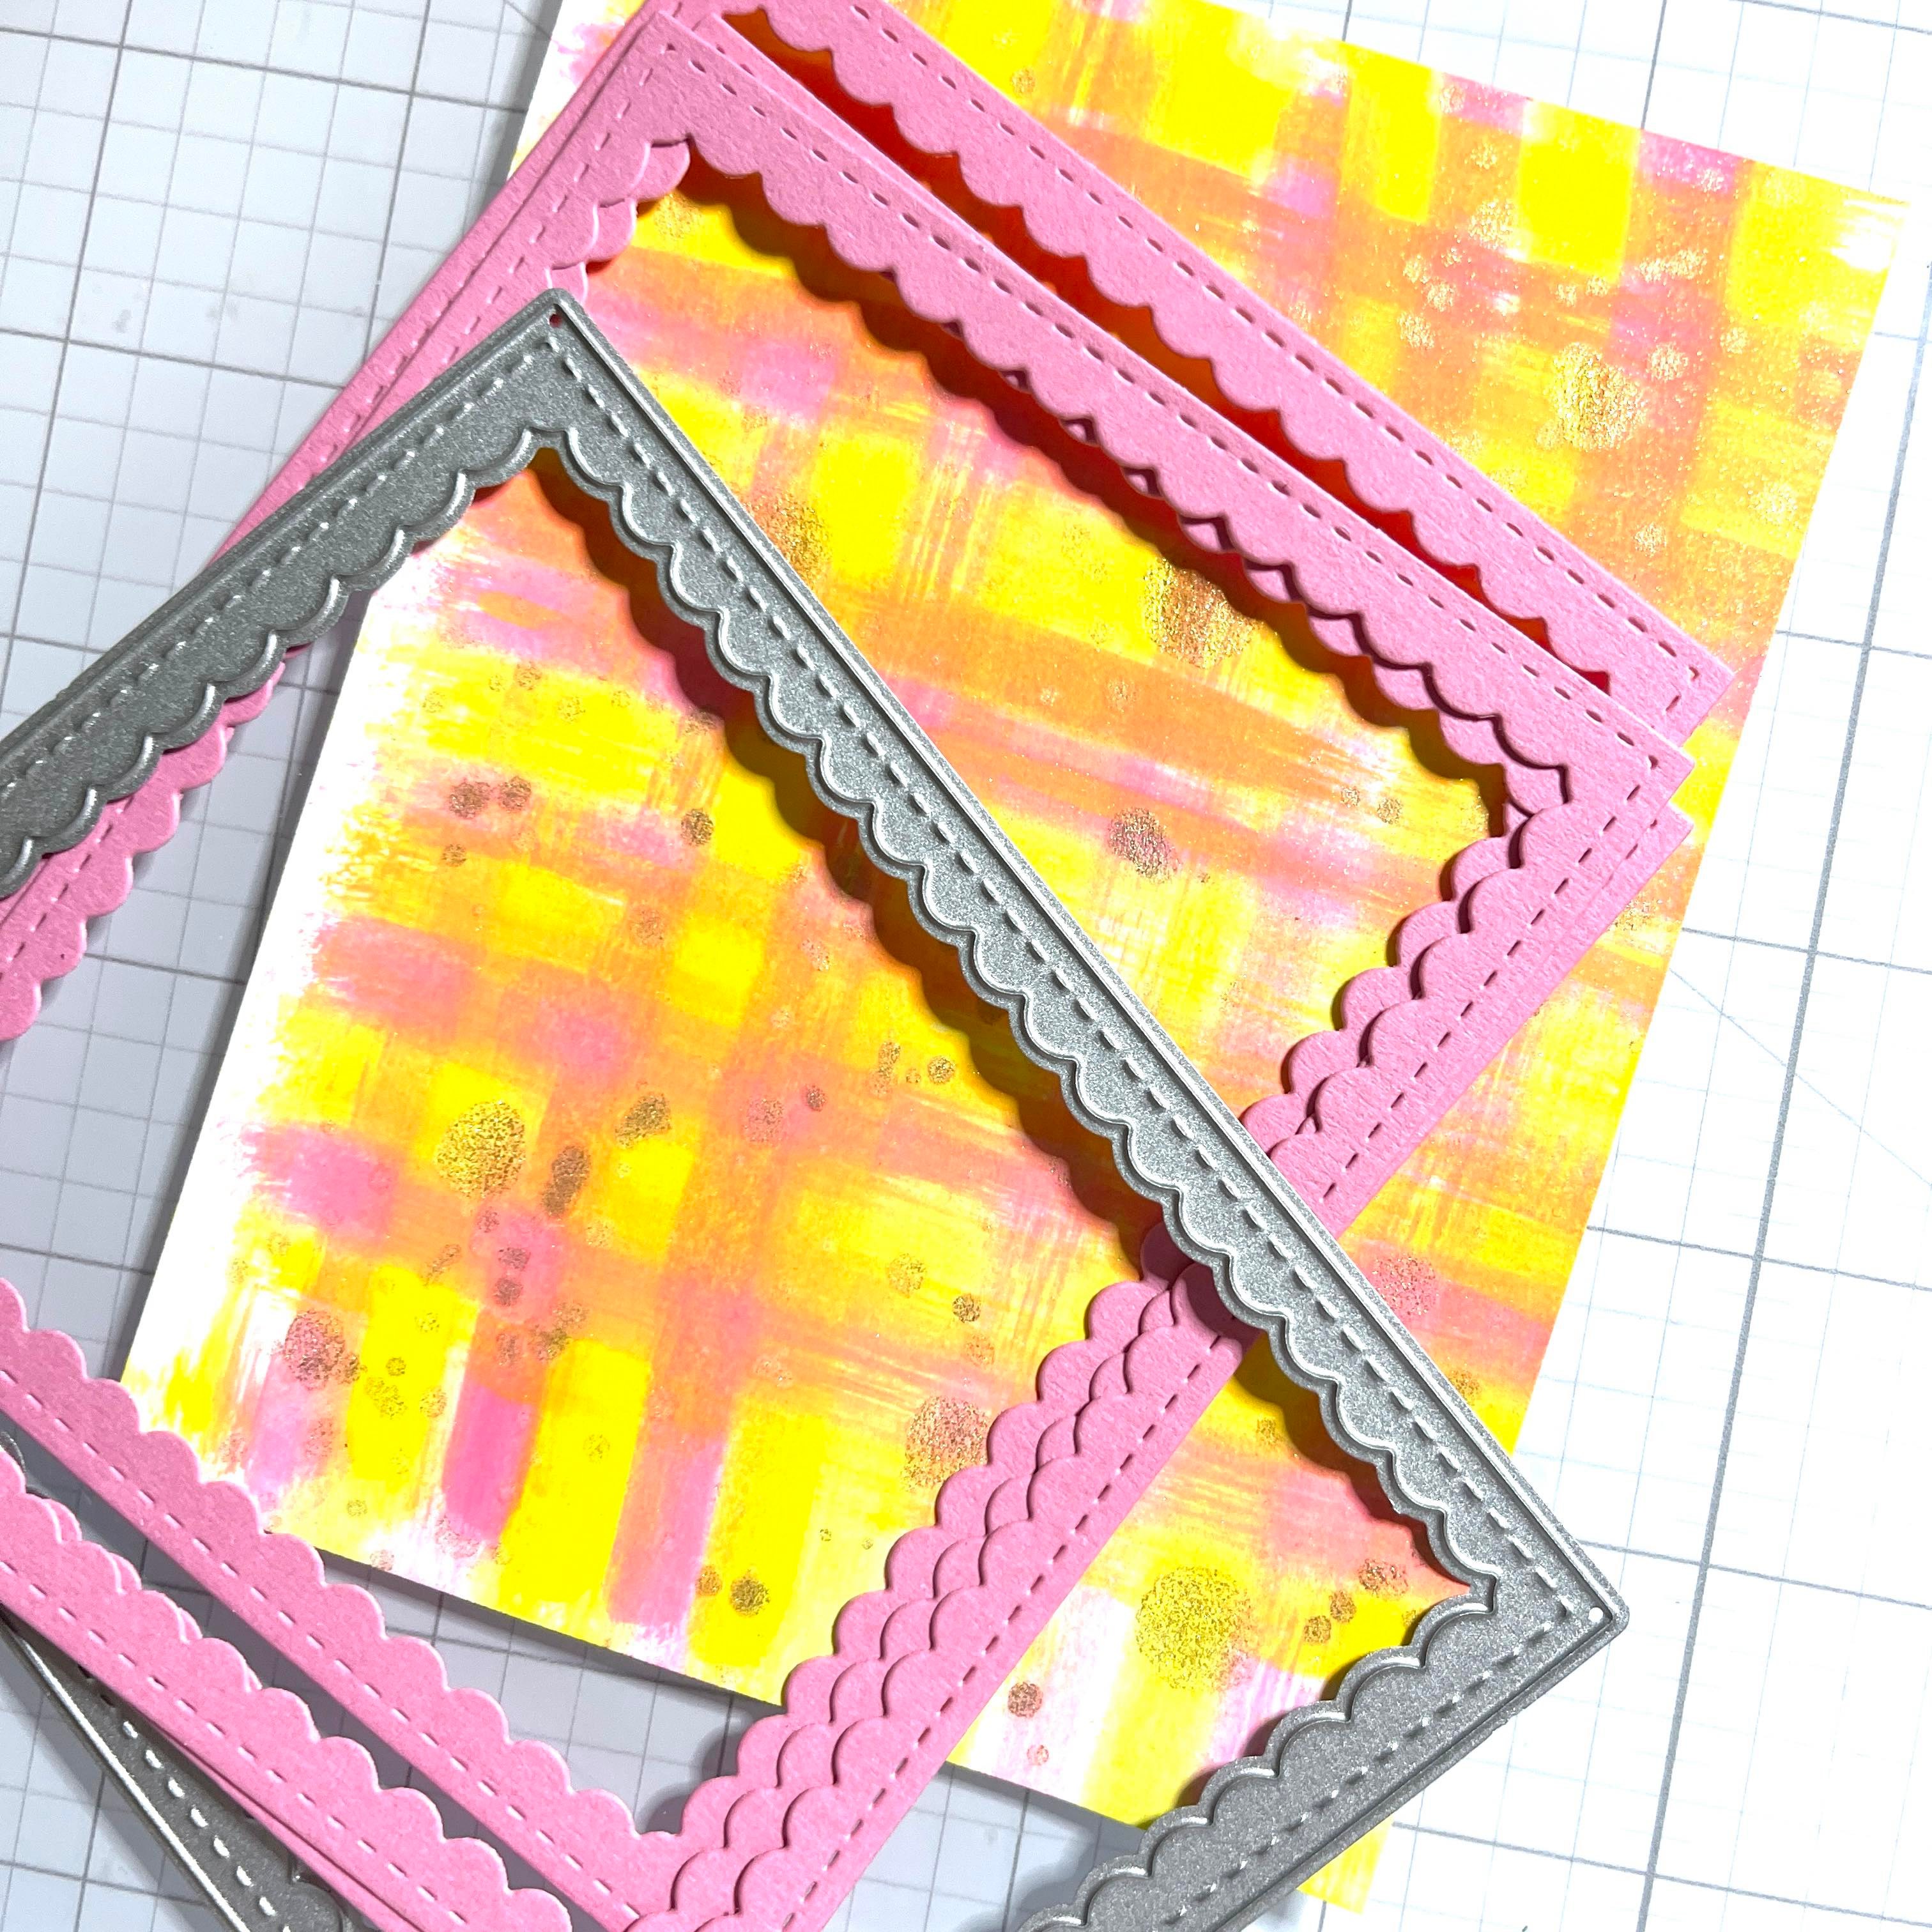
Next, I cut some scalloped frames and glued them together with On Point Glue. I used a coordinating pink card stock. Trim the background panel to fit behind the frame and adhere with On Point Glue from Imagine Crafts.
Step 7
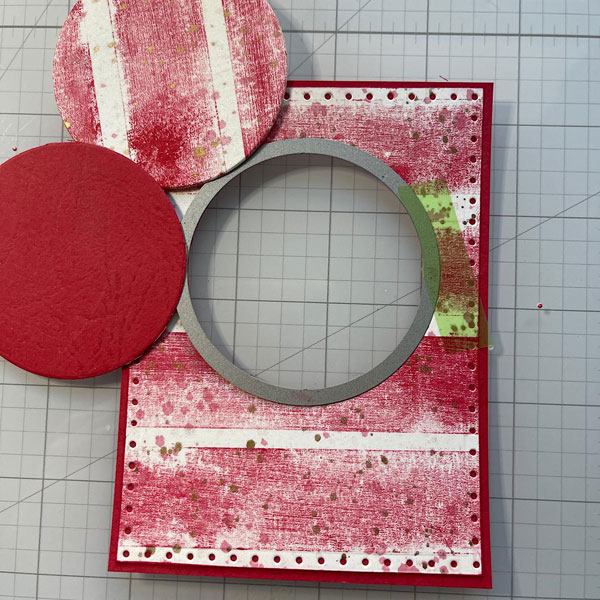
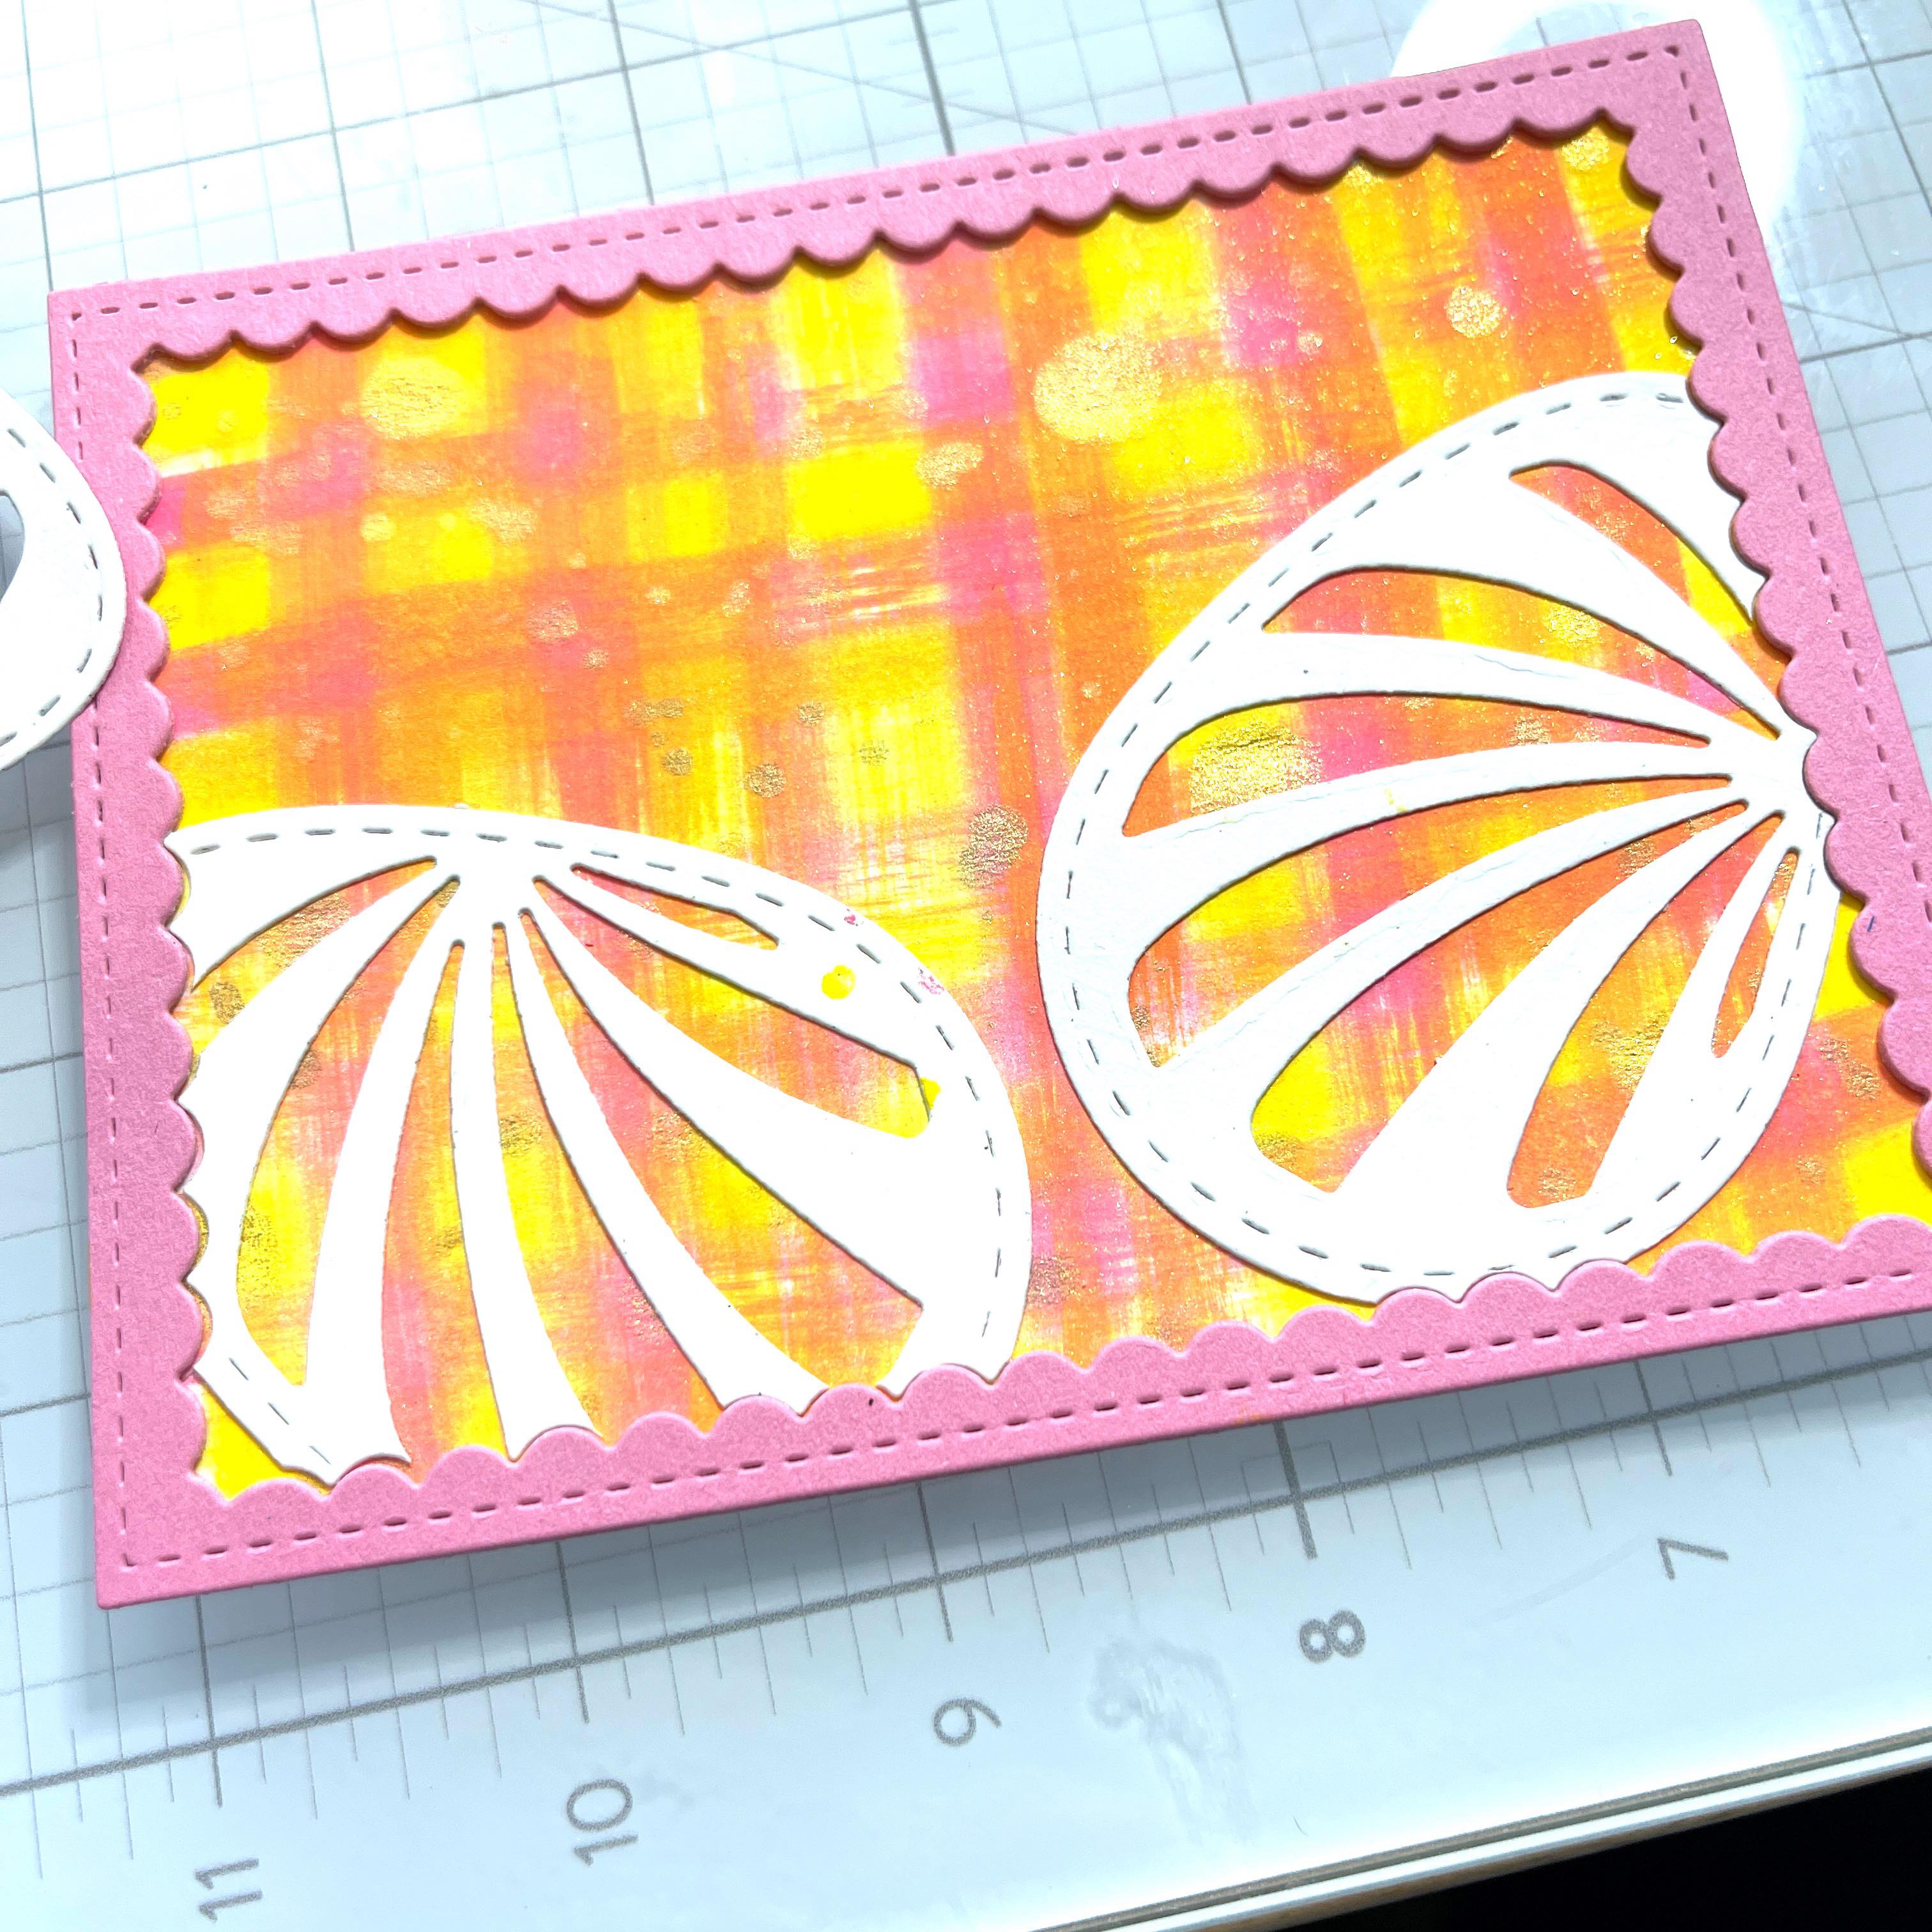
I die-cut some an Easter Egg I had in my stash several times. I used the scalloped frame to die-cut the edges so they would fit perfectly against the frame. I also cut an additional egg to use as the main focal point.
Step 8
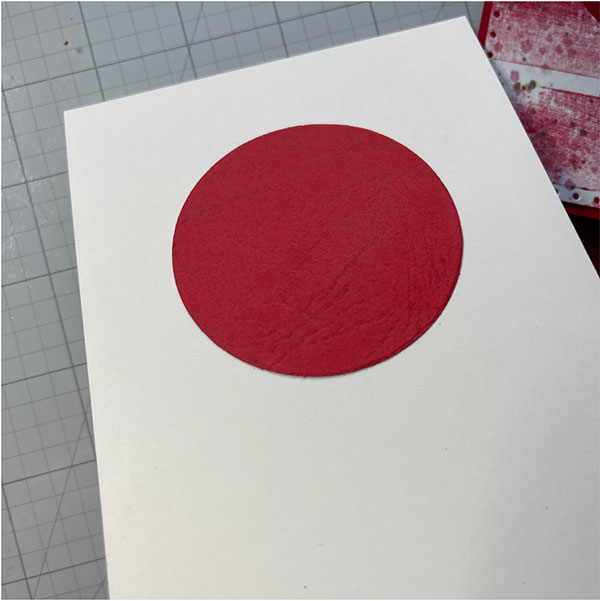
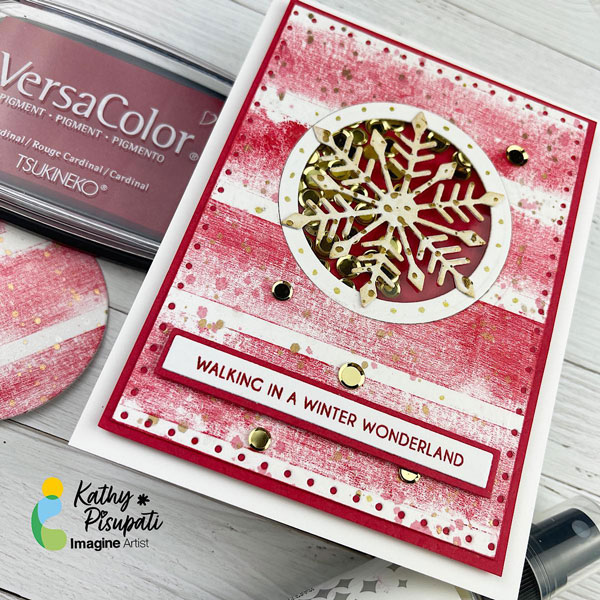
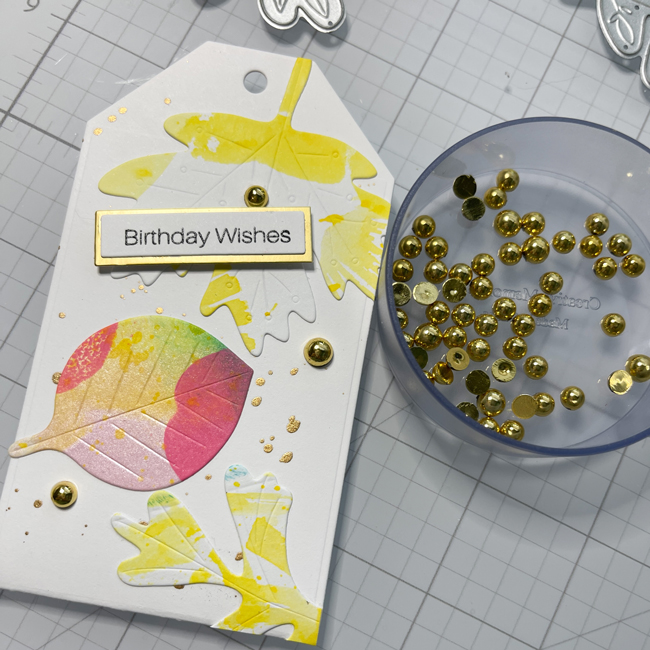
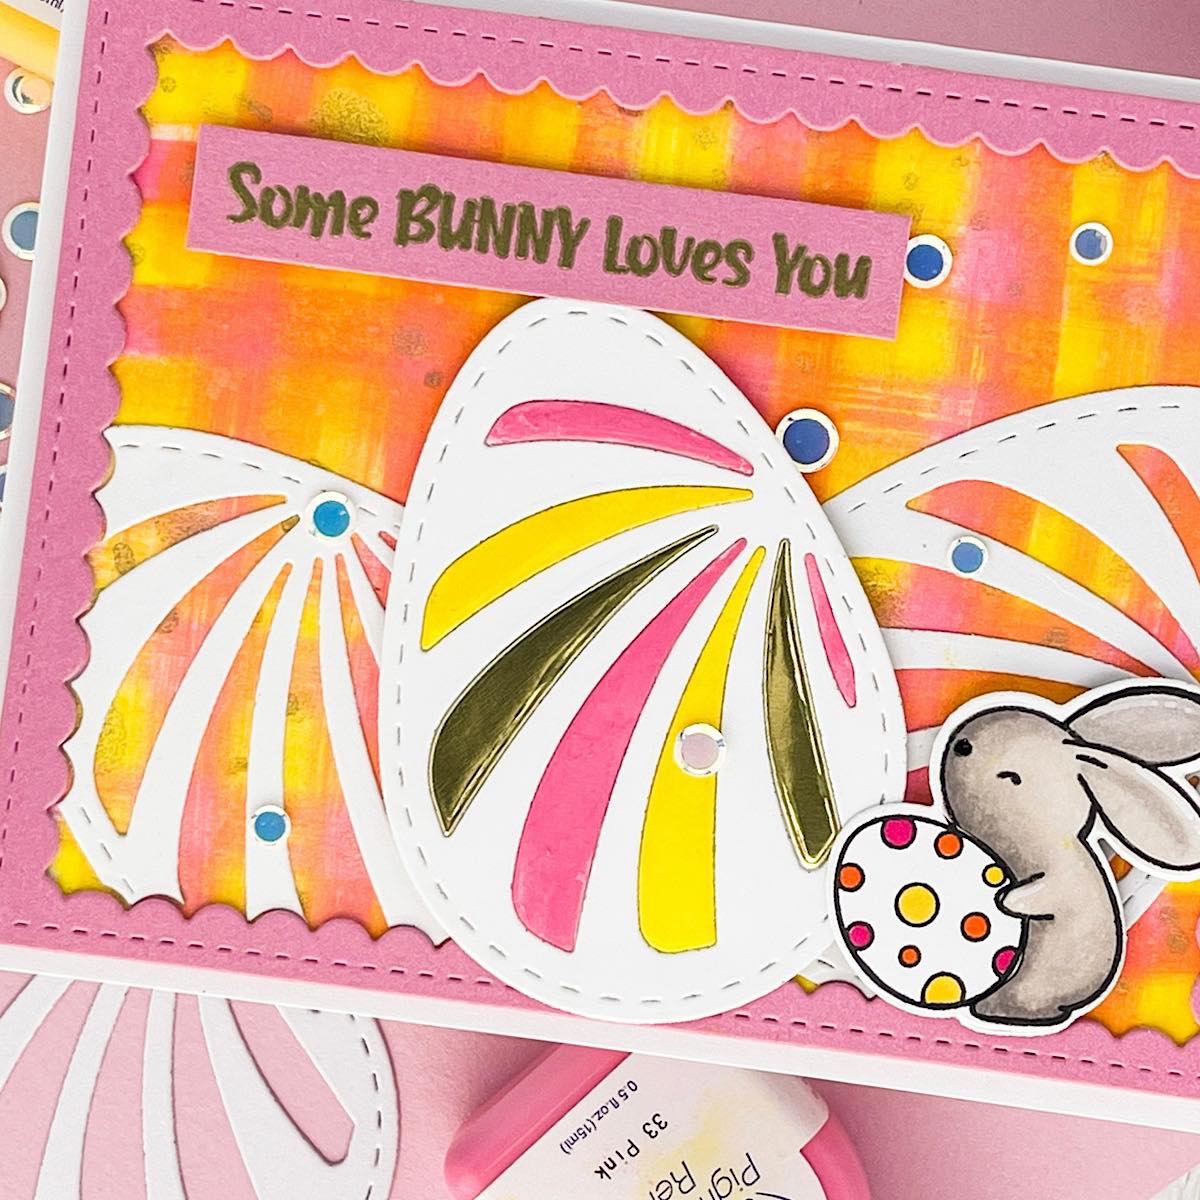
I traced the actual die and cut a solid egg out. I adhered this behind the main egg and adhered with glue. I took the insides of the die cut and just painted some of the pink and yellow refill ink on alternating stripes I also added 2 gold stripes from a metallic card stock.
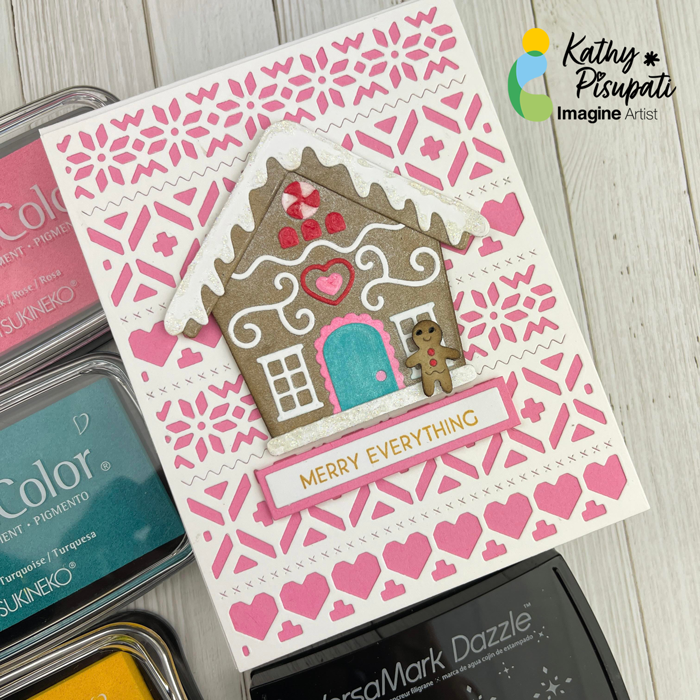
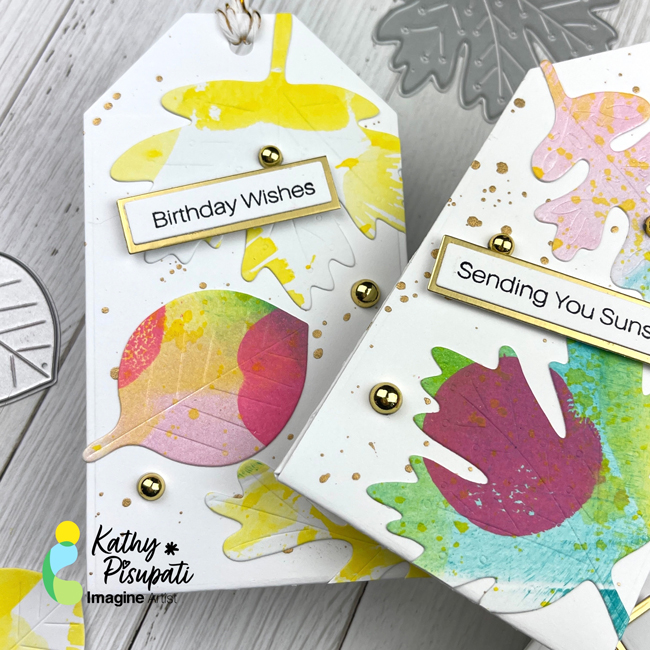
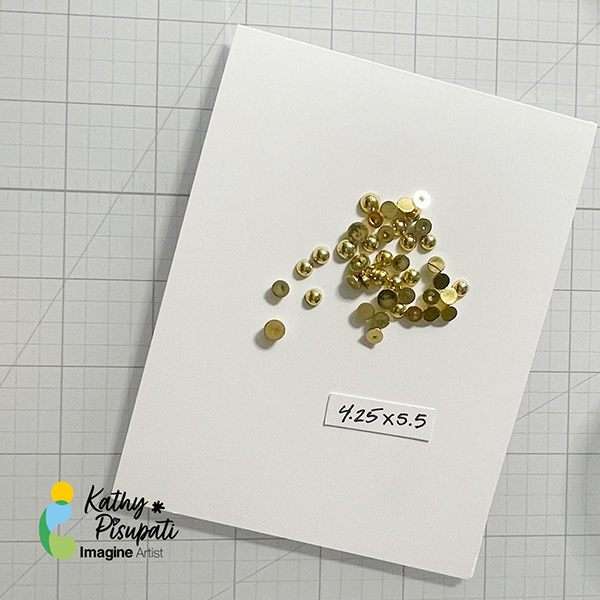
I stamped, colored and die-cut a cute bunny. I used alcohol markers but any coloring medium will work. I stamped the Easter sentiment on the same pink card stock. I used VersaMark Ink, covered with gold embossing powder and heated. The sentiment, main egg and bunny are popped up with foam tape. The entire panel is added to a horizontal folded A2 card base with foam tape as well. The last thing I did was add a few confetti sequins!
I hope you enjoy this card and the tutorial. Thanks for stopping by I appreciate all of you! Please head over to the Imagine Crafts website to see all the beautiful products. Here is the link IMAGINE CRAFTS.
SUPPLIES
Imagine Crafts
Other
- Kat Scrappiness Rainbow Egg Die Set
- Kat Scrappiness Boxed Sentiment Dies
- Kat Scrappiness Hippity Hoppity Bunnies
- Kat Scrappiness Hippity Hoppity Sentiment Stamps
- Kat Scrappiness A2 Reversed Scallop Dies
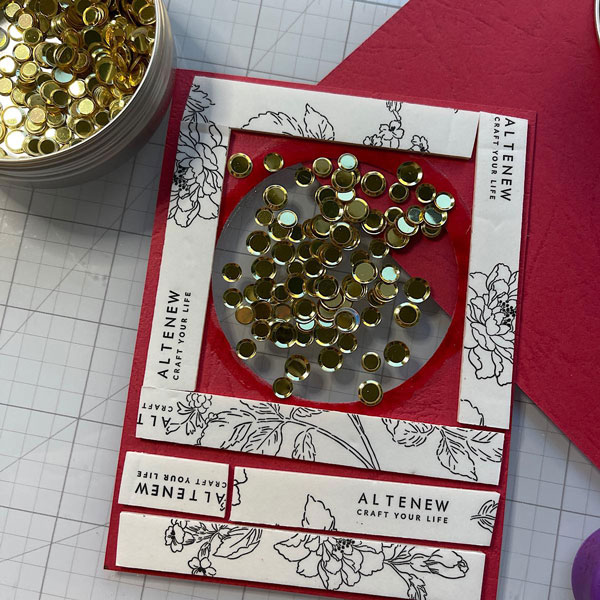
- Kat Scrappiness Mother of Pearl Solid Round Confetti
- Scor-Pal scoring tool
- Spellbinders Platinum 6 Die-Cutting machine
- Neenah Classic Crest Solar White 110lb
- Paper Trimmer
- Teflon bone folder
- Foam Tape