By Alison Heikkila
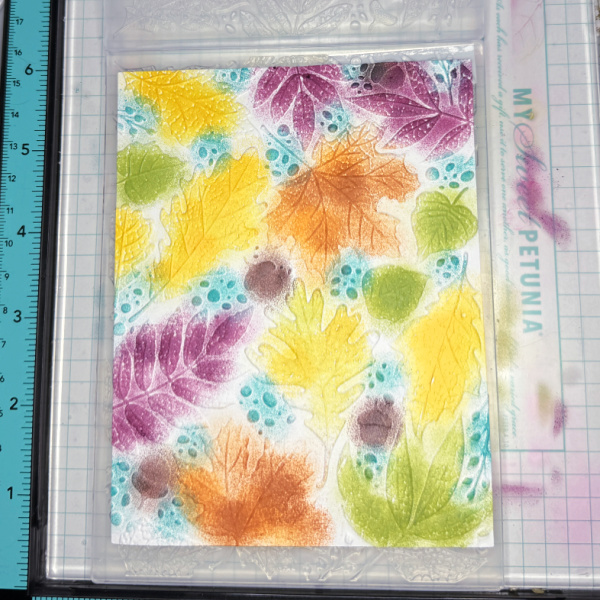
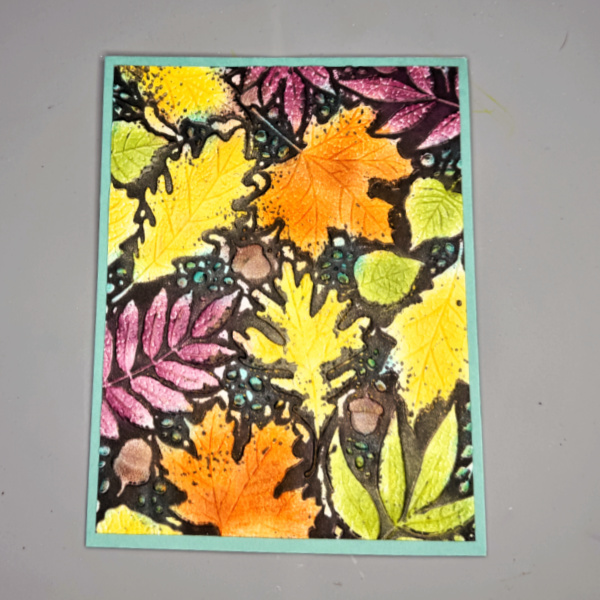
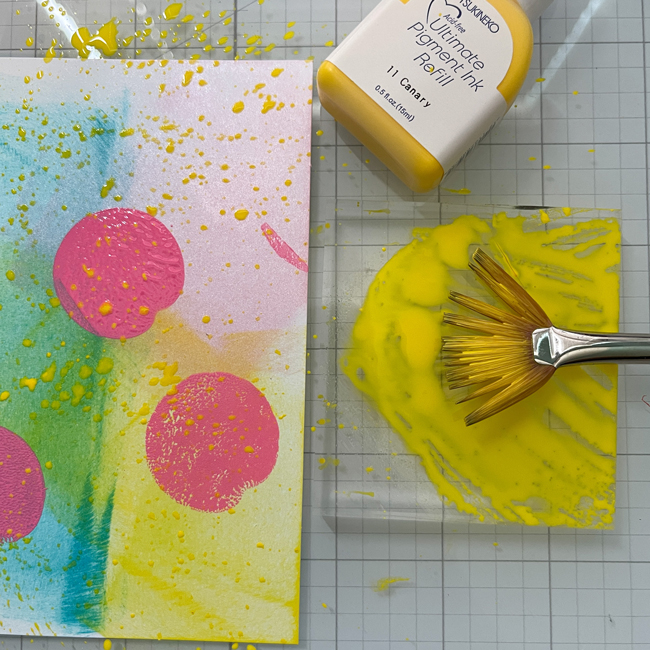
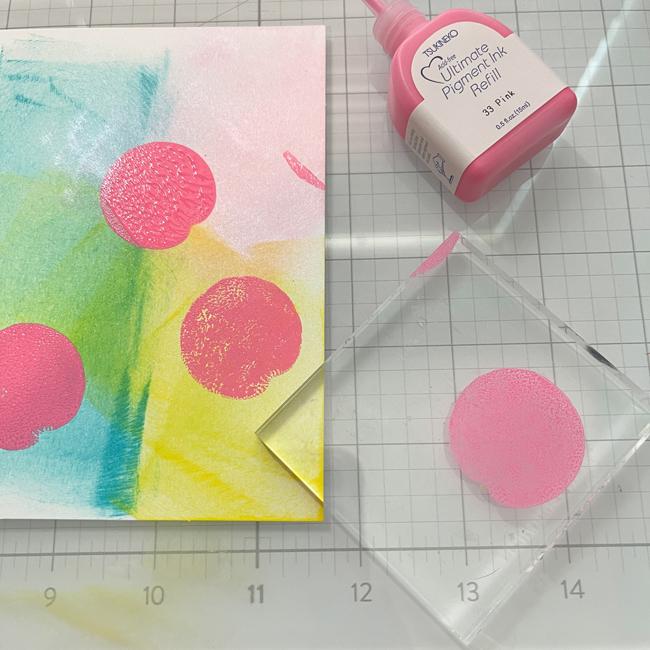
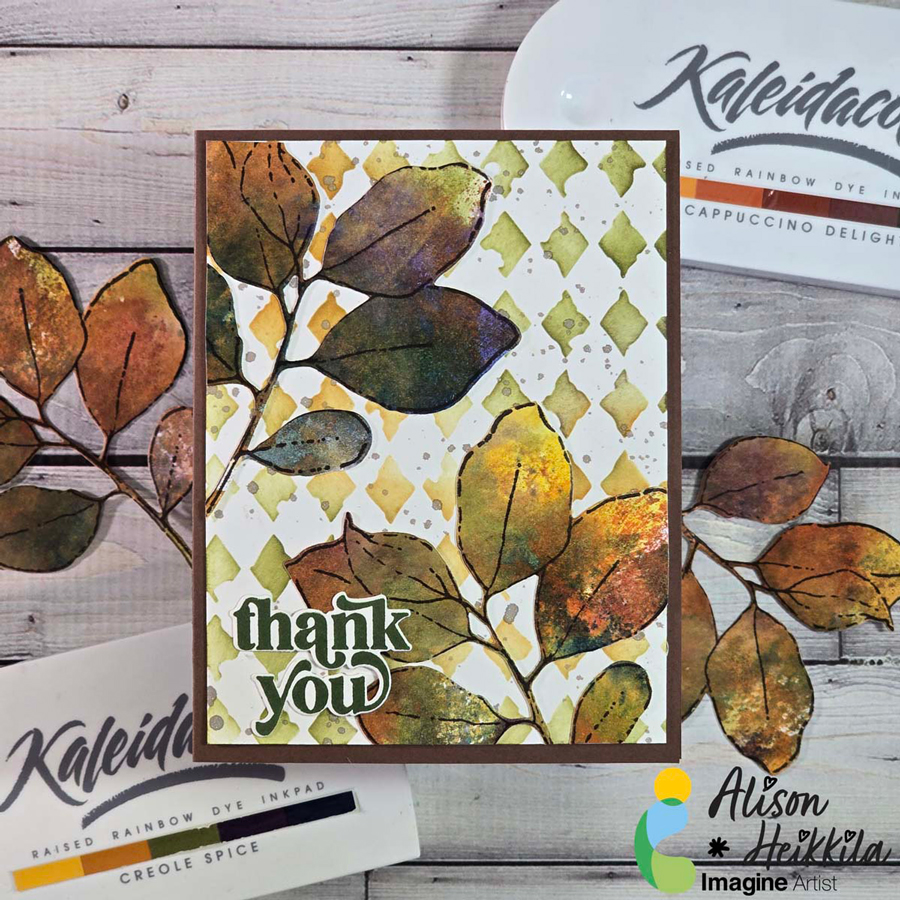
Hello! Alison Heikkila here, and my latest project for Imagine started as a Thanksgiving card, but it morphed into one that can be used at any time of year. I think it’s beautiful, and it’s got some really simple techniques that help you get fantastic results without a lot of products.
Skill Level: Beginner
Time to Complete: 20 Minutes
*Some affiliate links are used in this post. That means that if you shop through these links, I may receive a small compensation, at no cost to you.
Here is the YouTube video. If it doesn’t play properly, please click HERE.
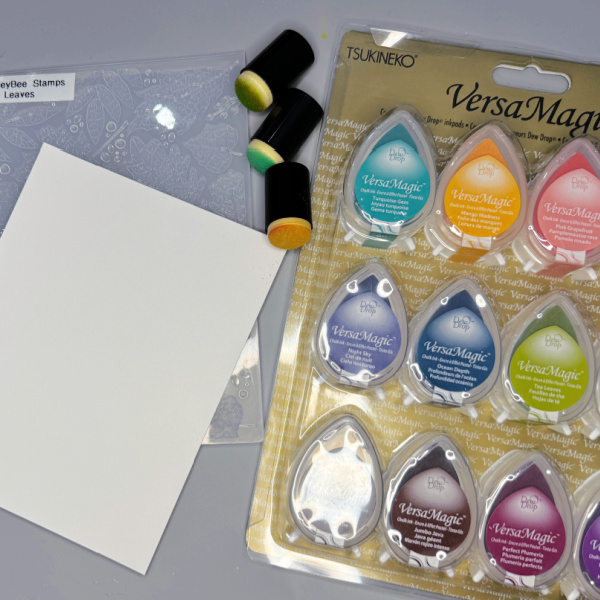
Supplies:
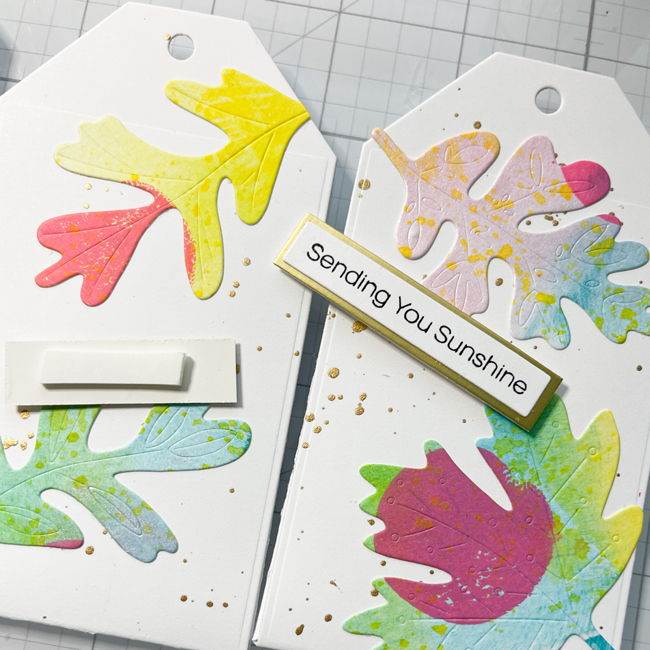
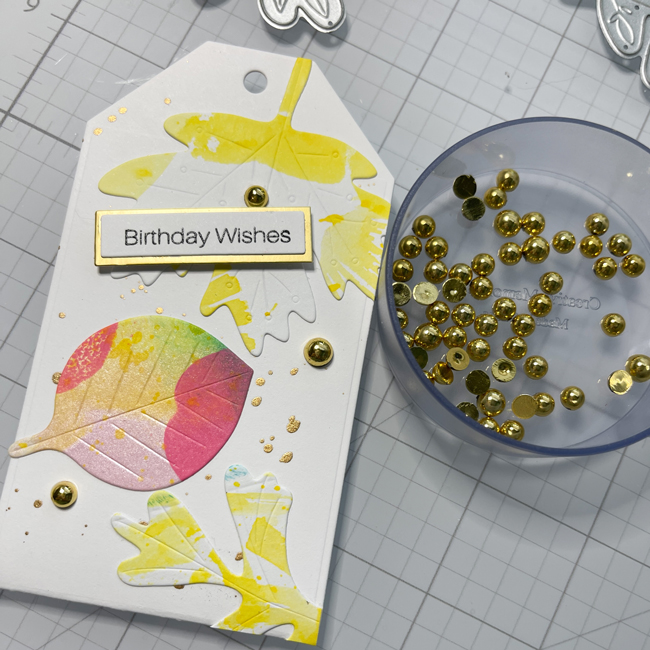
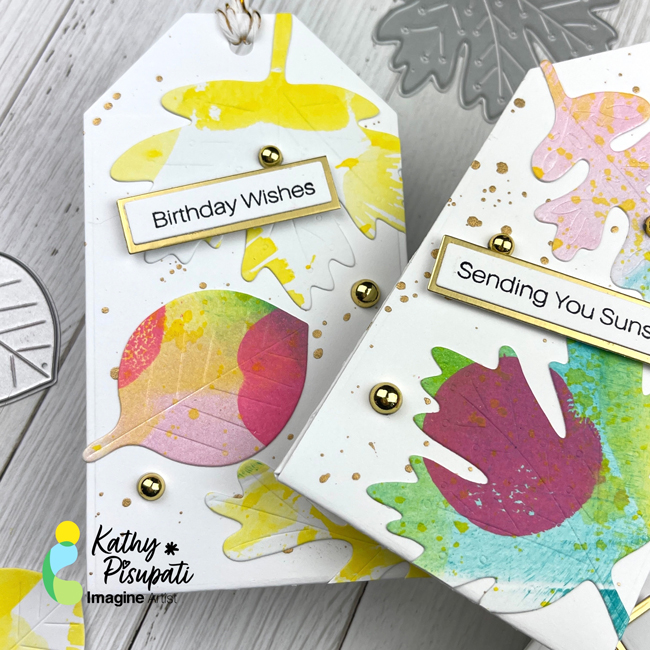
Imagine:
Kaleidacolor Inks in Creole Spice and Cappuccino Delight
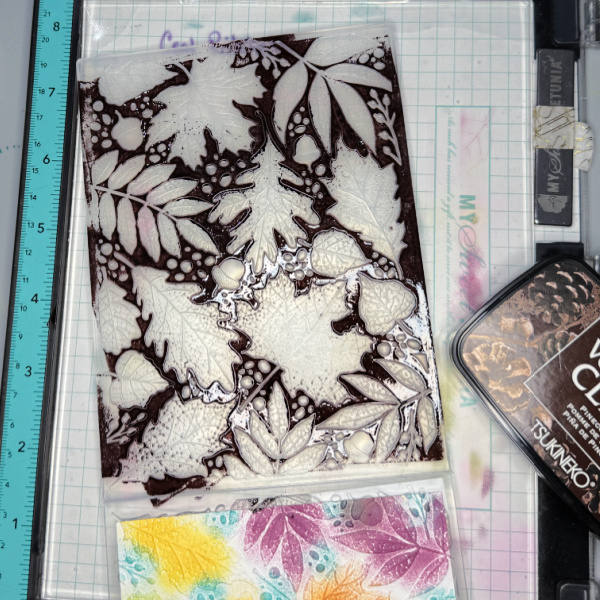
Fireworks! Spray in Rich Cocoa
VersaFine Clair Ink in Pinecone
VersaFine Clair Ink in Shady Lane
Other:
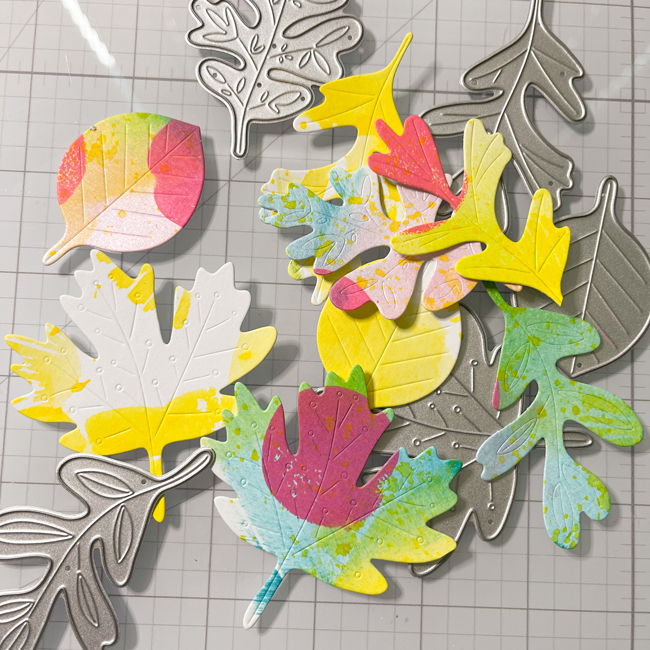
Sizzix and 49 & Market: Painted Leaves Stamp and Die Set
A Colorful Life Designs: Messy Harlequin Stencil
Pinkfresh Studio: Perfect Sentiment Stamp
Pinkfresh Studio: Perfect Sentiment Die
Strathmore: Smooth Bristol Cardstock
Bearly Arts Glue
The Rabbit Hole Designs: Cotton Tail Blending Brushes
Piece of clear acetate
Ivory and Brown Cardstock

I’m so pleased with the foliage. I really love these colors together. I hope you’ll give this a try! Please visit Imagine for more ideas on creative ways to use their products. Thanks so much for stopping by. Have an inspiring day!