By Anna Escalada York
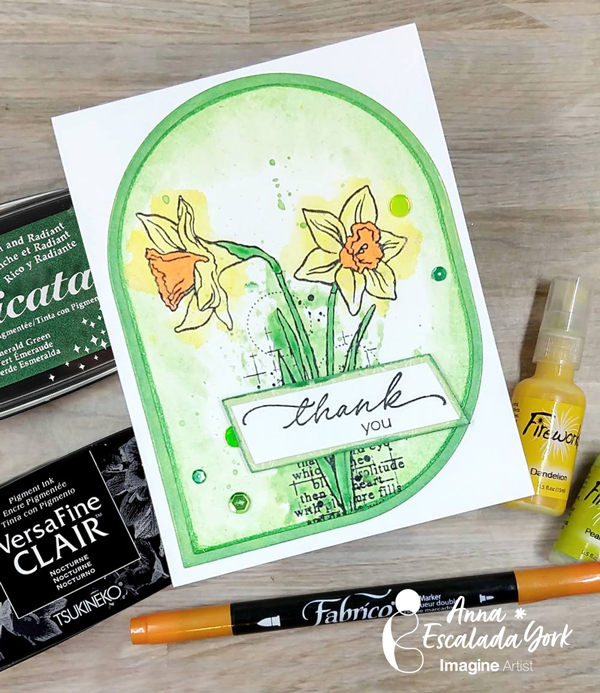
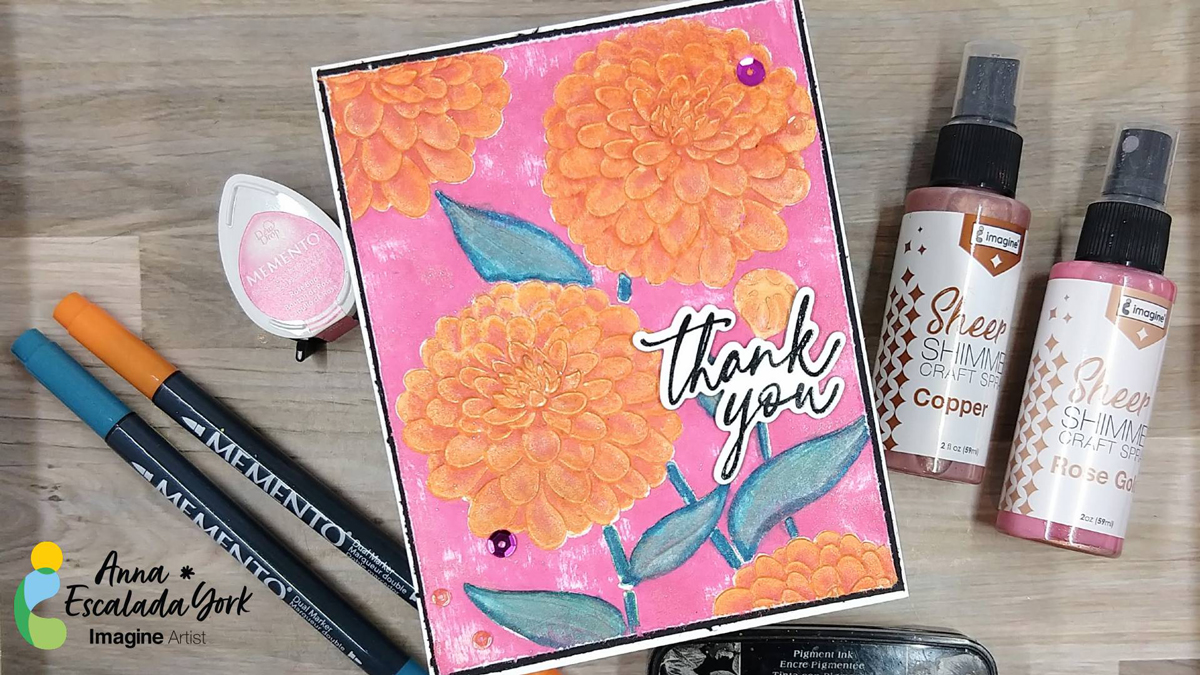
– For teachers, April and May are PACKED!! At this time of the year, it is hard for me to find the time to make elaborate cards, but I want to still be able to sit down and make a card in one sitting. So I turn to techniques that allow me to create something that are quick and easy but also are something to be proud of. This card features one of my go-tos for a quick but pretty card: the blackout technique.
Skill: Intermediate
Time: less than 1 hour
Directions:
Step 1:
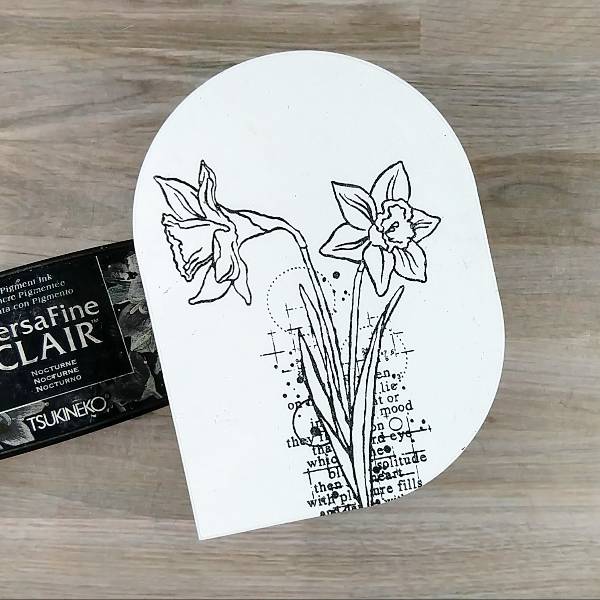
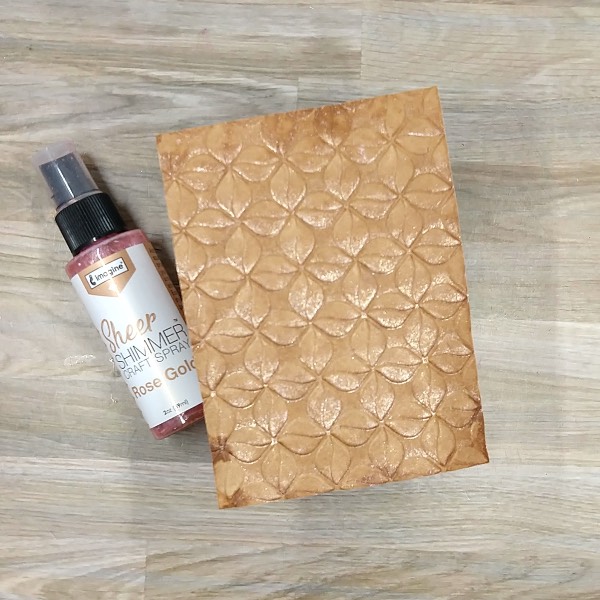
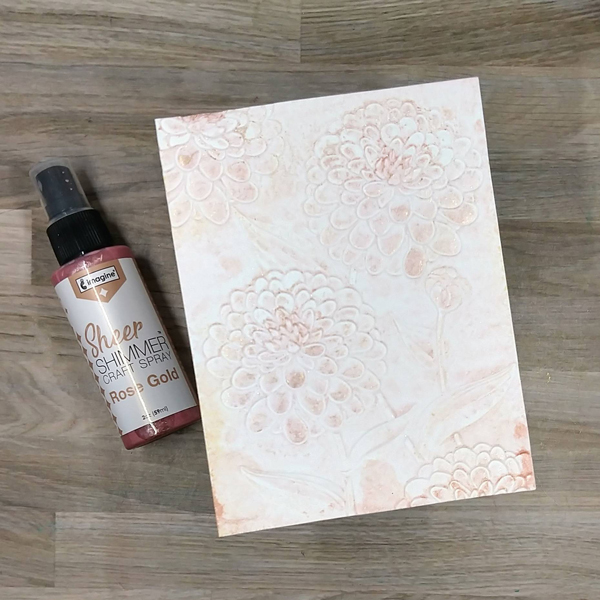
Use a paper trimmer to cut a piece of watercolor paper to be 5.5” x 4.25” (the size of an A2-sized card). Then spray one side a floral embossing folder with Rose Gold Shimmer Craft Spray and run the watercolor panel through the die cutting machine sandwiched between the two sides of the embossing folder. You will be using the debossed (indented) side of the embossed panel. Allow to dry.
Step 2:
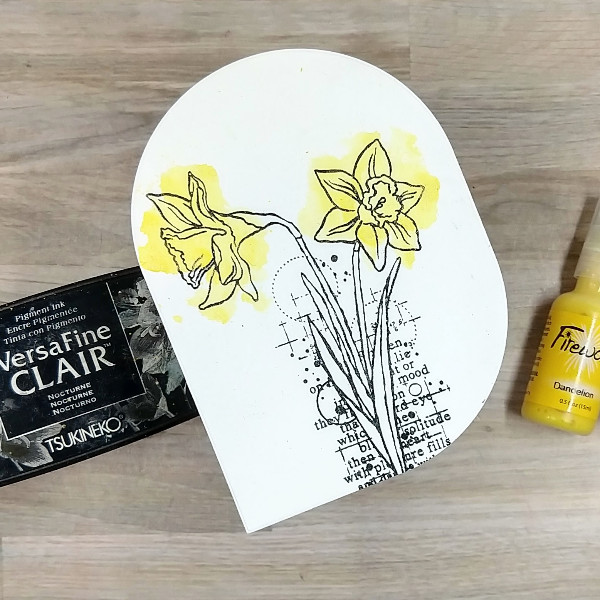
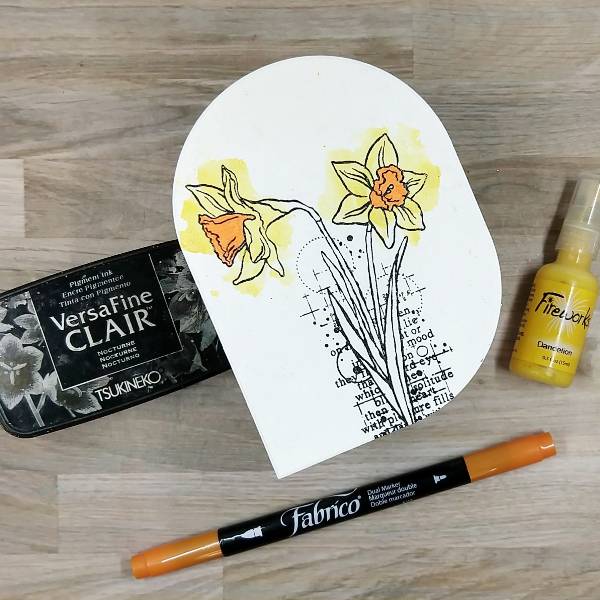
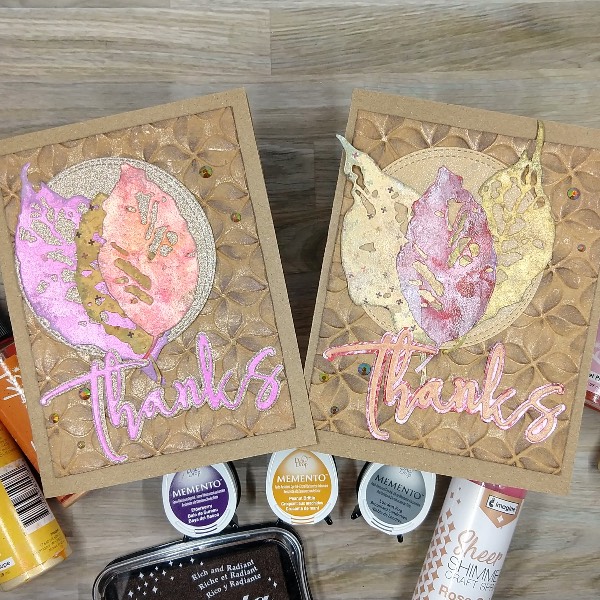
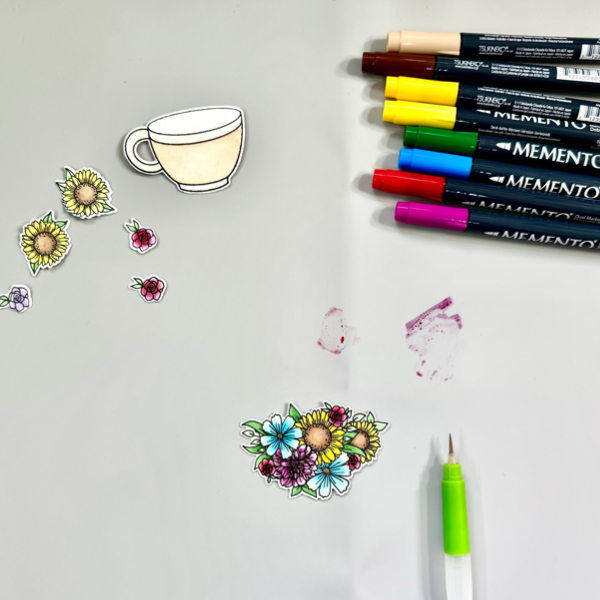
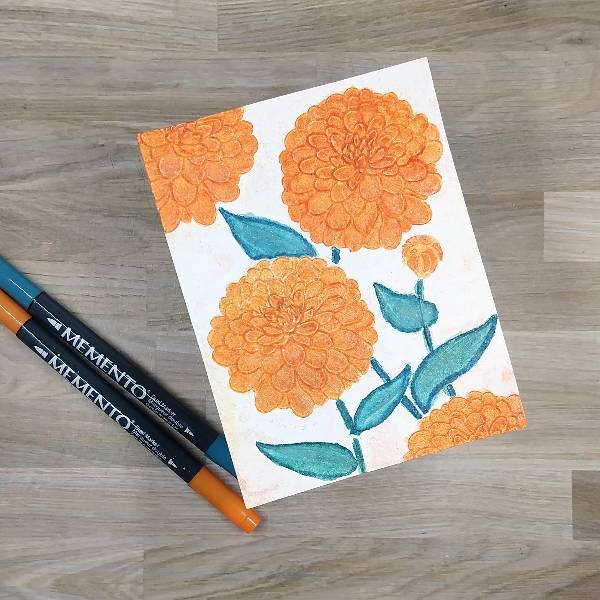
Color the flowers with Tangelo Memento Dual Marker. Color the edges of the leaves and the stems with Teal Zeal Memento Dual Marker. Then watercolor over all parts of the leaves and the stems with Teal Zeal Memento Dual Marker mixed with water. Allow the water to dry and repeat the process a few times to help add depth to the centers of the leaves.
Step 3:
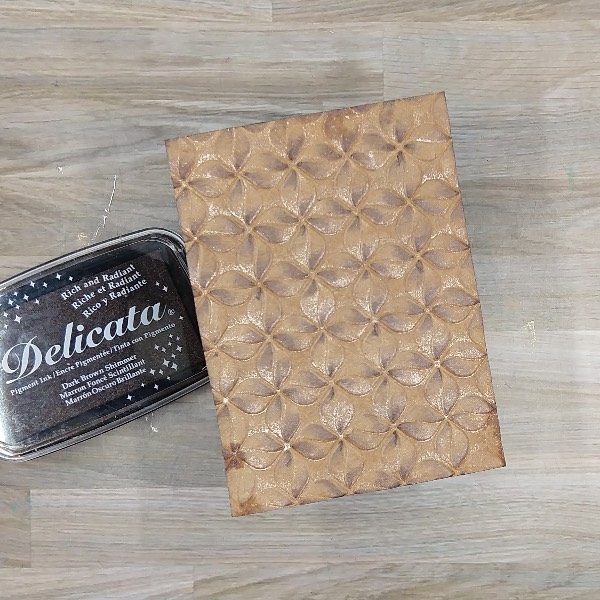
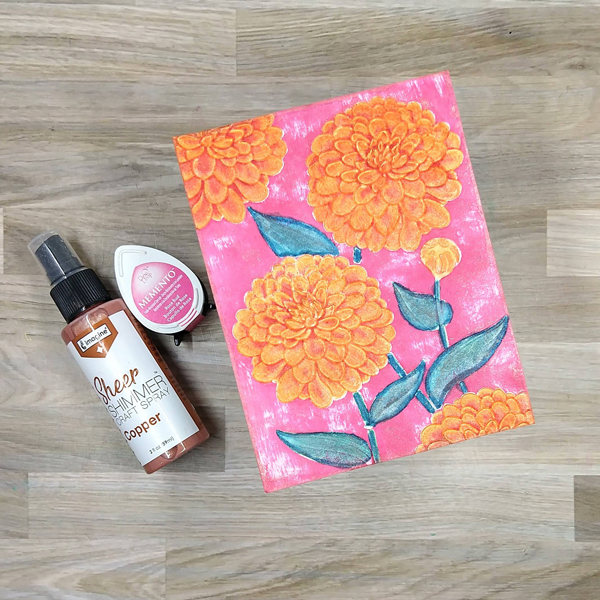
Gently run the Rose Bud Memento ink pad across the card. Because the flowers are indented, they will mostly not be colored with the ink, but the flat parts of the card will be. I liked that some of the areas were not colored with the ink but additional passes of the ink pad can give consistent, universal coverage.
Spray Copper Sheer Shimmer Craft Spray onto a piece of acetate and watercolor smoosh the panel to add a little more sparkle. Lightly brush more of the copper spray on the leaves and allow the whole thing to dry.
Step 4:
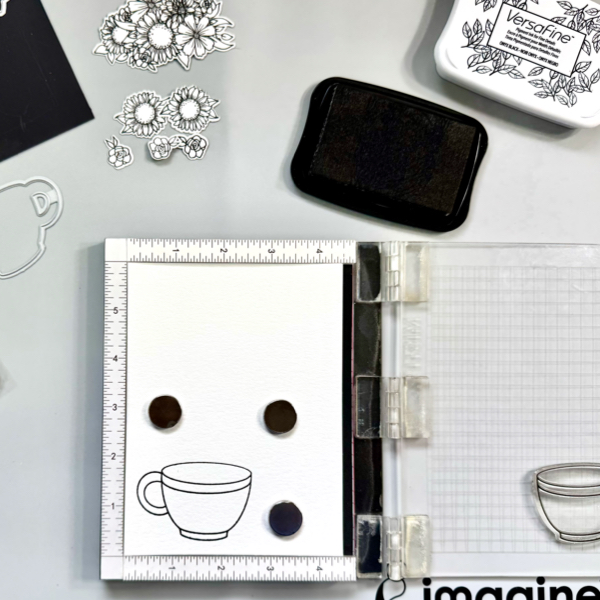
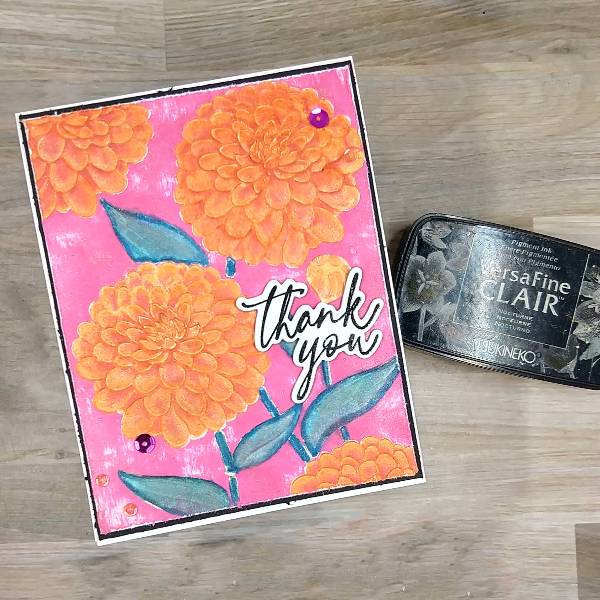
Stamp the sentiment with Nocturne VersaFine Clair Ink and heat emboss with clear embossing powder. Then die cut the sentiment with the corresponding die. Use the die cut to die cut two additional layers of scrap cardstock and glue them behind the sentiment die cut for dimension.
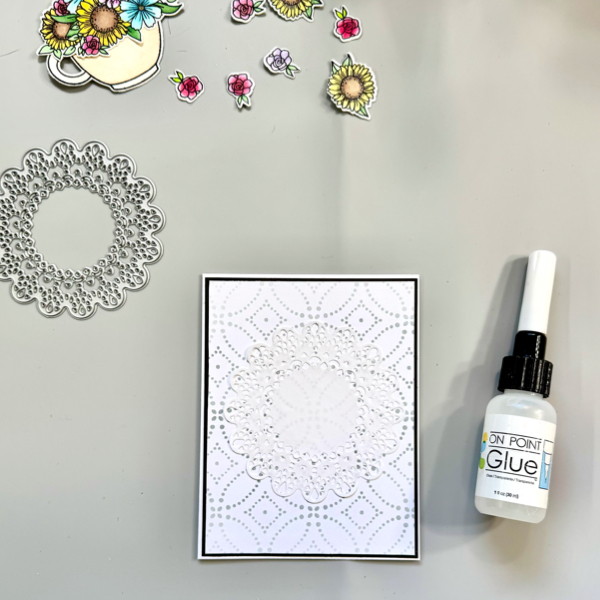
Glue the sentiment onto the embossed card panel.
Trim the edges of the embossed card panel and distress the edges with a pair of scissors. Trim a piece of black cardstock a little bit bigger than the pink embossed panel and glue the two layers together. Glue pink and orange sequins on the upper right and lower left corners of the card panel. To finish the card, glue the whole card panel onto a white A2-sized card base.
Art Supplies
Imagine
Memento Dual Markers – Tangelo and Teal Zeal
Sheer Shimmer Craft Spray – Copper and Rose Gold
VersaFine Clair Ink – Nocturne
Other
Altenew – die set – Magnificent Magnolias
Altenew – stamp set – Magnificent Magnolias
Catherine Pooler – sequin mix – Miami
Simon Says Stamp – embossing folder – Magnificent Mums
Clear Embossing Powder
Heat tool
Glue
Watercolor paper
Black watercolor paper