By Jessica Lin
Skill: Beginner
Time: 30 minutes
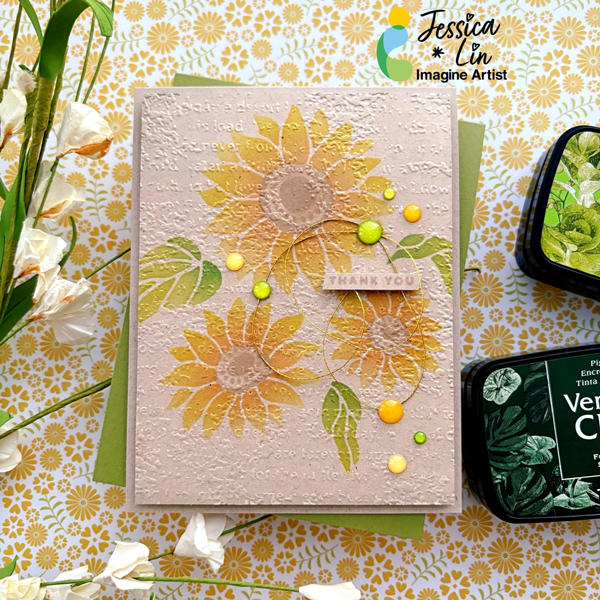
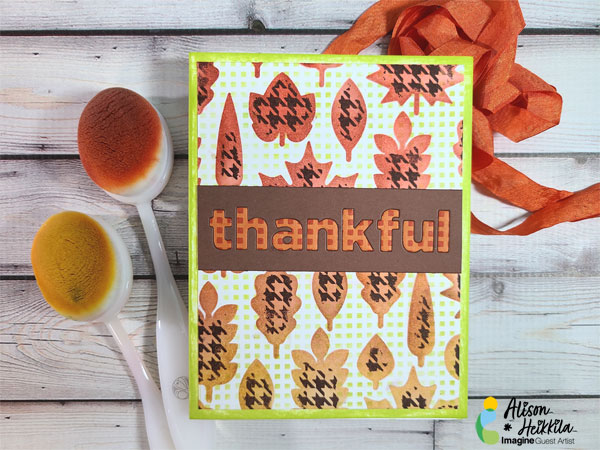
Hi everyone! It’s Jessica here. Have you tried blending inks on kraft colored cardstock before? It’s an easy way to create a new look and I love using this trick for fall and Thanksgiving cards. I’ll be using several VersaFine Clair ink pads for today’s project. Let’s see how these color changes on kraft colored cardstock!
Directions:
Step 1:
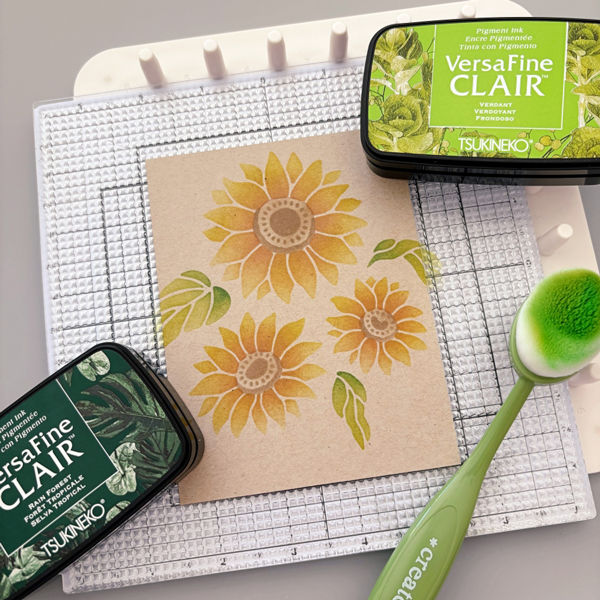
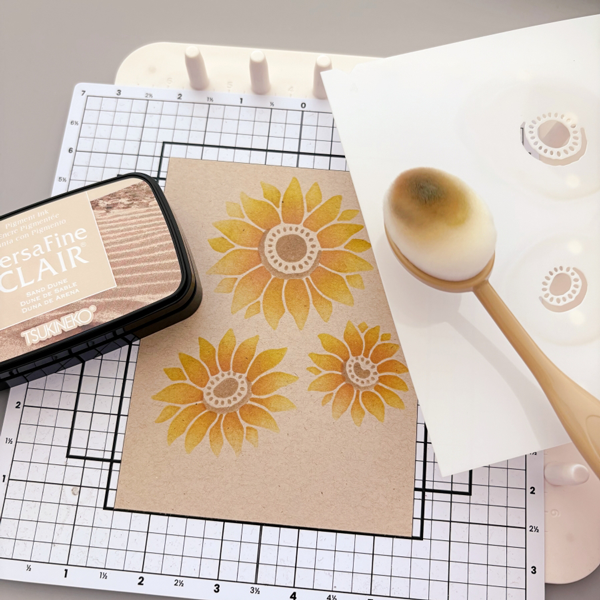
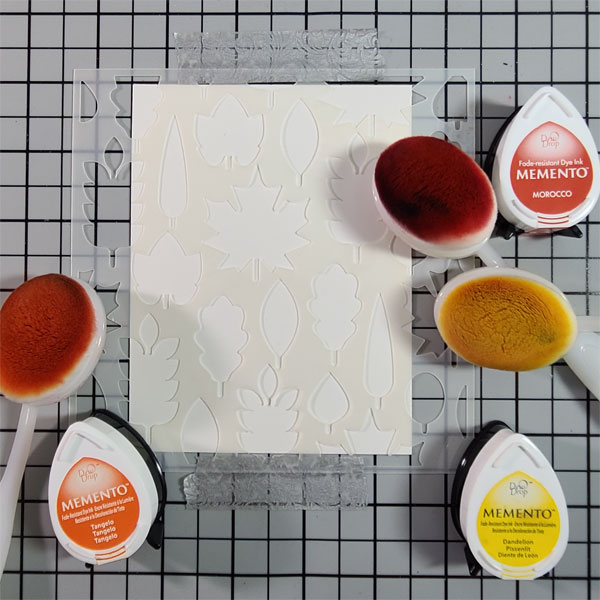
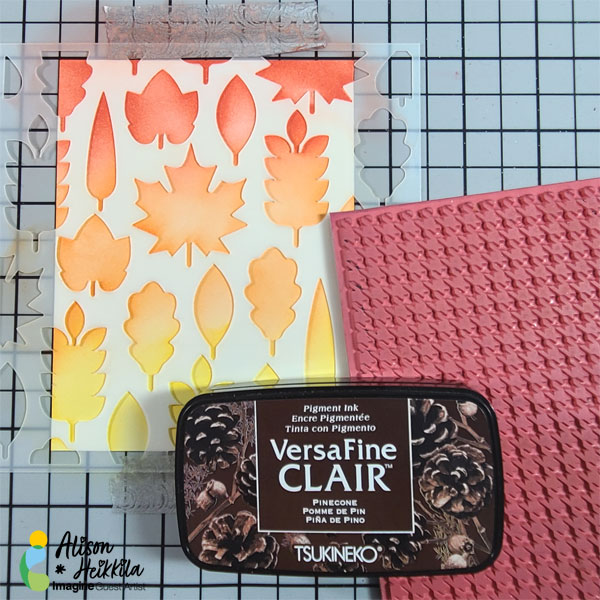
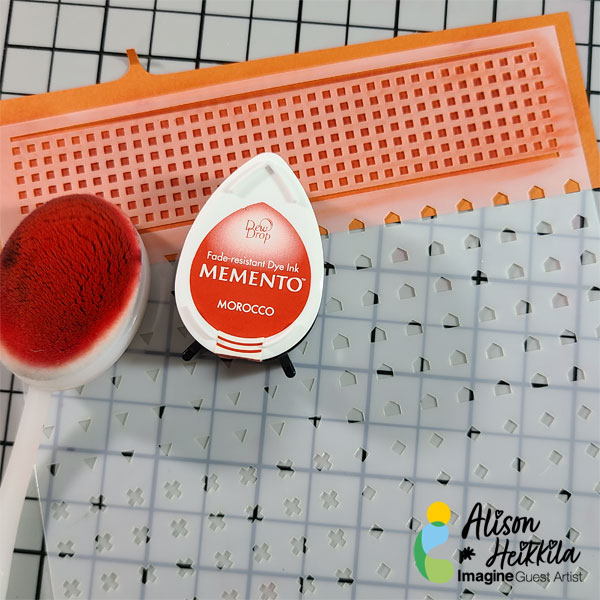
Cut a piece of Neenah Desert Storm cardstock to 4’’ x 5 ¼’’. Then ink blend VersaFine Clair Cheerful ink onto Layer 1. The layering stencil set I’m using today is called Abundant Beauty from Stampin’ Up.
Step 2:
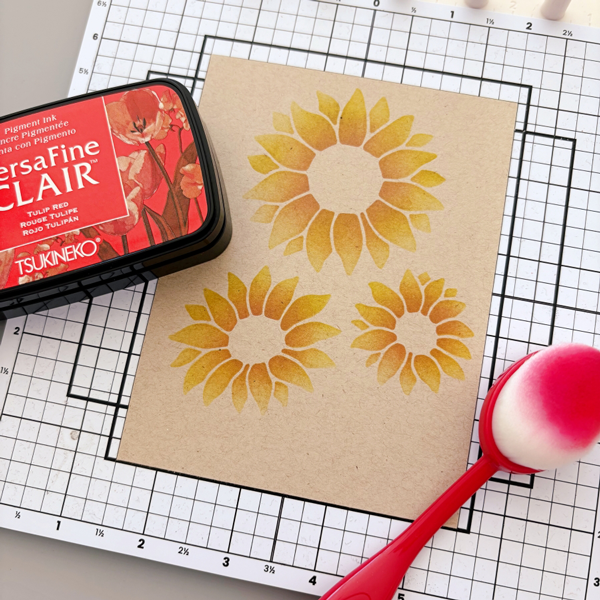
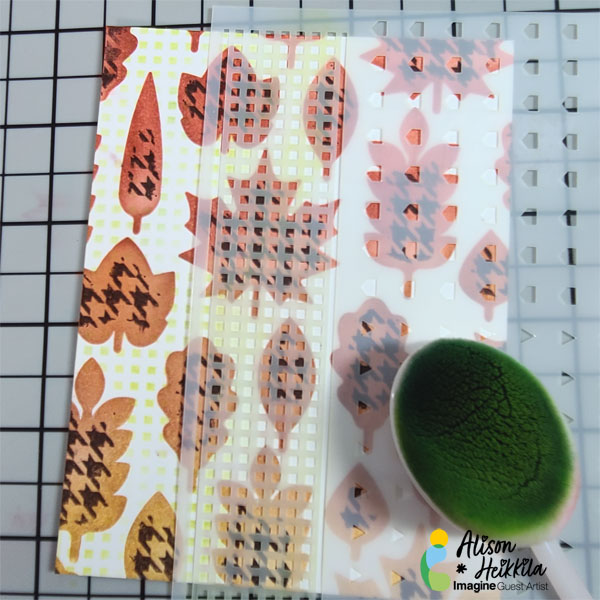
Using the same layer of stencil, ink blend the center of the sunflowers with VersaFine Clair Tulip Red ink pad. This is an orangey-red shade on white cardstock, but on kraft cardstock, it has a golden brown undertone.
Step 3:
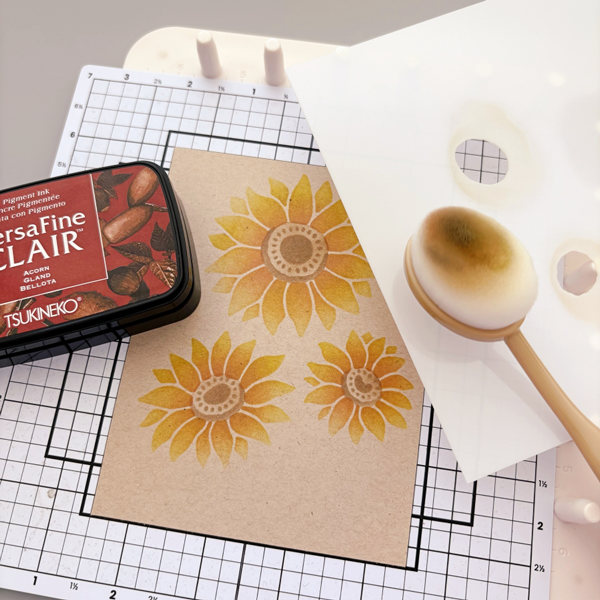
Then I ink blended VersaFine Clair Sand Dune on Layer 4 of the Abundant Beauty stencils.
Step 4:
For Layer 3, I used VersaFine Clair Acorn. This is a darker brown shade so I ink blended very lightly. You could also use Sand Dune for Layer 3 and Acorn for Layer 4 instead.
Step 5:
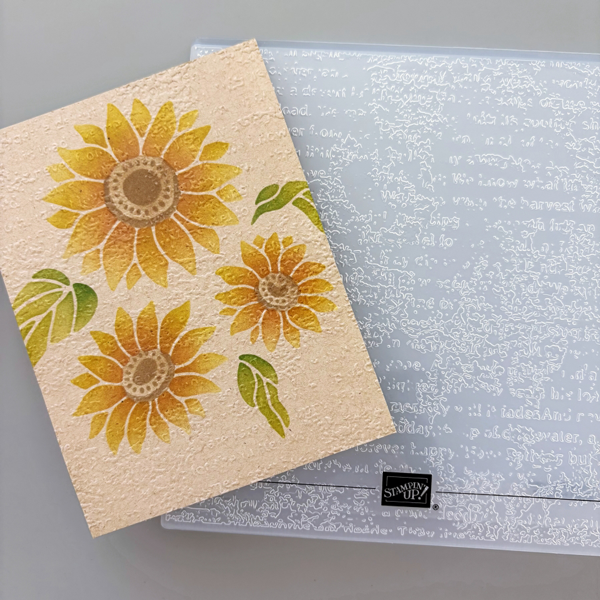
The leaves images are on Layer 2. I ink blended with VersaFine Clair Verdant and Rain Forest. Usually I would pick Green Oasis to pair with Verdant. However, the kraft cardbase mutes the color saturation of the ink pad, so Rain Forest brings out the dark green contrast better than Green Oasis on kraft cardstock.
Step 6:
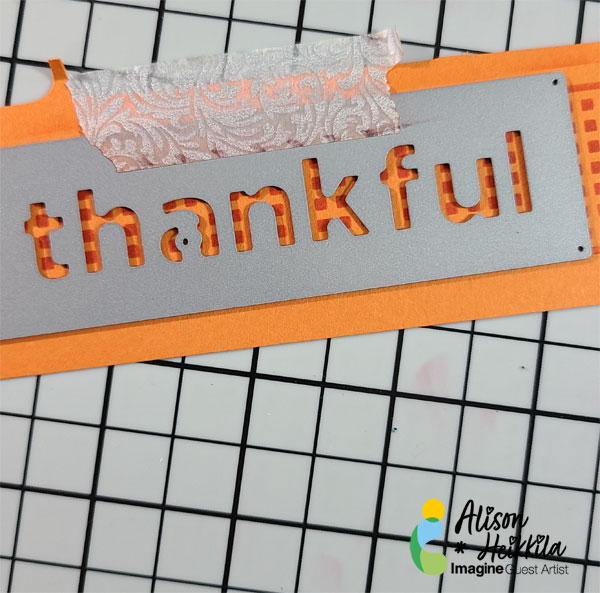
To add a little more texture to this simple card, I embossed the stenciled panel with Stampin’ Up’s Timeworn Type embossing folder. Then I embellished the card with Doodlebug Design’s Sprinkles enamel dots and some gold thread and the card is complete!
Craft Supplies
Imagine Supplies:
● VersaFine Clair – Cheerful, Tulip Red, Sand Dune, Acorn, Verdant, Rain Forest
● StazOn Cleaner
● Tear-It! Tape
● Craft Mat
Other Supplies:
● Stampin’ Up! – Stencils – Abundant Beauty
● Stampin’ Up! – Embossing Folder – Timeworn Type
● Doodlebug Design – Glitter Enamel Dots – Limeade, Bumblebee


 e.
e.