Christmas in July Gift Card Holder 

By Jessica Lin

Skill: Intermediate 
Time: 45 minutes 

Hi everyone! It’s Jessica here. I want to share one of my favorite ways to create a gift card holder today. It’s super simple and quick to put together. I picked a Christmas theme but you could easily change it to a birthday or wedding gift card holder. 
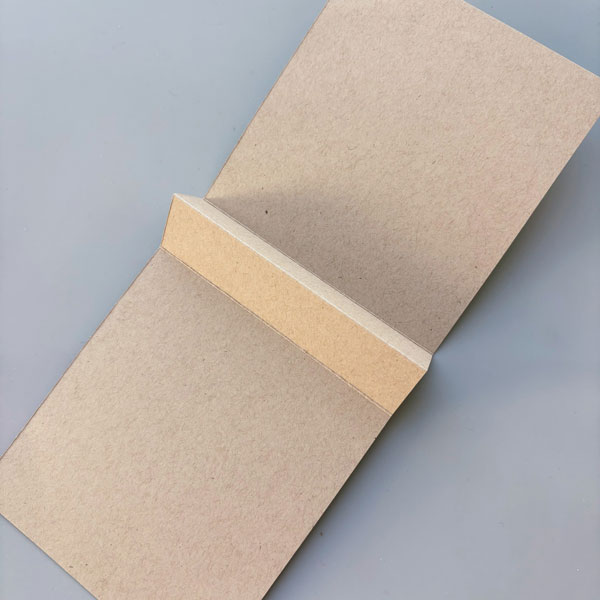
Step 1:
Let’s start by creating the base of the gift card holder. Using Environment Desert Storm cardstock, cut it in half to create a standard A2 card base (4 ¼’’ x 5 ½’’), and score at 4 ½’’, 5 ½’’ and 6 ½’’. Fold along the crease to create a peak just like the one in the photo. 
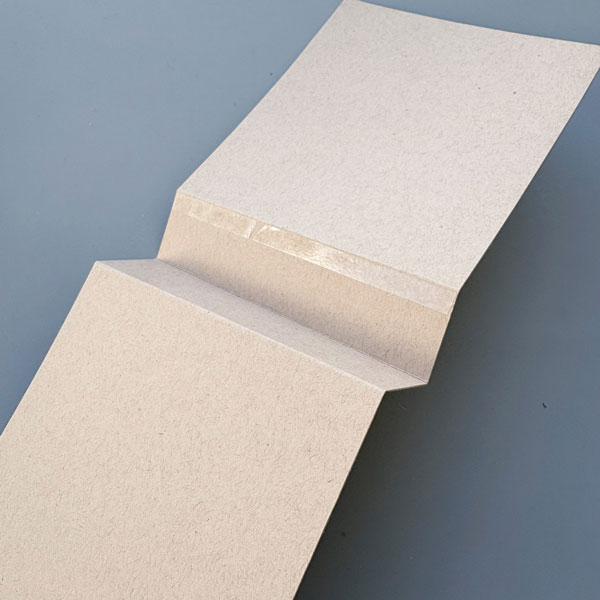
Step 2:
Next, flip the card base around and apply Tear-It! Tape to the top edge of the scored line. Notice how the “peak” from earlier has turned into a “valley”. You want to avoid adding adhesive to the center of the “valley” since that will become the opening for the gift card holder. 
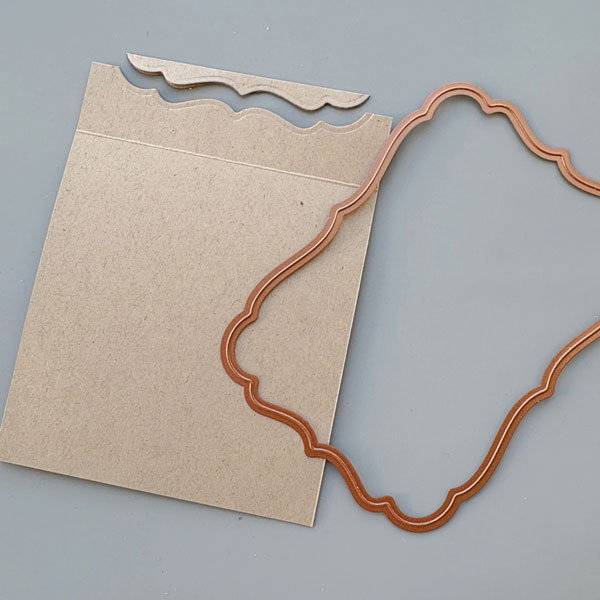
Step 3:
Once the middle portion of the card base is adhered together, you will have a new card base that is 4 ¼’’ x 5’’ with an inner flap. Now, we are ready to create the opening for the gift card. Place the largest frame die from Spellbinders Labels Seventeen set to die cut the gift card opening. The trick is to die cut as little cardstock as possible so that there is a large flap area to hold your gift card. 
Step 4:
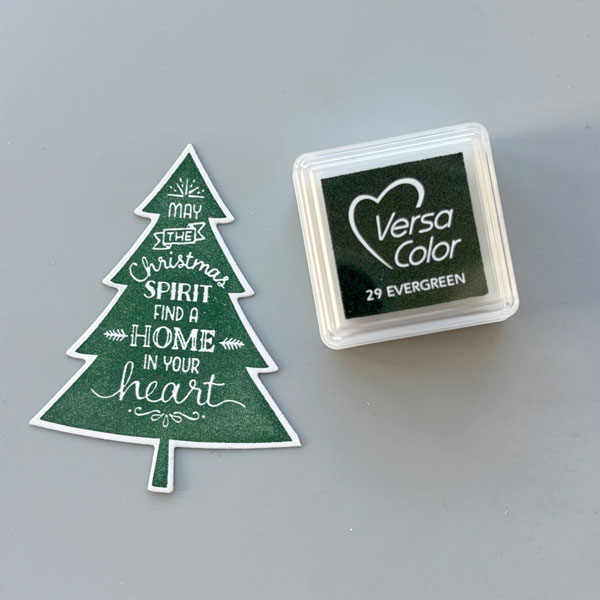
Let’s decorate the front of the gift card holder next. I stamped this Christmas tree image on Classic Crest Solar White cardstock with VersaColor Evergreen ink pad and die cut the image with the coordinating die. 

Step 5:
Then, I stamped another Christmas tree design with VersaMagic Tea Leaves ink pad. Both of these stamps are from Stampin Up’s Peaceful Pines set. 
Step 6:
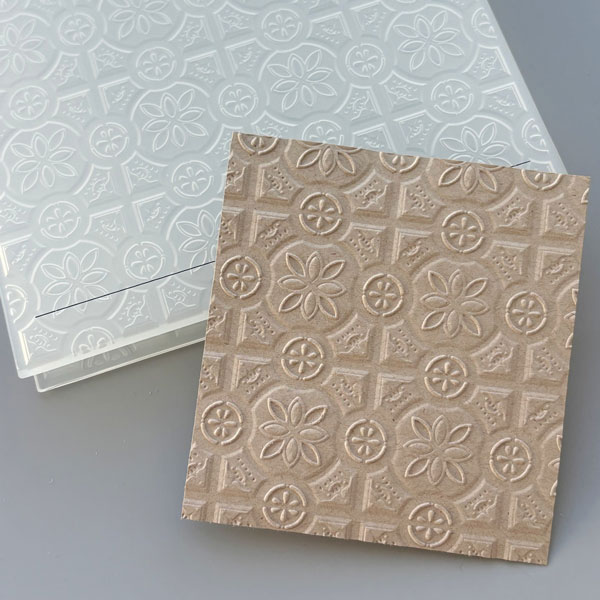
I decided to add an embossed panel to add some interest to the background. I trimmed a piece of Environment Desert Storm cardstock to 3 ¾’’ x 4 ½’’ and embossed it with Stampin’ Up’s Tin Tile embossing folder. The details really pop on this kraft colored cardstock, don’t you think? 

Step 7:
For the sentiment, I picked this scripty “Christmas” die from Ellen Hutson’s Merry & Bright set and die cut it with DCS Gold Glitter Heavyweight 12 x 12. This gold glitter cardstock is becoming a staple in my craft room – it’s easy to die cut with and does not shed any glitter (no glitter mess!). 
Step 8:
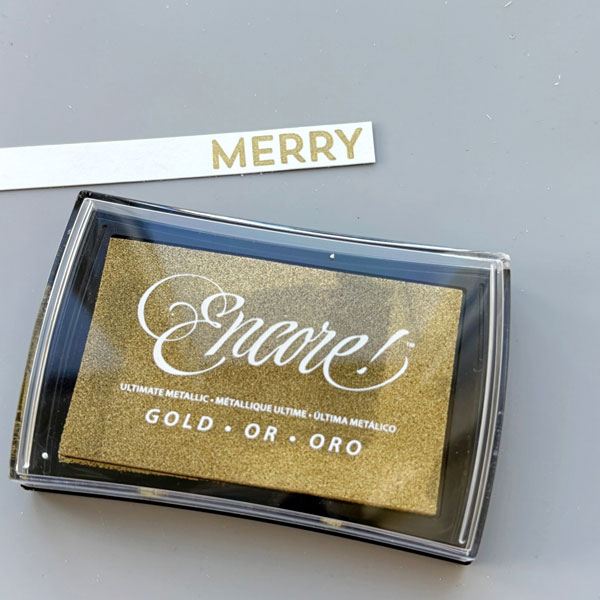
Finally, I stamped “Merry” with Encore! Gold ink pad to complete the sentiment. I picked this color since it matches the DCS Gold Glitter Heavyweight cardstock really well. 
Step 9:
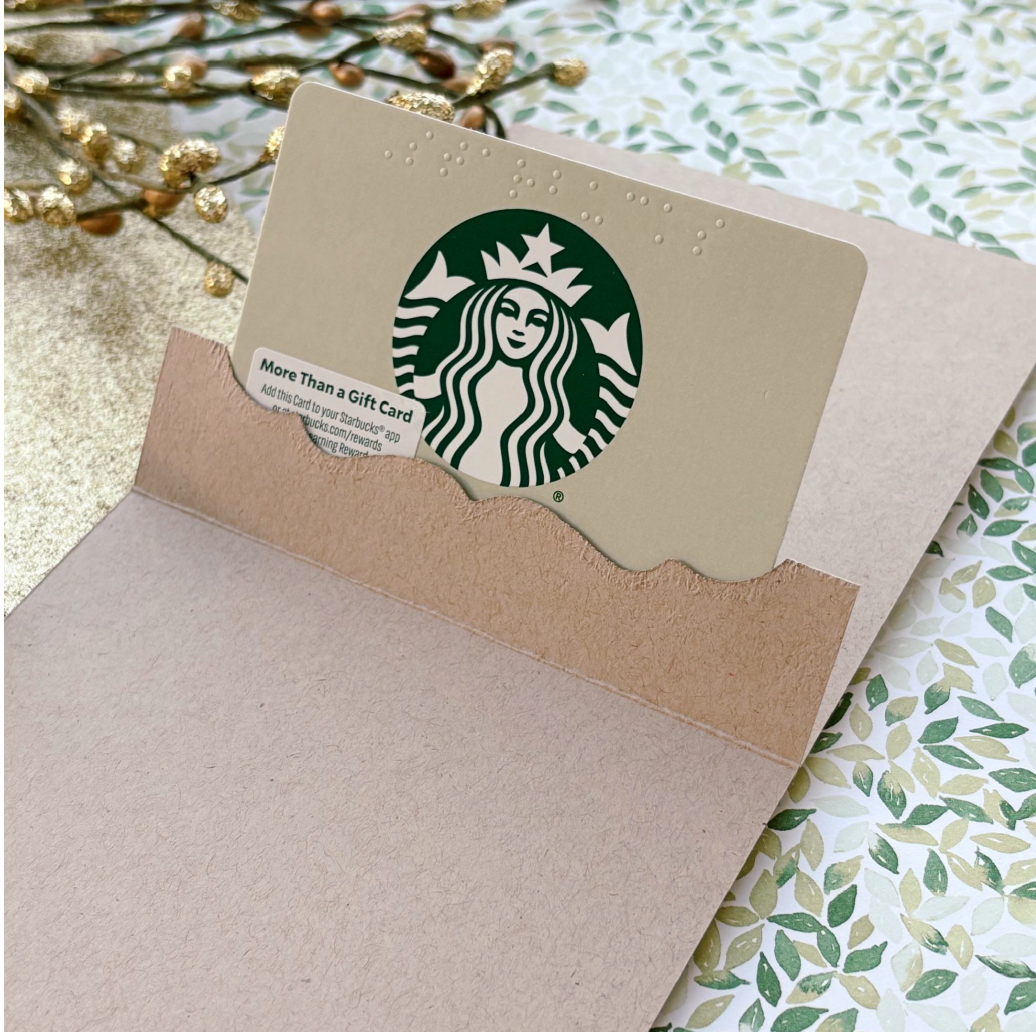
This is what the gift card holder looks like with a gift card inserted. I really like this gift card holder since it’s super easy to assemble and there’s space to write a personal message as well. I hope you enjoyed today’s tutorial, and thanks for stopping by! 

Products Used

Imagine Supplies: 

● VersaMagic – Tea Leaves 
● VersaColor – Evergreen 
● Encore! – Gold 
● StazOn Cleaner 
● Tear-It! Tape 
● Craft Mat 

Other Supplies: 

● Spellbinders – Dies – Labels Seventeen 
● Stampin’ Up! – Stamps – Peaceful Pines 
● Stampin’ Up! – Dies – Perfect Pines 
● Ellen Hutson’s – Dies – Merry & Bright 
● Winnie & Walter – Stamps – In a Word: Grand Merry 
● Stampin’ Up – Embossing Folder – Tin Tile 
● Neenah – Cardstock – Environment Desert Storm, Classic Crest Solar White 
● DCS – Cardstock – Gold Glitter Heavyweight 
Watercolor with VersaMagic, Brilliance and Delicata Ink Pads

By Jessica Lin

Skill: Beginner
Time: 45 minutes

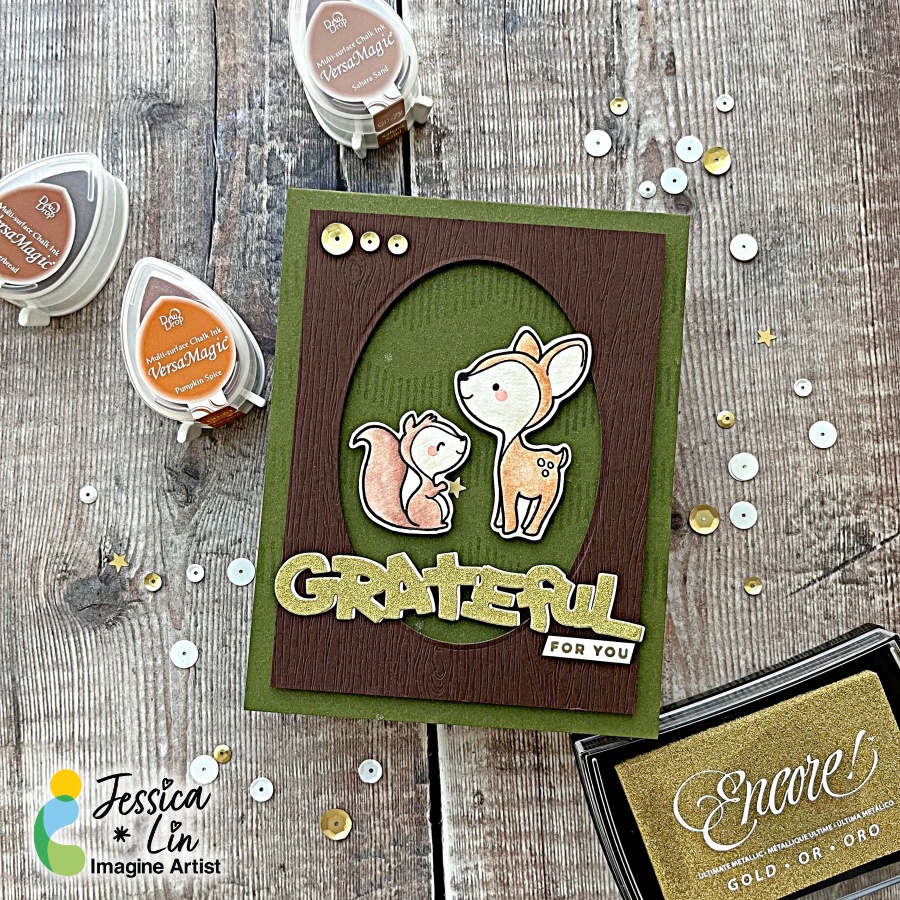
Hi everyone! It’s Jessica here and welcome back to another card tutorial. Thanksgiving is coming up and I love to make cards to express my gratitude! Today I’m also watercoloring with various ink pads from the VersaMagic, Brilliance and Delicata ink lines. Let’s begin!

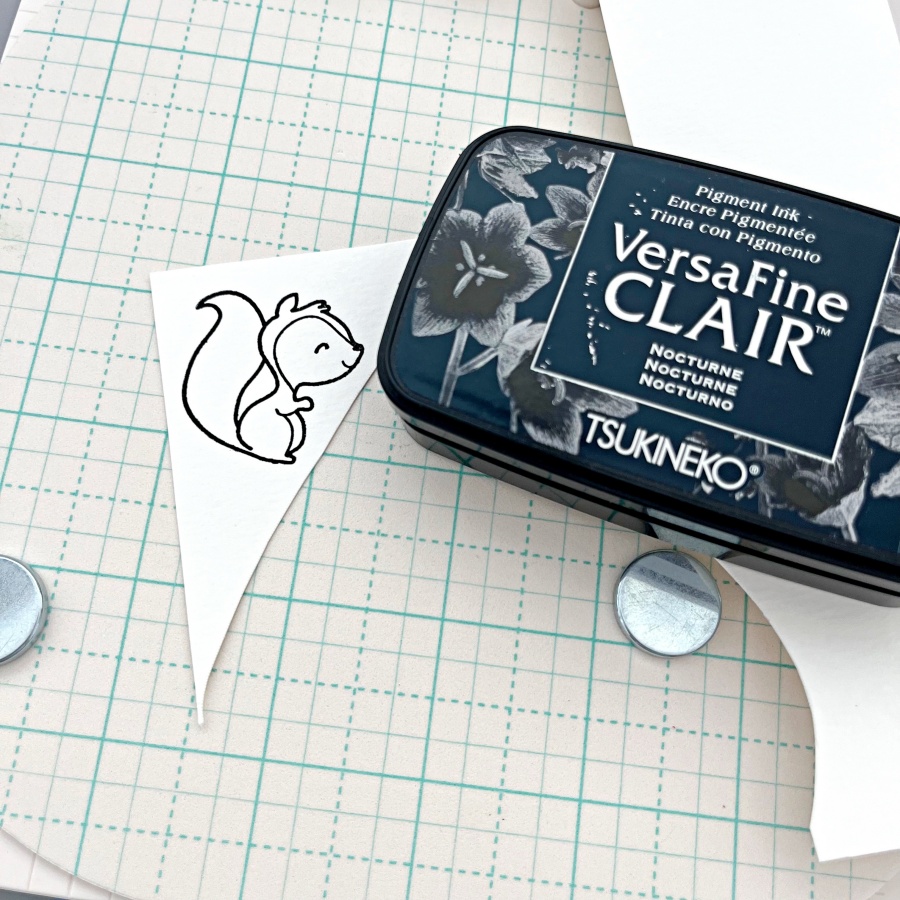
Step 1: Stamp the critter images from The Greeting Farm Wood Friends stamp set with VersaFine Clair Nocturne ink. This is my favorite black ink for stamping and it’s perfect for watercoloring.

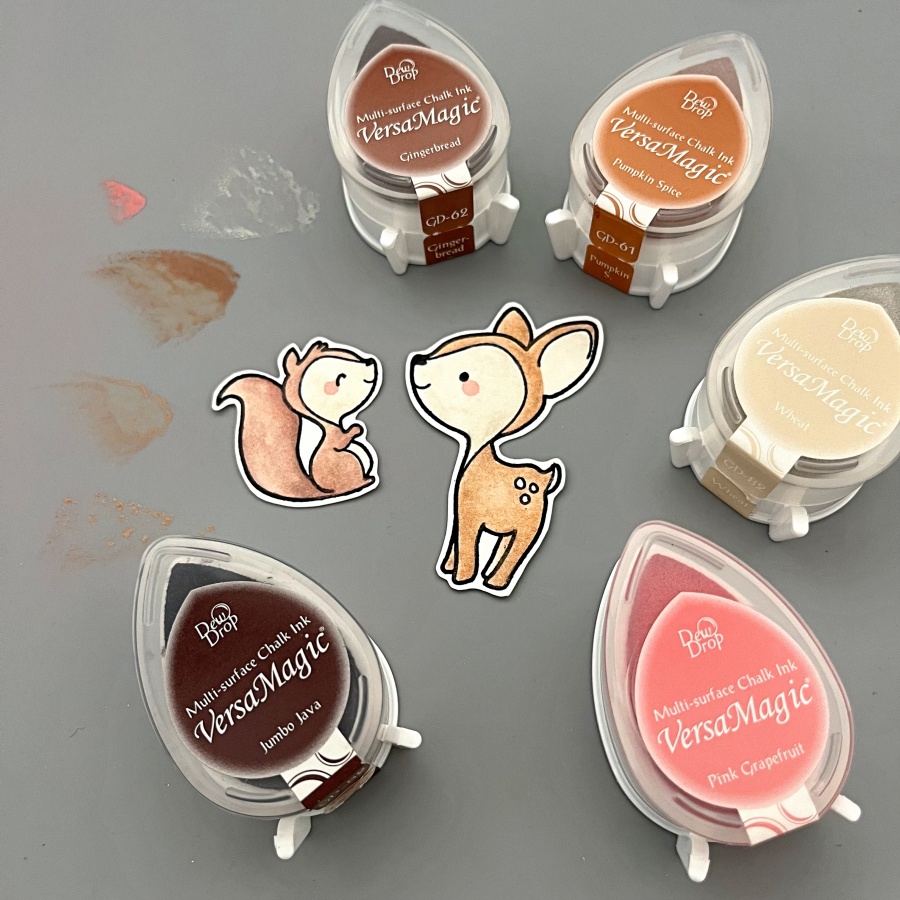
Step 2: Color the images with VersaMagic inks. I used Gingerbread, Pumpkin Spice and Wheat for the deer, and to add some shimmer and shine, I watercolored a layer of Celestial Copper from the Delicata ink line. For the squirrel, I used Sahara Sand and Jumbo Java as the base color and added Cosmic Copper Brilliance ink as an accent. VersaMagic, Delicata, and Brilliance ink pads are all pigment inks and I love that you can mix and match the colors for maximum creativity. For the final touch, I added small amounts of Pink Grapefruit to create their rosy cheeks.

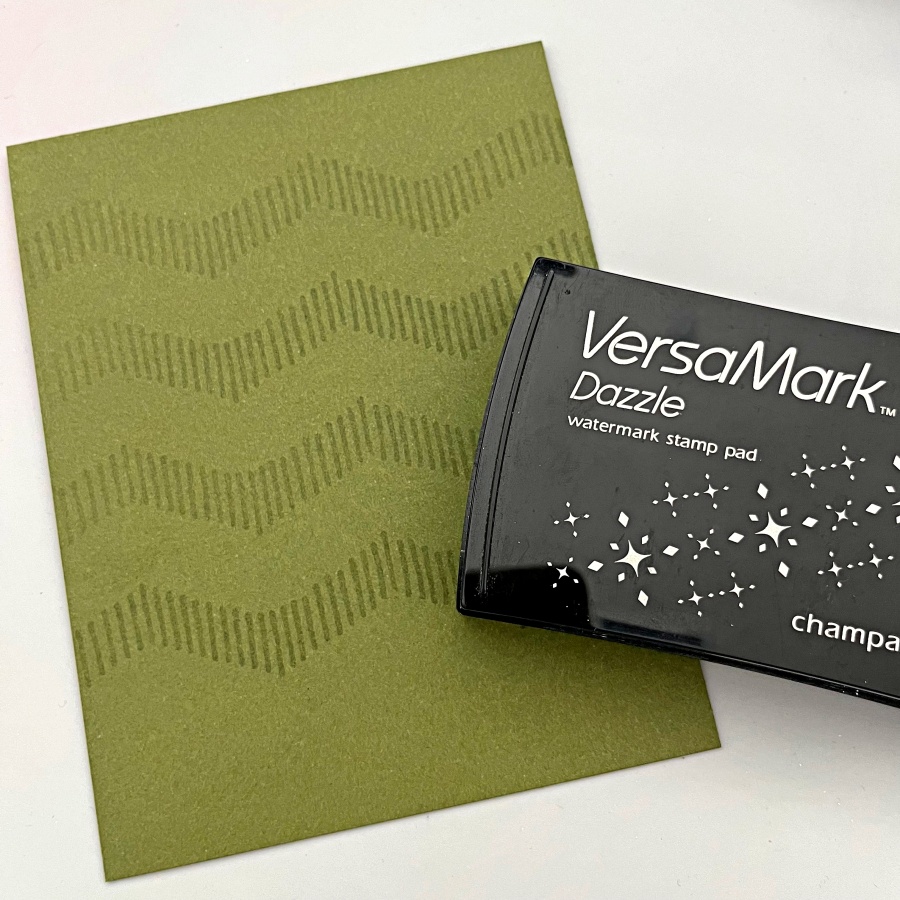
Step 3: I decided to use Stampin’ Up!’s Mossy Meadow cardstock as the cardbase since it’s a nice foresty color. I also stamped some geometric striped pattern with my VersaMark ink pad. Did you know that you could stamp with VersaMark as well? It’s known for being the best ink for heat embossing, but I also stamp with it quite often to create additional interest to the background.

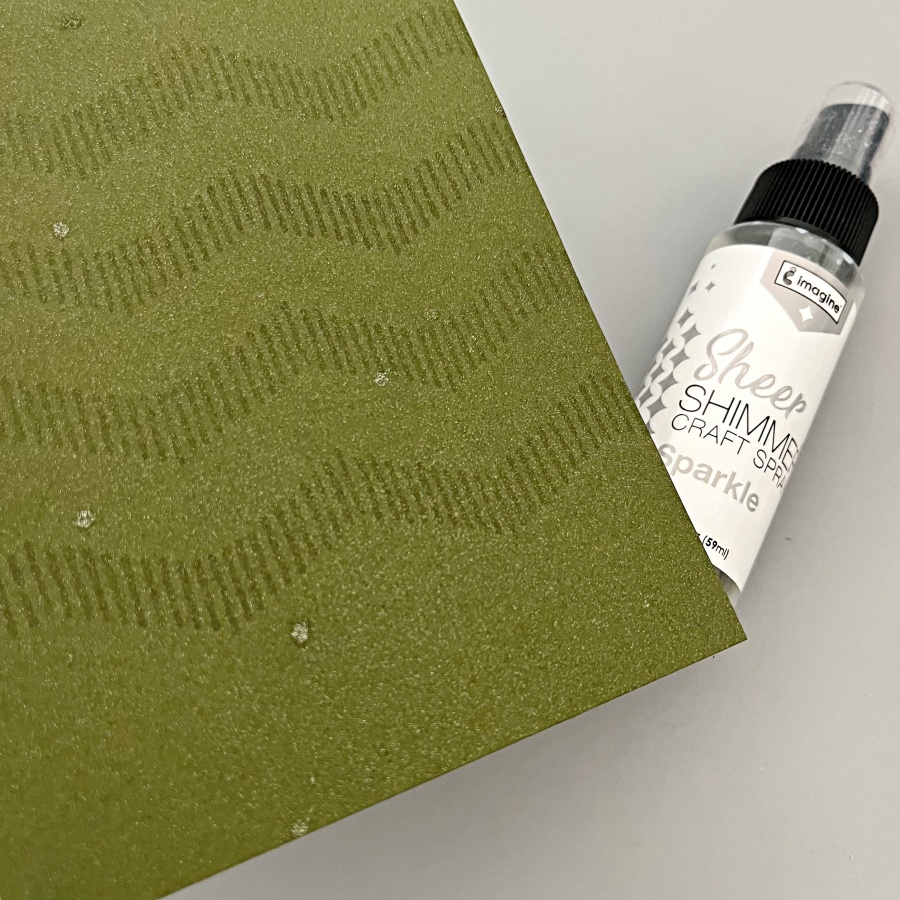
Step 4: Then I spritzed on a layer of Sheer Shimmer Spray in Sparkle. I wish you could see the shimmer in real life! The photo does not do its justice. The shimmer is just so beautiful and it truly transformed this simple card base.

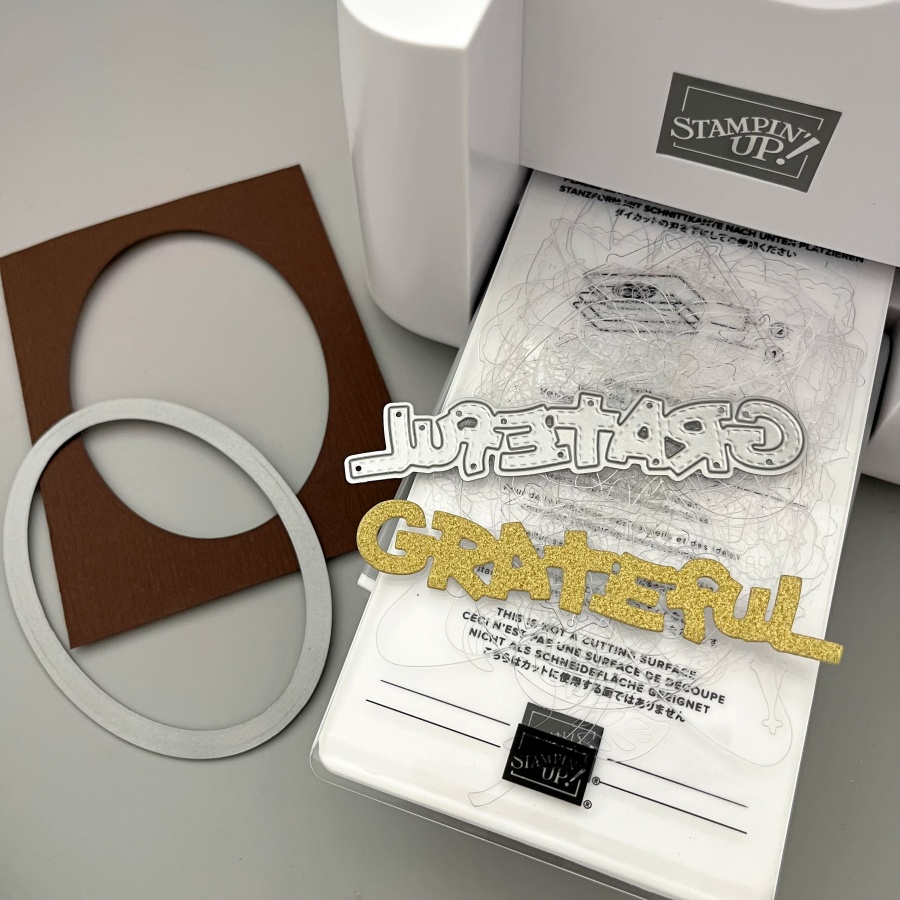
Step 5: Next, I die cut an oval panel as a frame for the little critters, and I die cut the Grateful sentiment from gold glitter cardstock as well.

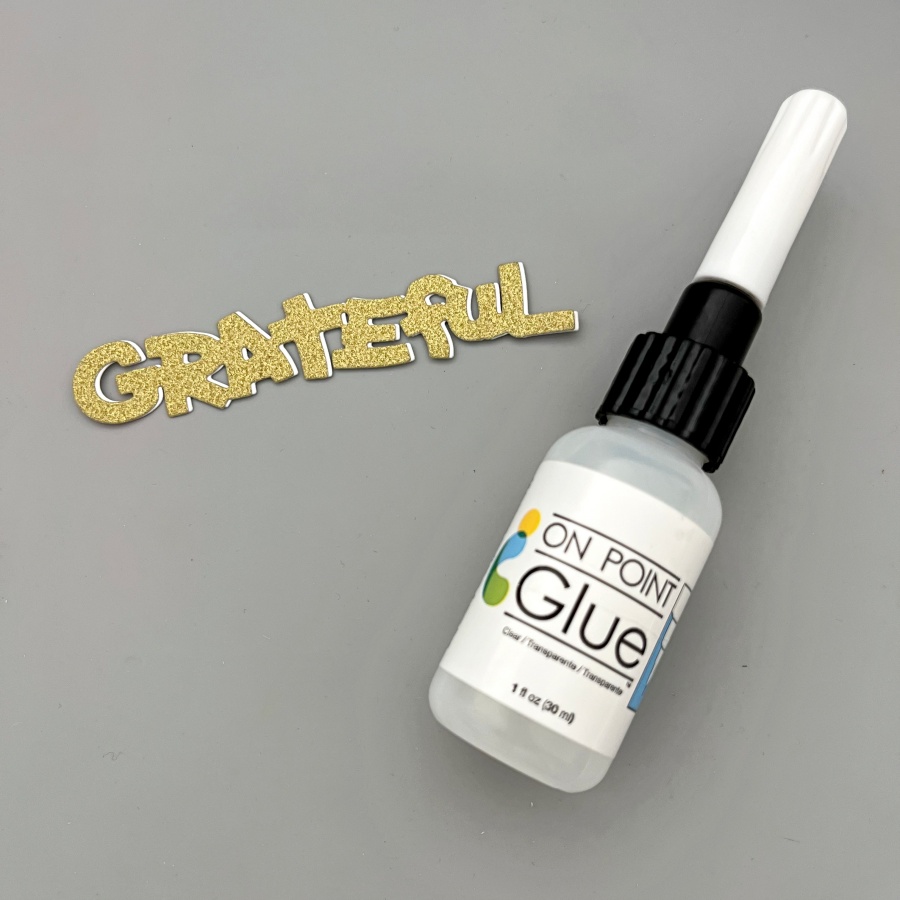
Step 6: To make the sentiment stand out a little bit more, I die cut again using white cardstock and layered it underneath the gold one. This creates a subtle shadow effect. The On Point Glue has a fine tip nozzle that makes applying small amounts of glue so easy. If you work with intricate dies all the time, I recommend having this glue in your stash!

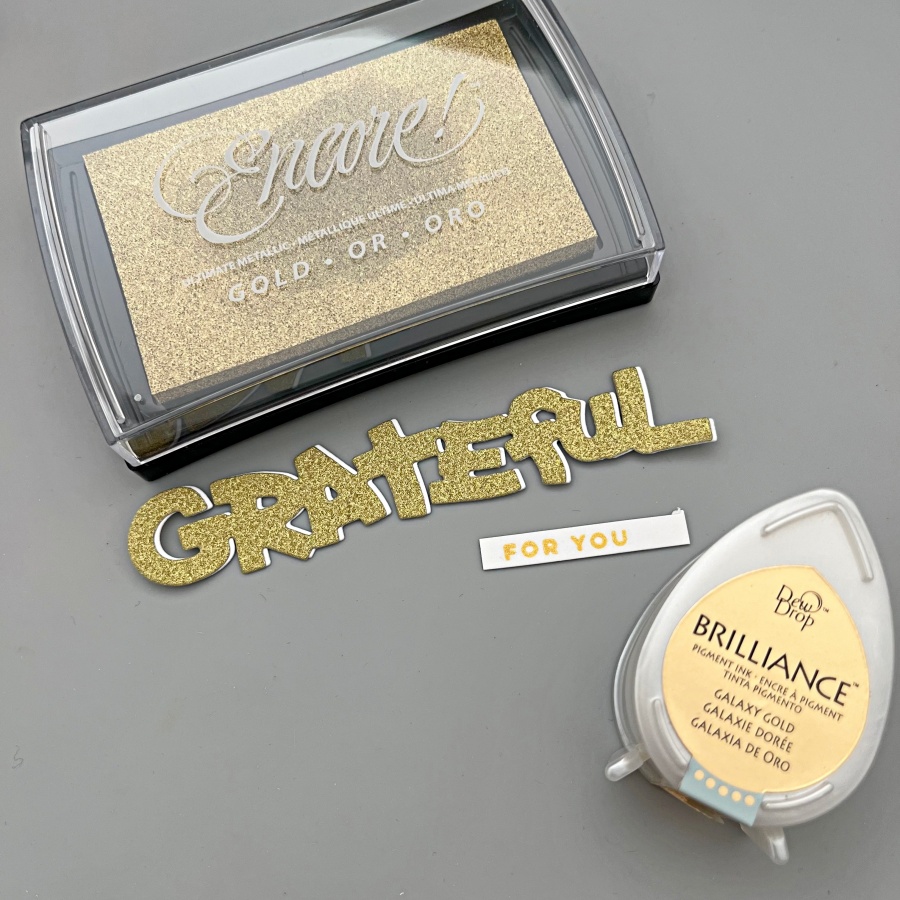
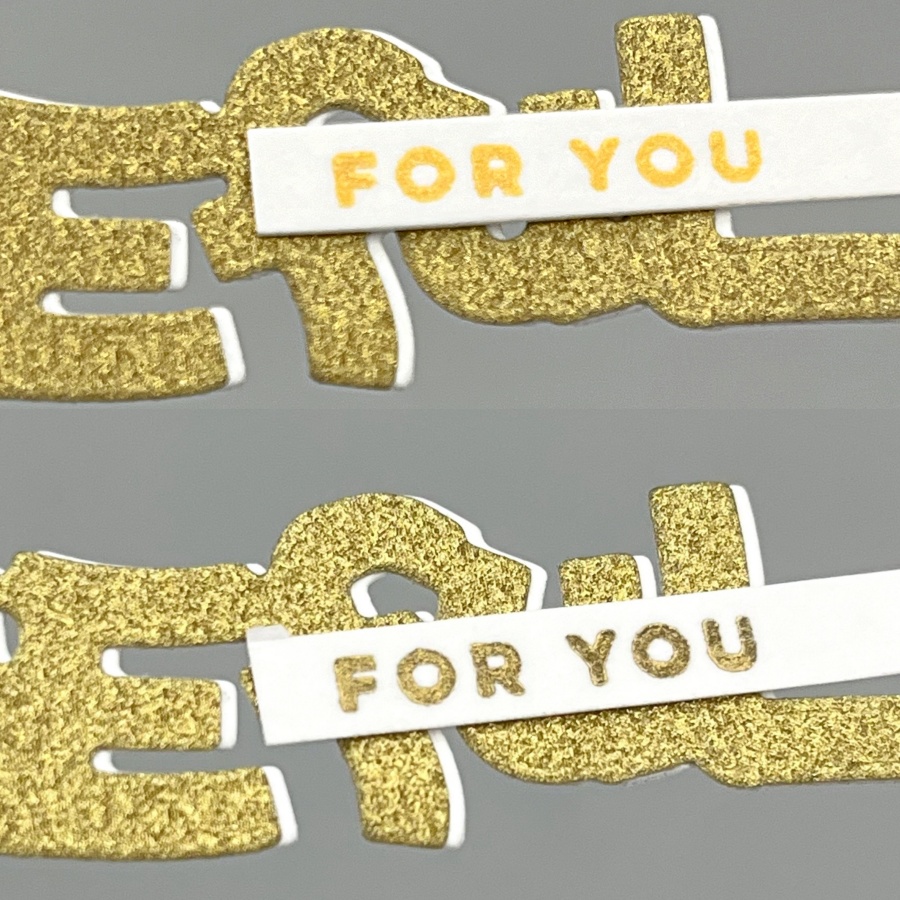
Step 7: Finally, I stamped the “For You” stamp in gold as well to complete the sentiment. Initially I picked the Brilliance Galaxy Gold ink pad as it is my go-to gold ink, but I realized that the tone is slightly too warm compared to the gold glitter cardstock I used. So I

re-stamped with Gold Encore ink instead. I have a close-up comparison below as well.

The picture on the top used Brilliance Galaxy Gold and the one below used Encore Gold. Brilliance Galaxy Gold is a really yellow, sunny kind of gold while Encore Gold shows a cooler tone. The finish is different between the two as well! Brilliance ink pads are shimmery and the Encore line is metallic.

Craft Supplies

Imagine Supplies:

Other Supplies:

  • The Greeting Farm – Stamps – Wood Friends
  • Lawn Fawn – Dies – Stitched Oval
  • Stamplorations – Dies – Grateful
  • Stampin’ Up! – Cardstock – Mossy Meadow
  • We R – Tool – Precision Press
  • DCVW – Cardstock – Gold Glitter
  • White and Watercolor cardstock

Tsukineko Inks Work BEAUTIFULLY with the BetterPress System

By LV Handcrafted

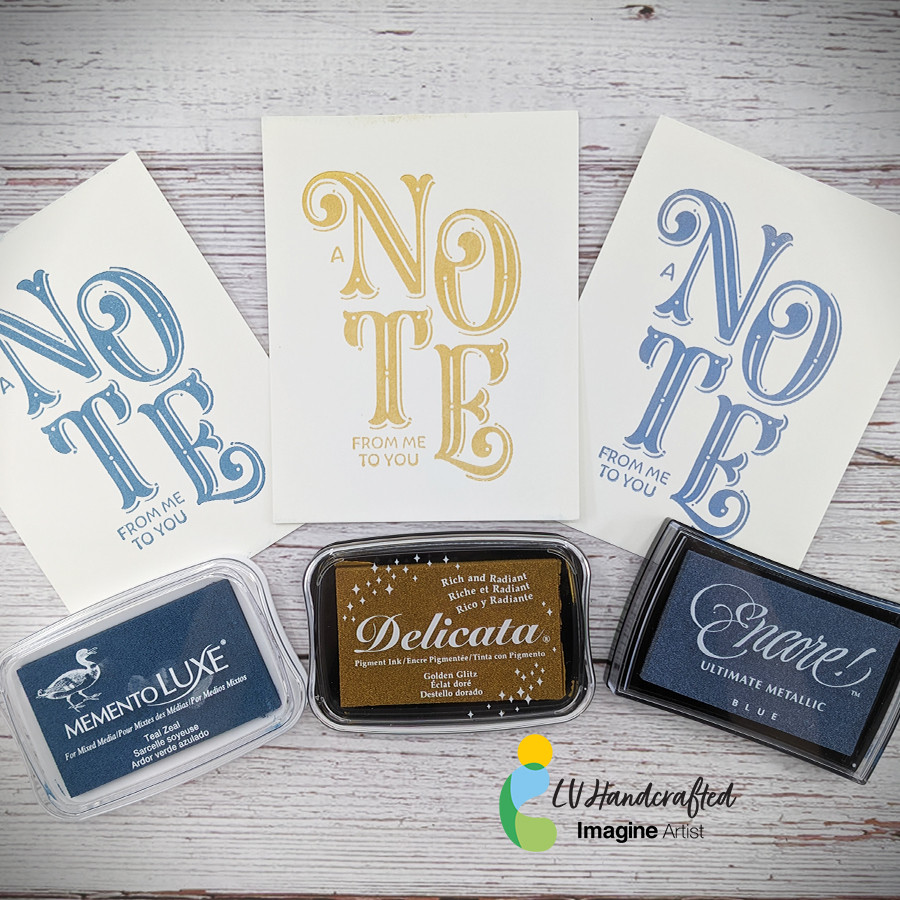
Hello friends! This is Linh (or LV Handcrafted on all the socials). Did you know just about all the Tsukineko inks work BEAUTIFULLY with the BetterPress system?  You aren’t restricted to just the special BetterPress Inks. You have the whole rainbow of Tsukineko inks that work just as well. Here are three that I think are particularly gorgeous and fairly consistent and easy to use.  These make amazing gift sets that are easy and fast to make yet impressive!

Skill: Beginner

Time: 5 minutes

Supplies Used

Imagine

– Delicata Ink – Gold

– Encore! Metallic Ink – Blue

– Memento LUXE – Teal Zeal

Other Products Used

– Spellbinders BetterPress System

– Spellbinders Note BetterPress Plate

– 100% Cotton Card (110lb cover)