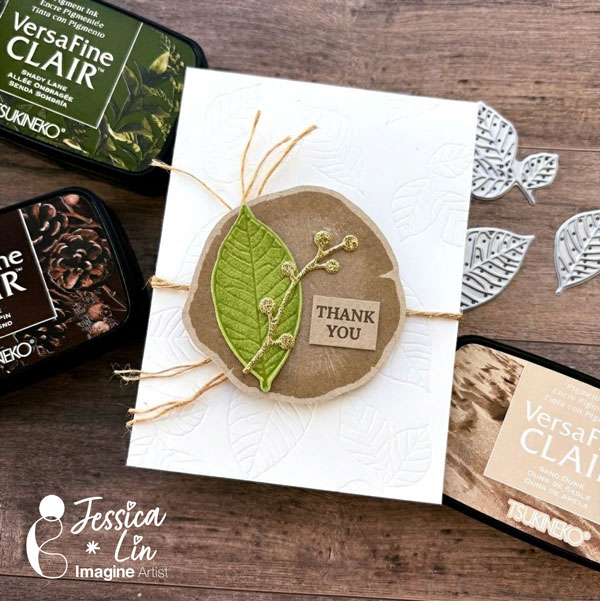
Stamping on Colored Cardstock to Create a Nature-Inspired Thanksgiving Card

By Jessica Lin ~

Skill: Intermediate
Time: 45 minutes

Hi everyone! It’s Jessica here. Have you tried stamping on colored cardstock before? My go-to cardstock for stamping is Classic Crest Solar White cardstock, but I wanted to change it up today. You can achieve a completely different look by stamping on colored cardstock. I chose to stamp on green and khaki cardstock today to make the images look more realistic and natural.
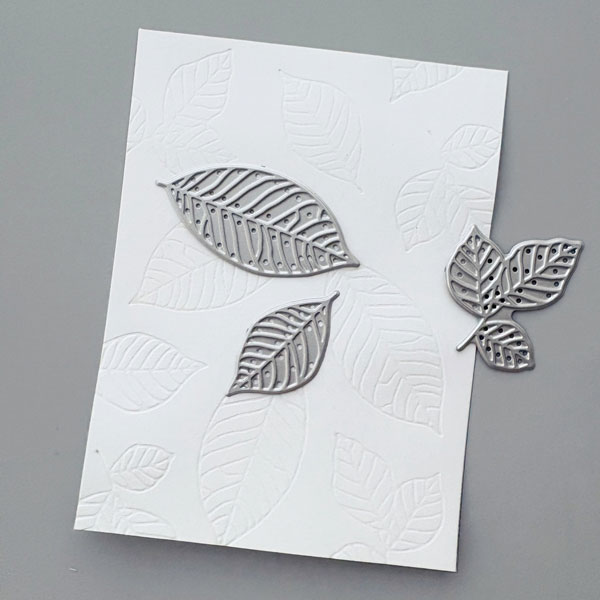
Step 1:
Trim a piece of Classic Crest Solar White Cardstock to 3 ¾” x 5”. Then, use the leaf embosser dies from Stampin’ Up’s Nature’s Root die set to create a leafy patterned embossed background.
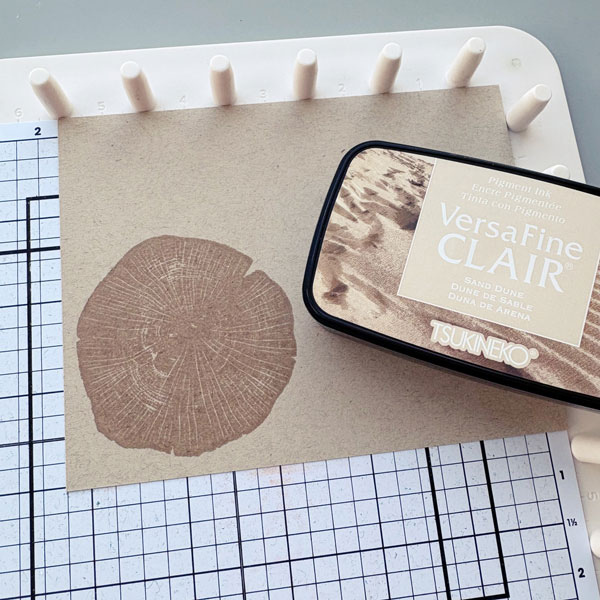
Step 2:
Once the base panel is created, we can move on to stamping. I decided to stamp on Environment Desert Storm cardstock today. If you have only tried stamping on Classic Crest Solar White cardstock before, I highly recommend trying the Environment Desert Storm cardstock as well! It’s a great neutral alternative and the final look is so different. The VersaFine Clair Sand Dune ink looks like a richer, darker shade when stamped on Environment Desert cardstock.
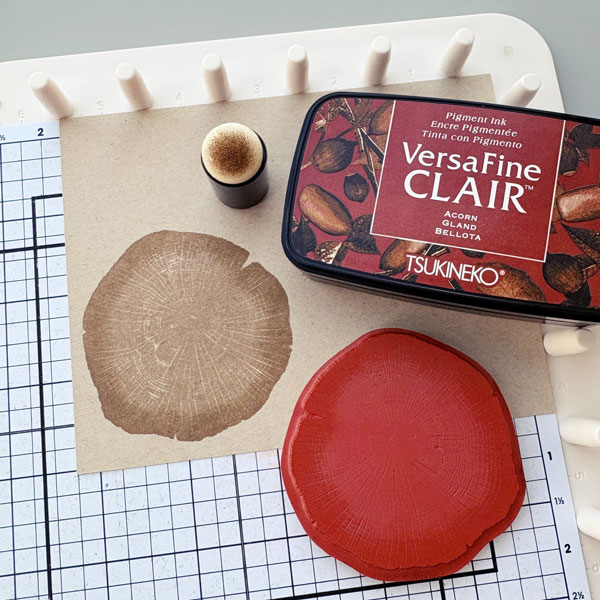
Step 3:
Next, dab VersaFine Clair Acorn ink to the outer edges of the stamp with a sponge dauber to create a more realistic look.
Step 4:
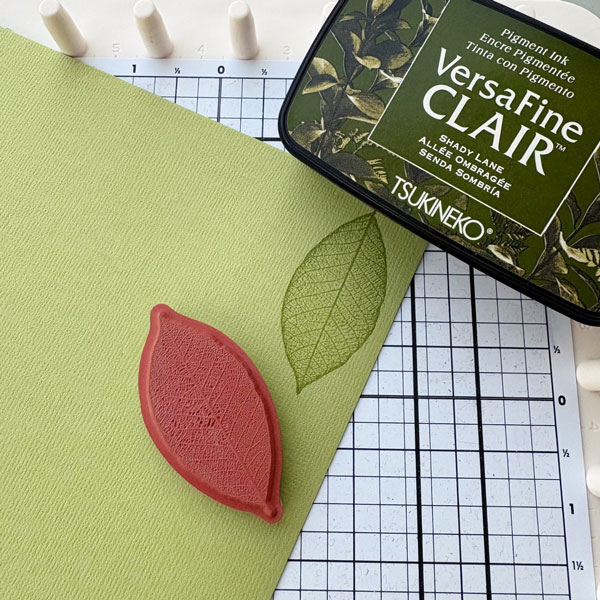
For the leaf stamp, I picked DCS Canvas Textured Galax Olive Green Cardstock. This cardstock has an embossed texture, but it’s surprisingly easy to stamp on with VersaFine Clair Shady Lane ink pad. You can see that the textured surface did not hide any of the vein details from the stamp.
Step 5:
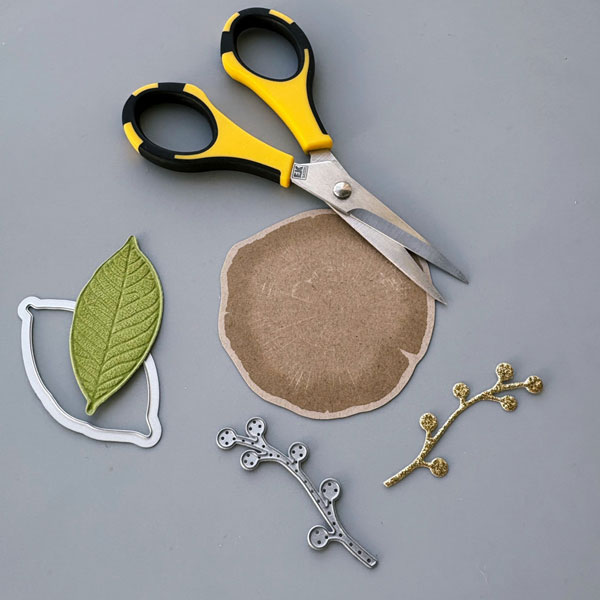
After all of the images have been stamped, die cut or fussy cut them with scissors. I also die cut a berry branch with DCS Gold Glitter Heavyweight 12 x 12 cardstock. This die is from Stampin’ Up’s Flourish die set.
Step 6:
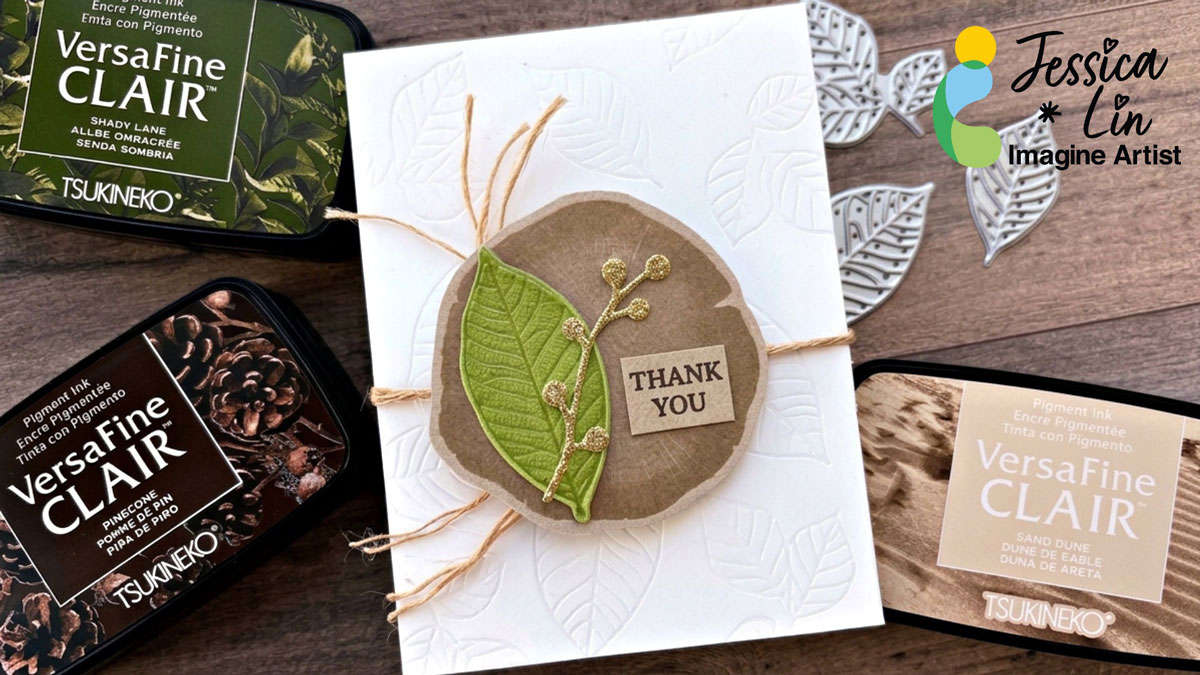
I stamped “Thank You” with VersaFine Clair Pinecone ink pad for the sentiment. Lastly, I tied twine around the background panel to add another natural touch to the card. Then I adhered all of the die cut and stamped elements, and the card is complete!

Supplies Used

Imagine Supplies:

● VersaFine Clair – Sand Dune, Acorn, Shady Lane, Pinecone
● Sponge Dauber
● StazOn Cleaner
● Tear-It! Tape
● Craft Mat

Other Supplies:

● Stampin’ Up! – Stamps – Rooted in Nature
● Stampin’ Up! – Dies – Nature’s Roots
● Stampin’ Up! – Dies – Flourish
● CutCardStock – Paper – Classic Crest Solar White
● CutCardStock – Paper – Environment Desert Storm
● CutCardStock – Paper – DCS Canvas Textured Galax Olive Green
● CutCardStock – Paper – DCS Gold Glitter Heavyweight 12 x 12
How to Create Super Cute and Elegant Gift or Treat Box

By Katy Ingram

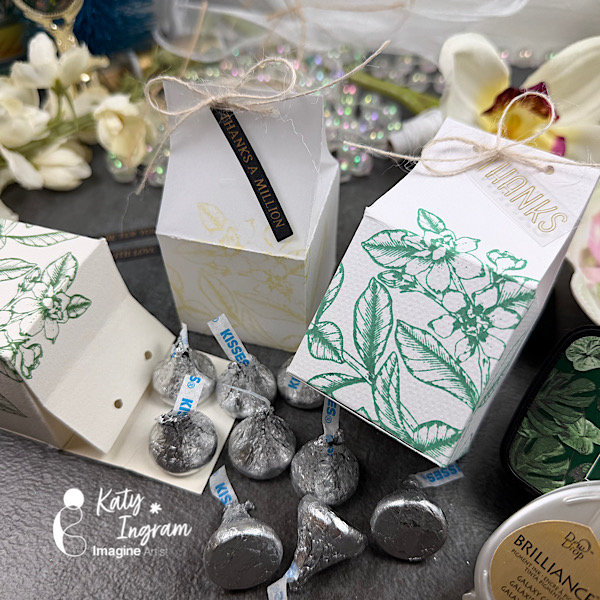
~ Hello Friends! Katy here with my latest video using Brilliance Metallic Ink and a couple VersaFine Clair inks while showing you how to create the perfect box for stamping. Video has all the details. Thanks for watching.

Skill: intermediate, advanced
Time: 15 minutes

Art Supplies

Imagine Products
VersaFine Clair inks colors: Spruce and Rainforest
Brilliance – Galaxy Gold

Other Products Used
Watercolor Paper, Cardstock or Vellum
Hole Punch – I used 1/8th inch
Score board
Reversible Tweezers (optional, but helpful)
Adhesive
Bone Folder or Scoring Tool of choice
I used BetterPress System, but any stamps will do.

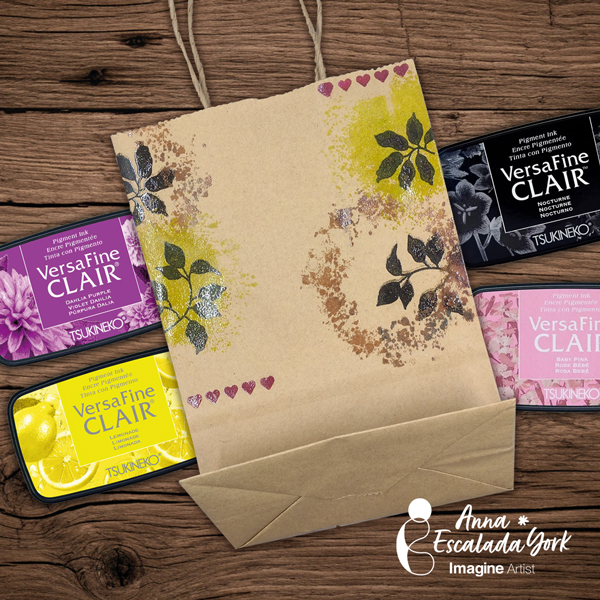
Transform a Simple Paper Bag into a Beautiful Gift Bag

By Anna Escalada York

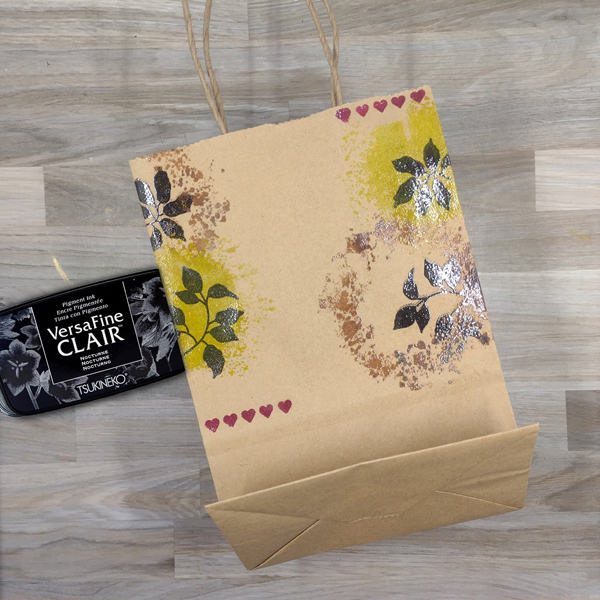
– I wanted to decorate a small brown bag before reusing it as a gift bag for a coworker’s gift. This card was quick and easy but looks really pretty and features VersaFine Clair Inks.

Skill: Beginner
Time: 1 hour

Directions

Step 1:
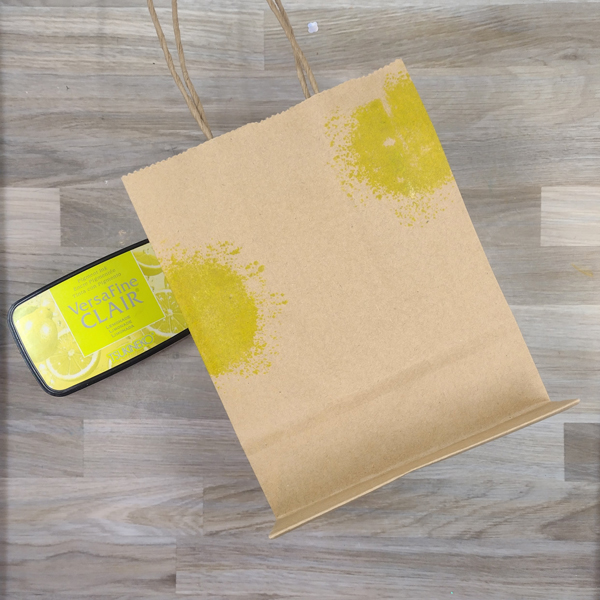
Stamp a solid organic circle shape with Lemonade VersaFine Clair Ink on the edges of a small brown paper bag. Repeat on the back of the bag.

Step 2:
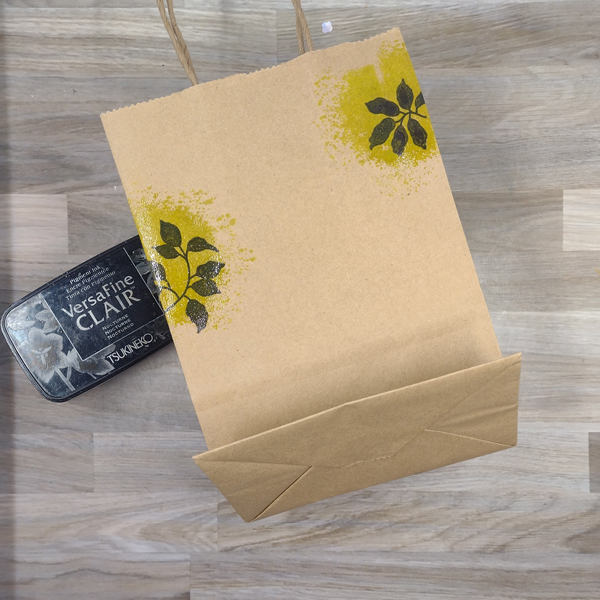
Quickly stamp two different solid leaf stamps with Nocturne VersaFine Clair Ink over the two Lemonade circles. Add clear embossing powder over both the Lemonade-colored circles and the black leaves and heat emboss them. Repeat the process on the back of the bag.

Step 3:
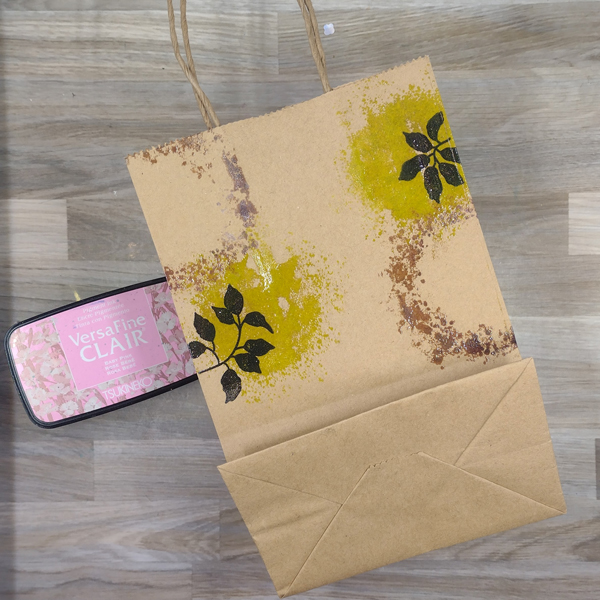
Stamp the splatter wreath twice on the bag with Baby Pink VersaFine Clair Ink–once on the upper right corner of the bag and once on the central right part of the bag. Then heat emboss with more clear embossing powder. Repeat on the other side of the bag.

Step 4:
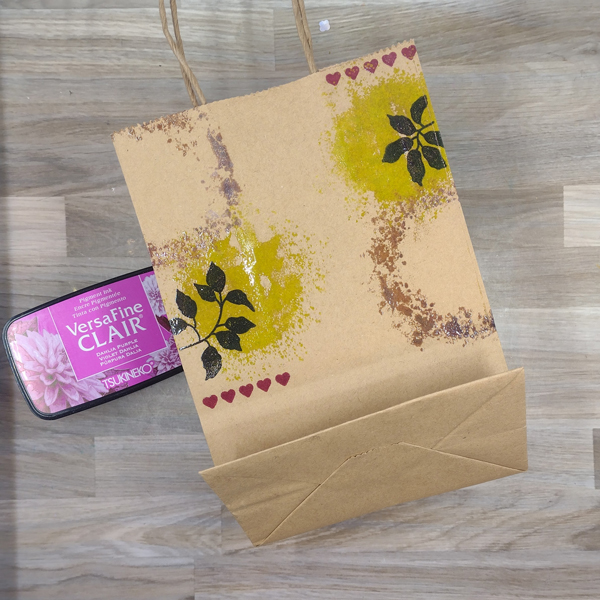
Stamp a row of small hearts on the bag twice with Dahlia Purple VersaFine Clair Ink. Heat emboss with more clear embossing powder. Repeat on the back of the bag.

Step 5:
Stamp the same solid leaf stamps from step 2 with Nocturne VersaFine Clair Ink inside the splatter leaf stamps. Heat emboss with more clear embossing powder. Repeat on the back side of the bag.

Add your gift to finish your project!

Art Supplies

Imagine

Other

  • Altenew – stamp set – Block Sentiments
  • Altenew – stamp set – Creative Labels
  • Altenew – stamp set – Watercolor Frames (retired)
  • Clear Embossing Powder
  • Heat tool
  • Small brown gift bag

Make a Heartwarming Thanksgiving Card

By Von Marie

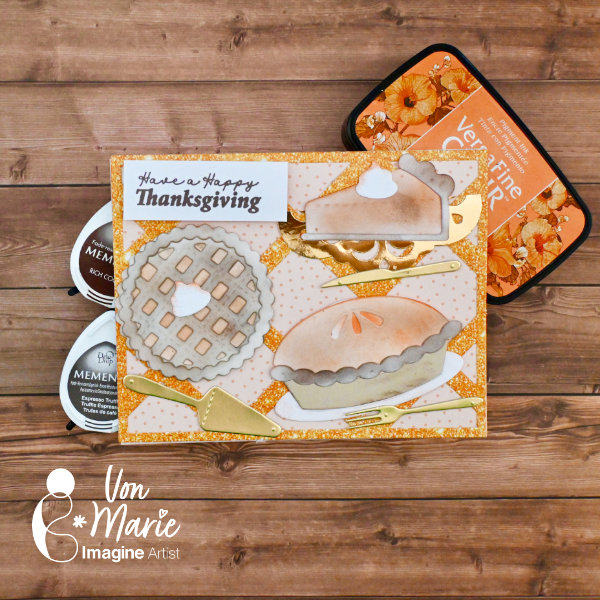
-Hello everyone. Von Marie here with her latest project. Let’s create a fun Thanksgiving card, I hope you love pie.
I used my favorite inks to achieve some realistic pies. The video has all the details. Thank you for watching.

Skill: Beginner, Intermediate
Time: 40 mins

Art Supplies

Imagine Products

• VersaFine Clair Inks: Summertime
• Memento Dew Drops: Rich Cocoa and Espresso Truffle
• Craft Mat 

Other Products Used

• 100 lb Cardstock
• Faux Glitter Pattern Paper
• Lawn Fawn Pattern Paper Sprinkles and Stripes
• Blending Brushes
• Pinkfresh Studio Simply Diamonds Background
• Gold Mirrored Doily cardstock
• Kat Scrappiness Autumn Lantern Add On Stamp
• Kat Scrappiness perfect Pie Maker Die + Add On
• Die-cutting Machine
• A2 Card Base

#cardmaking #papercrafts #thanksgivingcard #inkblending 

Here’s where you can Von Marie:
IG: https://www.instagram.com/vonmariedesign/
YT: https://youtube.com/@vonmariedesign?si=gTvu7YoXjNNnvrqc
FB: https://www.facebook.com/von.marie.50?mibextid=wwXIfr&mibextid=wwXIfr
BLOG: https://vonmariedesign.blogspot.com/
Pinterest: https://pin.it/72DVIYC

Creating a Halloween Background with Purples from VersaFine Clair

By Katy Ingram

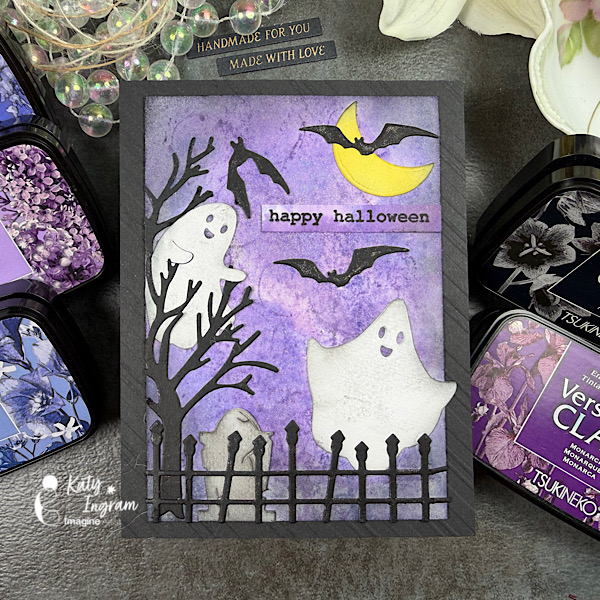
Hello Friends! Katy here with my latest video showcasing VersaFine Clair inks once again to create a Halloween background using only Purple. Video has all the details. Thanks for watching.

Skill: intermediate, advanced
Time: 15 minutes

Art Supplies

Imagine Products

VersaFine Clair inks

  • Veri Peri
  • Lilac Bloom
  • Monarch
  • Wisteria Purple
  • Cheerful
  • Nocturne

On Point Glue
Sheer Shimmer Craft Spray – Sparkle

Other Products Used

Watercolor Paper, Black Cardstock
Blending Brush
Halloween Stamp – Kat Scrappiness
Halloween Dies – Kat Scrappiness
Spellbinders Peppermint Stripes Embossing Folder

Let’s Create A Winter Wedding Card

By Von Marie

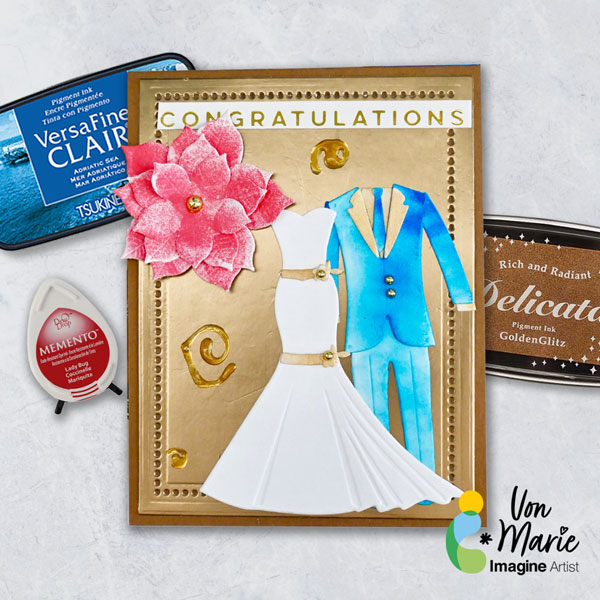
Hello everyone! Von Marie here with my latest video using a fun color palette of Red, Gold, Blue, and White. I used some Beautiful inks to create a simple Winter Wedding Card.This design is also great Anniversaries or Birthday Cards. Video has all the details. Thanks for watching. 

Skill: Intermediate
Time: 60 Mins.

https://youtu.be/vnGnq-2TbGk

Art Supplies

Imagine Products

• Versafine Clair Ink Adriatic Sea
• Memento Lady Bug Dew Drop ink
• Delicata Ink Golden Glitz Full ink Pad
• Craft Mat
• Sponge Daubers with Lids
• irRESTible Pico Embellisher Gold
• On Point Glue

Other Products Used

• 100 lb Cardstock
• Spellbinders Wedding Dress and Tux Die Set
• Liquid Glue
• Craft Foam
• Gold Pearls Embellishments
• Spellbinders Cinch and Go Poinsettia Die Set
• Spellbinders Essential Rectangles
• Blending Brushes
• Die-cutting Machine
• A2 Card Base