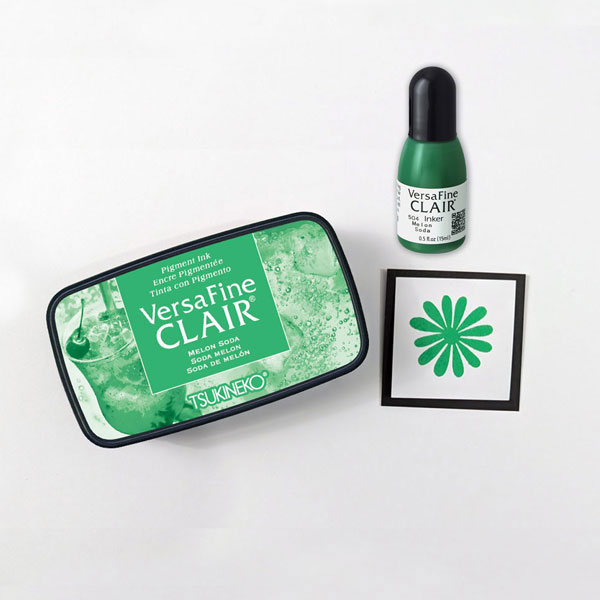
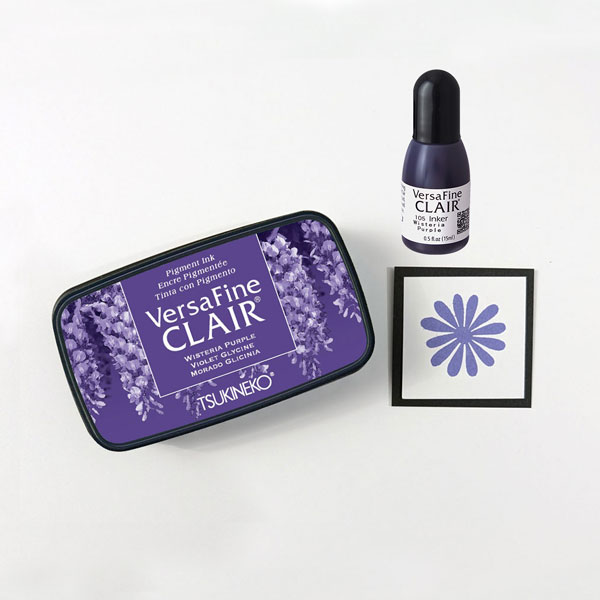
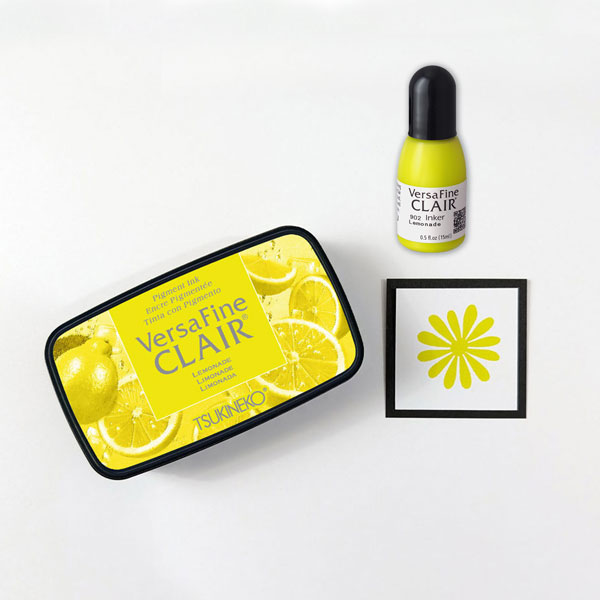
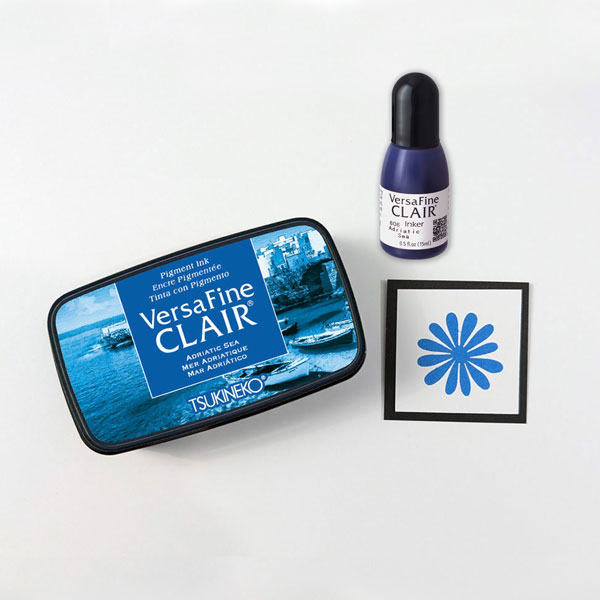
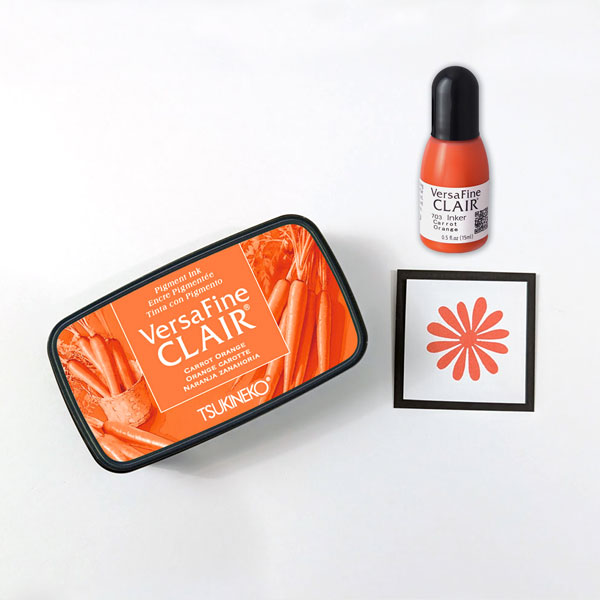
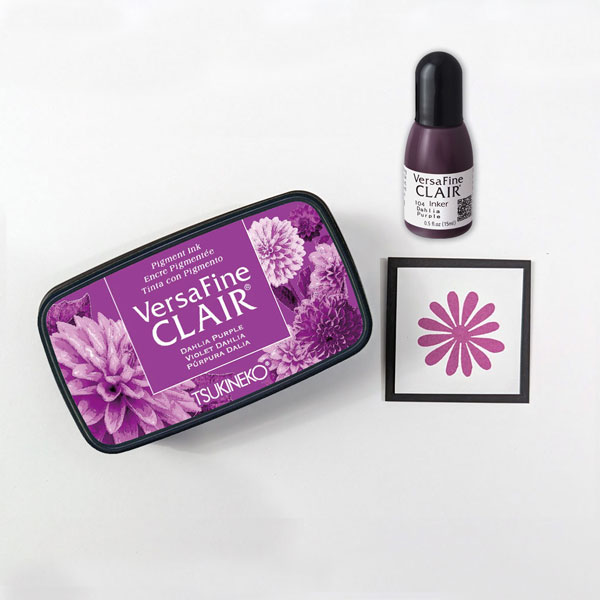
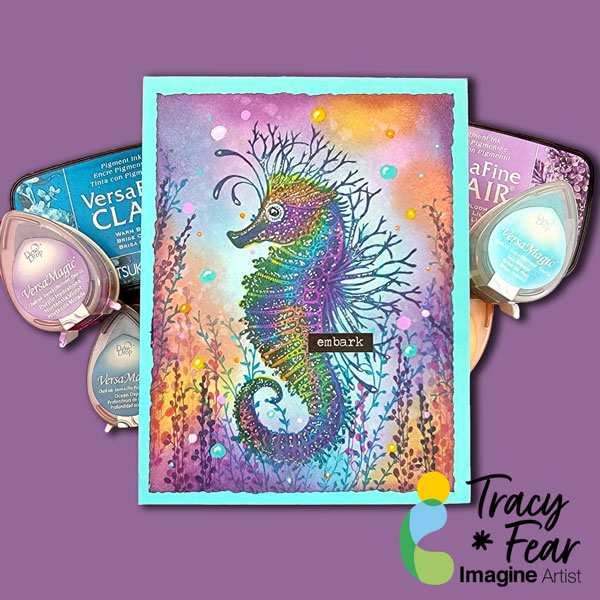
Whether you’re stamping detailed images, creating handmade cards, journaling, or experimenting with mixed media, the six newest VersaFine Clair colors are ready to inspire your next creation!
From vibrant citrus hues to rich florals and deep ocean blues, these beautiful additions expand the VersaFine Clair family with fresh, versatile shades you’ll reach for again and again.
Why Crafters Love VersaFine Clair
VersaFine Clair has become a favorite among stampers for a reason. Its richly pigmented formula creates crisp, detailed impressions that capture even the finest lines.
Perfect for card making, mixed media, journaling, and more, VersaFine Clair also:
Produces exceptionally detailed stamped images
Dries quickly, making it ideal for heat embossing
Becomes water resistant when dry
Works beautifully on a variety of papers
Features an airtight case that helps keep your ink pad fresh longer
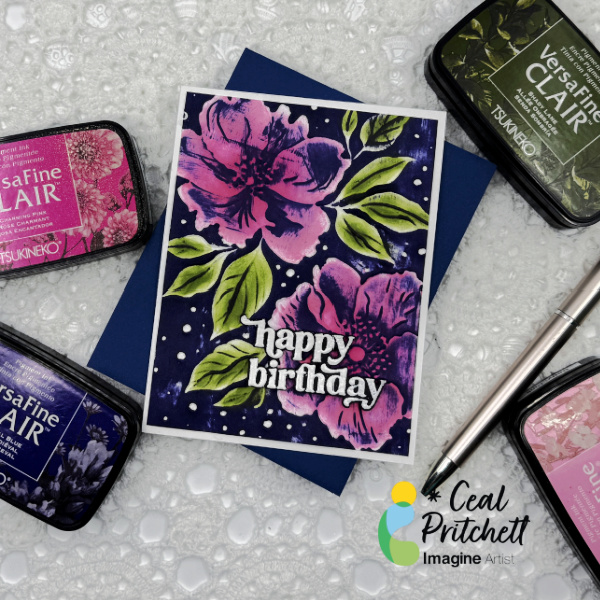
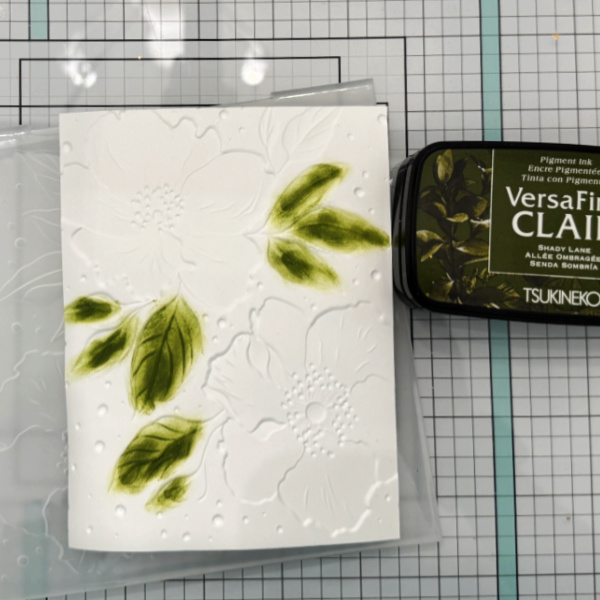
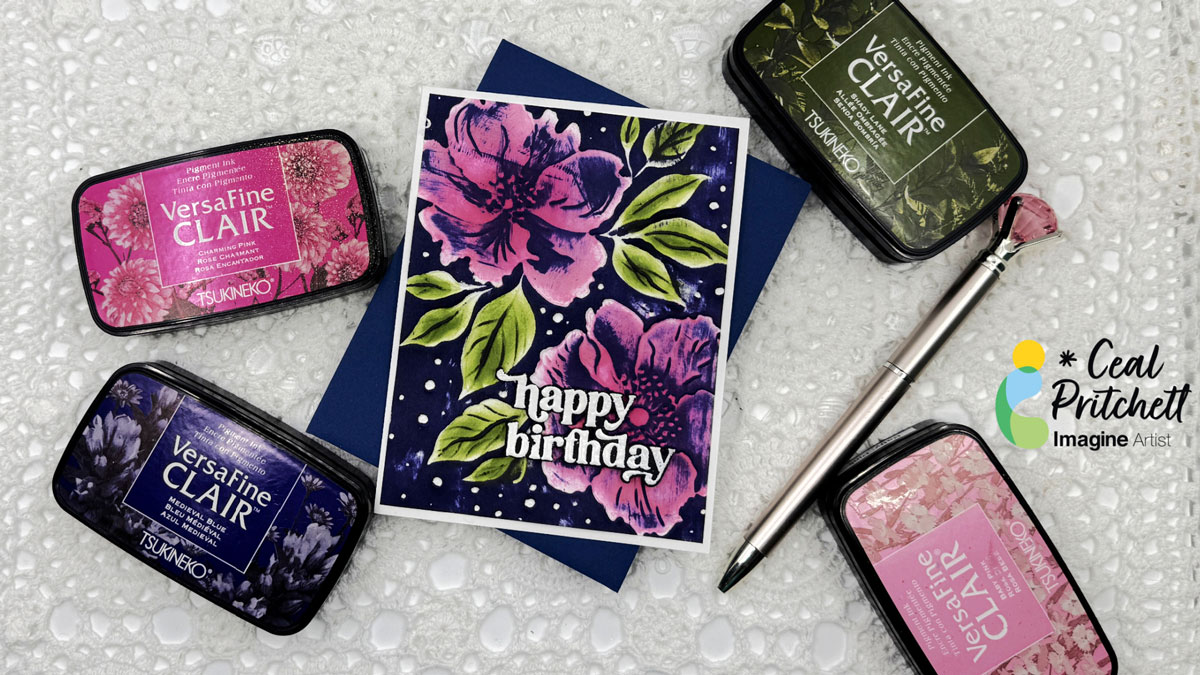
– Hello everyone! It’s Ceal, here. Today I am sharing how to create this bold look using a creative inking technique with a 3D embossing folder.
Skill: Beginner to Intermediate Time: 30 mins
Directions:
Gather your supplies. You will need a 3D embossing folder, several colors of inks, either a sponge dauber or blending brush and a sentiment of choice.
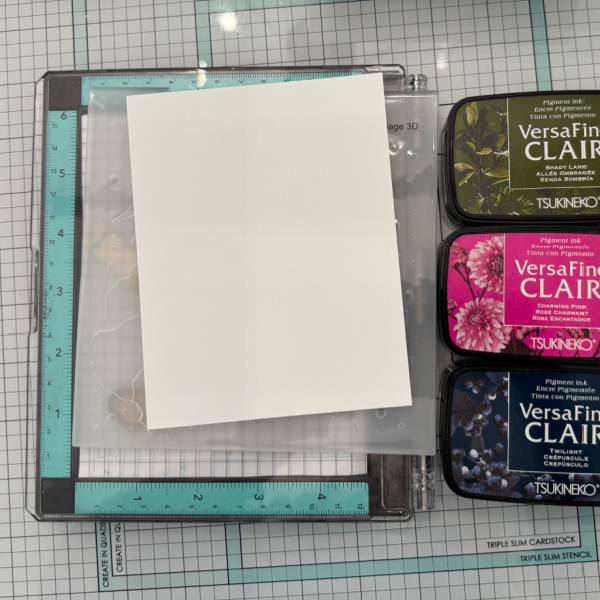
Step 1: Using a white A2 panel, run it through the die cutting machine using a #d embossing folder. Tip: if you spritz it with water, it will be crisp.
Step 2: On the debossed side of the panel, use a blending brush or sponge dauber ink blend green for the leaves.
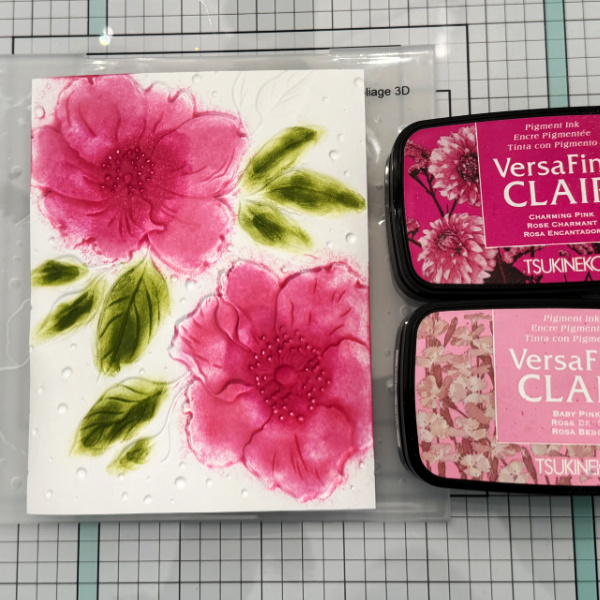
Step 3: Using a blending brush or sponge dauber ink blend pink or color of choice in the flowers. This looks like a hot mess right now but the next step will really define the image.
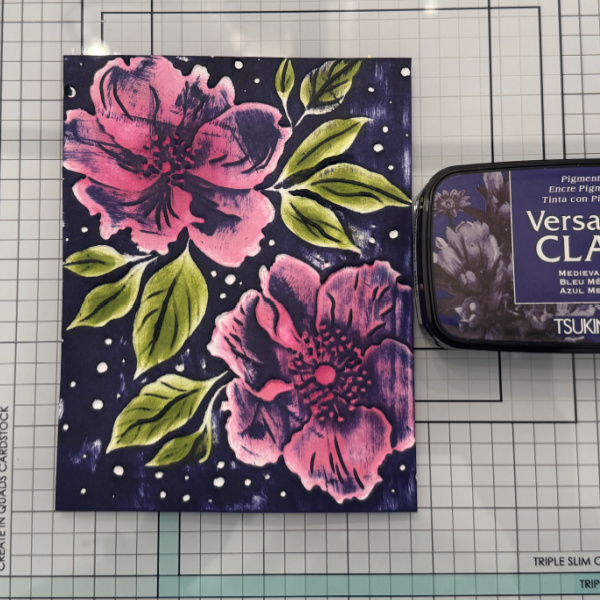
Step 4: Using the ink pad and the direct to paper technique, run the ink pad over the debossed area that you colored and watch the image come to life and be defined.
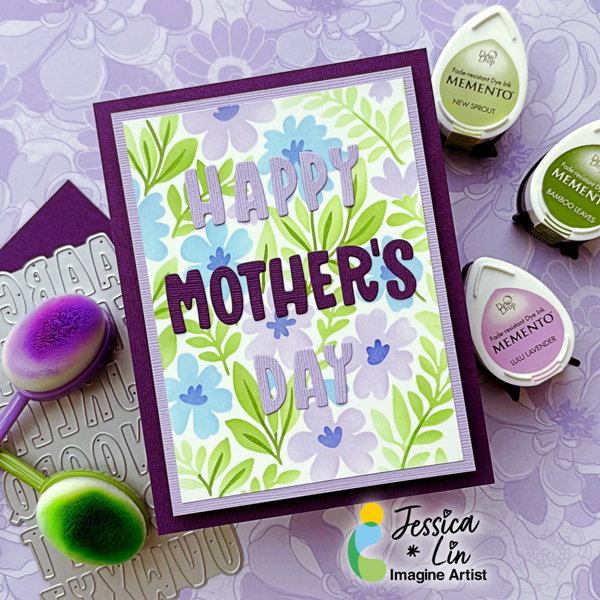
Hi everyone! It’s Jessica here. Are you planning on making a Mother’s Day card this year? I want to share a simple sketch that you can use with any layering stencils you may have.
Let’s begin crafting!
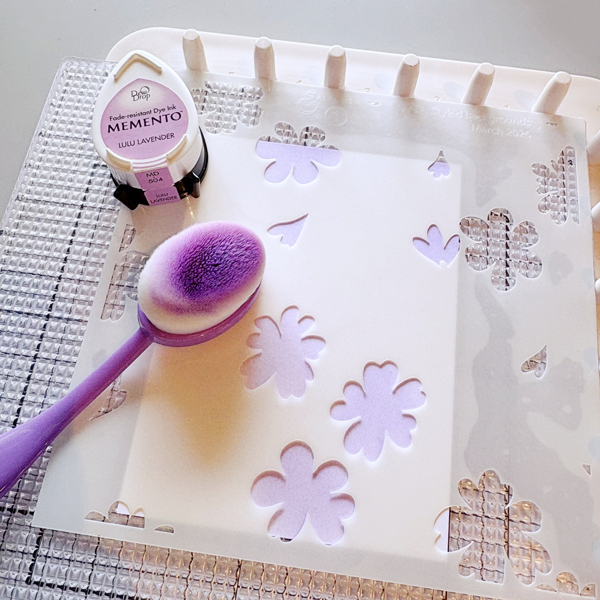
Step 1: I am using Altenew’s Styled Background layering stencil set for today’s card. Let’s start by trimming a piece of Classic Crest Solar White to 3 ½’’ x 4 ¾’’. After that, we can start ink blending stencil 1 with Memento Lulu Lavender ink.
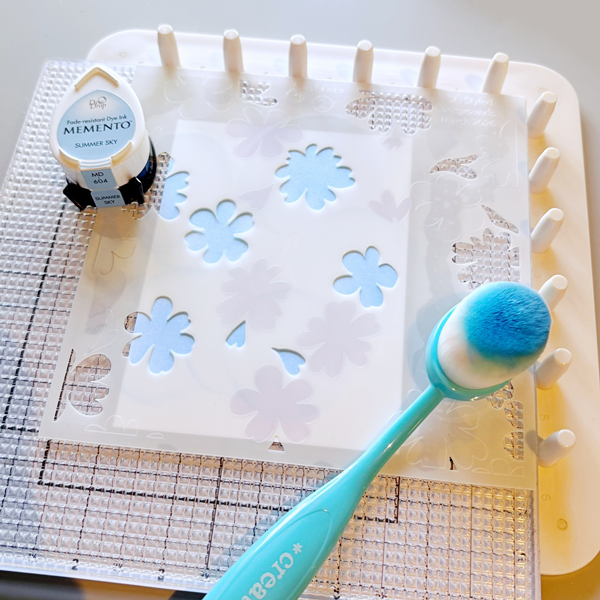
Step 2: Next, ink blend Memento Summer Sky ink with stencil 2. I really like the idea of separating the floral images into two layers; it gives us so much creative freedom and the color combination is endless!
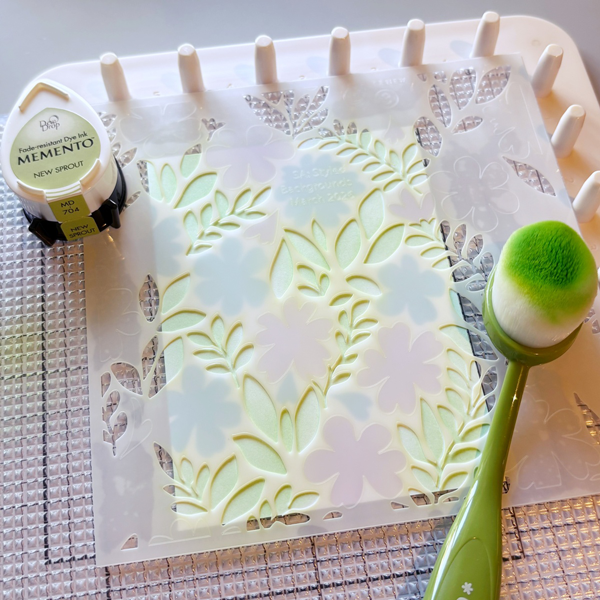
Step 3: Stencil 3 is the base layer for leaves. I used Memento New Sprout ink. It may be difficult to spot in this photo, but I created a color gradient by blending more ink in some areas and having a lighter hand for others.
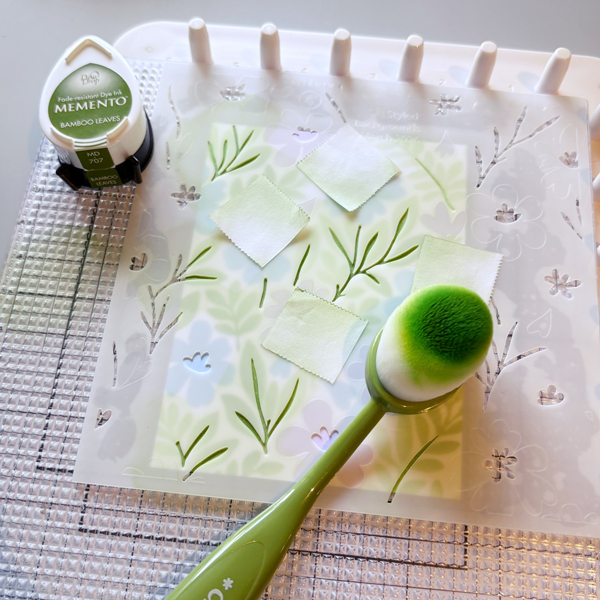
Step 4: Now that the base images are ink blended, we can start with the layering. Stencil 4 includes leaf stems, and I used Memento Bamboo Leaves ink. This stencil also contains floral centers. Since the stems and floral centers are quite close to each other, I had to mask some areas while ink blending. If you have smaller blending brushes, you could skip the masking step.
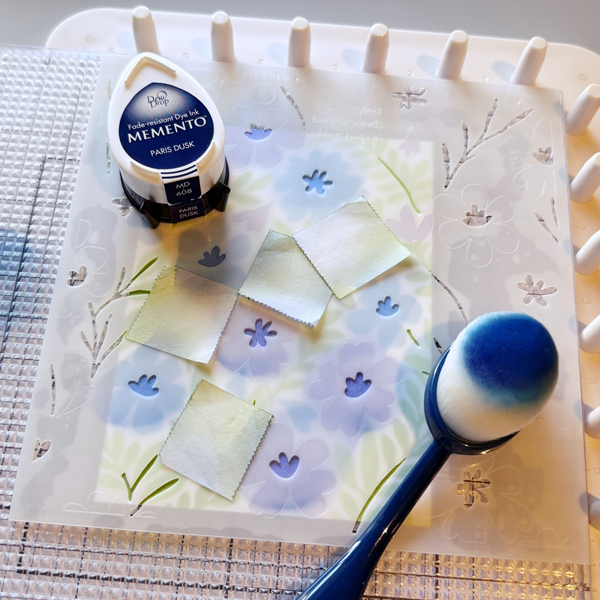
Step 5: I used Memento Paris Dusk ink to ink blend the floral centers.
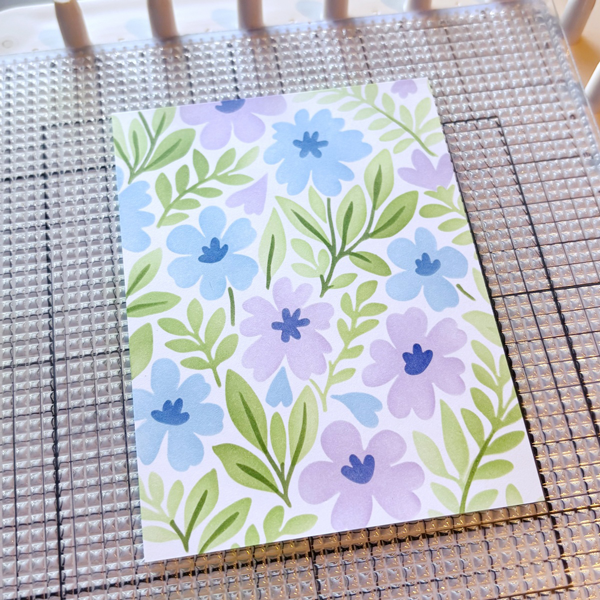
Step 6: This is what the background panel looks like after ink blending all 4 layers. I love the look of soft, pastel colors and am so pleased with the final result.
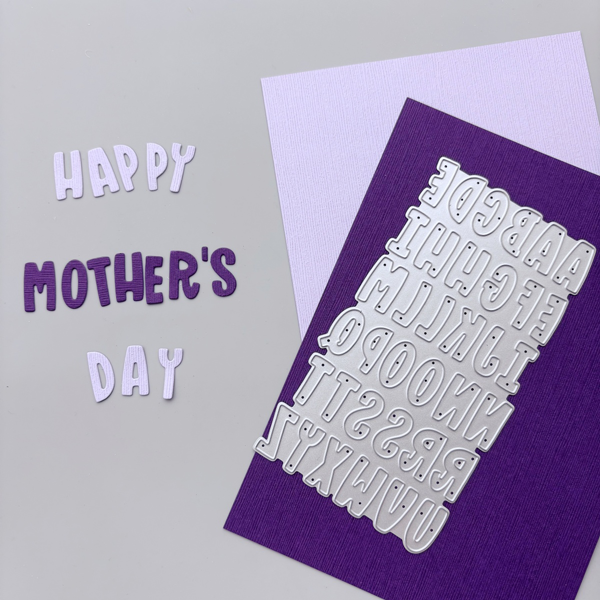
Step 7: After ink blending, we are ready to add the sentiment of the card. I chose Stampin’ Up’s Mini Alphabet die to spell out “Happy Mother’s Day”, but you could use any sentiment die you may have. I decided to die cut with CutCardStock DCS Hydrangea Purple and Plum Purple for some added contrast. These cardstock have a smooth side and a textured side; I opted for the textured side today.
Step 8: Next, trim a piece of CutCardStock DCS Hydrangea Purple to 3 ¾’’ x 5’’ and mount the ink blended panel on top. Then adhere it to a CutCardStock DCS Plum Purple card base. Finally, apply On-Point Glue to the back of the letter die cuts and adhere them to the card panel to complete the card!
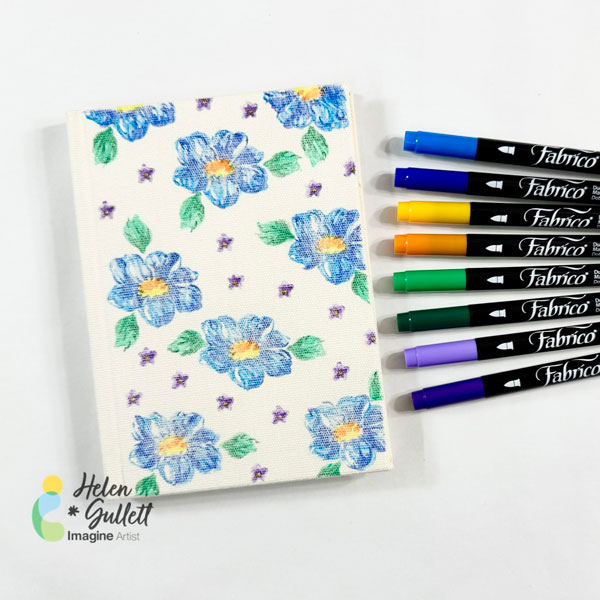
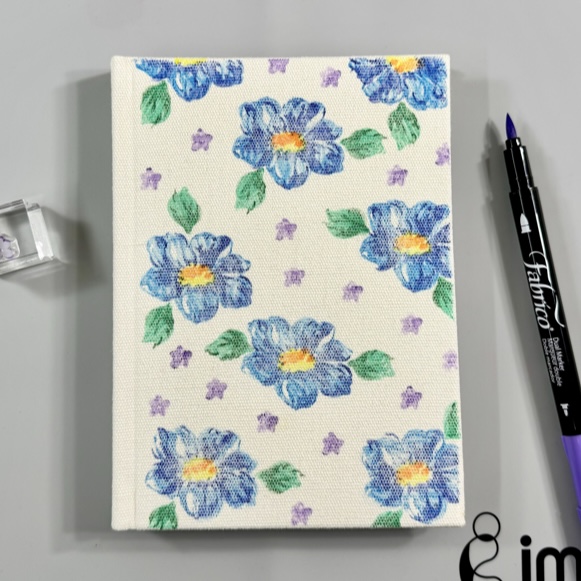
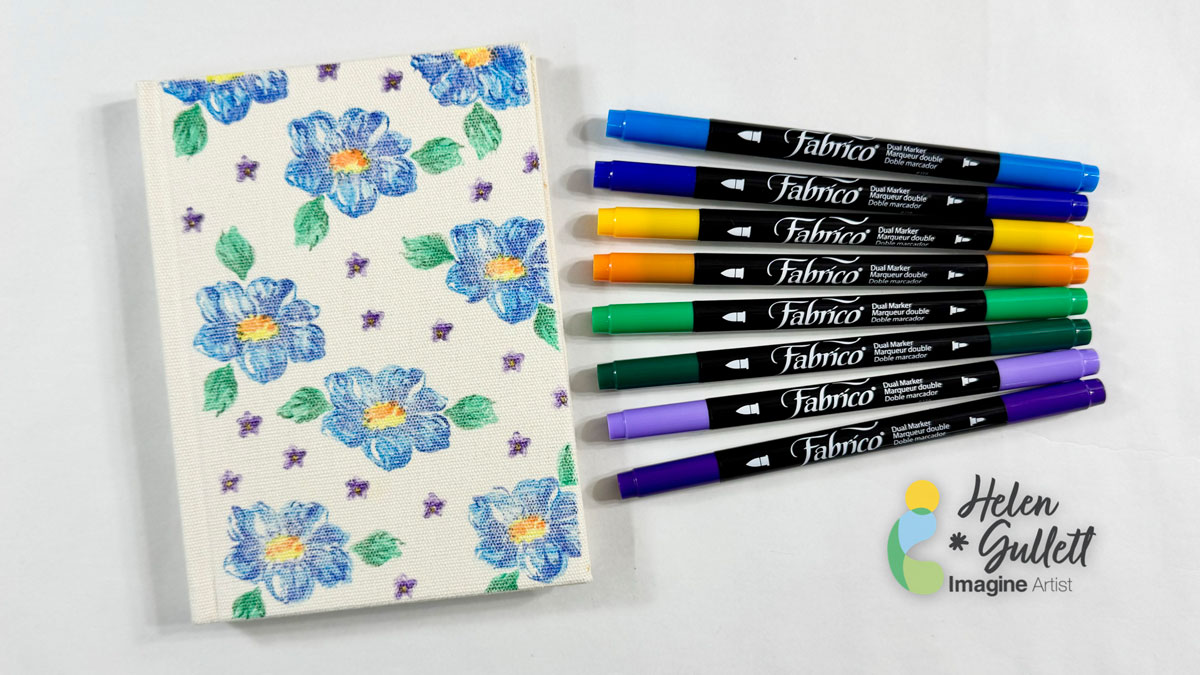
~ Hello crafty friends! Every year, I would need a new journal to start the new year and this time I got a new blank canvas journal that I wanted to personalize. So today, I wanna share with you how to personalize your own canvas journal. It is very easy and fun for sure.
Let’s get crafting!
Skill: Beginner Time: 15 minutes
Direction:
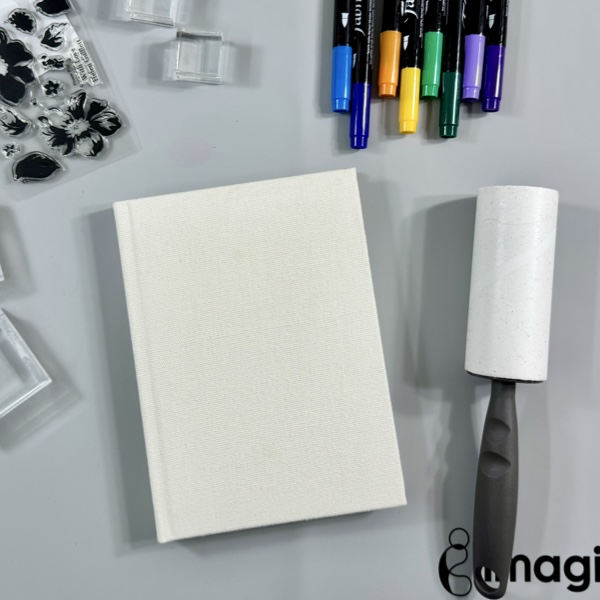
Step 1
Get the blank canvas journal out of its plastic packaging and then use a link roller to clean the canvas cover well from dust, lint, and threads. This step to make the next stamping steps easier and nothing would get stuck on your stamp later.
Step 2
I worked with a layer stamp set, you can use any stamp set you want to personalize your canvas journal.
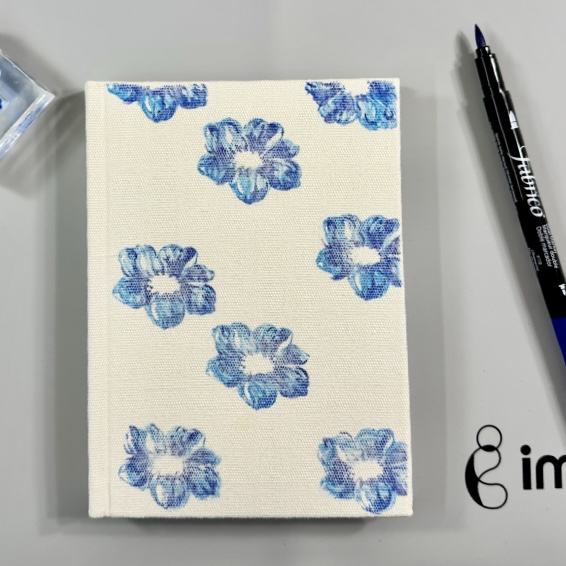
The first step is stamping the first base layer of the big flower. Put the flower stamp on a stamping acrylic block, and then cover it with some ink using the Cerulean Blue Fabrico Marker. Then stamp it on the canvas cover. Make sure to press it down strongly and evenly, do not wiggle it around to get a good impression on canvas.
Repeat the stamping until you cover the whole canvas journal cover.
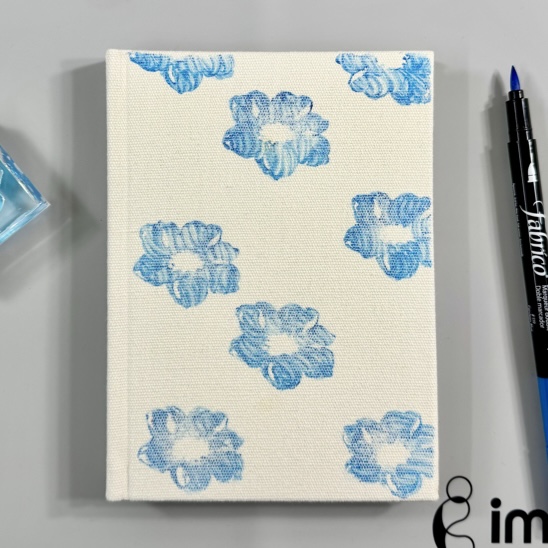
Step 3
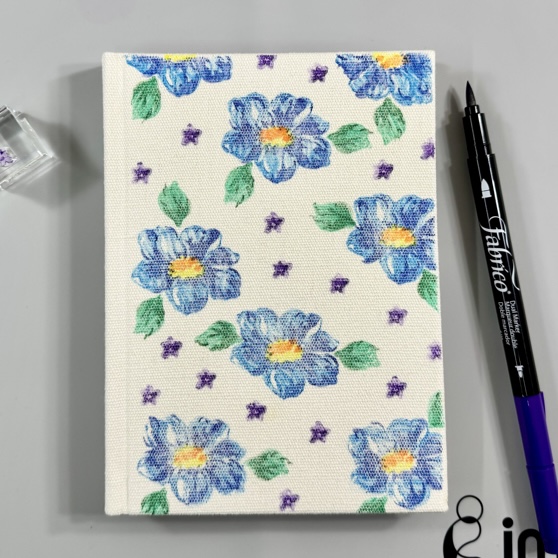
To stamp the second layer of the flower, put the flower stamp on a stamping acrylic block, and then pick a second darker color. I used the Ultramarine Fabrico Marker. Cover the whole stamp with the ink and then stamp it on the canvas cover. Make sure to press it down strongly and evenly, do not wiggle it around to get a good impression on canvas.
Repeat the stamping until all flowers are stamped with the second layer image.
Step 4
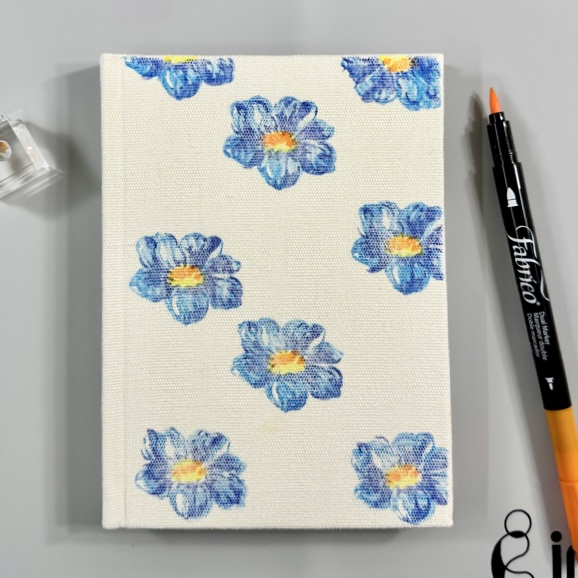
Next, stamp the middle part of the flower. Put the base layer (solid) of the middle part of the flower stamp on a stamping acrylic block, and then cover it with some ink using the Lemon Yellow Fabrico Marker. Then line it up in the middle of the flower, and stamp.
Make sure to press it down strongly and evenly, do not wiggle it around to get a good impression on canvas.
Repeat the stamping until you cover the whole canvas journal cover.
Step 5
Then, grab the second layer of the middle part of the flower and put it on a stamping acrylic block. Use the Tangerine Fabrico Marker to stamp it on top of the base layer.
Make sure to press it down strongly and evenly, do not wiggle it around to get a good impression on canvas.
Repeat the stamping until you fill all the flowers.
Step 6
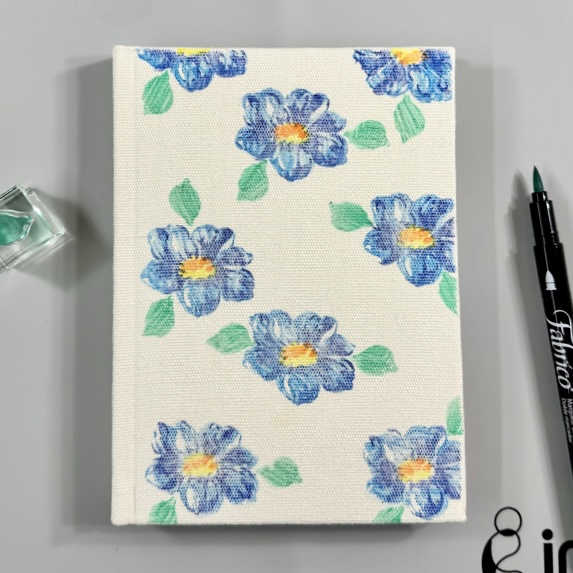
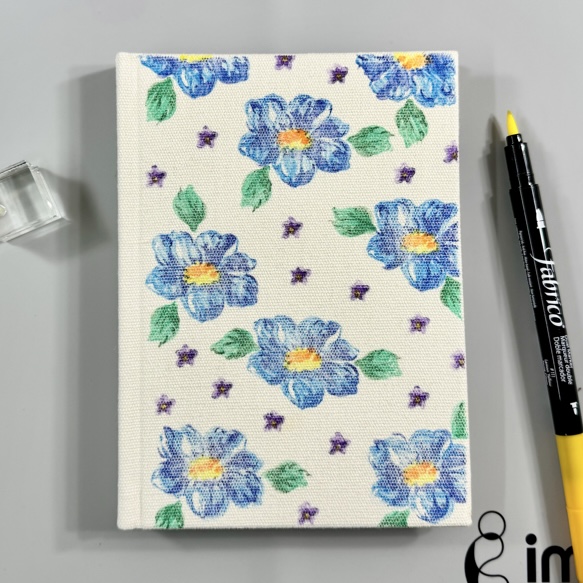
Use the Emerald Fabrico Marker to stamp the first base layer of the leaf.
Put the leaf stamp on a stamping acrylic block, cover it with some ink, and then stamp it on around the flower as many as you want.
Make sure to press it down strongly and evenly, do not wiggle it around to get a good impression on canvas.
Repeat the stamping step until you like how it looks.
Step 7
For the second layer of the leaf, I use the Forest Fabrico Marker.
Put the stamp on a stamping acrylic block, cover it with some ink, and then stamp it on each leaf.
Make sure it lines up with the base image first, and then press it down strongly and evenly, do not wiggle it around to get a good impression on canvas.
Repeat the stamping step until all leaves are stamped.
Step 8
Now stamping the tiny flowers to fill in the empty spaces.
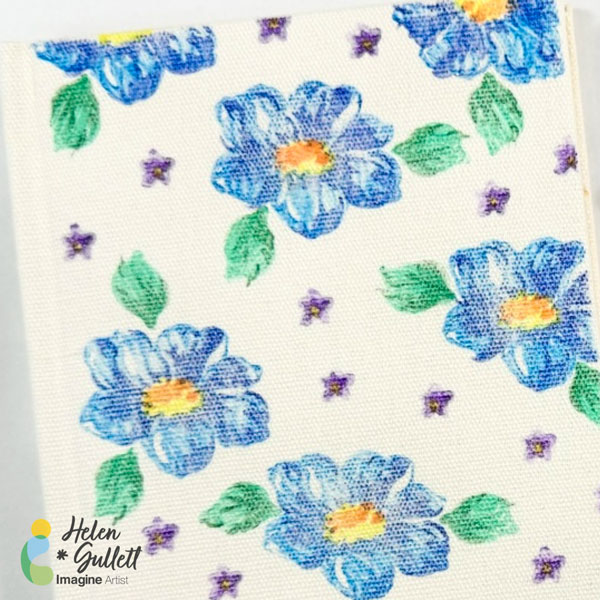
Put the base layer of the tiny flower stamp on a small stamping acrylic block, cover it with some ink using the Wisteria Fabrico Marker, and then stamp it until it fills out the empty spaces on the cover.
Make sure to press it down strongly and evenly, do not wiggle it around to get a good impression on canvas. Repeat the stamping step.
Step 9
Next is to stamp the second layer of the tiny flower. Put it on a small stamping acrylic block, cover it with some ink using the Peony Purple Fabrico Marker, and then stamp it until all second layers of the tiny flower are stamped.
Make sure to press it down strongly and evenly, do not wiggle it around to get a good impression on canvas. Repeat the stamping step.
Step 10
Last step of this process is stamping the middle part of the tiny flower.
Put the stamp on a small stamping acrylic block, cover it with some ink using the Lemon Yellow Fabrico Marker, and then stamp it on all the tiny flowers.
Make sure to press it down strongly and evenly, do not wiggle it around to get a good impression on canvas. Repeat the stamping step.
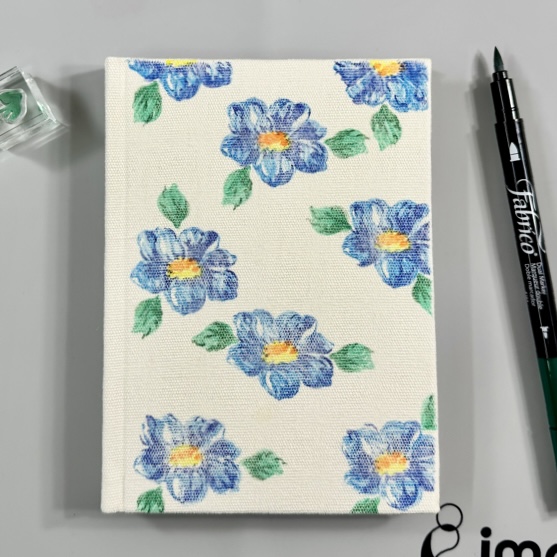
If you want, you can use a craft iron to heat set the ink to the canvas. But without ironing, the ink will dry permanently in 24 hours (do not get it wet).
Being able to personalize our own canvas journal is a fun project and also, you can make it for gifting, too.
I hope you will give this technique a try and play around with different colors. Thanks so much for stopping by our blog today.
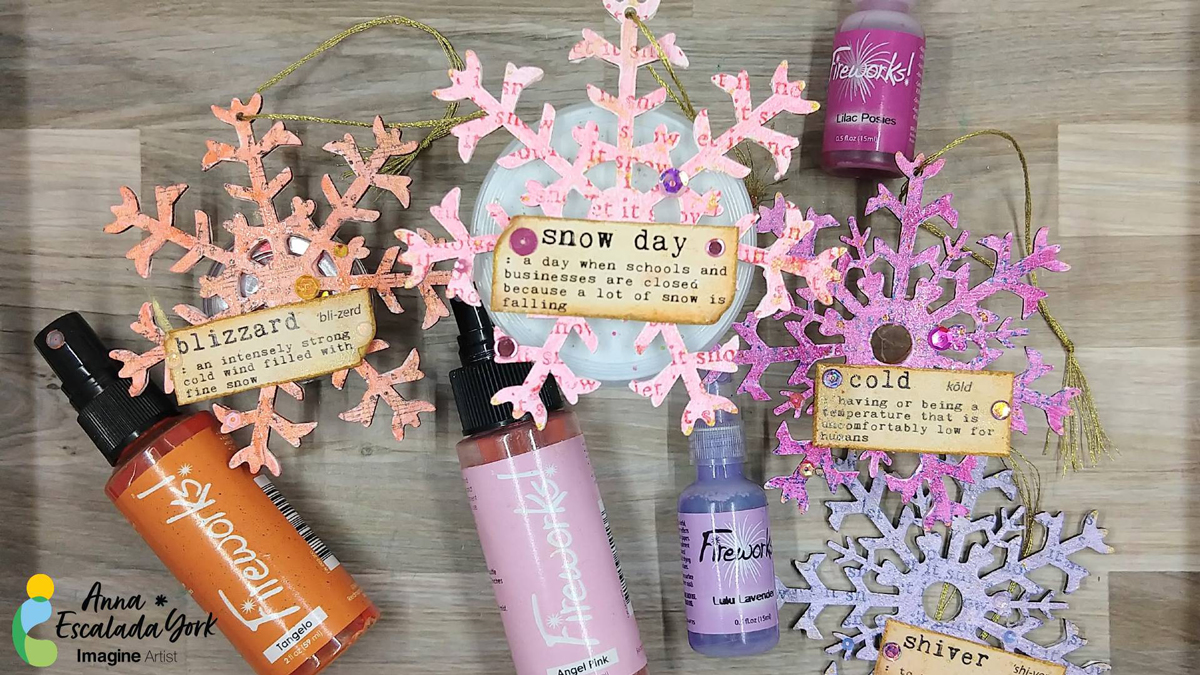
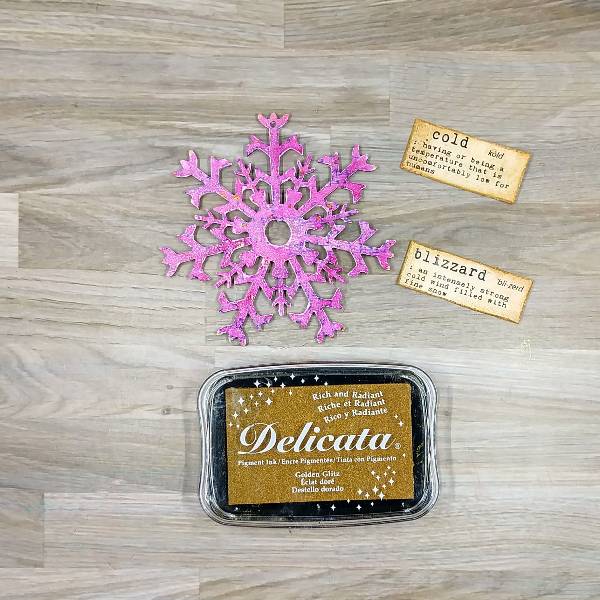
When I saw these fun chipboard snowflake ornaments in my local craft store, I knew I wanted use some Fireworks! spray to make them shine.
Skill: Intermediate Time: 2 hours (active time) + dry time
Directions:
Step 1: Cover the chipboard ornaments with a layer of Gesso. Allow to dry.
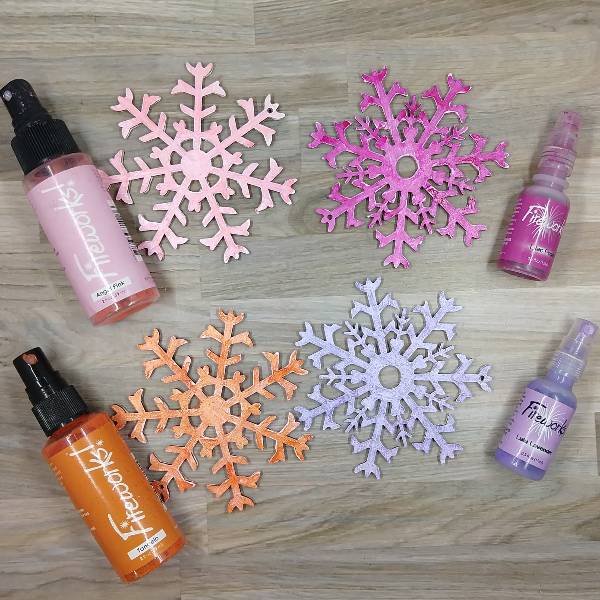
Step 2: Spray each of the ornaments with a different color of Fireworks! Craft Spray: Angel Pink, Lilac Posies, Lulu Lavender, and Tangelo. Allow the spray to dry, and then spray a second time to enhance the color. (I chose to dry the spray to speed up the process but you could allow it to air dry.)
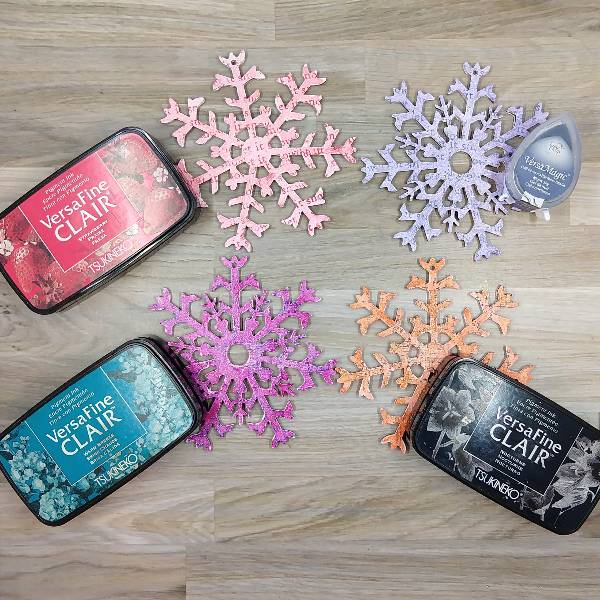
Step 3: Use one of two small stamps to add some texture and color to each of the ornaments: Warm Breeze VersaFine Clair ink (on the Lilac Posies Fireworks! Craft Spray), Nocturne VersaFine Clair ink (on the Tangelo Fireworks! Craft Spray), Strawberry VersaFine Clair ink (on the Angel Pink Fireworks! Craft Spray), and Night Sky VersaMagic Chalk ink (on Lulu Lavender Fireworks! Craft Spray). Heat emboss each of the snowflakes with clear embossing powder.
Step 4: Cut out and distress the edges of 4 pre-printed winter sentiments. Then press the edges into the Golden Glitz Delicata ink pad. Heat emboss each of the sentiments with clear embossing powder.
Then press the Golden Glitz Delicata ink pad onto a piece of acetate packaging and spray with water. Then press the acetate packaging onto each of the ornaments to add gold shimmer.
Allow to dry or dry with a heat tool. Then press the edges of the ornament into the ink pad. Allow to dry.
Step 5: Glue the sentiment strips onto the ornaments. Glue sequins onto the ornament and strips. Add a loop of golden embroidery thread through the hole in each ornament to finish the project.