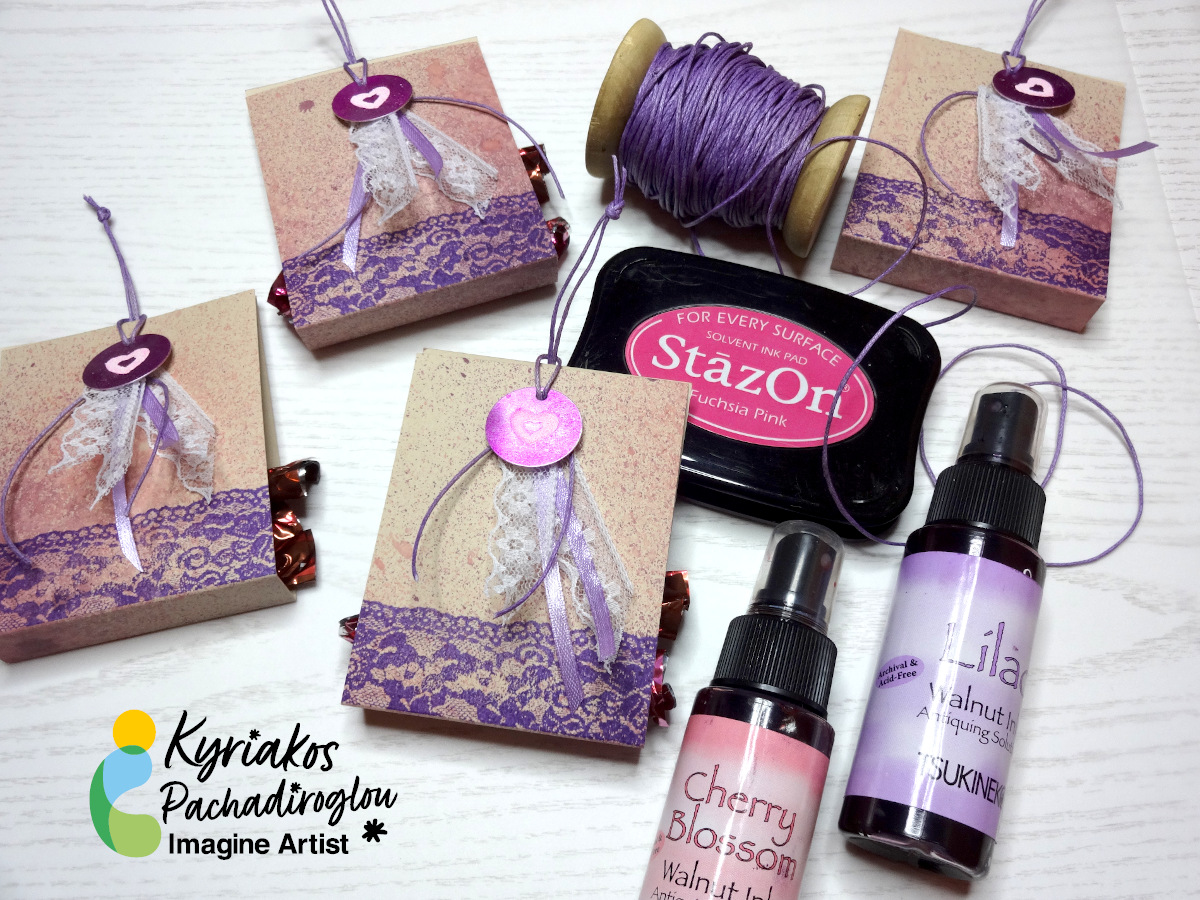
By Kyriakos Pachadiroglou
Make oriental theme bookmarks by distressing paper with Walnut Inks, stamping and embossing with Gold Mboss Embossing Powder and adding a Ancient Dynasty Coins that holds a tassel.
Skill: Intermediate
Time: 1 Hour
Directions:

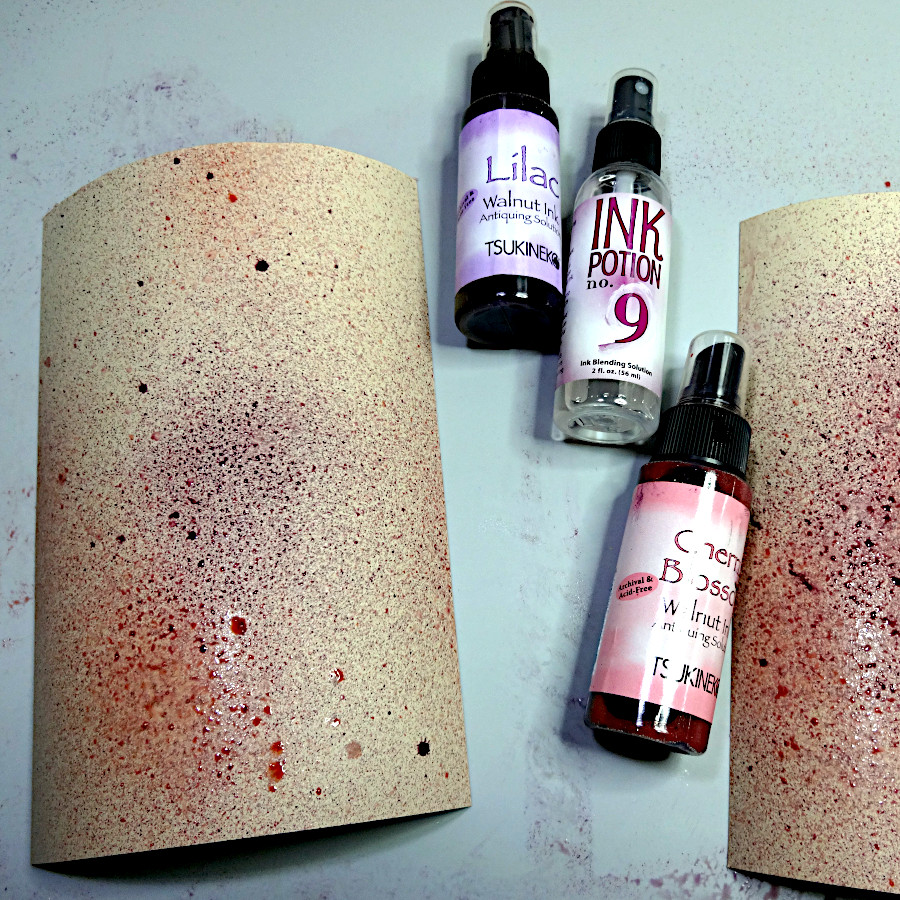
Step 1
Place a few Walnut Ink Crystals on a piece of natural color card stock and spray with some water. Dilute the crystals and dry well.

Step 2
Cut 8×1.5″ pieces of the card stock.

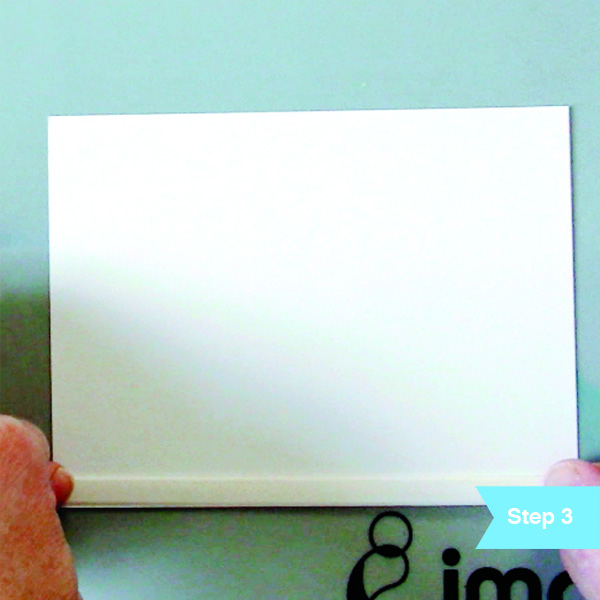
Step 3
Score 1″ from the top.

Step 4
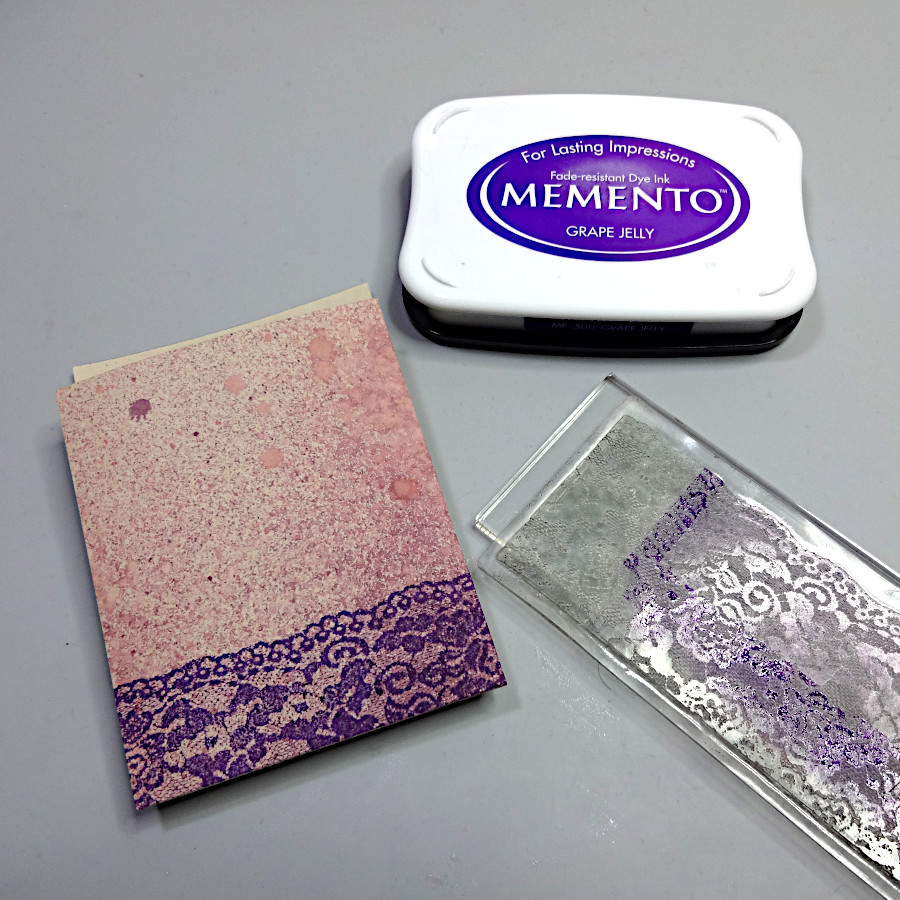
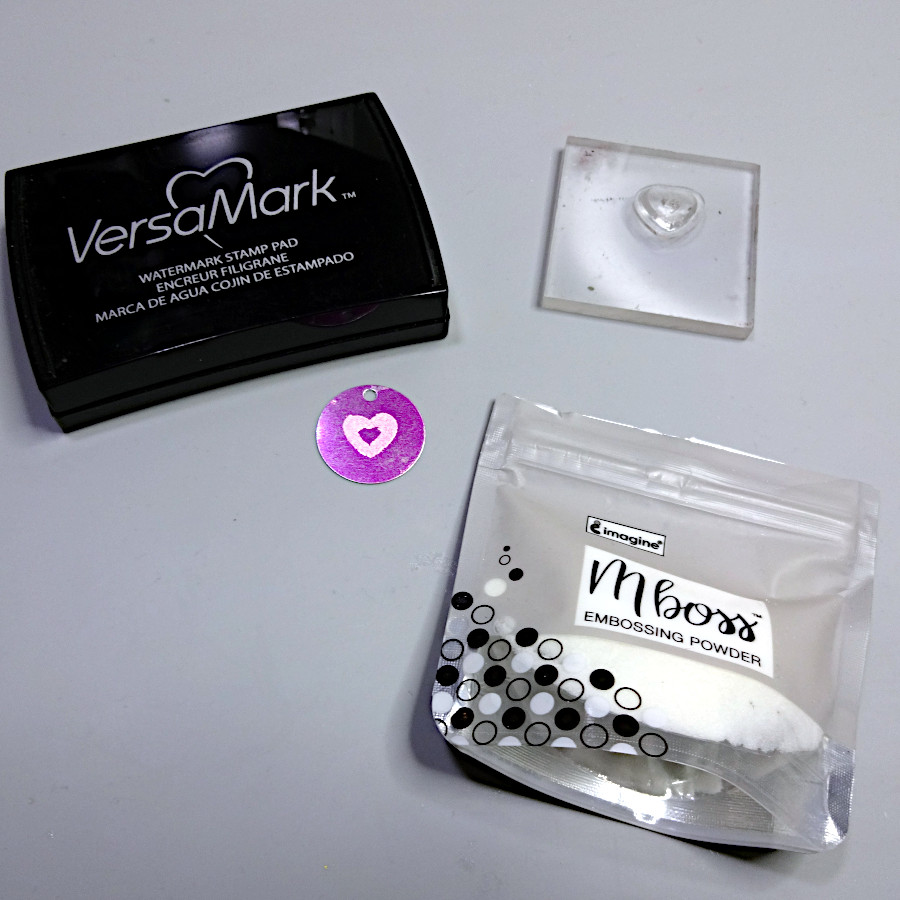
Stamp with the leaves stamp and the VersaMark ink pad, cover with Mboss Gold Embossing Powder and heat set.

Step 5
Stamp with letters stamp and the VersaFine CLAIR ink pads.

Step 6
Distress the edges of the paper with VersaColor Black ink.
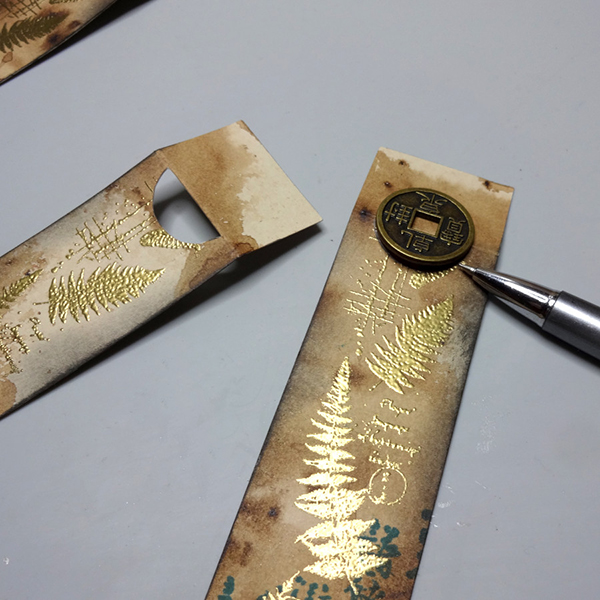
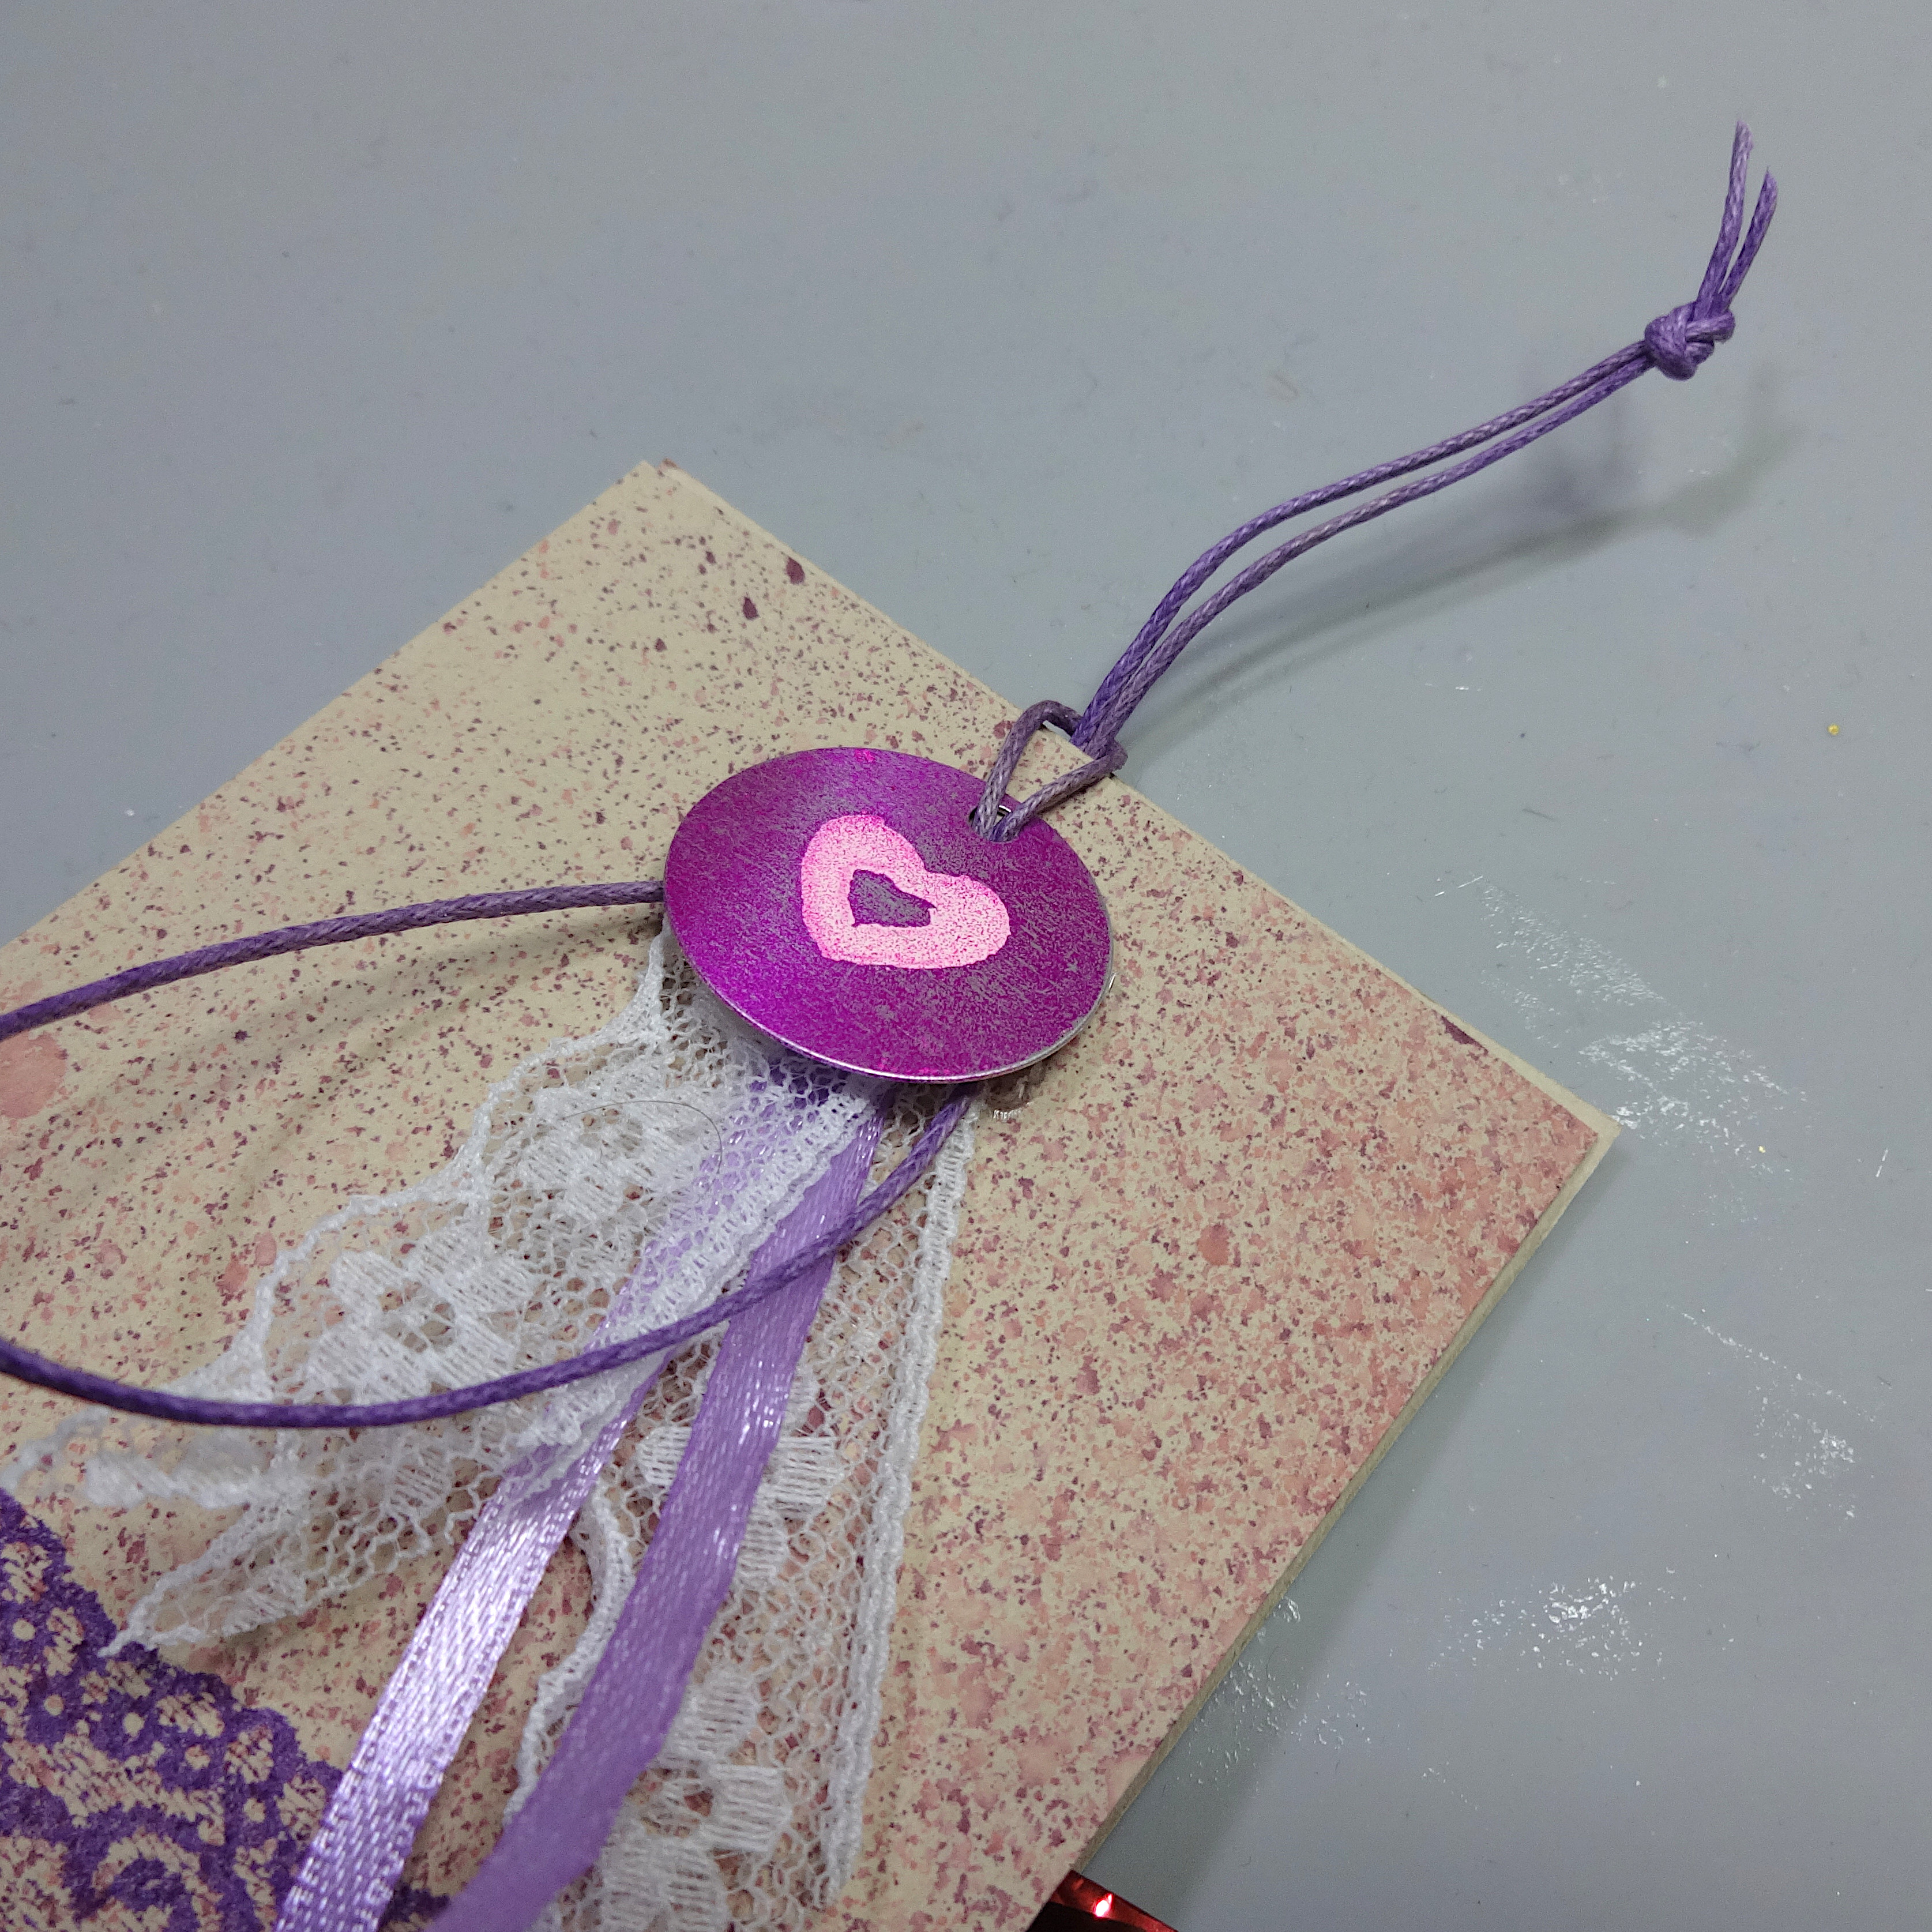
Step 7
Place an Ancient Dynasty Coin to the score, leaving the hole of the coin above it, and mark around the coin to the long side. Cut around the marked half circle and the scoring line (only to the part of the long side of the bookmark).

Step 8
Cover with Creative MEDIUM clear to protect the paper.

Step 9
Turn the bookmark backside and add Tear It! Tape on the short only part of it and glue on the long one.

Step 10
Add the Ancient Dynasty Coin on the gap and tie a tassel.
Art Supplies
Imagine
• Ancient Dynasty Coins – Prosperity
• VersaFine CLAIR – Glamorous, Warm Breeze, Tulip Red
Other materials
Card stock natural
Moking travel stamp – Forest Whispers
Kaisercraft stamp set – Lush
Tassels
Water sprayer
Heat tool