By Von Marie
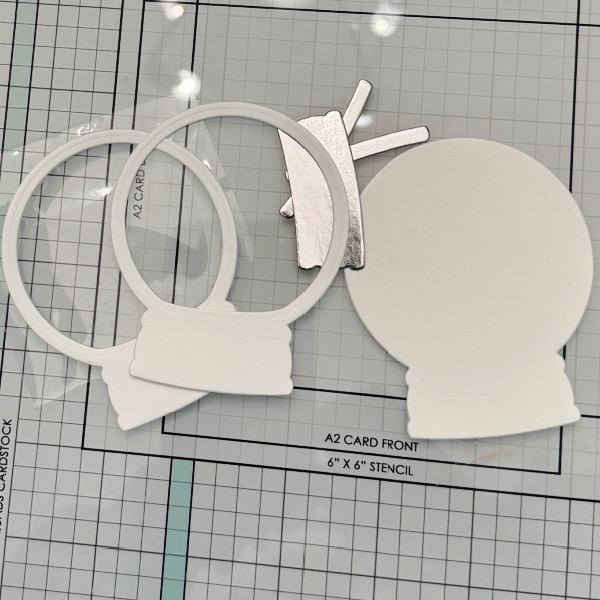
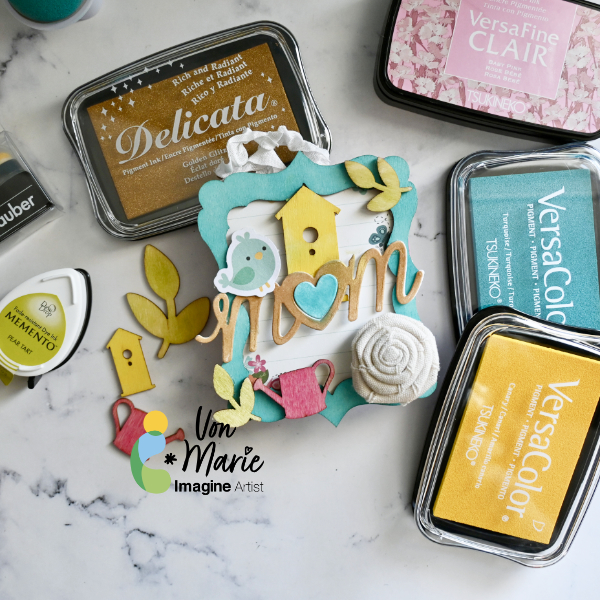
Hello everyone. Von Marie here with my latest project. I chose to make a Mother’s Day Home Decor project today. I used wood veneers and frame and some Beautiful VersaColor inks, and Delicata Golden Glitz to help me make this project fun and colorful. This project is great for a gift or for yourself as a decoration for your craft room. You can even switch it up and make it a Christmas project or anytime project. The video will have all the details. Thank you for watching.
Skill: Intermediate
Time: 60 Mins.
Art Supplies:
Imagine Products:
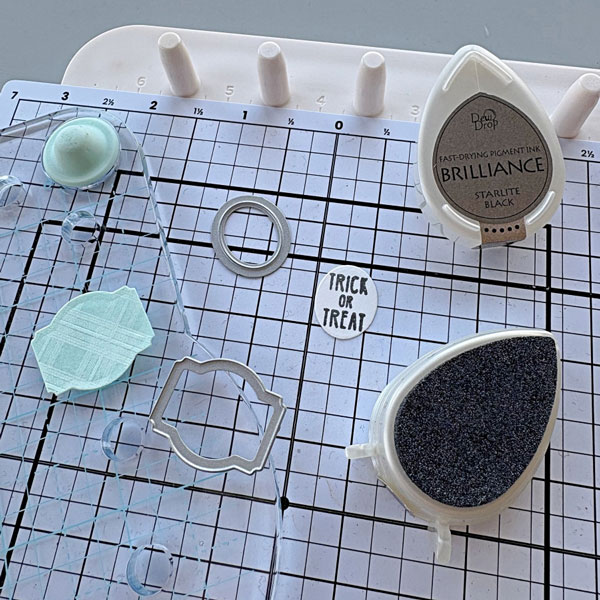
• Craft Mat
• Sponge Daubers With Lid
• Jumbo Sponge Dauber
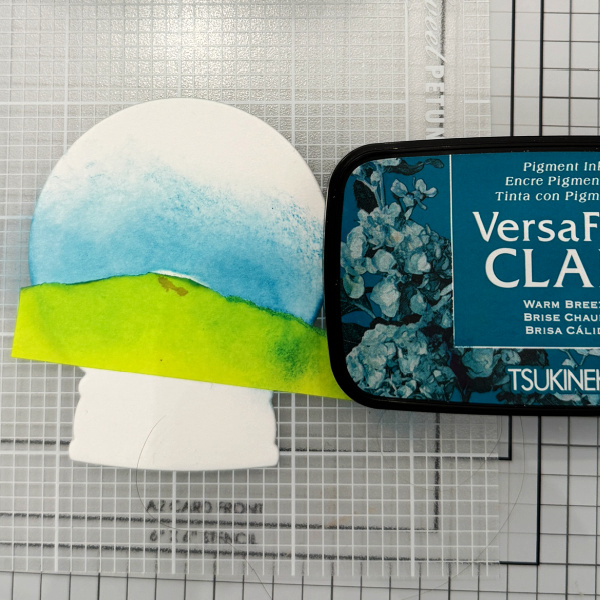
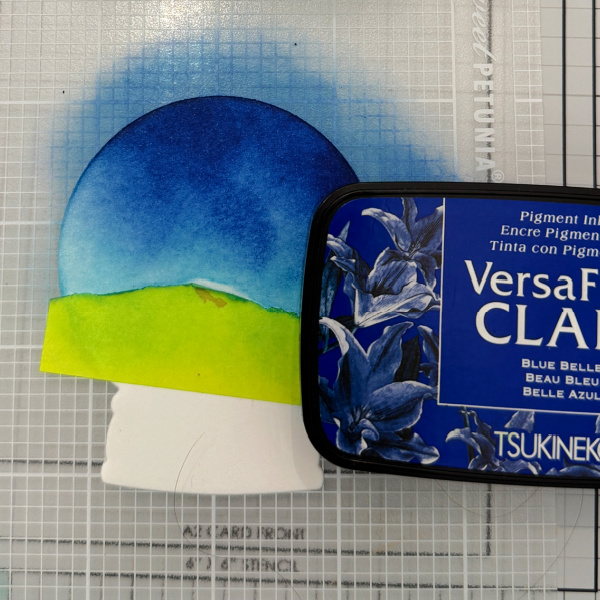
• VersaColor Pigment ink colors:
– Turquoise Full Ink Pad
– Canary Full Ink Pad
• VersaFine CLAIR Pigment Ink Baby Pink
• Delicata Pigment ink Golden Glitz
• Memento Dew Drop Pear Tart
Other Products Used:
• Wood Frames (Local dollar store)
• American Crafts Wood Veneers Jen Hadfield
• Mom Word Die retired Lil Inker Designs
• Hot Glue Gun (Be careful)
• Pattern Paper
• Seam Binding ribbon
• Fabric Rolled Flower
• Bird Ephemera
This project can be created using products from your stash such as buttons, ribbons, or acrylic pieces. Video link https://youtu.be/SYF37K3xt-s