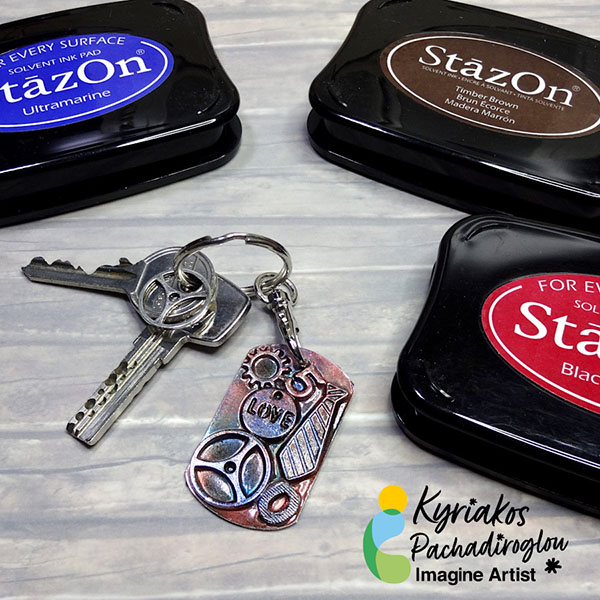
By Kyriakos Pachadiroglou
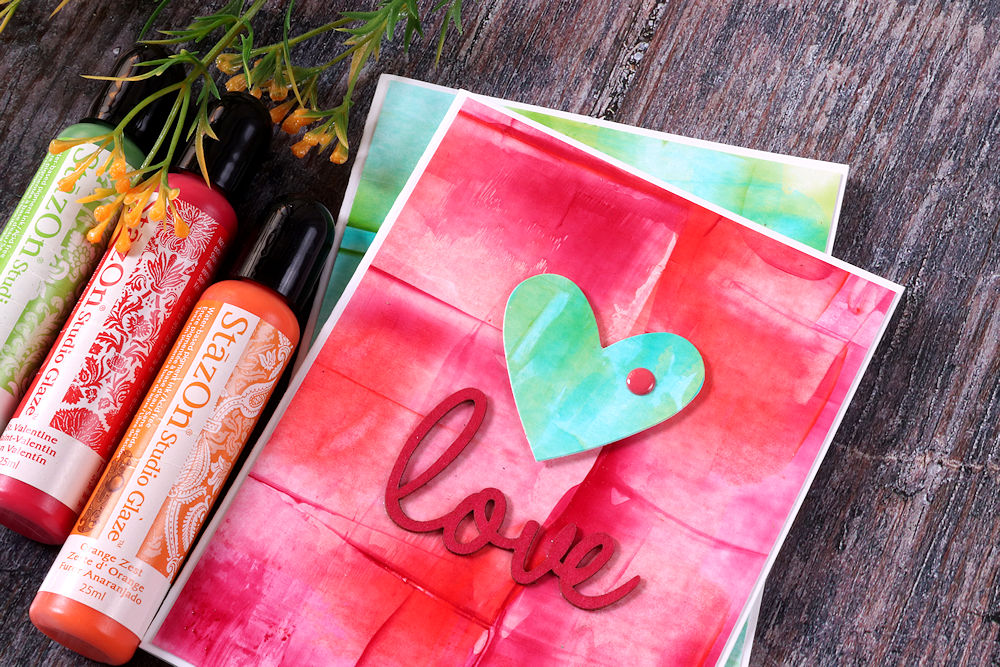
Use two SHEETmetal dog tags to easily make a key holder that is colored with StazOn inks. Attach metallic gears and charms on the tags using Goosebumps texture spray that works as a glazing medium too.
Skill: Beginner
Time: 30 Minutes plus drying time
Directions:
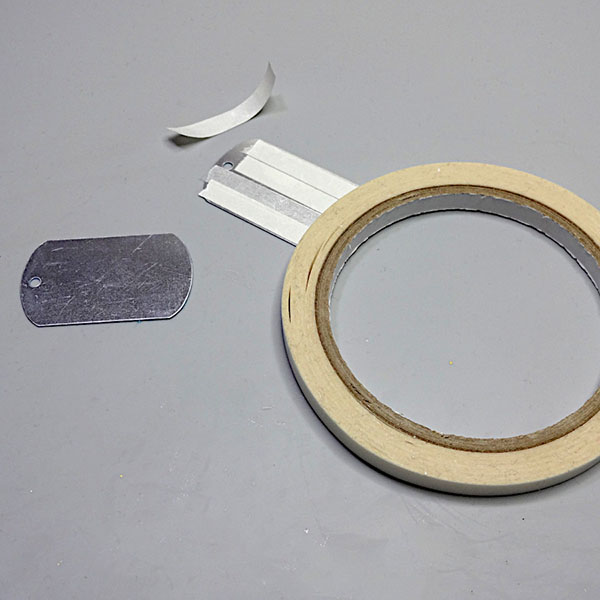
Step 1
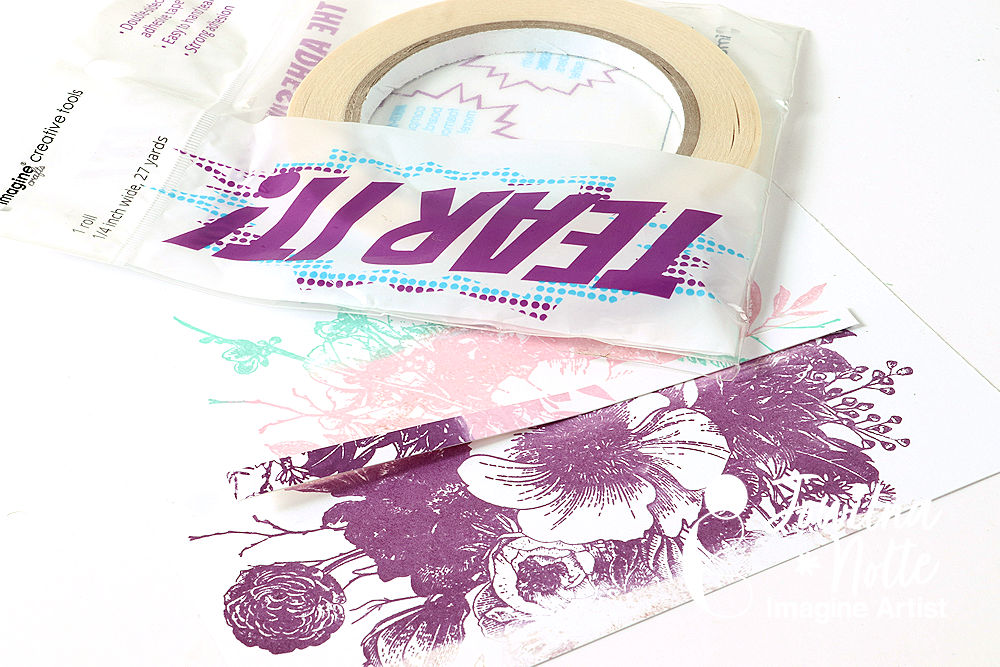
Place Tear It! Tape on one of the two SHEET Metal tags and glue together.
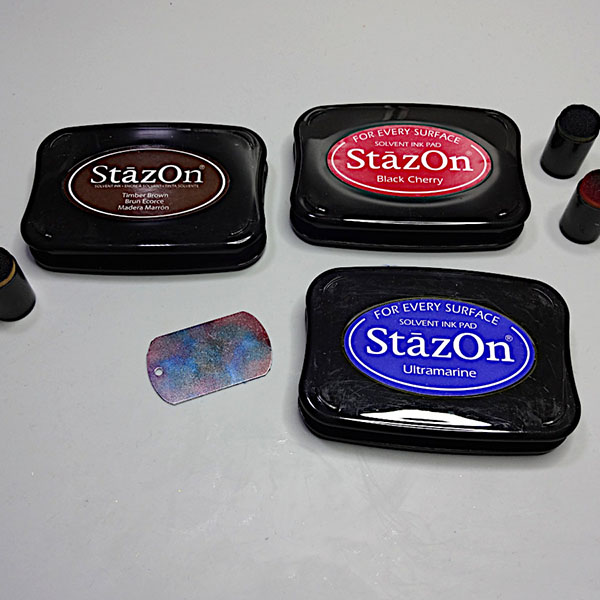
Step 2
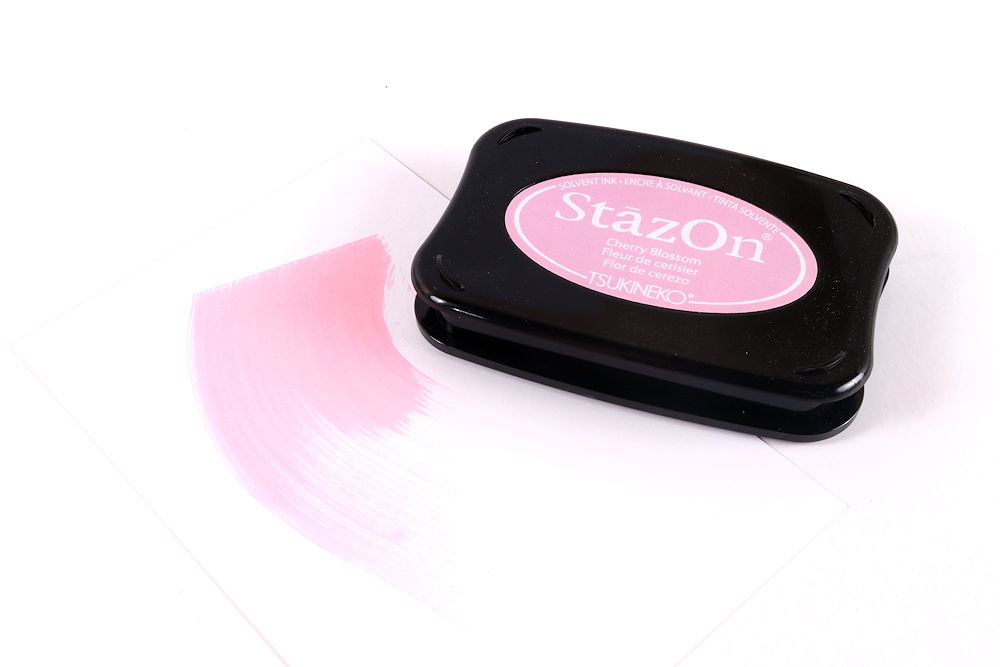
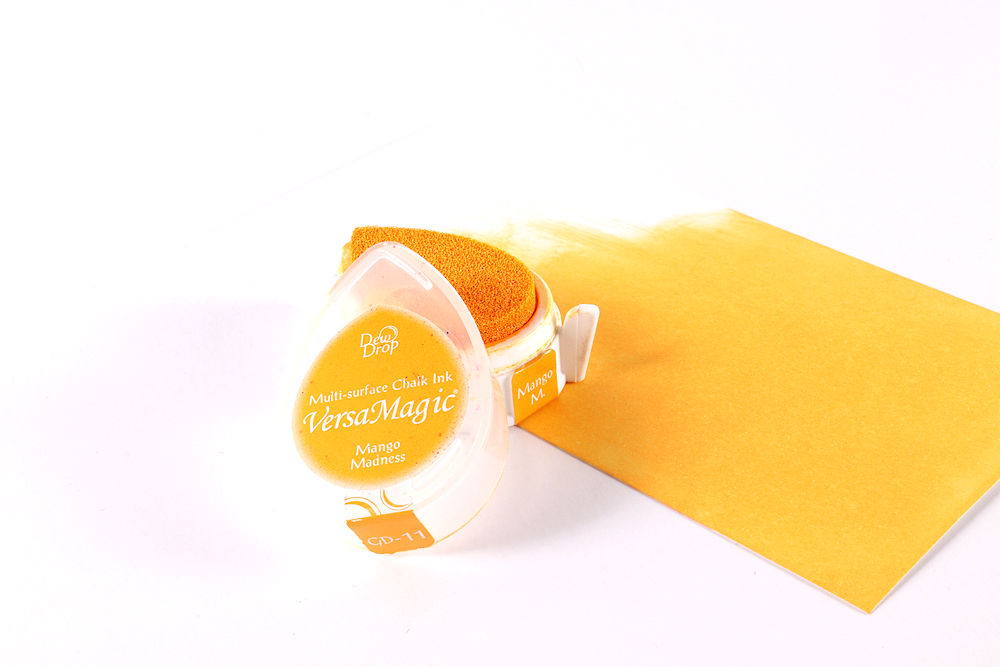
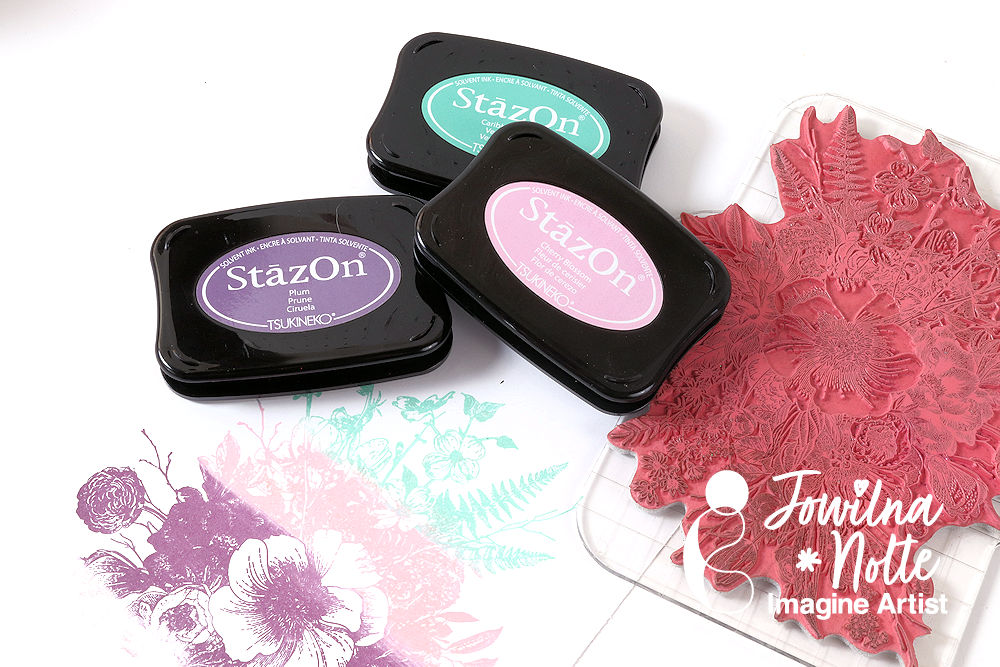
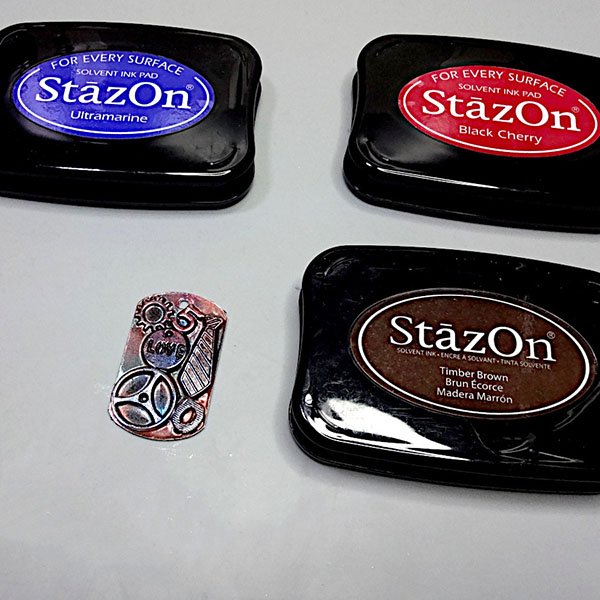
Remove the protective film and with the help of the sponge daubers color the surface using the StazOn Ultramarine, Timber brown and Black cherry ink pads.
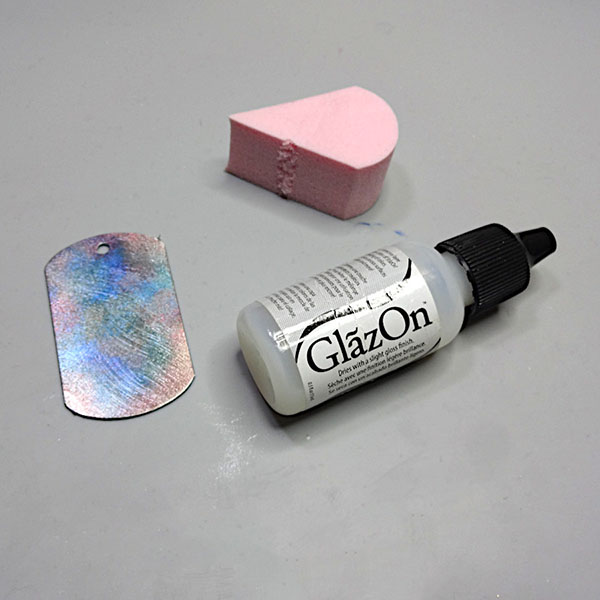
Step 3
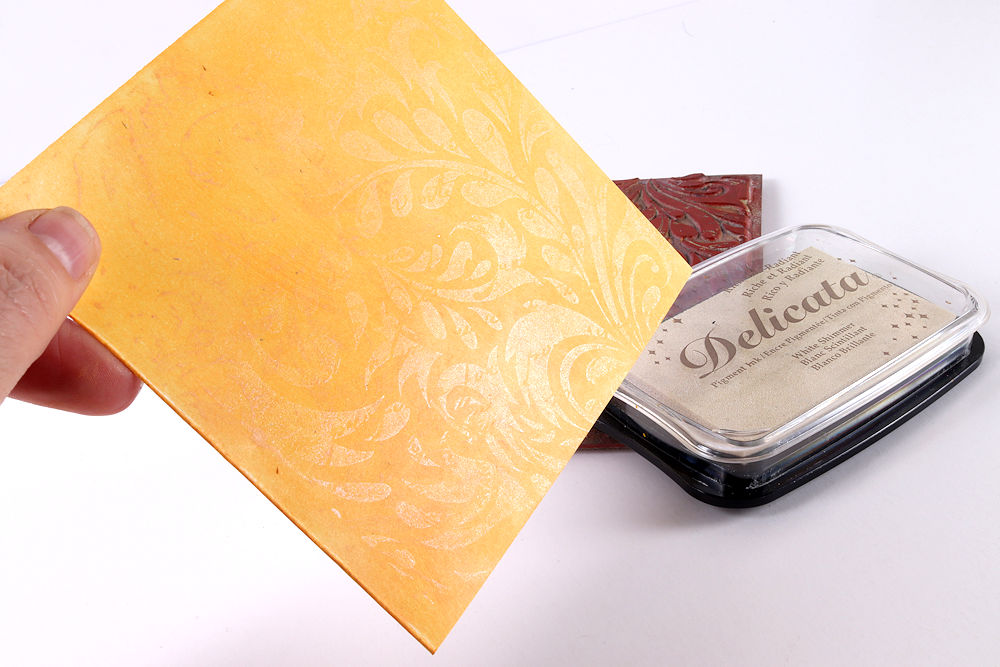
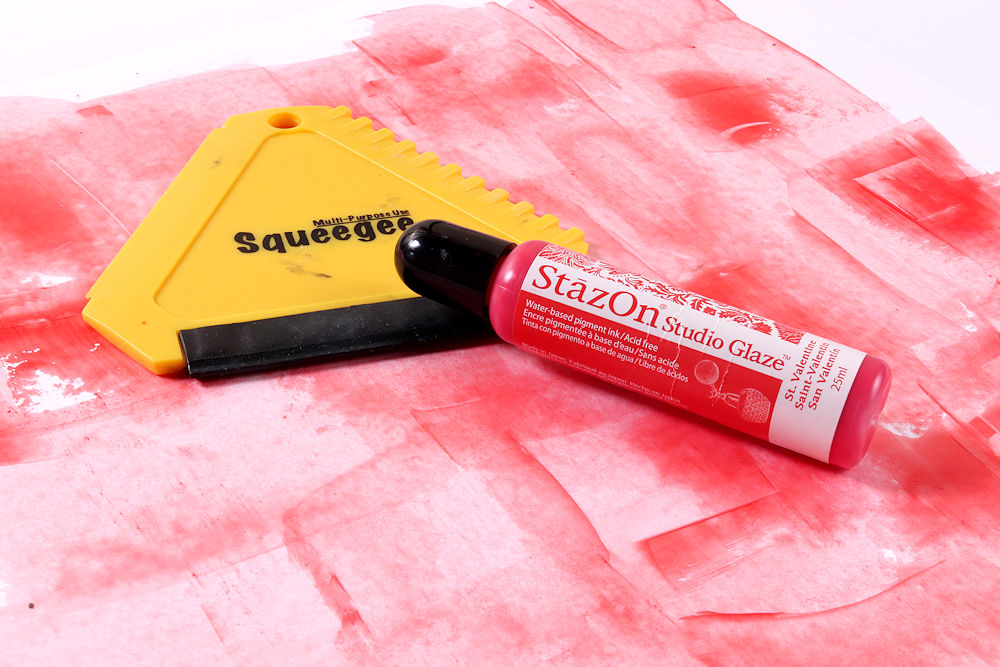
Let it dry for a few seconds and secure the colors with a layer of GlazOn using an InkBlusher.

Step 4
Deep a wooden stick in the bottle of the GooseBumps and place a thick layer of the medium on the tag. Place the charms and let it dry.
Step 5
Color further the metallic charms with the StazOn ink pads and again secure with the GlazOn.
Step 6
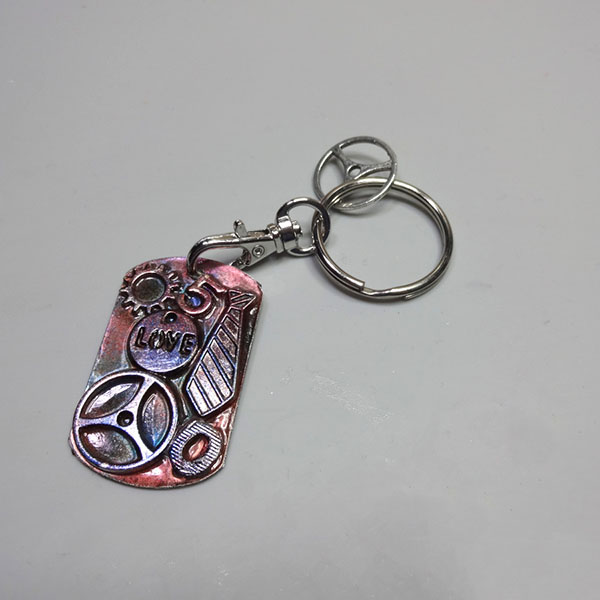
Add a chain or a key holder lobster and a ring.
Art Supplies:
Imagine
StazOn – Ultramarine, Timber brown, Black cherry
GooseBumps Dauber Top Bottle – Original
Other
Metallic gears and charms
Ring and lobster lock for key holder