Learn How to Make a Spring Color Blocking Card

By Jowilna Nolte 

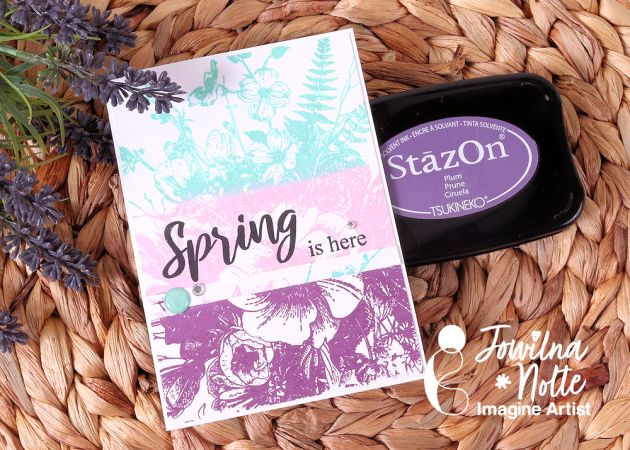
Celebrating Spring with an easy to create color blocker card using stamps and inks only – such a quick way of creating a fun effect without a lot of effort. Anyone can create this with only a few supplies.


Skill Level: Beginner

Time: 20 minutes


Directions:

Step 1

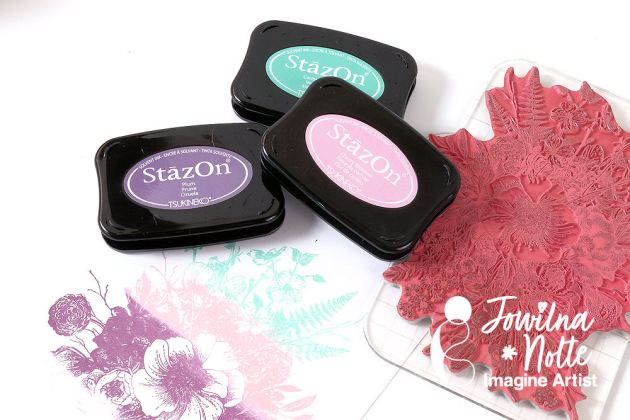
Ink a large floral background stamp using 3 ink colors. I am using ink pads from Imagine’s latest StazOn On Trend Collection in Cherry Blossom, Plum and Caribbean Green. Swipe the lightest color across your stamp in a straight line. Then use your second color and your third color and swipe over your stamp as well.


Step 2

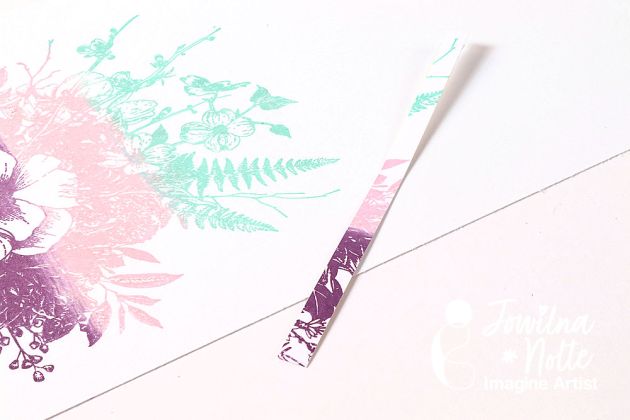
Immediately stamp the image onto smooth white cardstock. Trim your image to fit into the front of a card panel. Keep a small piece of the edge that you cut off.
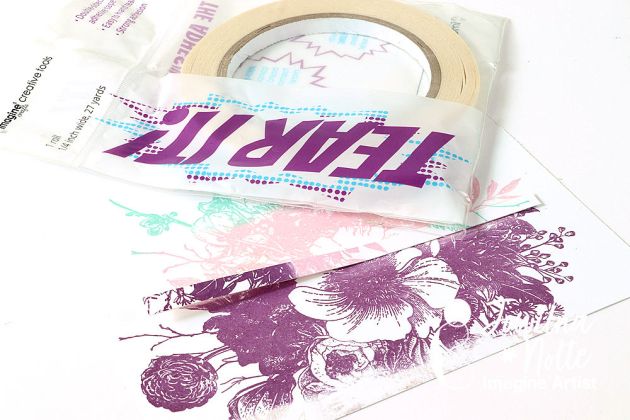
 

Step 3

Use Tear It! Tape and adhere the thin strip to the bottom edge of the stamped panel and adhere to your card base.
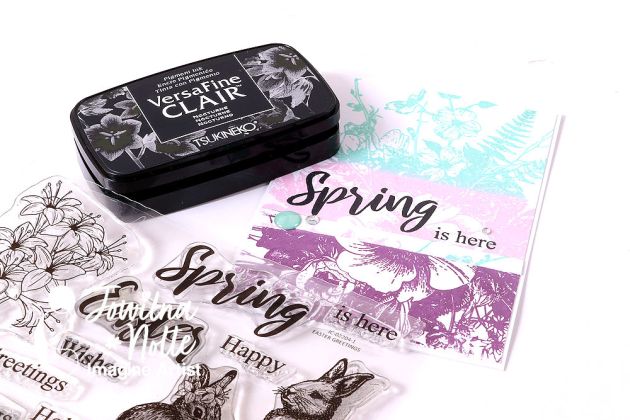
 

Step 4

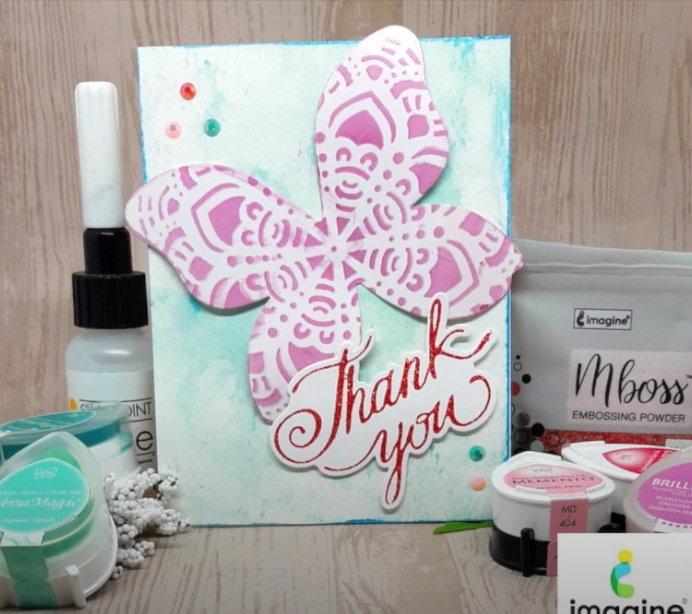
Stamp your sentiment onto your card panel using VersaFine Clair and finish off with diamante and embellishments.


Art Supplies

Imagine

StazOn full-size inkpad Cherry Blossom
StazOn full-size inkpad Caribbean Green
StazOn full-size inkpad Plum
VersaFine Clair Full-size Inkpad Nocturne (black)
Tear It! Tape

Other

Stamp: Stampers Anonymous, Joy Clair
Smooth white cardstock
Enamel dot and diamante


5-minute Card – Stunning One-layer Denim & Copper Card for Guys

thanks card for guys

by Nicole Watt 

Whether a coworker, family member, or friend, guys need to know they’re appreciated too! Whip up this amazing one-layer thank you card inspired by your favorite denim jeans. Ink blending and simple stenciling with Tsukineko inks make this a breeze!

Skill: Intermediate to Advanced
Time: 5 minutes

Directions

Art Supplies

Other

Learn How to Make a Butterfly Thank You Card

Hello Crafty Friends! Annie Collins here with a quick and easy stenciled butterfly thank you card. See how I make two different versions of the same card design by a simple color change from pink to blue. 

Skill: Intermediate 
Time: 10 minutes

Directions

Art Supplies

Imagine

Other

  • Mroowvibes – Thank You Stamp and Die
  • Glossy Cardstock
  • Strathmore Cold – Press Watercolor Cardstock
  • Recollections Brand 110# Cardstock – White
  • Recollections Brand Mandala Stencil
  • Michelle’s Sparkling Creations: Jewels – Fuchsia, Pink and Teal


See How To Use Dura-Lar Matte Film To Make A Card

by Iris Rodriguez

See How To Use Dura Lar Matte Film To Make A Card

For this month, it’s was such a pleasure to make projects with Tsunkineko’s new StazOn Pigment Inks. These ink behave like pigment inks, however, they are permanent like the original StazOn ink. As if it does not get any better; this ink also takes details incredibly well. For this card, I used Dura-Lar film (it’s like vellum paper) to create a dimensional effect by stenciling bird images with the Peacock Feathers color of StazOn Pigment. I overlaid the stenciled film on a moonlit night background; also created with StazOn Pigment inks. It made for a great backdrop for the Peacock colored birds.

Skill: Beginner
Time: 30 minutes

Directions

Step 1

Stencil the birds onto the Dura-Lar matte film. This film looks like vellum, except that it’s archival. It’s very strong, you can remove your images with rubbing alcohol or water as many times as you want and it does not warp. Permanent inks, like StazOn Pigment inks, do not rub off. I like using it because you can create layered dimensional effects.

Step 2

Cut out a circle for the moon. This will be used as a mask when inking the background.

Step 3

Place the circle over the cardstock paper and ink the background using the Piano Black StazOn Pigment ink.

Step 4

Ink the background with the Snowflake and Koala Gray StazOn Pigment inks.

Step 5

Add a little color to the background with the Peacock Feathers StazOn Pigment ink. Ink lightly and in random areas, do not ink the entire background.

Step 6

Spray the tacky spray to the background and adhere the Dura-Lar sheet.


Step 7

Lightly ink sections of the Dura-Lar background with the Koala Gray and Peacock Feathers StazOn inks. Do not ink over the birds. Stamp the sentiment.

Supplies

Imagine
Other
  • Crafter’s Workshop – Birds 6 x 6 stencil
  • Joy Clair Stamps – Butterfly Kisses
  • Dur-lar Archival Film – Matte
  • Aleene’s All-Purpose Tacky Adhesive Spray