Let’s Make a Mixed Media Butterfly Tag

By Ceal Pritchett

Hello crafty friends!

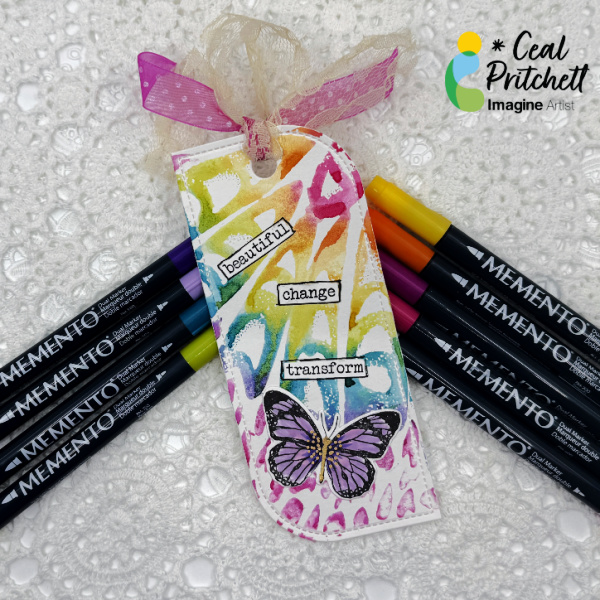
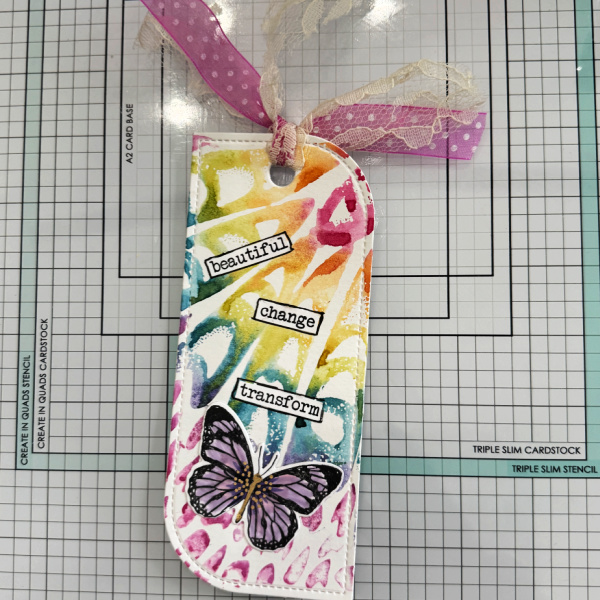
It’s Ceal, here. Today I am sharing this mixed media tag/bookmark with you. It’s a lot of fun to make and is fairly simple.

Skill: Intermediate 
Time: 45 minutes 
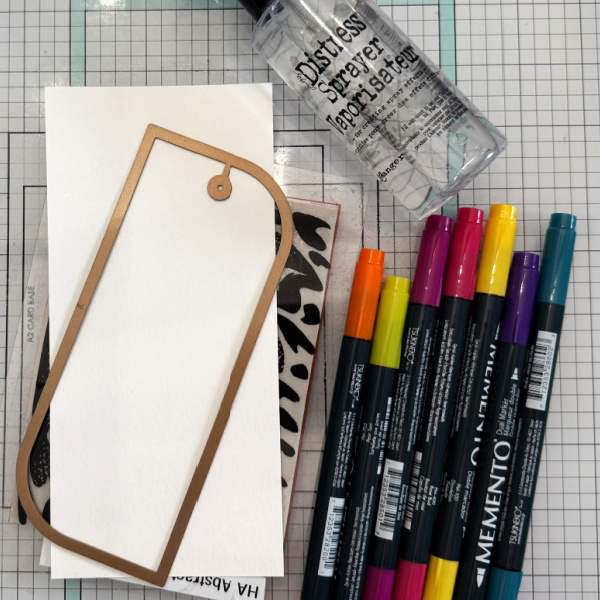
Directions: Gather your supplies, for this project you will need a tag made of water friendly paper, (I used Bristol cardstock), several colors of water based markers, and stamp sets to decorate.
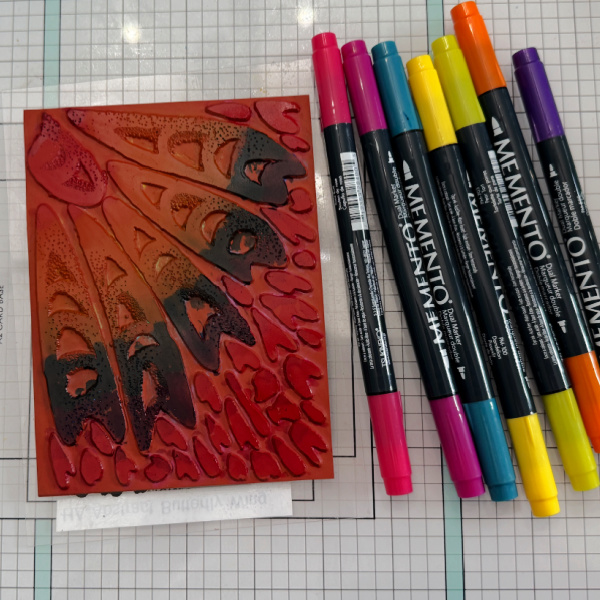
Step 1:
Using a red rubber cling stamp and water based markers, ( I used Memento) color the stamp as desired. 
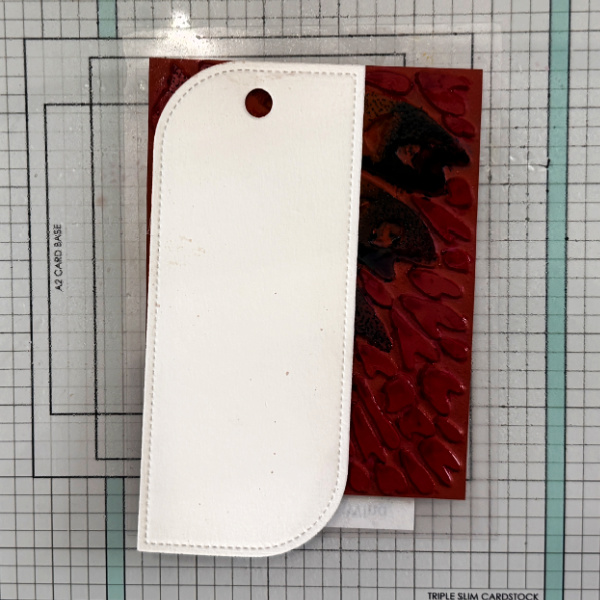
Step 2:
After you have finished coloring the stamp, spritz it with water and lay the tag on it and rub lightly.
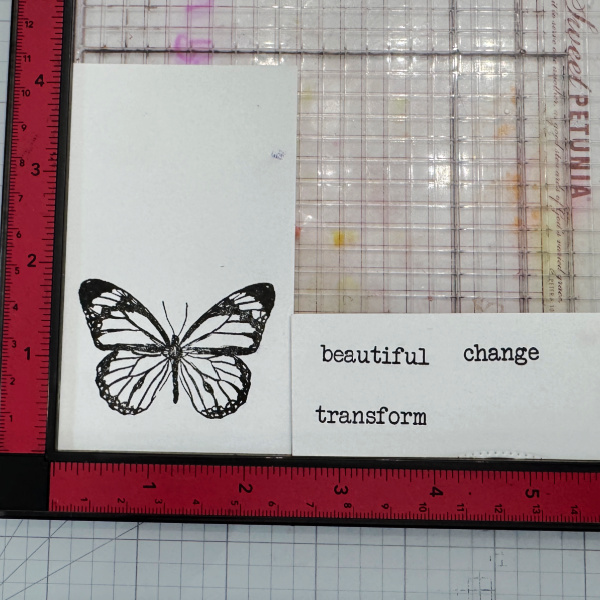
Step 3:
Stamp the images you have chosen for and stamp them in black ink (VersaFine Clair used here).
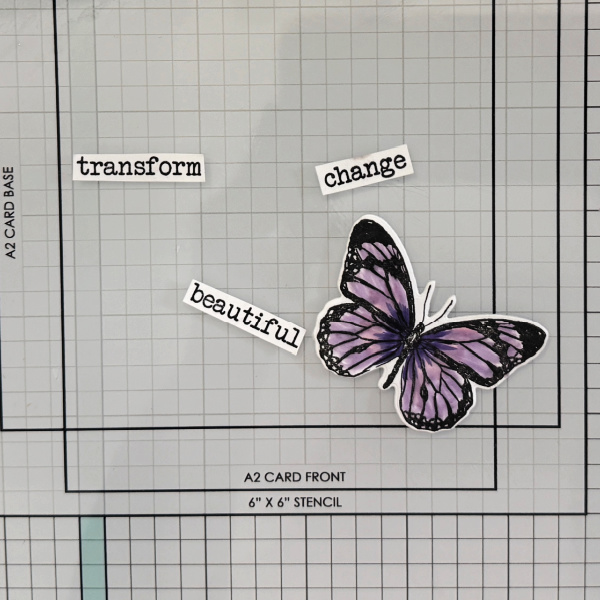
Step 4:
Color and cut out the elements to decorate the bookmark. 
Step 5:
Add elements to bookmark ad add ribbon to finish it. 

Supply List:

Imagine Products

Memento Markers in the following colors 
– Angel Pink
– Lulu Lavender
– Rose Bud
– Lilac Posies
– Teal Zeal
– Grape Jelly
– Tangelo
– Pear Tart
– Dandelion
VersaFine Clair – Nocturne

Other Products

Abstract Butterfly Wing – Hero Arts
Made New Stamp set -Creative Worship Stamps
Learn How to Make a Butterfly Thank You Card

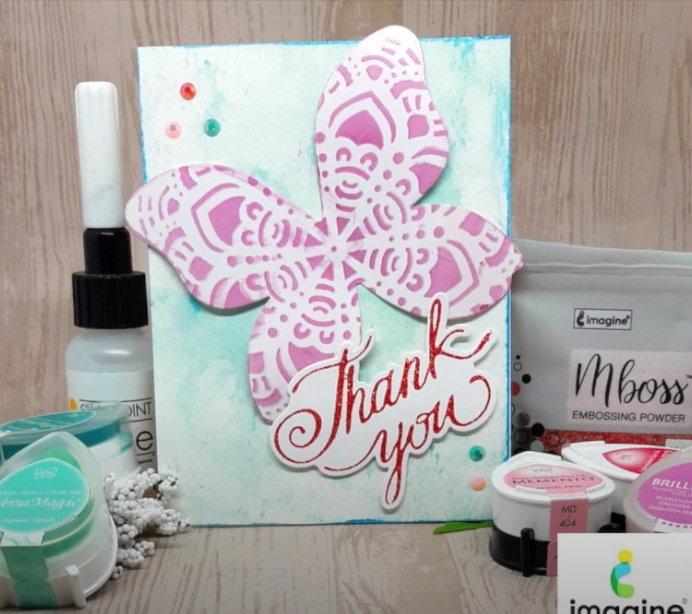
Hello Crafty Friends! Annie Collins here with a quick and easy stenciled butterfly thank you card. See how I make two different versions of the same card design by a simple color change from pink to blue. 

Skill: Intermediate 
Time: 10 minutes

Directions

Art Supplies

Imagine

Other

  • Mroowvibes – Thank You Stamp and Die
  • Glossy Cardstock
  • Strathmore Cold – Press Watercolor Cardstock
  • Recollections Brand 110# Cardstock – White
  • Recollections Brand Mandala Stencil
  • Michelle’s Sparkling Creations: Jewels – Fuchsia, Pink and Teal


Create An Inspiring Design To Help Free Your Mind

by Iris Rodriguez

Create An Inspiring Design To Help Free Your Mind

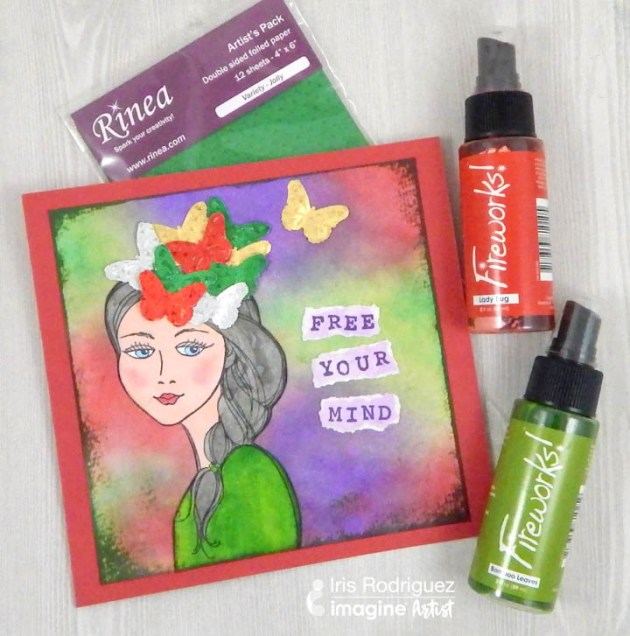
Do you ever think about things too much when you know it’s not necessary? A great way to break up this thinking pattern is to turn to creative endeavors, to “free your mind” and create what the muse wants instead. This month we have the fun challenge of creating projects with Rinea foils. There are so many funs things you can do with these foils; you can stamp on it, paint, use with mediums or create 3D decorative projects. For my card I have used foils as an embellishment, check it out.

Skill: Beginner
Time1 hour

Directions

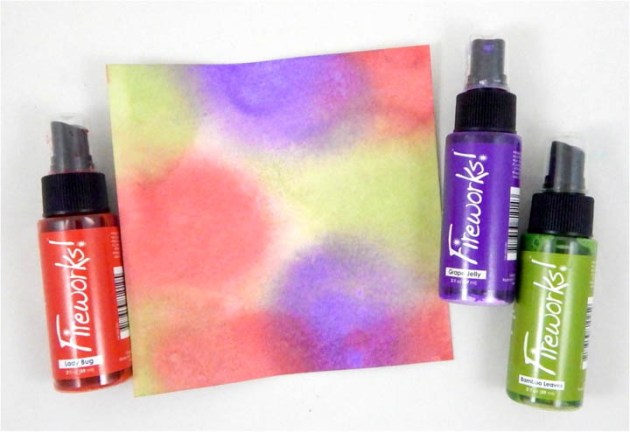
Fireworks! Shimmery Craft Sprays in Lady Bug, Grape Jelly and Bamboo Leaves
Step 1

Spray water onto watercolor paper, then spray Fireworks! Shimmery Craft Sprays in Lady Bug, Grape Jelly and Bamboo Leaves in different areas. The water will help these inks spread and blend on the paper.

Jet Black StazOn ink
Step 2

Stamp the girl image with Jet Black StazOn ink. I decided to color with Prismacolor Marker Light Peach to color in the face. I colored the mouth and cheeks with Love Letter Memento Luxe ink. For the eyes, I used All-Purpose Ink in Sky Blue, for hair used Real Black and Thyme for the dress. Once all the ink is dry next fussy cut the image.

Cut out the butterflies from Rinea foil paper
Step 3

Cut out the butterflies from Rinea foil paper in various colors with either a die or a punch.

Adhere the girl image onto the card with On Point Glue. On Point Glue is perfect for these small pieces
Step 4

Adhere the girl image onto the card with On Point Glue. On Point Glue is perfect for these small pieces. Glue the butterflies to the top of her hair and forehead.

Stamp the sentiment "Free Your Mind"
Step 5

Stamp the sentiment “Free Your Mind”. Assemble card and add any additional personal touches.

Supplies

Imagine
Other
  • Watercolor paper
  • Cardstock – white
  • Rinea Foils – Jolly Variety pack; green, silver, gold, red
  • Martha Stewart – Classic and Monarch butterflies punch
  • Sentiment stamp
  • Prismacolor Premier Marker – Light Peach