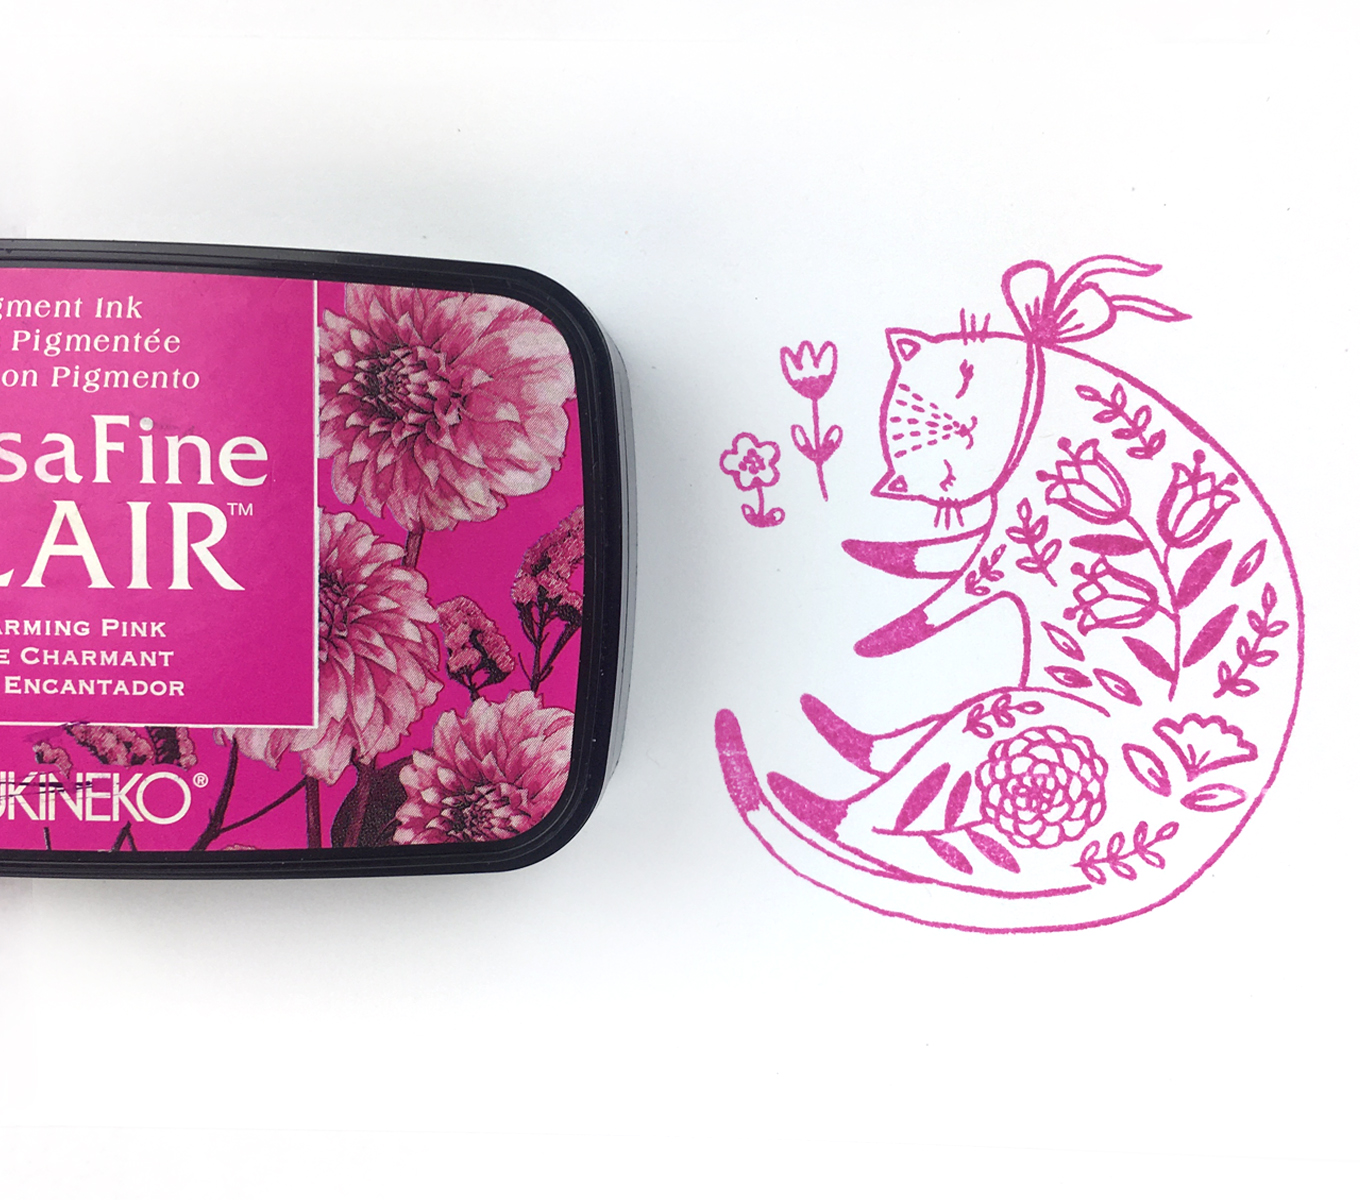
Quick & Easy Projects: How to Make a Fall Card with One Ink Pad

by LeeAnn McKinney

Greetings crafty friends, today I am using my FAVORITE ink pad — Kaleidacolor. This 5-color water-based dye ink pad is very useful for a basic crafting project because it offers a variety of colors and the sliding palette feature gives you a lot of options. The ink pad has a lever to slide each ink pad together and then to pull apart for storing.

To create a beautiful background, just ink up the brayer, and roll it all over the card stock depositing the color down, you can keep going over it multiple times if desired to really get a great blend.

I then stamp out my sentiment and used On Point Glue to adhere falling leaves. I applied three dots of Gold Pico Embellishment to complete this project. I only use Kromekote Glossy Cardstock for this technique and it comes out perfect every time.

Skill: Beginner
Time: 15 minutes

Directions

Art Supplies

Imagine

Other
  • Happy Fall Y’all Stamp Set
  • Die Cut Leaves
  • Cardstock 
  • Kromekote Glossy Cardstock
  • Brayer

Beginner Guide: Mboss Clear in Matte Finish


by Imagine staff

Many of you may have heard of embossing powders by now. There are plenty of introductions on how to heat emboss. In fact, we feature a great introduction to embossing on a metal tin by Nicole Watt. Check it out! But there is no end to the many uses of this unique product. So, in today’s post, we thought we would highlight a fun technique with one of the cool powders that Imagine has in stock — Mboss in Clear Matte!

Directions


Step 1

Choose a pigment ink and a stamp. Here I picked VersaFine Clair in Charming Pink and a Waffle Flower stamp.


Step 2

Emboss the stamped image with Mboss Matte Clear. Notice how the Matte Clear deepens the Charming Pink color. With a regular clear embossing powder, a high gloss would show. With the Matte Clear, it simply enhances the stamped image without the high gloss. If you wanted to leave it as is then this is a great technique for enhancing a stamp. For embossing powders, you will need a heat tool. We listed a purchase option in the supplies below. 


Step 3

To take it a bit further, here is an embossing technique that can really intensify any papercraft or cardmaking project. In the sample above you can see the stamp inked with Warm Breeze in VersaFine and then inked again with VersaColor in Canary Yellow. One benefit of embossing is to lock the color of the first stamped image to the paper. It can be inked over with additional colors without affecting it. The plain stamp blends a bit and turns the image to a green hue. The embossed image keeps it’s turquoise color perfectly.

Last example again with VersaFine in Charming Pink — you can see the luster of the embossing keeps the deep pink color intact! Inked with VersaColor can turn the Charming Pink into a coral color (which is beautiful). With the Mboss the Charming Pink pops through the yellow background.

Other

Create an Artsy Book Cover with All Purpose Inks

by Lori Warren

Creating an Artsy book cover is easy with All-Purpose Ink and Ink Droppers. This project will walk you through the step by step process of creating a unique background paired with a large word stamped (with StazOn Pigment Ink) as a focal point. 

Skill: Intermediate
Time: 20 minutes

Directions

Part 1: Create an Artsy book cover with All-Purpose Inks.

Part 2: Color Scheme Tag Journal

  1. Start with a blank hardcover book.
  2. Place a piece of paper under the book cover to protect the pages below.
  3. Using ink droppers, draw up a small amount of All-Purpose Ink into the dropper and release (splatter) the ink onto the cover. Repeat with different colors.
  4. After the ink has dried, stamp “ART” onto the cover using StazOn Pigment ink.
  5. Apply StazOn Ink directly to each edge of the book cover.
  6. Step two – Create Color Swatch Tag
  7. Cut a tag using the Waffle Flower Tag Die.

Supplies

Imagine

Other

Quick & Easy Projects: Sending Hope Greeting Card

by LeeAnn McKinney

Hi Friends, LeeAnn here with a fun project made using my favorite ink and technique, Kaleidacolor and brayering. I am Sending Hope to all out there to stay healthy through these times for you and your families.

Skill: Beginner
Time: 10 minutes

Directions

Other 

  • Brayer
  • Virginia Turtle Stamp Set “HOPE”
  • Honey Bee Stamp Set “Special Delivery”
  • Acrylic Blocks

Beginner Guide:Understanding VersaFine Ink Properties


Do you know how your inks work together? Perhaps you’re not getting the results you expect. That’s when layer swatching is a helpful activity. Join Nicole as she explores the VersaFine line of inks to see how they interact when stamping different swatches in layers, much like you would with a layering stamp. You’ll discover all the amazing colors that can be achieved by stamping various colors together to create new colors. Even though VersaFine inks are pigment inks, they layer just like dye inks!

Other

Waffle Flower Color Swatching Stamp Set


Create the Perfect Background with Kaleidacolor & Creative Medium

by Lori Warren

Create the Perfect Background with Kaleidacolor & Creative Medium

Create the perfect background with Kaleidacolor and Creative Medium.2) Description: A perfect background can really do wonders to showcase a simply stamped focal point. It’s easy to accomplish with layers of Kaleidacolor Ink and Shimmer Creative Medium.

Skill: Advanced
Time: 30 minutes

Directions

Supplies

Imagine
Other
  • Thinking of You stamp
  • Stencil
  • Cardstock