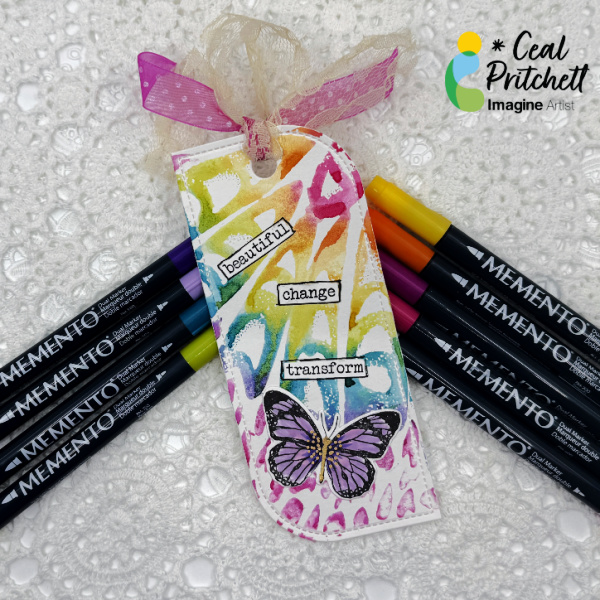
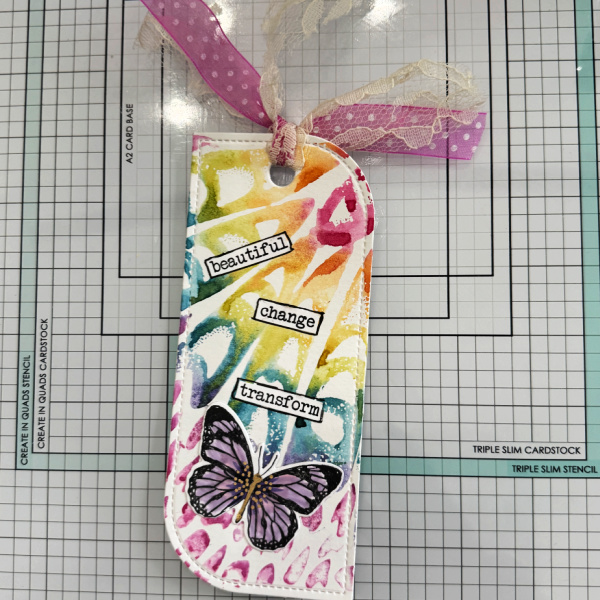
It’s Ceal, here. Today I am sharing this mixed media tag/bookmark with you. It’s a lot of fun to make and is fairly simple.
Skill: Intermediate Time: 45 minutes
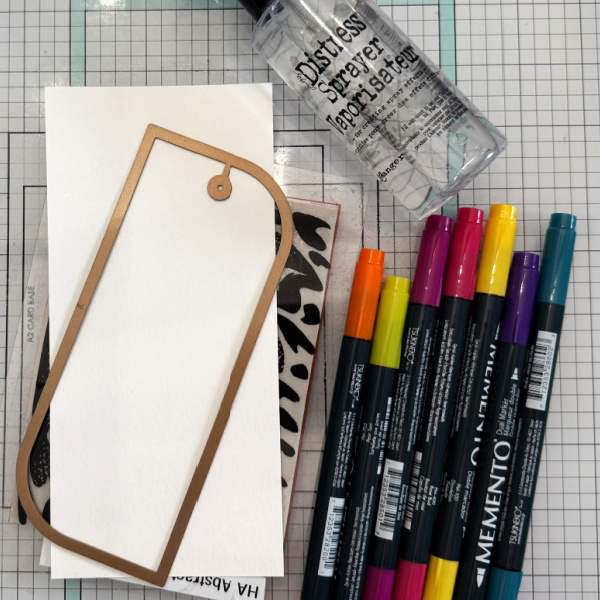
Directions: Gather your supplies, for this project you will need a tag made of water friendly paper, (I used Bristol cardstock), several colors of water based markers, and stamp sets to decorate.
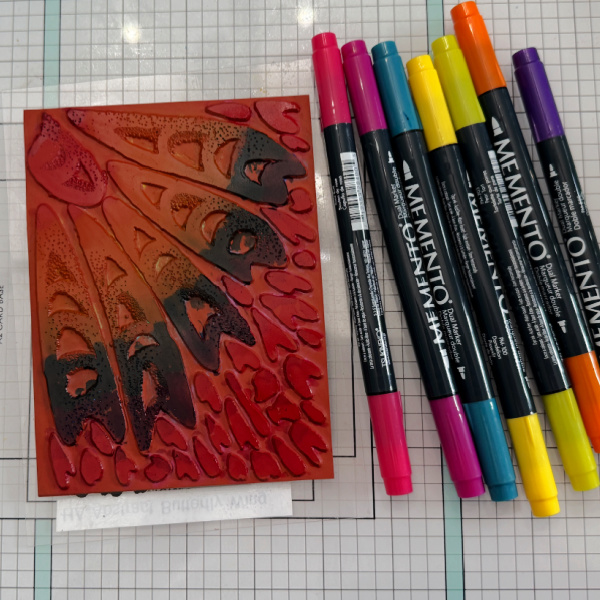
Step 1: Using a red rubber cling stamp and water based markers, ( I used Memento) color the stamp as desired.
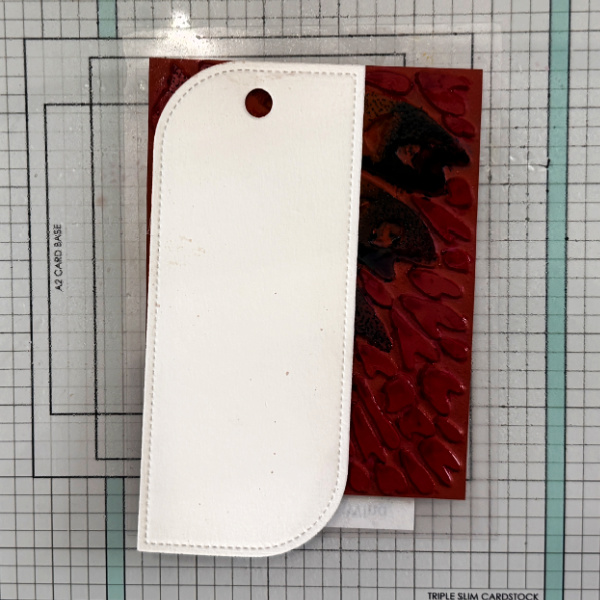
Step 2: After you have finished coloring the stamp, spritz it with water and lay the tag on it and rub lightly.
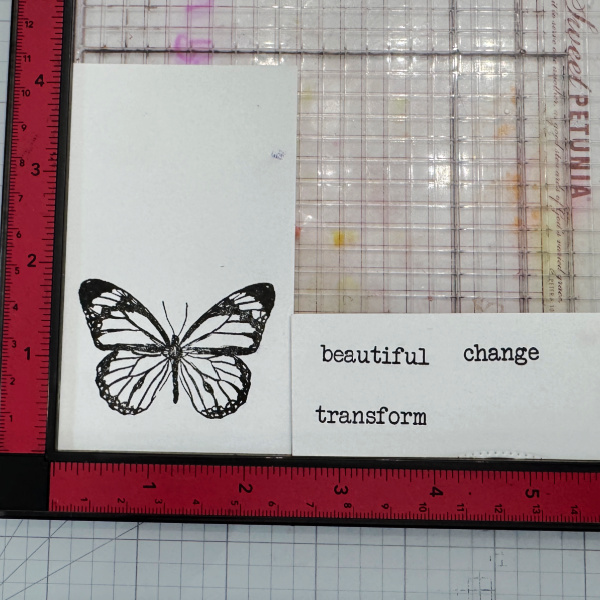
Step 3: Stamp the images you have chosen for and stamp them in black ink (VersaFine Clair used here).
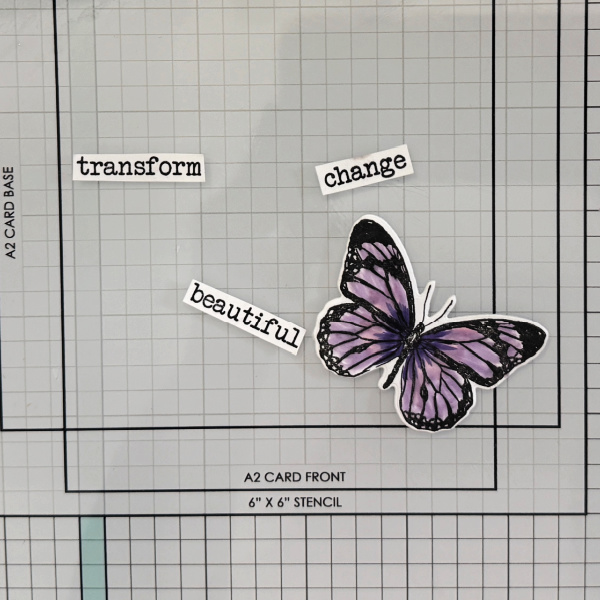
Step 4: Color and cut out the elements to decorate the bookmark.
Step 5: Add elements to bookmark ad add ribbon to finish it.
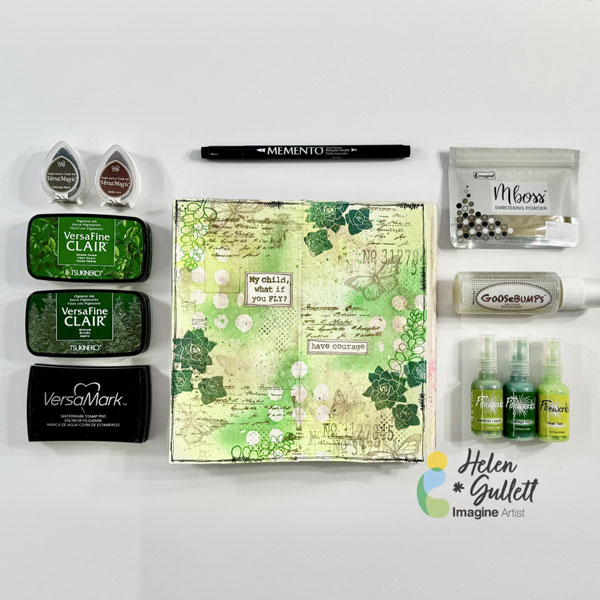
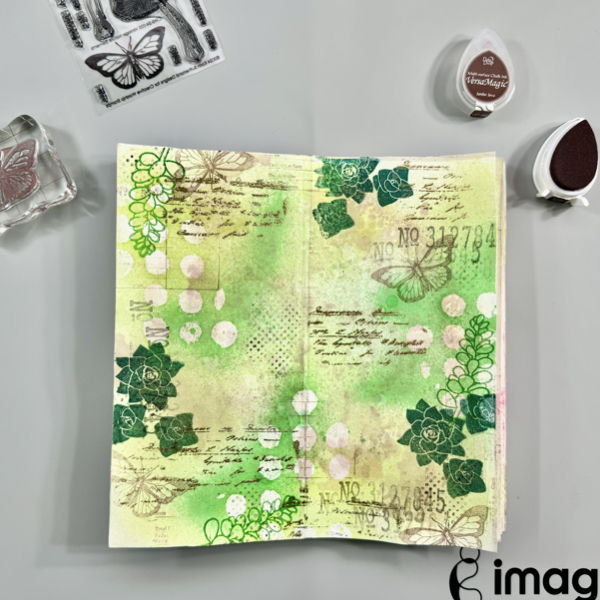
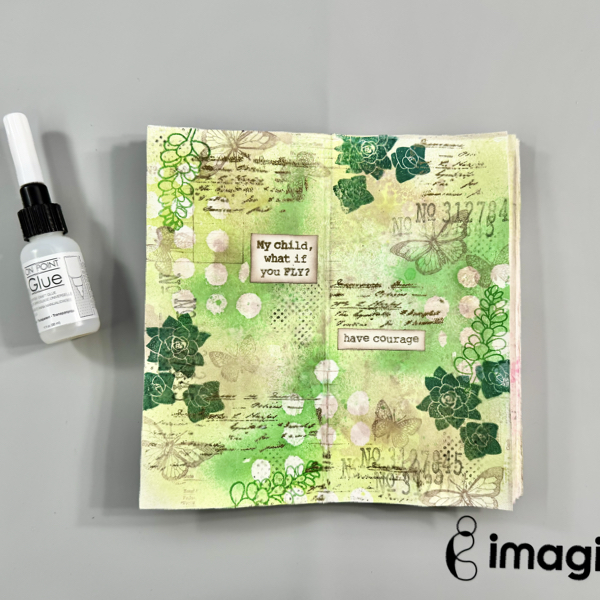
Hello crafty friends! Today, I would like to share how to make this mixed media art journal using some inks, craft sprays, embossing powder, and GooseBumps.Let’s get crafting!
Skill: Intermediate Time: 30-60 minutes
Direction:
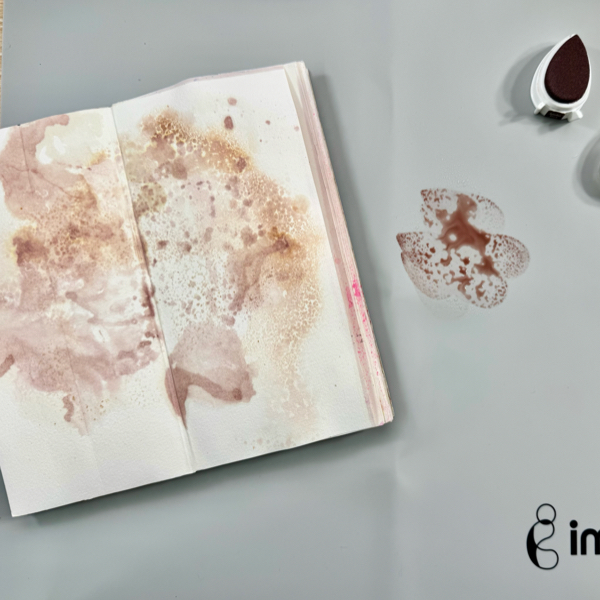
Step 1 I used my handmade traveler journal using watercolor papers and mixed media papers. You can use any mixed media journal you have.
Dab some of the VersaMagic Jumbo Java ink on the craft mat and spray with some water.
Smoosh the page (or paper) to the ink and dry it with a craft heat gun. Repeat this step to create the watercolor background.
Step 2 Once the watercolored background dried well, add some of the anti-static powder to the page.
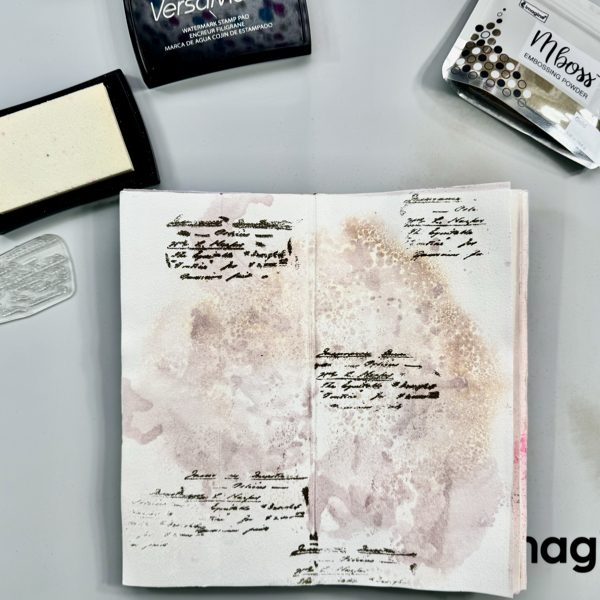
Stamp the script stamp on the page randomly with VersaMark ink and then add some of the Gold Mboss Embossing Powder to the page. Heat set the embossing powder with a craft heat gun.
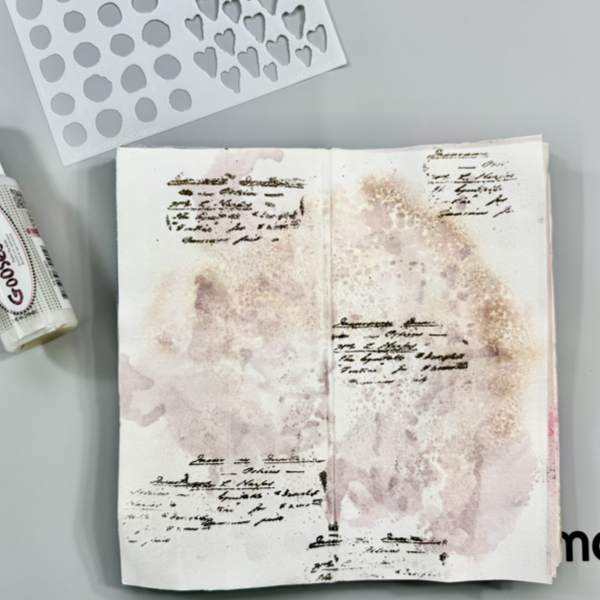
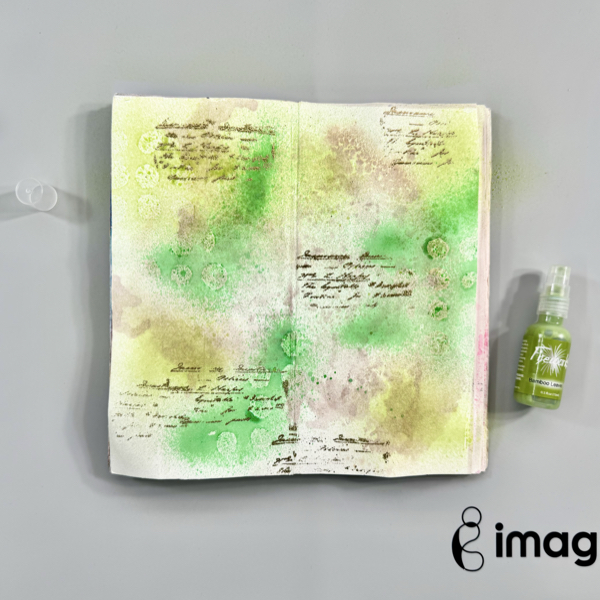
Step 3 Add the stencil to the page.
Add some of the GooseBumps Original (Dauber Top Bottle) to the page on the stencil randomly all over the page.
The best result is to let the GooseBumps texture spray dry naturally (about 2 hours) but I use a handheld fan to speed up the drying process to a few minutes. My suggestion is not to use a craft heat gun.
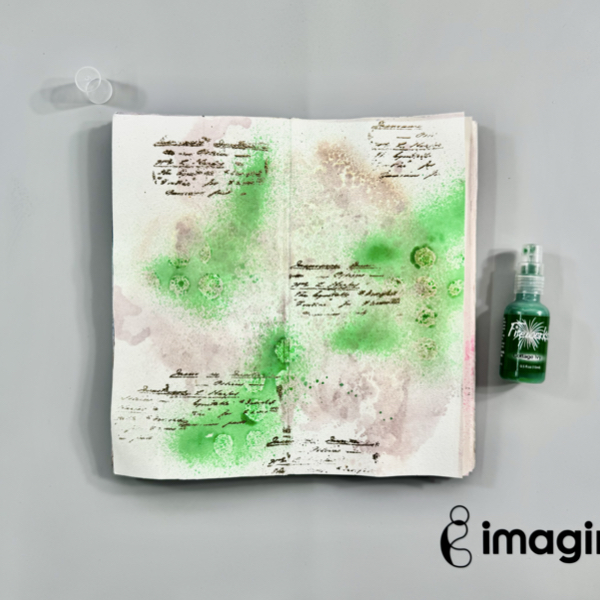
Step 4 Once the GooseBumps texture spray dry well, spray the Cottage Ivy Fireworks! Shimmery Craft Spray.
Dry the ink with a craft heat gun. Make sure to move the heat gun around, not stay too long at one spot to avoid melting the GooseBumps.
Dry the ink with a craft heat gun. Make sure to move the heat gun around, not stay too long at one spot to avoid melting the GooseBumps.
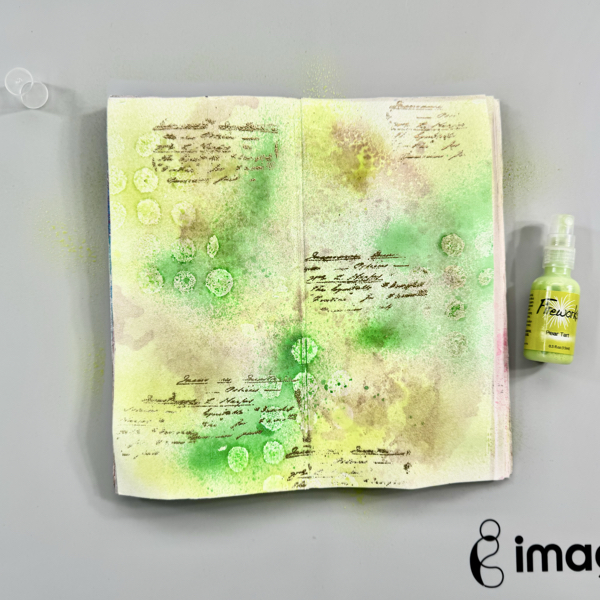
Step 6 And then, spray the Pear Tart Fireworks! Shimmery Craft Spray.
Dry the ink with a craft heat gun. Make sure to move the heat gun around, not stay too long at one spot to avoid melting the GooseBumps.
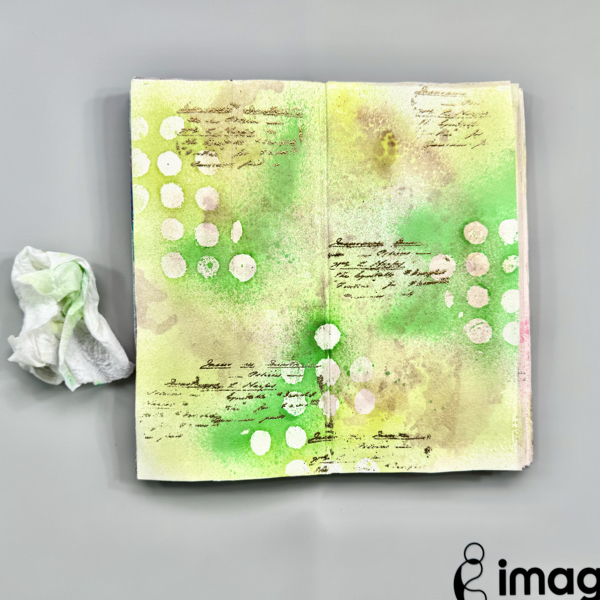
Step 7 Wipe the ink spray off using a clean slightly damp paper towel.
You can see the shapes start to pop out of the page adding fun texture to the background page.
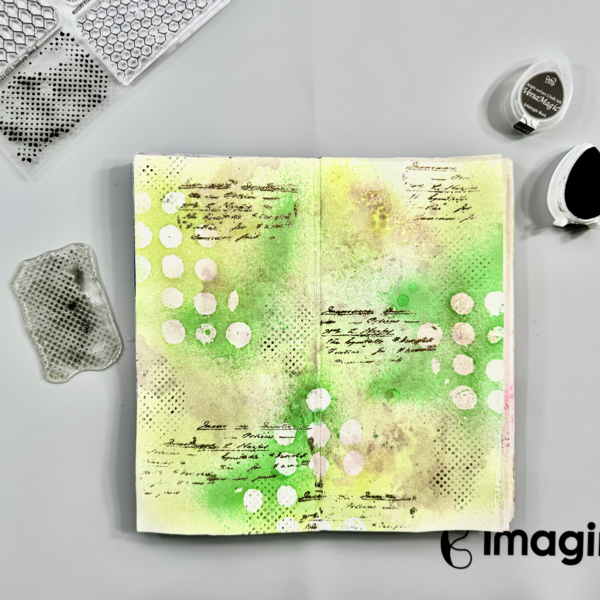
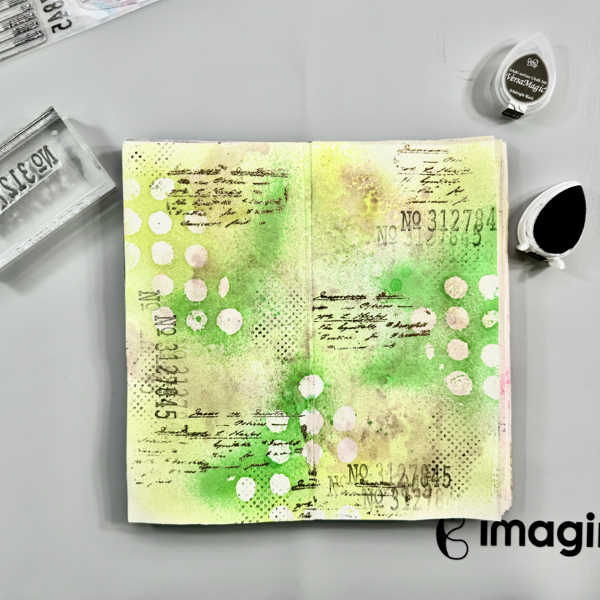
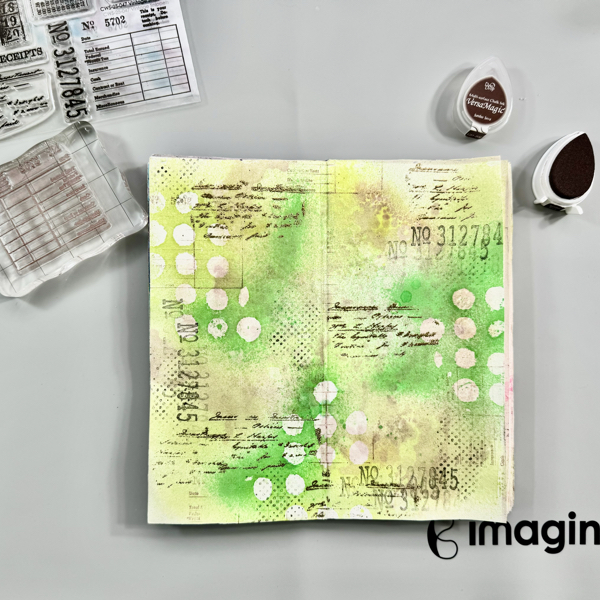
Step 8 Stamp the dots texture stamp randomly on the page with VersaMagic Midnight Black ink using first generation stamping technique.
Step 9 Stamp the numbers texture stamp randomly on the page with VersaMagic Midnight Black ink using first and second generation stamping technique.
Step 10 Stamp the old ledger texture stamp randomly on the page with VersaMagic Jumbo Java ink using second and third generation stamping technique.
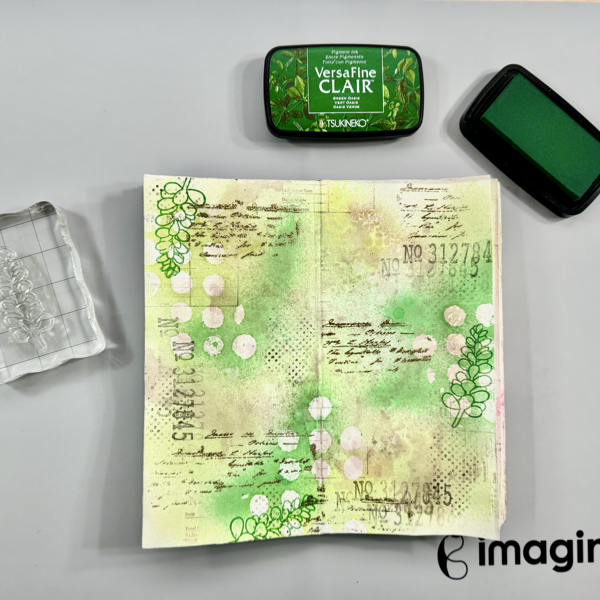
Step 11 Stamp the leaf branch stamp randomly on the page with VersaFine Clair Green Oasis.
Dry the stamped images with a craft heat gun.
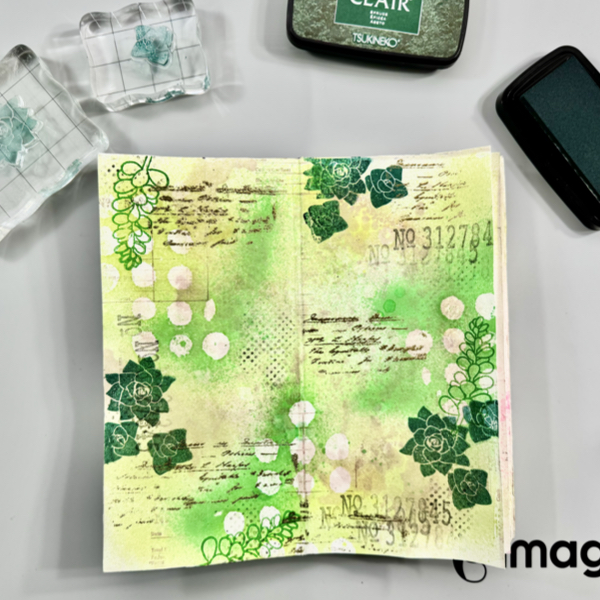
Step 12 Next stamp the cactus stamps randomly on the page with VersaFine Clair Spruce ink.
Dry the stamped images with a craft heat gun.
Step 13 Stamp the first butterfly stamp randomly on the page with VersaMagic Jumbo Java ink using second generation stamping technique.
Step 14 Stamp the second butterfly (smaller size) stamp randomly on the page with VersaMagic Jumbo Java ink using second generation stamping technique.
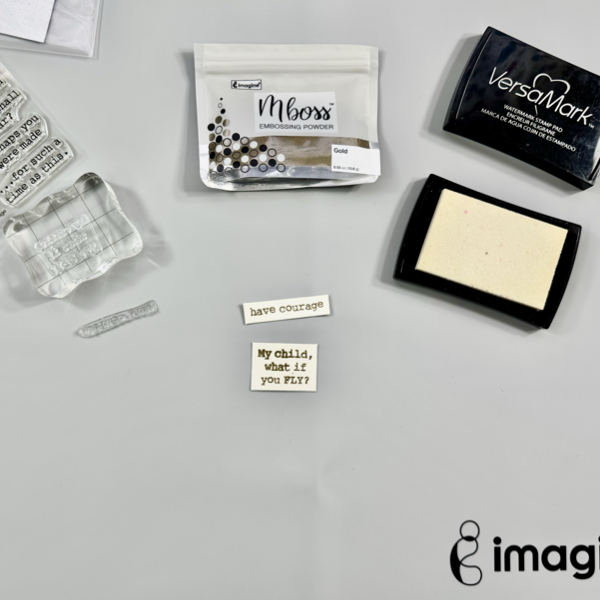
Step 15 On a white cardstock, stamp the sentiments with VersaMark Ink and then add some of the Gold Mboss Embossing Powder. Heat them with a craft heat gun.
Step 16 Trim the embossed sentiments into sentiment stripes with papercutter or scissors.
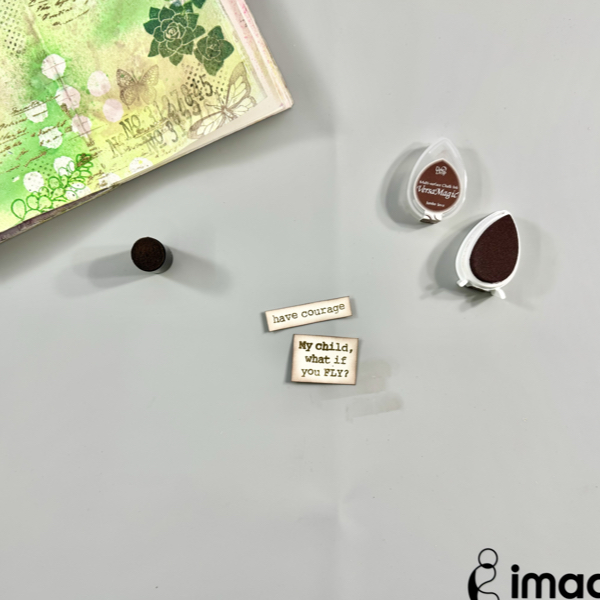
Add some of the VersaMagic Jumbo Java ink around the edges with finger sponge dauber to give them some shadow.
Step 17 Add the sentiments to the page with On Point Glue.
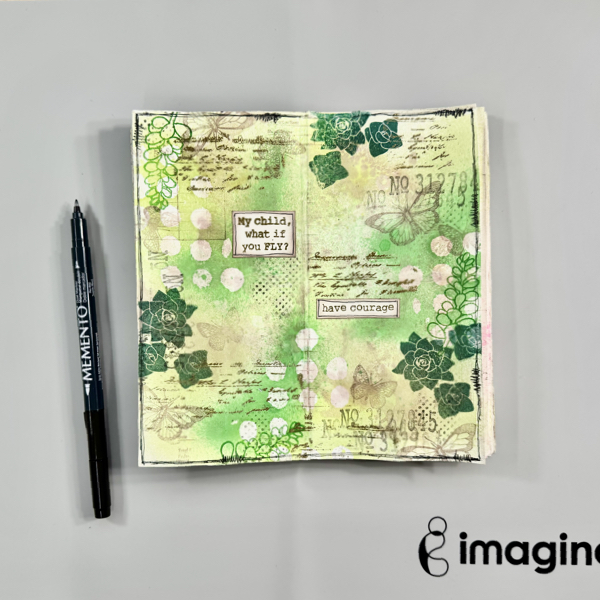
Step 18 Draw some border lines around the page and sentiment strips using the Memento Marker Tuxedo Black.
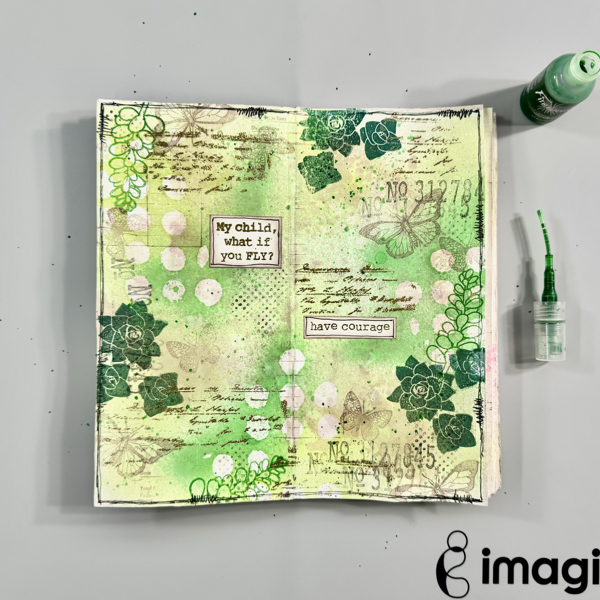
Step 19 For more texture, add some of the Cottage Ivy Fireworks! Shimmery Craft Spray to the page by tapping the sprayer tube.
Dry the whole page one more time with a craft heat gun.
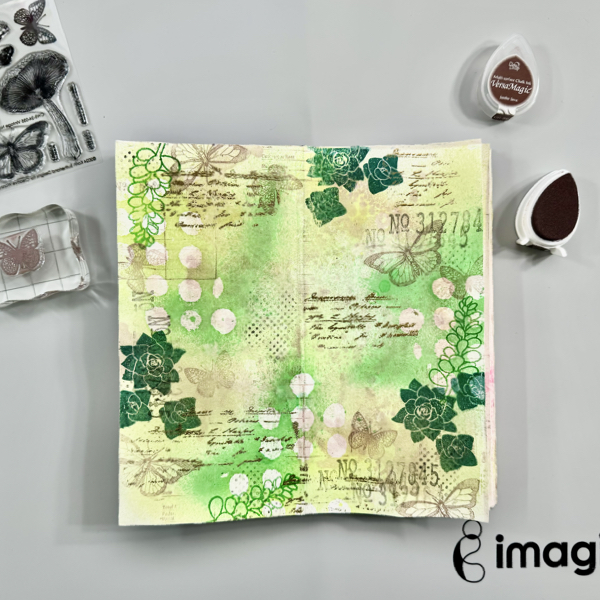
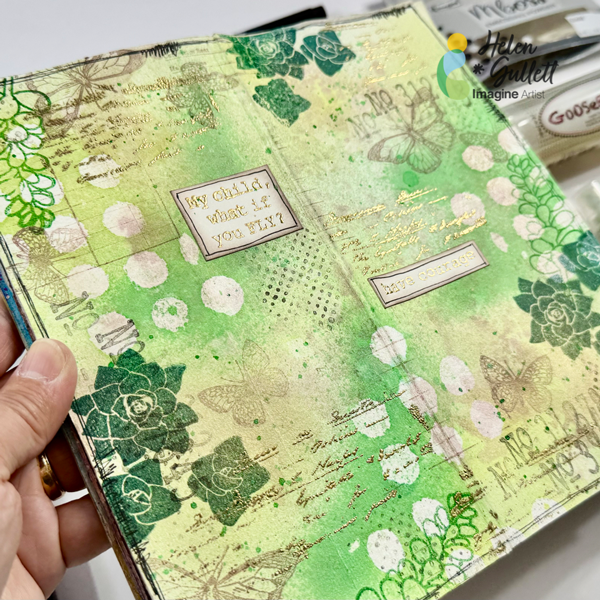
I tried to capture the shiny and shimmery on the page in this picture but it looks even more in real life.
I hope you enjoy today’s mixed media project. Thank you for visiting our blog, have a fabulous day.
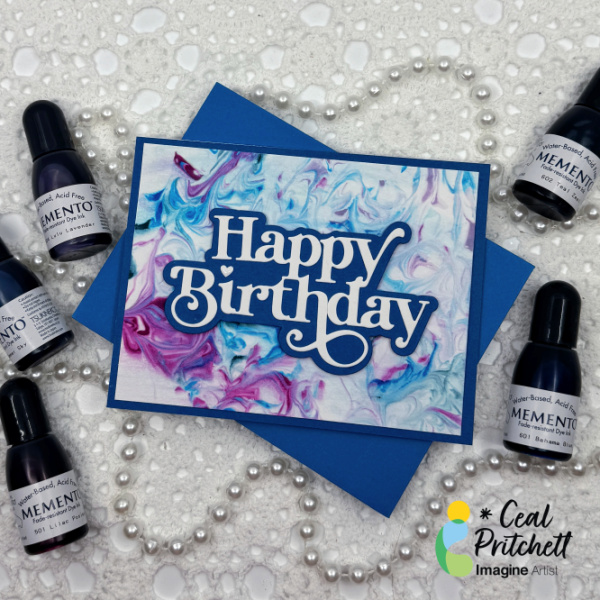
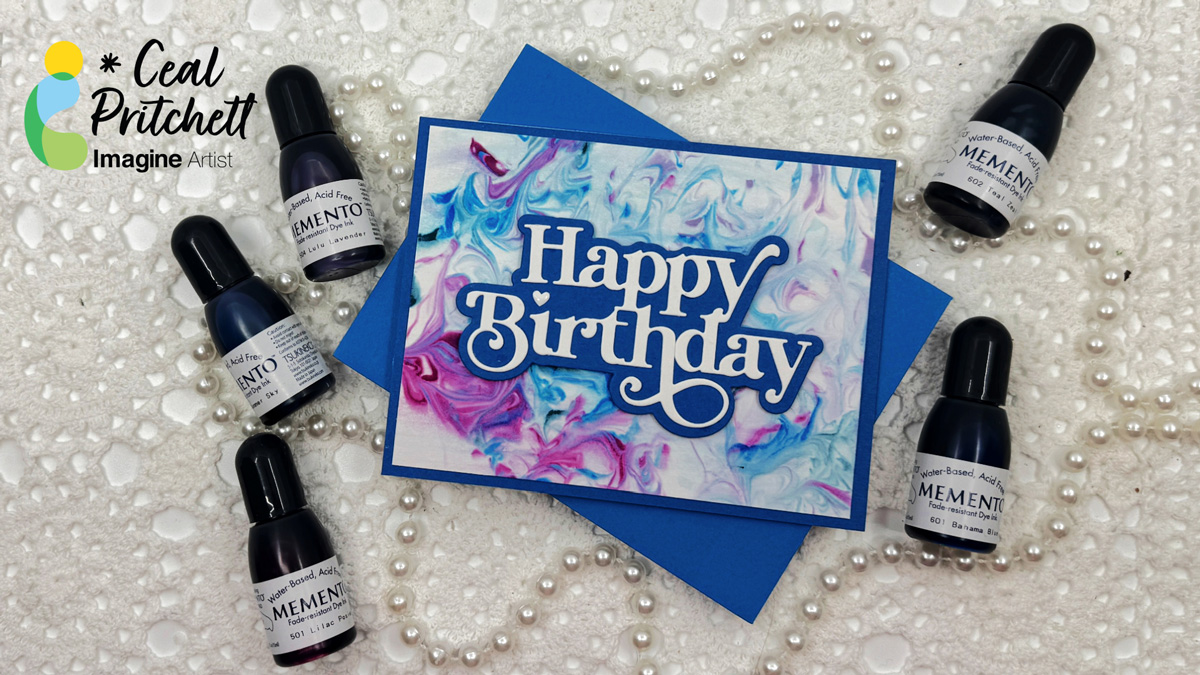
Hello Friends, It’s Ceal, here. Today I am sharing a fun background technique with you that even a child can create. This is a Mixed Media project. Does the word mixed media have you thinking I can’t make a mixed meda card? It used to for me but honestly mixed media is simply a card made with two different mediums, so this one is shaving cream and ink. Don’t let the word mixed media scare you.
Skill: Beginner Time: 45 Minutes
Directions:
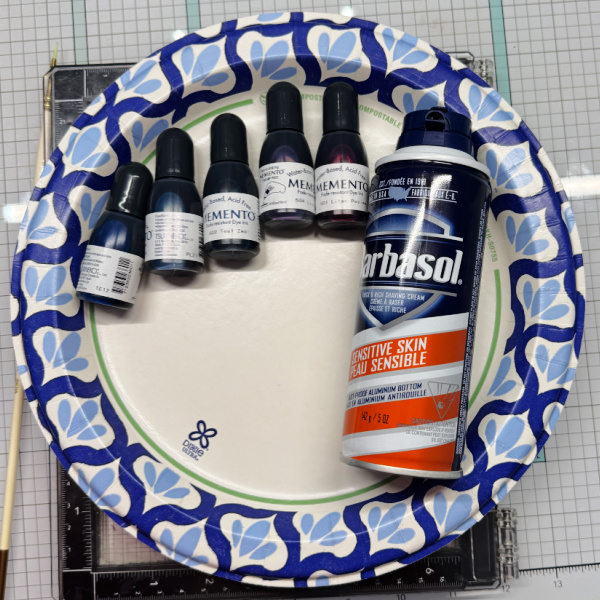
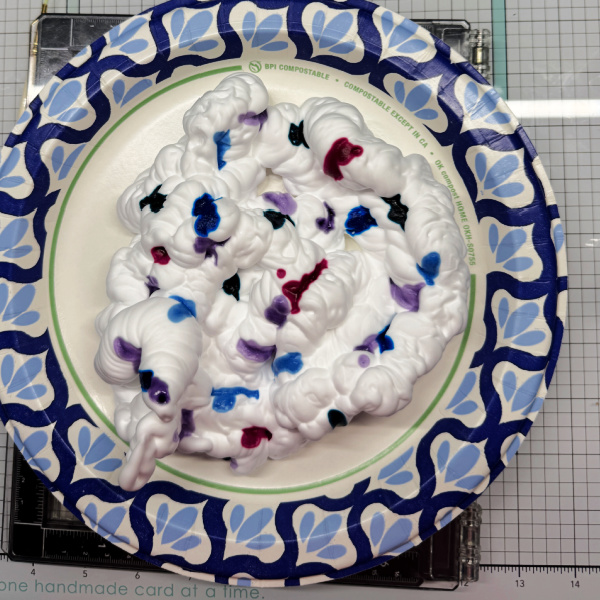
Gather your supplies. You will need a sentiment die cut of your choosing, some foaming shaving cream (gel will not work, some re inkers in different colors, a paper plate, a toothpick and some water friendly paper.
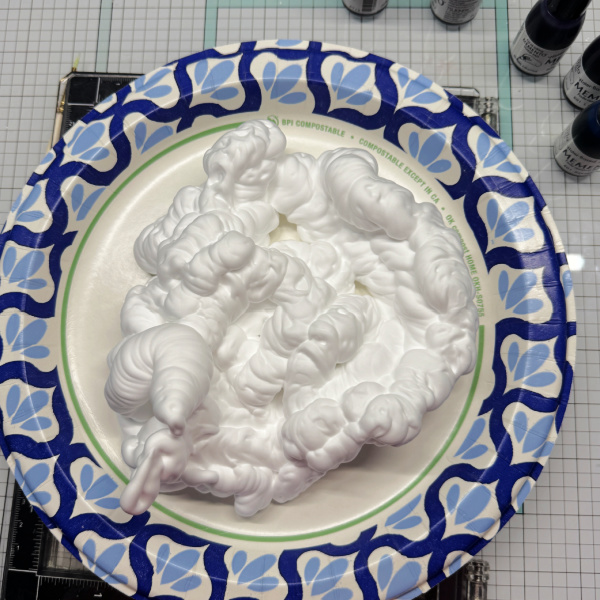
Step 1: Add shaving cream to the paper plate.
Step 2: Add drops of re inkers to the shaving cream. I used 5 different colors.
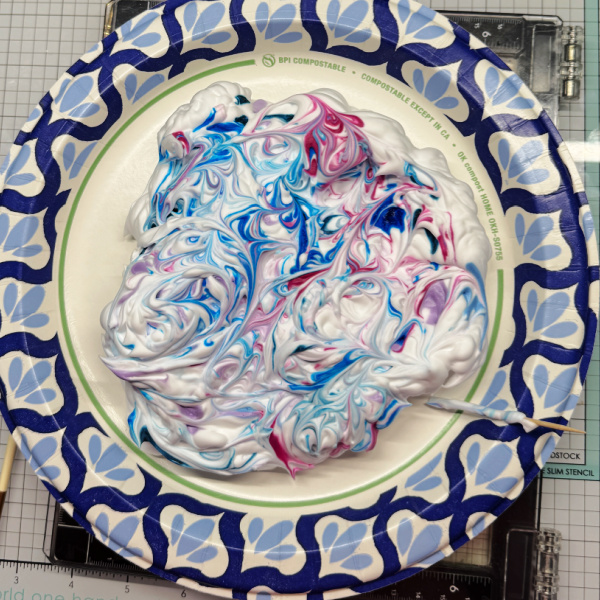
Step 3: Using a tooth pick, swirl the colors around.
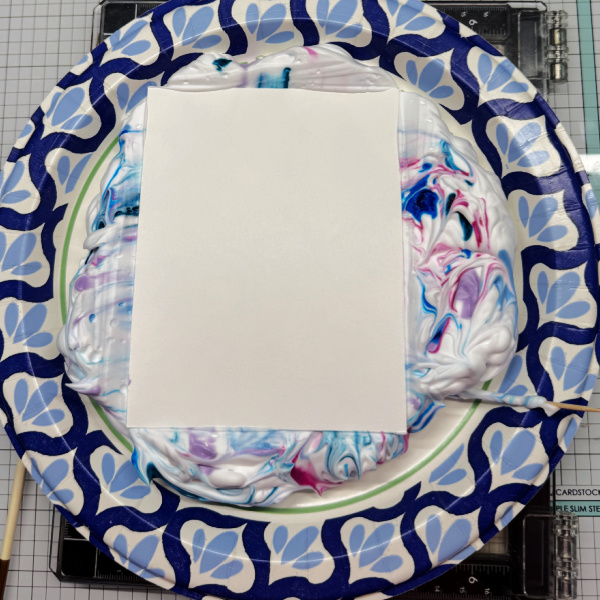
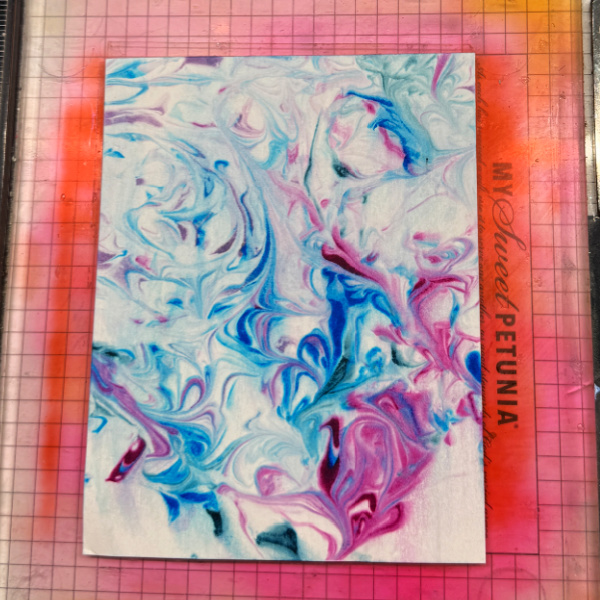
Step 4: Place water friendly paper (I used Bristol Vellum) face down into the shaving cream. Wipe off with paper towel. The results will look like the next photo and as a added bonus, it will smell so good.
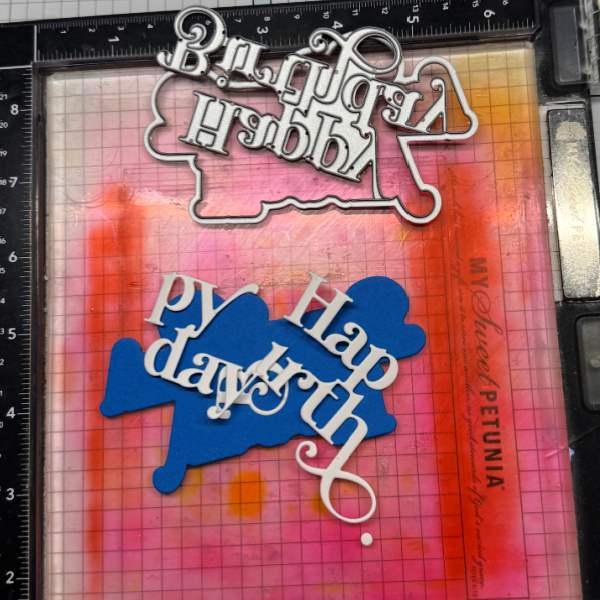
Step 5: Cut the sentiment out of White cardstock and the backer out of a coordinating color of cardstock. Adhere them together and add to the front of the card.
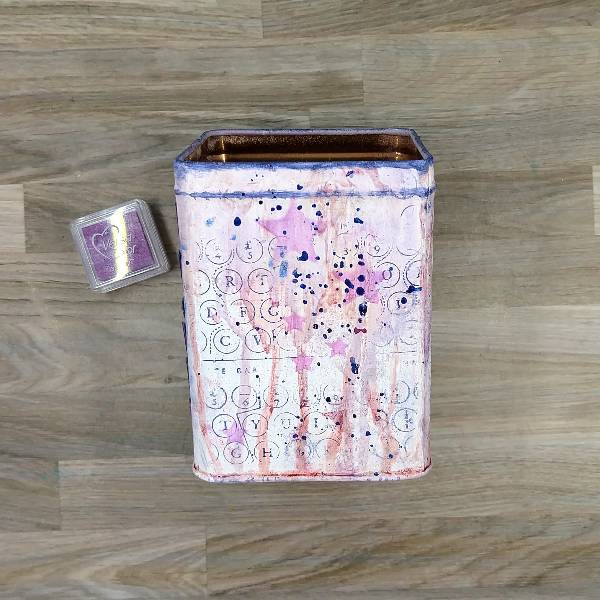
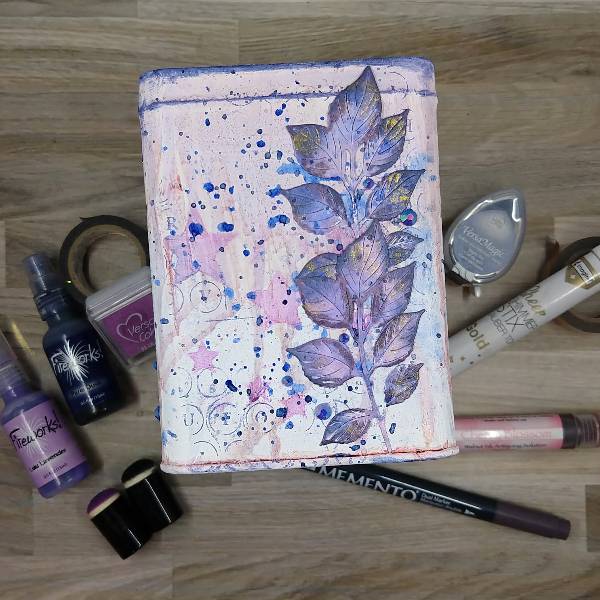
I’ve had a small metal tea box that I’ve wanted to repurpose into a mixed media piece for a while, so I took some time on a rainy day to make it happen.
Skill: Advanced Time: 1 hour active time, 6+ hours (drying between layers)
Directions:
Step 1:
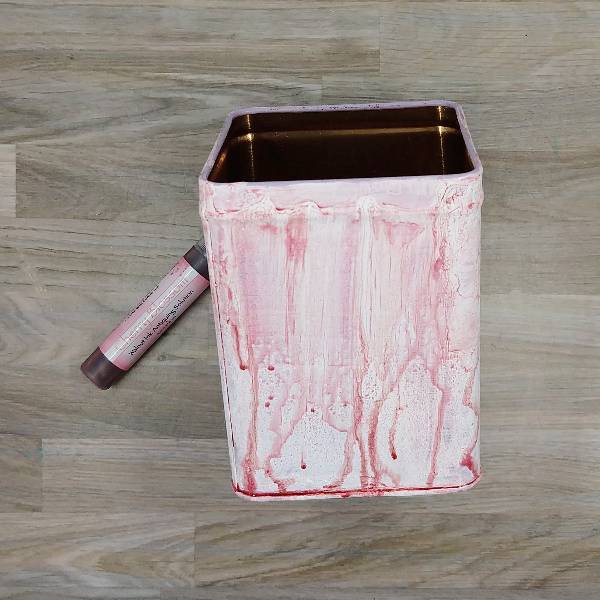
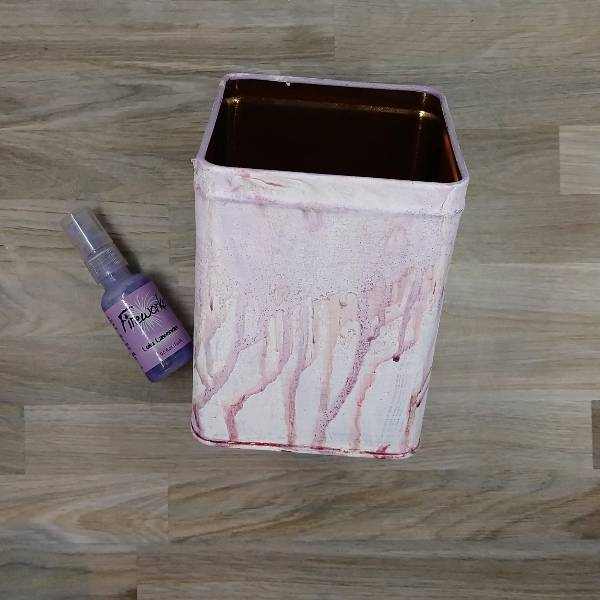
After applying two coats of gesso around all four sides of a tea tin, spray the top of the tin with Cherry Blossom Walnut Ink Antiquing Solution and allow it to drip down the sides of the tin. Set aside to dry.
Step 2:
Spray all four sides of the tin with Lulu Lavender Fireworks! Craft Spray and allow to dry.
Step 3:
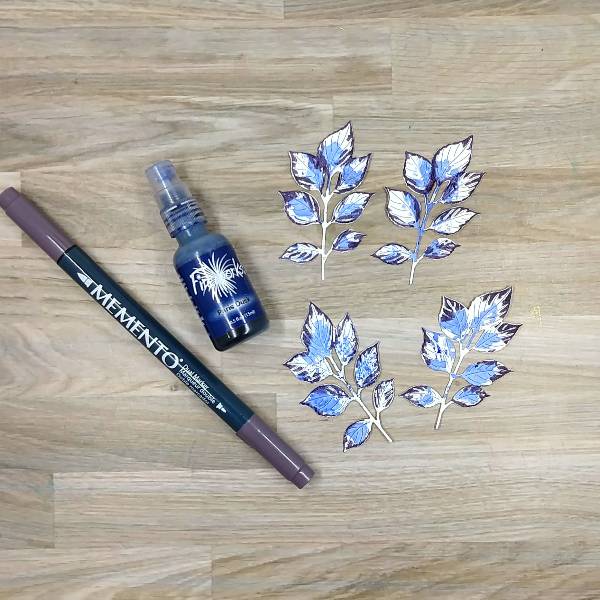
While the tin was drying, die cut four leaf clusters out of watercolor paper. Then randomly add Paris Dusk Fireworks! Craft Spray to the centers of each leaf with the stick of the spray nozzle and color the outsides of the leaves with Elderberry Memento Dual Marker.
Step 4:
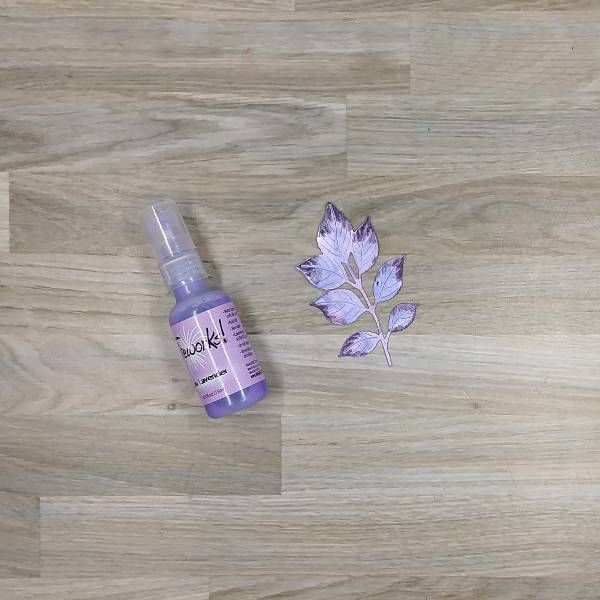
Spray each of the 4 leaf clusters with Lulu Lavender Fireworks! Craft Spray and allow to dry.
Step 5:
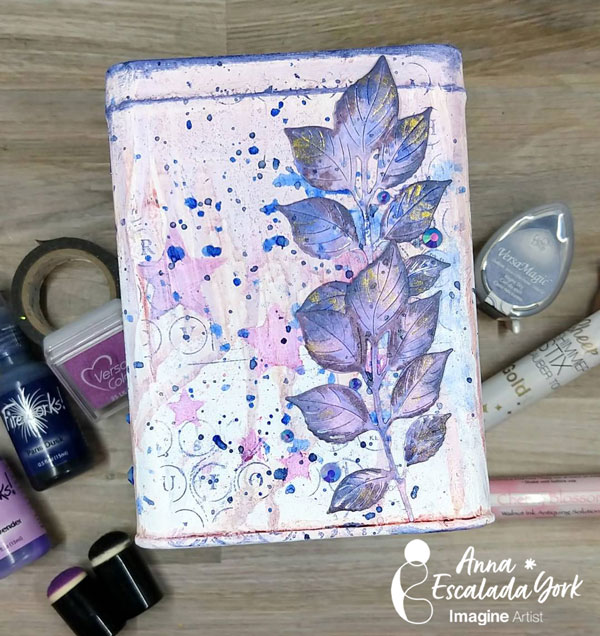
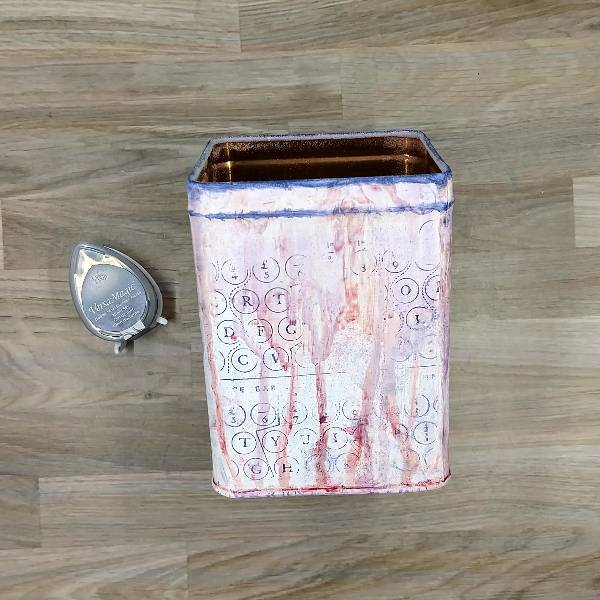
Partially stamp each of the four sides of the tin with Night Sky VersaMagic ink on a background stamp. (I used an old woodblock typewriter stamp.) Then press the ink pad along the top edge of the tin and the raised rib as well. Heat emboss the top rim of ink with clear embossing powder.
Step 6:
Ink blend Lilac VersaColor ink through a stencil on all four sides of the tin using a sponge dauber. (Not pictured was splattering more of the Paris Dusk Fireworks! Craft Spray onto each of the four sides as well.) Then allow everything to dry.
Step 7:
Glue two of the leaf cluster dies (one on top of the other) along the right edge of two of the sides of the tin.
Not pictured was the step after this where I decided to use my sponge daubers to ink blend some more of the Night Sky VersaMagic ink along some of the edges of the leaves while they were glued down, nor using my Gold Sheer Shimmer Stix Dauber Top to add some gold to the leaves as well.
Splatter the tin with more Paris Dusk Fireworks! Craft Spray. Allow it to dry. Then glue dark blue gems around the leaf clusters to finish the box on the two slides with leaves.
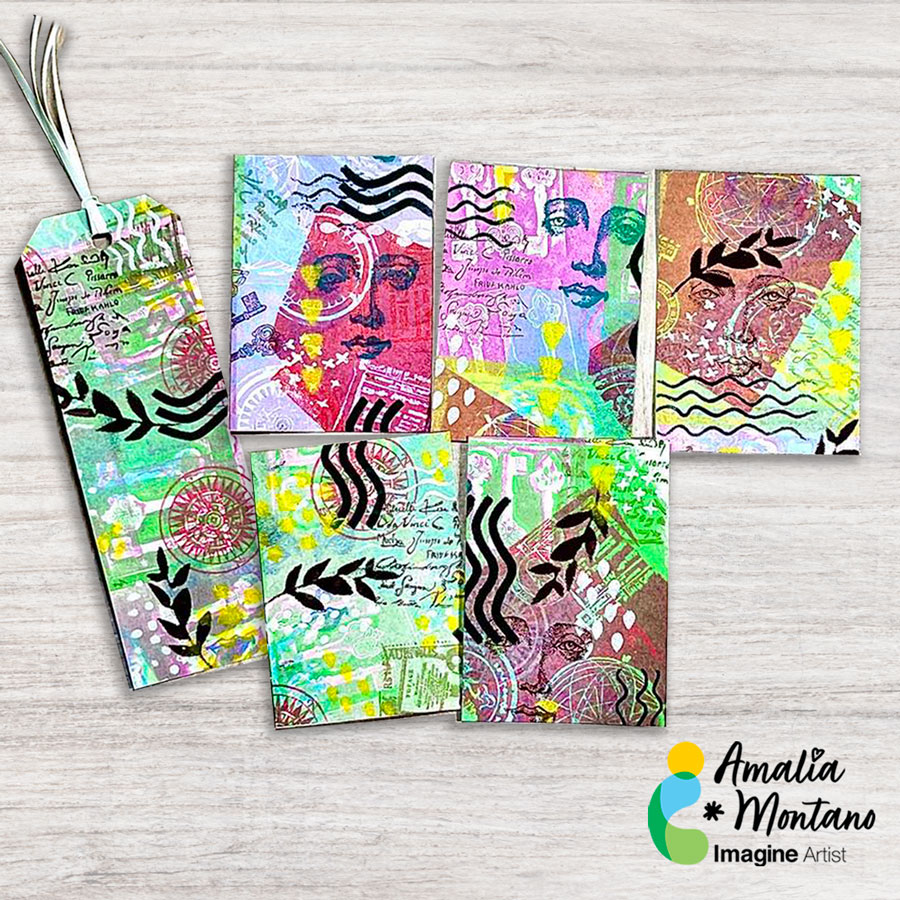
Hello, friends! Amalia here with a project from Imagine. In this video, I’m using the new VersaFine Clair ink colors to create masterboards, which will later be cut into ATCs and a bookmark. VersaFine Clair inks are highly pigmented and provide a perfect stamp impression on the first try. Their vibrant colors are ideal for watercoloring, as they won’t bleed when wet. I’ll also be incorporating stamps, stencils, and stamping foam to bring these ATCs and the bookmark to life.
I wanted to create some backgrounds just to get my creative juices flowing. I am so glad I did because I was able to use many of the different cardstock scraps and designer paper scraps to make some really cute backgrounds.
I used different stencils from my stash, some blending brushes, and a few Imagine Crafts inks and daubers to create backgrounds that I turned into Birthday cards.