By Ceal Pritchett
– Hello everyone!
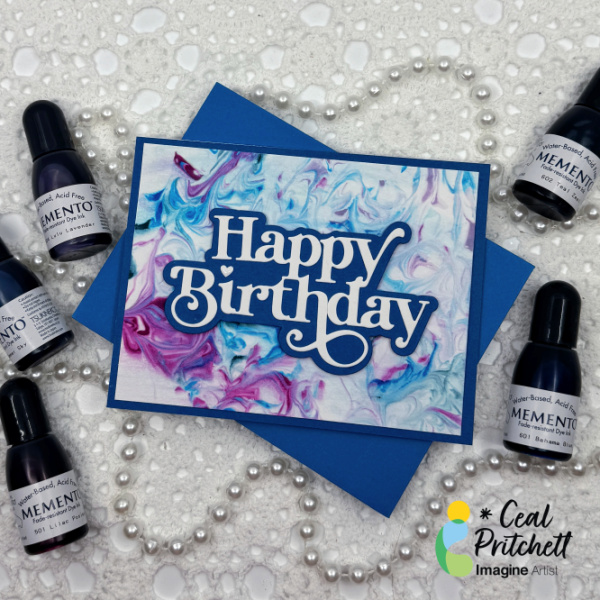
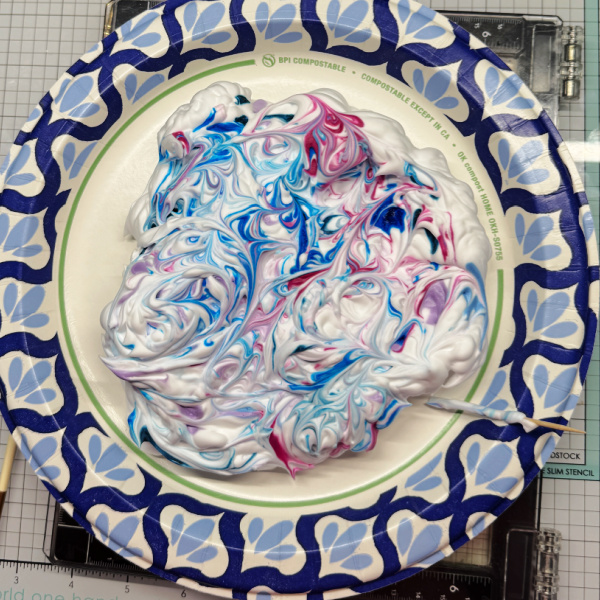
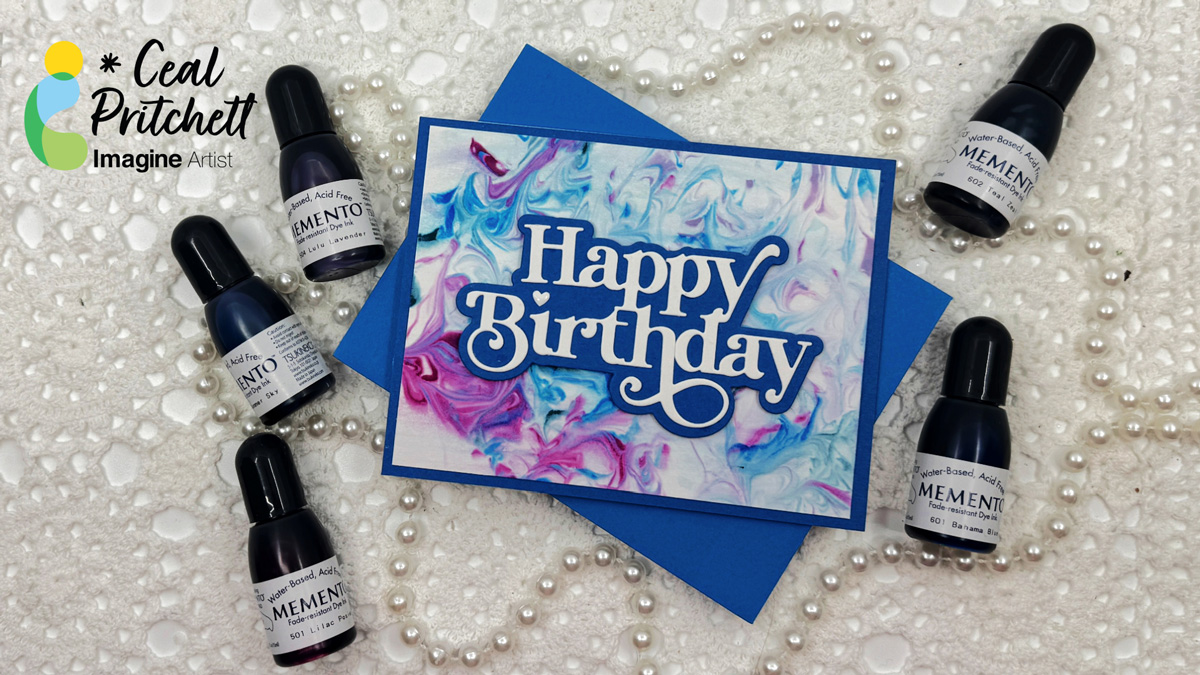
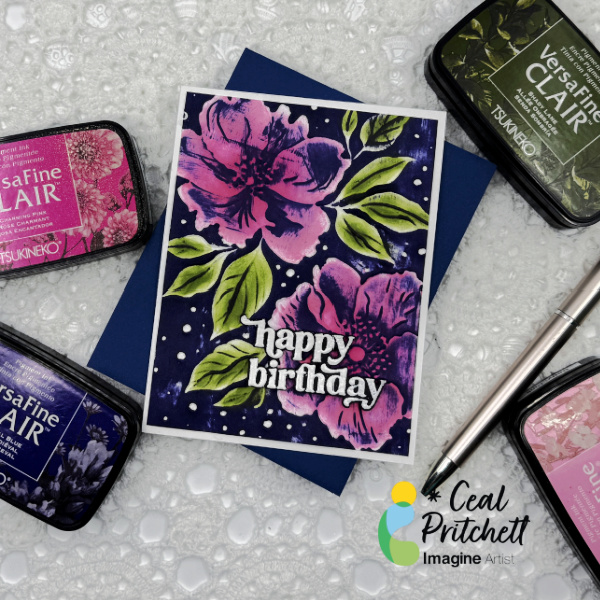
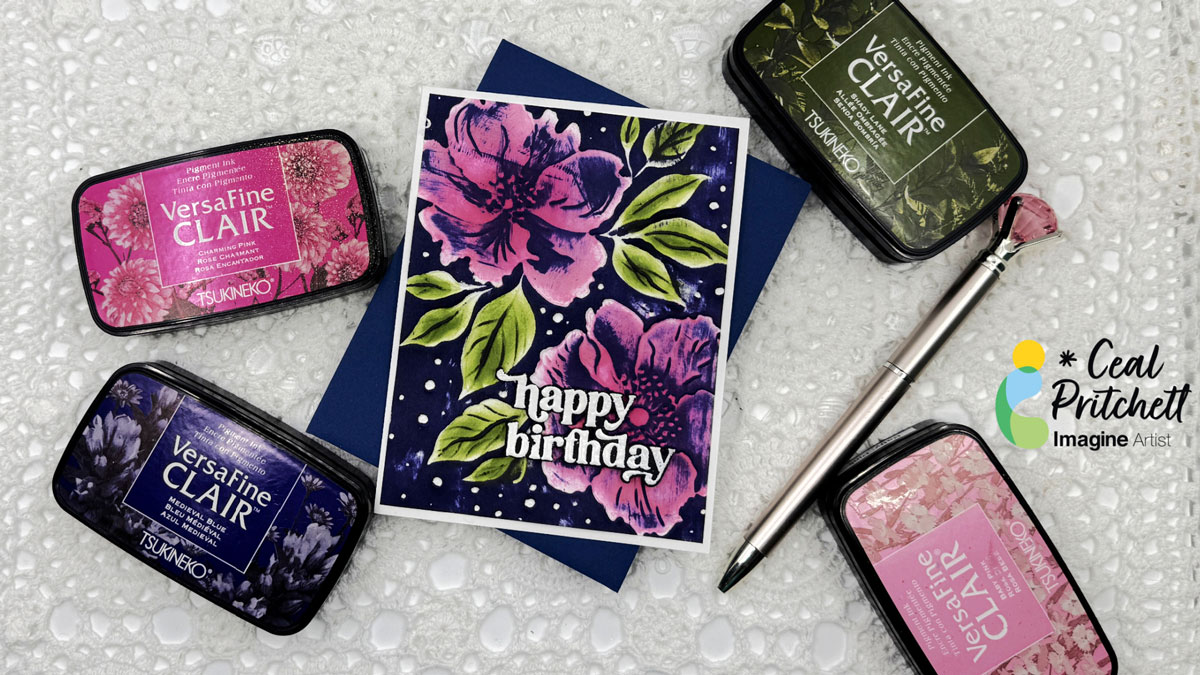
It’s Ceal, here. Today I am sharing how to create this bold look using a creative inking technique with a 3D embossing folder.
Skill: Beginner to Intermediate
Time: 30 mins
Directions:
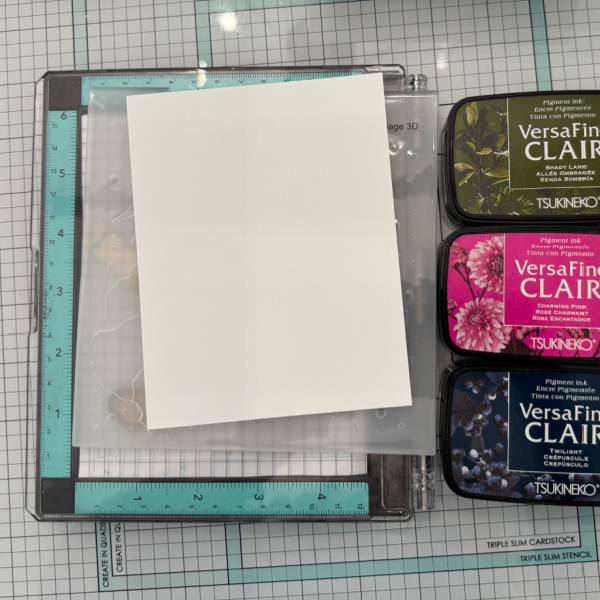
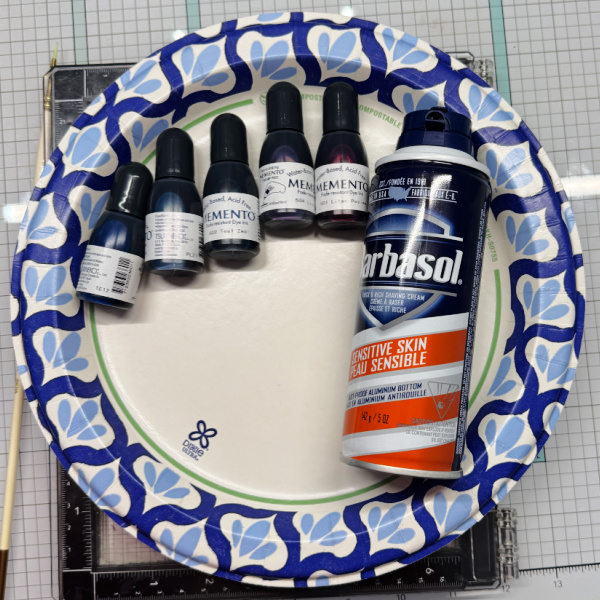
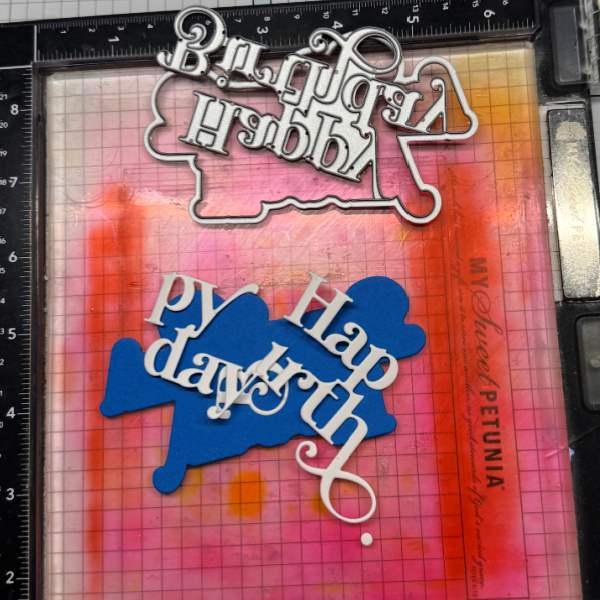
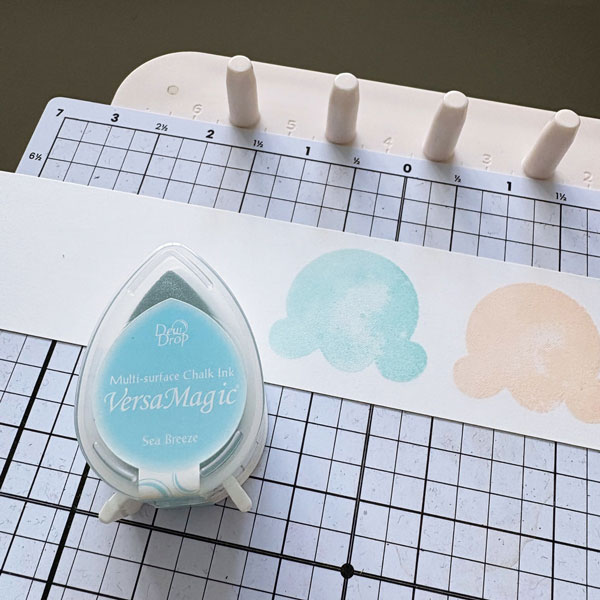
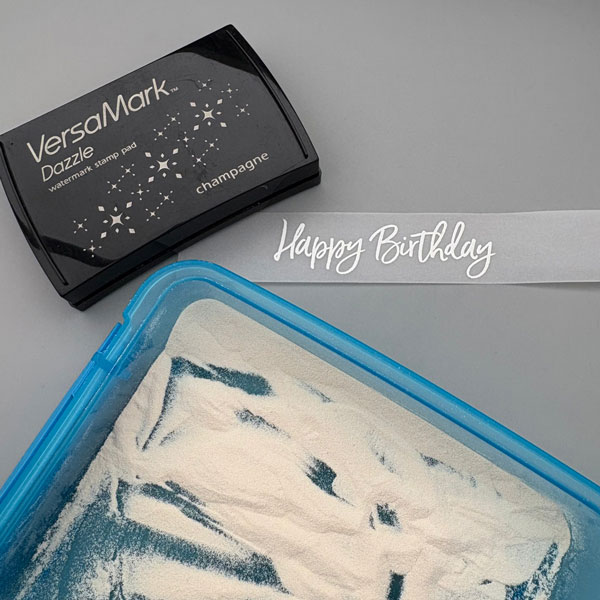
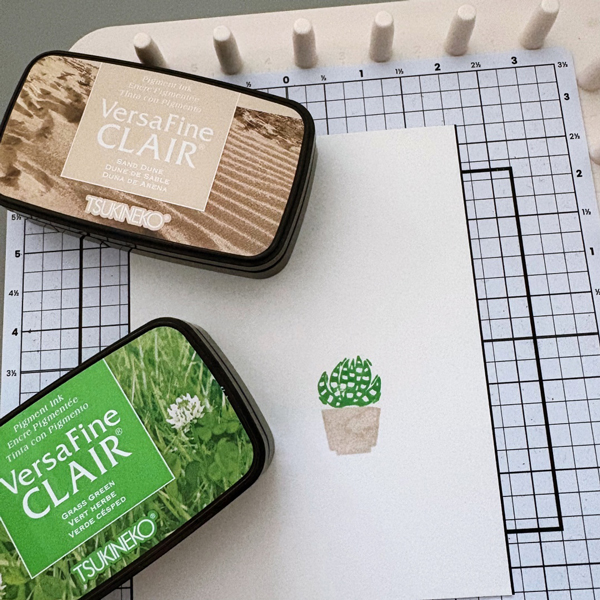
Gather your supplies. You will need a 3D embossing folder, several colors of inks, either a sponge dauber or blending brush and a sentiment of choice.

Step 1:
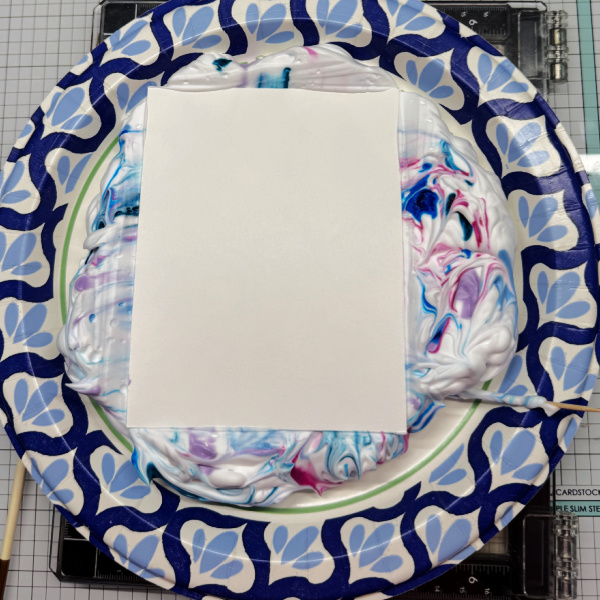
Using a white A2 panel, run it through the die cutting machine using a #d embossing folder.
Tip: if you spritz it with water, it will be crisp.
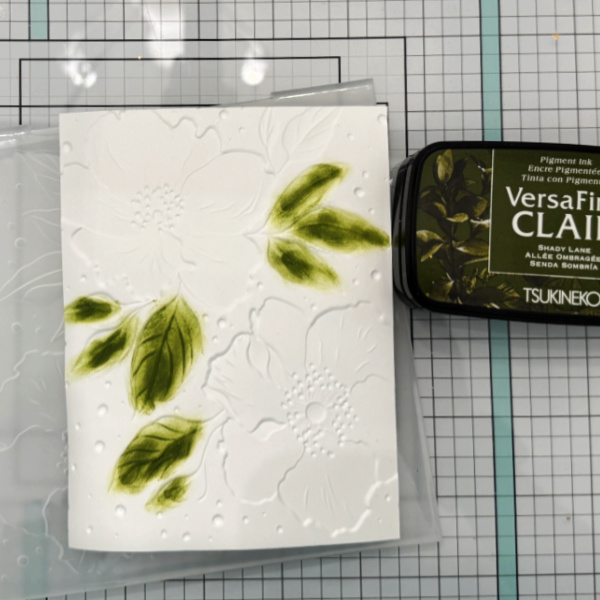
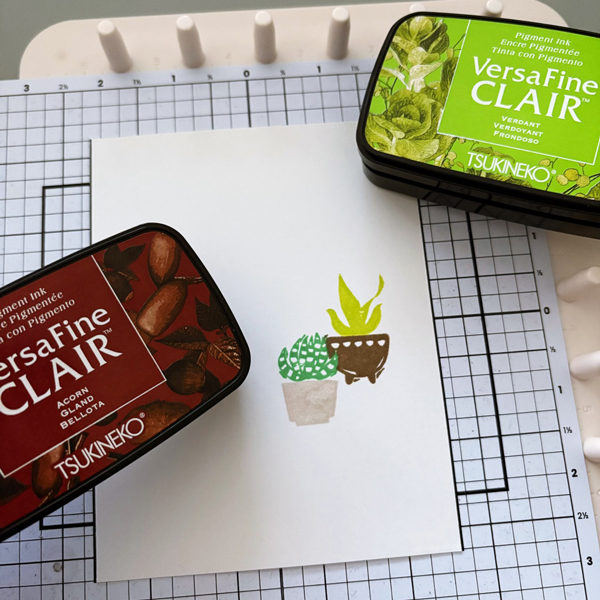
Step 2:
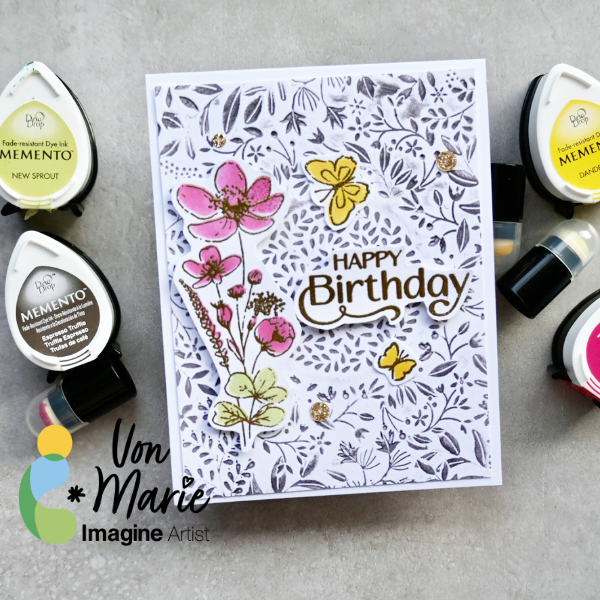
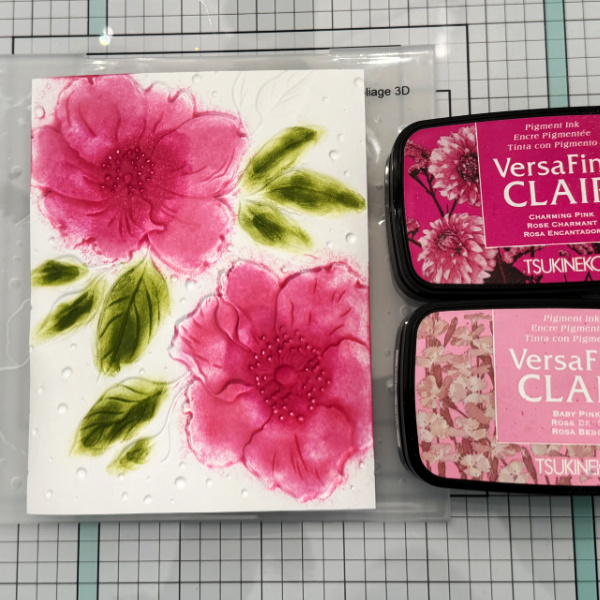
On the debossed side of the panel, use a blending brush or sponge dauber ink blend green for the leaves.
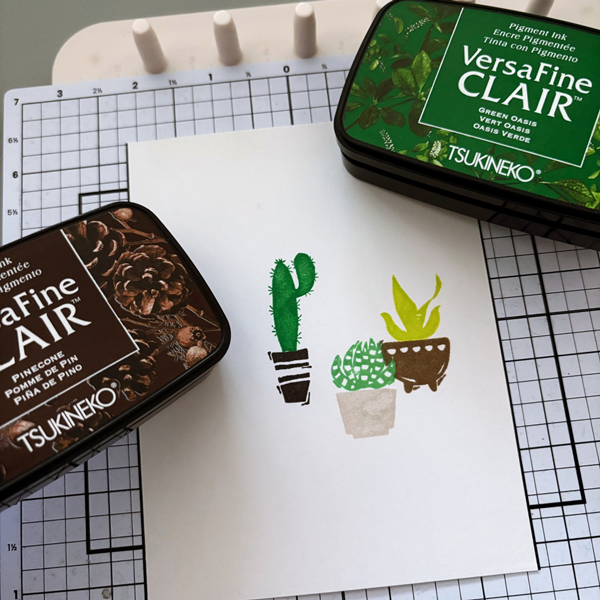
Step 3:
Using a blending brush or sponge dauber ink blend pink or color of choice in the flowers.
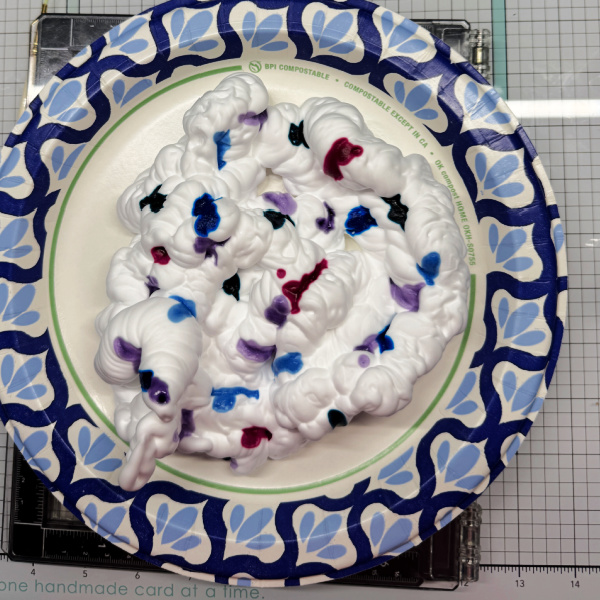
This looks like a hot mess right now but the next step will really define the image.
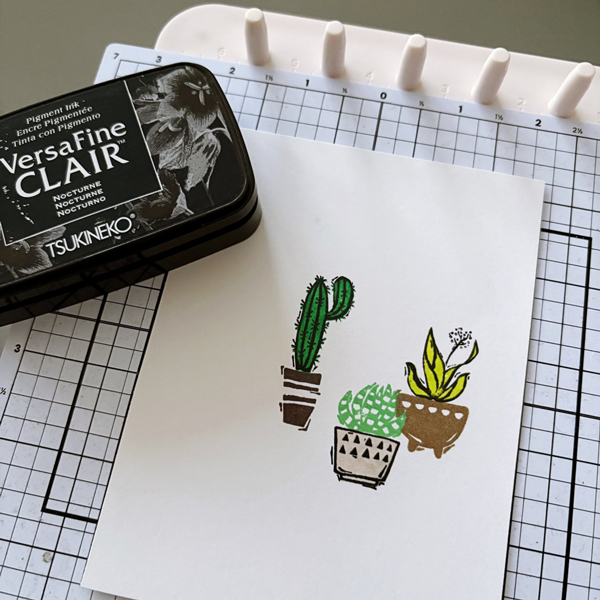
Step 4:
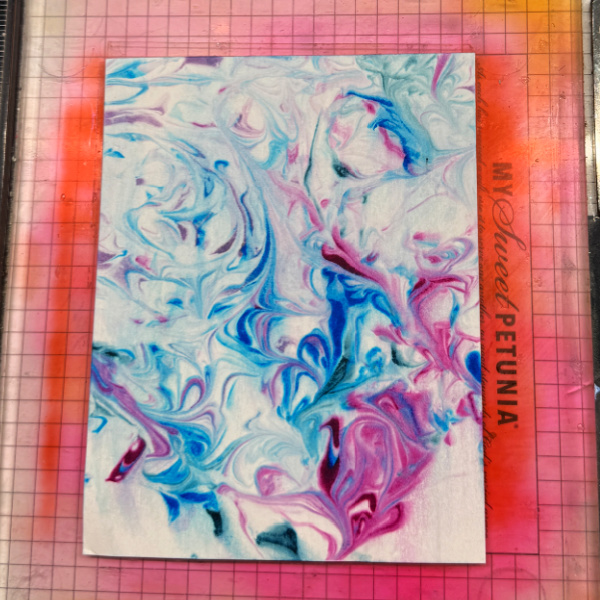
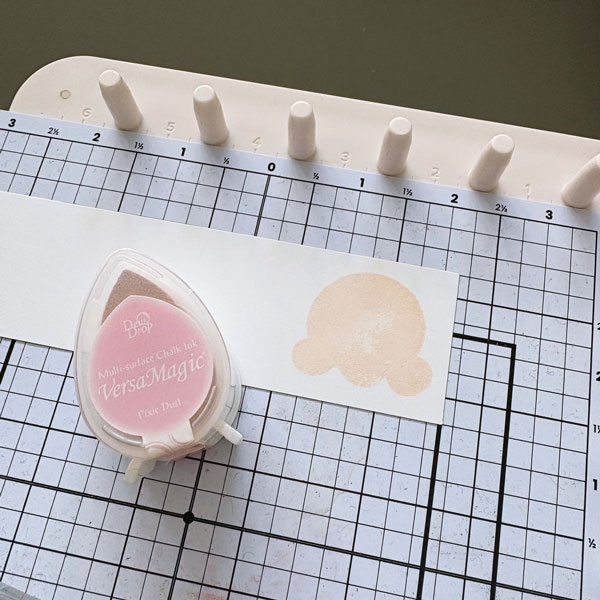
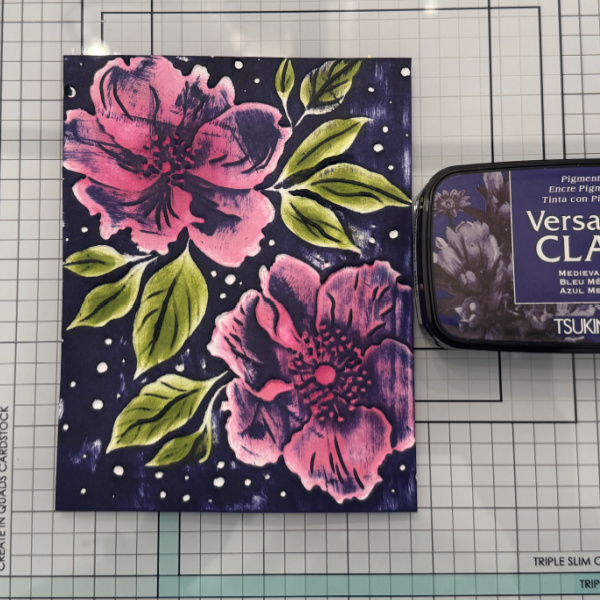
Using the ink pad and the direct to paper technique, run the ink pad over the debossed area that you colored and watch the image come to life and be defined.
Craft Supplies:
Imagine Products
• VersaFine Clair: Shady Lane, Baby Pink, Charming Pink and Medieval Blue
• On Point Glue
• Sponge Daubers
Other Products:
• Translucent Foliage 3D embossing folder- Altenew