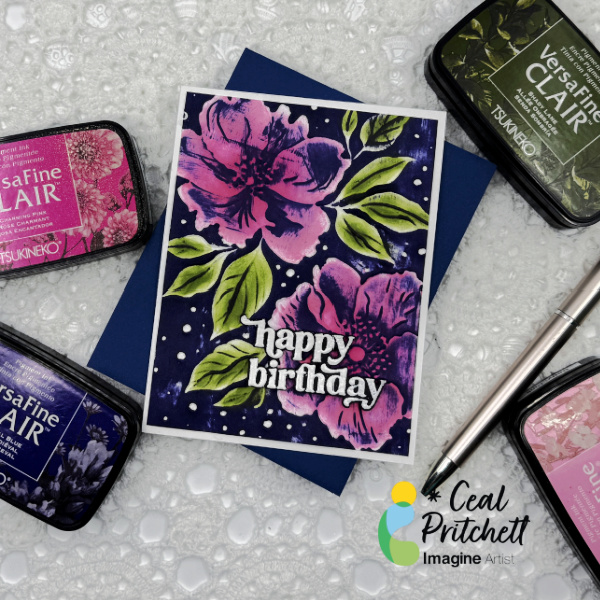
Creative Inking Birthday Card Using a 3D Embossing Folder

By Ceal Pritchett

– Hello everyone!
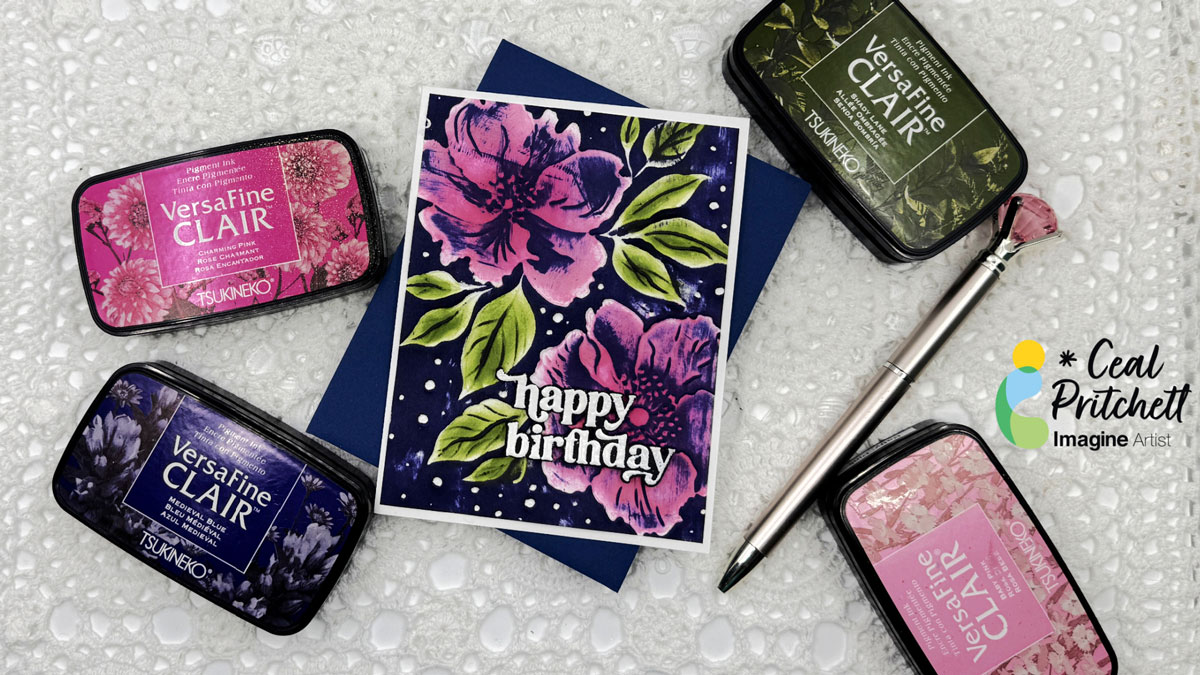
It’s Ceal, here. Today I am sharing how to create this bold look using a creative inking technique with a 3D embossing folder. 

Skill: Beginner to Intermediate
Time: 30 mins

Directions:

Gather your supplies. You will need a 3D embossing folder, several colors of inks, either a sponge dauber or blending brush and a sentiment of choice.

Step 1:
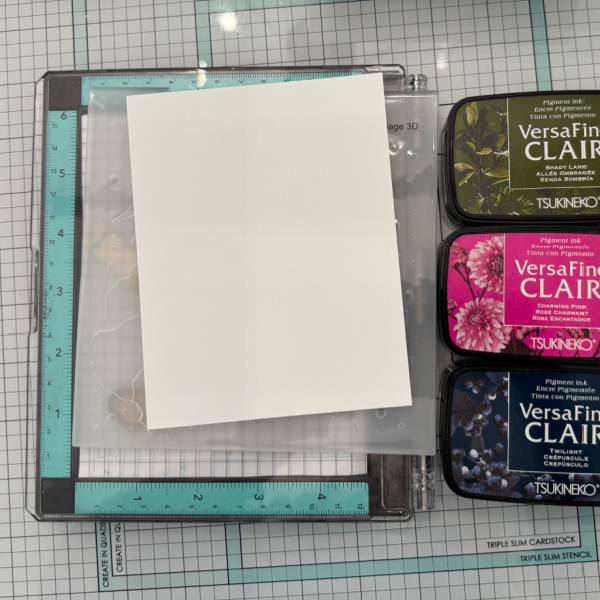
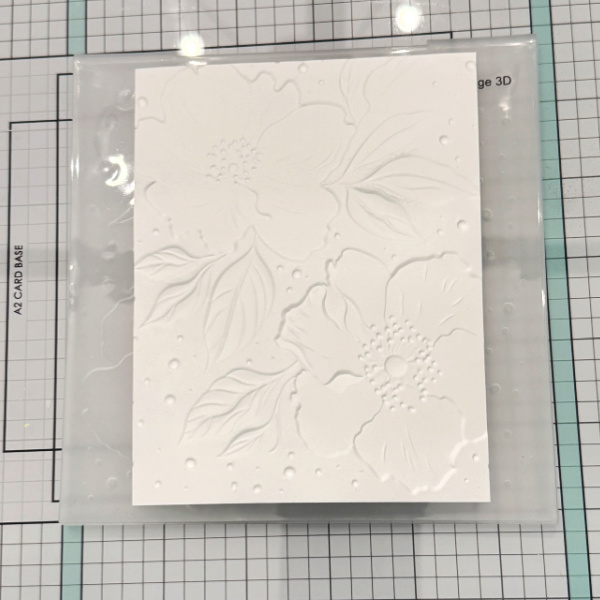
Using a white A2 panel, run it through the die cutting machine using a #d embossing folder.
Tip: if you spritz it with water, it will be crisp.

Step 2:
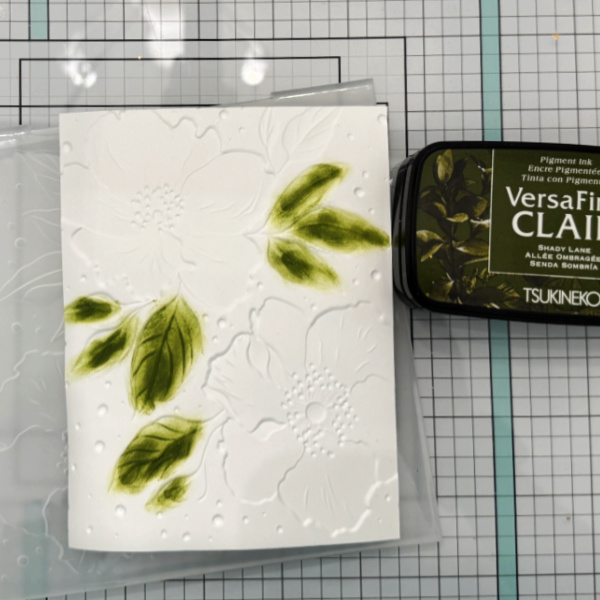
On the debossed side of the panel, use a blending brush or sponge dauber ink blend green for the leaves. 

Step 3:
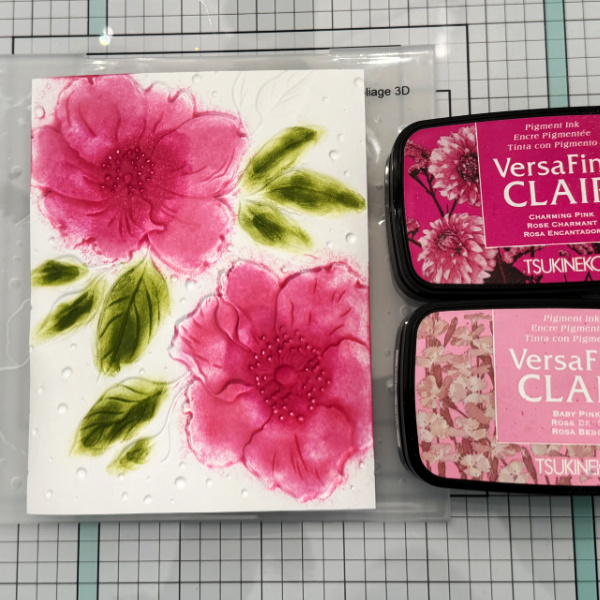
Using a blending brush or sponge dauber ink blend pink or color of choice in the flowers.
This looks like a hot mess right now but the next step will really define the image.

Step 4:
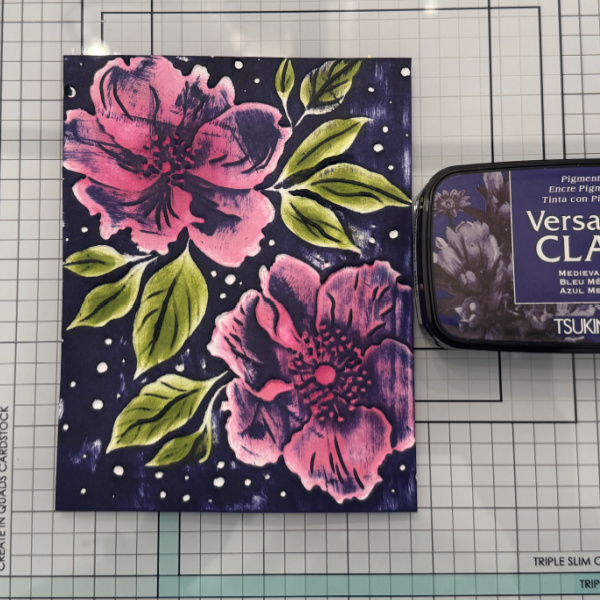
Using the ink pad and the direct to paper technique, run the ink pad over the debossed area that you colored and watch the image come to life and be defined. 

Craft Supplies:

 Imagine Products

• VersaFine Clair: Shady Lane, Baby Pink, Charming Pink and Medieval Blue 
• On Point Glue
• Sponge Daubers

Other Products:
• Translucent Foliage 3D embossing folder- Altenew

Happy Birthday Card with a Fresh Inking Technique

By Katy Ingram

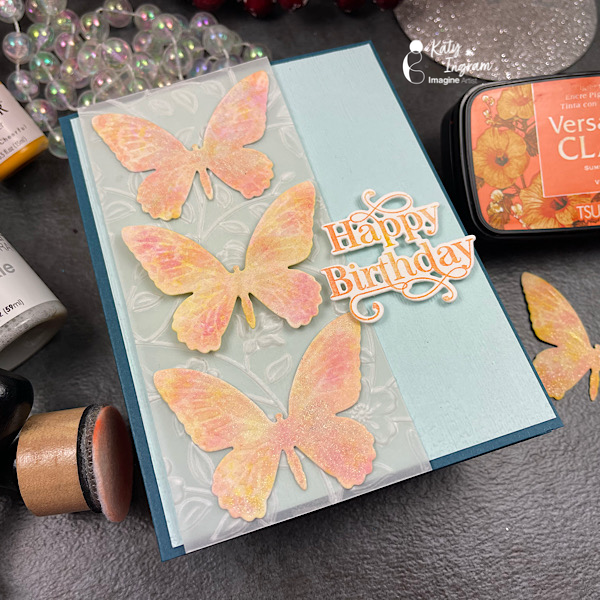
Hello Friends! Katy here with my latest video sharing a great way to use VersaFine Clair re-inkers on watercolor paper with felt pads and Isopropyl Alcohol, but I also share using an ink pad if you don’t have a re-inker. Video has all the details. Thanks for watching. 

Skill: intermediate, advanced
Time: 15 minutes

Art Supplies

Imagine Products

• VersaFine Clair – baby pink, cheerful, summertime
• Sheer Shimmer Spray – Sparkle

Other Products Used

• Watercolor Paper
• Tim Holtz Butterfly Dies
• Spellbinders Flowers & Foliage 3D folder
• The Greetery Arch Sentiments Stamp and Die Set
• 100 lb Accent Opaque Cardstock
• Spellbinders Oceanside cardstock
• Simon Says Stamp Sea Glass Cardstock
• Oplymio 167gsm Vellum
• Felt Pads
• Isopropyl Alcohol

How to Make a Floral Birthday Card

By Von Marie

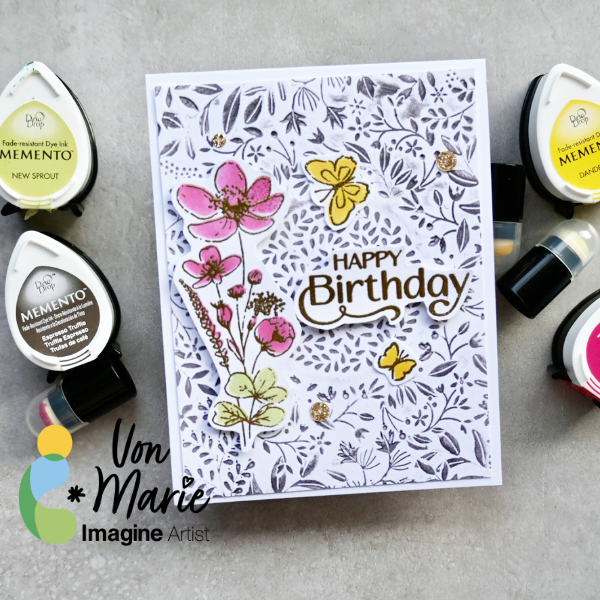
Hello everyone. Von Marie here with my newest video using colorful inks to use with stencils. Memento inks are really perfect for inking and stamping. I used Memento Dew inks to stencil some pretty florals and leaves. The video will have more details. I hope you enjoy. Thank you for watching.

Skill: Intermediate
Time: 45 Mins.

Products Used:

• 100lb white Hammermill Paper
• A2 Card Base
• Glass Board and magnets
• Glue
• Die-cutting Machine
• Heat Tool
• Foam Tape
• Scissors
• Sequins

Imagine Products

Memento Dew Drops: New Sprout, Rose Bud and Dandelion

Espresso Truffle

VersaMark ink pad

Mboss Embossing Powder Gold

On Point Glue

Sponge Dauber

Other Products Used

• Simon Says Stamp Butterfly Blossoms Stamp and Coordinating Stencils

• Simon Says Stamp Splendid Leaves Circle Frame Embossing Folder

• Kat Scrappiness Platinum Gold Glitter Sequins

ALTERNATIVE PRODUCTS THAT CAN BE USED TO RECREATE SOMETHING SIMILAR
Any stamps, inks, and or Embossing Folder.
You can watch how to create this Birthday Card Click Here

Make a Sweet Birthday Card with VersaMagic Pastel Ink Pads

By Jessica Lin

Skill: Intermediate
Time: 30 minutes

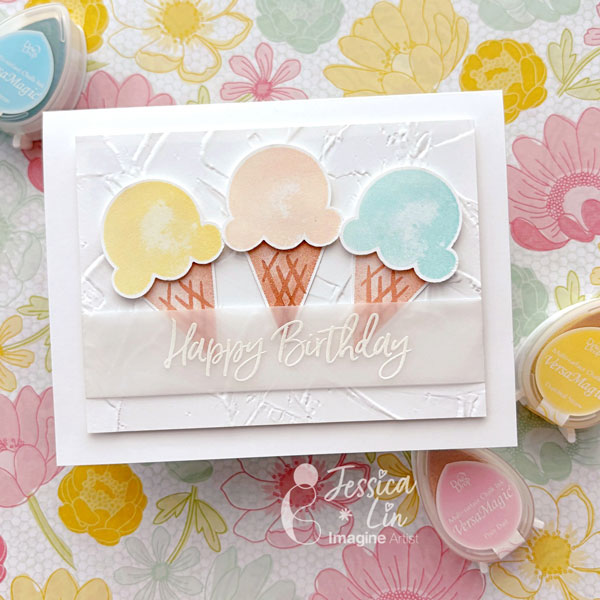
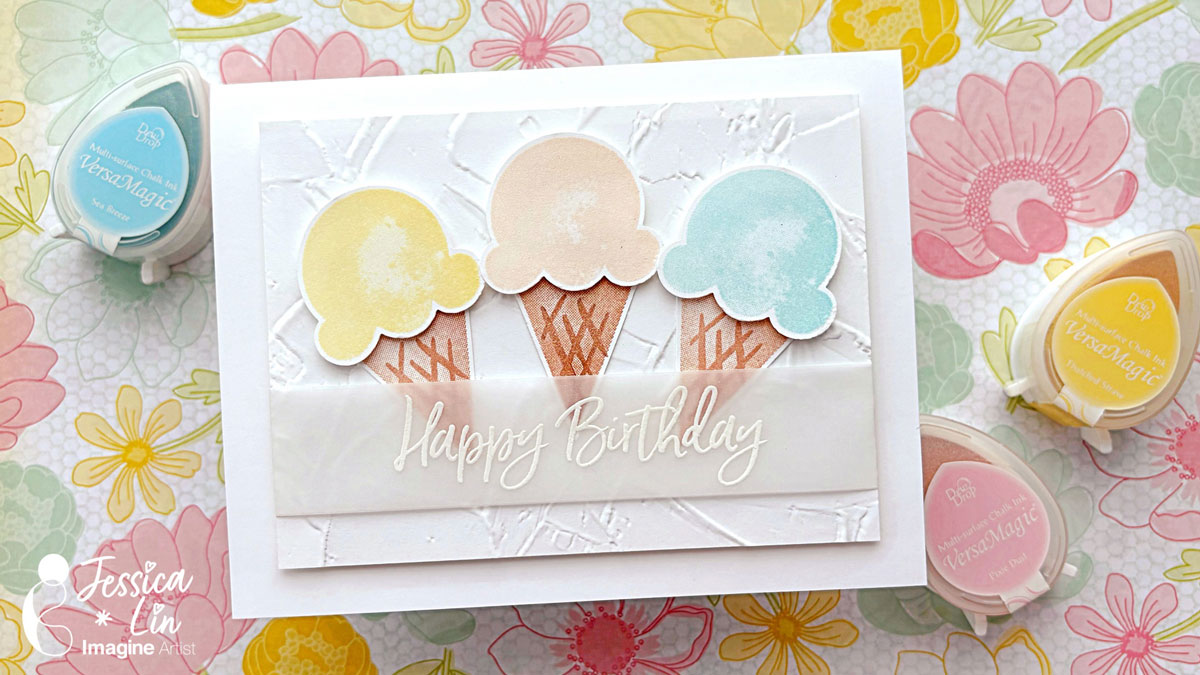
Hi everyone! It’s Jessica here. Today I am sharing a birthday card using one of my favorite ink pads – VersaMagic. They have great pastel colors that are just perfect for sorbet and ice cream images.

Step 1:
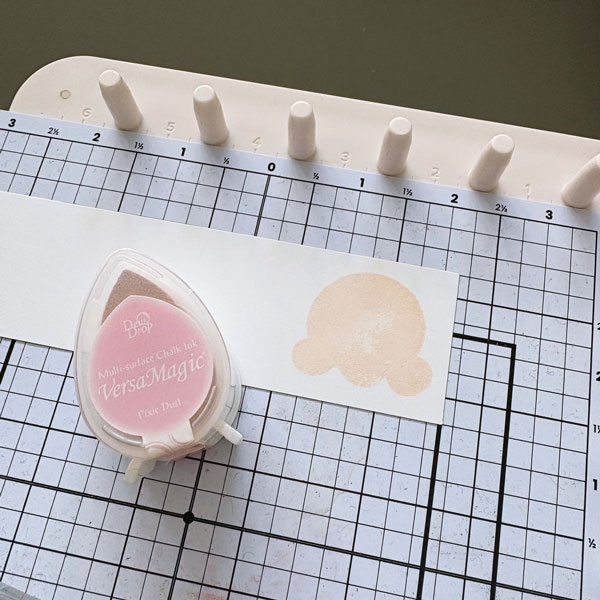
The first color I chose is VersaMagic Pixie Dust – it reminds me of the classic strawberry ice cream. I used it to stamp the ice cream scoop image from Stampin’ Up’s Sweet Ice Cream set.

Step 2:
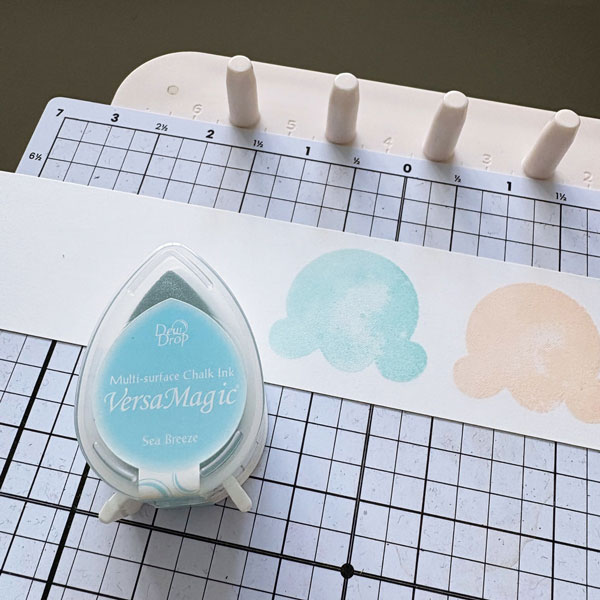
Then I used VersaMagic Sea Breeze to stamp my second scoop of ice cream. You will notice that the ice cream image is not entirely solid. I really like the “watercolor” look it gives off.

Step 3:
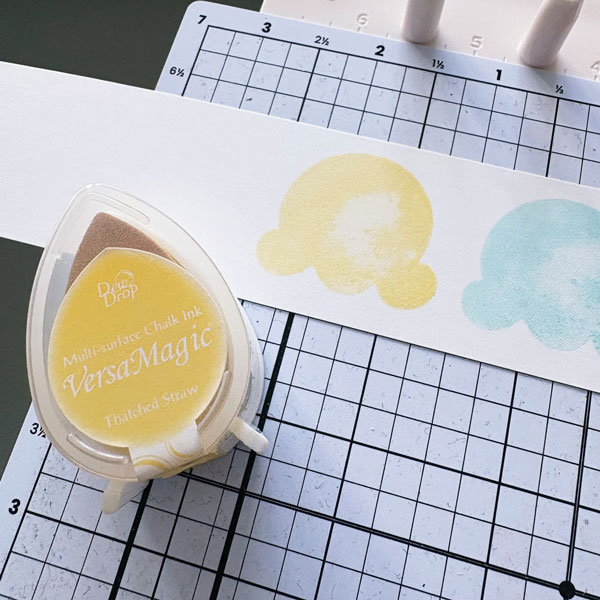
For my last scoop of ice cream, I used VersaMagic Thatched Straw. A soft yellow like this is hard to find in the ink pad world. I have yet to find a similar hue as soft as this color.

Step 4:
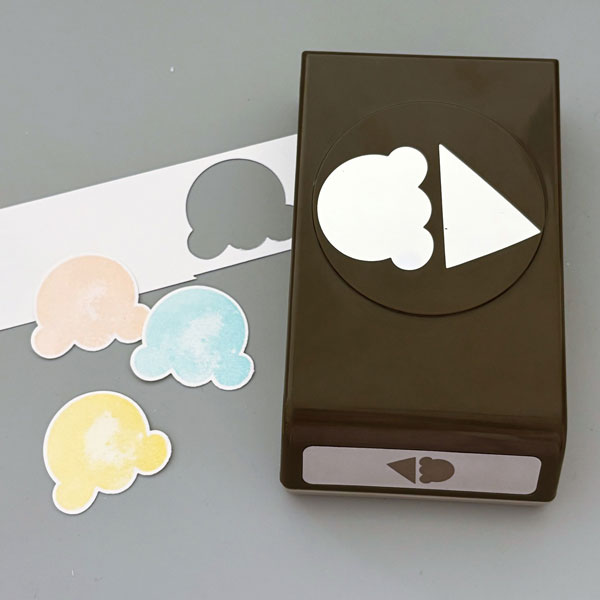
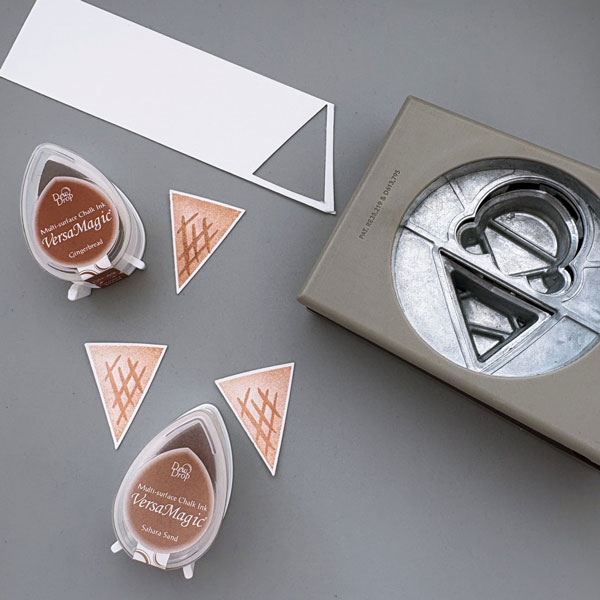
Once the stamped images are left to dry for 5-10 minutes, I punched them out with the coordinating Ice Cream Cone Builder punch.

Step 5:
For the ice cream cones, I used VersaMagic Gingerbread and Sahara Sand. The darker one on top is stamped with Gingerbread, and the two lighter ones on the bottom are stamped with Sahara Sand.

Step 6:
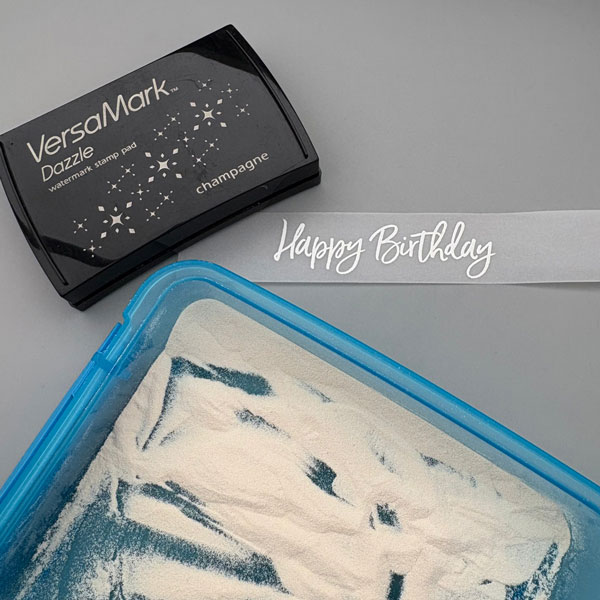
I decided to heat emboss the sentiment on vellum to match the soft, pastel palette of the card. I stamped the “Happy Birthday” stamp with VersaMark Dazzle Champagne and heat embossed with white Mboss powder.

Step 7:
To complete the card, I adhered all of the elements onto a card panel that I embossed with Stampin’ Up Painted Texture embossing folder. I hope you enjoyed today’s tutorial and have a sweet day!

Products Used:

Imagine Supplies:

Other Supplies:

  • Stampin’ Up! – Stamps – Sweet Ice Cream
  • Stampin’ Up! – Punch – Ice Cream Cone Builder
  • Stampin’ Up! – Embossing Folder – Painted Texture

Make a Lavender Birthday Card

By Jessica Lin

Skill: Beginner
Time: 20 minutes

Hi everyone! It’s Jessica here. Today I have a beginner friendly birthday card to share with you. Most of my creations involve die cutting or dry embossing using a die cutting machine. So today, I decided to go back to the basics and create a card that focuses on stamping.

Step 1:
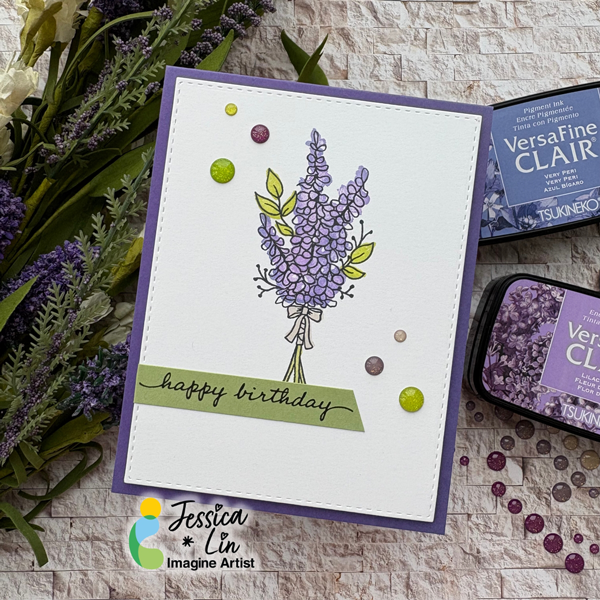
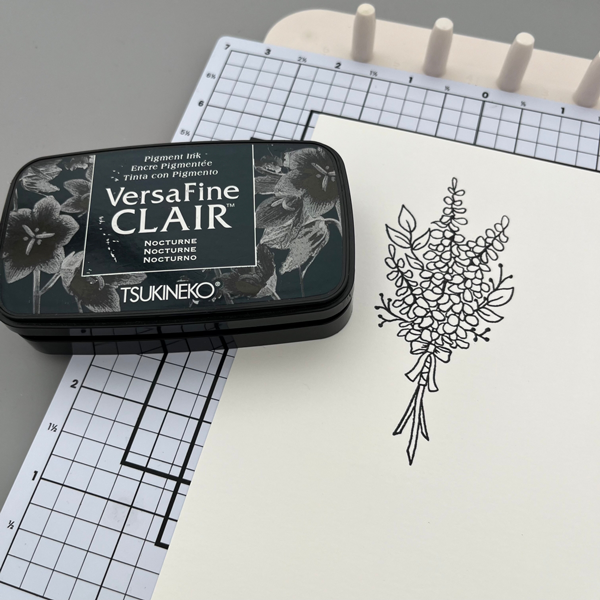
I will be using VersaFine Clair ink pads to stamp all of the images today. For the outline, I used Nocturne. This is my favorite black ink pad because the stamped images are always crisp and dark.

Step 2:
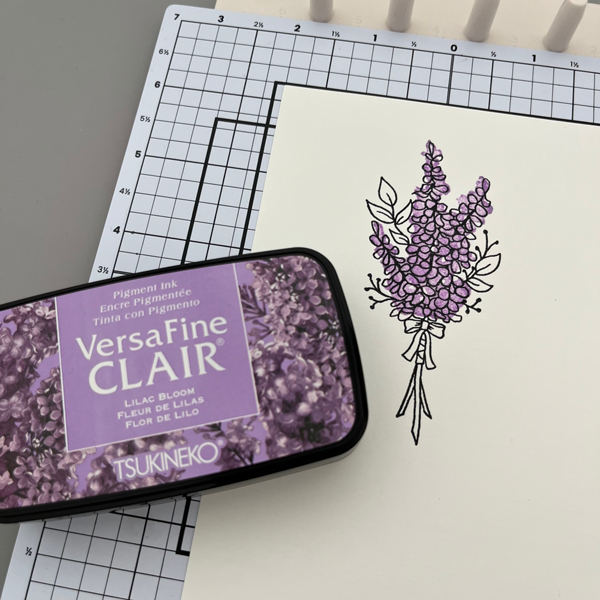
Then I stamped the lavender overlay image with VersaFine Clair Lilac Bloom. The stamp set I am using today is called Lots of Lavender from Stampin’ Up. It’s a simple layering stamp set that is very forgiving for beginners; the overlay stamps have loose, watercolor-like shapes so you don’t have to line up to the outline image exactly.

Step 3:
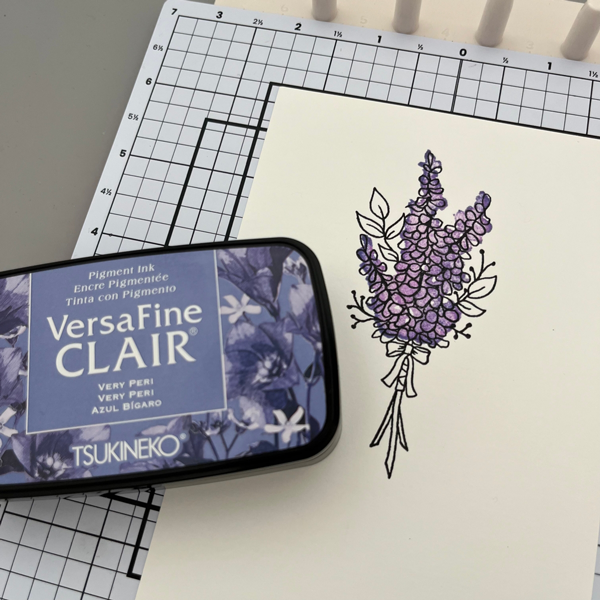
I decided to add a different purple tone to the lavender layer. I inked up the same stamp using VersaFine Clair Very Peri, only this time, I inked up only the edges of the stamp. This way, you can create an image that has duo-tone effects. I think these two purple shades complement each other so perfectly.

Step 4:
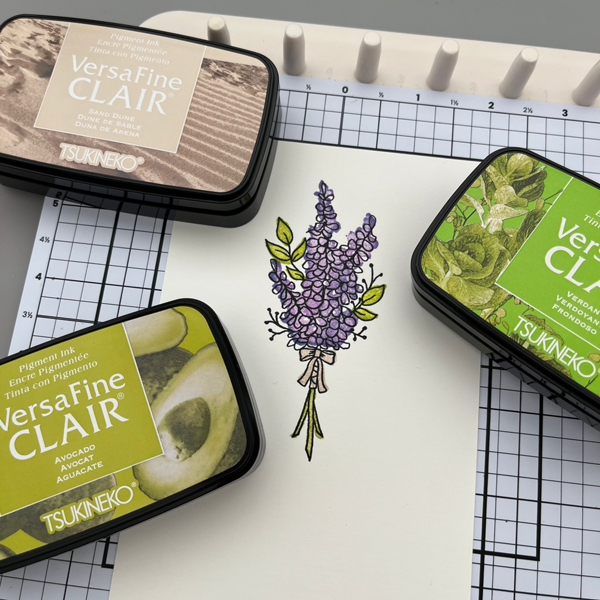
I used the same duo-tone technique and stamped the leaves and stems with VersaFine Clair Verdant first, then with VersaFine Clair Avocado. For the bow, I stamped with VersaFine Clair Sand Dune.

Step 5:
Finally, I stamped the “happy birthday” sentiment with VersaFine Clair Nocturne, added a few enamel dots, and the card is complete!

Supplies Used:

Imagine Supplies:

Other Supplies:

  • Stampin’ Up! – Stamps – Lots of Lavender
  • Stampin’ Up! – Stamps – Happiness Abounds (for the sentiment stamp)
  • Doodlebug Sprinkles Enamel Dots

Make a Postal Style Birthday Card

By Ceal Pritchett

Hello crafty friends!

It’s Ceal, back to share with you. Today I am sharing a birthday card using some postage stencils which are all the rage lately.

Skill: Beginner
Time: 30 minutes

Directions:

Gather your supplies. For this project you will need several colors of inks, postage stencils and a postage die.

Step 1:
Using VersaFine Clair Charming Pink, ink the first layering stencil.

Step 2:
Using VersaFine Clair Warm Breeze, ink up the second layering stencil.

Step 3:
Using VersaFine Clair Verdant, ink the strawberry, the candles and the streamers.

Step 4:
Using VersaFine Clair Lilac, ink the candle and over the present.

Step 5:
Using VersaFine Clair Sand Dune, ink the cake portion.

Step 6:
Using VersaFine Clair Charming Pink, ink over the cake frosting again with a heavy hand, the cupcake up top I inked with what ink was left on the brush.

Step 7:
Using VersaFine Clair Cheerful, ink over the candle flames and streamers.

Step 8:
Stamp sentiment and postage with VersaFine Clair Nocturne.

Supplies:

Imagine Products
• VersaFine Clair
– Nocturne, Charming Pink, Cheerful, Verdant, Warm Breeze, Lilac and Sand Dune

Other Products
• Postage Die – Waffle Flower
• Birthday Postage Stencil- Waffle Flower
• Birthday Postage Stamp Set – Waffle Flower