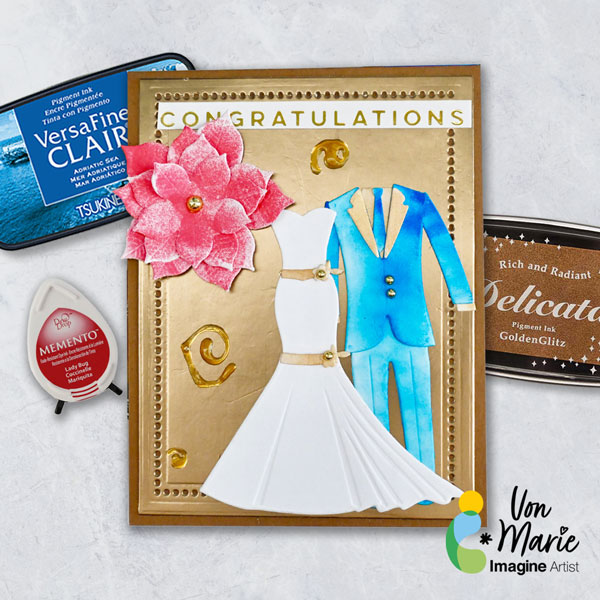
Hello everyone! Von Marie here with my latest video using a fun color palette of Red, Gold, Blue, and White. I used some Beautiful inks to create a simple Winter Wedding Card.This design is also great Anniversaries or Birthday Cards. Video has all the details. Thanks for watching.
Hi everyone! It’s Jessica here. Have you tried creating your own patterned paper before? It’s truly quite simple and kind of addicting once you get the hang of it! Keep reading to find out a trick using stamp positioning tools.
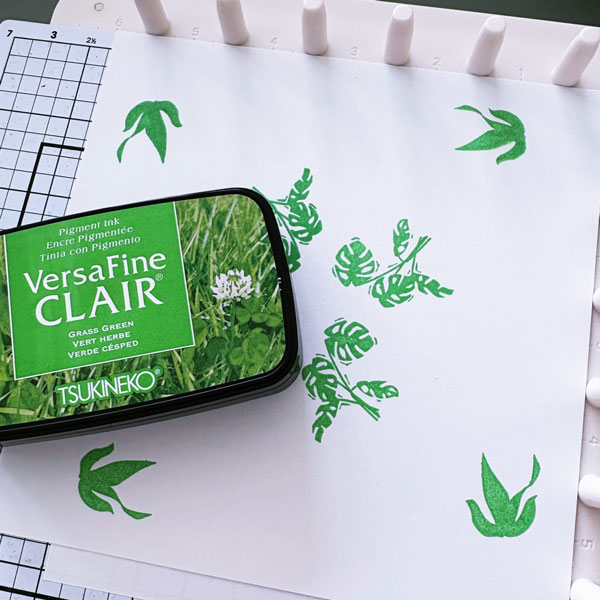
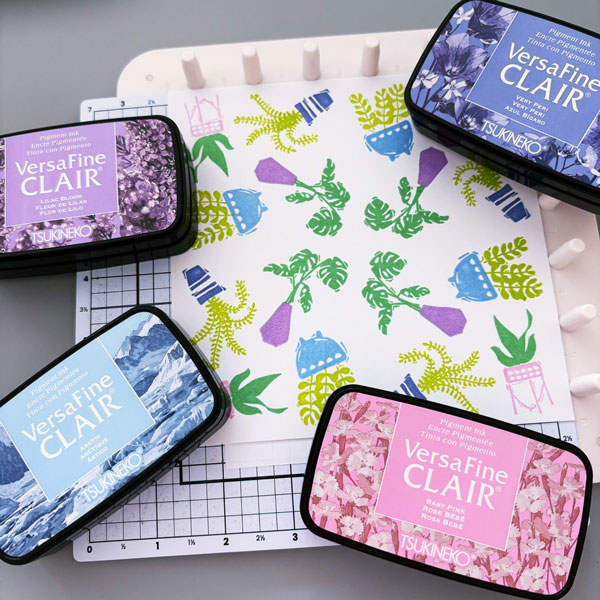
Step 1: I decided to stamp on a piece of 6×6’’ cardstock using the We R Precision Press. This method helps fill up the page quickly with repeated patterns, but you could stamp the images free-hand using an acrylic block as well. With the Precision Press, I placed stamps on the 3×3’’ top-right quadrant and rotated the cardstock 90 degrees each time. This vibrant green color is VersaFine Clair Grass Green ink pad and it really captures the lush, lively green from plants.
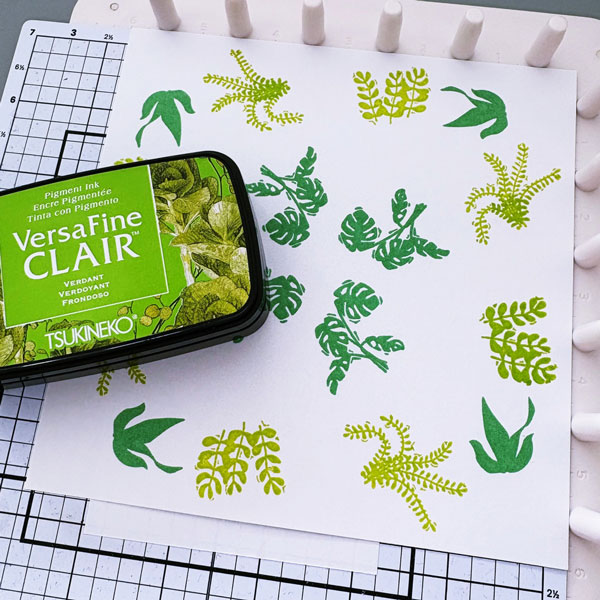
Step 2: I repeated Step 1 with two other succulent stamps. This time, I chose the VersaFine Clair Verdant ink pad.
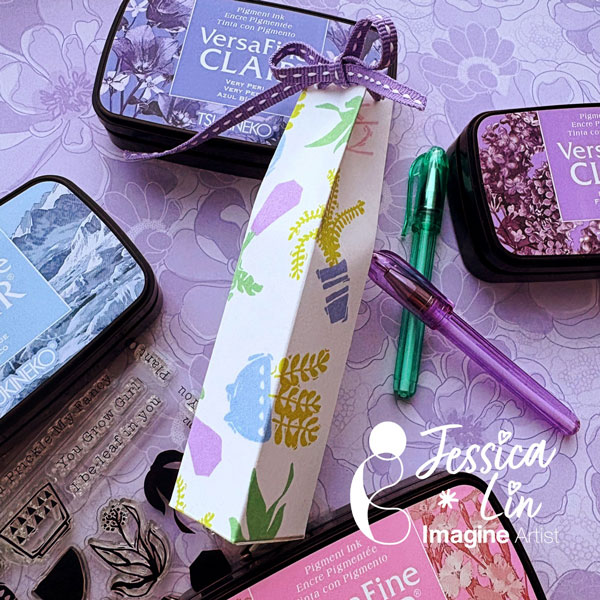
Step 3: Let’s stamp the plant pots next. I picked a few pastel colors – VersaFine Clair Baby Pink, Lilac Bloom, Arctic and Very Peri. These colors complement each other so well, I think they are becoming one of my favorite color combos.
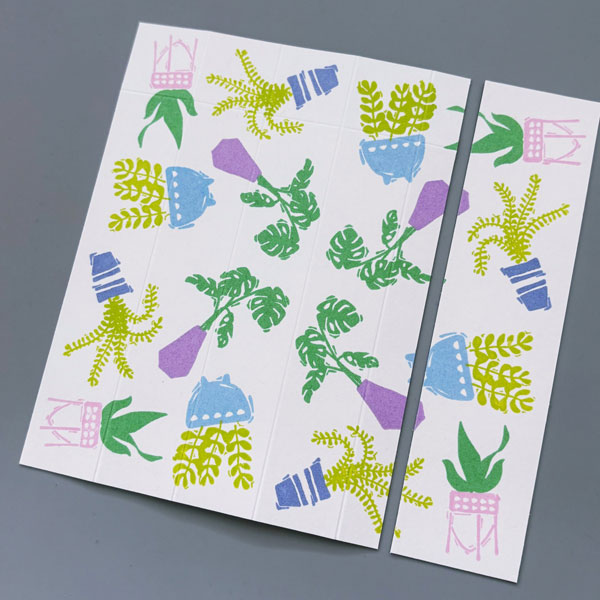
Step 4: Once you are done with creating your own patterned paper, you can trim it however you’d like to decorate cards or scrapbook pages. I want to use it to create a small treat box, so I am cutting it to 4.5 x 6’’. Then, on the short side, score at the 1’’, 2’’, 3’’, and 4’’ marks. On the long side, score at the 1’’ mark. These will be the crease lines for us to fold the box.
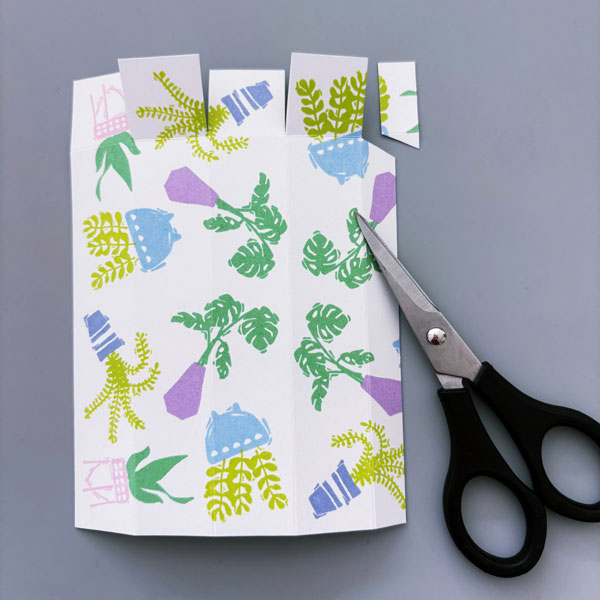
Step 5: After that, cut along the top four squares to make the bottom flaps of the box. I also cut away a small corner so that it’ll be easier to assemble the box later.
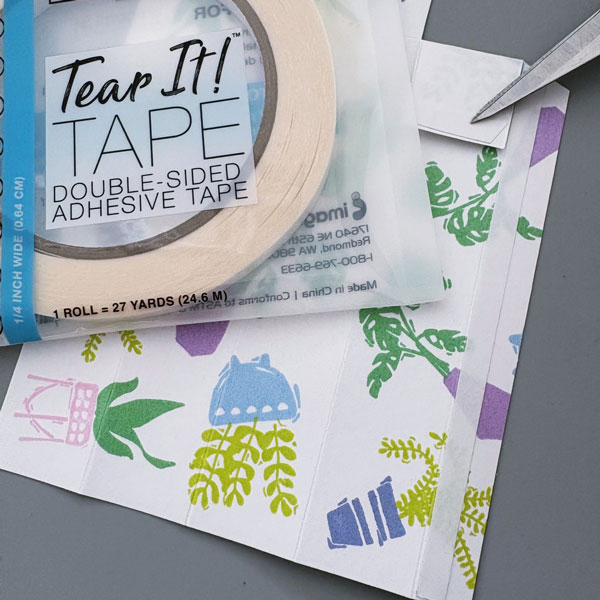
Step 6: Apply Tear It Tape to the 0.5’’ overhang on the right like pictured, and fold along the creased lines to form a box. Fold the square flap on the right downwards and apply Tear It Tape at the bottom edge. Now you can assemble the box by sticking the sides and bottom shut.
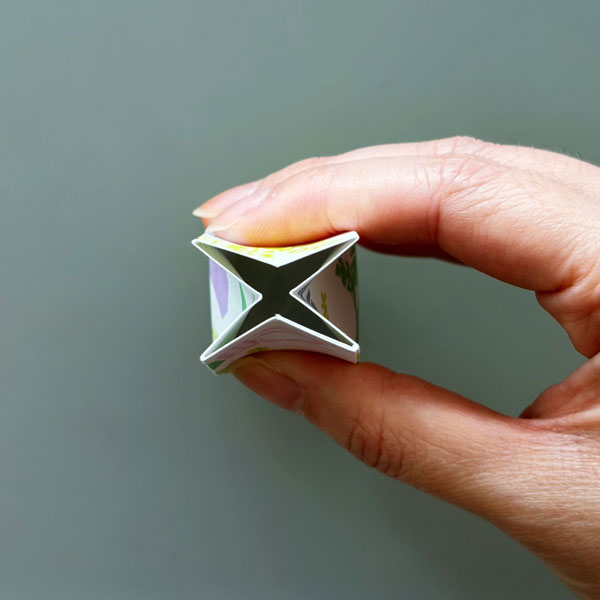
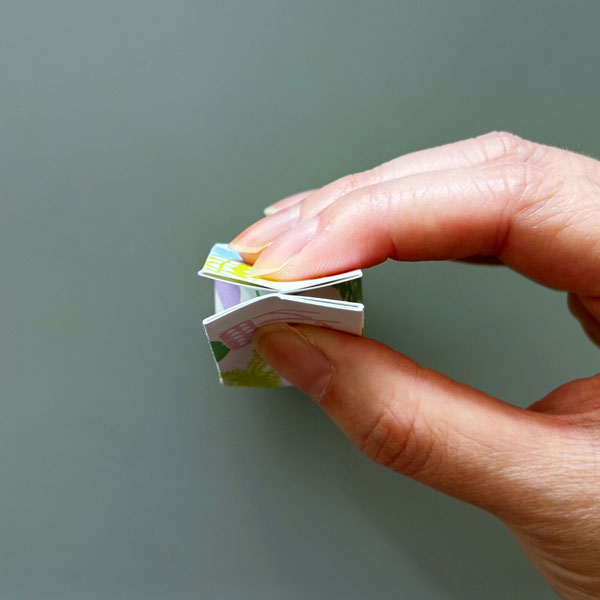
Step 7: To create the box opening, gently press on the sides to make a “X” shape.
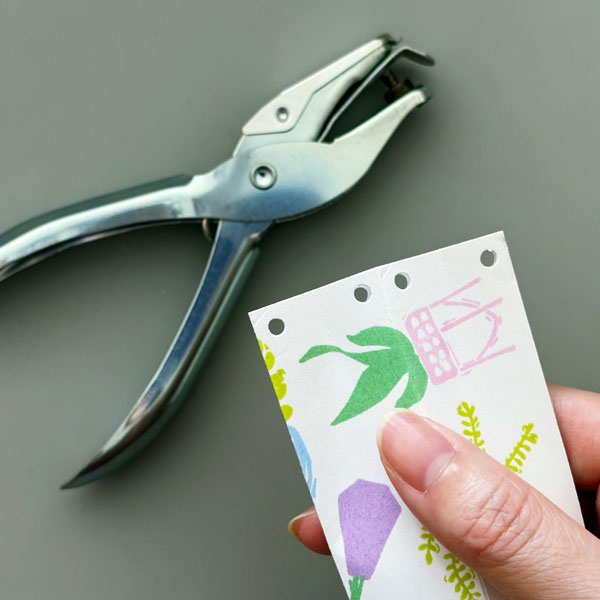
Step 8: For each pinched flap, punch a hole near the corner.
Step 9: This would create holes to thread the ribbon. Once you filled the treat box with goodies, lace the ribbon around the holes and tie a bow to keep the box closed.
I hope this tutorial inspired you to stamp your own patterned paper! It is a fun way to create custom prints and use your stamps creatively. Thanks so much for stopping by, and I’ll see you next time!
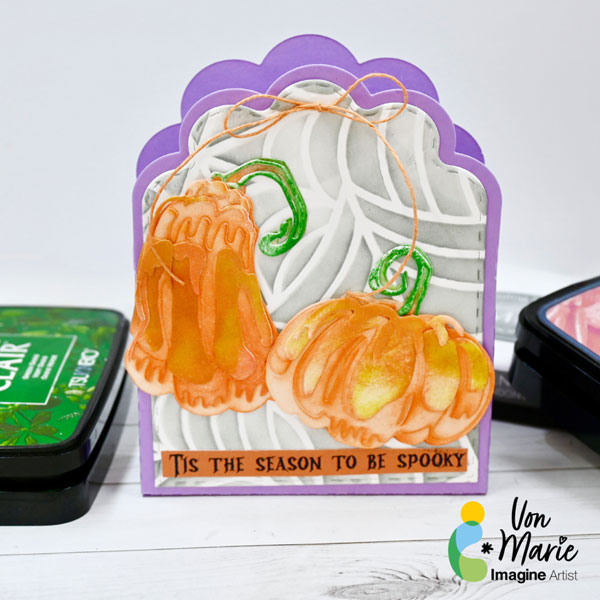
Hello everyone. Von Marie here with my latest project. I love Fall and so I had so much fun creating this Halloween Candy Teat Box. I used my favorite inks to help me achieve my results. All details are in my video. Thank you for watching.
White Cardstock Purple cardstock Blending Brushes Jaded Blossom Scallop Caddy Die A Colorful Life Designs Tangles Webs 6×6 Stencil Liquid Glue Tim Holtz Pumpkin Duo Colorize dies Hemp Twine Die Cutting Machine Scissors
Treat boxes make great gifts for any Holidays. I hope you grab your favorite Imagine Crafts inks and make something that inspired you today.
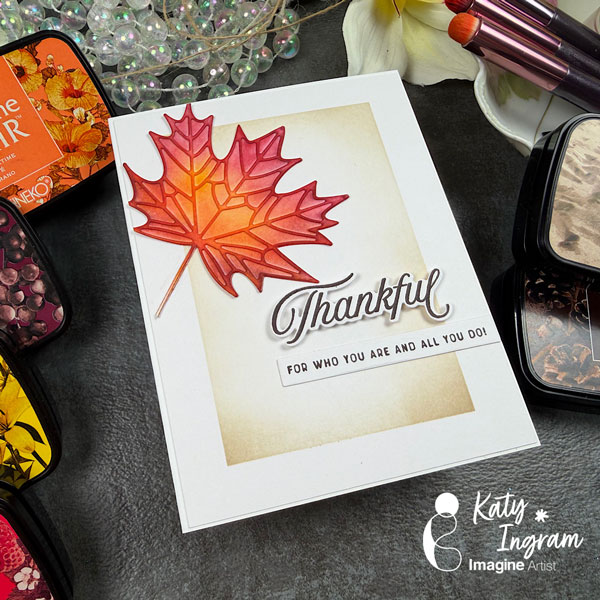
Hello Friends! Katy here with my latest video showcasing VersaFine Clair inks once again to create a Fall inspired card. Video has all the details. Thanks for watching.
Other Products Used -Watercolor Paper -Blending Brushes -Masking Tape -The Greetery Thanks All The Way Stamp and Die Set -Layering Leaf Die Cut- any will work, I used the Maple Leaf from Honey Bee Stamps
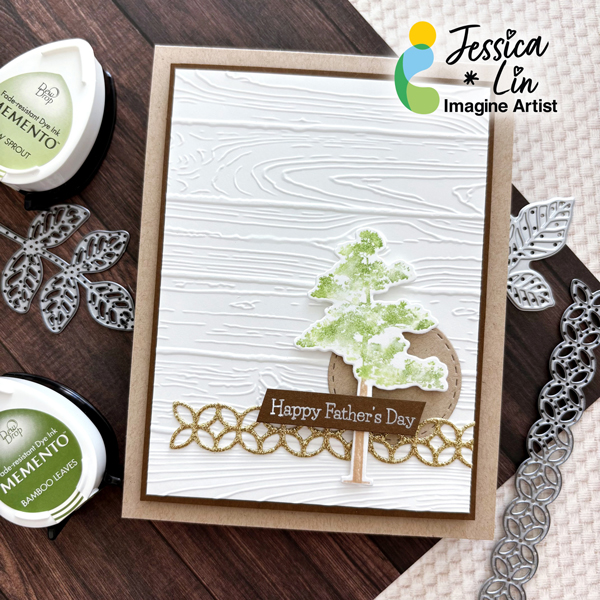
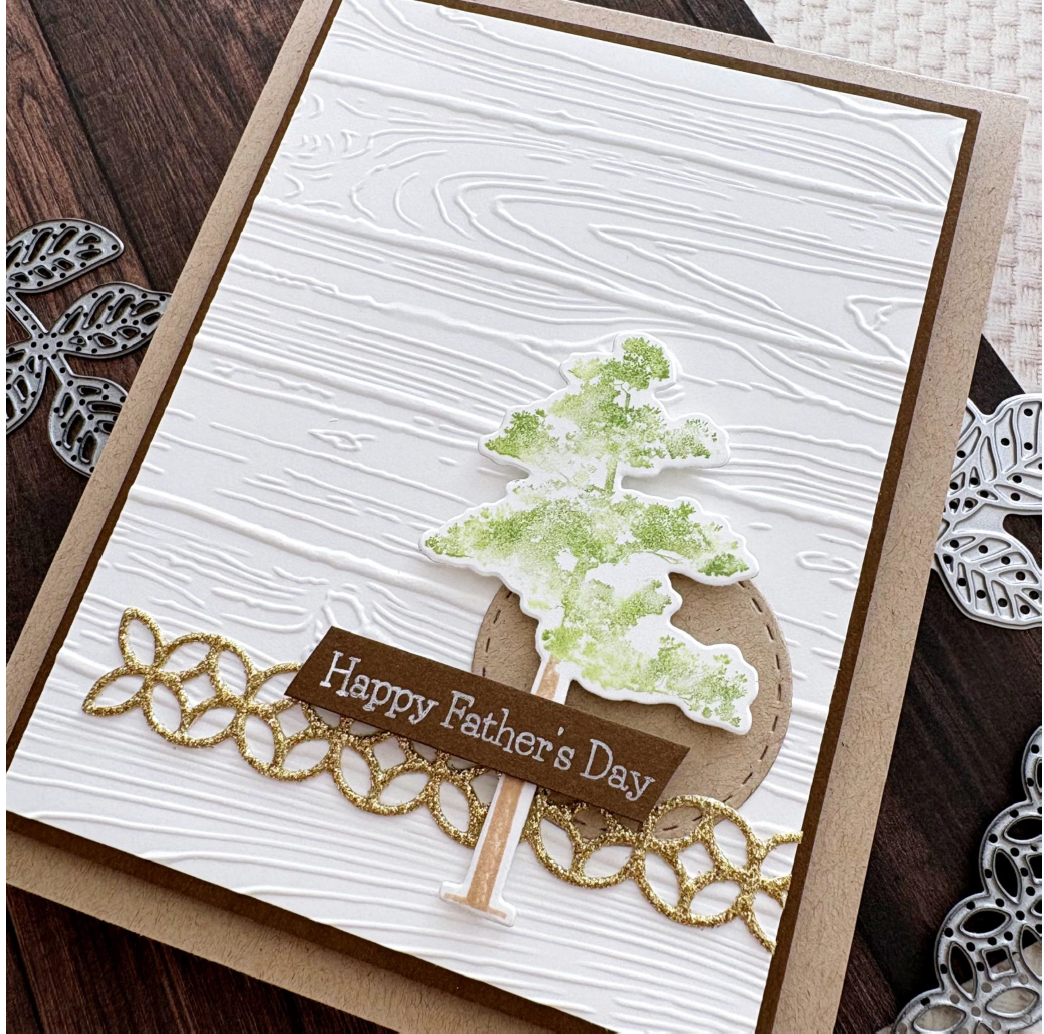
Hi everyone! It’s Jessica here. Previously, I created a nature-inspired all occasions card using a neutral color palette. I liked how it turned out and was inspired to create another version using similar supplies. I decided to turn this into a Father’s Day card since it pairs well with the tall tree image, but it would be great as a thank you or encouragement card as well.
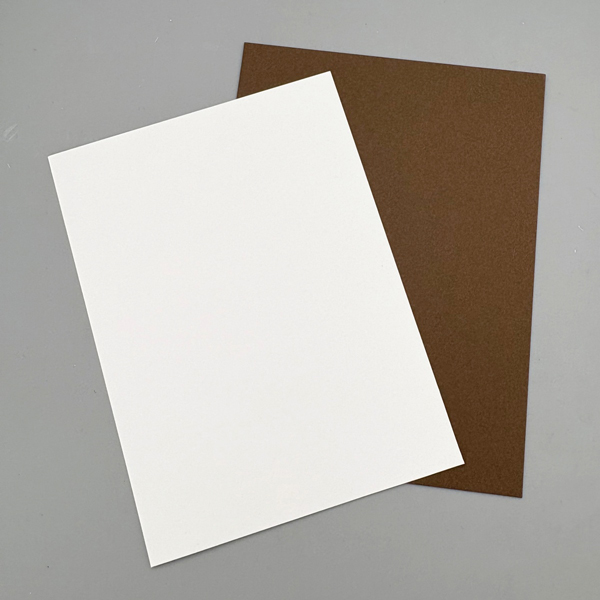
Step 1: Let’s start by trimming a piece of Classic Crest Solar White cardstock to 3 ⅝’’ x 4 ⅞’’. Next, trim Lessebo Colors Coffee Bean cardstock to 3 ¾” x 5” as the mat layer.
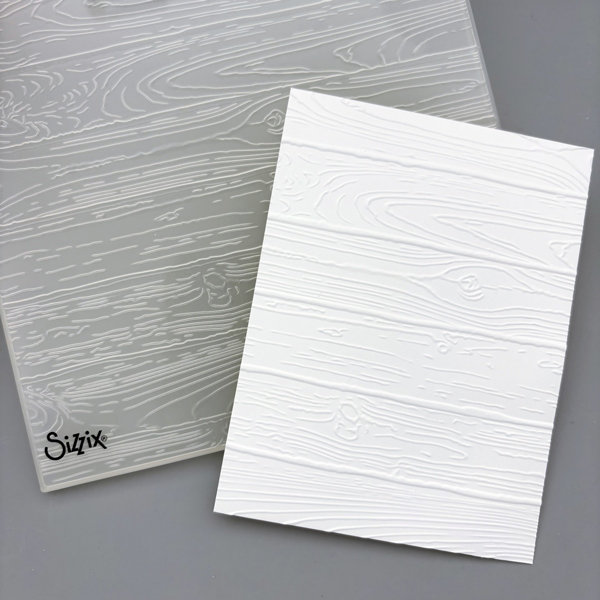
Step 2: Then, emboss the Classic Crest Solar White cardstock panel with Stampin’ Up’s Pinewood Plank embossing folder. Embossing is my favourite way of adding interest to the background, and the Classic Crest Solar White cardstock always embosses beautifully.
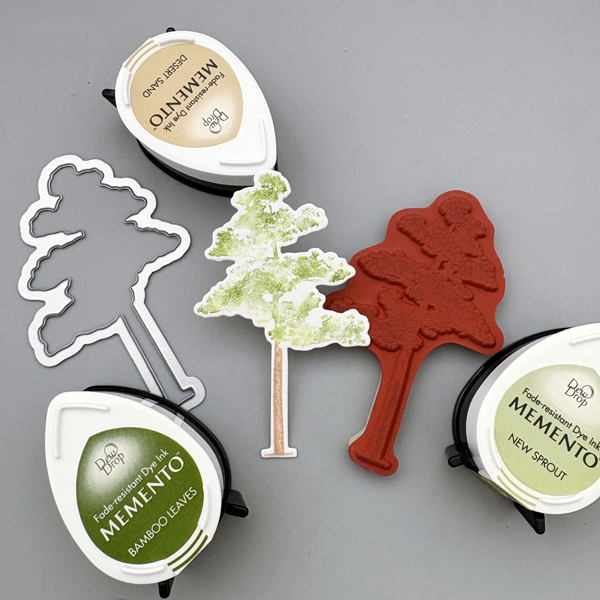
Step 3: The focal point of the card will be this pinetree image from Stampin’ Up’s Rooted in Nature set. I masked the tree trunk with masking tape, and inked the leaves with Memento New Sprout ink pad. To create a shading effect, I tapped Memento Bamboo Leaves ink sparingly onto the stamp, and dabbed the ink with my finger to smooth out the ink edges. Using a stamp positioning tool, I was able to stamp again at the exact spot to create this duo-tone look. Then, I masked the leaves portion of the stamp and ink up the tree trunk with Memento Desert Sand ink. Lastly, die cut the stamped image with the coordinating dies.
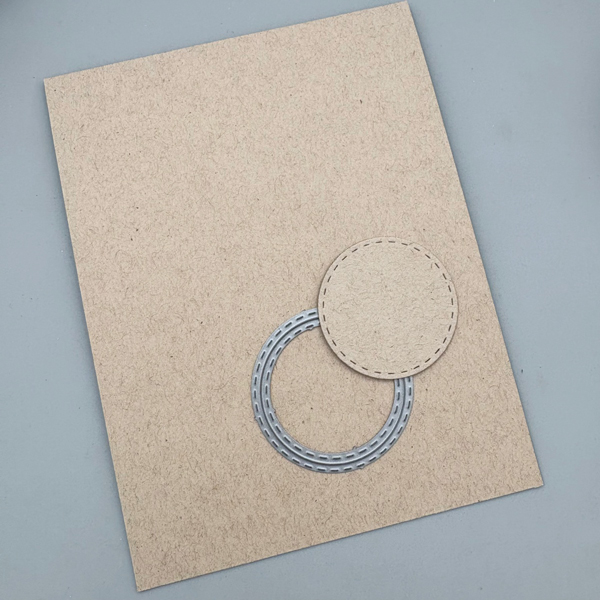
Step 4: The cardbase for today’s project features Environment Desert Storm cardstock. This cardstock, along with the black and white cardstock from Classic Crest, is the paper I use the most for cardbases. The fibers in this paper bring out a natural, organic look, which is perfect for a nature-themed card. I also die cut a circle accent with this cardstock.
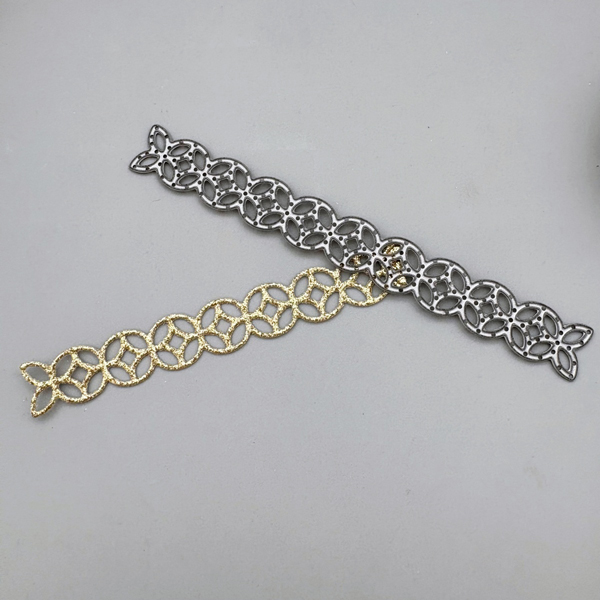
Step 5: Next, die cut a lacey-border element with DCS Gold Glitter Heavyweight 12 x 12 cardstock. This die is from Stampin’ Up’s Flourish Thinlits set and is so versatile.
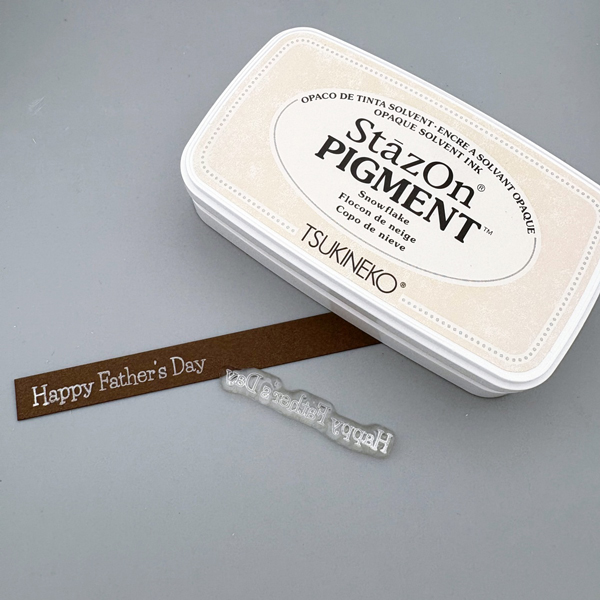
Step 6: As I mentioned before, I picked a Father’s Day sentiment for today’s card and stamped it with StazOn Pigment Snowflake ink. The white sentiment really pops against the Lessebo Colors Coffee Bean cardstock strip.
Step 7: Finally, adhere all of the elements together and this nature-inspired card is complete! I really love the neutral color palette and I hope you do, too.
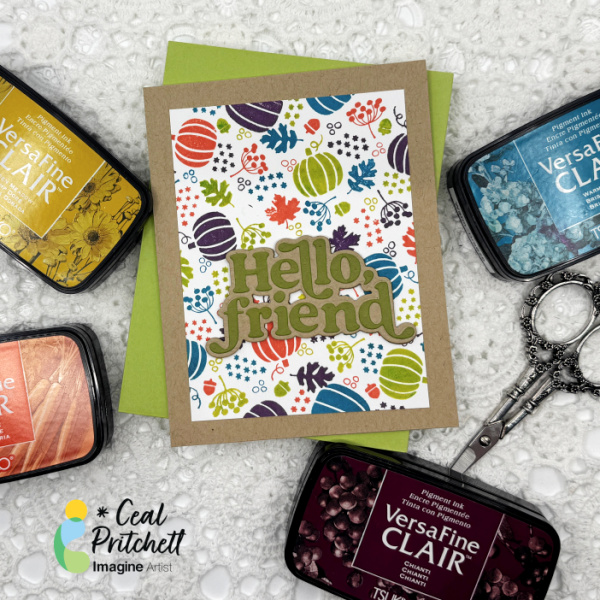
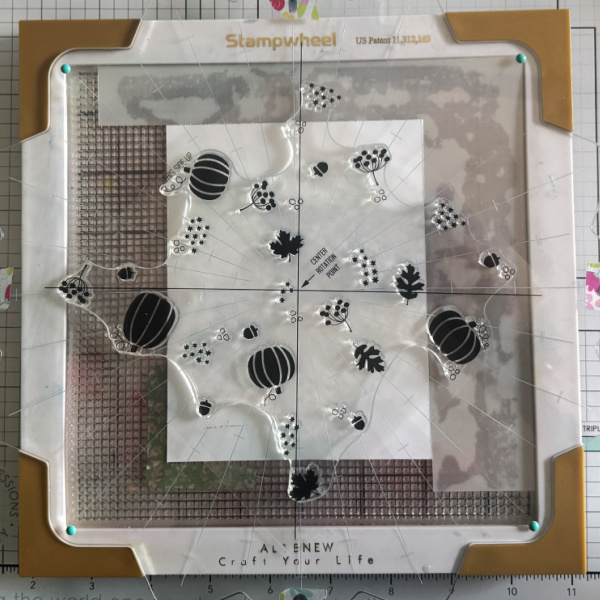
Hey there crafty friends! It’s Ceal, here. Today I am sharing how I made this colorful fall card using a turnabout stamp set, some VersaFine ink pads and the Stampwheel.
Time: 45 Minutes Skill: Intermediate
Directions:
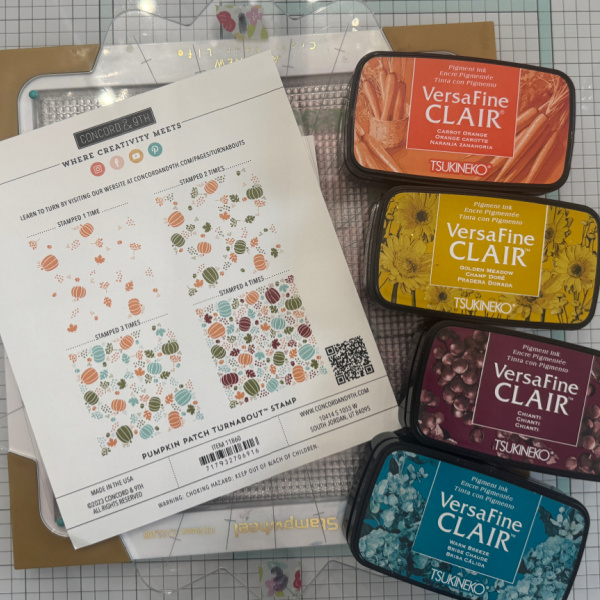
Gather Supplies: I haven’t shared a turnabout card here yet and I wanted to do that because they are my favorites. Gather your supplies, you will need a stamp platform, a Turnabout stamp and some of your favorite inks. I love VersaFine Clair because they are so vibrant.
Step 1: Line up our turnabout stamp using the alignment guide that comes with the stamp. The Stampwheel is easy to line it up because you line up the lines.
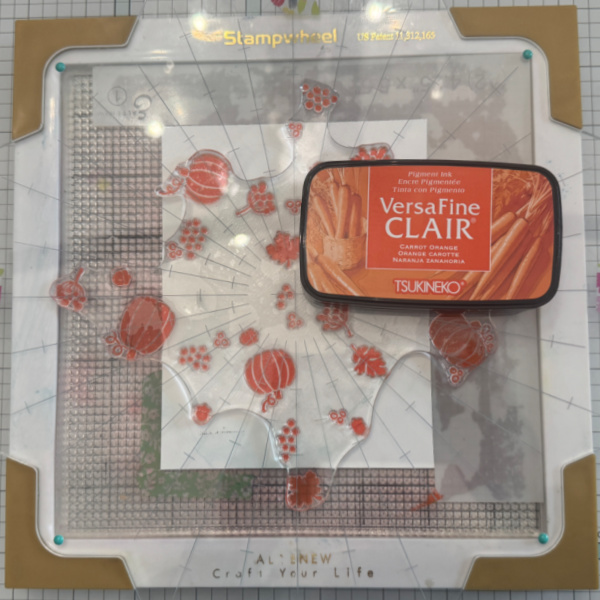
Step 2: Ink up the stamp with the first color, I used Carrot Orange and placed it in the tabs at the top of the stamp wheel. I labeled my stamp wheel 1-4 so I would know where I am when stamping.
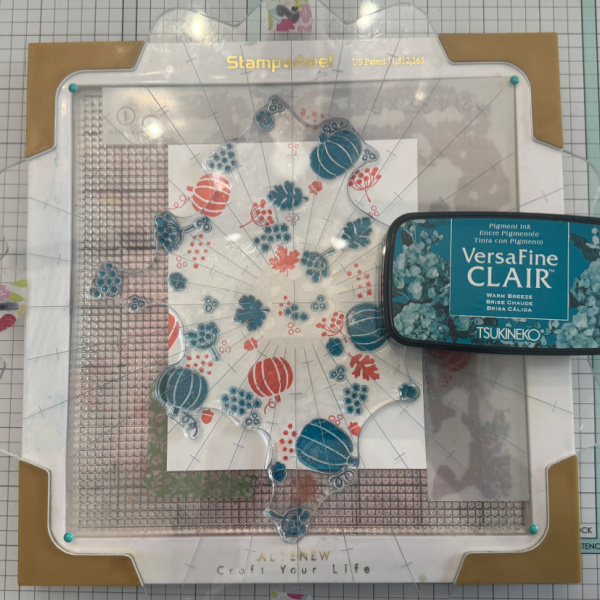
Step 3: Rotate the top, ink up the stamp with the next color (I used Warm Breeze) and place the plate down in the tabs.
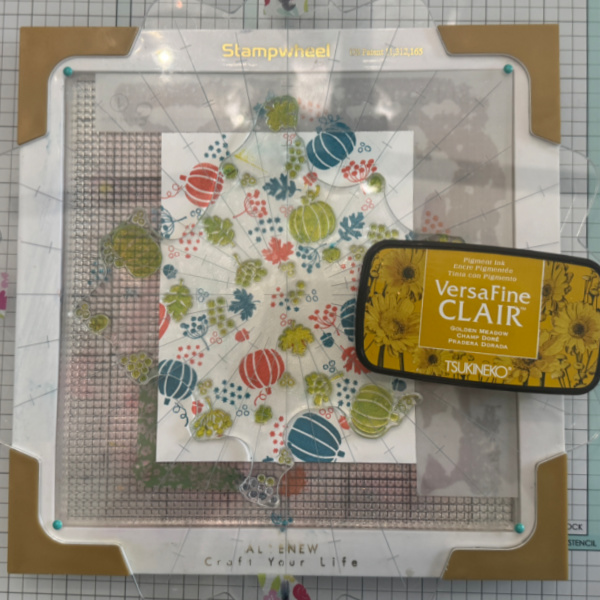
Step 4: Rotate the plate and ink up with the next color, I used Golden Meadow (I think I had some blue left on my stamp therefore it turned green).
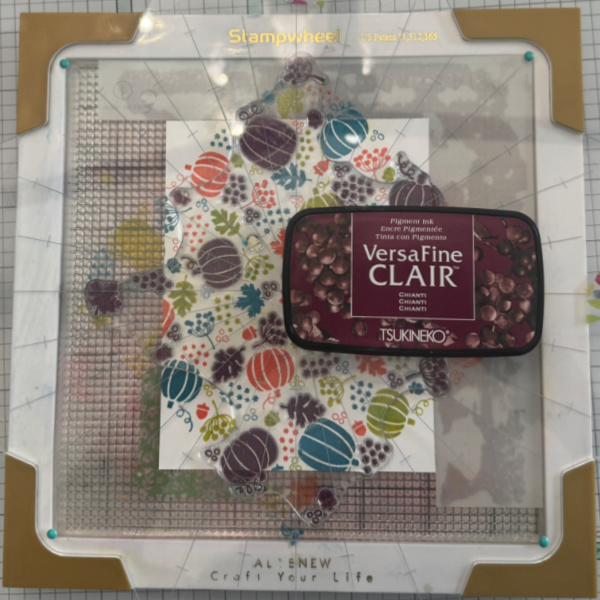
Step 5: Rotate the plate and ink up the final color, I used Chianti. Next cut down your panel to 5 x 3.5 and adhere to the wheat panel
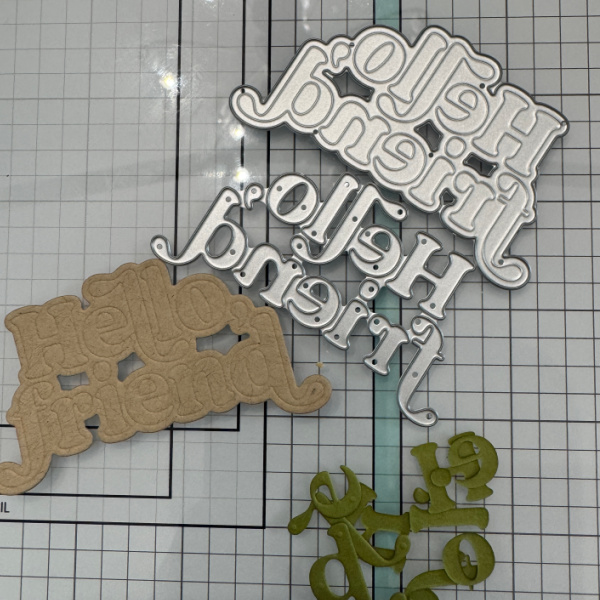
Step 6: Die cut the sentiment and backer panel. I love how the die has where it scores the words into the backer so when you go to add the letters they fit perfectly. To finish the card add the sentiment to the card.
Supplies:
Imagine Products VersaFine Clair – Carrot Orange, Warm Breeze, Golden Meadow and Chianti
Other Products Pumpkin Turnabout – Concord & 9th Hello Friend – Kristina Werner for Concord & 9th