
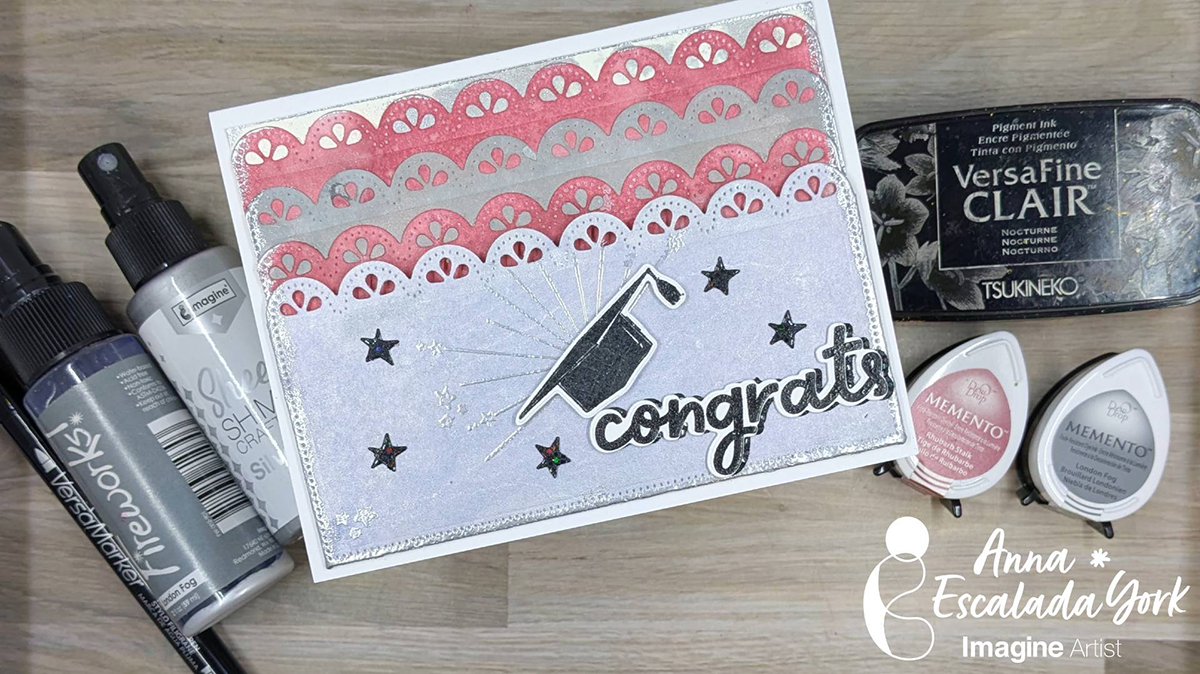
By Anna Escalada York
– As a high school teacher, it is time to get ready for graduation! I have lots of seniors and want to say goodbye with a handmade card. This card design allows for a discreet gift card to be tucked into the front and features our school’s colors–maroon and silver.
Skill: Intermediate
Time: 1.5 hours (including dry time)
Directions:
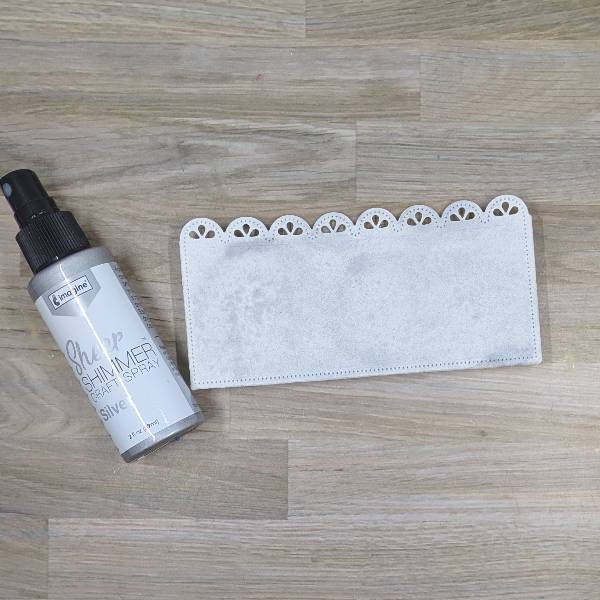
Step 1:
Die cut a gift card holder out of watercolor paper and spray with Silver Sheer Shimmer Craft Spray. Allow the spray to dry and then spray a second time to intensify the color. Allow the spray to dry a second time.
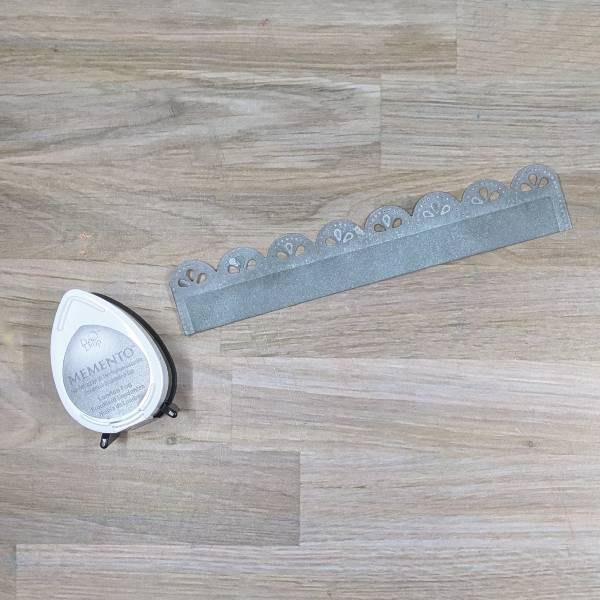
Step 2:
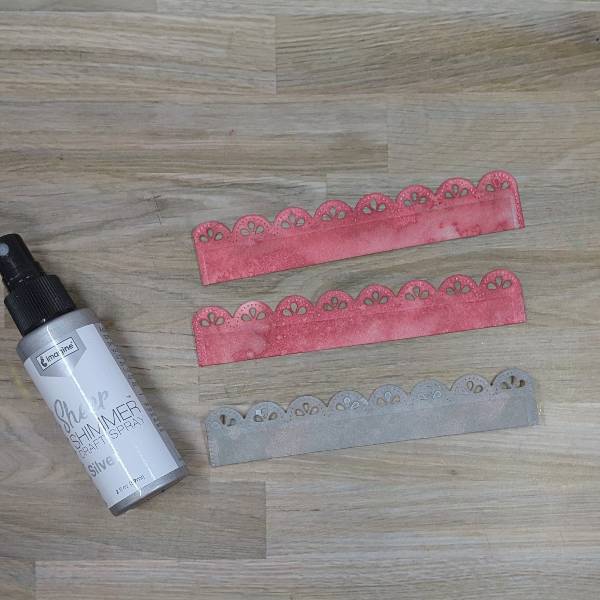
Trim another piece of watercolor paper into three strips approximately 1” high by 5.5” long and die cut each of the dies with the top part of the same die cut from step 1. Use a sponge dauber to ink blend one of the strips with London Fog Memento Ink and set aside.
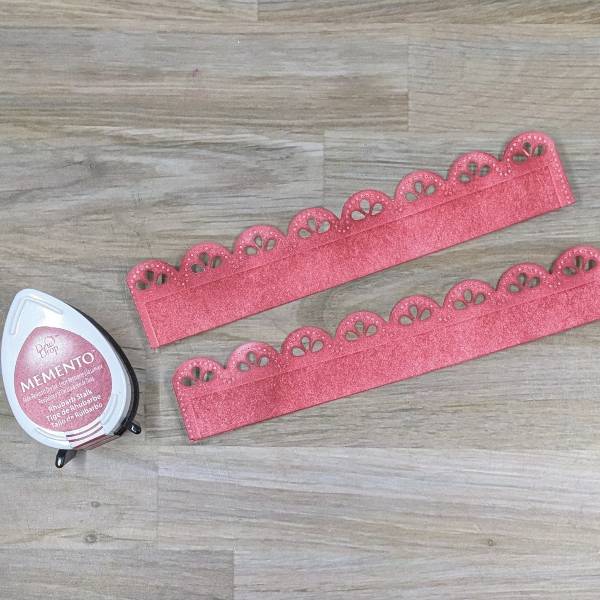
Step 3:
Ink blend the two remaining die-cut watercolor strips with Rhubarb Stalk Memento ink with a second sponge dauber.
Step 4:
Spray all three die cut strips with more of the Silver Sheer Shimmer Craft Spray to add some sparkle. Set the strips aside do dry.
Step 5:
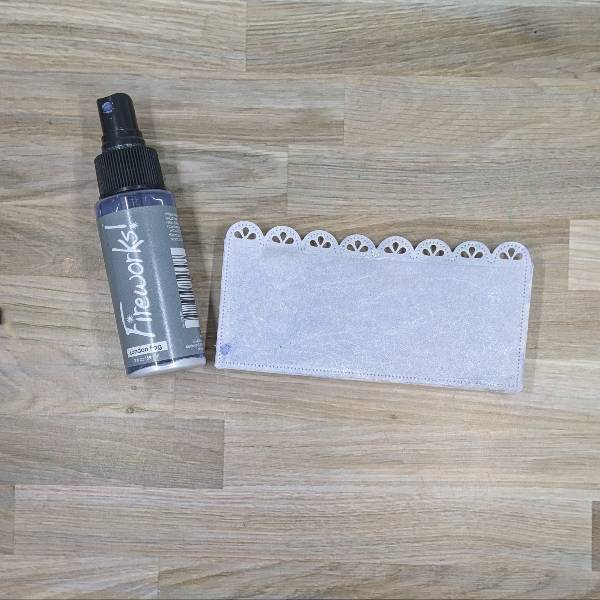
Spray the large die cut gift card holder with London Fog Fireworks! Shimmery Craft Spray and set aside to dry.
Step 6:
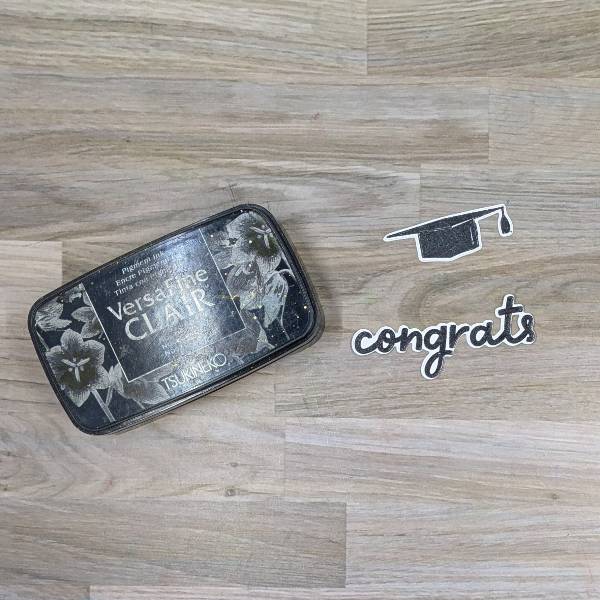
Stamp both the sentiment and a graduation cap stamp on watercolor paper with Nocturne VersaFine Clair Ink. Heat emboss both with clear embossing powder and then die cut them with their corresponding dies. While die cutting the sentiment, use the same die to die cut a piece of of black glitter cardstock.
Step 7:
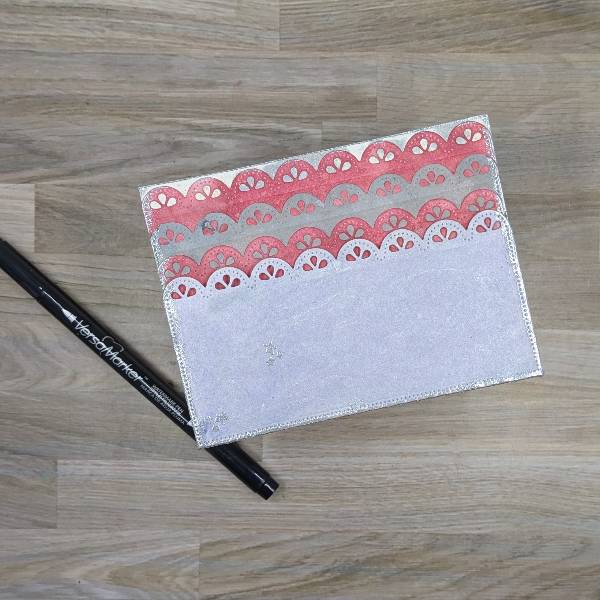
Glue the three die cut strips and the gift card holder onto a white card panel (or in my case a watercolor smooshed panel made for another project that used some leftover London Fog Memento Ink mixed with some water), making sure that the top of the gift holder doesn’t get glued onto the card (so it can still be used to hold a gift card).
Then color the edges of the panel with a VersaMarker in order to heat emboss the outside edges with silver embossing powder. Then color some small star stamps on the lower left corner of the card and toward the middle of the card with the same VersaMarker to add more silver embossing powder.
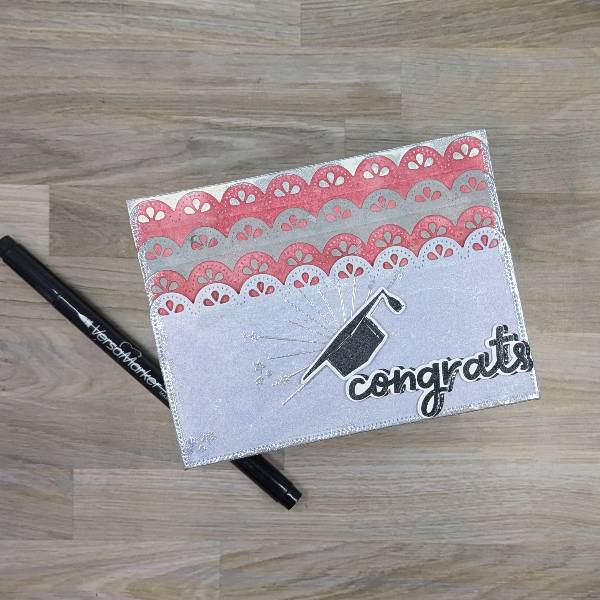
Step 8:
Not pictured: Color the rays and stars stamp in the upper center part of the gift card holder with more of the Clear Embossing Powder and then heat emboss it with more silver embossing powder.
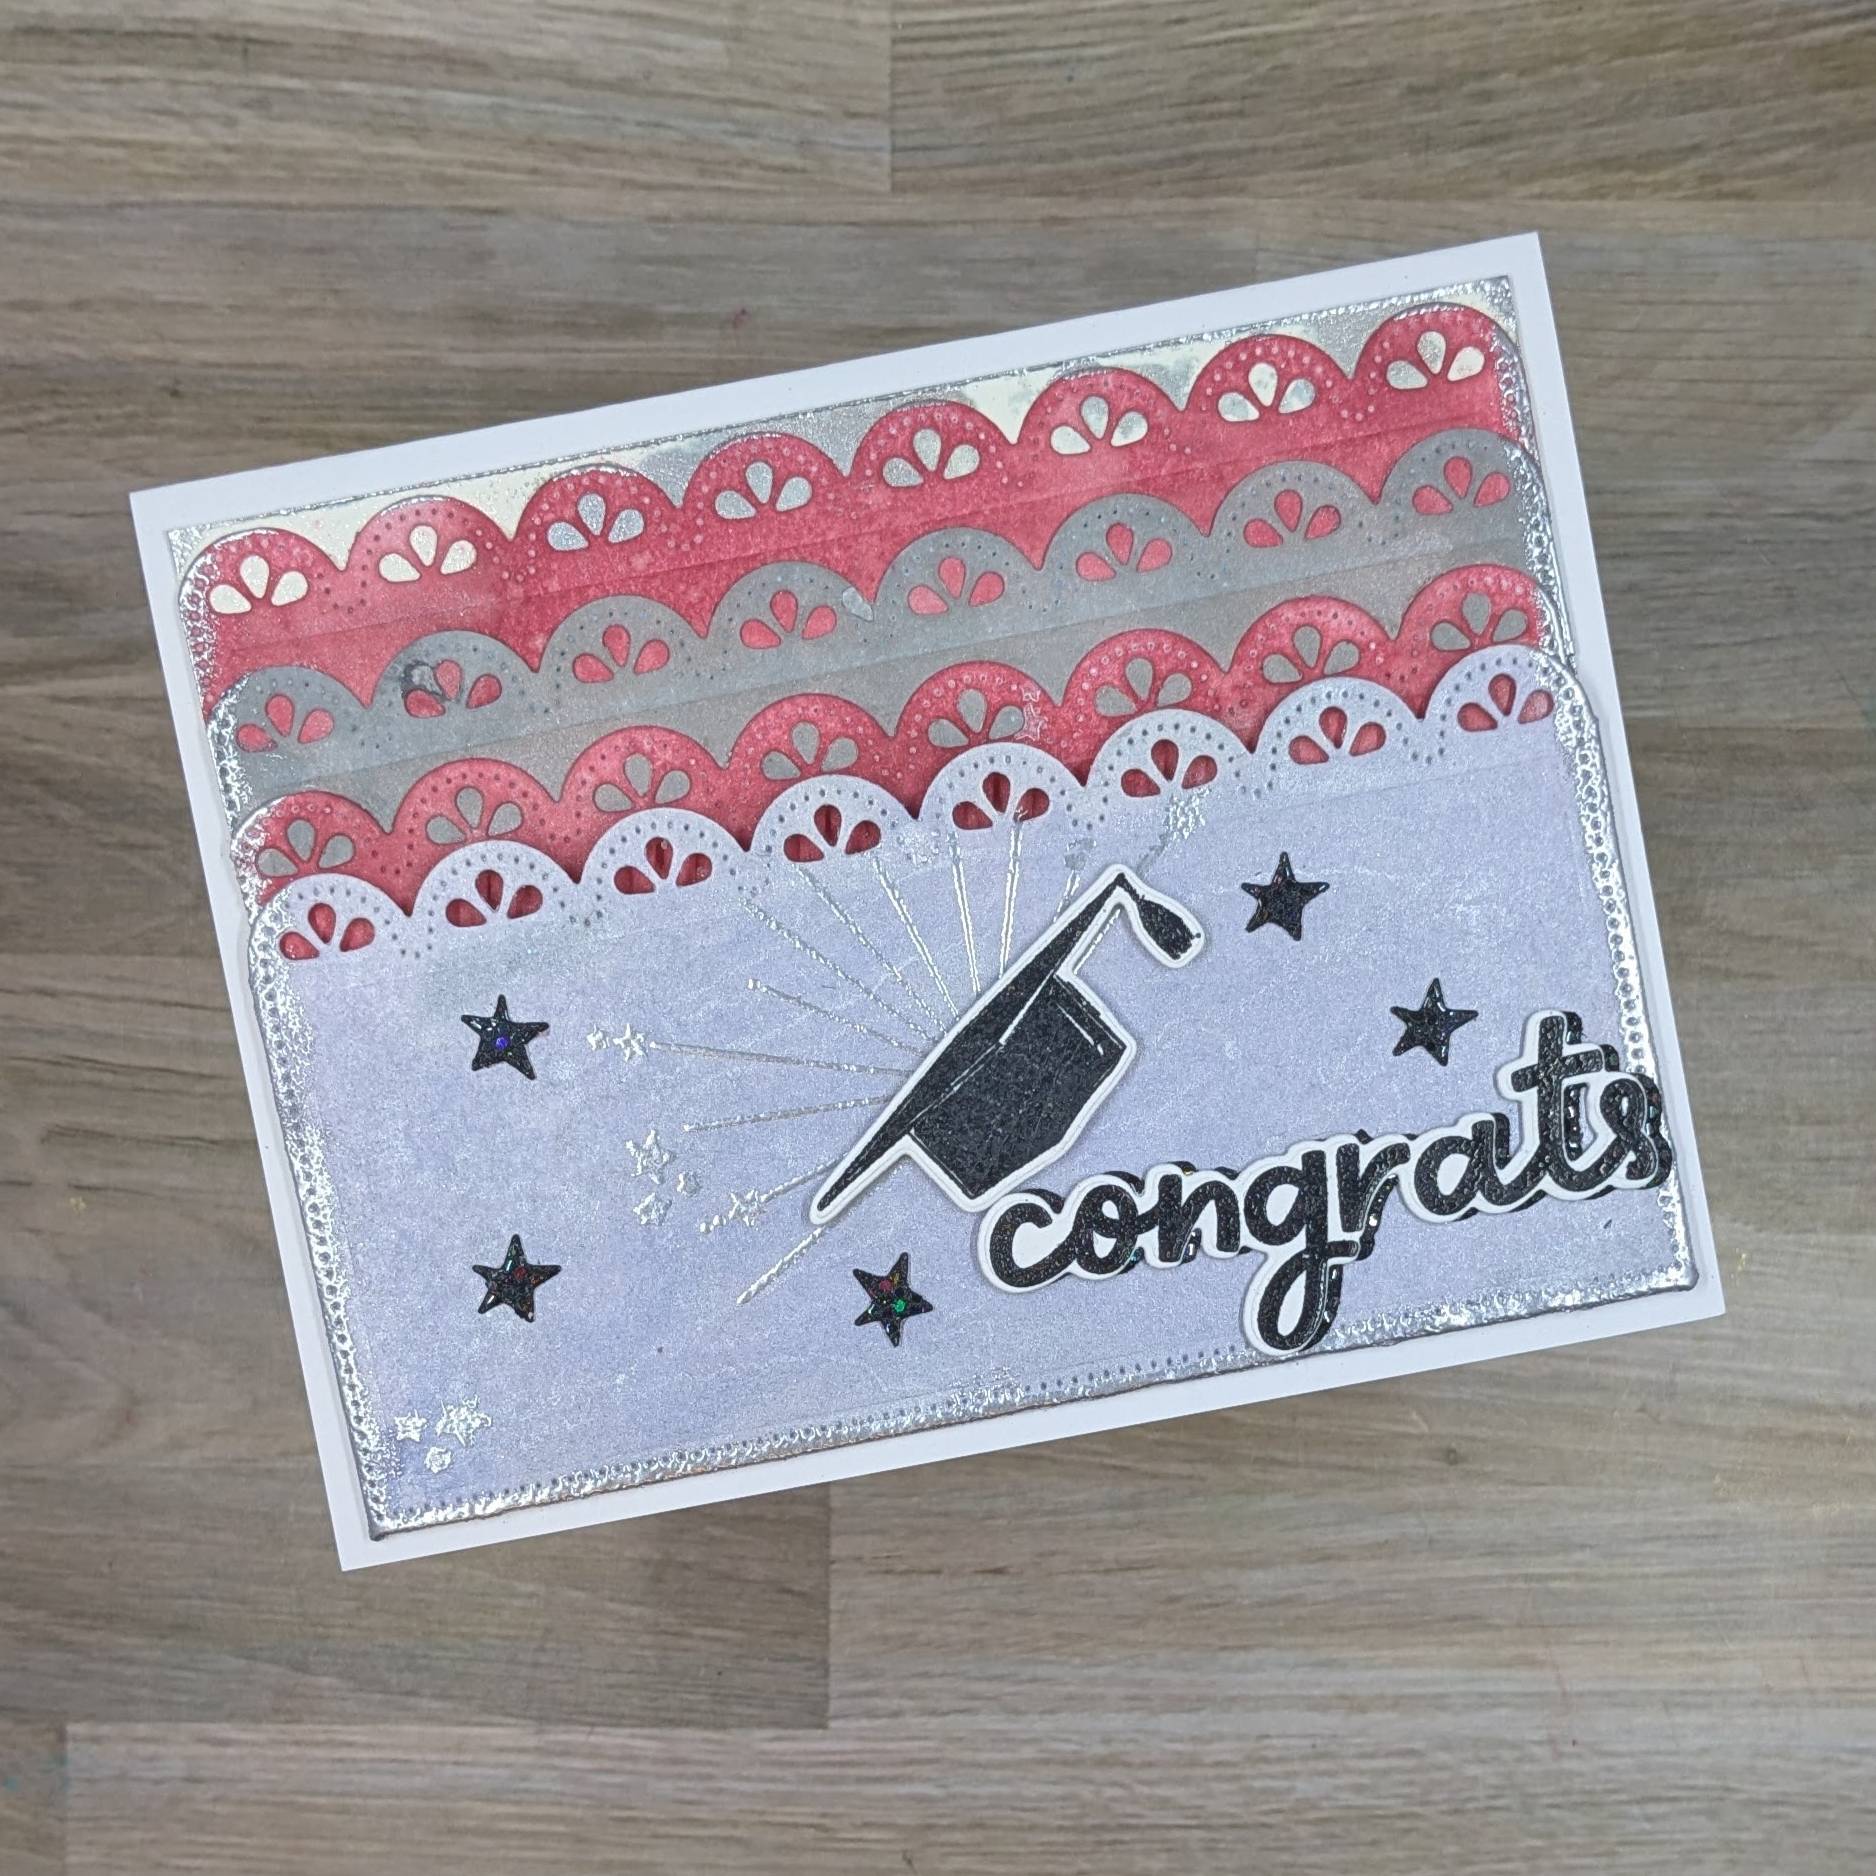
Next, attach the stamp die cut over the rays with foam tape. Then offset glue the stamped sentiment die cut so that the black glitter cardstock can be seen peeking out on the right side. Glue the whole thing on the lower right corner of the greeting card.
Step 9:
Die cut small stars out of black glitter cardstock and glue them around the stamped rays and the graduation cap. To finish the card, glue the whole card panel onto a white A2-sized card base.
Art Supplies
Imagine
• Fireworks! Shimmery Craft Spray – London Fog
• Memento Ink – London Fog and Rhubarb Stalk
• Sheer Shimmer Craft Spray – Silver
• VersaFine Clair Ink – Nocturne
• VersaMarker – Clear
• Sponge Daubers
Other
• Altenew – foam tape – Instant Dimension Foam Tape
• Emily Moore Designs – die set – Horizontal Pocket Die
• Elle’s Studio – stamp and die set – Retired stamp set in my stash (used for the sentiment, stars and rays stamps)
• Sizzix – die cut – Christmas Cutouts (retired)
• Unity Stamp Co. – stamp and die set – Snarky Graduation Clear Embossing Powder
• Silver Embossing Powder
• Heat tool
• Glue
• Watercolor paper
• Black glitter cardstock


