Hello crafty friends. It’s Ceal, here. Today I am sharing a Mickey and Minnie Birthday card with you. I am a long time Disney fan and I have a couple Disney sets of Disney characters in my stash.
Skill: Intermediate Time: 45 Minutes
Directions:
Gather your supplies. You will need a set of fictional characters that you’re a fan of, markers, black ink, colored ink, and a white gel pen.
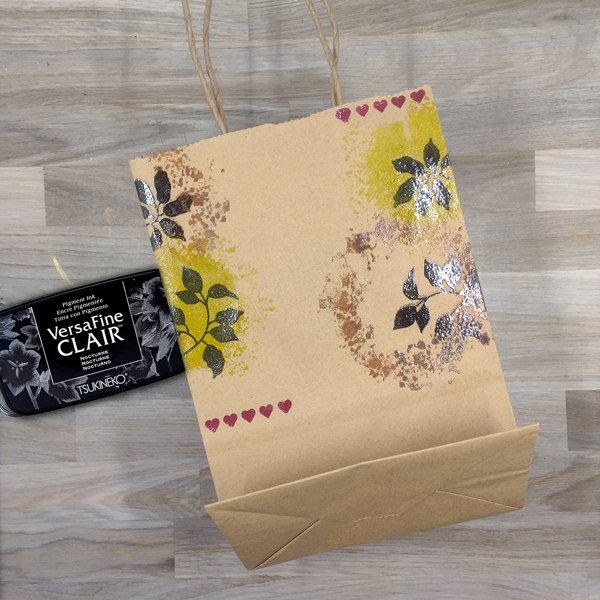
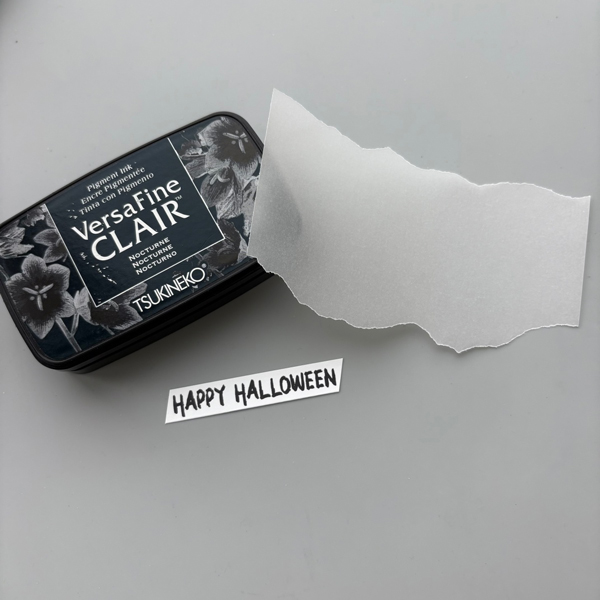
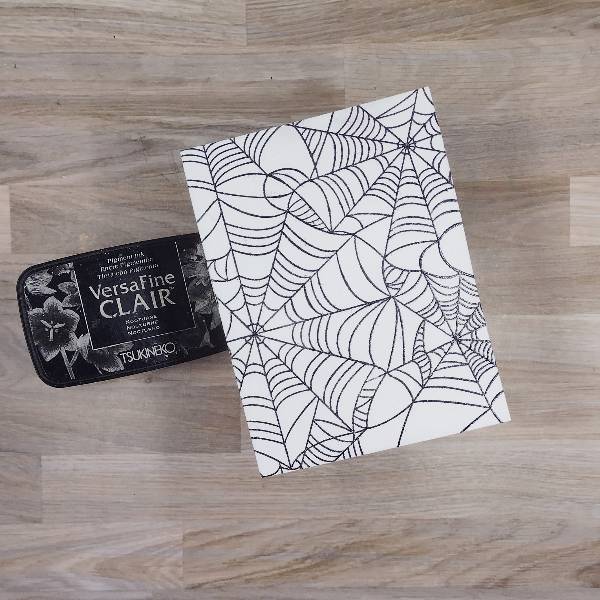
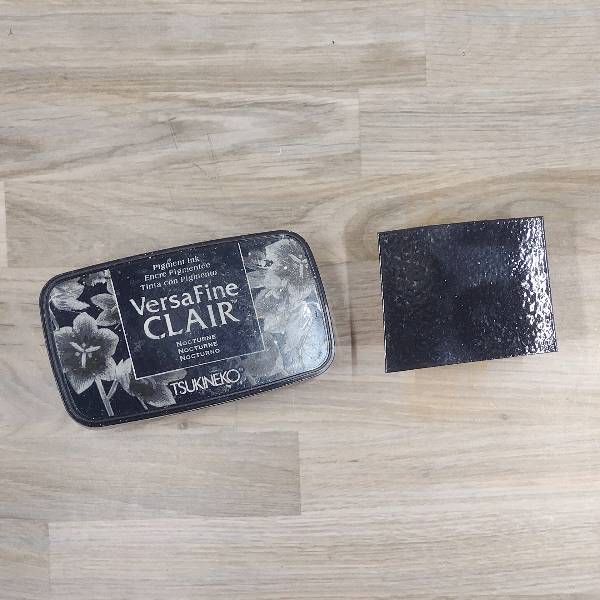
Step 1: Stamp the image using black ink. I used VersaFine Clair Nocturne ink.
Step 2: Stamp the image again on Post-it note paper or masking paper using black ink.
Step 3: Fussy cut the images out and cover the images that were stamped on the panel. Then using a colored ink blend a circle of ink around the images. I used one of the newest colors of VersaFine Clair, Lemonade.
Step 4: Remove the mask and color the images with markers. I used the Memento marker, Love Letter.
Step 5: Using a white gel pen, add polka dots to Minnie’s dress. To finish the card, add a greeting (I went with birthday) and adhere the panel to an A2 card base.
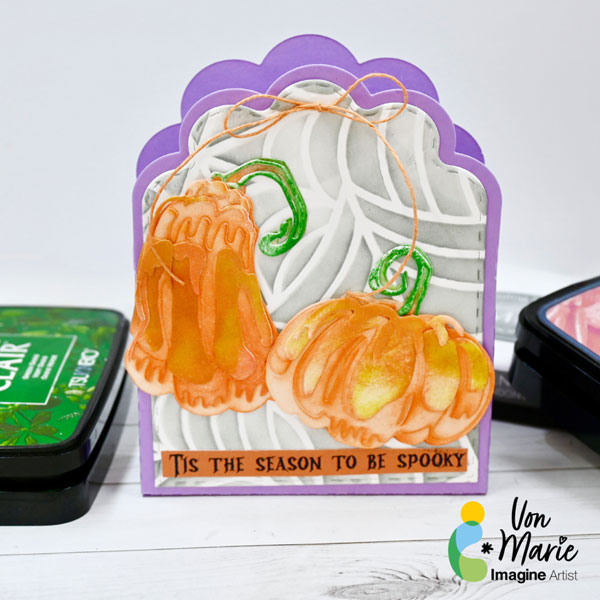
Hello everyone. Von Marie here with my latest Video. How about we make a cute Bear Card Fan Fiction Project for today and some matching ATC(Artist Trading Cards). I love this bear. He is a fan favorite for sure and of all ages. Memento Dew Drops make these projects so much fun. There will be more details in the video https://youtu.be/GA-L2Snz2L4
Other Supplies: • Cardstock • Bear Woodblock or any kind of stamp • Bear and Friends Clear Stamp • Background map Stamp or any Background • Scissors • Decorative die small for tag or tag dies • Kat Scrappiness Brilliant Emerald Confetti Dot Sequins • Clear Packaging or Acetate • Foam Tape • Die-cutting machine • Inks • Kat Scrappiness Blending Brushes • Prismacolor Colored Pencil Goldenrod • Unity Stamps Winnie The Pooh Hundred Acre Woods • Unity Stamps Winnie The Pooh I think it’s Called Love • Taylored expressions Box Top Stacklets Dies • OLO Markers Used: • OR 4.2, OR 4.4, OR 2.2, R5.1, G 0.1, G 0.4, BG 7.0
You can easily make this anytime using some of the similar products. Use a Fan Fiction Favorite for your next project. Use different colors and stamps and have fun.
Hello crafty friends! I am a big fan of tote bags. I love it for its multi-purposes and is big enough for carrying stuff. I always wanted to personalize my own tote bag. I am so glad that Imagine carries these amazing VersaCraft Ink Pads and Fabrico Markers for fabric projects. So, today we are going to personalize a tote bag together. Let’s get crafting!
Skill: Beginner Time: 15 minutes
Direction:
Step 1
You are gonna need a blank canvas tote bag that can be found easily in any craft stores and online stores. The tote bag I used today is about 13 inch x 15 inch.
Lay it flat on the ironing mat and iron the tote bag to remove the wrinkles. I pre-washed the bag, but it is an optional step if you want to do it.
Put a piece of cardboard or cardstock inside the bag that is big enough to cover the area where you will stamp or paint or draw. Secure it with some washi tapes or any low-tack tapes.
Step 2
Start stamping the tote bag with the largest image.
Put the largest butterfly on a stamping blog and cover it with the VersaCraft Real Black ink. Stamp it on the tote bag and press it firmly for a few seconds.
I used the “rule of three” to position the butterflies, from here I can fill the empty spaces to build up the pattern.
Step 3
Next is stamping with the second largest image.
Put the stamp on a stamping blog and cover it with the VersaCraft Real Black ink around the big butterfly. Stamp it on the tote bag and press it firmly for a few seconds.
Step 4
Next is the smallest size of the stamp to fill up the rest of the empty space. You will start to see the full pattern on the bag.
Put the butterfly stamp on a stamping blog and cover it with the VersaCraft Real Black ink. Stamp it on the tote bag and press it firmly for a few seconds.
If you plan to have some sentiment or words like I did, make sure you have space for it.
Step 5
I picked the phrase “Spread your wings” to be on my canvas tote bag.
Stamp each letter from the alpha stamp set with VersaCraft Real Black ink pad.
Step 6
Trace the letters with Fabrico Real Black Marker for bolder print on the canvas tote bag.
Step 7
This final step is optional. You can use an iron to set the ink to the canvas tote bag. But without ironing, the ink will dry permanently in 24 hours (do not get it wet).
I would suggest spot-cleaning the bag, or hand-washing it if the bag gets dirty.
I hope you will give this technique a try and play around with different colors. This personalized tote bag can be made for your own use or as a gift for others.
Whether you’re stamping detailed images, creating handmade cards, journaling, or experimenting with mixed media, the six newest VersaFine Clair colors are ready to inspire your next creation!
From vibrant citrus hues to rich florals and deep ocean blues, these beautiful additions expand the VersaFine Clair family with fresh, versatile shades you’ll reach for again and again.
Why Crafters Love VersaFine Clair
VersaFine Clair has become a favorite among stampers for a reason. Its richly pigmented formula creates crisp, detailed impressions that capture even the finest lines.
Perfect for card making, mixed media, journaling, and more, VersaFine Clair also:
Produces exceptionally detailed stamped images
Dries quickly, making it ideal for heat embossing
Becomes water resistant when dry
Works beautifully on a variety of papers
Features an airtight case that helps keep your ink pad fresh longer
– Summertime means wearing sunglasses here in the Pacific Northwest and getting ready to spend time out of doors! I wanted to celebrate the return of the warm sun and the 4th of July with this red, white and blue card that could be used anytime during the summer.
Skill: Intermediate Time: 1.5 hours
Directions:
Step 1: After die cutting the three pairs of sunglasses as well as their lenses (which are separate in the die set), color part of the lenses’ elements with Danube Blue Memento Dual Marker.
Step 1.5: Remember that you need to color all of the parts of the lenses that you intended to color with the Danube Blue Memento Dual Marker. (Whoops!)
Step 2: Press other parts of the die cut lenses into the Arctic VersaFine Clair ink pad. Heat emboss the larger die cuts with clear embossing powder if desired. (I chose not to heat emboss the letters since they were so small.) Then assemble all of the lenses using washi tape on the back of each lens to hold the pieces together.
Step 3: Press the three die cut sunglass frames into the London Fog Memento ink pad.
Step 4: After die cutting the striped background panel, color the stripes with Poppy Red Fabrico Dual Marker
Step 5: Spray all of the components of the card–the sunglass frames, the lenses and the striped background panel–with Frost Sheer Shimmer Craft Spray and allow to dry.
Step 6: Assemble the card. Adhere the striped panel to an A2 white card base, then inlay the red die-cut stripes. Then glue the three frames onto the panel and inlay the frames into the frames. Glue clear rhinestones on the lower left and upper right part of the card to finish the card.
Hello crafty friends! It’s Ceal, here. – Today I am sharing this card for Independence Day. I throw an Independence Day celebration at my home each year and I send out invitations. This is my invitation for this year.
Skill: Beginner to Intermediate Time: 30 minutes
Directions:
Gather your supplies, you will need a flag die cut set and red, blue and black inks, stamping platform, a grip mat and a ink blending tool.
Step 1: Cut out the die cut pieces.
Step 2: Using an ink blending tool, ink blend red ink on the strips. I used VersaFine Clair Strawberry.
Step 3: Using an ink blending tool, ink blend blue ink on the star piece, I used VersaFine Clair Blue Belle.
Step 4: Adhere the blue star piece and the red strips to the flag panel. This panel has lines to show where to place them.
Step 5: Place the white panel into the Misti Lite and stamp the sentiment at the bottom of the panel.
Step 6: Adhere the flag to the panel that the sentiment is stamped on and adhere to card base.