
By Ceal Pritchett
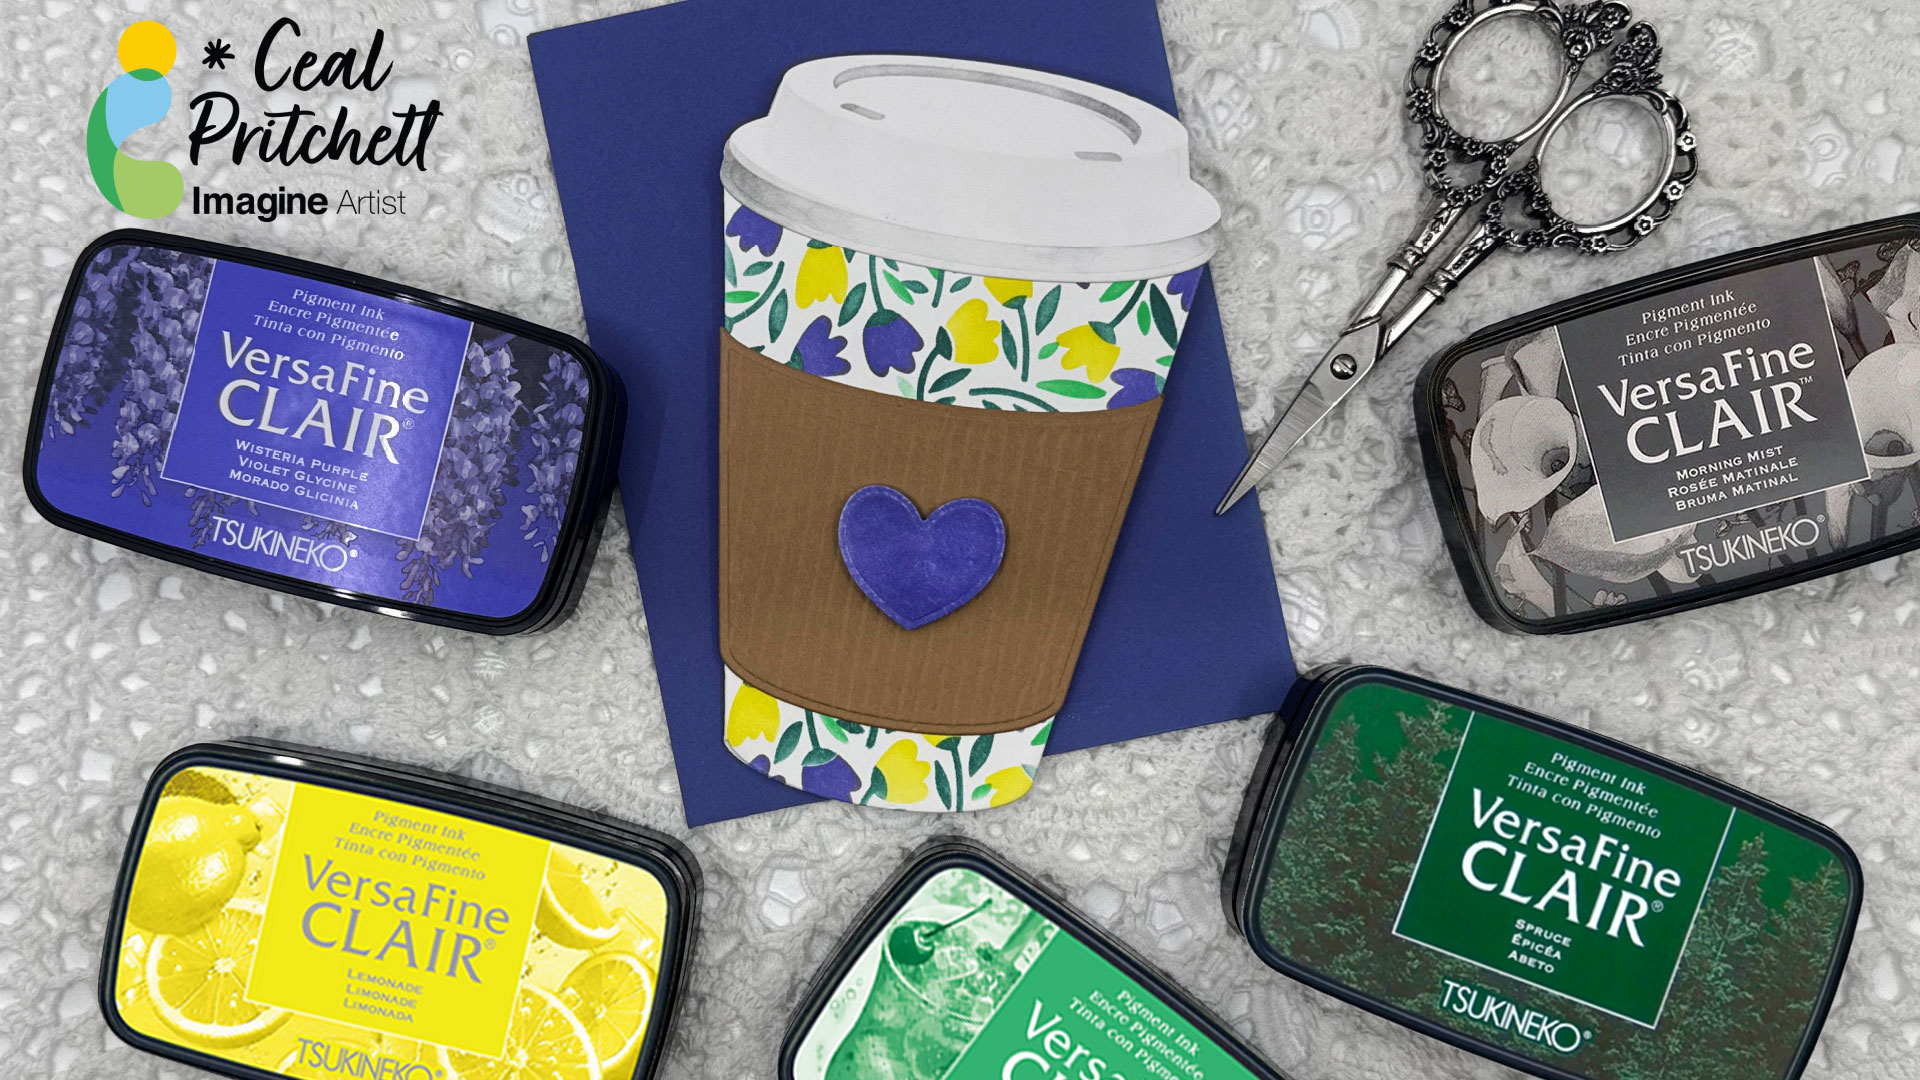
Hello Everyone! It’s Ceal, here. Today I am sharing how to create this die-cut coffee cup gift card holder.
Skill: Intermediate
Time: 45 Minutes
Directions:
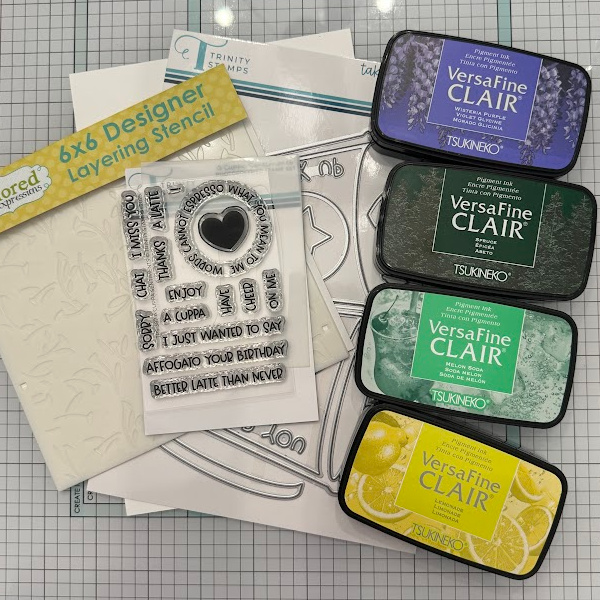
Gather your supplies. You will need a coffee cup die or a similar gift card holder die. A layering stencil and several colors of ink.
Step 1:
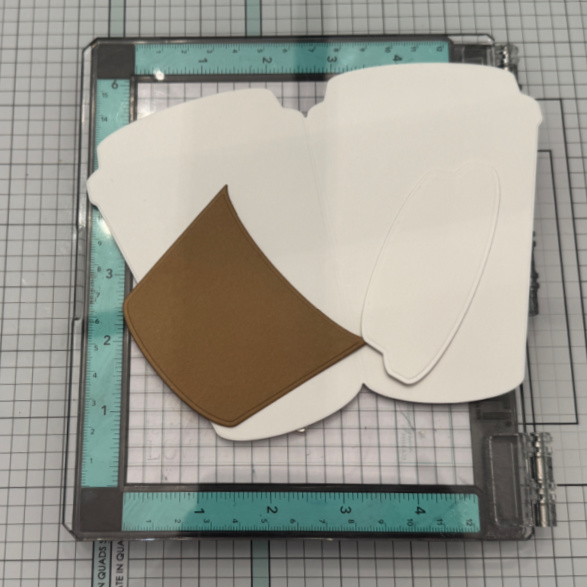
Cut out pieces of coffee cup and sleeve. On the sleeve I used a score board to add lines to make it look corrugated.
Step 2:
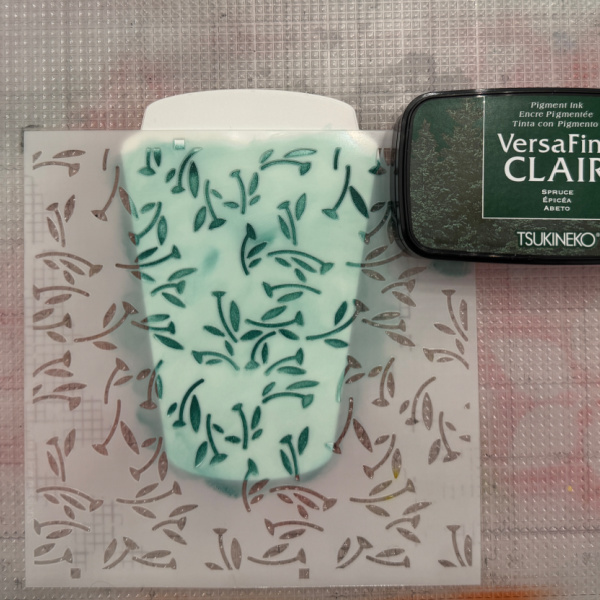
Place the first stencil over the cup and blend with a green ink. I used VersaFine Clair Spruce. Be sure to mark a corner so you will know where to lace the next stencil.
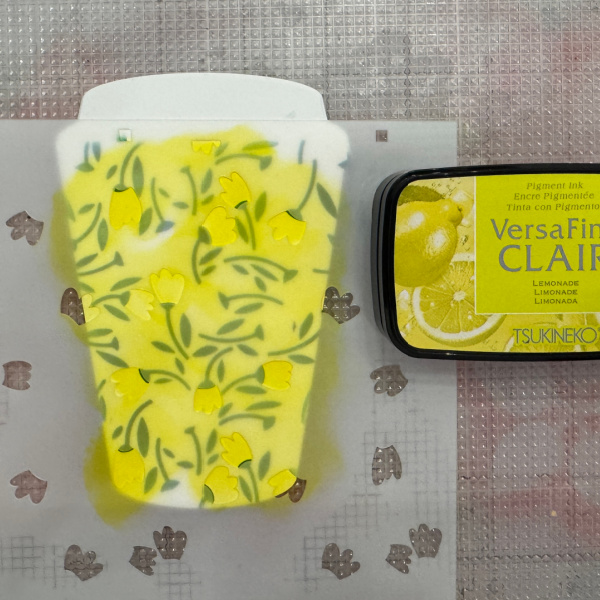
Step 3:
Place the second stencil over the cup and add the color you would like for the flowers. I used VersaFine Cair Lemonade.
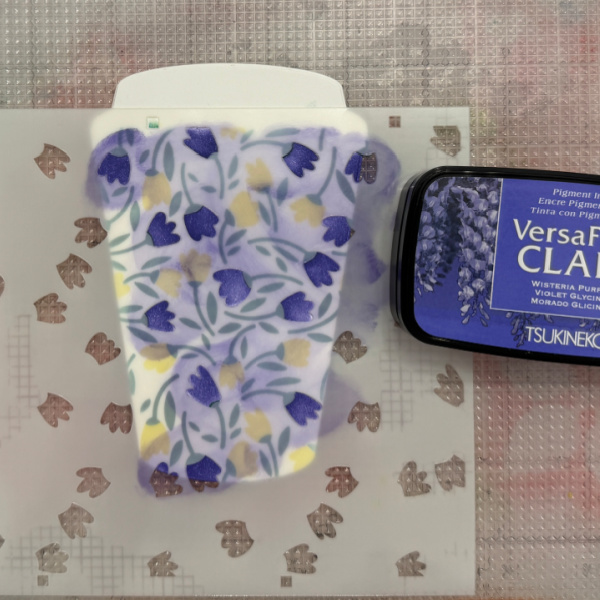
Step 4:
Place the third stencil over the cup and add the color for the second flower. I used VersaFine Clair Wisteria Purple.
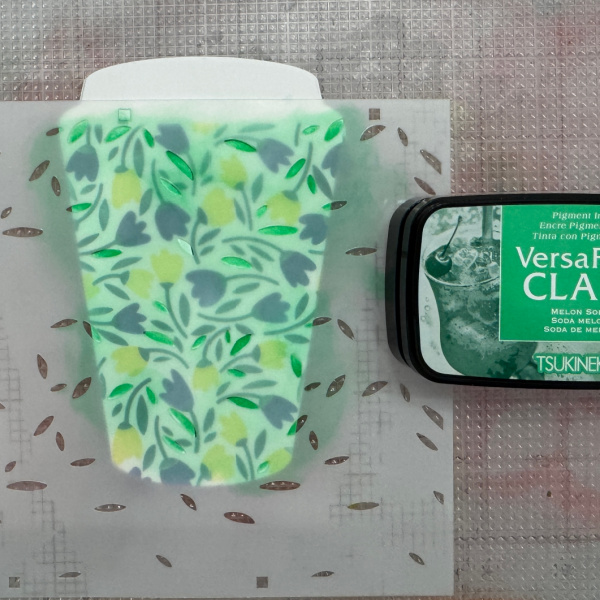
Step 5:
Place the last stencil over the cup and blend a green ink for the leaves. I used VersaFine Clair Melon Soda.
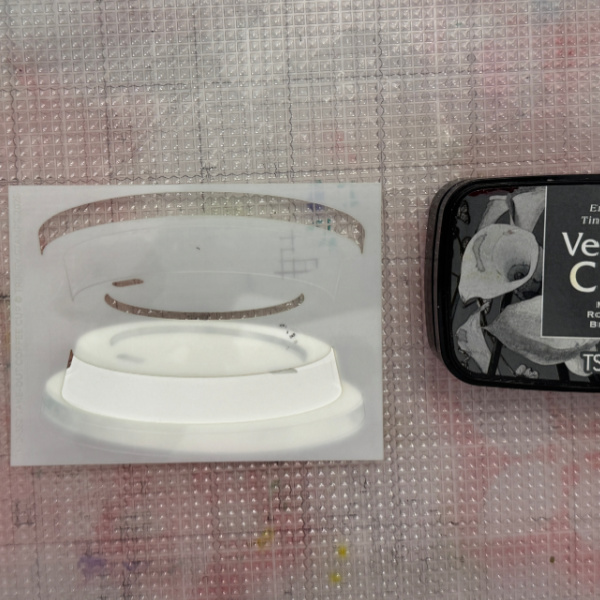
Step 6:
Place the stencil over the lid and blend a grey ink over it. I used VersaFine Clair Misty Morning.
Step 7:
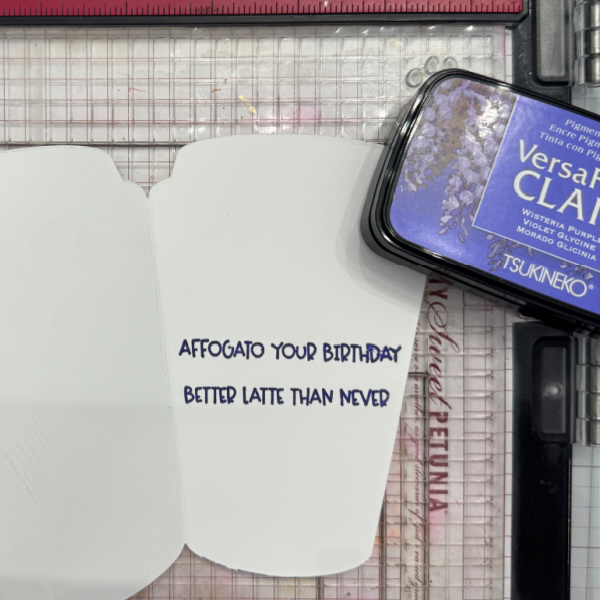
Glue the lid and sleeve on the decorated cup and add a sentiment. Can be inside or out. I placed mine inside.
Craft Supplies:
Imagine Products
VersaFine Clair – Misty Morning, Spruce, Lemonade, Wisteria Purple and Melon Soda
Other Products
Take Out Coffee Cup die set – Trinity Stamps
A Cuppa Sentiments – Trinity Stamps

