
Create a Coffee Cup Gift Card Holder

By Ceal Pritchett

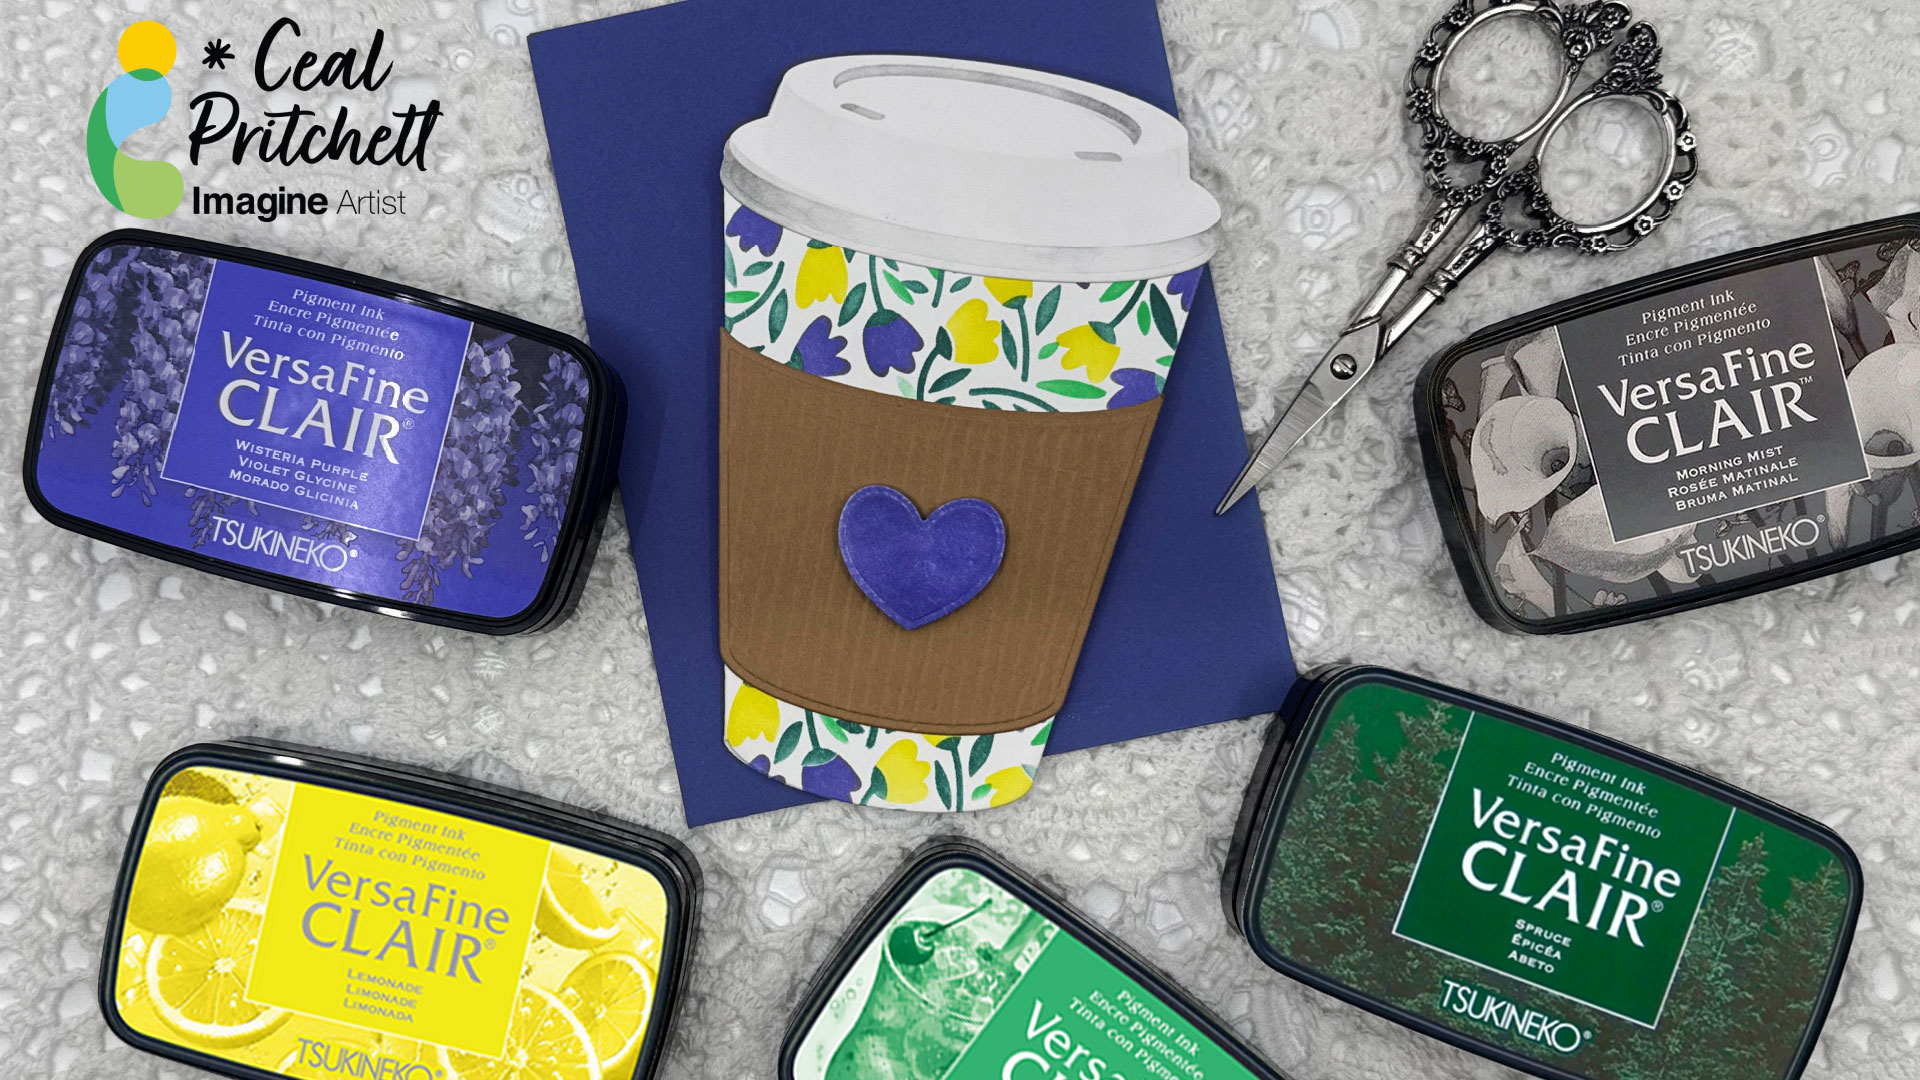
Hello Everyone! It’s Ceal, here. Today I am sharing how to create this die-cut coffee cup gift card holder.

Skill: Intermediate
Time: 45 Minutes
Directions:
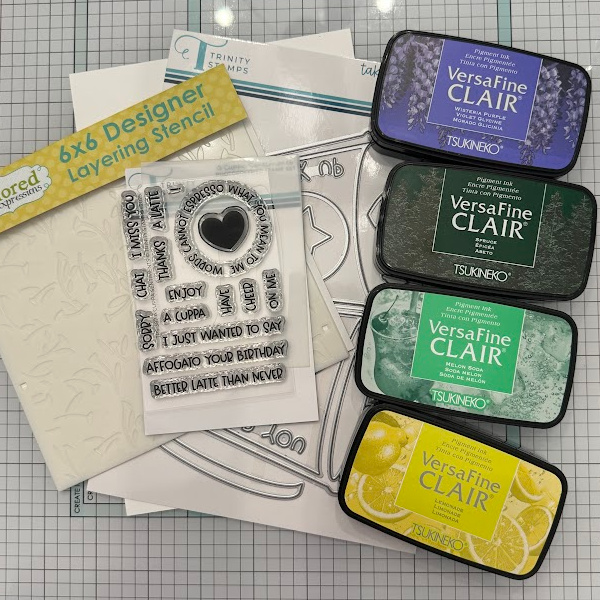
Gather your supplies. You will need a coffee cup die or a similar gift card holder die. A layering stencil and several colors of ink. 
Step 1:
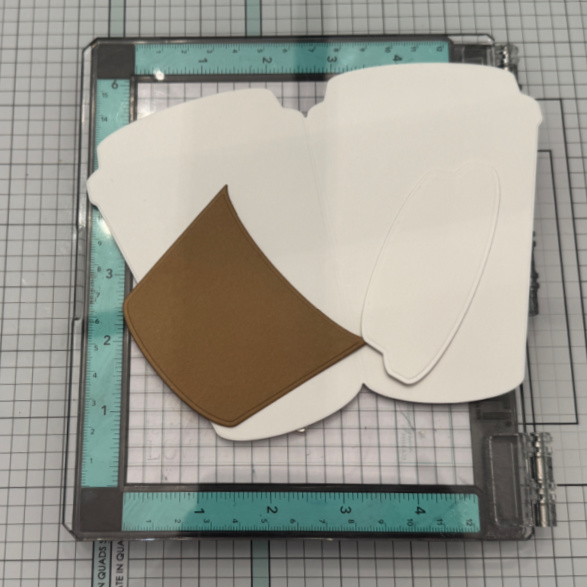
Cut out pieces of coffee cup and sleeve. On the sleeve I used a score board to add lines to make it look corrugated.
Step 2:
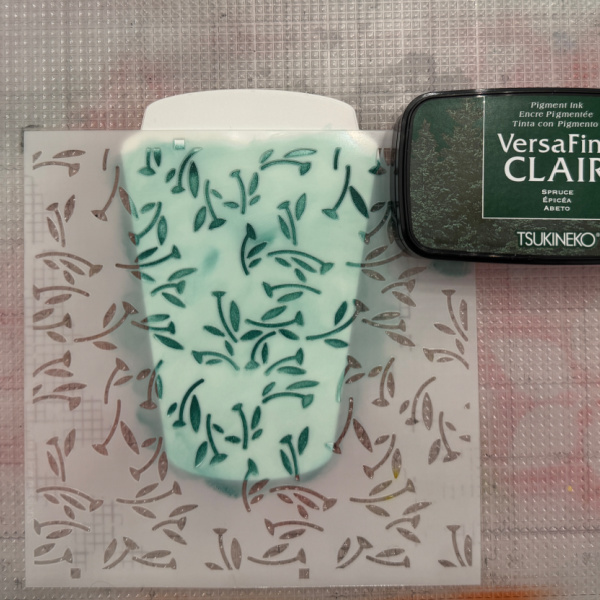
Place the first stencil over the cup and blend with a green ink. I used VersaFine Clair Spruce. Be sure to mark a corner so you will know where to lace the next stencil.
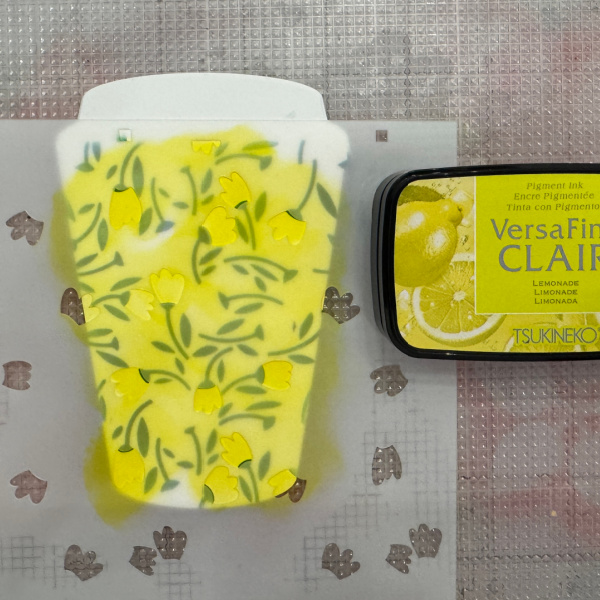
Step 3:
Place the second stencil over the cup and add the color you would like for the flowers. I used VersaFine Cair Lemonade. 
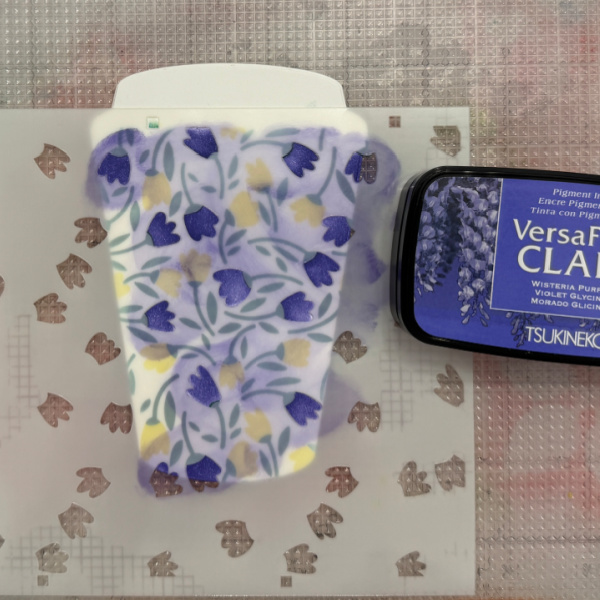
Step 4:
Place the third stencil over the cup and add the color for the second flower. I used VersaFine Clair Wisteria Purple.
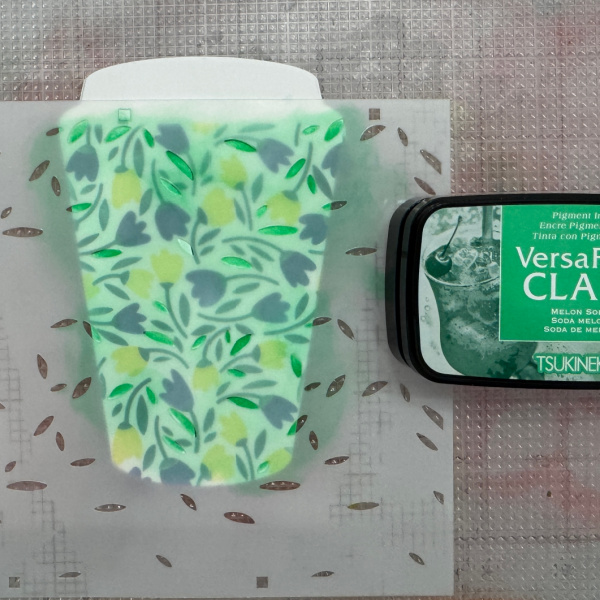
Step 5:
Place the last stencil over the cup and blend a green ink for the leaves. I used VersaFine Clair Melon Soda. 
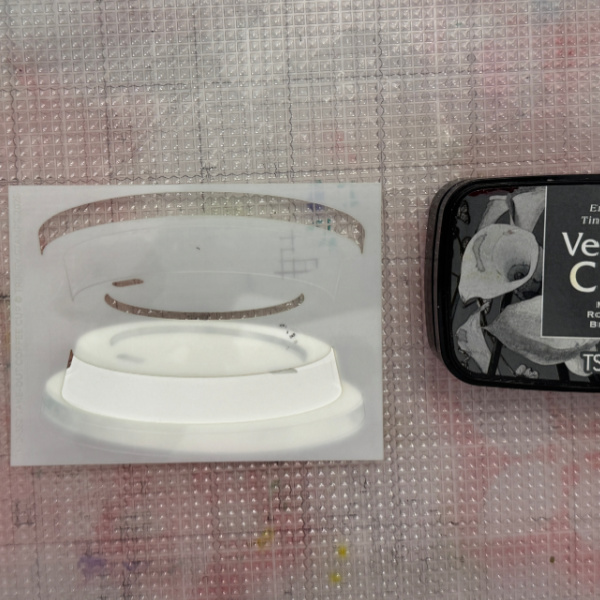
Step 6:
Place the stencil over the lid and blend a grey ink over it. I used VersaFine Clair Misty Morning. 
Step 7:
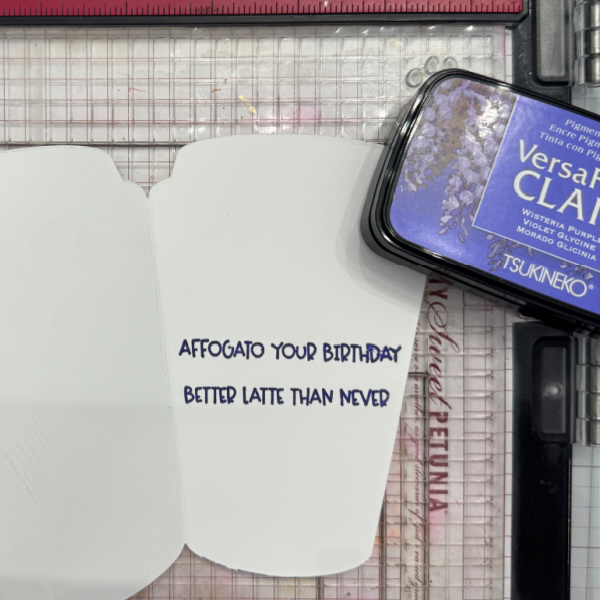
Glue the lid and sleeve on the decorated cup and add a sentiment. Can be inside or out. I placed mine inside. 

Craft Supplies:

Imagine Products

VersaFine Clair – Misty Morning, Spruce, Lemonade, Wisteria Purple and Melon Soda

Other Products

Take Out Coffee Cup die set – Trinity Stamps
A Cuppa Sentiments – Trinity Stamps 

Make a Graduation Gift Card Holder

By Jessica Lin

Hi everyone! It’s graduation season. Do you have a gift card, a ticket, or even a polaroid photo you would like to send to someone who is graduating? Today I’m sharing my favorite way to send a gift card. It’s super easy and versatile; if you are interested, keep reading!

Skill: Advanced
Time: 1 hour

Directions:

Step 1:
Stamp the images with any waterproof ink. Many Tsukineko ink pads are waterproof when the ink dries; I am using VersaFine Nocturne today. Also, can we talk about how adorable these images are?! They are from It’s a Science stamp set and they’re totally perfect for any science majors. I thought they would look so cute for a graduation card.

Step 2:
Watercolor with dew drop ink pads. I love to watercolor with my dew drop ink pads. You can choose from the VersaMagic (pigment ink), Brilliance (pigment ink) or Memento (dye ink) lines and they all work great! I smooshed some ink onto my craft mat and colored away!

Step 3:
Fussy cut the images with scissors. If the stamp set has a coordinating die set, you could use that too!

Step 4:
Stamp images with VersaMark ink pad to create details for the background panel.

Step 5:
I actually decided to create a light up card by adding a LED light to the microscope image. If you are interested in seeing a video tutorial, you could follow my YouTube channel: Craft with Jessica V. Lin or search for “Interactive Gift Card Holder that Lights Up”. I’ll edit the video and post it soon.

Step 6:
This is what the LED light looks like when the circuit is finished. It’s really not that complicated, and the result is so worth it!

Step 7:
Finally, for the gift card holder, simply score an A2 card base at 4.5’’, 5.5’’ and 6.5’’. Adhere the bottom edge with Tear-It! Tape (make sure you don’t adhere the entire flap closed). Then, create a gift card opening by die-cutting along the edge of the middle flap. If you don’t have a die that works, you could also cut the opening with scissors.

And the gift card holder card is completed! I love this design since it’s super easy and you could easily swap the gift card with tickets (like the Disneyland ticket shown in step 7) or even a polaroid photo if you decided to keep it as a card instead. I hope you give it a try, thanks so much for stopping by!

Supplies Used:

Imagine Supplies:

Other Supplies:

  • Stampin’ Up! – Stamps – It’s a Science
  • Spellbinders – Dies – Labels 17
  • We R – Tool – Precision Press
  • Stampin’ Up! – Tool – Paper Snips
  • Water brush
  • Chibitronics – Tool – LED sticker