Let’s Make a Coffee Themed Card

By Anna Escalada York

As a coffee addict, I love making coffee-themed cards. I had fun using Memento markers and Fireworks! Sprays to help color the coffee cups and the background. 

Skill: Intermediate 
Time: 2 hours (including dry time) 

Directions: 

Step 1: 
Stamp both coffee cups onto a piece of watercolor paper with Nocturne VersaFine Clair ink. Heat emboss them with clear embossing powder. 

Step 2: 
Use Champagne Delicata Ink to add color to the project. 

First, use Champagne Delicata Ink to stamp a larger watercolor panel with a background stamp. Heat emboss the Champagne Delicata Ink with clear embossing powder. 

Then, press the Champagne Delicata Ink onto a piece of clear acetate and spray the acetate with water to liquify the ink. Use the shimmery watercolor to paint the lid of the taller (portable) cup as well as the cup and saucer of the smaller cup. 

Step 3: 
Color in the two stamped images with a variety of Memento and Fabrico Markers. 

● The orange flowers on the taller (portable) cup and mug: Color the outside petals with Tangelo Memento Dual Marker. Then scribble some Rose Bud Memento Dual Marker on acetate and spray with water. Use the pink watercolor to paint the whole flower (including the outer petals which were already colored). 

● The central pink flower on the mug: Color the outer petals with Rose Bud Memento Dual Marker. Then watercolor the center of the flower with more of the pink watercolor used to color the orange flowers (created by mixing water with Rose Bud Memento Dual Marker. 

● Leaves: Color the leaves on both images with Emerald Fabrico Dual Marker. 

● Portable (taller) cup and the mug’s rim: Scribble Lilac Posies Memento Dual Marker on acetate. Then press Champagne Delicata Pigment Ink onto the acetate next to the 

marker. Spray both with water and mix the three to create a shiny light purple color and paint the cup. Then paint the decorative rim of the mug. 

● Sleeve: Scribble Pistachio and Desert Sand Memento Dual Marker onto a different part of the acetate and spray with water. Mix the two colors together and mix with more of the Champagne Delicata Pigment Ink mixed with water. Watercolor the sleeve with the resulting mixture. 

● Coffee in the smaller mug: Scribble Potter’s Clay Memento Dual Marker on the same acetate and spray with water. Mix with more of the Champagne Delicata Ink and paint the coffee in the cup with the mixture. 

Once everything dried, die cut both images with their corresponding dies. 

Step 4: 
Spray the watercolor panel, starting with Potter’s Clay Fireworks! Craft Spray over the majority of the upper half of the panel. While the spray is still wet, lightly spray the panel with Rich Cocoa Fireworks! Craft Spray. Use a paper towel to dab off unwanted spray. Then spray Lilac Posies Fireworks! Craft Spray on isolated areas of the panel. Prop the panel vertically while it dries so some of the spray drips down the panel. Allow to dry. 

Step 5: 
Scribble Lilac Posies Memento Dual Marker on the acetate. Press Champagne Delicata Ink onto the acetate and spray with water again. Mix the two together and watercolor one more time 

on the space in between the body and the handle of the cup so that it more closely matches the background panel. Allow to dry. 

Step 6: 
Stamp the sentiment from the same sentiment as the cups with Nocturne VersaFine Clair Ink on watercolor paper. Heat emboss with clear embossing powder. Trim the sentiment strip in the paper trimmer. Then press the sentiment strip’s edges into the Champagne Delicata Ink and heat emboss again with clear embossing powder. 

Step 7: 
Die cut a piece of vellum with a mid-sized circle die. Then die cut a piece of black cardstock or black watercolor paper with a die just a little larger than the sprayed background panel. 

Press the edges of the stamped and sprayed background panel into the Champagne Delicata Ink pad and heat emboss with clear embossing powder. 

Assemble the card. Glue the larger (portable) cup onto the right side of the vellum circle. Glue one layer of scrap cardstock onto the right side of the smaller mug and add foam tape behind the left side of the smaller mug. Add glue to the right side of backside of the smaller mug. Then attach the mug to the vellum. The left side of the cup (with the foam tape) directly touches the vellum and the right side of the mug overlaps the taller mug. Add glue on the backside of the 

vellum, making sure to only add glue to the parts of the vellum that will be covered by the two cups. Then add the vellum and cups to the card. Scribble Tuxedo Black Memento Dual Marker onto acetate and spray with water. Cover the cup and vellum with a scrap piece of paper to protect them. Splatter the panel with the Tuxedo Black marker mixed with water and allow to dry. Adhere the sentiment to the panel with foam tape. Glue the whole thing onto the black matte panel. Then glue the whole thing onto an A2-sized card base. To finish the card, glue embellsihments around the coffee cups. 

Art Supplies 

Imagine 

Delicata Pigment Ink – Champagne 
Fabrico Dual Marker – Emerald 
Fireworks! Craft Spray – Lilac Posies, Potter’s Clay, Rich Cocoa, Desert Sand 
Memento Dual Marker – Lilac Posies, Pistachio, Potter’s Clay, Rose Bud, Tangelo and Tuxedo Black 
VersaFine Clair Ink – Nocturne 

Other 

• Altenew – foam tape – Instant Dimension Foam Tape 
• Hero Arts – die set – Nesting Circle Infinity Dies 
• Pink & Main – stamp set – Java Nice Day 
• Pink & Main – die set – Java Nice Day 
• Simon Says Stamp – background stamp – Circle Pattern 
• Studio Katia – embellishments – Icy Sparkle Crystals 
• Waffle Flower – die set – A2 Layers 
• Clear Embossing Powder 
• Heat tool 
• Glue 
• Watercolor paper 
• Black watercolor paper 
• Vellum 
• Water 
 Create a Coffee Themed Birthday Card 

By Jessica Lin

Skill: Intermediate
Time: 45 minutes

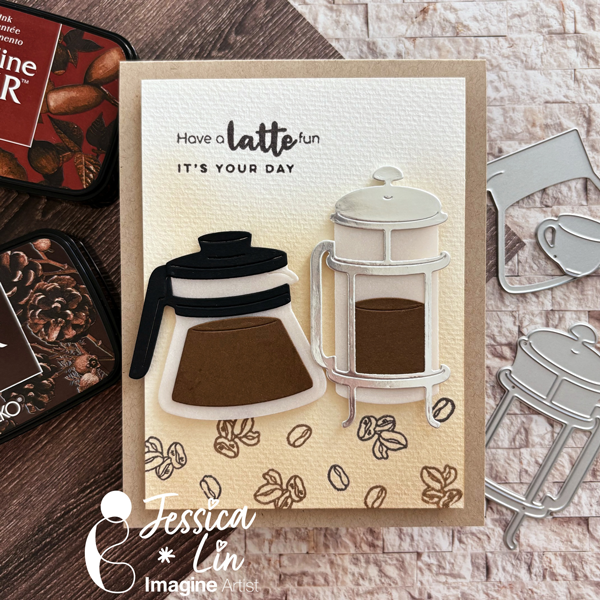
Hi everyone! It’s Jessica here. Today I wanted to share a coffee themed birthday card that would be perfect for any coffee lover. This card is easy to put together but I really love how it turned out. I hope you’ll enjoy today’s tutorial!

Directions:

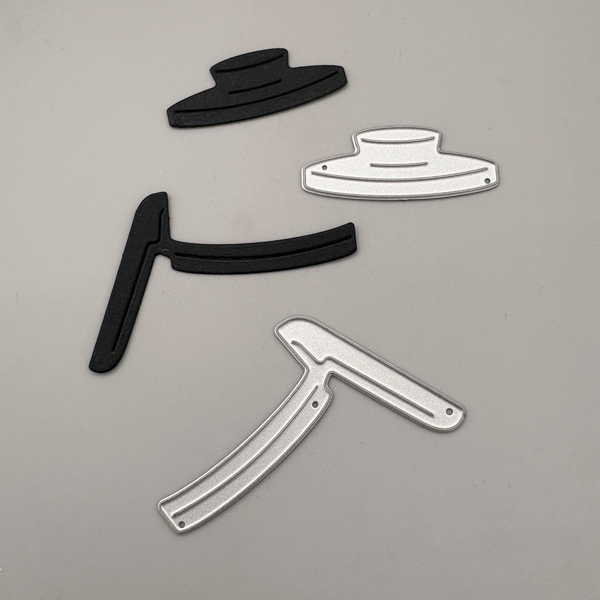
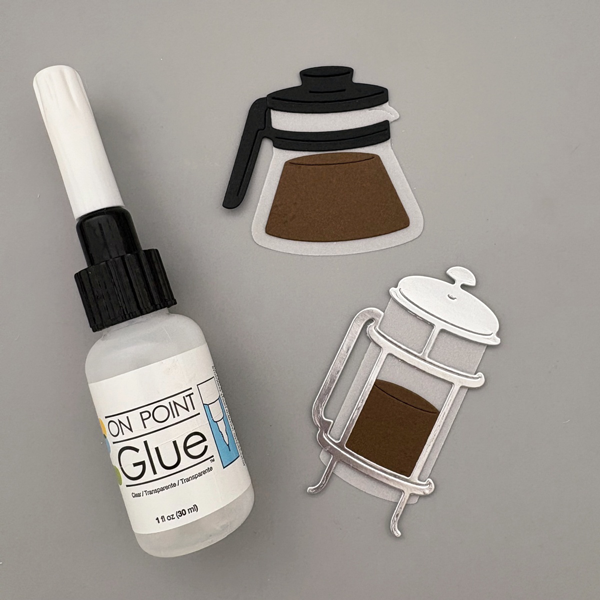
Step 1: Let’s start by die cutting the coffee pots. I used Classic Crest Epic Black cardstock to die cut the pot lid and holder. This is my go-to black cardstock because it’s ultra smooth and super easy to work with.

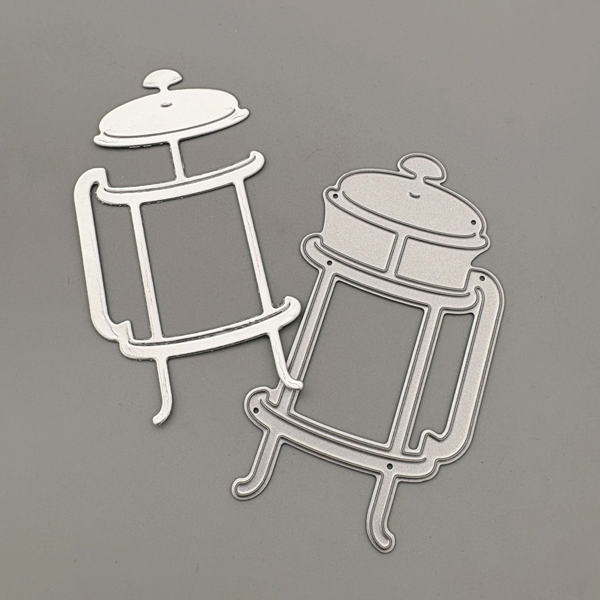
Step 2: For the french press, I decided to use Bright Foil Silver cardstock to mimic the look of stainless steel. This is actually my first time using silver foil cardstock and I am impressed by the final look. The silver foil really adds a metal-like finish to the die cut.

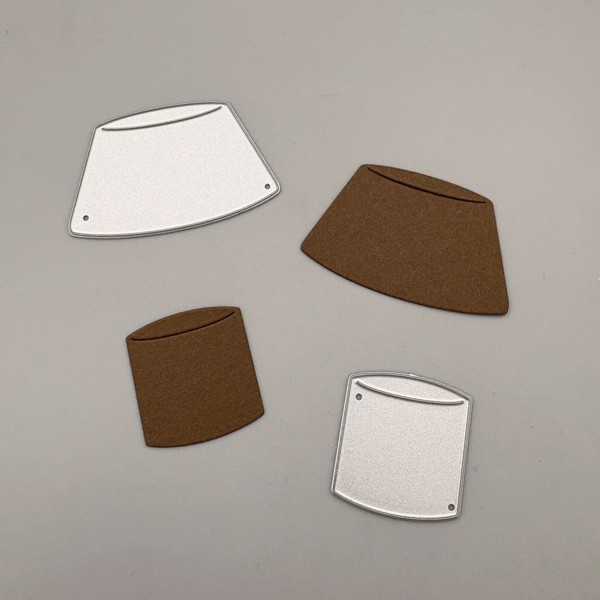
Step 3: For the actual coffee die cuts, I chose Lessebo Colors Coffee Bean cardstock from CutCardstock. It’s the perfect shade for coffee – I have other brown cardstock in my stash but they are either too dark or too light, so I am really glad I picked up this cardstock to add to my stash.

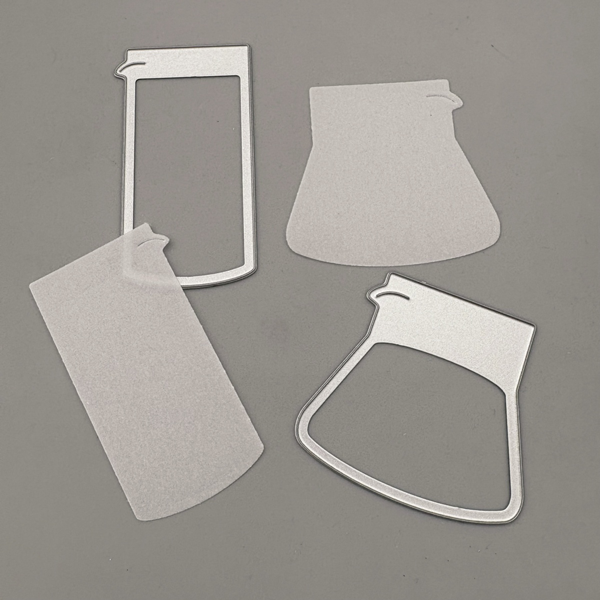
Step 4: Now let’s die cut the glass containers. You could use white cardstock, but I opted for Curious Translucent vellum today instead to create a softer tone. The Curious Translucent vellum I used is 65lb cover weight. It’s a lot thicker than the vellum I typically use so it’s the perfect base layer for our coffee pot die cuts. The heavier weight also feels luxurious and I am sure it would look nice for wedding invitations as well.

Step 5: Once all of the elements have been cut out, I adhered them together with On-Point glue. The fine tip nozzle is so handy for adhering intricate die cuts.

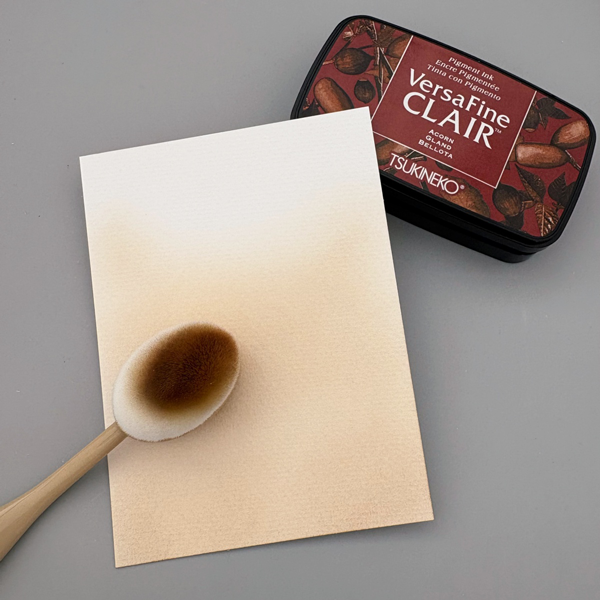
Step 6: Next, I trimmed a piece of Strathmore 100% Cotton Watercolor cardstock to 3 ½’’ x 4¾’’.
Then I blended VersaFine Clair Acorn ink for a soft brown background.

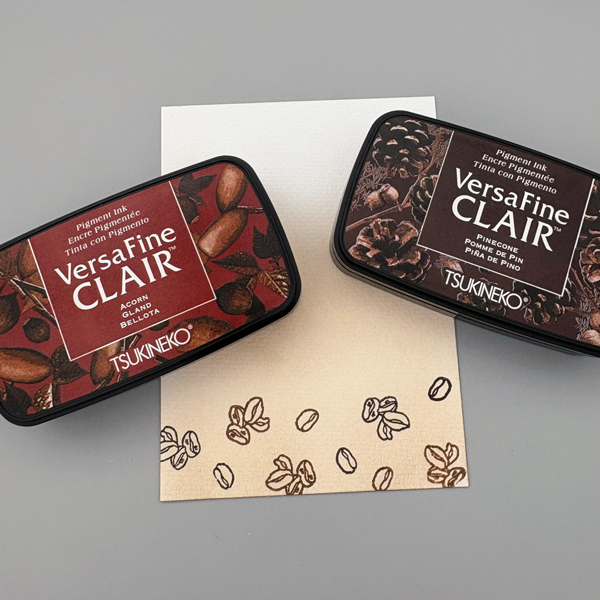
Step 7: Even though the coffee pots are the focal point of today’s card, it doesn’t feel complete without some stamping. I picked the coffee bean stamps from Stampin’ Up’s coordinating Latte Love set and stamped them with VersaFine Clair Acorn and Pinecone ink pads. The VersaFine Clair Acorn ink looked like a soft tan shade when blended, but you can see that it’s closer to an acorn color when stamped.

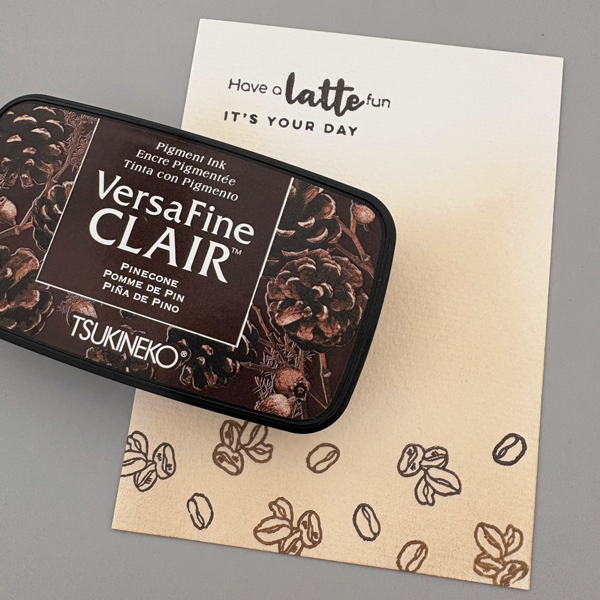
Step 8: Finally, I stamped a punny latte sentiment from iCrafter’s Latte Coffee Sentiments set with VersaFine Clair Pinecone, and the card is ready for assembly. I hope you enjoyed today’s coffee themed birthday card. Thank you so much for stopping by, and I hope I’ll see you soon.

Products Used:

Imagine Supplies:

Other Supplies:

  • Stampin’ Up! – Stamps & Dies – Latte Love
  • Classic Crest Epic Black cardstock
  • Bright Foil Silver cardstock
  • Lessebo Colors Coffee Bean cardstock
  • Curious Translucent vellum
  • Strathmore 100% Cotton Watercolor cardstock
  • Environment Desert Storm cardstock

Coffee Card Inspiration with Minimal Supplies

By Katy Ingram

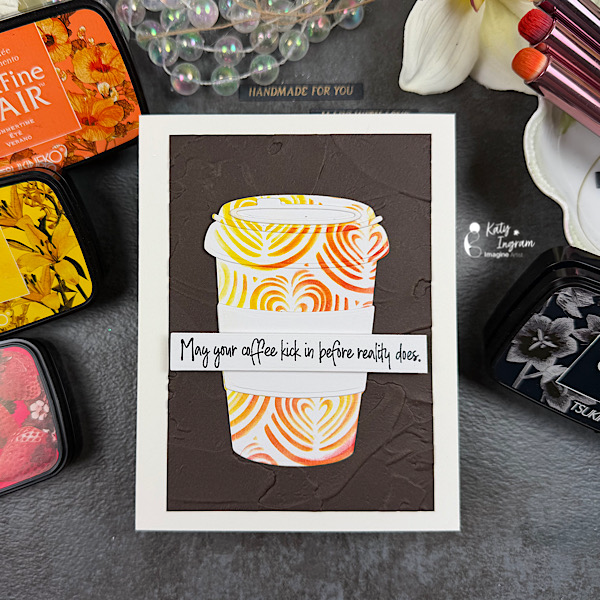
Hello Friends! Katy here with my latest video showcasing VersaFine Clair inks once again to create a Coffee Card. Video has all the details. Thanks for watching.

Skill: intermediate, advanced
Time: 10 minutes

Art Supplies

Imagine Products

VersaFine Clair inks https://www.imaginecrafts.com/versafine-clair
Strawberry
Cheerful
Nocturne

Other Products Used

• Watercolor Paper- I used one that is white, not off white
• Stencil
• Blending Brushes
• Chocolate Brown Cardstock
• Ivory Cardstock
• Coffee Sentiment Stamp

Create a Coffee Cup Gift Card Holder

By Ceal Pritchett

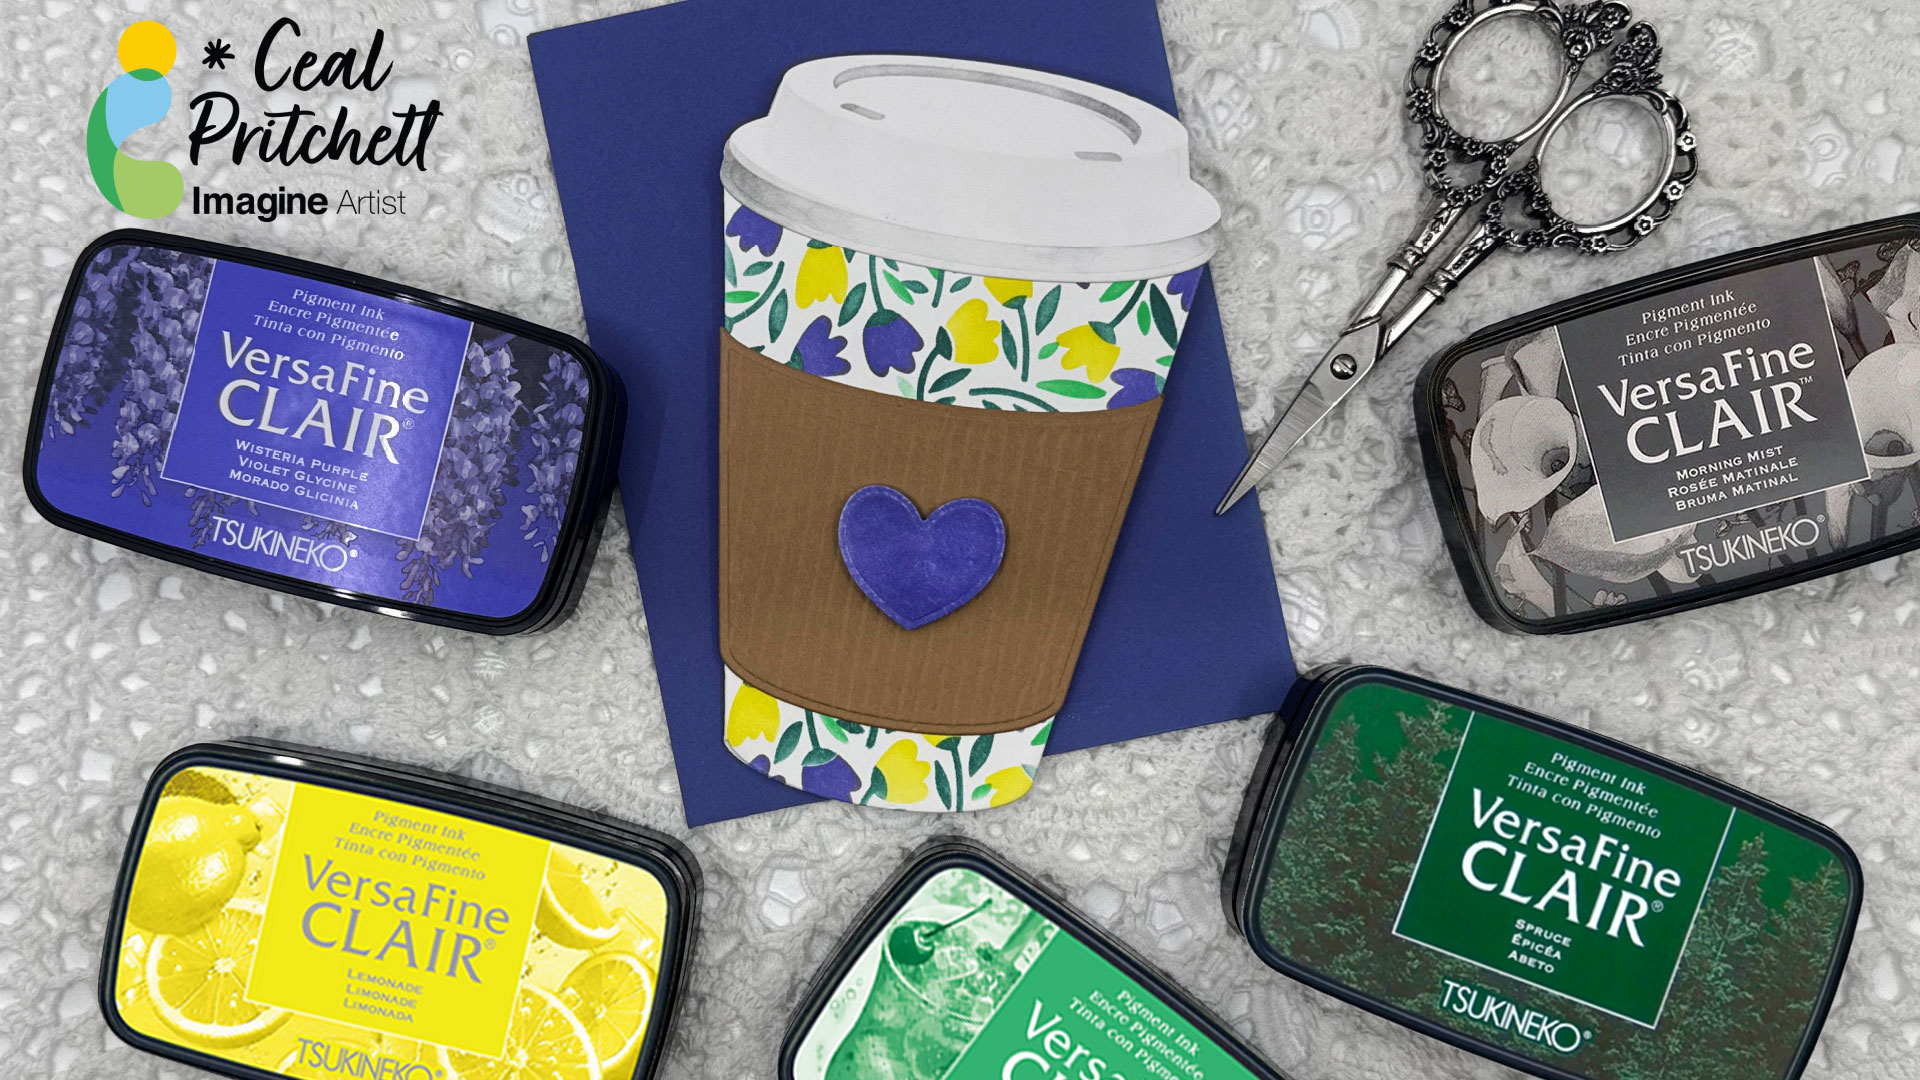
Hello Everyone! It’s Ceal, here. Today I am sharing how to create this die-cut coffee cup gift card holder.

Skill: Intermediate
Time: 45 Minutes

Directions:
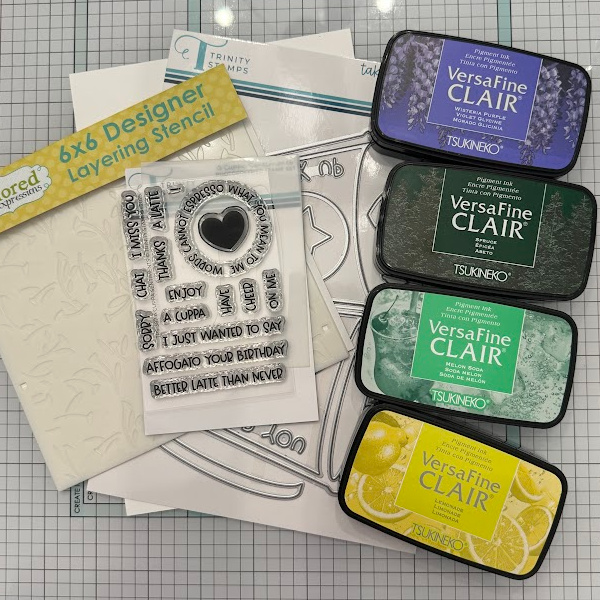
Gather your supplies. You will need a coffee cup die or a similar gift card holder die. A layering stencil and several colors of ink. 

Step 1:
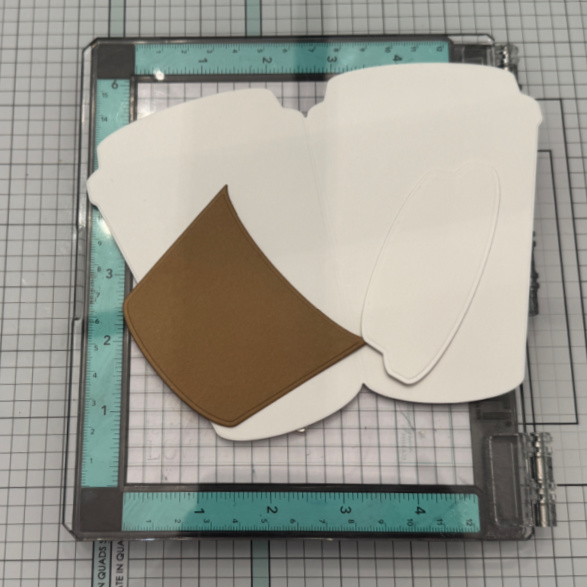
Cut out pieces of coffee cup and sleeve. On the sleeve I used a score board to add lines to make it look corrugated.

Step 2:
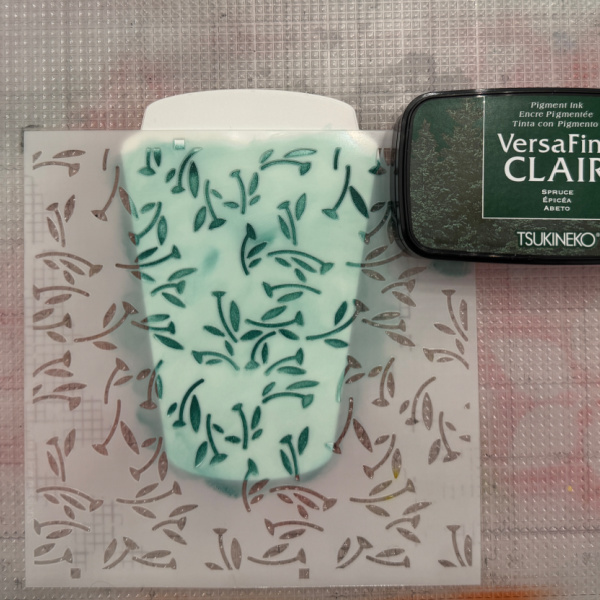
Place the first stencil over the cup and blend with a green ink. I used VersaFine Clair Spruce. Be sure to mark a corner so you will know where to lace the next stencil.

Step 3:
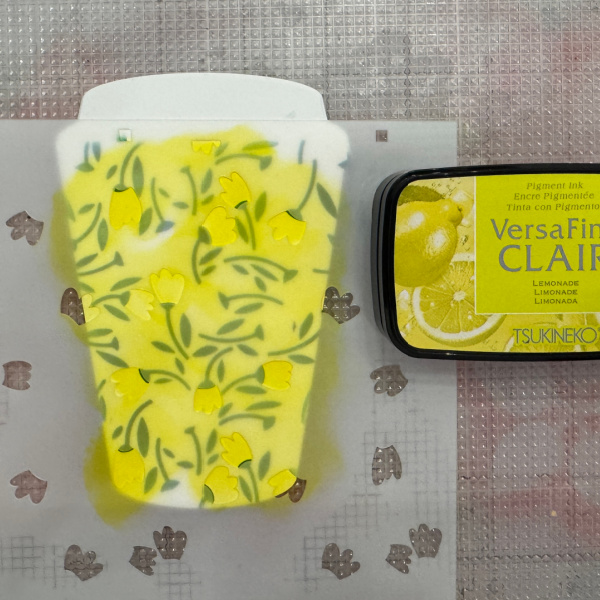
Place the second stencil over the cup and add the color you would like for the flowers. I used VersaFine Cair Lemonade. 

Step 4:
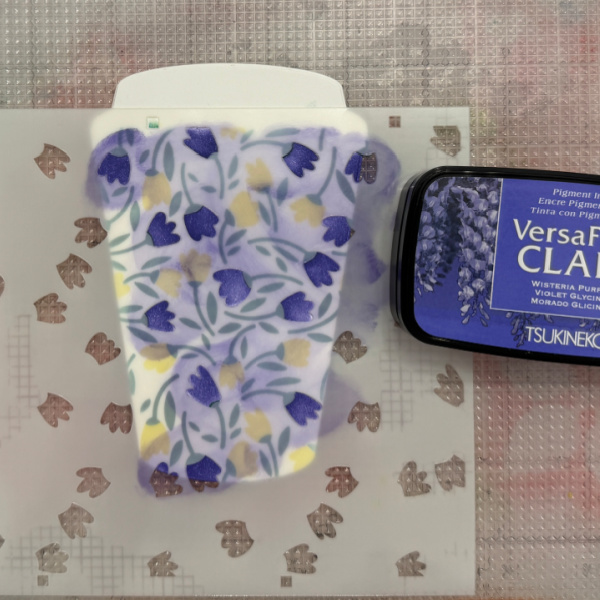
Place the third stencil over the cup and add the color for the second flower. I used VersaFine Clair Wisteria Purple.

Step 5:
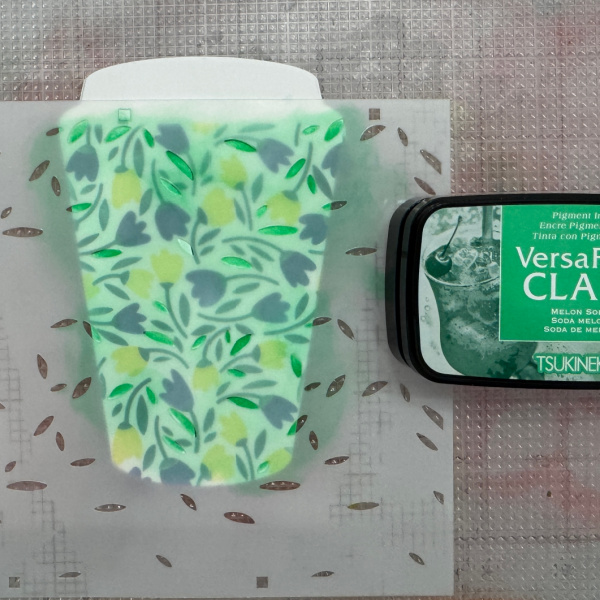
Place the last stencil over the cup and blend a green ink for the leaves. I used VersaFine Clair Melon Soda. 

Step 6:
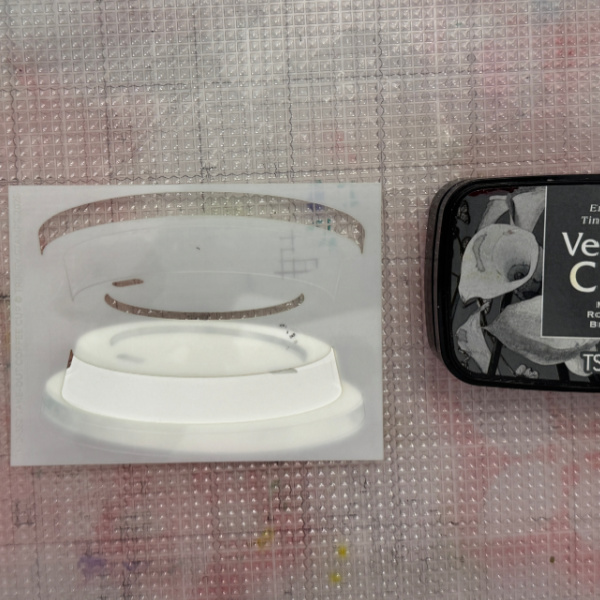
Place the stencil over the lid and blend a grey ink over it. I used VersaFine Clair Misty Morning. 

Step 7:
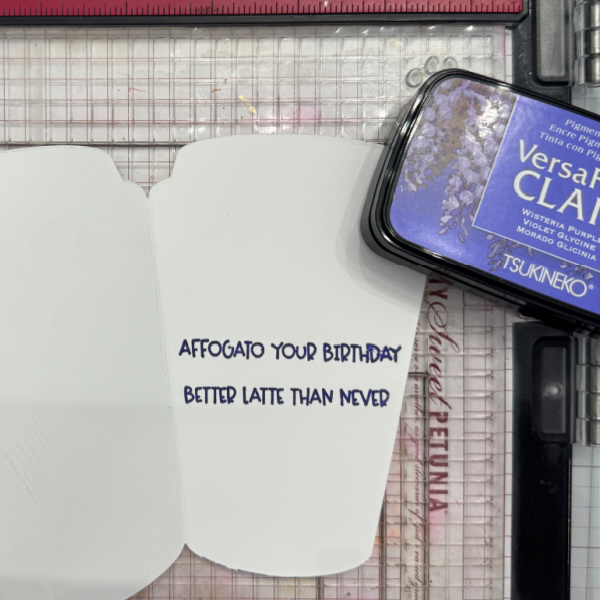
Glue the lid and sleeve on the decorated cup and add a sentiment. Can be inside or out. I placed mine inside. 

Craft Supplies:

Imagine Products

VersaFine Clair – Misty Morning, Spruce, Lemonade, Wisteria Purple and Melon Soda

Other Products

Take Out Coffee Cup die set – Trinity Stamps
A Cuppa Sentiments – Trinity Stamps 

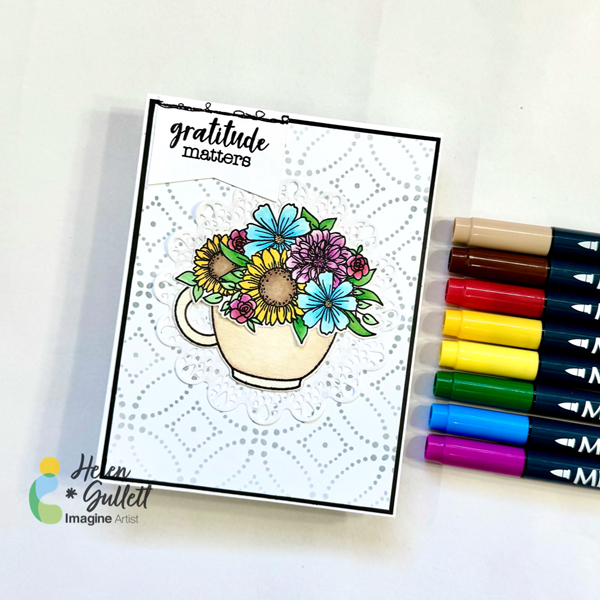
Make a Fall Floral Coffee Cup Card

By Helen Gullett

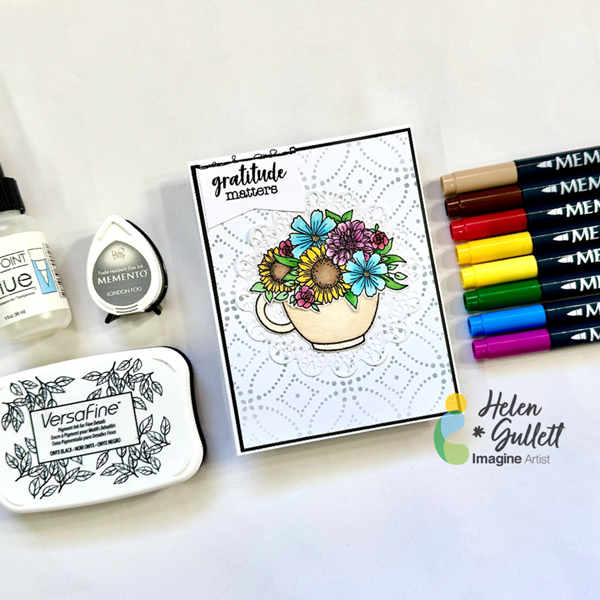
Hello crafty friends! Today, we are going to do some watercoloring with Memento markers, stenciling with Memento ink, and stamping with VersaFine ink to make this Fall floral coffee mug card. Let’s gather your supplies, grab a cup of coffee, and get crafting together!

Skill: Intermediate
Time: 15-20 minutes

Direction:

Step 1

Cut out a piece white cardstock into 4″ x 5 1/4″

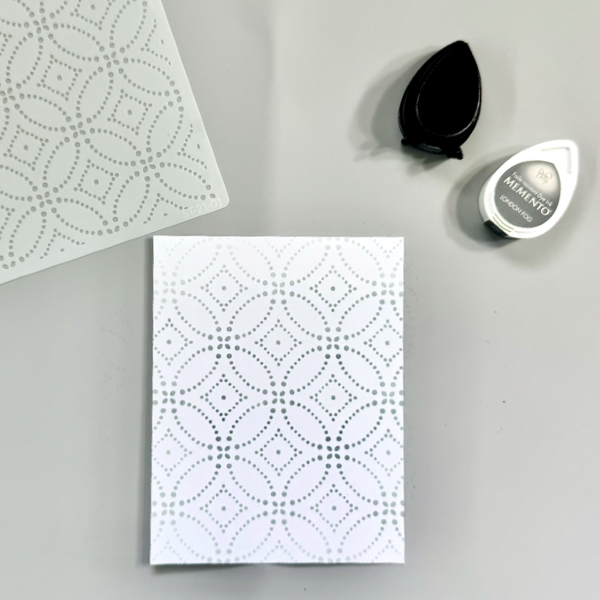
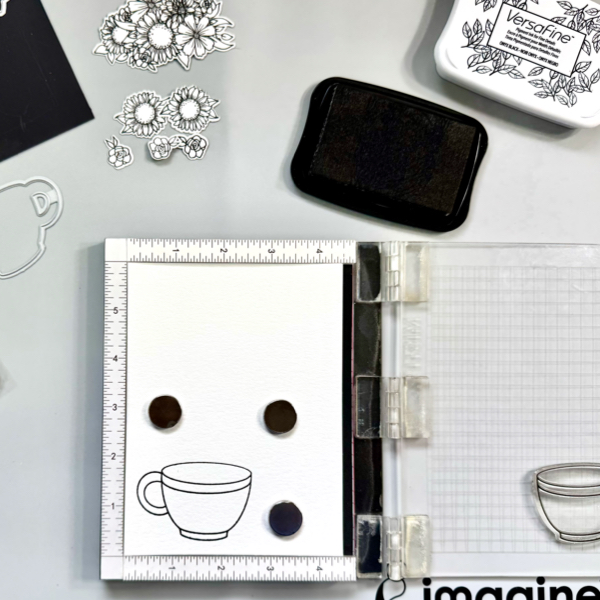
Put the stencil on top of the cardstock and secure it with some washi tape or removable tape.

Use a blending brush to add the Memento London Fog ink to the cardstock.

Remove the stencil and set aside for the ink to dry.

Step 2

On a piece of watercolor cardstock, stamp all the floral and cup images with the VersaFine Onyx Black ink.

Cut them with their matching die set or you can simply fussy cut them with scissors.

Step 3

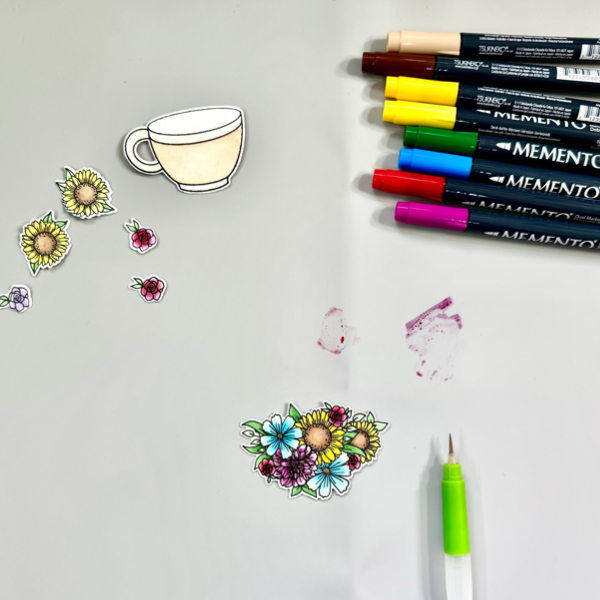
There are two ways of watercoloring. The first option is you can do wet on wet technique by lightly wet the area where you want to add the watercolor paint, and then pick up the ink with a water brush and color on the wet watercolor paper. And the second option is called wet on dry technique where you add the watercolor paint directly on the dry watercolor paper. Both ways work well with these Memento Markers.

On this project, I used the wet on wet technique. First, scribble each color of the Memento Marker on the craft mat. Wet the stamped image, pick up the ink with a wet water brush, and then add the color to the image. Dry the watercolored image with a craft heat gun.
Step 4

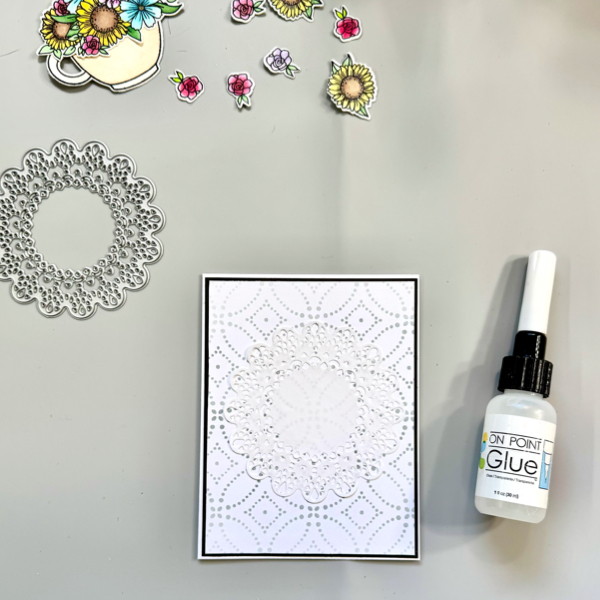
Cut out a piece of copy paper with the doily die to make paper doily. Add it to the stenciled panel with On Point Glue.
Cut a piece of black cardstock into 4 1/8″ x 5 3/8″ mat, add the stenciled panel to it with On Point Glue.

Add the whole background panel to the card base with On Point Glue.

Put together the watercolored coffee mug and flower bouquet cluster with On Point Glue.

Step 5

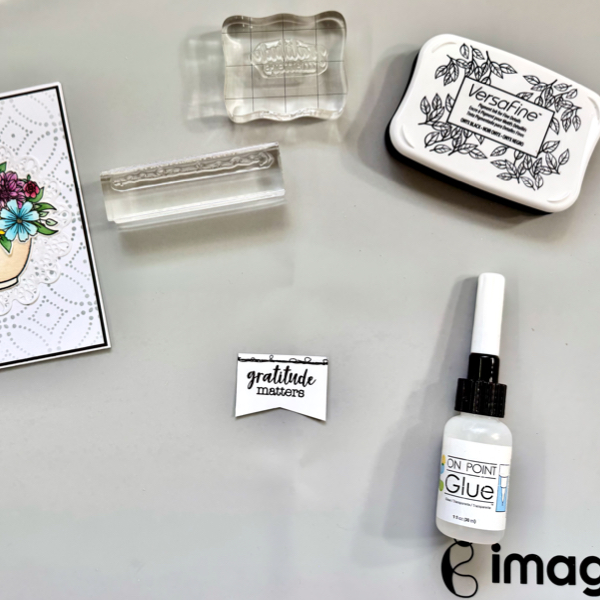
Stamp the sentiment and faux stitch pattern on a piece of white cardstock with VersaFine Onyx Black, and then trim it into a sentiment banner.

Add the floral coffee mug in the middle of the card, on top of the doily with On Point Glue.

Add the sentiment banner on the left top of the card with On Point Glue.

Memento Markers are not only for coloring, but also watercoloring. I had fun making this card with a watercoloring technique using these markers. And I hope this Fall Floral Coffee mug card can perk you up!

Thank you for stopping by our blog today. Have a wonderful day!

Craft Supplies

Imagine Crafts:

Others:

Let’s Make a Coffee-Themed Card

By Anna Escalada York

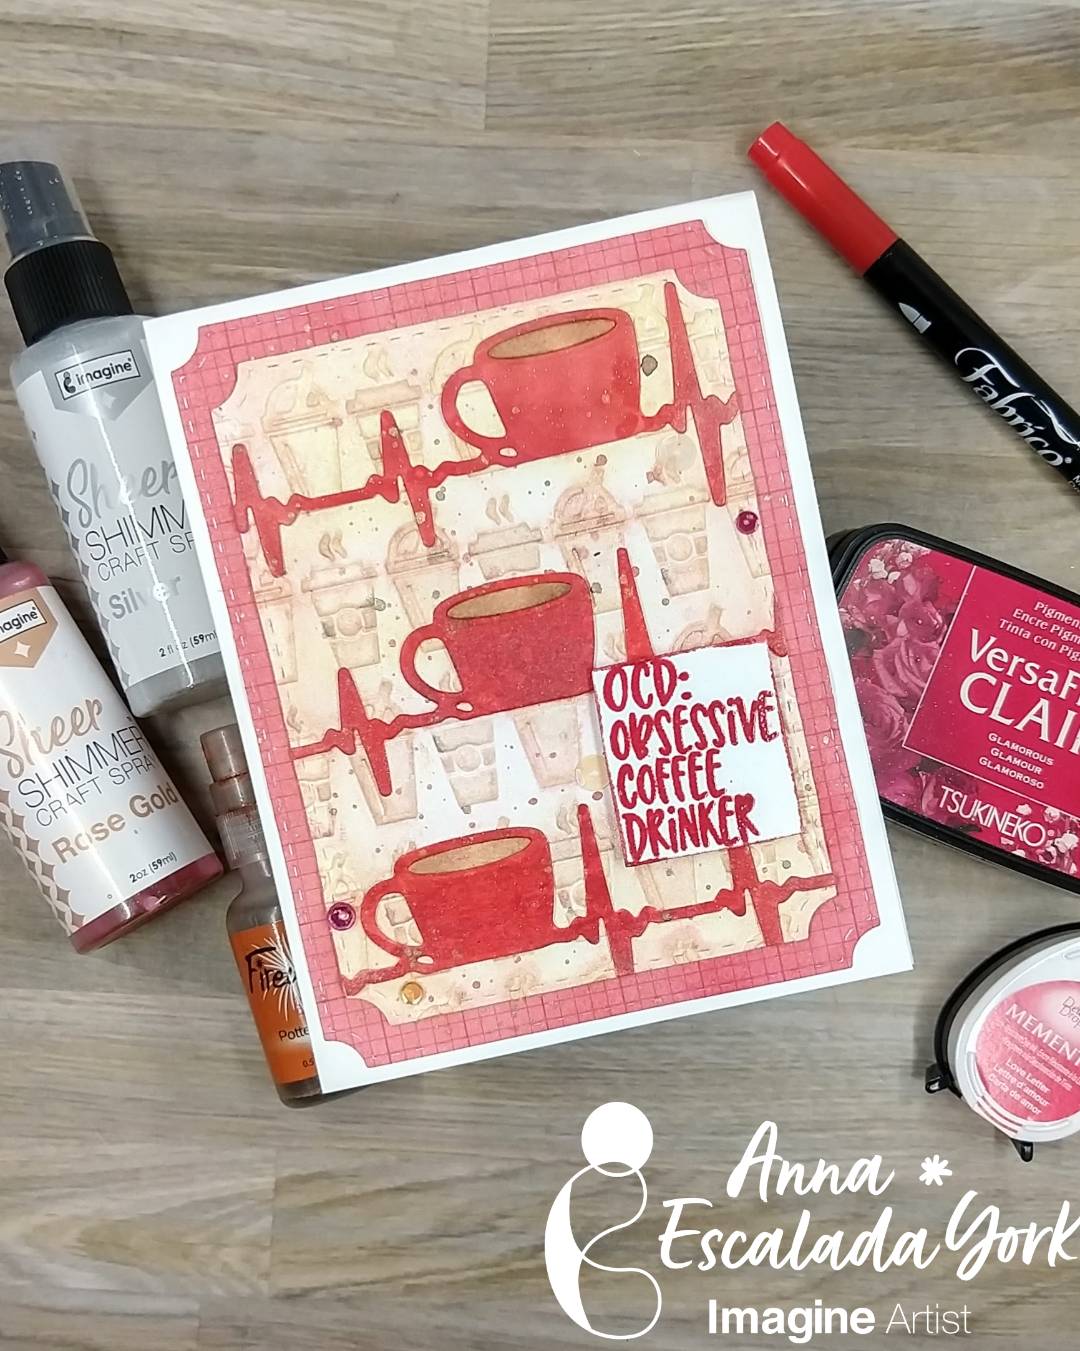
– As a high school teacher, having cards with a snarky-edge ready to go for a coworker having a wild day is a must, and coffee-themed cards are great to have in your stash because they are always appreciated. So as I get ready to go back to school, I can tuck this away for someone who may need a smile.

Skill: Intermediate
Time: 2.0 hours

Directions:

Step 1:
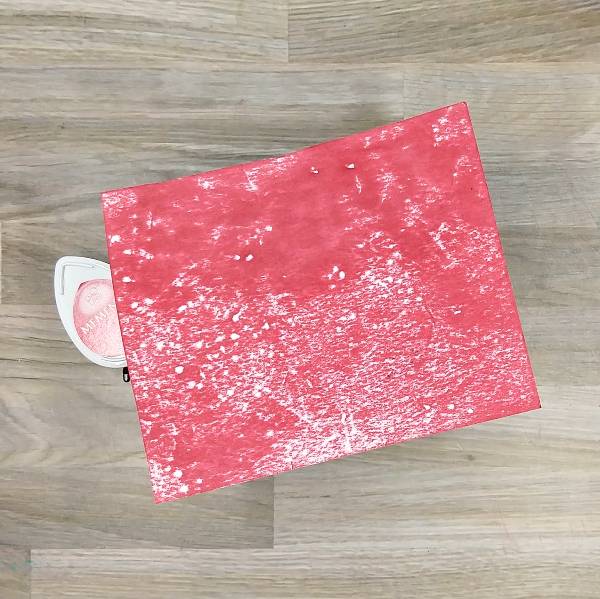
Rub a Love Letter Memento ink pad onto a piece of watercolor paper. (The paper was a little rough, so additional color will be added later.)

Step 2:
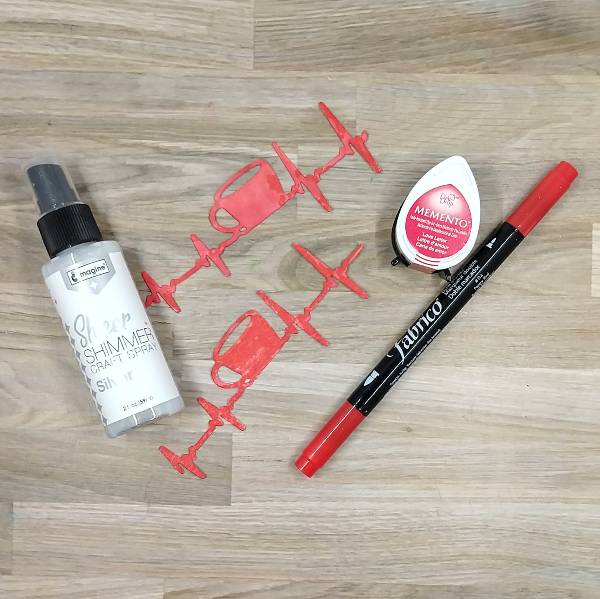
After die cutting the colored watercolor paper, use a Poppy Red Fabrico marker to fix any areas that weren’t colored with the ink pad.Then spray the die cuts with Silver Sheer Shimmer Craft Spray.

(Later, a third die cut was made to better fit the card. This was made in the same way.)

Step 3:
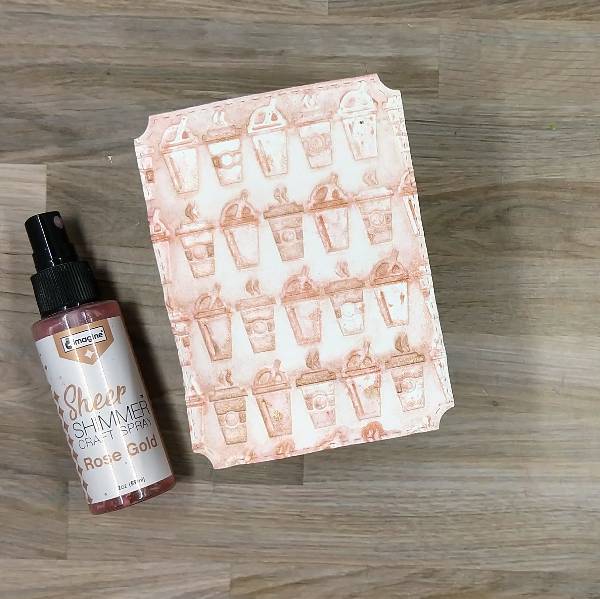
Die cut a piece of watercolor paper with the second-largest die from an A2-sized background die set. Then spray Rose Gold Sheer Shimmer Craft Spray into a coffee-themed embossing folder and emboss the watercolor panel. Allow the spray to dry.

Step 4:
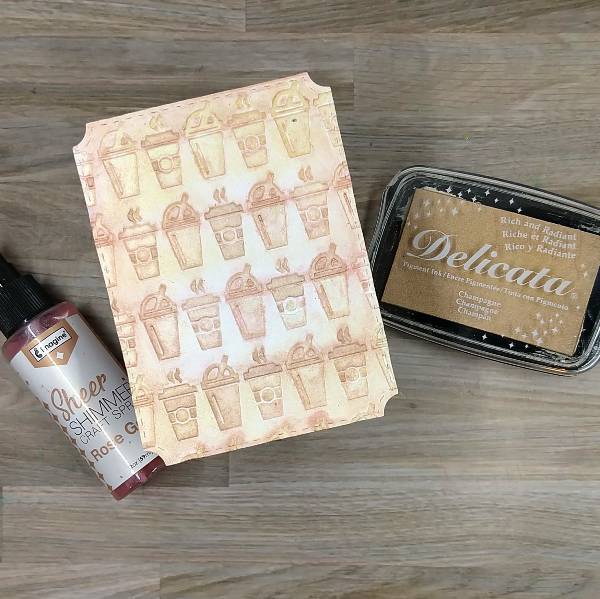
Ink blend the edges of the embossed watercolor background panel with Champagne Delicata ink using a sponge dauber.

Step 5:
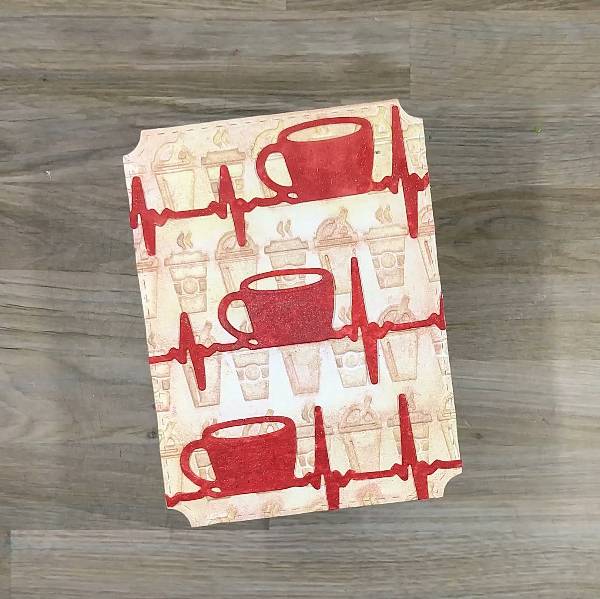
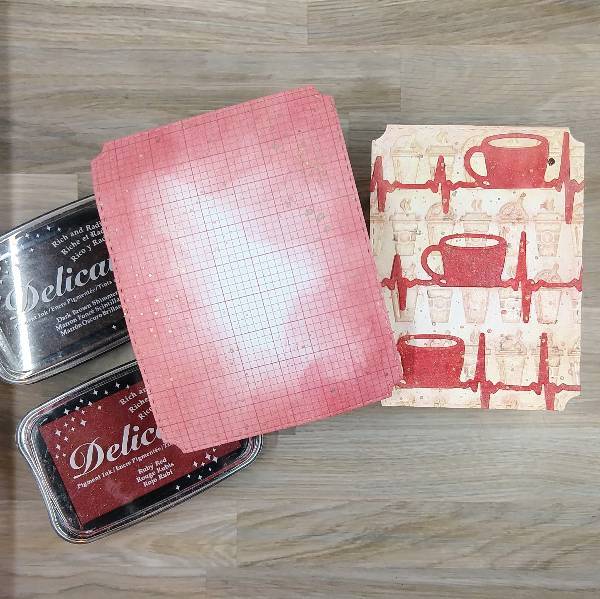
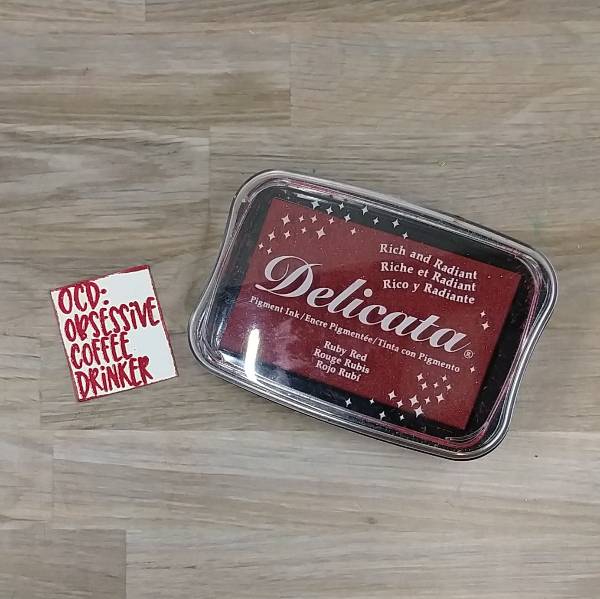
Before gluing the die cuts, I pressed the center coffee cup into the Ruby Red Delicata ink pad to change the color of that cup just a little. Glue all three die cuts down and trim the edges with scissors.

Step 6:
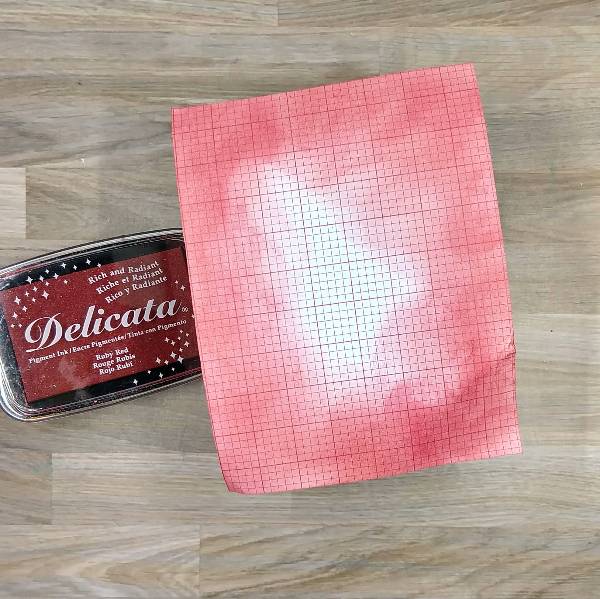
Ink blend a piece of patterned paper with more of the Ruby Red Delicata ink using a sponge dauber.

Step 7:
Die cut the ink blended patterned paper with the largest die from the A2-sized background die set. Then press both Ruby Red and Bark Brown Shimmer Delicata ink onto acetate packaging and spraying with water and splatter both panels with the red and brown watercolor. Ater the splatter dries, glue the two panels together.

Step 8:
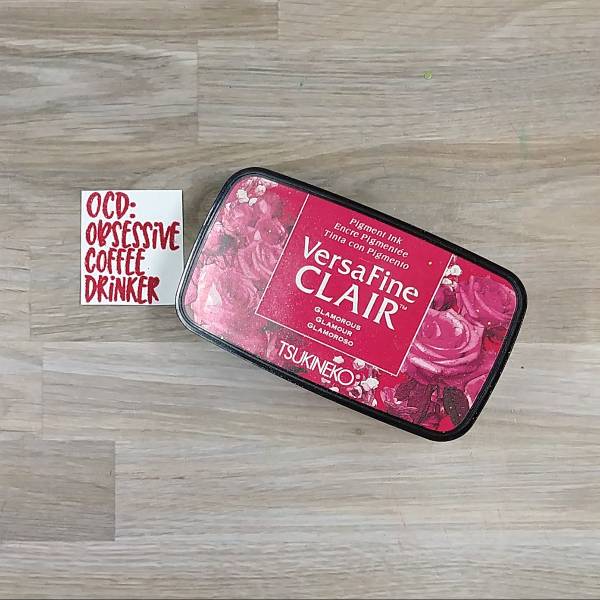
Stamp the sentiment with Glamorous VersaFine Clair ink and heat emboss with clear embossing powder.

Step 9:
Die the inside of the coffee cups (the coffee) out of watercolor paper with the same coffee cup die three times and then spray them all with Potter’s Clay Fireworks! Craft Spray.

Step 10:
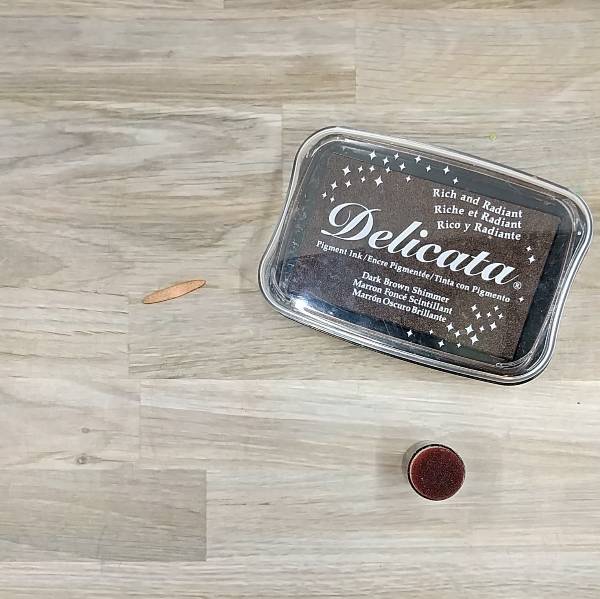
Ink blend the edges of all three coffee dies with Dark Brown Shimmer Delicata ink with an ink dauber. Then glue the three small brown die cuts into the three coffee cups on the cardbase.

Step 11:
Press the edges of the sentiment into the Ruby Red Delicata ink pad and then heat emboss the edges with clear embossing powder. Then assemble the card by attaching the sentiment onto the lower right corner of the upper card panel with foam tape and glue sequins onto the card.

Finally, glue the whole thing onto an A2-sized white cardbase.

Art Supplies

Imagine
• Delicata ink – Champagne
• Delicata ink – Dark Brown Shimmer
• Delicata ink – Ruby Red
• Fabrico Dual Marker – Poppy Red
• Fireworks! Shimmery Craft Spray – Potter’s Clay
• Memento Ink – Love Letter
• Sheer Shimmer Craft Spray – Rose Gold
• Sheer Shimmer Craft Spray – Silver
• VersaFine Clair ink – Glamorous
• Sponge Daubers

Other
• Altenew – foam tape
• Catherine Pooler – sequin mix – Manhattan
• Pink and Main – die set – Notched Corners
• Riley and Company – die set – Coffee Heartbeat
• Sizzix – embossing folder – Coffee by Tim Holtz
• A2-sized white card base
• Clear Embossing Powder
• Watercolor paper
• Patterned paper
• Thin paint brush
• Die cutting machine
• Scissors
• Glue