Hello Friends! Katy here with another quick project. I love trying new things with my inks and in this video I realized something great about using VersaFine Clair Inks with my BetterPress System and Shimmer Cardstock, you know the one that has a coating and is very smooth.
This particular cardstock is very hard to stamp with any kind of pigment ink because it never really dries. However; using the Betterpress System and pressing the ink into the paper it’s like it forces the ink to absorb. The best part, no smudging!
I personally don’t make coffee themed cards regularly, but I know others do and I hope this gives you some inspiration if you are a coffee card maker.
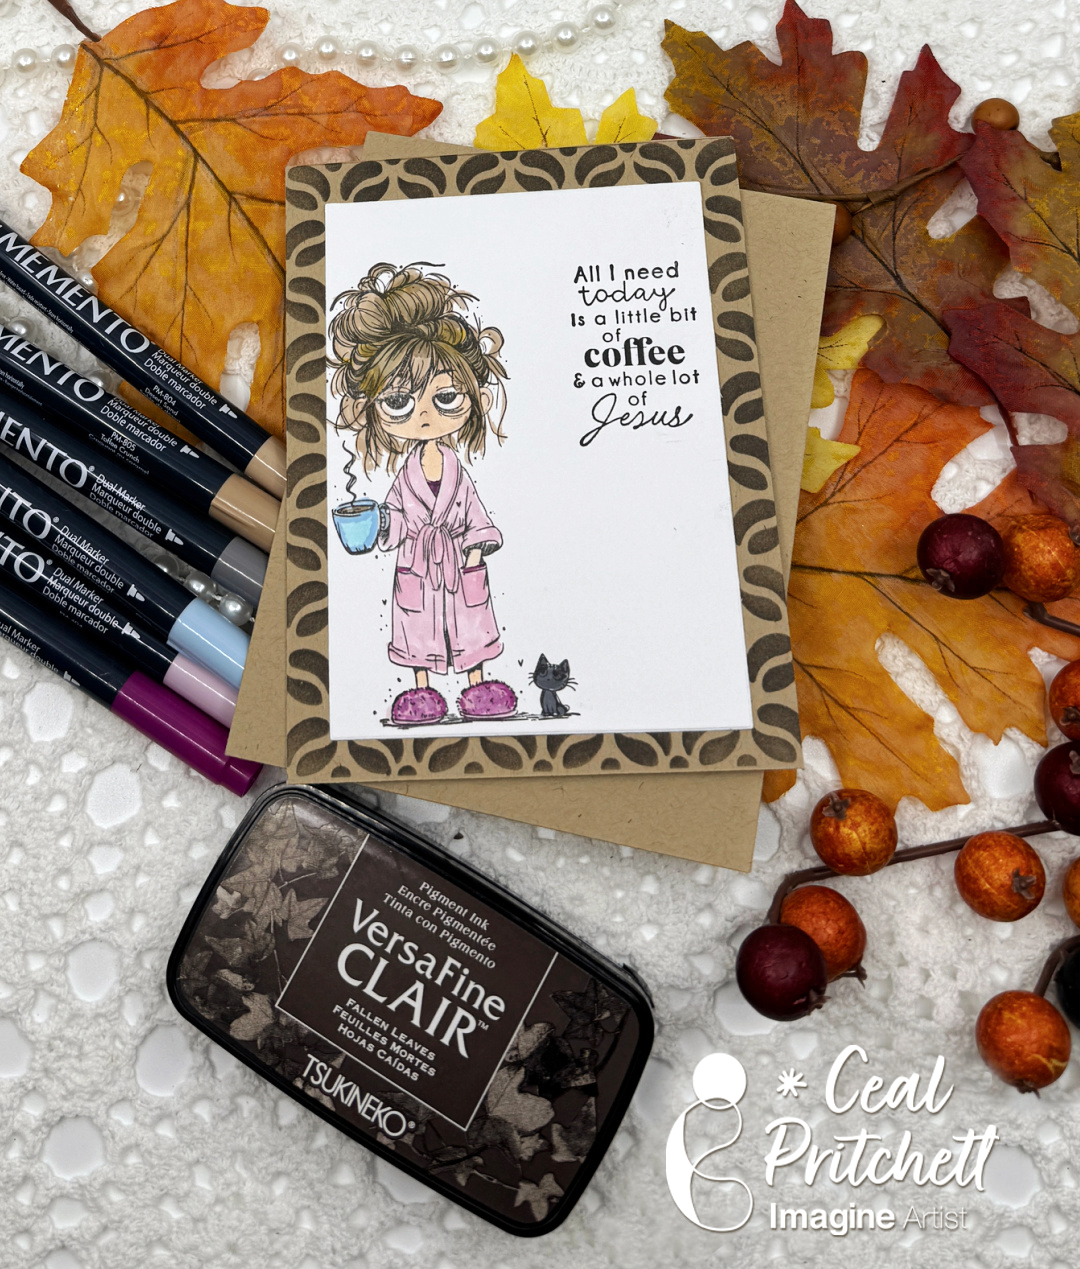
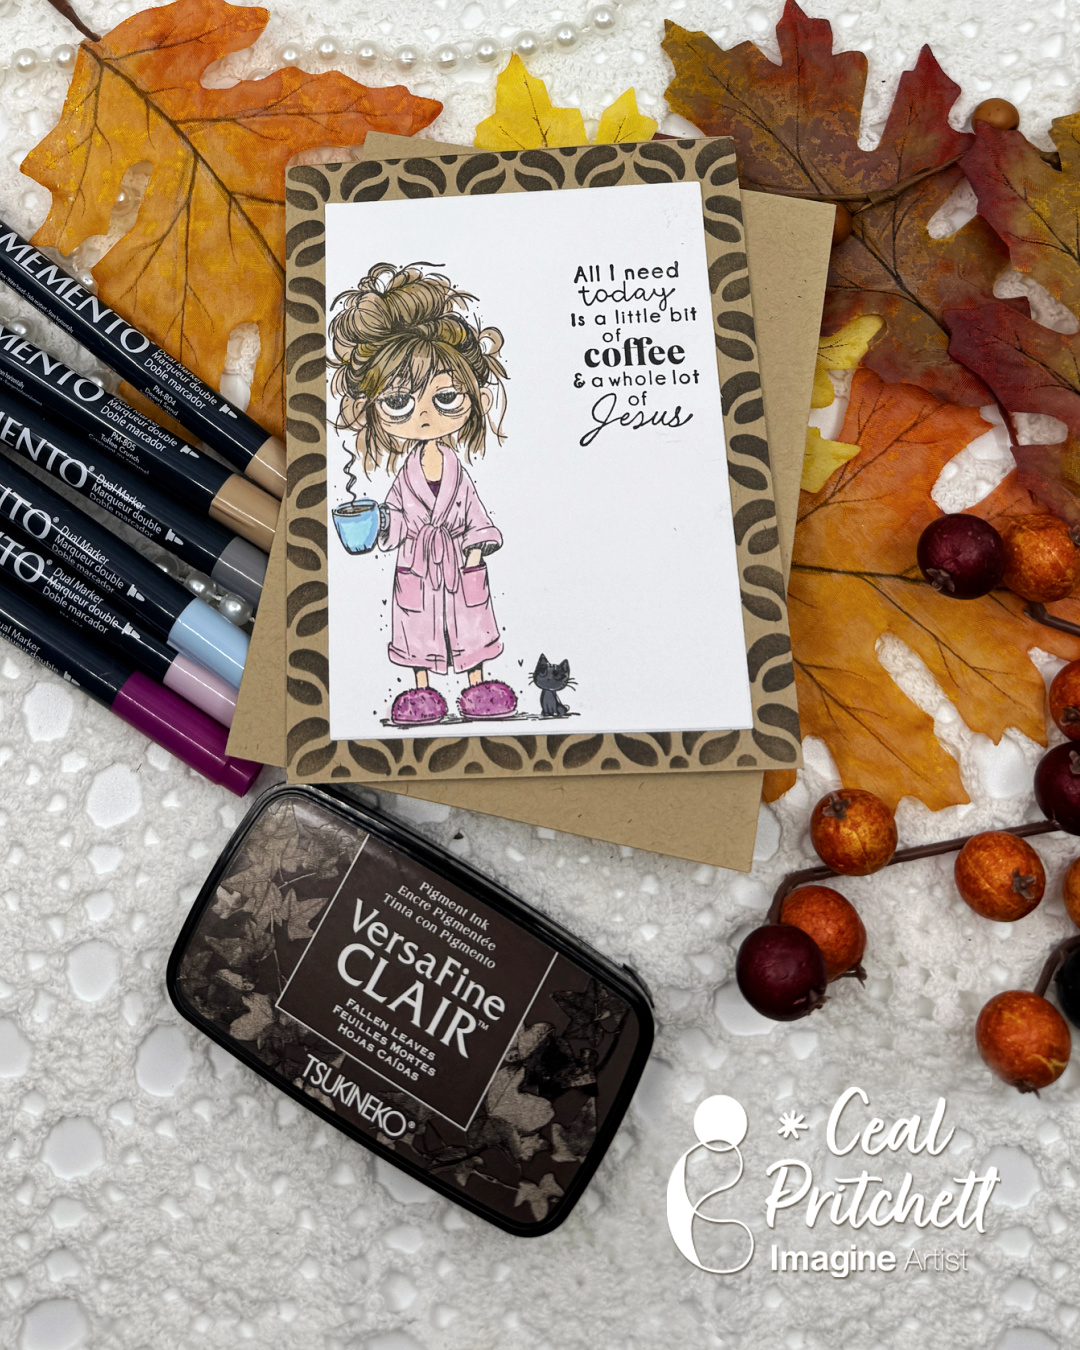
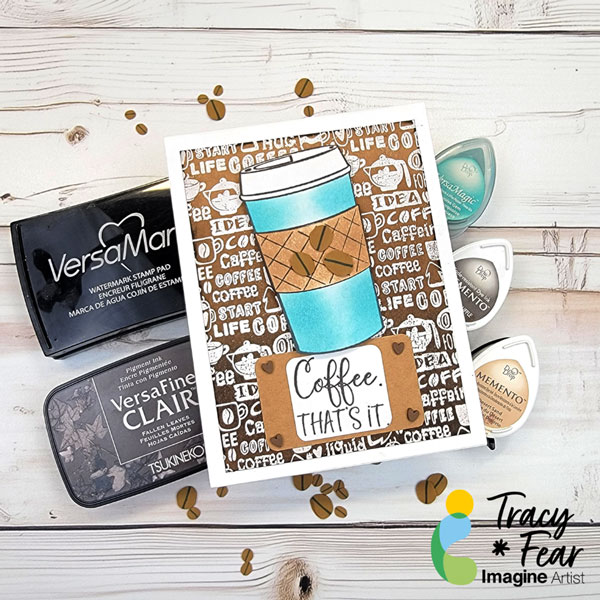
Hello friends! It’s Ceal, here. Today I am sharing a coffee card. This totally looks like me on a Monday morning.
Skill: Beginner Time: 30 minutes
Directions:
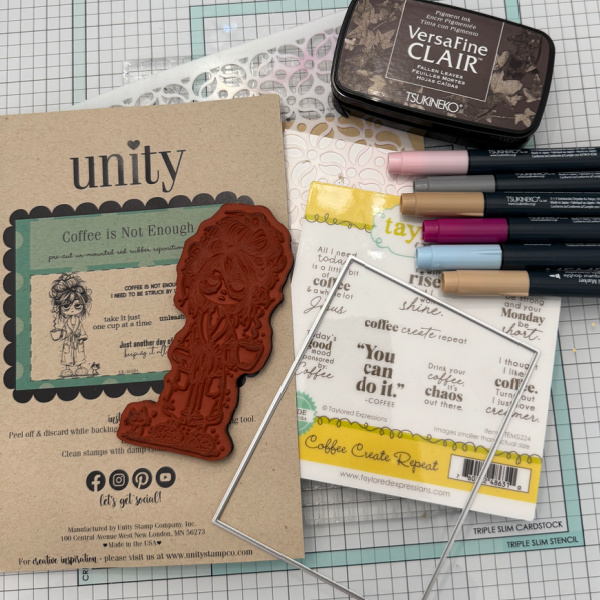
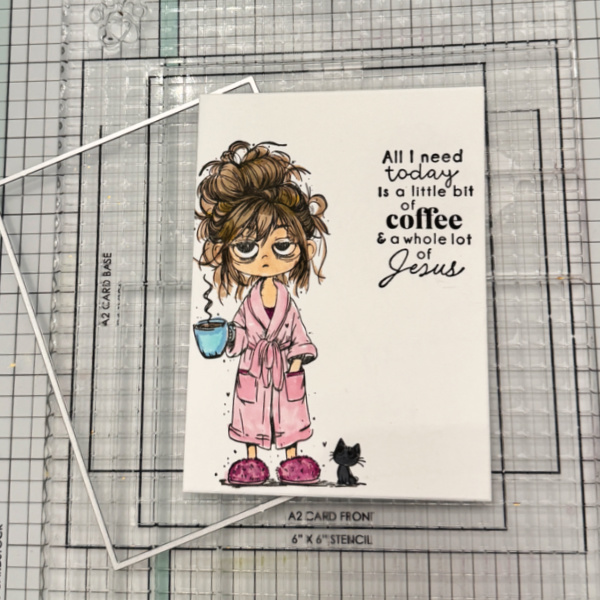
Gather your supplies. You will need a coffee stamp, a sentiment set, markers, dark brown ink and a stencil for the background.
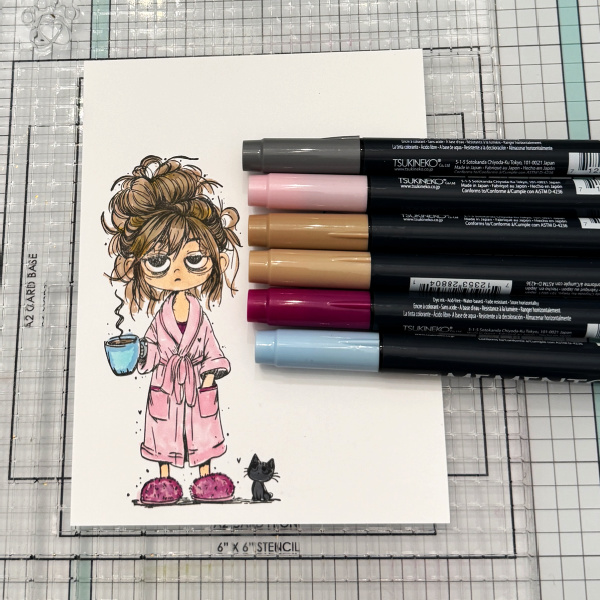
Step 1: Stamp the image and color it in with markers. I used Toffee Crunch and Desert Sand for her hair, Angel Pink and Lilac Posies for her outfit, Summery Sky for the coffee cup and Gray Flannel for the kitty.
Step 2: Cut the panel down and add sentiment.
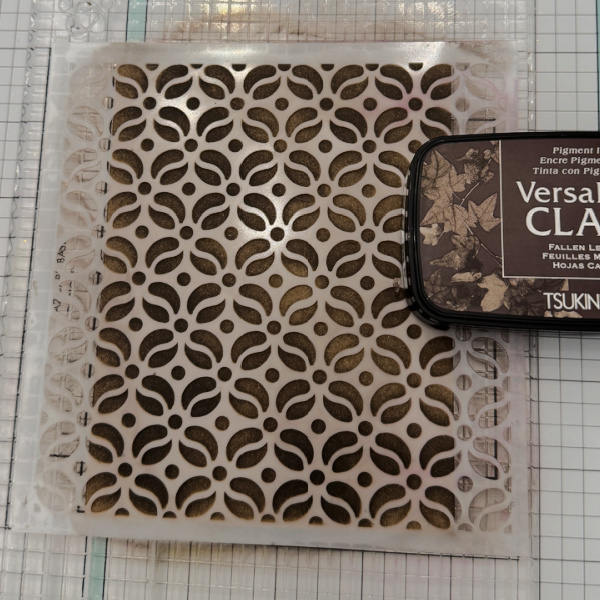
Step 3: Cut a panel of Kraft cardstock to A2 size and use a dark brown (I used Fallen Leaves) to color in the stencil for the background. Add the background panel and the image panel to the card base.
Other supplies: • Coffee is not Enough Stamp Set – Unity Stamp Co • Coffee Create Repeat Stamp set – Taylored Expressions • Coffee Bean Flower Stencil – Ink On 3 • Rectangle dies – Hero Arts • Grip mat – Simon Says Stamp
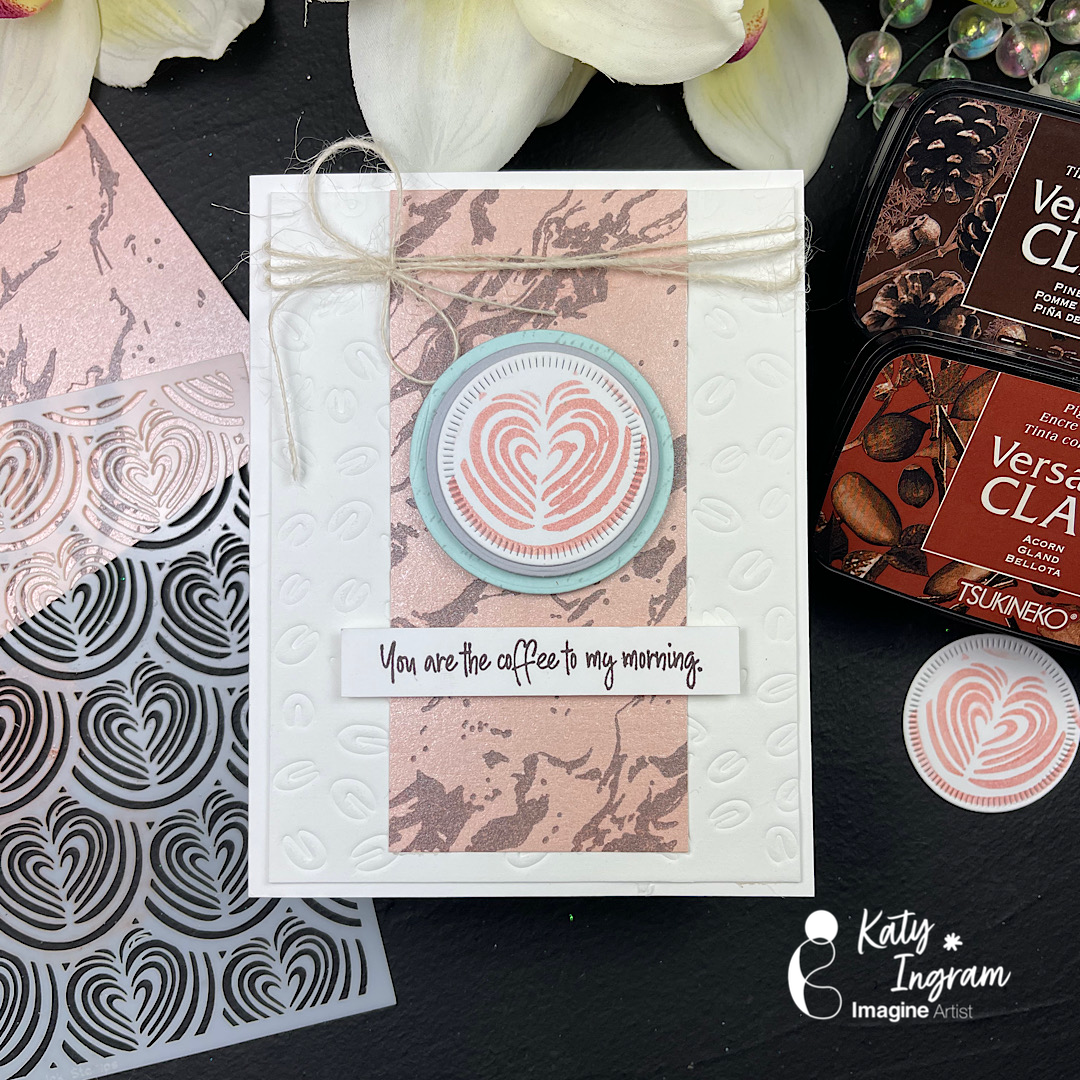
Hi everyone! It’s Jessica here. Today I have a simple coffee card to share with you. I like to include die-cutting and embossing in a lot of my projects, but I thought today I would focus on the basics – stamping with just ink and paper.
Step 1: Stamp the coffee stamps using Brilliance Coffee Bean and VersaFine Clair Warm Breeze ink pads. The stamp set I am using today is from Stampin Up’s Latte Love set, but you can use whatever coffee stamps you may have.
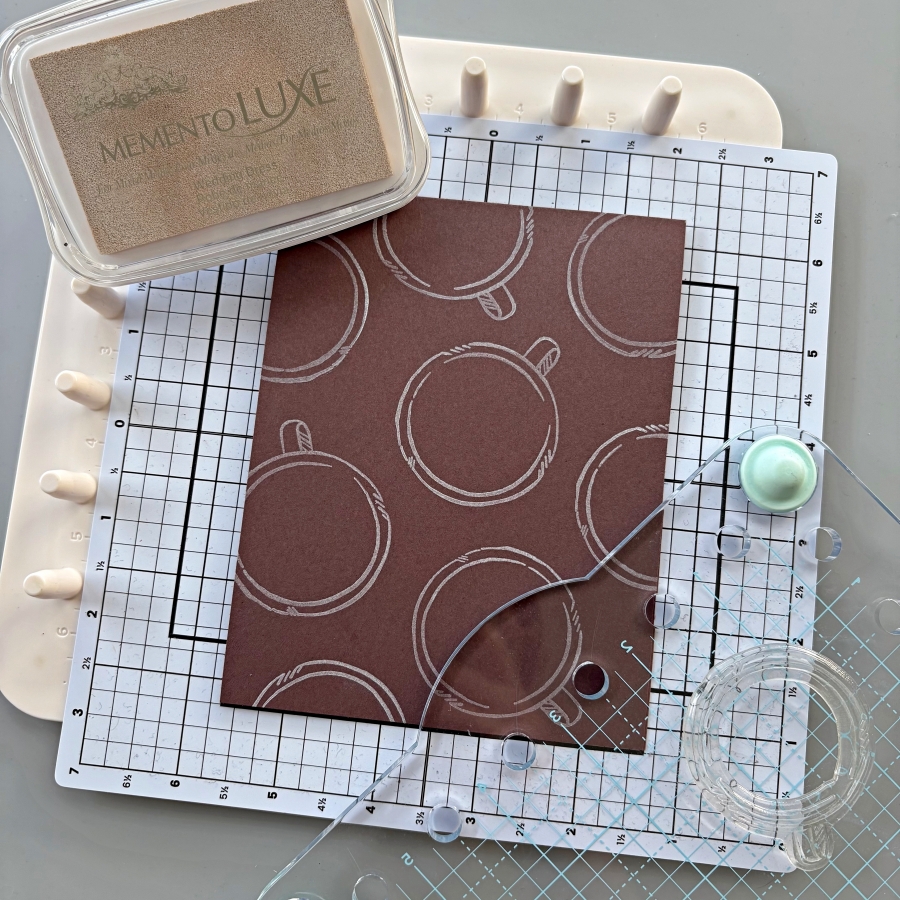
Step 2: To create a simple, patterned background, try stamping the same image at various angles using Memento Luxe Wedding Dress ink pad. For a more subtle, tone-on-tone look, you could use VersaMark ink pad instead. These two ink pads are my favorite for stamping background patterns.
Step 3: For the sentiment, I decided to use VersaFine Clair Pinecone since the VersaFine Clair ink pads are great at capturing fine details in sentiment stamps. I also fussy cut around the stamped image.
Step 4: I added a bow using some twine I saved from previous gift packaging, and adhered both the sentiment and the latte images with foam tape. And that completes today’s coffee card! Thanks so much for stopping by, and I’ll see you in my next tutorial!
Other Products Used • Coffee Background Stamp and Coffee Cup stamp from Technique Junkies • 120lb paper in white and Kraft • Foam Tape • Misti tool • PVA Adhesive • White Super Fine Embossing Powder
ALTERNATIVE PRODUCTS THAT CAN BE USED TO RECREATE SOMETHING SIMILAR Any Inks any combination of background stamps and feature stamps To learn how to create your own dressed up box click here!
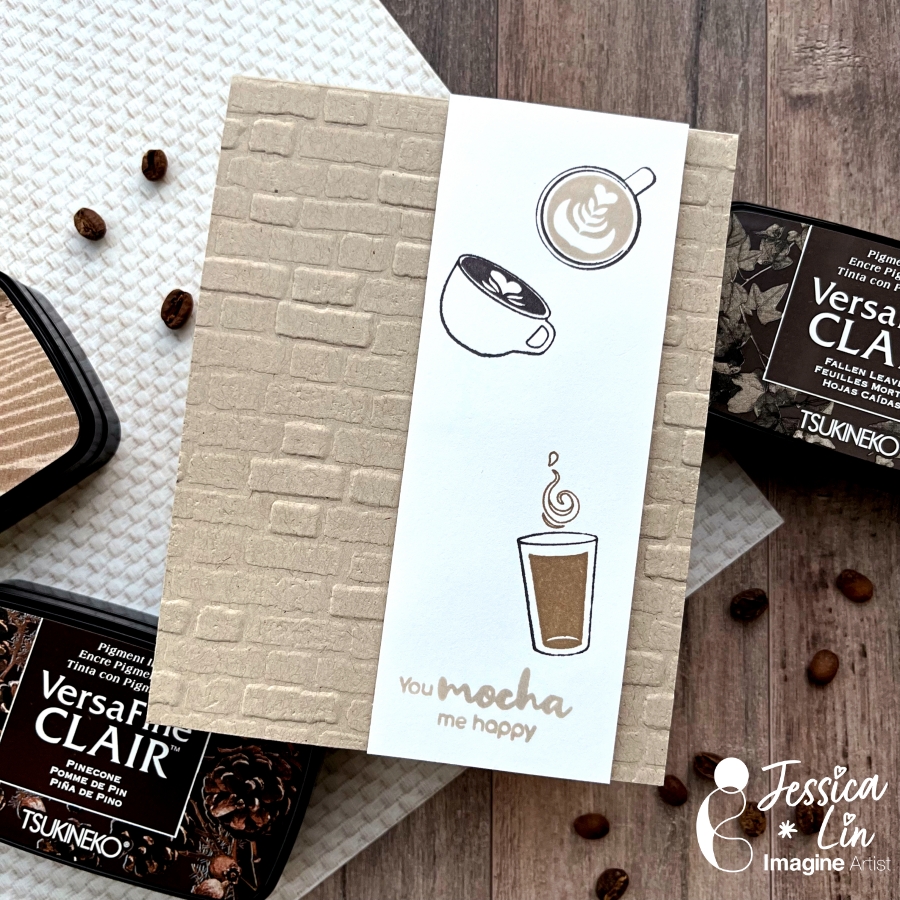
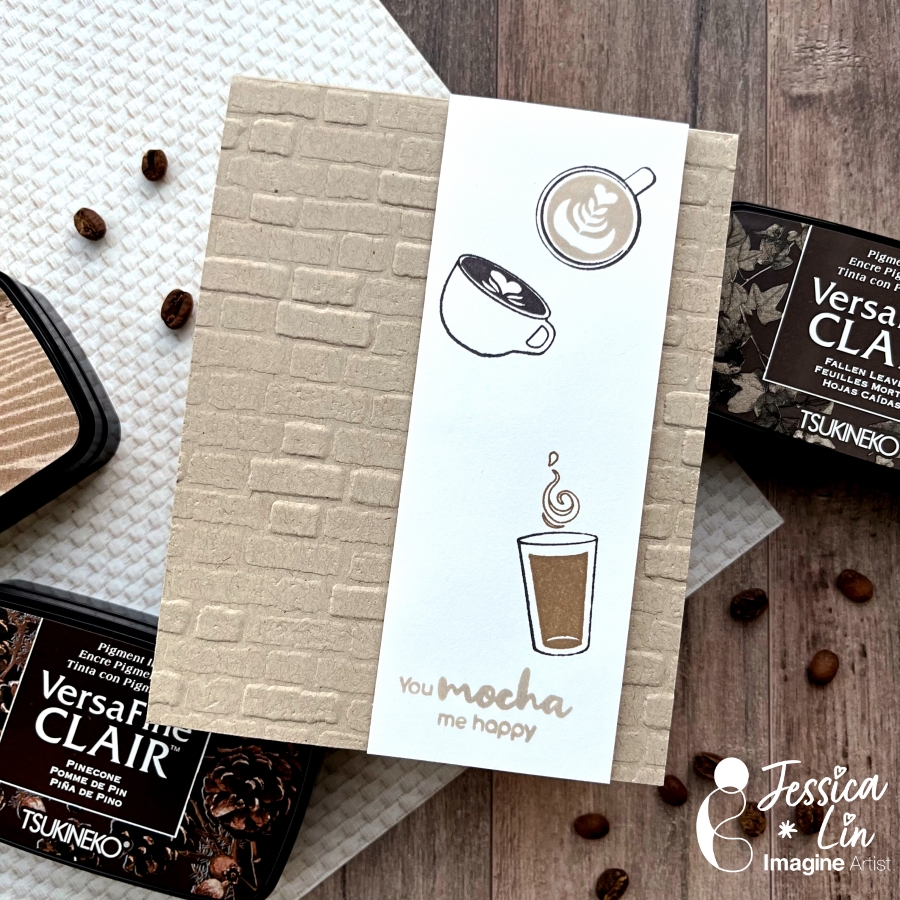
Hi everyone! It’s Jessica here. Today’s project is inspired by the Pantone color of this year – Mocha Mousse. It is such a warm, rich shade that is perfect for a coffee card! I decided to compare the different brown and earthy tones in the VersaFine Clair ink line as well. There are many options to choose from, and each is special on its own.
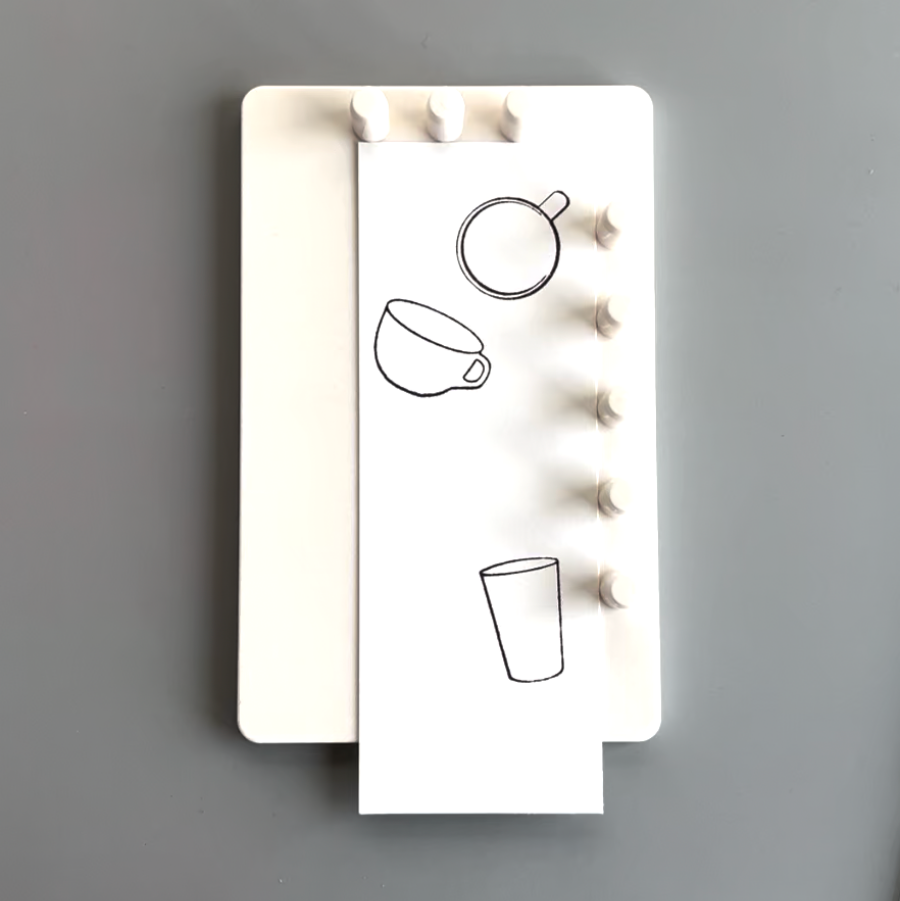
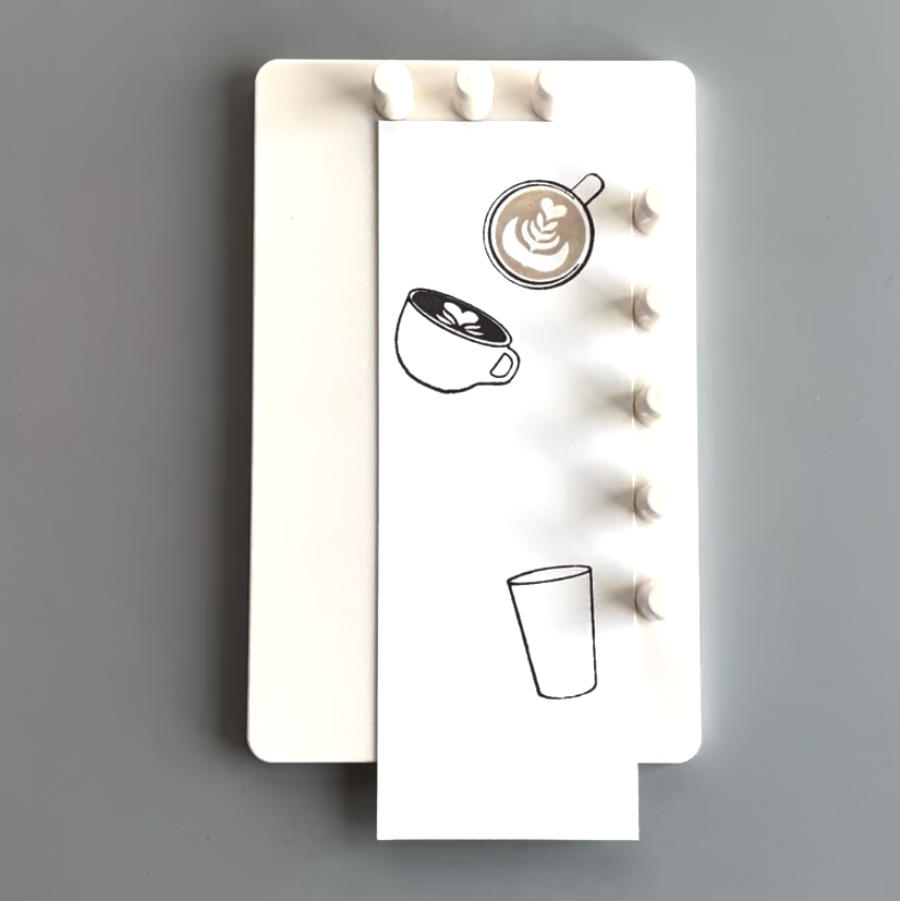
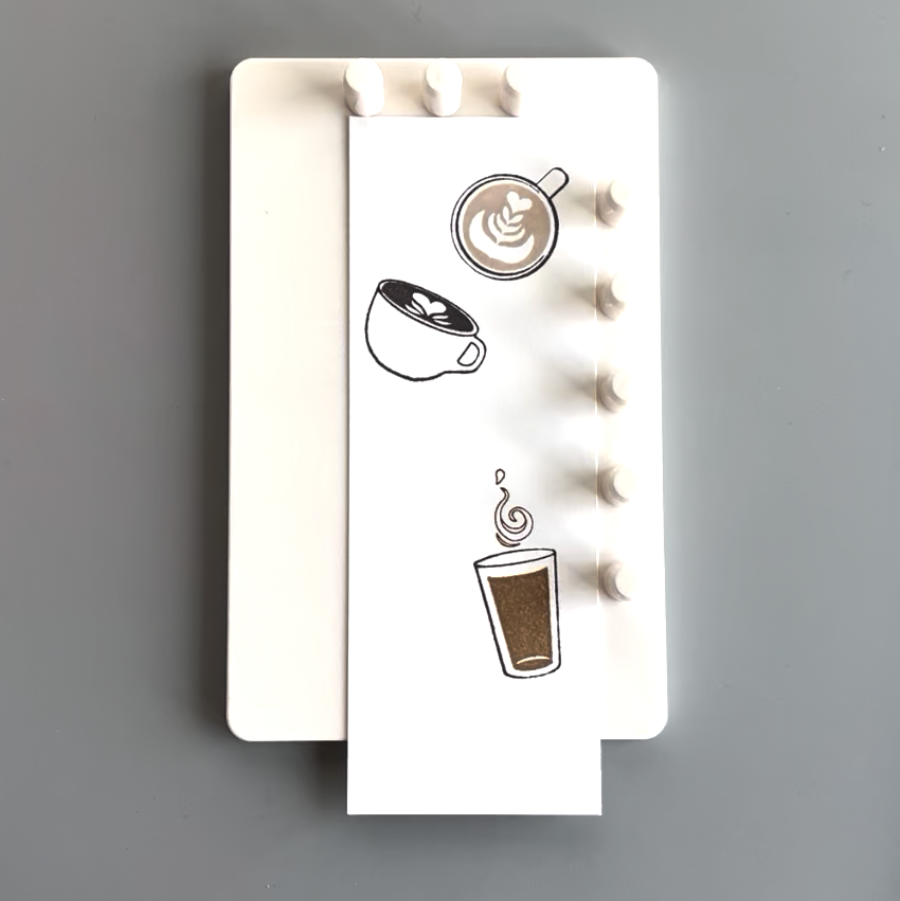
Step 1: Today I will be using an acrylic stamp set from iCrafter. It is called Latte Coffee and has several sets of coffee cup images. Since the image outlines are superfine, I chose VersaFine Clair inks to stamp with to ensure crisp, clean images. I typically stamp the outline images with Nocturne (the black color of this ink line). However, when I was experimenting with the colors, I found that Fallen Leaves is a great alternative. The dark brown color adds more warmth than black and complements the other earthy tones well. I love VersaFine Clair inks and use them very regularly, but Fallen Leaves was probably the one I reach for the least. I think I will start using it to stamp outline images from now on!
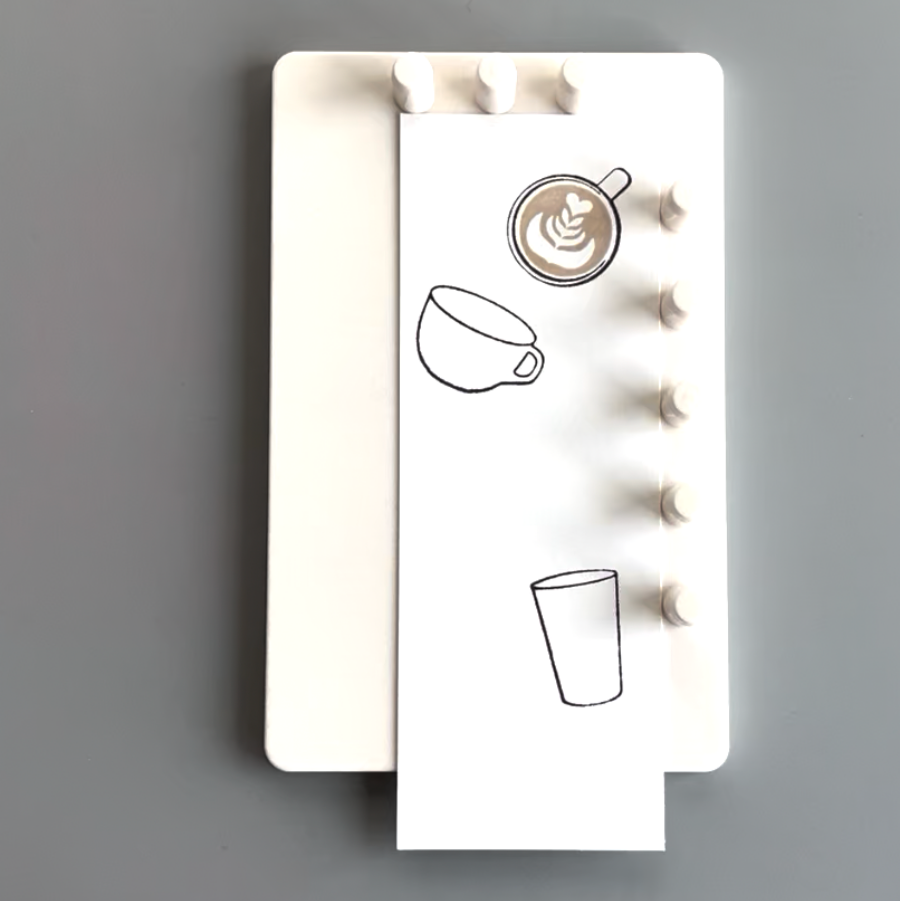
Step 2: I used Sand Dune to stamp the first latte art image. This is one of the newer VersaFine Clair colors. I am really happy that they added a lighter earth shade to this collection.
Step 3: For the second latte art stamp, I used Pinecone. This is also a rich, dark brown color. It is just a bit lighter than Fallen Leaves.
Step 4: I used Acorn for the bottom coffee image with the swirl. It is a great middle-tone that completes the brown color gradient.
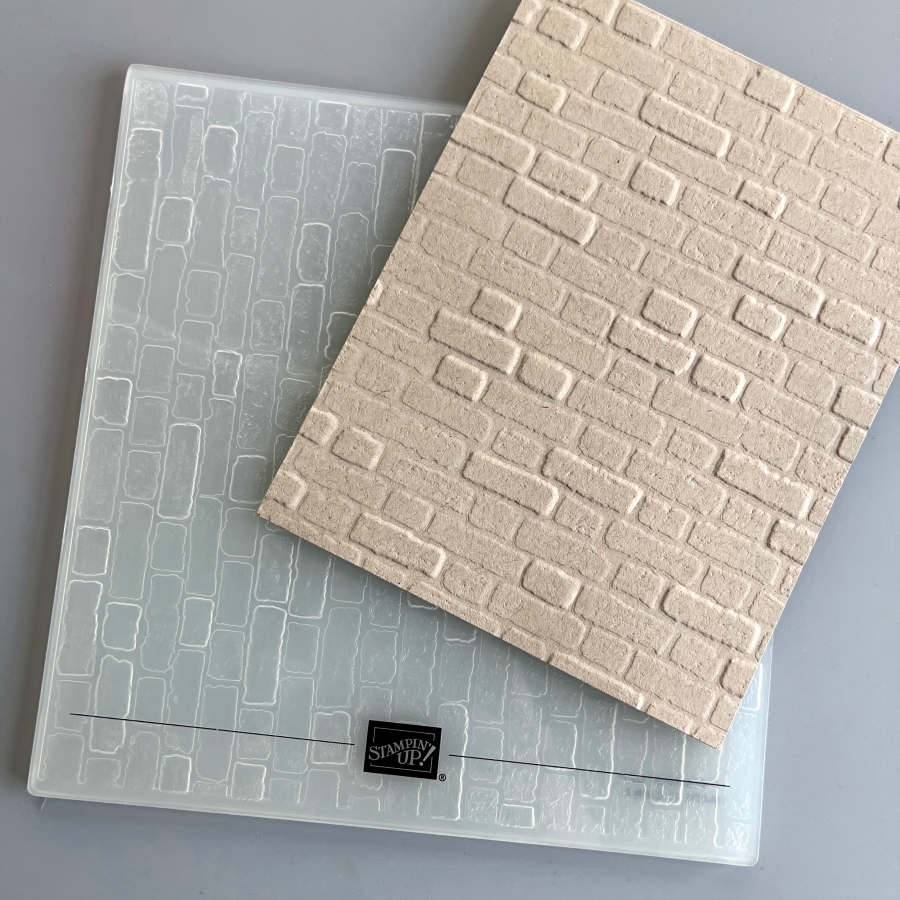
Step 5: Today’s card is simple and beginner-friendly with easy layered stamping. However, you could also add a little flair by embossing the front panel of the card base. Embossing folders are easy to use and add such a great wow factor to your project. The one I am using today is called Brick & Mortar. I think it reminds me of the walls of a cute coffee shop!
Step 6: Finally, I stamped this super cute sentiment with Sand Dune, and that completes today’s coffee card!
I love coffee and I love penguins. Therefore I have a large collection of penguin and/or coffee themed crafting products. Here’s a somewhat snarky card using the wonderful VersaMagic Inks.
Skill Level: Intermediate Time: 1.5 hours
Instructions:
Step 1: Use Nocturne VersaFine Clair Ink to stamp the smallest penguin from the Grumpy Penguin Red Rubber Stamp Set onto a panel of Bristol paper.
Steps 2A – 2D: 2A – Smoosh the Cantaloupe Memento Dew Drop Inkpad onto a piece of acetate packaging. Dip a paint brush into water, pick up some ink off of the acetate sheet, and paint both side sides of the penguin’s beak.
2B– Repeat the process with Dandelion Memento Ink and paint the center of the penguin’s beak, blending the two colors of ink. Clean and dry the acetate sheet.
2C – Smoosh the Tuxedo Black Memento Inkpad onto the acetate sheet. Dip a paintbrush into water, wipe off the excess water, pick up some black ink, and paint the dark parts of the penguin. Repeat the process using more diluted ink to add some greyer tones to the penguin . Clean and dry the acetate sheet.
2D – Smoosh the Angel Pink and Summer Sky Memento Dew Drop Inkpads onto the acetate sheet. Use a damp paintbrush to add some color to the penguin’s belly. Heat set.
Step 3: Fussy-cut the sticker paper version of the stamped penguin and place it over its counterpart on the image panel as a mask.
Step 4: Use low-tack tape to secure the coffee cup cutting die over the masked panel. Run through a die-cut machine..
Step 5: Place a Post-It Note horizontally .25” from the bottom of the coffee cup die-cut. Use a Sponge Dauber to apply Moonlight White Brilliance Ink over the Post-It Note onto the coffee cup die-cut. Remove the low—tack tape and the penguin’s mask. Heat set.
Step 6A- 6B Cover the base of the coffee-cut die-cut with low-tack tape. Place the coffee-cup cutting die so that the body of the coffee cup is slightly outside the coffee-cup die-cut. Use a Sponge Dauber to apply Oasis Green VersaMagic Ink fairly heavily along the outside edges of the coffee-cup die-cut (6A).
Remove the cutting die and continue to apply VersaMagic Ink to the rest of the coffee cup (6B). Heat set.
Step 7: Use a lavender chalk pencil to add detail and shading to the outside of the coffee-cup die-cut. Use the White Glaze Pen to add highlights to the coffee cup. Sorry that there are no photos.
Step 8: Use a Sponge Dauber to apply Oasis Green VersaMagic Ink over a piece of Bristol paper to create a background panel. Heat set.
Step 9: Uselow-tack tape to secure the inked panel to the back of the coffee bean stencil. Use a Sponge Dauber to apply Jumbo Java VersaMagic Ink over the stencil onto the background panel. Remove the panel from the stencil. Heat set the panel.
Step 10: Use a Sponge Dauber to apply Spring Pansy VersaMagic Ink to two strips of Bristol paper. Heat set.
Step 11: Use one of the cutting dies from the Majestic Border Die Set to cut the both strips of inked paper.
Step 12: Repeat Step 10 using Jumbo Java VersaMagic Ink, heat set, then cut with the same cutting die. (No photo)
Step 13: Use On-Point Glue adhere one of the Spring Pansy inked die-cut atop the Jumbo Java one. (No photo)
Step 14: Use the scalloped rectangle die from the Passe Partout Rectangle Die set to cut the stenciled background panel from Step 9. Edge the panel with Jumbo Java VersaMagic Ink.
Step 15: Apply Spring Pansy VersaMagic Ink with a Sponge Dauber to the outer .5” of a panel of Bristol paper. Heat set then cut the panel using the largest plain rectangle from the Passe Partout Rectangle Die set.
Step 16: Place a leftover scrap of the Spring Pansy VersaMagic inked paper onto the base of a stamping platform. Ink the stamp with Jumbo Java VersaMagic ink, then stamp onto the scrap. Remove the scrap and heat set the ink. Use a Ribbon Slide die to cut the sentiment then edge the die-cut with Jumbo Java VersaMagic Ink.
Step 17: Use a Ribbon Slide Die to cut the sentiment. Use Jumbo Java VersaMagic Ink to edge the die-cut.
Step 18: Create an A6 card from a piece of textured white cardstock. Use a sponge dauber to apply Jumbo Java VersaMagic Ink around the edges of the card as shown. Heat set.
Step 19: Thread the reserved border die from Step 11 through the sentiment die-cut. Use On Point Glue to adhere both the sentiment/border strip die-cut and the stacked die-cut to the background panel as shown.
Step 20: Use Tear It! Tape to adhere the layers of the card.