By Anna Escalada York
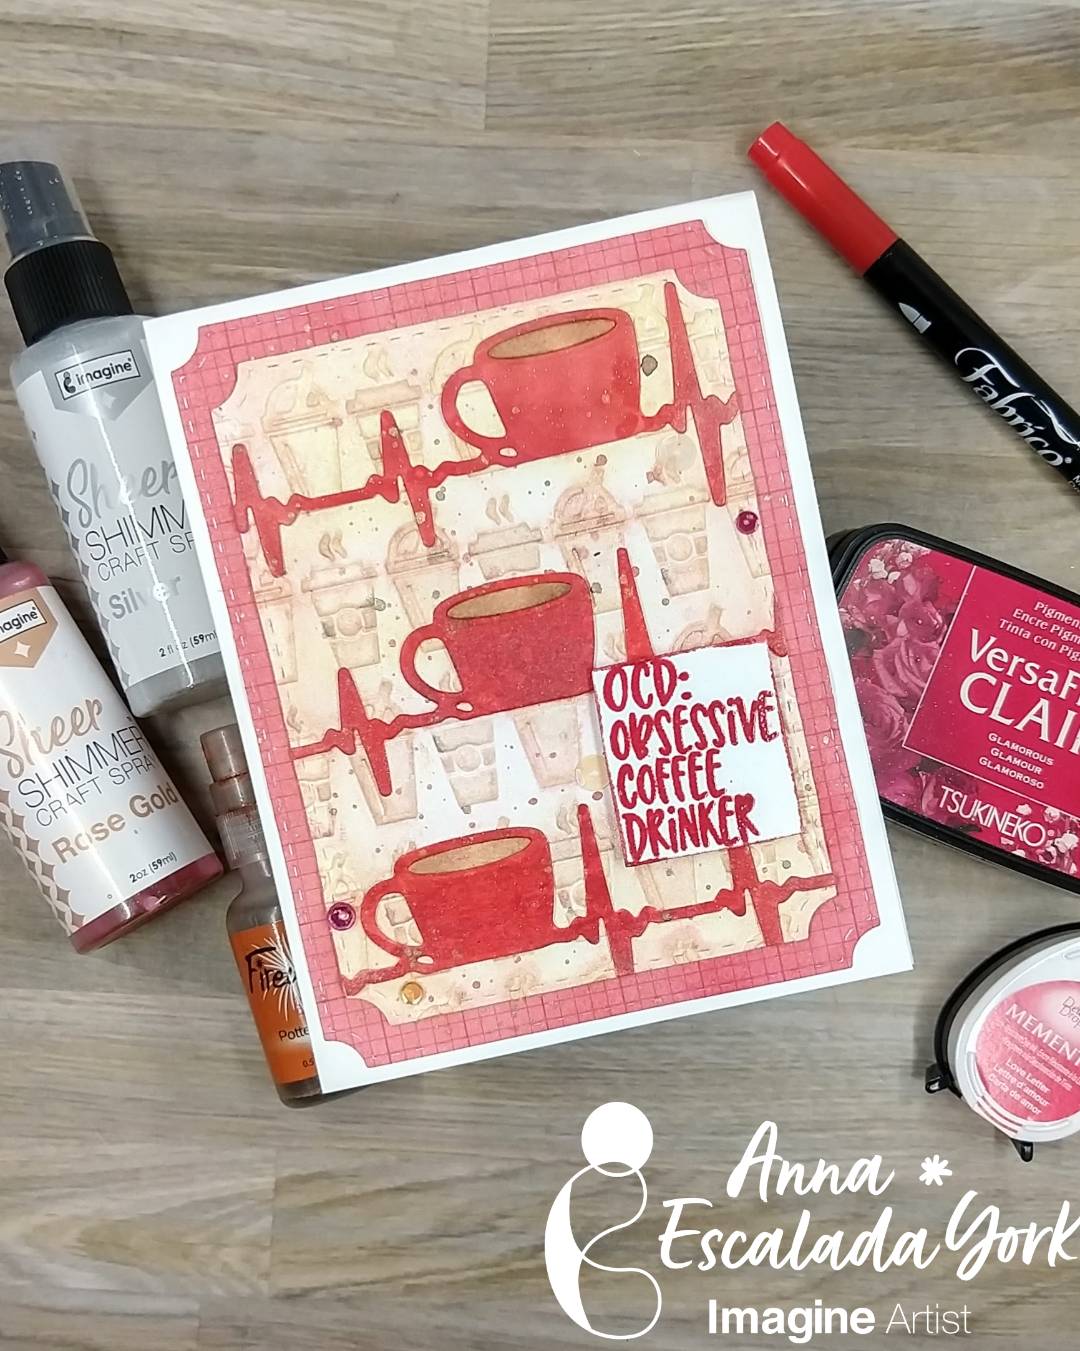
As a coffee addict, I love making coffee-themed cards. I had fun using Memento markers and Fireworks! Sprays to help color the coffee cups and the background.
Skill: Intermediate
Time: 2 hours (including dry time)
Directions:

Step 1:
Stamp both coffee cups onto a piece of watercolor paper with Nocturne VersaFine Clair ink. Heat emboss them with clear embossing powder.

Step 2:
Use Champagne Delicata Ink to add color to the project.
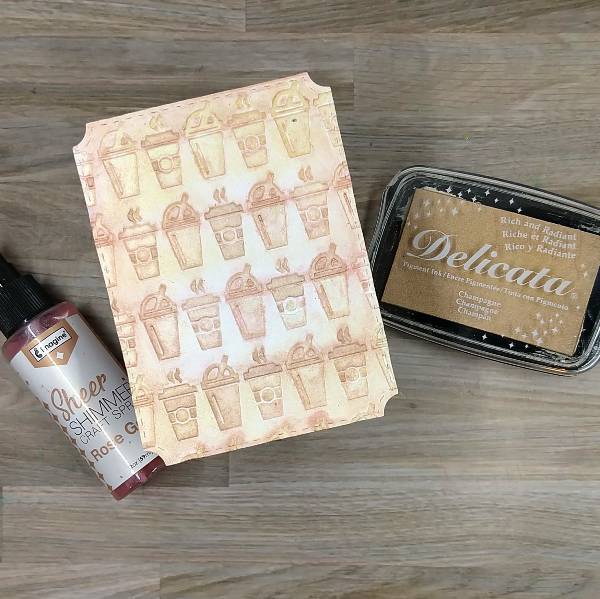
First, use Champagne Delicata Ink to stamp a larger watercolor panel with a background stamp. Heat emboss the Champagne Delicata Ink with clear embossing powder.
Then, press the Champagne Delicata Ink onto a piece of clear acetate and spray the acetate with water to liquify the ink. Use the shimmery watercolor to paint the lid of the taller (portable) cup as well as the cup and saucer of the smaller cup.

Step 3:
Color in the two stamped images with a variety of Memento and Fabrico Markers.
● The orange flowers on the taller (portable) cup and mug: Color the outside petals with Tangelo Memento Dual Marker. Then scribble some Rose Bud Memento Dual Marker on acetate and spray with water. Use the pink watercolor to paint the whole flower (including the outer petals which were already colored).
● The central pink flower on the mug: Color the outer petals with Rose Bud Memento Dual Marker. Then watercolor the center of the flower with more of the pink watercolor used to color the orange flowers (created by mixing water with Rose Bud Memento Dual Marker.
● Leaves: Color the leaves on both images with Emerald Fabrico Dual Marker.
● Portable (taller) cup and the mug’s rim: Scribble Lilac Posies Memento Dual Marker on acetate. Then press Champagne Delicata Pigment Ink onto the acetate next to the
marker. Spray both with water and mix the three to create a shiny light purple color and paint the cup. Then paint the decorative rim of the mug.
● Sleeve: Scribble Pistachio and Desert Sand Memento Dual Marker onto a different part of the acetate and spray with water. Mix the two colors together and mix with more of the Champagne Delicata Pigment Ink mixed with water. Watercolor the sleeve with the resulting mixture.
● Coffee in the smaller mug: Scribble Potter’s Clay Memento Dual Marker on the same acetate and spray with water. Mix with more of the Champagne Delicata Ink and paint the coffee in the cup with the mixture.
Once everything dried, die cut both images with their corresponding dies.

Step 4:
Spray the watercolor panel, starting with Potter’s Clay Fireworks! Craft Spray over the majority of the upper half of the panel. While the spray is still wet, lightly spray the panel with Rich Cocoa Fireworks! Craft Spray. Use a paper towel to dab off unwanted spray. Then spray Lilac Posies Fireworks! Craft Spray on isolated areas of the panel. Prop the panel vertically while it dries so some of the spray drips down the panel. Allow to dry.

Step 5:
Scribble Lilac Posies Memento Dual Marker on the acetate. Press Champagne Delicata Ink onto the acetate and spray with water again. Mix the two together and watercolor one more time
on the space in between the body and the handle of the cup so that it more closely matches the background panel. Allow to dry.

Step 6:
Stamp the sentiment from the same sentiment as the cups with Nocturne VersaFine Clair Ink on watercolor paper. Heat emboss with clear embossing powder. Trim the sentiment strip in the paper trimmer. Then press the sentiment strip’s edges into the Champagne Delicata Ink and heat emboss again with clear embossing powder.

Step 7:
Die cut a piece of vellum with a mid-sized circle die. Then die cut a piece of black cardstock or black watercolor paper with a die just a little larger than the sprayed background panel.
Press the edges of the stamped and sprayed background panel into the Champagne Delicata Ink pad and heat emboss with clear embossing powder.
Assemble the card. Glue the larger (portable) cup onto the right side of the vellum circle. Glue one layer of scrap cardstock onto the right side of the smaller mug and add foam tape behind the left side of the smaller mug. Add glue to the right side of backside of the smaller mug. Then attach the mug to the vellum. The left side of the cup (with the foam tape) directly touches the vellum and the right side of the mug overlaps the taller mug. Add glue on the backside of the
vellum, making sure to only add glue to the parts of the vellum that will be covered by the two cups. Then add the vellum and cups to the card. Scribble Tuxedo Black Memento Dual Marker onto acetate and spray with water. Cover the cup and vellum with a scrap piece of paper to protect them. Splatter the panel with the Tuxedo Black marker mixed with water and allow to dry. Adhere the sentiment to the panel with foam tape. Glue the whole thing onto the black matte panel. Then glue the whole thing onto an A2-sized card base. To finish the card, glue embellsihments around the coffee cups.
Art Supplies
Imagine
• Delicata Pigment Ink – Champagne
• Fabrico Dual Marker – Emerald
• Fireworks! Craft Spray – Lilac Posies, Potter’s Clay, Rich Cocoa, Desert Sand
• Memento Dual Marker – Lilac Posies, Pistachio, Potter’s Clay, Rose Bud, Tangelo and Tuxedo Black
• VersaFine Clair Ink – Nocturne
Other
• Altenew – foam tape – Instant Dimension Foam Tape
• Hero Arts – die set – Nesting Circle Infinity Dies
• Pink & Main – stamp set – Java Nice Day
• Pink & Main – die set – Java Nice Day
• Simon Says Stamp – background stamp – Circle Pattern
• Studio Katia – embellishments – Icy Sparkle Crystals
• Waffle Flower – die set – A2 Layers
• Clear Embossing Powder
• Heat tool
• Glue
• Watercolor paper
• Black watercolor paper
• Vellum
• Water