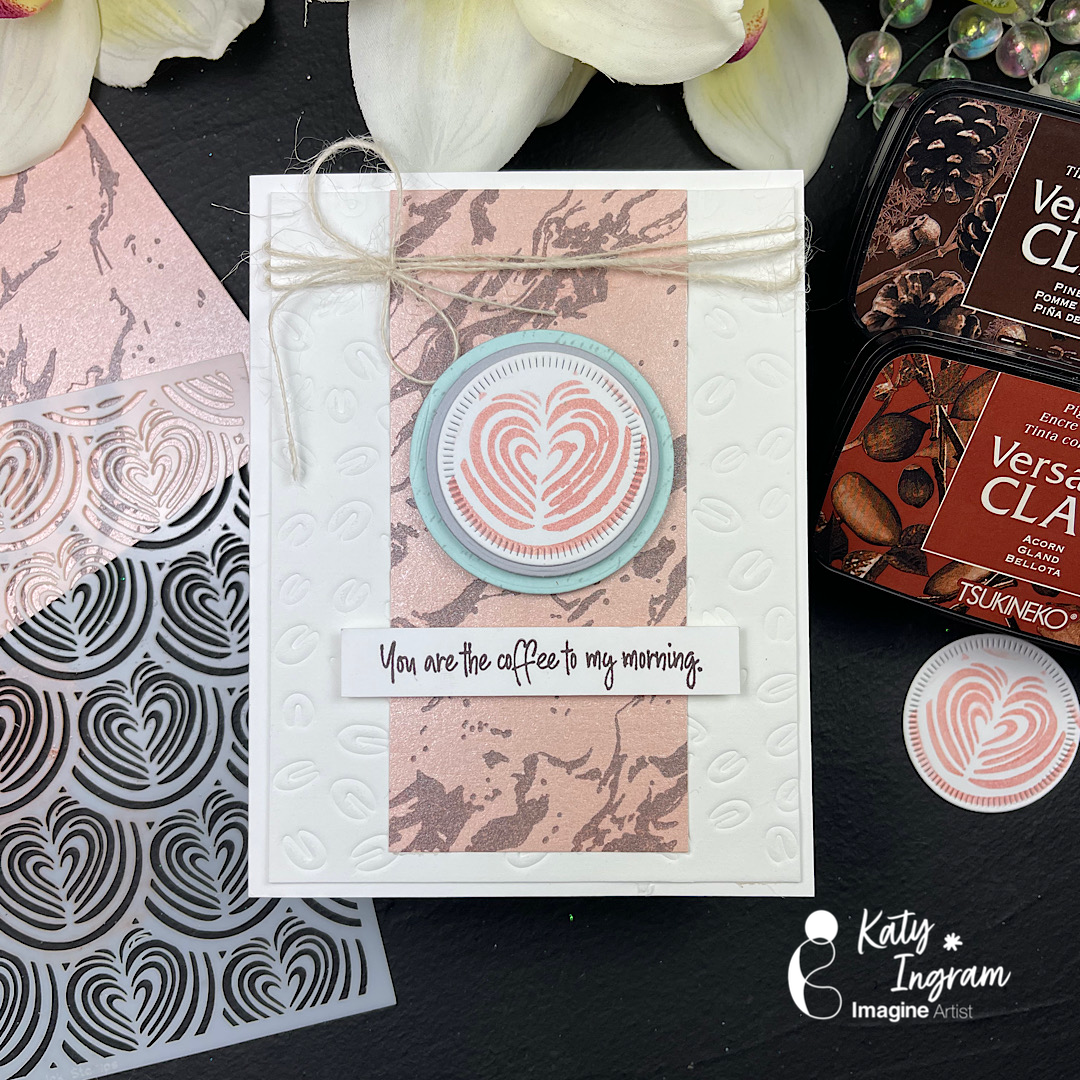
Hello Friends! Katy here with another quick project. I love trying new things with my inks and in this video I realized something great about using VersaFine Clair Inks with my BetterPress System and Shimmer Cardstock, you know the one that has a coating and is very smooth.
This particular cardstock is very hard to stamp with any kind of pigment ink because it never really dries. However; using the Betterpress System and pressing the ink into the paper it’s like it forces the ink to absorb. The best part, no smudging!
I personally don’t make coffee themed cards regularly, but I know others do and I hope this gives you some inspiration if you are a coffee card maker.
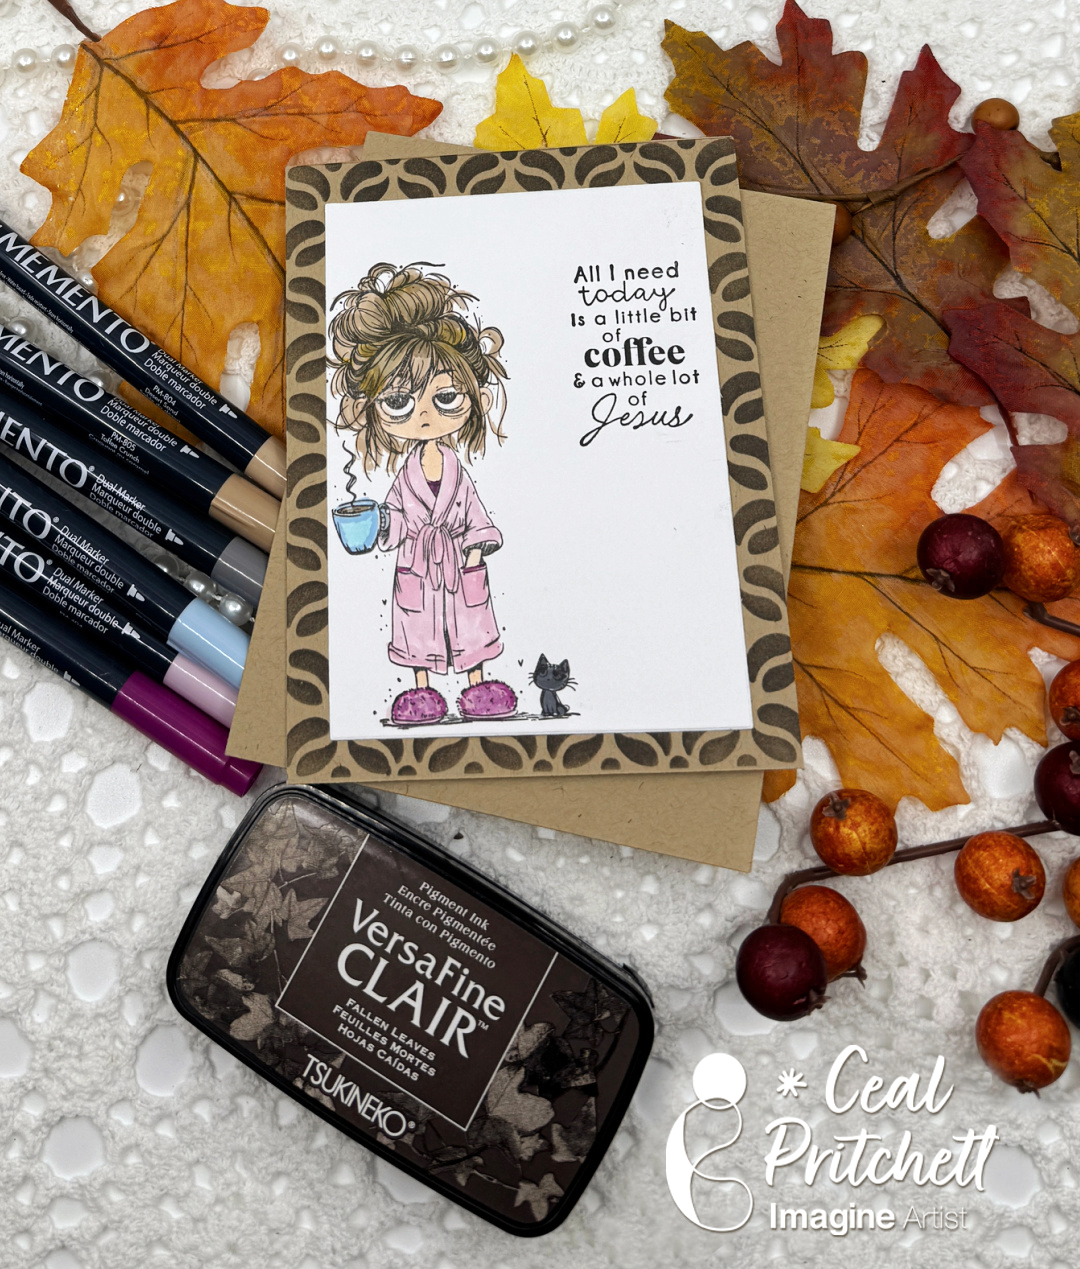
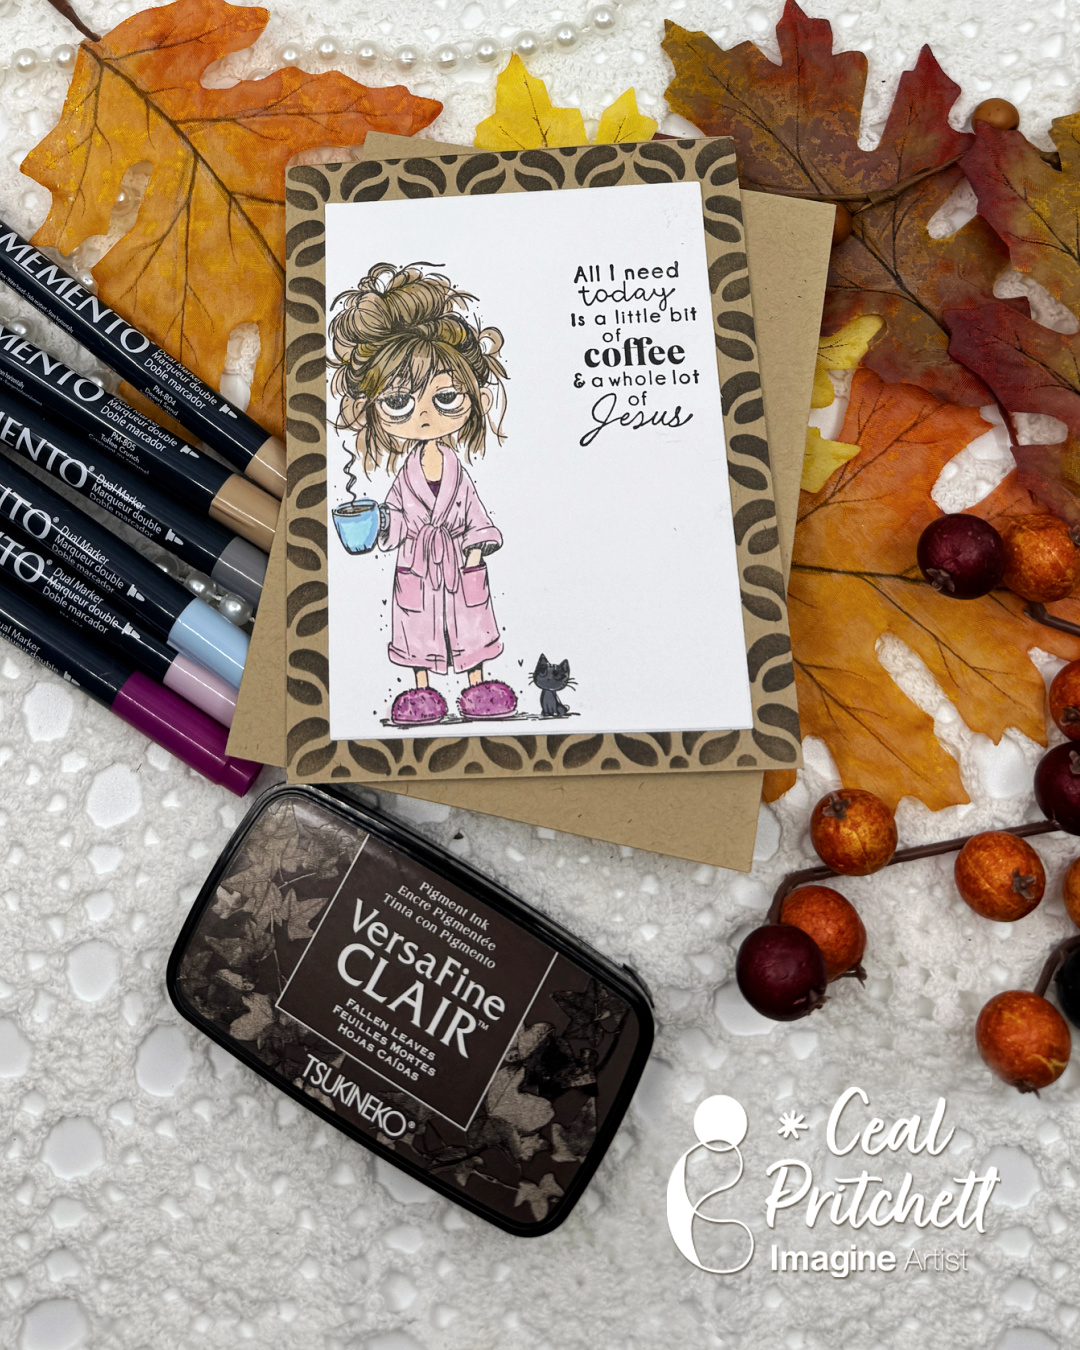
Hello friends! It’s Ceal, here. Today I am sharing a coffee card. This totally looks like me on a Monday morning.
Skill: Beginner Time: 30 minutes
Directions:
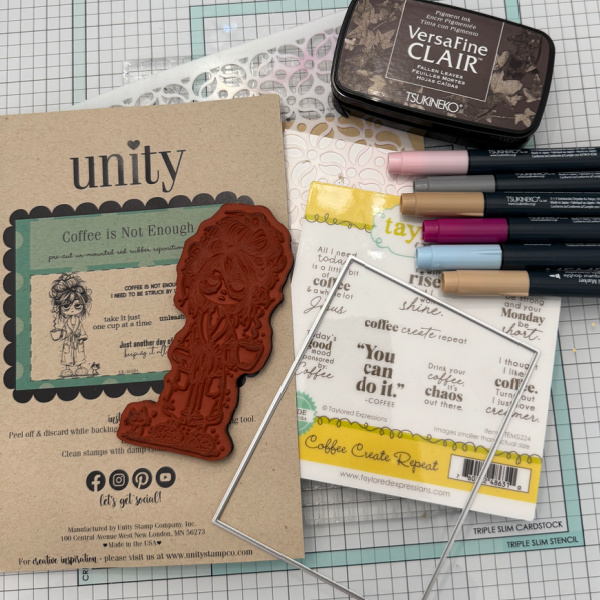
Gather your supplies. You will need a coffee stamp, a sentiment set, markers, dark brown ink and a stencil for the background.
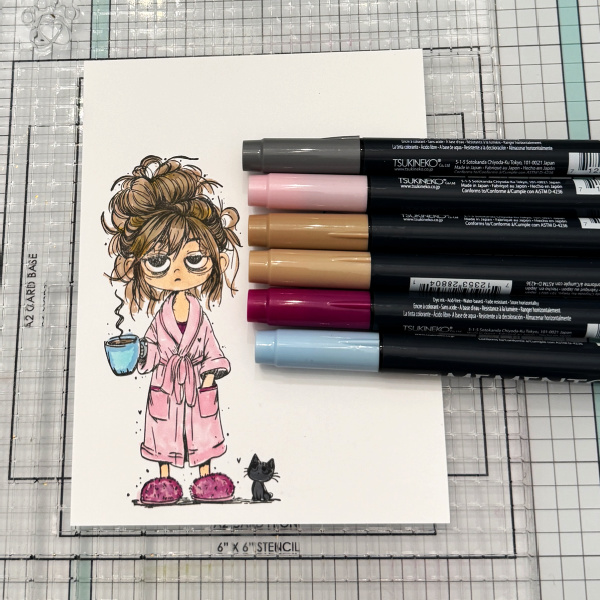
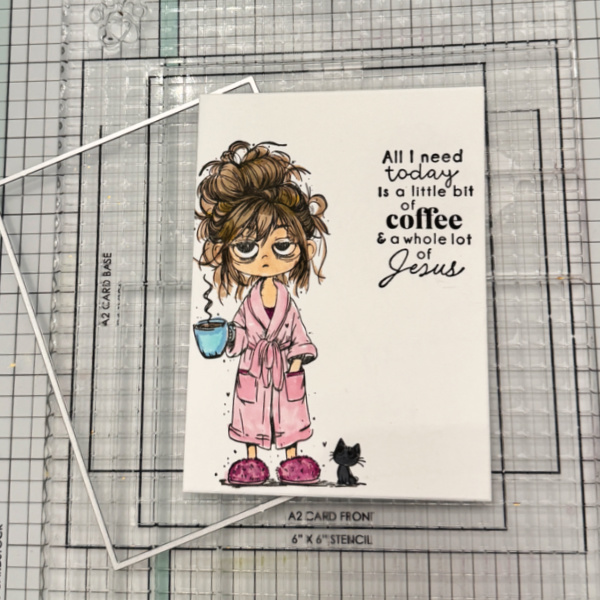
Step 1: Stamp the image and color it in with markers. I used Toffee Crunch and Desert Sand for her hair, Angel Pink and Lilac Posies for her outfit, Summery Sky for the coffee cup and Gray Flannel for the kitty.
Step 2: Cut the panel down and add sentiment.
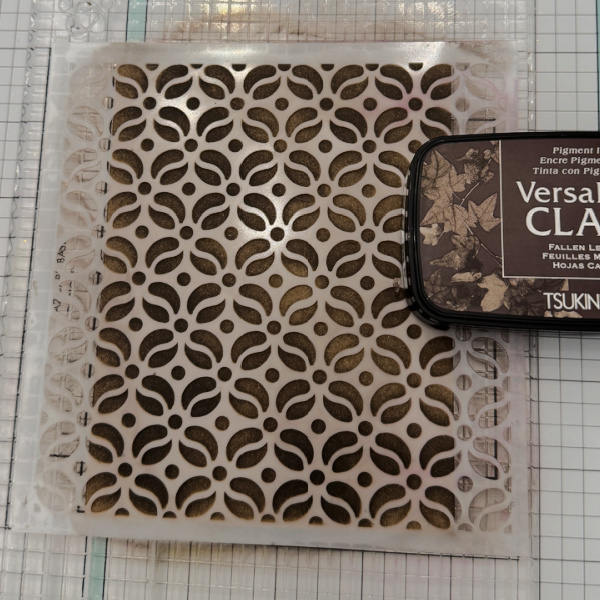
Step 3: Cut a panel of Kraft cardstock to A2 size and use a dark brown (I used Fallen Leaves) to color in the stencil for the background. Add the background panel and the image panel to the card base.
Other supplies: • Coffee is not Enough Stamp Set – Unity Stamp Co • Coffee Create Repeat Stamp set – Taylored Expressions • Coffee Bean Flower Stencil – Ink On 3 • Rectangle dies – Hero Arts • Grip mat – Simon Says Stamp
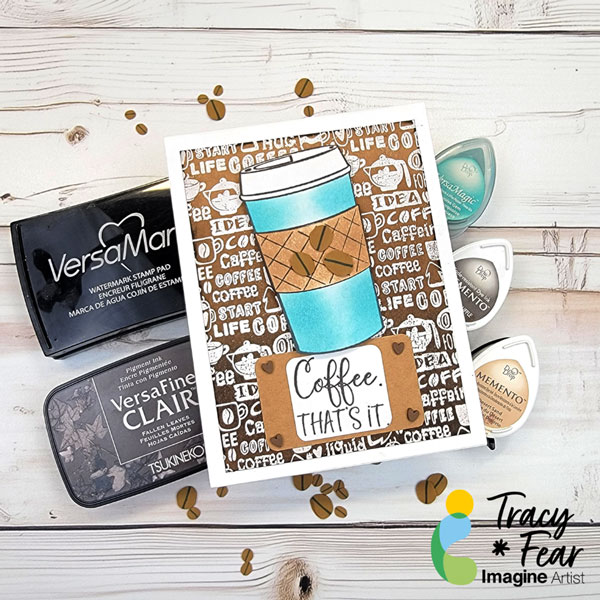
Other Products Used • Coffee Background Stamp and Coffee Cup stamp from Technique Junkies • 120lb paper in white and Kraft • Foam Tape • Misti tool • PVA Adhesive • White Super Fine Embossing Powder
ALTERNATIVE PRODUCTS THAT CAN BE USED TO RECREATE SOMETHING SIMILAR Any Inks any combination of background stamps and feature stamps To learn how to create your own dressed up box click here!
Hello crafty friends! It’s Ceal, here. Today I’m sharing a fun card using this humorous stamp and water coloring it with Memento Inks.
Skill Level: Beginner Time: 30 minutes
Directions: Gather your supplies. You will need a outline stamp, I used one by Unity Stamp Co. You will need several colors of dye inks. The inks must be a dye ink like Memento to react with water. You will also need a pigment ink VersaFine Clair to stamp the image so it will not react with the water. The last thig you will need is a water brush or paintbrush.
Step 1: Stamp the image using VersaFine Clair Nocturne ink
Step 2: Using a Water brush, color in your image. I used Peanut Brittle and Cantaloupe Memento ink for the kitty
Step 3: Using a water brush finish coloring your image. I used Teal Zeal to color the coffee cup.
Step 4: Using a stitched die, cut out the panel and stamp the sentiment under the image. To finish the card, I used a piece of patterned paper as a mat and adhered the panel to it and then t the base.
Other Supplies: Neenah Classic Crest Solar White 120Lb Neenah Classic Crest Solar White 80lb Patterned Paper from Lawn Fawn MISTI Stamp Platform – My Sweet Petunia Pissy Kitty Stamp Set – Unity Stamp Co Stitched Rectangle Die – My Favorite Things
Hello crafty friends! In today’s project, we are going to use Memento inks to make this fun watercolor coffee card.
Skill: Intermediate Time: 15 minutes
Direction:
Step 1 First, cut out a piece of mixed media paper or watercolor paper.
Put it in the stamping tool and secure it with magnets. Using a stamping tool is recommended for stamping multiple times on the same spot.
For this watercolor multi-color technique, using a solid stamp will give better results. Add the stamp on the paper and then pick it up with the stamping tool lid.
Add each Memento ink on the stamp using a sponge dauber. Blend the color as you add it to the stamp. You can repeat this step for couple times until you get the best color blending you like.
Step 2 After getting the color blending you like on the stamped image, remove it from the stamping tool.
Dab each color on the craft mat and lightly spray it with water. Pick up each color with a brush and add it to the watercolor paper around each matching color to make it look like the color bleeds out and spread on the paper.
After that, pick up the watercolor paint again, and add some lightly splatters around each color. Dry the watercolor coffee mug image with a craft heat gun.
Step 3 When the watercolor image is dry, cut it with a rectangle die. Or you can use any frame or nesting die you have in your stash.
This is the background mat for the card.
Step 4 Add some of the Tear It! Double-sided tape on the back of the cut out background mat. Make sure to cover each edge to get a better result and flatten the mat on the card.
Remove the adhesive paper and add the background mat on the card. Firmly press to smooth out the paper on the card and the adhesive will stick permanently.
Step 5 You can embellish the card with some gems or sequins.
On Point Glue is the best glue to add some sequins on this card. It dries permanently right away on dry surface like on this card background.
Simply just dab a dot of glue on the craft mat, pick up a sequin with tweezers, dib it into the glue lightly, and add it to the card.
Love how this card turned out. Simple, quick, and fun technique to add texture watercolor look background using multiple color inks on the stamped image.
Also, this is a mail-friendly card you can send out to your coffee-loving craft friend at any time.
I hope you’ll like the watercolor coffee card today and give this technique a try with your own twist. Thank you for stopping by our blog today. Have a fabulous day!
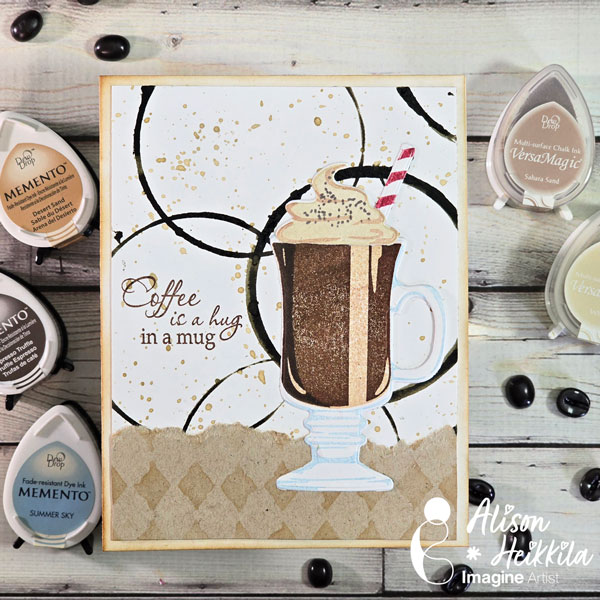
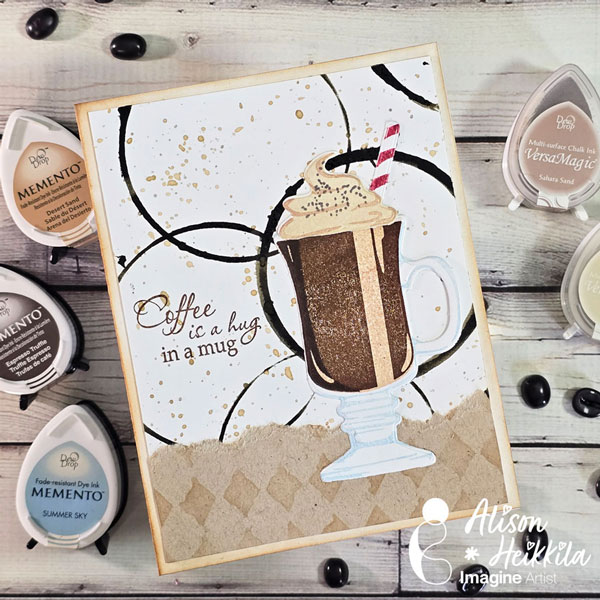
Hello! I’m Alison Heikkila and I have a fun coffee-themed card to share today that uses a bunch of inks from Imagine and an unexpected tool. I hope you get some ideas for how you can create this card in your own way.
*Some affiliate links are used in this post. That means that if you shop through these links, I may receive a small compensation, at no cost to you.
Skill Level: Intermediate Time to Complete: 30 Minutes, plus drying time
That was fun! I hope you enjoyed all of these different techniques. I’ll have another video for Imagine soon. Thanks so much for stopping by. Have an inspiring day!