By Anna Escalada York
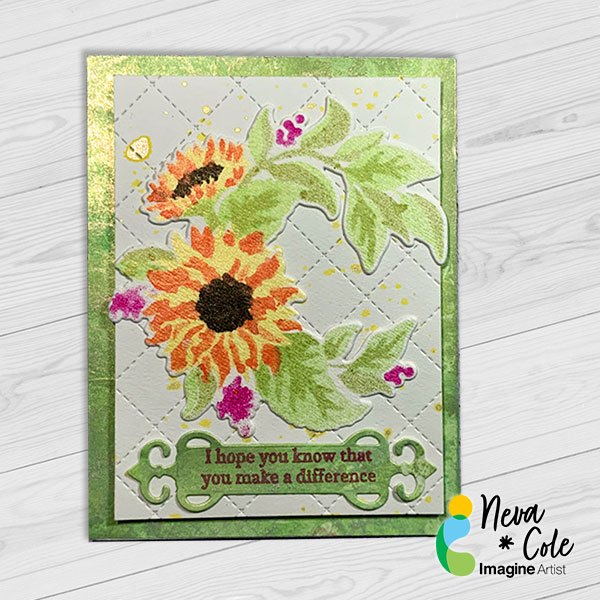
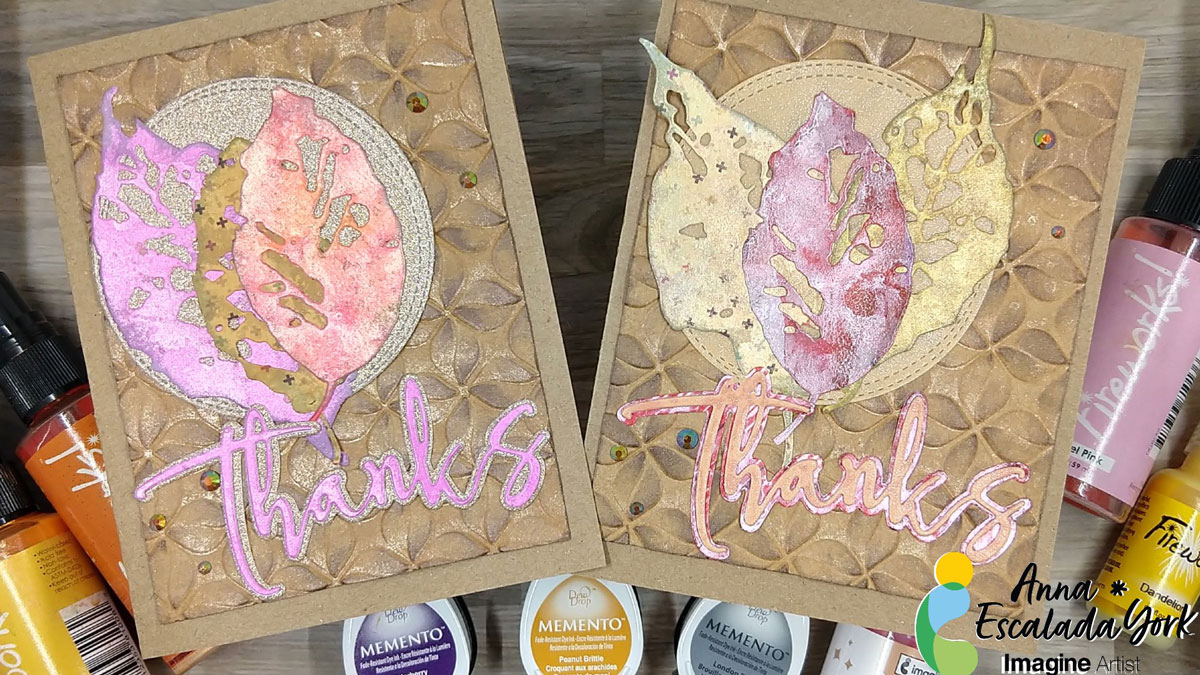
To me, Thanksgiving is mostly about food but also an excuse to say thank you to those people who are a part of my personal and professional life. So I decided to make a thank you card to let people know that I am grateful for them. I decided to use some paper scraps because I always have too many and to enhance them with sprays or ink to transform them. At first, I was planning on making one card with a lot of leaves, but changed my mind after die cutting the leaves, so ended up making two.
Skill: Intermediate
Time: 1.5 hours
Directions:
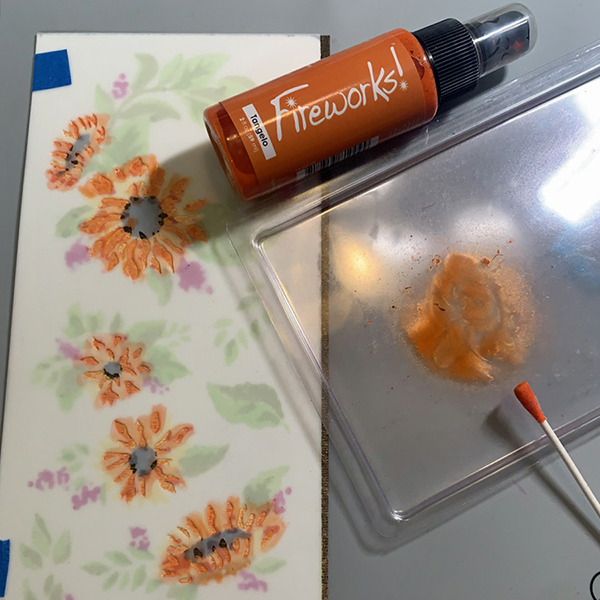
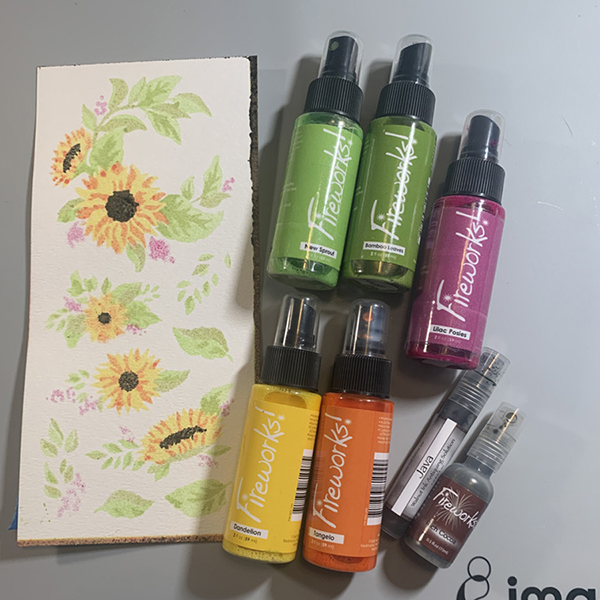
Step 1:
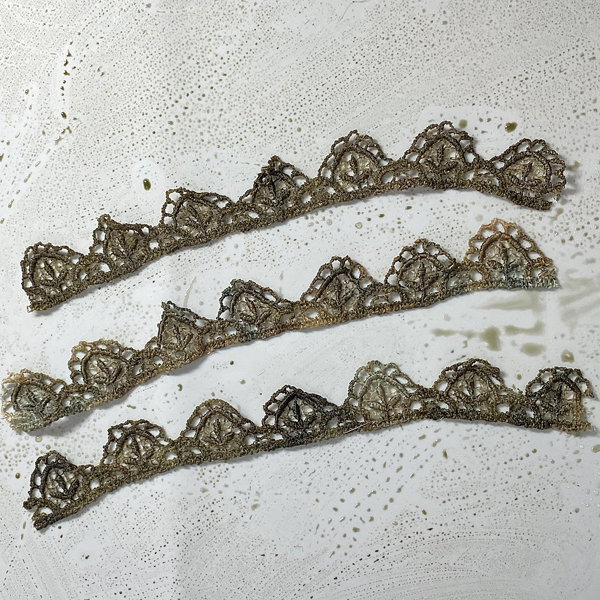
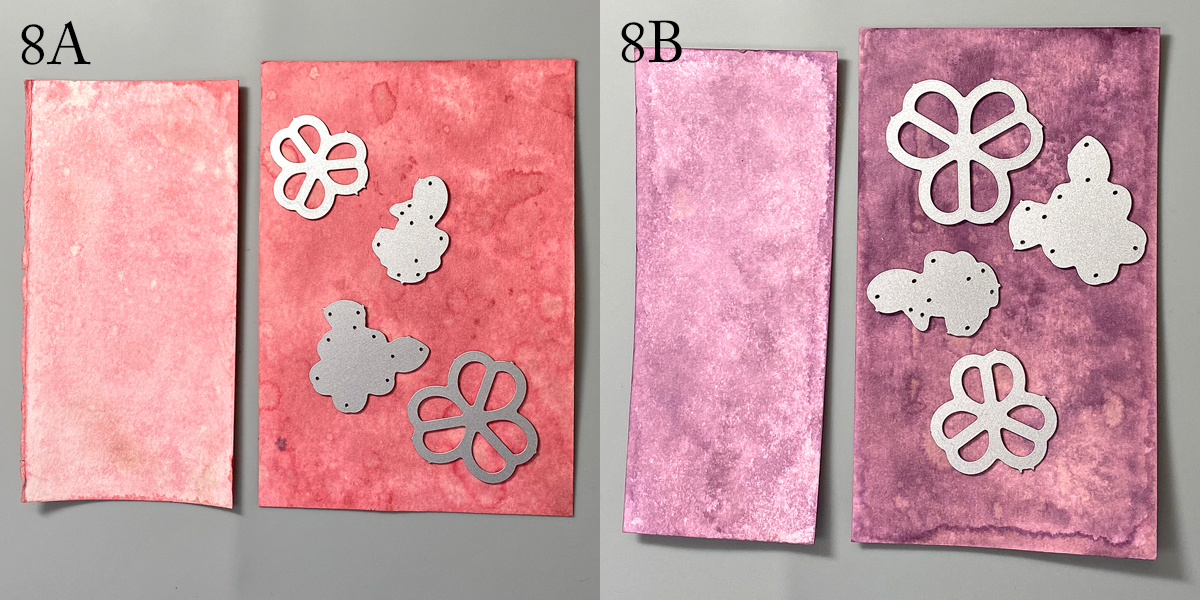
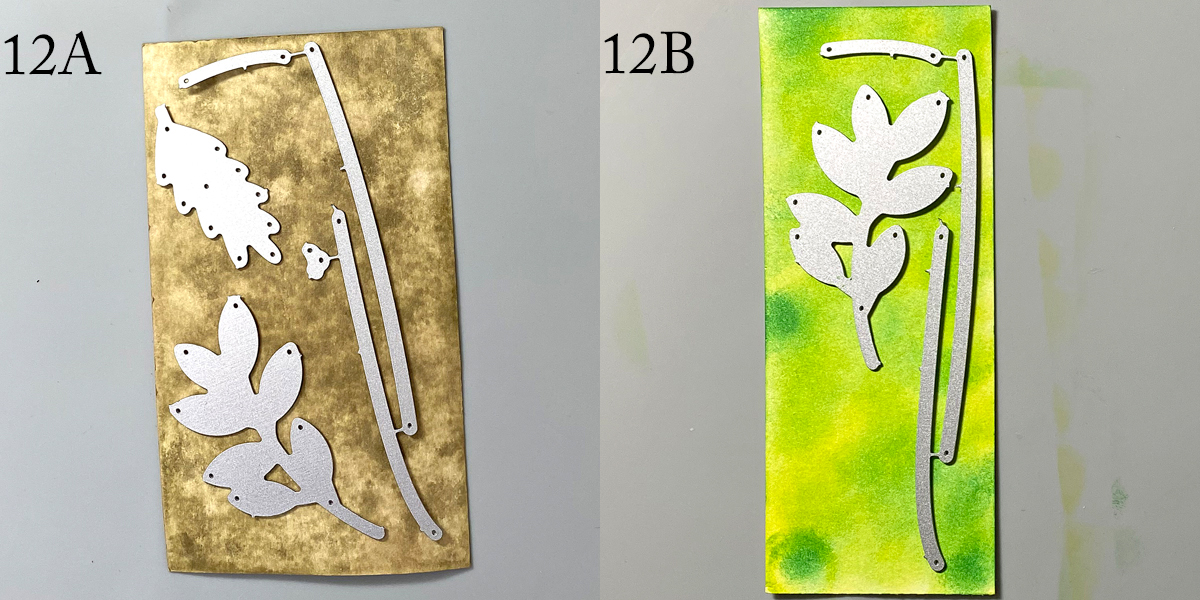
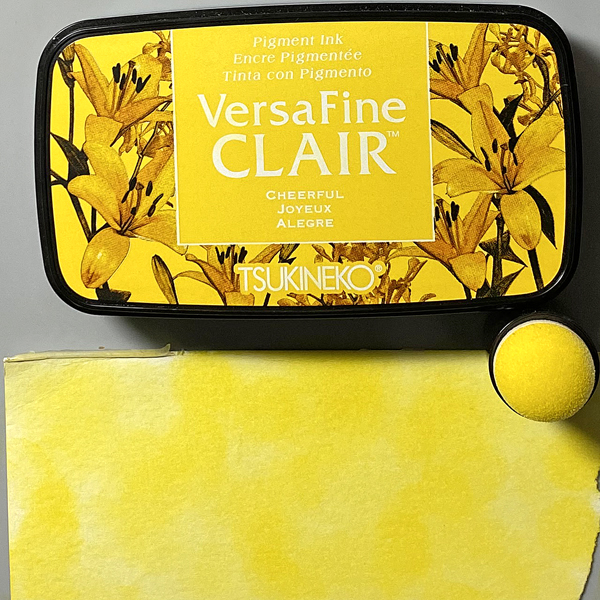
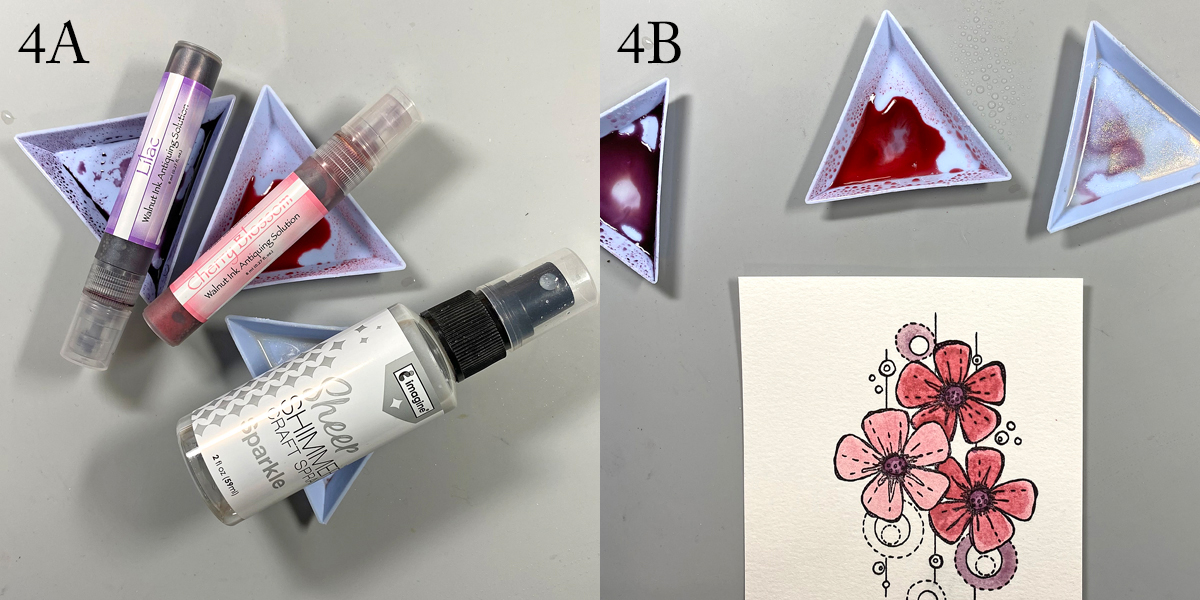
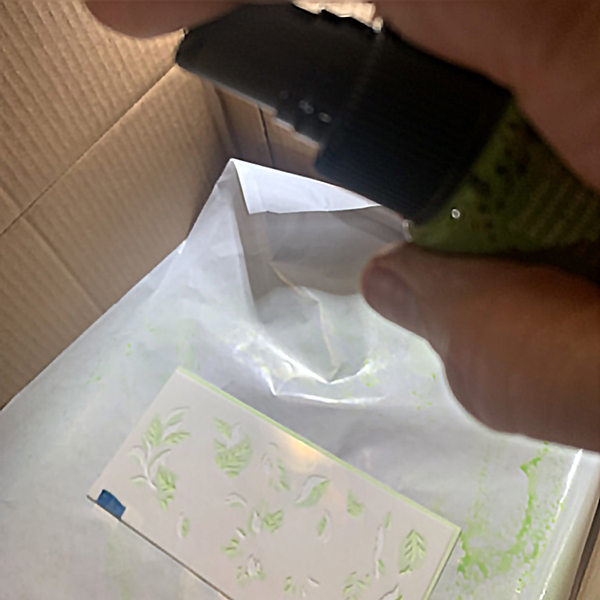
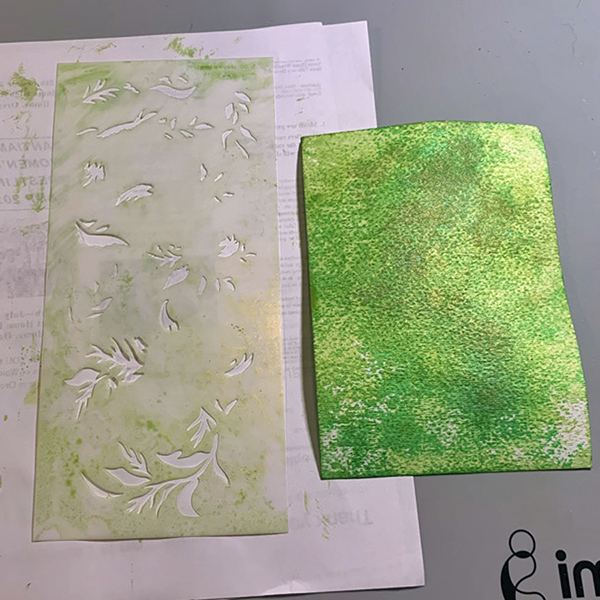
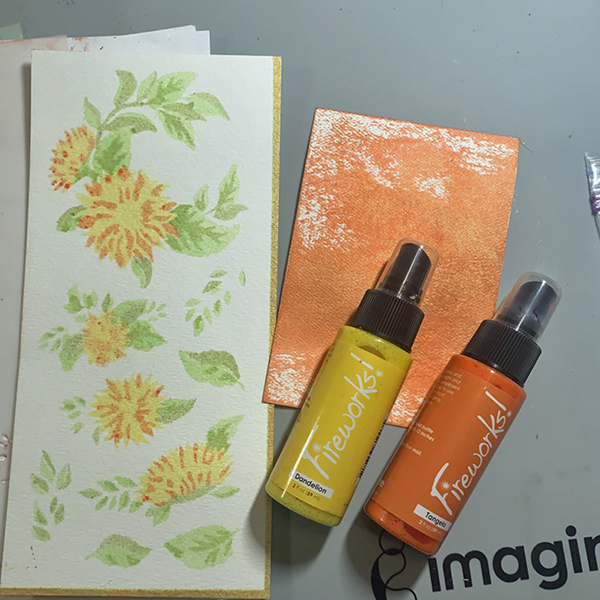
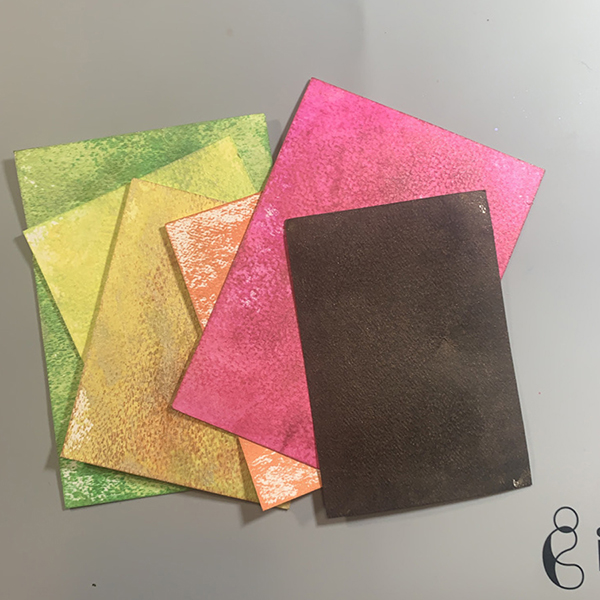
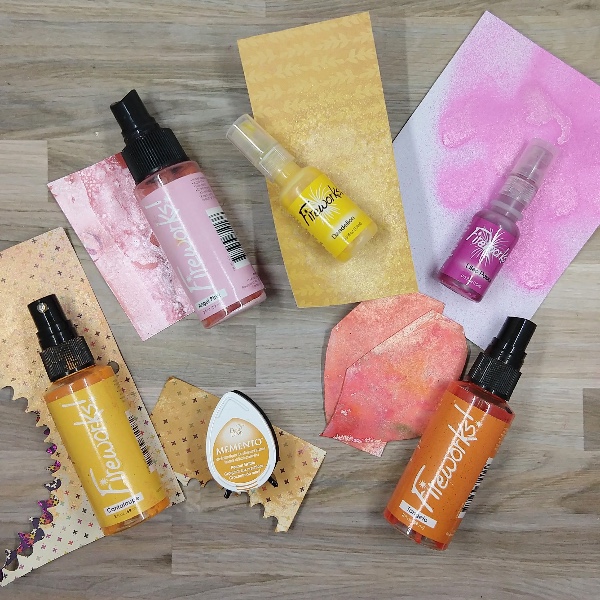
Pull out some scraps of paper from your stash and a variety of sprays and ink. Spray the scraps with the sprays. My scraps were colored with Cantaloupe, Angel Pink, Dandelion, Lilac Posies, and Tangelo Fireworks! Craft Sprays as well as Peanut Brittle Memento Ink. After the spray dried, die cut the scraps of paper with leaf dies. Reserve some of the sprayed paper for later.
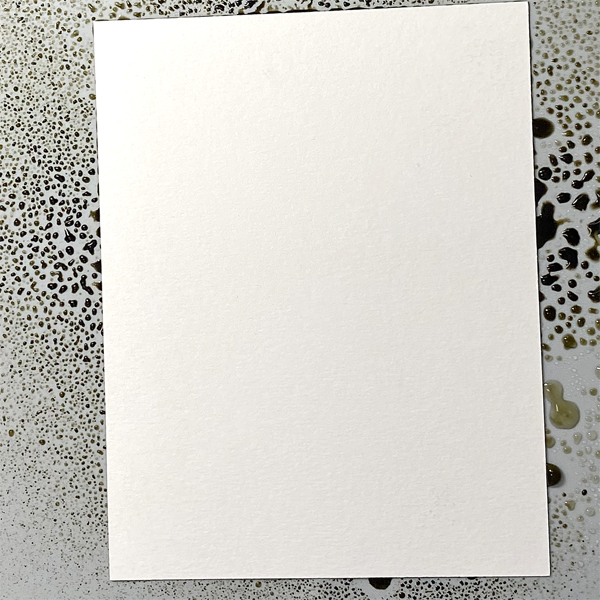
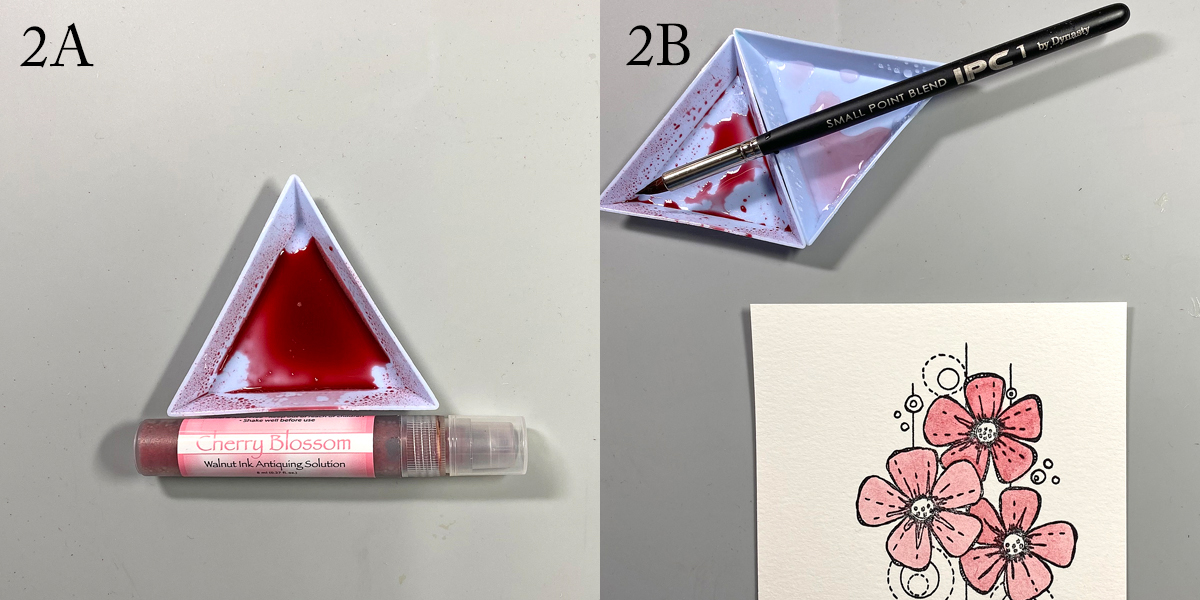
Step 2:
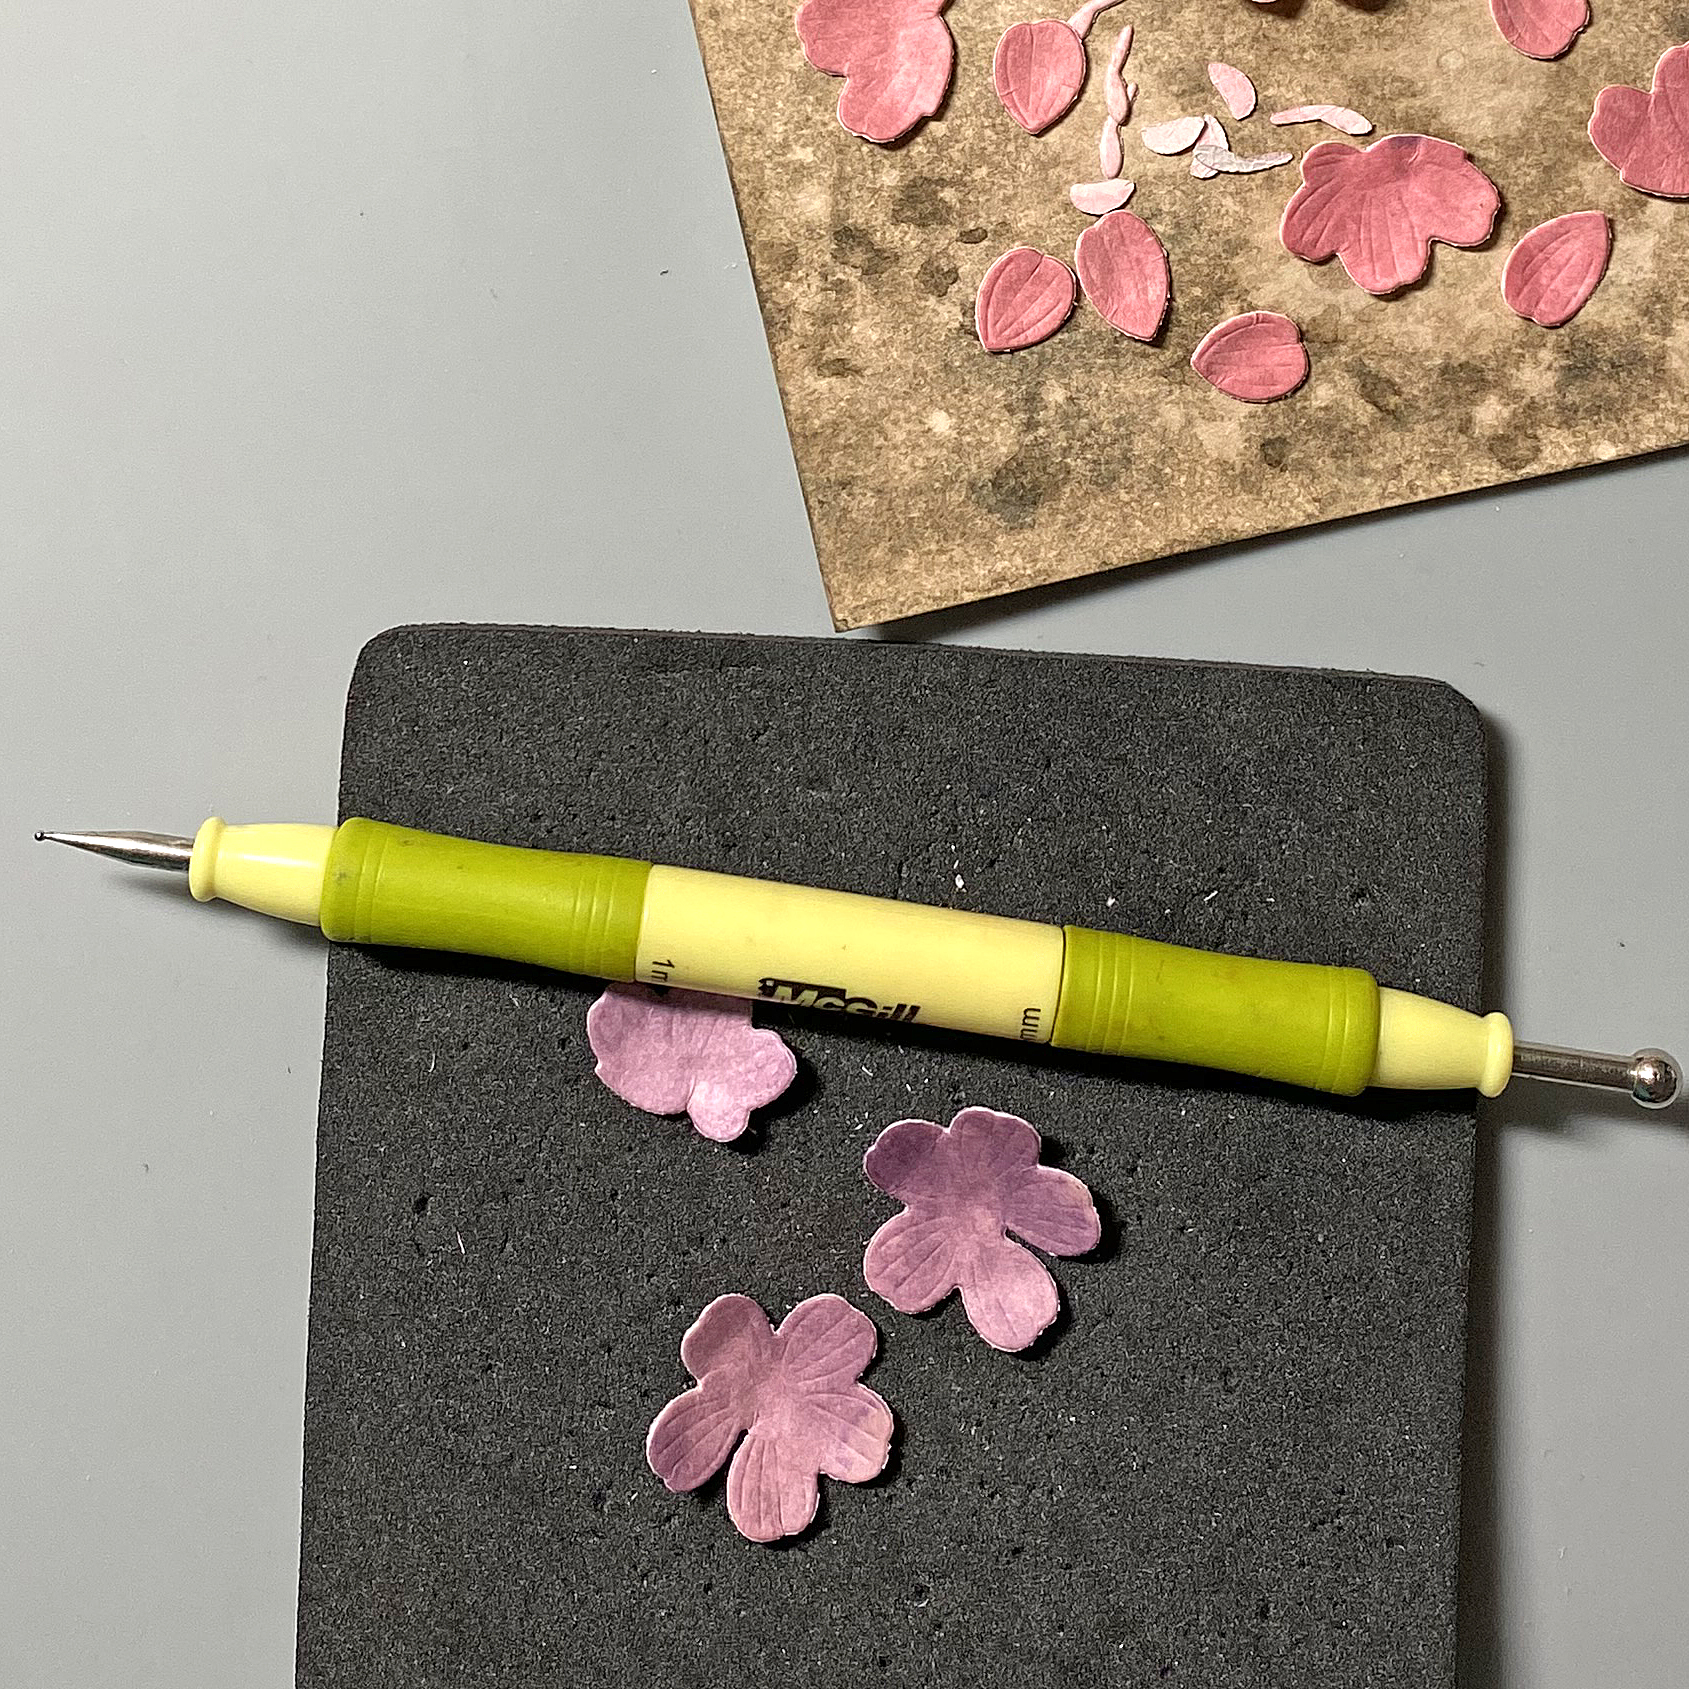
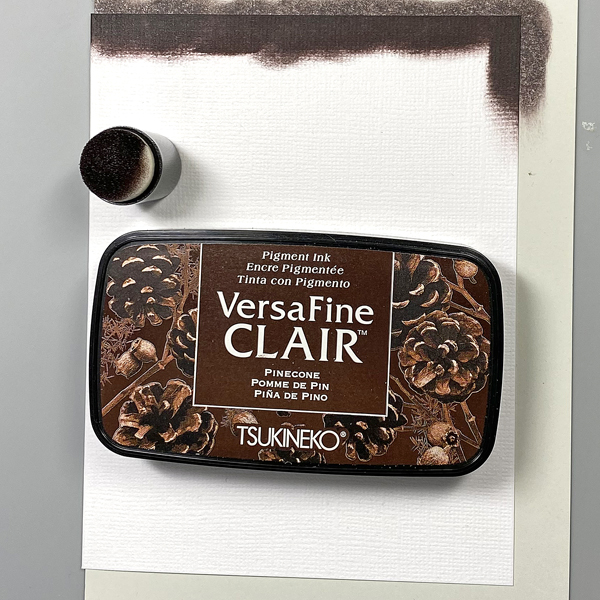
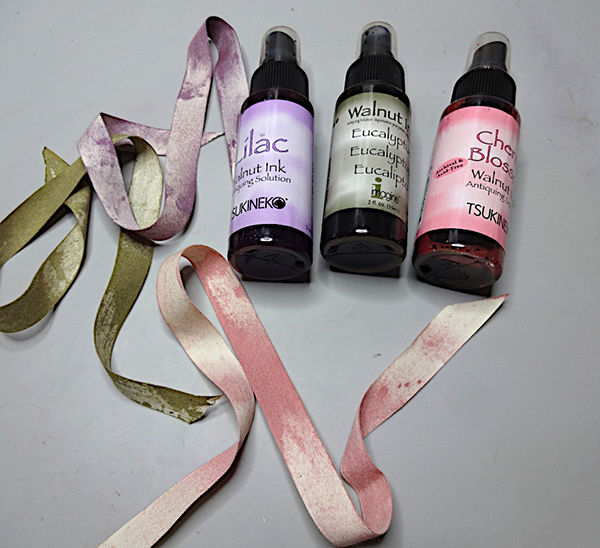
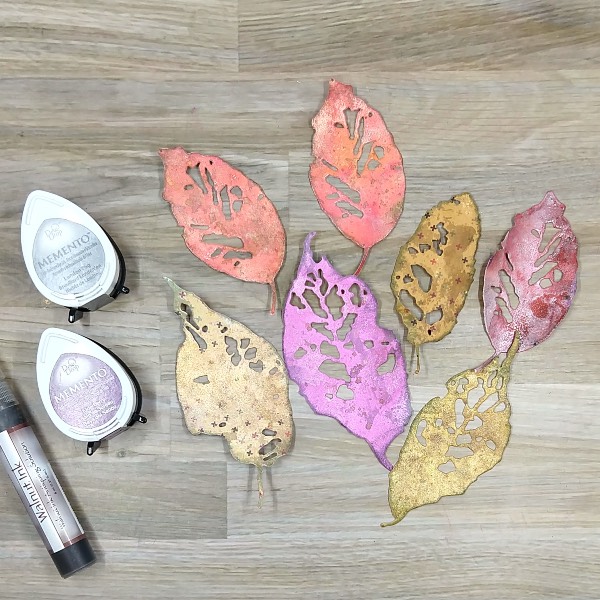
Press Walnut Ink colored Walnut Ink Antiquing Solution as well as Elderberry Memento ink onto acetate packaging. Add water to the different parts of the acetate and splatter the die cut leaves with the Elderberry Memento ink. Then watercolor smoosh the leaves with both the Elderberry Memento ink and the Walnut Ink Antiquing Solution. After the leaves dried, rub the edges of the leaves with the London Fog Memento ink pad. Allow everything to dry again.
Step 3:
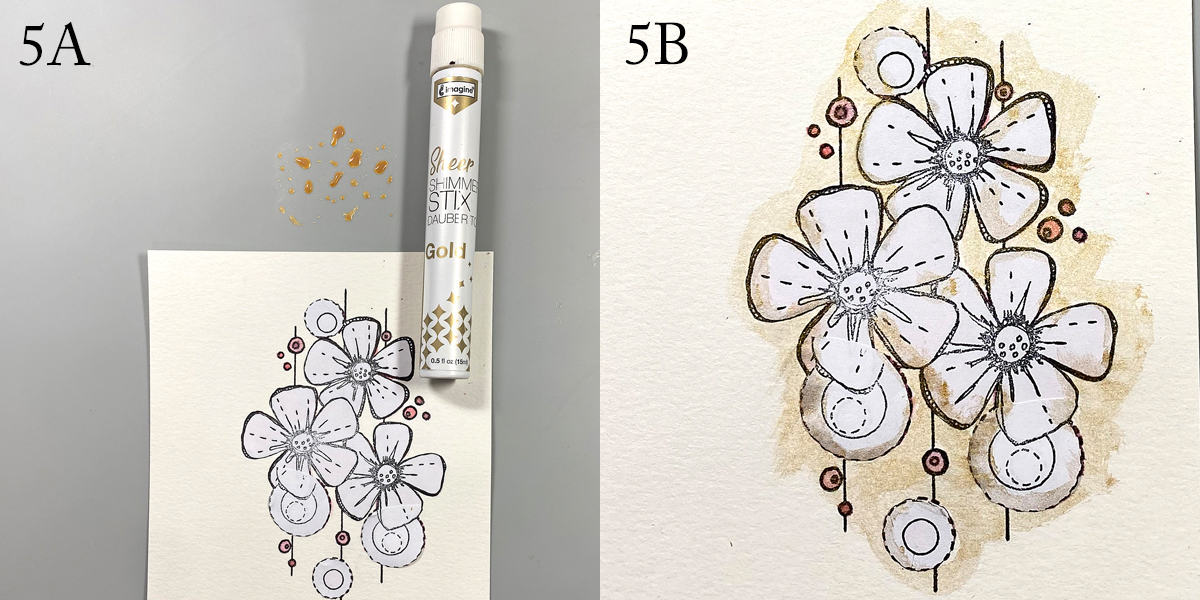
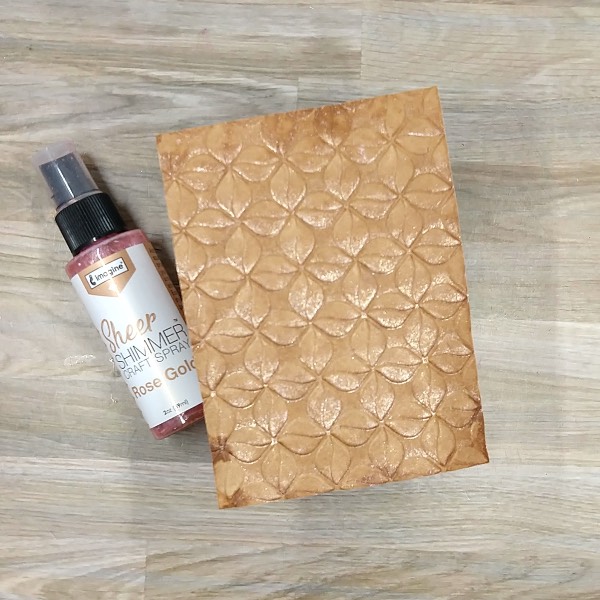
Trim a piece of kraft cardstock with a paper trimmer to about 5 x 3.75 inches. Then spray Rose Gold Sheer Shimmer Craft Spray directly into an embossing folder. Place the kraft cardstock panel into the embossing folder and then run the whole thing through a die cutting machine.
Allow the panel to dry.
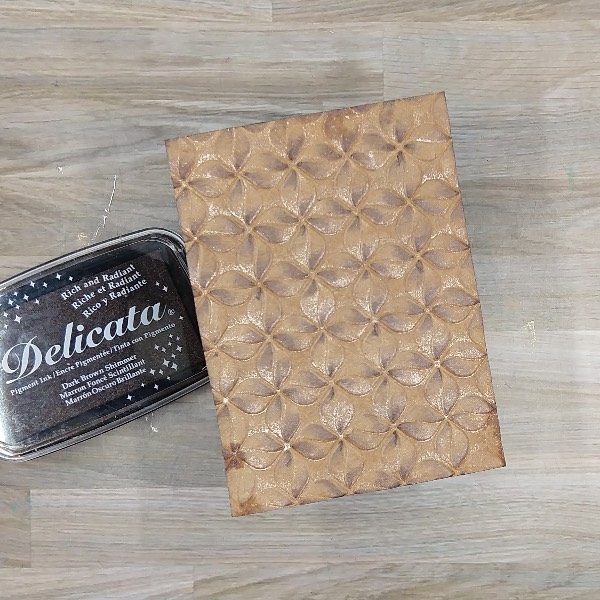
Step 4:
Use Dark Brown Shimmer Delicata ink to add some color to the panel by brushing the panel lightly across the embossed paper. The raised part of the embossed panel will pick up the dark brown ink, while the other areas will be untouched. Then press the edges with the same Dark Brown Shimmer Delicata ink panel to add color to the border.
Step 5:
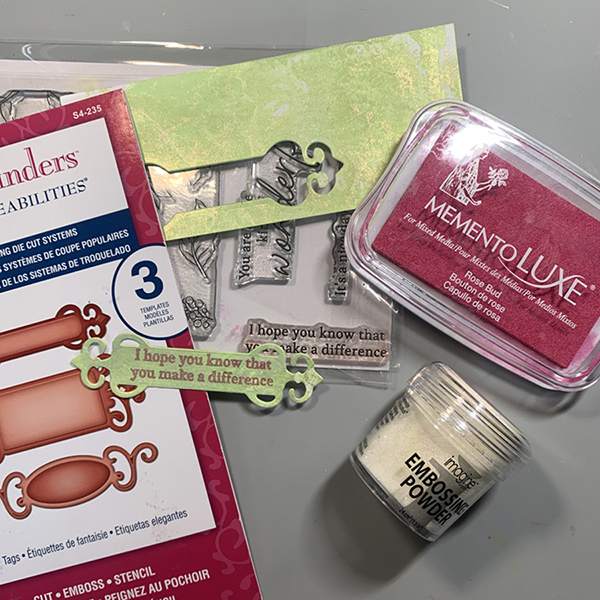
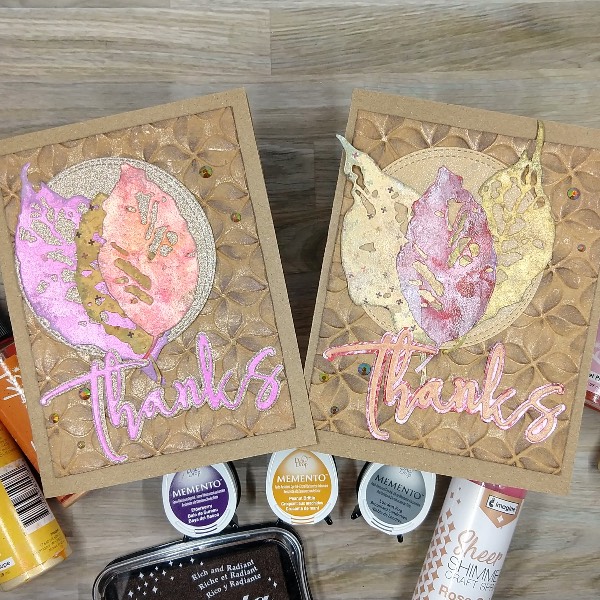
I die cut a scrap piece of rose gold glitter cardstock with a stitched circle die as well as the shadow die of a two-layer sentiment die. In addition, I die cut another piece of the lilac (purple) sprayed cardstock from step 1 with the top layer of the two-layer sentiment die. I also die cut two pieces of scrap cardstock with the same sentiment die. The layers of the sentiment die were glued together to give dimension and then they were glued on the rose gold shadow die cut.
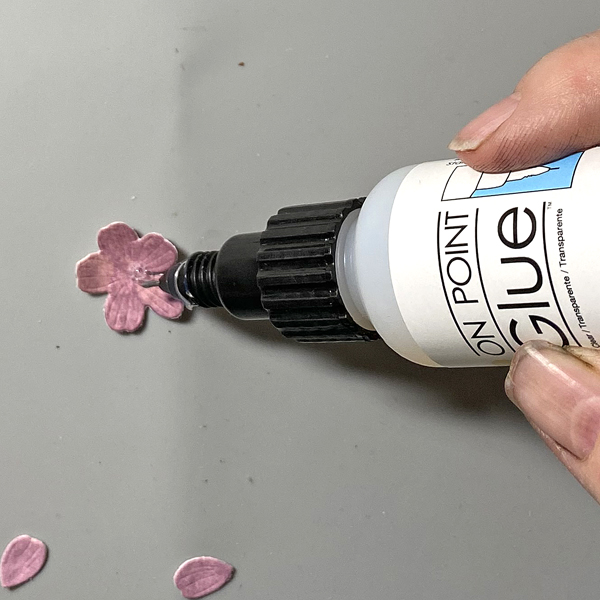
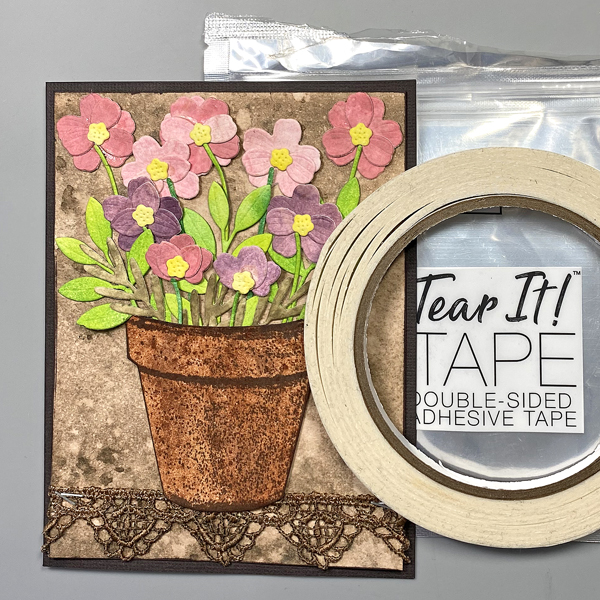
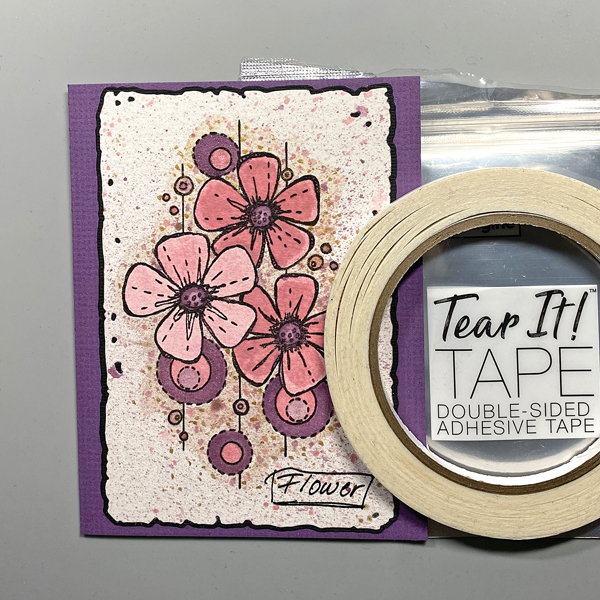
Then the card was assembled. I glued three of the leaves onto the glitter cardstock die cut circle and then glued the whole thing onto the embossed panel. Next, the sentiment was glued onto the panel. Sequins were glued onto the panel. Finally, the whole thing was glued onto a kraft cardbase.
A second card was made with the leftover die cut leaves in the same manner. The only changes were that I used a light orange vellum and some more of the sprayed scrap paper from step 1 to create the die cut circular background and the sentiment.
Art Supplies
Imagine
• Delicata Ink – Dark Brown Shimmer
• Fireworks! Shimmer Craft Spray
– Angel Pink, Cantaloupe, Dandelion, Lilac Posies (retired color) and Tangelo
• Memento Ink – Elderberry, London Fog and Peanut Brittle
• Sheer Shimmer Craft Spray – Rose Gold
• Walnut Ink Antiquing Solution – Walnut Ink
Other Products
• Alex Syberia Designs – die set – Large Thanks
• HAI Supply – embellishments – Cola Crystalline gems
• Simon Says Stamp – Embossing folder Modern Loop
• Sizzix – die set – Leaf Fragments by Tim Holtz
• Circular die
• A2-sized kraft card base Clear Embossing Powder Kraft cardstock
• Glitter cardstock
• Light orange sparkly vellum
• Patterned paper scraps and magazine pages
• Die cutting machine
• Paper trimmer Scissors
• Glue