•When I lose my mojo it helps to just play and experiment with no particular direction or intent; simply allowing the process to guide me. That is where I am at today, so lets play with a bunch of different inks, sprays, embossing folders and a gel plate. Again, our focus is on exploration and discovery versus a completed project. Come back next time to see how some of the backgrounds become finished projects.
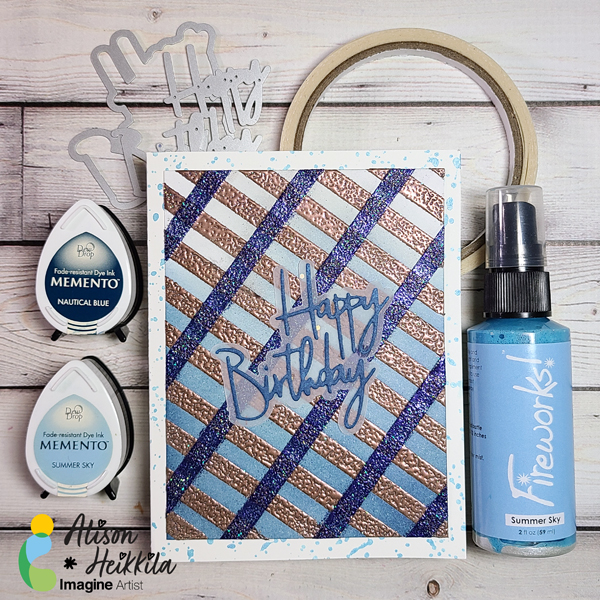
Greetings! One of my favorite products from Imagine is Tear It Tape. That may be surprising, considering all of the fantastic inks and colors they offer. But, Tear It! Tape is an exceptional adhesive that has some cool properties you may not be aware of, namely the fact that it is heat safe. That means you can emboss right on top of it, so I decided to make a plaid, embossed background using it. This doesn’t take too long, but you do need to be precise, which is something I don’t normally try to be when I’m crafting.
*Some affiliate links are used in this post. That means that if you shop through these links, I may receive a small compensation, at no cost to you.For more information, please see my Affiliates page, where I also have some coupon codes.
Time to Complete: Approx. 30-45 Minutes Skill Level: Intermediate to Difficult
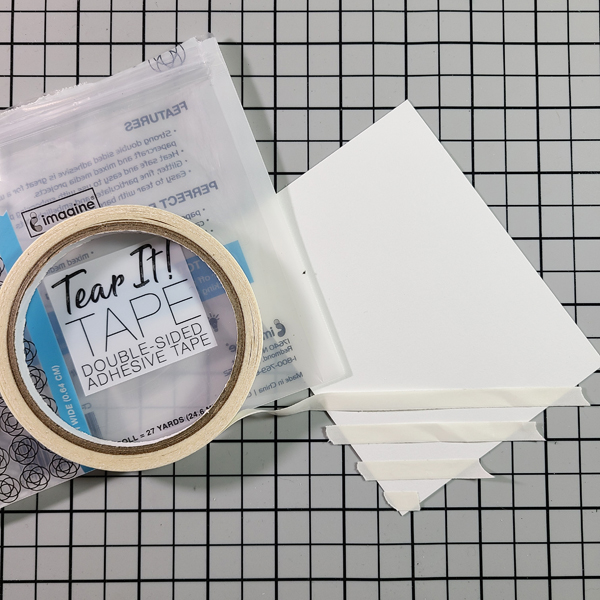
Step 1: Lay your Craft Mat with the grid side up. It’s going to be necessary to use it to not only make sure our lines are straight, but also evenly spaced.
Step 2: Lay your cardstock at an angle on the grid. The angle doesn’t really matter.
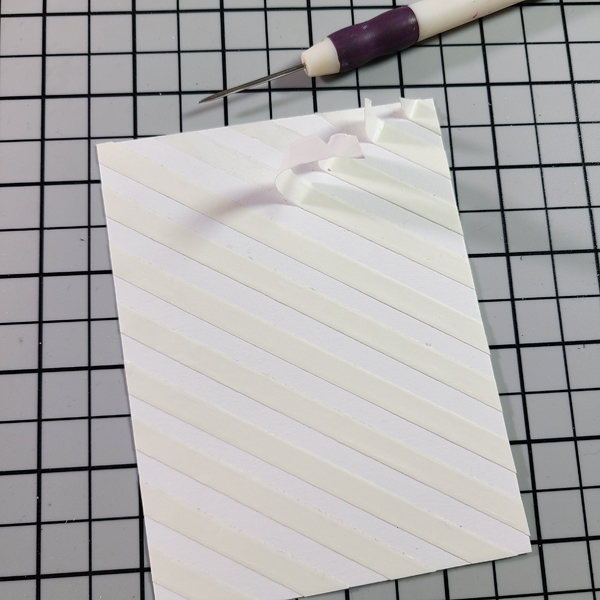
Step 3: Apply a strip of Tear It! Tape at every horizontal grid line. I placed mine above the line consistently.
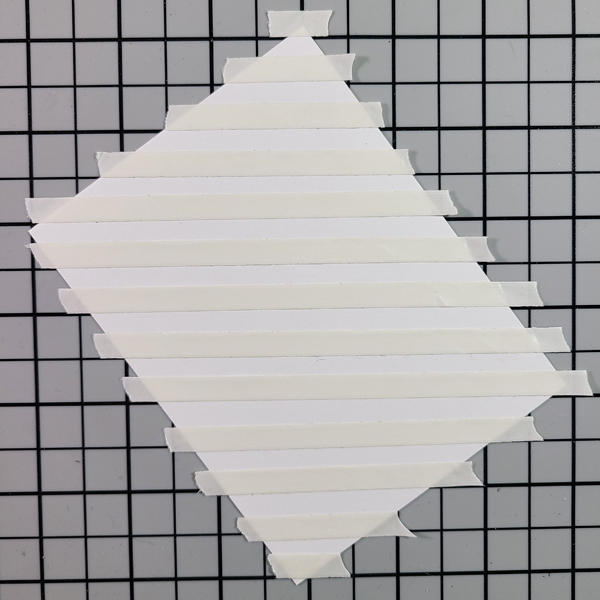
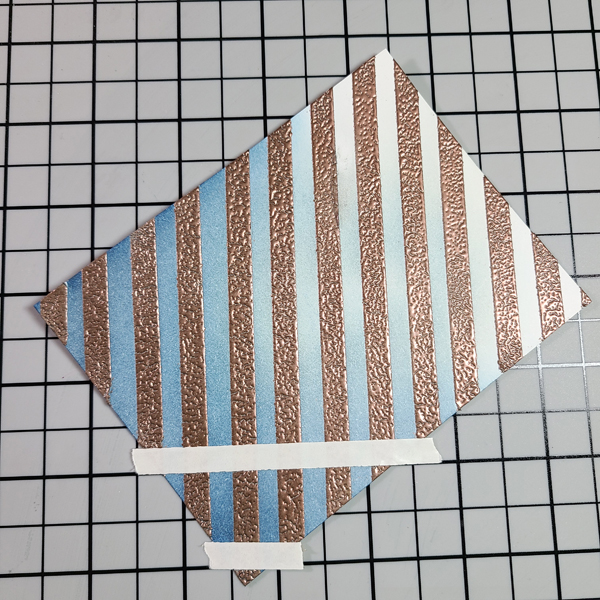
The panel will look like this when you’re done.
Step 4: Cut off the excess ends to make the tape flush with the edge of the panel.
Step 5: Begin to partially remove the release paper from the Tear It! Tape. I found it to be easier to only pull it off part of the way, so that I could still move the card around without getting my fingers on the sticky tape. When you finish lifting a bit of each strip, finish pulling off the release paper.
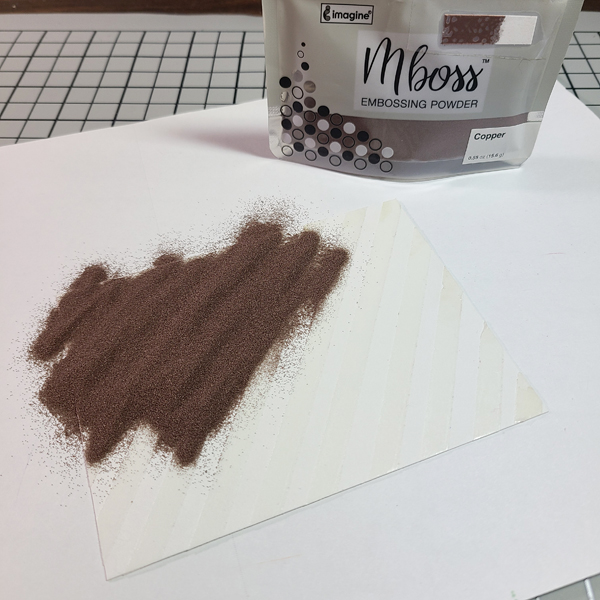
Step 6: Pour Copper MBoss embossing powder on to the panel. I put a piece of copy paper underneath so that I can pour the excess back into the bag. I recommend rubbing your finger across the panel to ensure good coverage of the powder.
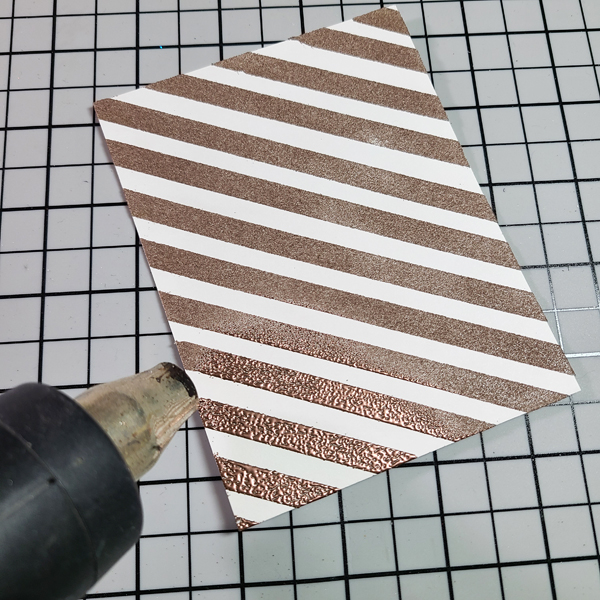
Step 7: Shake off the excess powder on to the copy paper, and heat set the powder that’s on the panel.
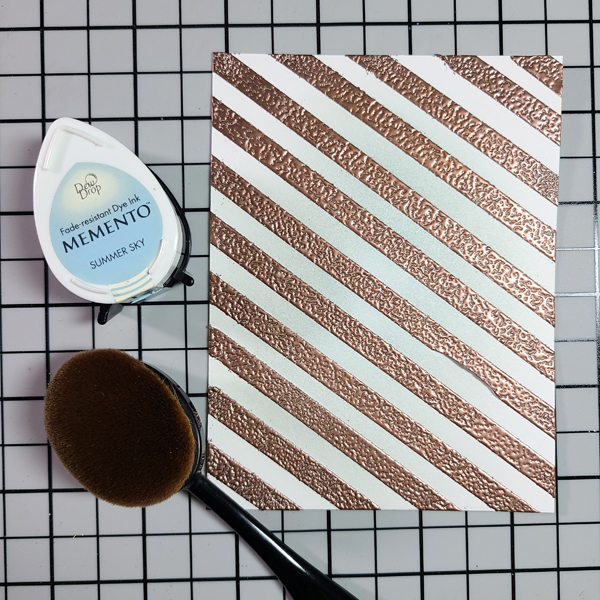
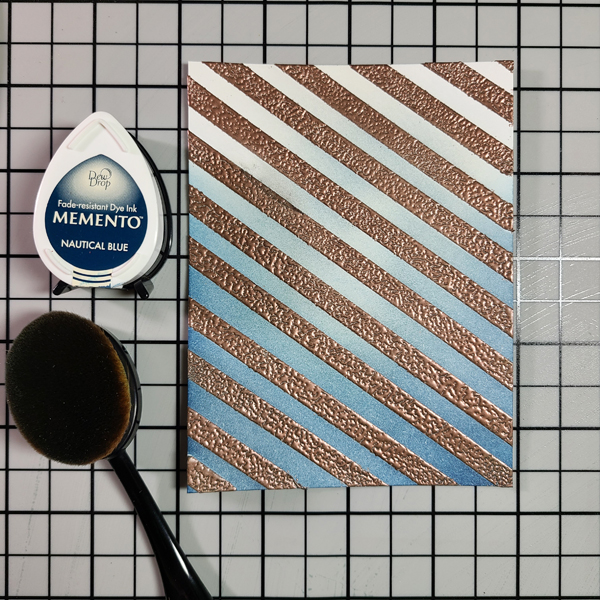
Step 8: Begin applying Summer Sky Memento Ink in the middle of the card panel using the applicator of your choice. Admittedly, my brush wasn’t thoroughly clean, so my inking doesn’t look exactly like the ink color.
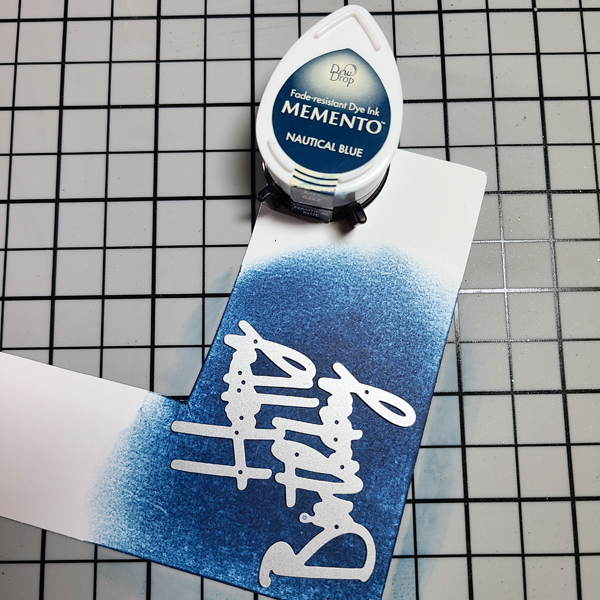
Step 9: Apply Nautical Blue Memento around the Summer Sky Ink, in a “U” shape.
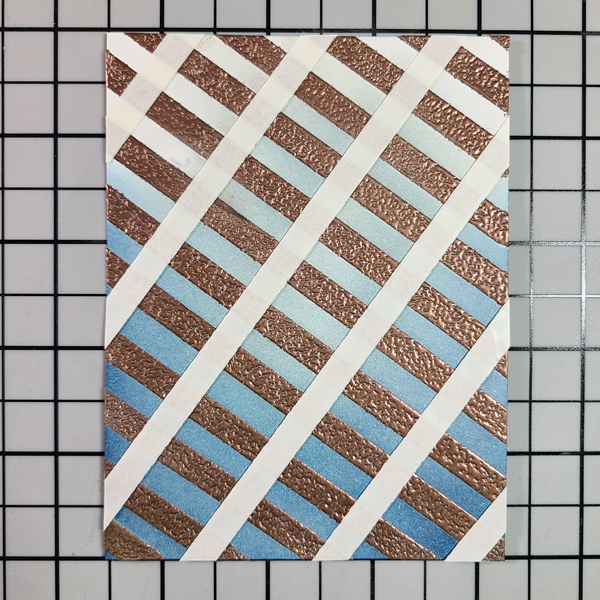
Step 10: Lay the inked panel back on to the grid at a different angle from before and begin laying down more Tear It! Tape. This time, I only applied the tape where the lines were bold, so every inch.
When done applying the tape, this is what the panel should look like.
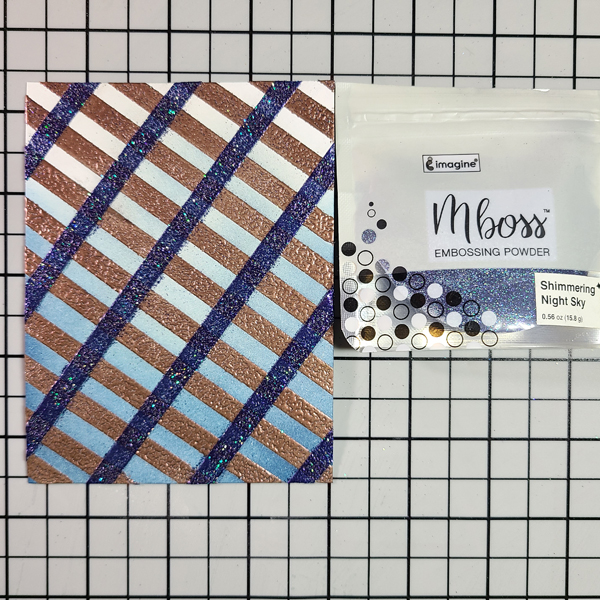
Step 11: Remove the release paper, sprinkle on Shimmering Night Sky MBoss, shake off the excess, and heat set.
Pro Tip: You may be wondering why we didn’t ink the panel after the second layer of MBoss was applied, instead of before. The Shimmering Night Sky powder has glitter in it, which could cause some drag or pulling on your ink applicators when you blend the ink. To avoid that, inking before applying a sparkly powder is advised. The Copper powder is metallic, so there’s no drag, and excess ink can be buffed away with a cloth or paper towel.
Step 12: To make perfectly coordinated cardstock for your sentiment, ink up a piece of white with Nautical Blue. Die cut the sentiment. Cut the shadow layer from vellum.
Step 13: Shake up the Summer Sky Fireworks Spray, unscrew the bottle and flick the straw on your card base to create splatters. Let dry.
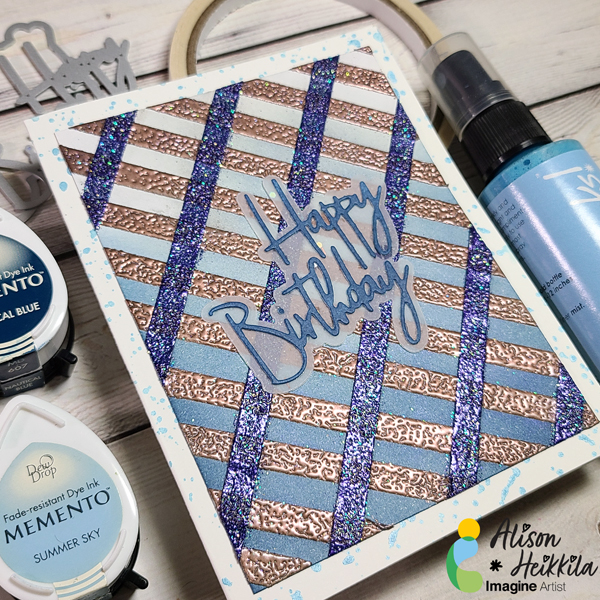
Step 14: Assemble your card with Tear It Tape for the panel, and On Point Glue for the die cut sentiment.
I love how this card came out! It’s got lots of shine, but with a masculine vibe. You can change the powders and ink colors however you like to suit your needs. I love the indigo tones we’ve got going here. I hope that you’ll try making your own plaid. Thanks for stopping by. Have an inspiring day!
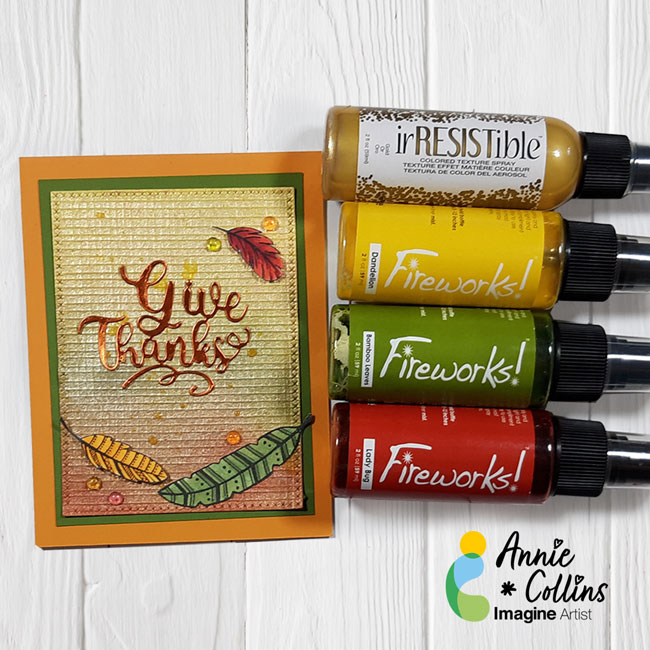
Hello crafty Friends – Annie here with a quick and easy Fall inspired card featuring a Fireworks! Shimmery Craft Sprays and irRESISTible Texture Spray.
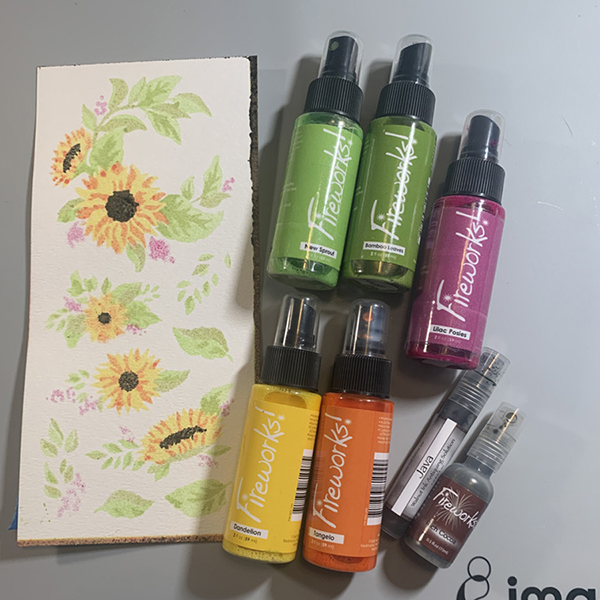
Hey there friends and fellow crafters, LeeAnn here with a fun Inspirational Card I made using my absolute favorite technique, and those of you that have been here for a while know I love Kaleidacolors.
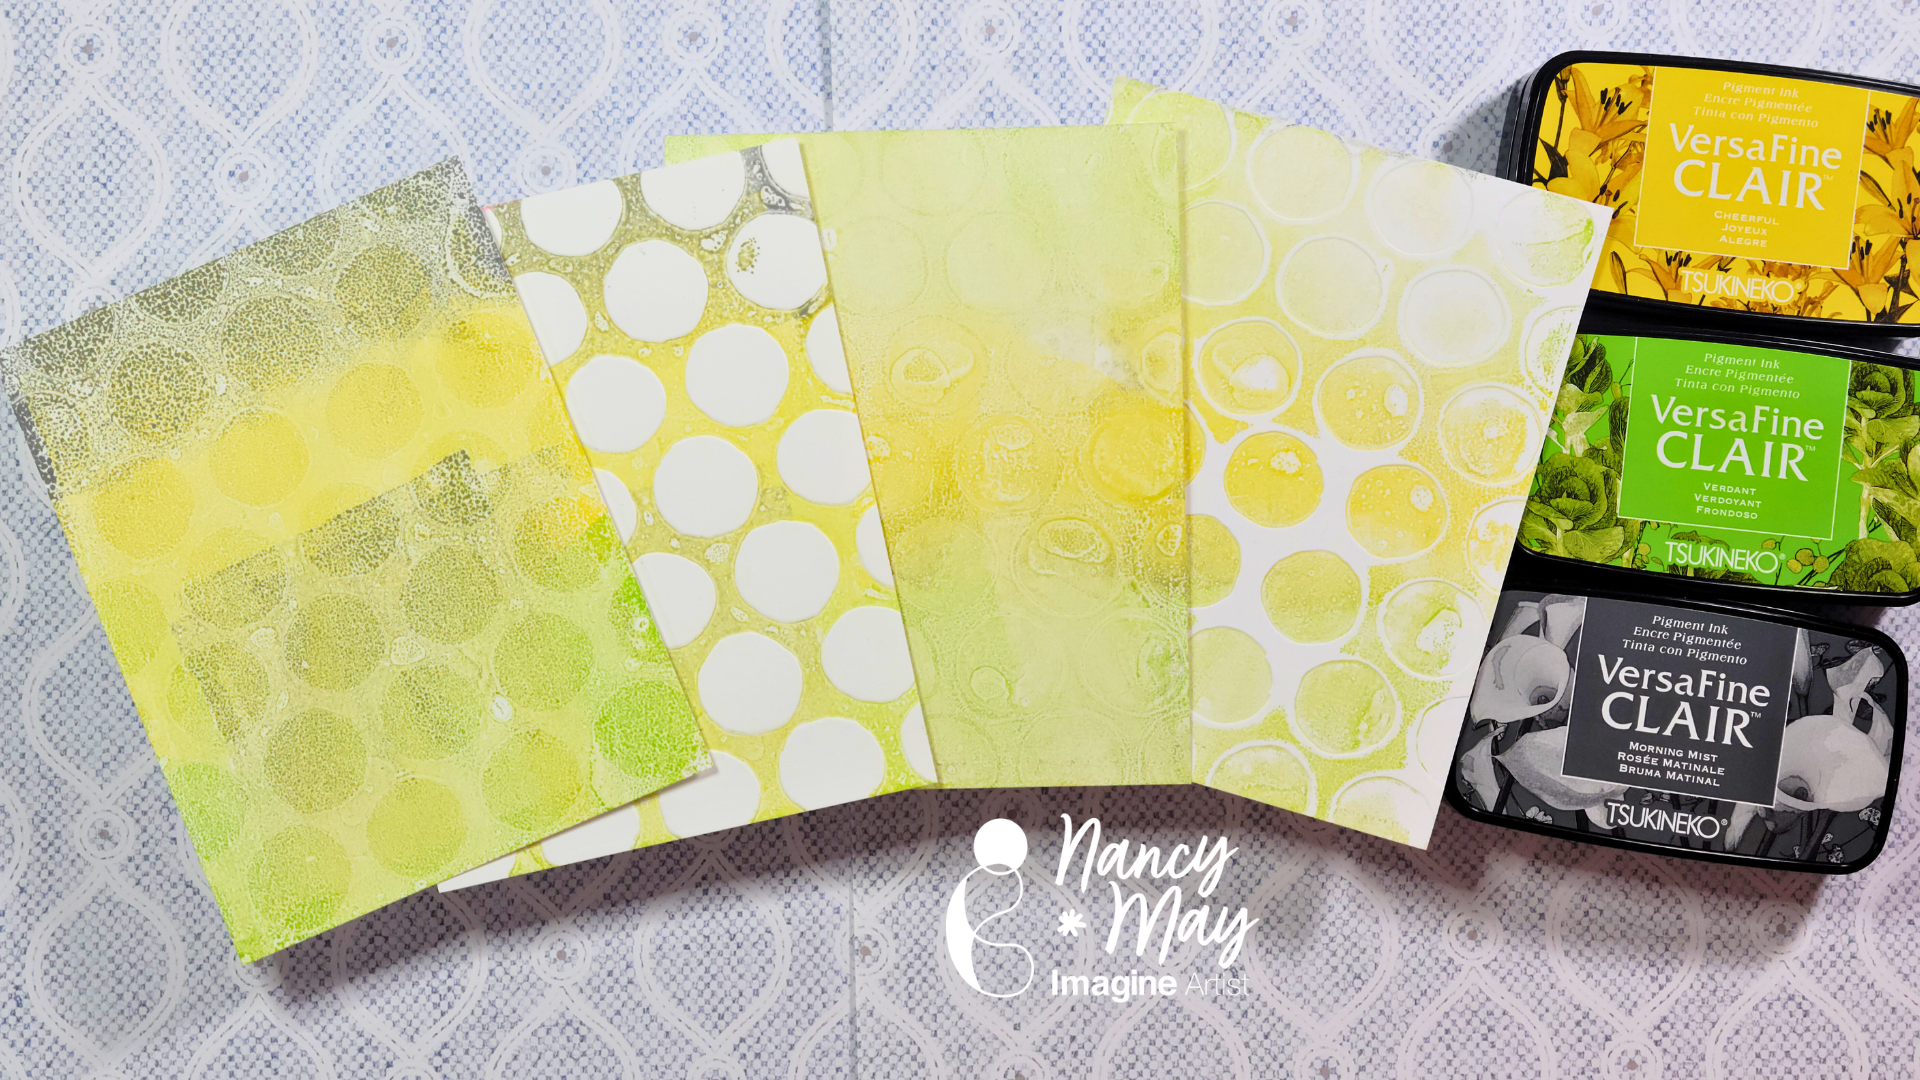
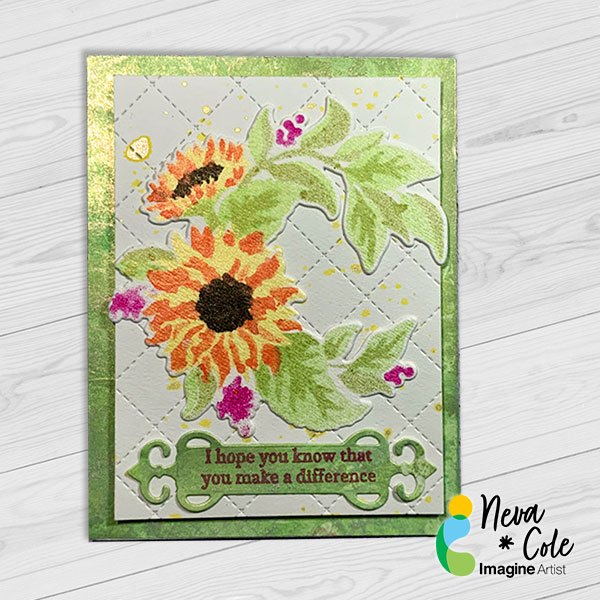
In today’s tutorial, I will share how I used layering sunflower stencils to create a water color look to my image.Notice there is no stamp outline, that helps achieve a more organic look to the project.I learned a few things along the way, and almost want to include a few blooper photos!Instead I share the way that will give you the cleanest look avoiding the pit falls!
Skill: Beginner
Time: 2 Hours
Directions:
Step 1:
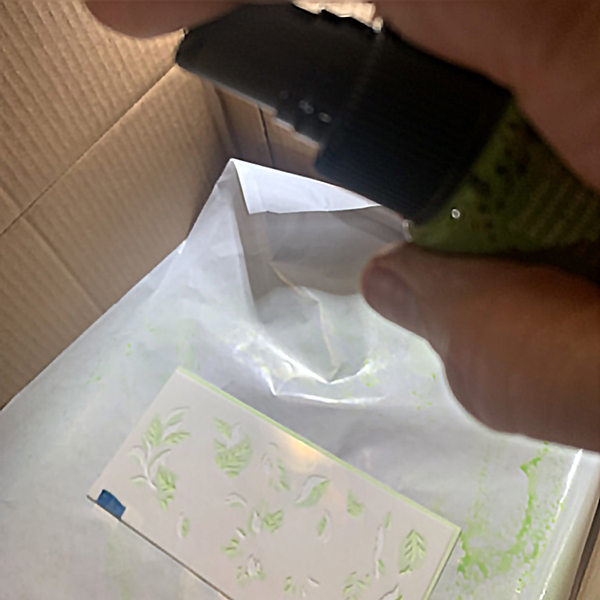
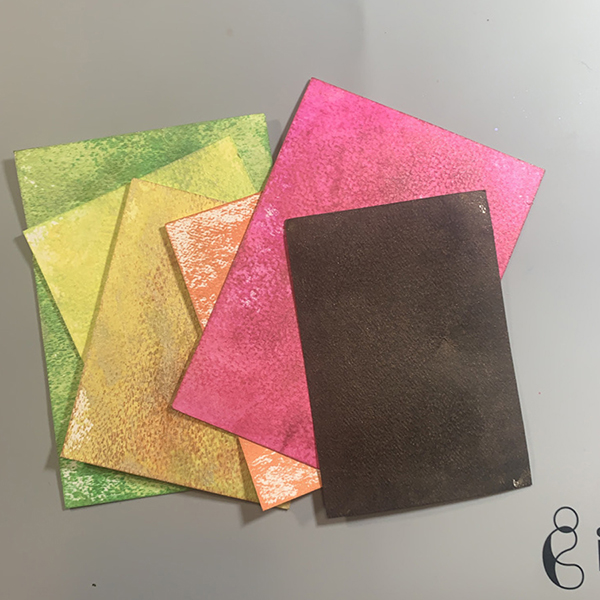
Trim white watercolor cardstock to 4 1/4” x 9 1/4”,or about 1/4” on each side larger than your stencil.this will allow you to handle your project more cleanly.Use reposition able painters tape or washi tape to secure stencil along left side with edges matching along the upper and left hand side.Spritz with Fireworks! in New Sprout until color depth desired is achieved.In this close up photo freezer paper is used underneath the stencil and paper with the plasticized side up.This allows collection of the over spray for background papers.Carefully lift stencil to keep excess Fireworks from leaking under the stencil and adding unwanted color.
Step 2:
Secure next layer of layering stencil in place and spritz with Fireworks! Shimmery Craft Spray in Bamboo Leaves.This photo shows a spray box that protects your work area from over spray.It also shows the best distance of 12” to 18” to spray the stencil to avoid large droplets of Fireworks!.
Step 3:
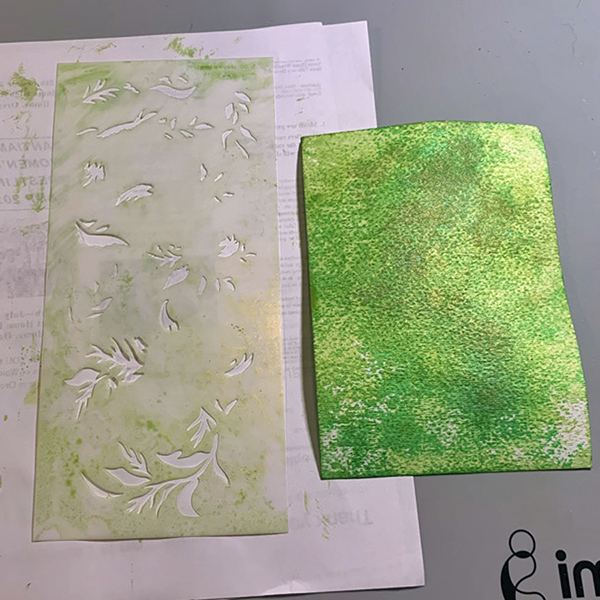
Clean stencils with sections of watercolor paper after each layer.Move the watercolor paper around on the freezer wrap to pick up excess spray.Keep color families together, as both colors of green are used on this background paper.Clean up excess with paper towels or baby wipes.
Step 4:
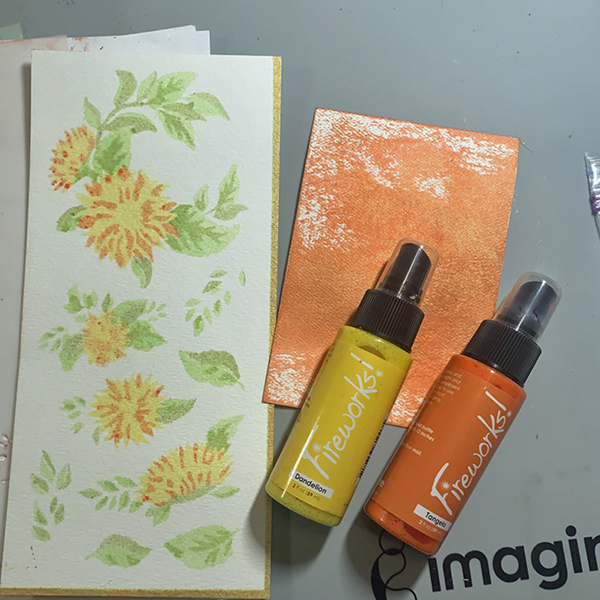
Continue with additional layering stencils. Here Dandelion is used for Stencil 3, and Tangelo for Stencil 4.
Step 5:
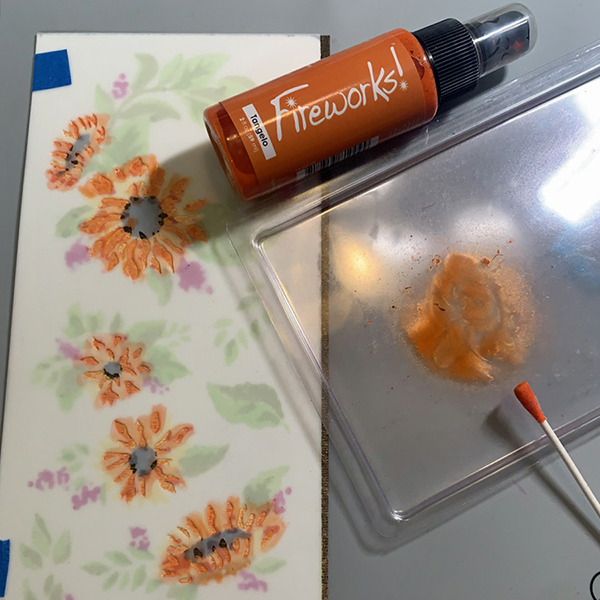
Sometimes as a designer you discover easier methods in the process of designing a project.I was not satisfied with the color through the stencil by just spraying with the stencils that were smaller openings.It is recommended to use this method for the rest of the layers.Fireworks! in Tangelo is shown here sprayed on a plastic sheet.Using a cotton swab the color is carefully dabbed through the stencil to give better color depth.A cotton swab also prevents leakage underneath the stencil of excess color.A lot less of the spray was used with this method!Stencils 5 and 6 used this method to complete the look.Stencil 5 used Fireworks! in Lilac Posies, and Stencil 6 a mixture of Fireworks! Rich Cocoa (for shimmer) and Walnut Ink in Java for a darker color.
Step 6:
Here are the images from the entire stencil set.
Step 7:
One “blooper” photo, all the backgrounds made with the over spray and Fireworks! left on the stencils.To be used in future projects?The green sheet is trimmed to 4 1/4? to 5 1/2” to cover the front of the card.
Step 8:
Tap drop of Fireworks! in Dandelion on white watercolor paper trimmed to 3 3/4” x 5”. Use quilted card front die to add texture to front panel.
Step 9:
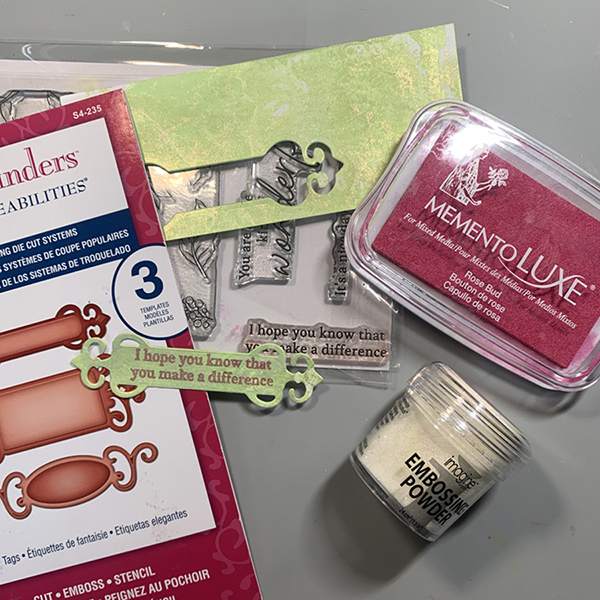
Part of the remaining background section is stamped with Memento Luxe in Lilac Posies using a sentiment from the Sunflowers stamp set.It is die cut with a Spellbinder die.
Step 10:
The Sunflower is die cut with the coordinating die.The layers are adhered together with Tear It! Tape with dimension foam tape behind the card front.