Autumn Card Made Easy Using Memento and VersaFine CLAIR Inks 

By LeeAnn McKinney

Skill Level: Beginner to Intermediate
Time: 20-30 minutes

Directions:

Step 1
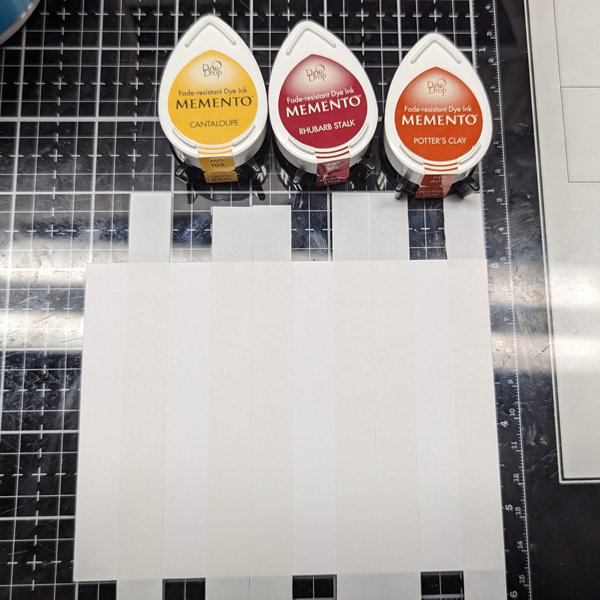
Cut masking paper to ½” x 5” strips

Step 2
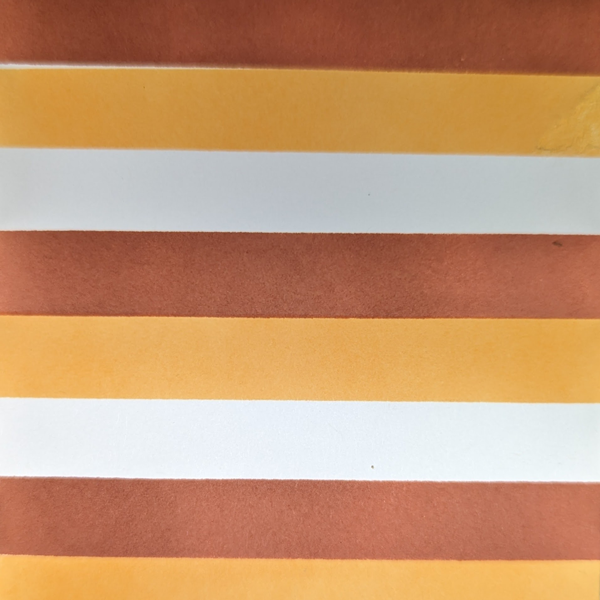
Stagger the strips to leave ½” sections to ink up. 

Step 3
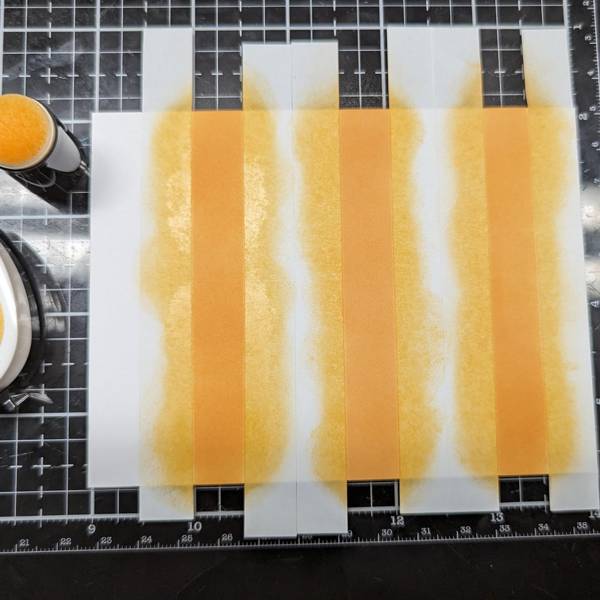
Ink blend the Dandelion Ink in the open spaces, leaving the far left end open. 


Step 4
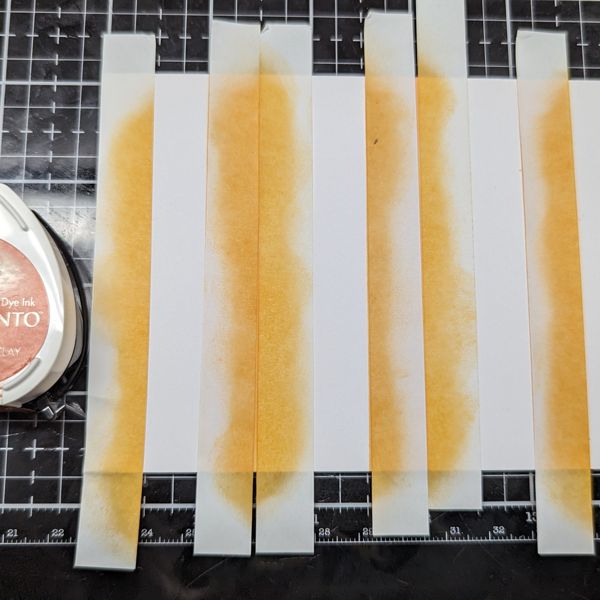
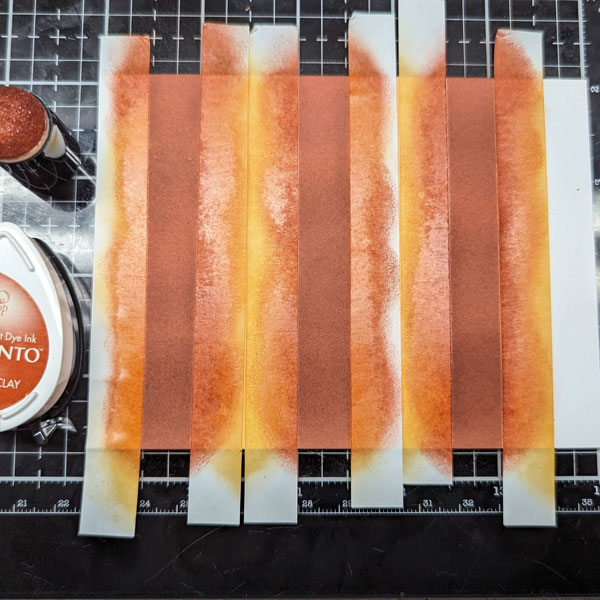
Move the masking strips to cover up the Dandelion and leave ink up with Potter’s Clay, leaving the far right white.

Step 5
Peel off all making strips and let dry (or dry with heat tool). 

Step 6
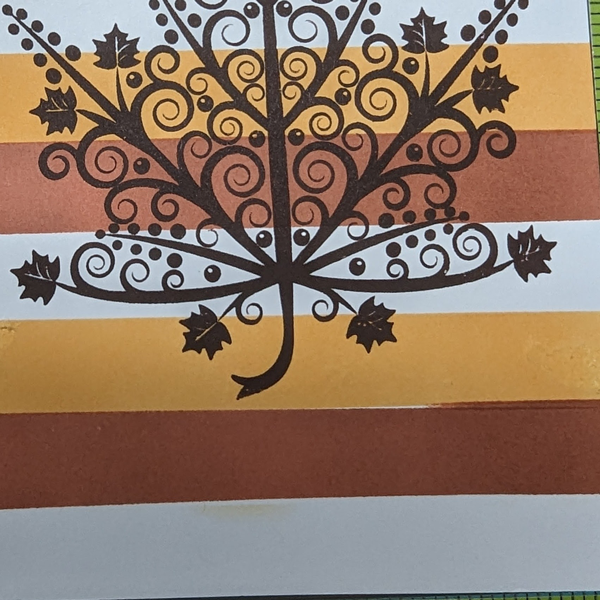
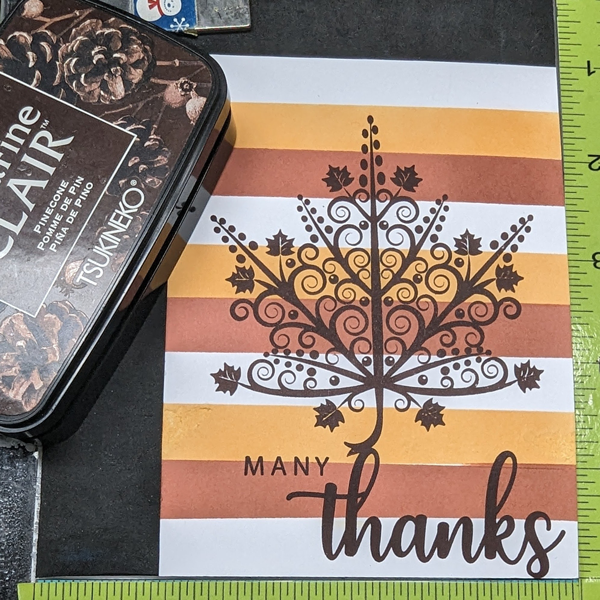
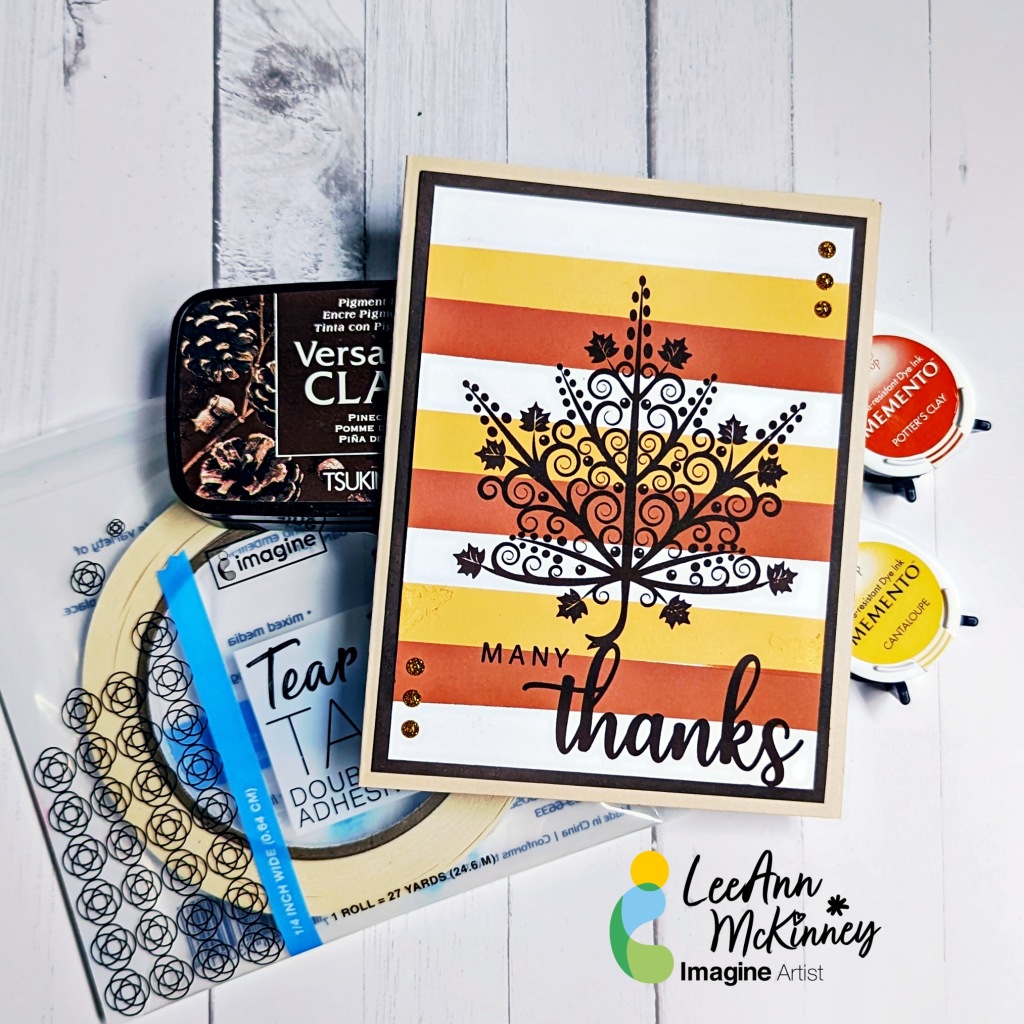
Stamp the flourished Leaf using VersaFine CLAIR in Pinecone

Step 7
Stamp the sentiment also using VersaFine CLAIR Pinecone. 

Step 8
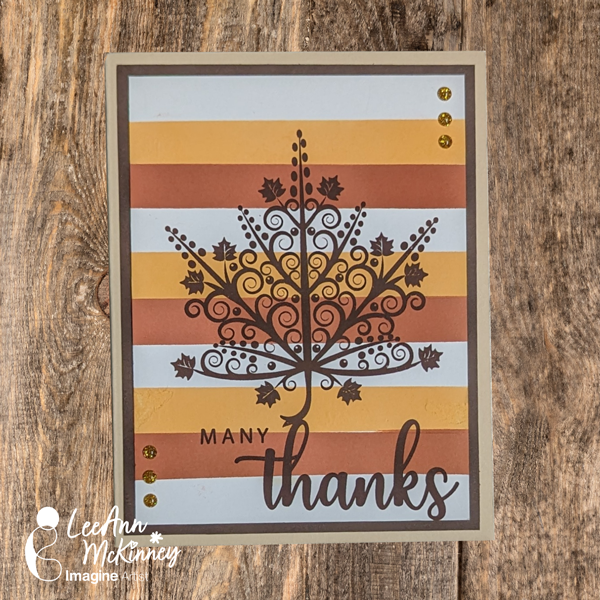
Cut a panel of Dark Brown cardstock to 4” x 5 ¼” to be layering panel

Step 9
Cut the Ink blended/Stamped panel to 3 ¾” x 5”.

Step 10
Layer both panels on a Barely There color Card base measuring 4 ¼” x 5 ½” using Tear It! Tape

Craft Supplies Used:
Imagine

Other Supplies Used

Gina K Designs Stamps- Doodled Autumn
Gina K Designs Dark Chocolate Cardstock
Gina K Designs White Cardstock
Gina K Designs Barely There Cardstock
Gina K Designs Masking Strips

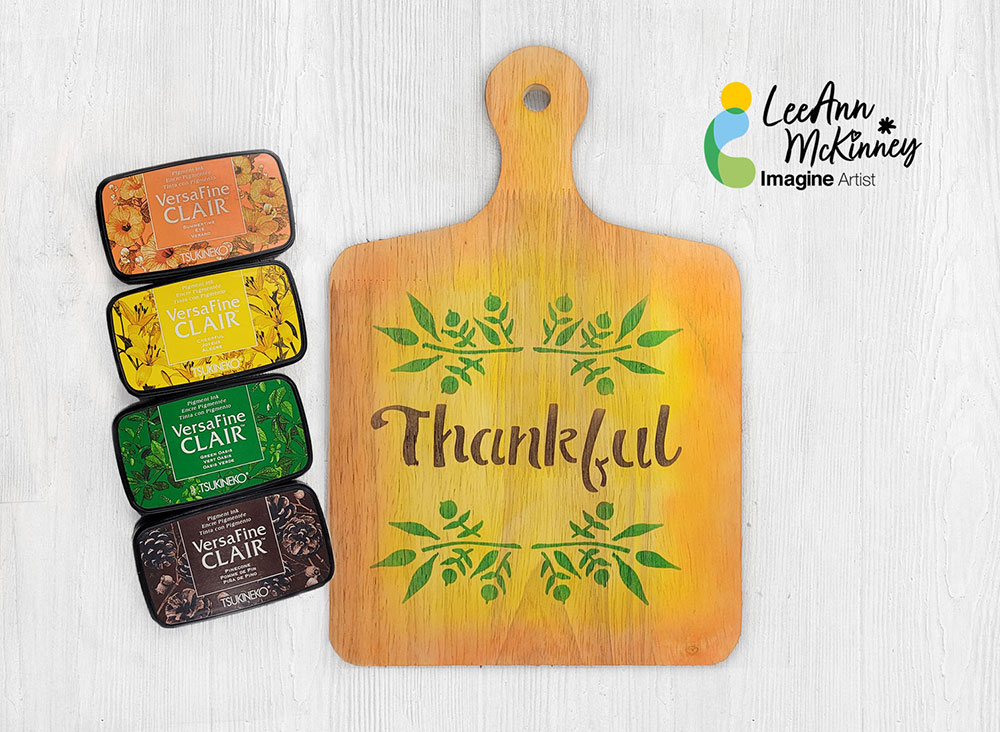
Thankful… an Easy to Make Fall Decor Project

By LeeAnn McKinney –

Hello there! Today’s tutorial is to show you how easy is create texture with Memento Inks. This is a very simple process that you can create with a score lines and or embossing folders. On this card, I used Memento Ink Desert Sand, Peanut Brittle and Teal Zeal.

Directions:

Art Supplies:

Imagine:

• Imagine Craft Mat – 

• VersaFine Clair Nocturne – 

• StazOn Stamp Cleaner – 

• VersaFine Clair Summertime – 

• VersaFine Clair Pinecone – 

Other Products:

• Cutting Board from Walmart

• Blender Brushes from Amazon

Let’s Make a Thanksgiving Card 

2022-Annie-Collins_Oct_650x650

By Annie Collins

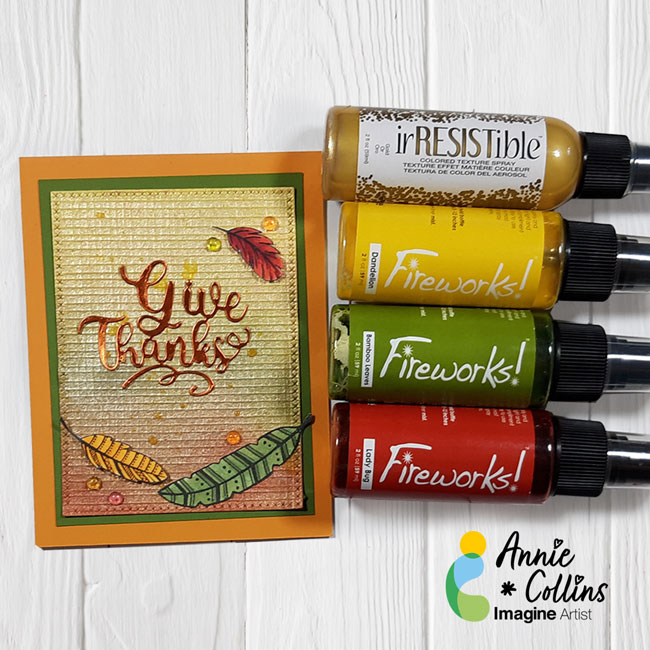
Hello crafty Friends – Annie here with a quick and easy Fall inspired card featuring a Fireworks! Shimmery Craft Sprays and irRESISTible Texture Spray.

Skill Level: Beginner 

Time to Complete: 30 minutes

Art Supplies:

Imagine:

• Fireworks! Shimmery Craft Spray: Dandelion, Bamboo and Ladybug

• irRESISTible Texture Spray

• On Point Glue

• Tear It! Tape

• Imagine Craft Mat

Other Products Used:

• Recollections Brand 100lb Cardstock: White

• Recollections Brand 80lb Cardstock: Orange & Green

• Die Cuts With a View 80lb Mix Media Textured Cardstock: White

• Recollections Brand 80lb Foil Cardstock: Orange

• Lawn Fawn Dies: Cross-stitched Small Rectangle

• Recollections Brand Stamps: Feathers

• Acrylic Bubble: Orange and Green


Annie’s Blog:  https://littlewingscreates.blogspot.com/

Instagram: https://www.instagram.com/anniec09

Facebook: https://www.facebook.com/Little-Wings-Creates-275422213079163/

Pinterest: https://www.pinterest.com/acollins01/

YouTube: https://www.youtube.com/c/AnnieCollins09

Make a Beautiful Pumpkin Thank You Card

Thankful 12

By Alison Heikkila –

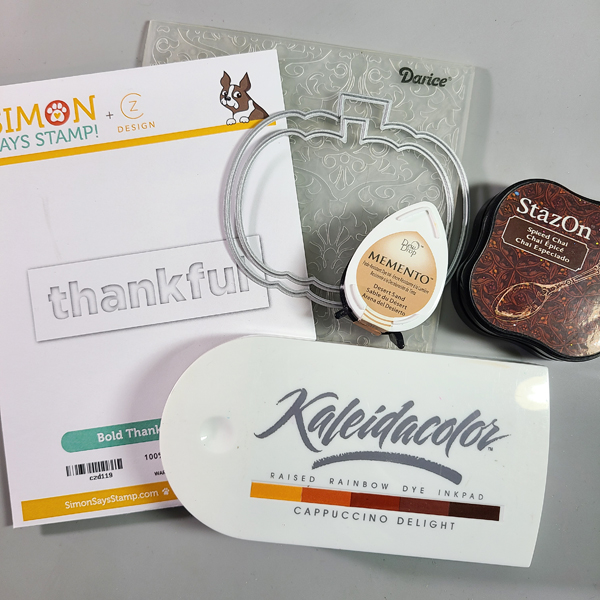
Greetings! Alison here and today my latest tutorial for Imagine is a textured, fall-themed thank you card. I can see making a bunch of these to put as place setting on your Thanksgiving table, as a thank you to your guests for celebrating the holidays with you. I used several simple techniques on this card that when combined, look really fancy and festive. 

Skill Level: Beginner to Intermediate
Time: 45 minutes- 1 Hour
Thankful 2

Directions:


Thankful 3
Step 1: 

Using a piece of metallic cardstock, run it through your die cutting machine with an embossing folder. 


Thankful 4
Step 2: 

Using a sanding block, a piece of sandpaper, or even a nail file, sand the raised areas of the embossed cardstock. This will give it an aged or distressed look. 

Step 3: 

Gently rub Spiced Chai StazOn ink across the surface to add more interest to the piece of cardstock. 
Thankful 5

Step 4: 

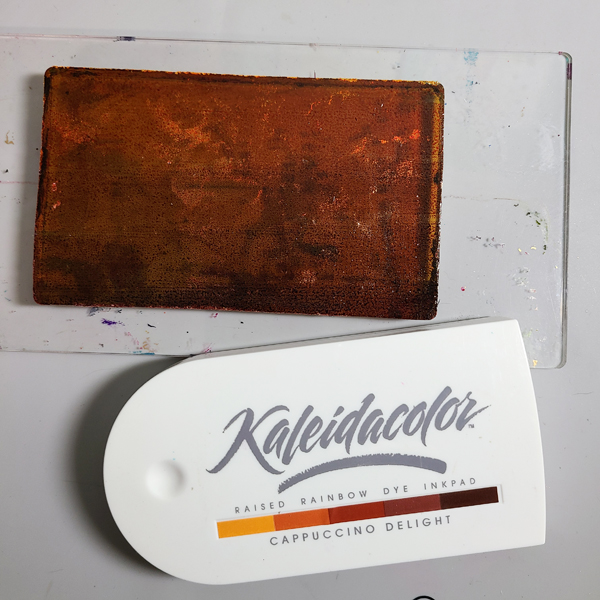
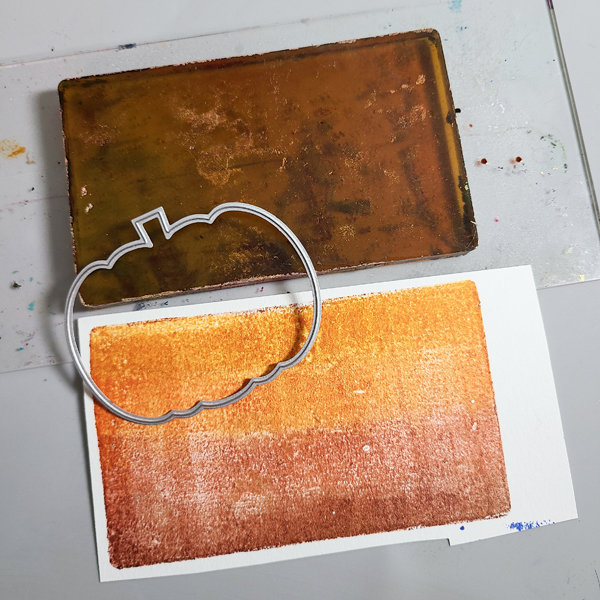
On a Gel Press Plate, gently tap the Cappuccino Delight Kaleidacolor Inks across the surface. You can use a brayer to blend the colors, as well as a few spritzes of water or Ink Potion No. 9. 

Thankful 6

Step 5: 

Lay white cardstock on to the Gel Press Plate and rub to get the ink to transfer. Pull the print and let it dry. I pulled a couple of prints and then chose my favorite to use for this card. 
Thankful 7

Step 6: 

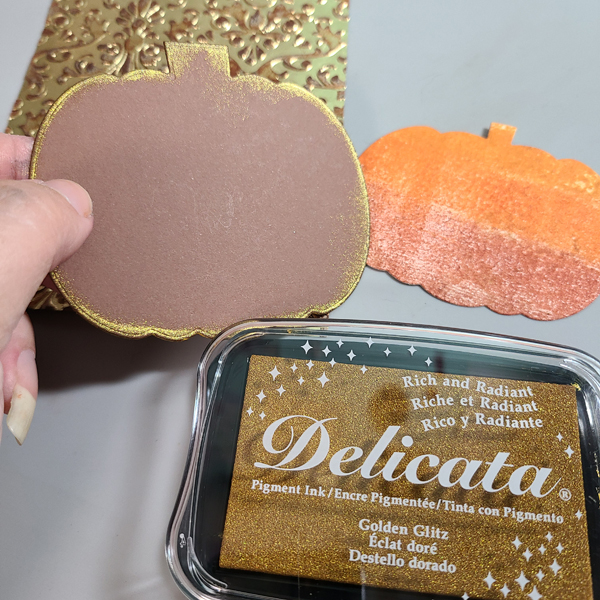
Die cut a pumpkin out of the monoprint.
Thankful 8

Step 7: 

Die cut a bigger pumpkin out of brown cardstock and ink the edges with Golden Glitz Delicata Ink. 

Thankful 9

Step 8: 

Die cut the sentiment out of cream colored cardstock and ink the edges with Desert Sand Memento Ink. 

Thankful 10

Step 9: 

Add Tear It Tape to the back of the embossed panel. I like to use this adhesive when I am working with a piece that has a lot of texture. It holds everything in place really well, and you don’t need to worry about liquid adhesive getting “stuck” in the wells. 

Step 10: 

Assemble the rest of the card. I used On Point Glue to attach the rhinestones. 

Thankful 11 600

Isn’t it pretty? 

 I love all of the shine from the embossed panel. I also really like seeing all the colors on the pumpkin through the die cut. I hope you’ll give some of these techniques a try!

Art Supplies:

Imagine:

• StazOn Ink: Spiced Chai 

• Delicata Ink: Golden Glitz

• Kaleidacolor Ink: Cappuccino Delight 

• Memento Ink: Desert Sand

• Tear It! Tape

• On Point Glue

Other:

• Darice: Embossing Folder

• Gel Press: 3×5 Plate

• Recollections: Pumpkin Die Cuts

• Simon Says Stamp: Thankful Die

• Doodles Paper Playground: Gold Starburst Rhinestones

• Brown, Cream, and White cardstock
Create Fall Inspired Cards With VersaFine Clair Inks

November_2021_Katy-Ingram_Fall-Inspired_700x700

By Katy Ingram –

Hello and welcome! Katy here with a new video. Many of you may have noticed from my last couple videos that I use VersaFine Clair Inks a lot and that I love to ink blend with them. Today’s video is no exception. I used two VersaFine Clair Inks that blend beautifully and create the most amazing burnt orange color that is perfect for Fall. In the video I also talk a bit about how to have better success with your ink blending by using Hot Pressed Watercolor Paper and I also show you a simple way to create sentiment strips that are fool proof. I hope you find these tips helpful and I hope you enjoy the video. Thanks so much for watching.

Thanks For Watching.

Skill: Intermediate, Advanced
Time: 30 minutes

Art Supplies:

Imagine

• Delicata Golden Glitz

• Versafine Clair Inks Cheerful, Glamorous and Chianti.

• On Point Glue

• Sheer Shimmer Spritz in Gold

Other Products Used:

• Gina Marie Designs Tribal Stitched Nested Rectangle Dies
• Honey Bee Large Thanks Die set
• Concord & 9th Lace Leaf Stamp & Die Set
• The Greetery Sentiment Suite Thank You stamp set
• Waffle Flower Oversized Hugs Stamp Set
• Altenew Leaf Burst Stencil
• Strathmore 500 Series Hot Pressed Watercolor Paper.
• Gina K Designs Dark Chocolate Cardstock


THANKS, You Mean So Much To Me with Imagine Crafts

2021_LeeAnn_Nov_IG

By LeeAnn McKinney –

Hi there friends and fellow crafters, LeeAnn here with a fun Thanks card, using products you might not think about when not using them in the means intended.

I purchased a few (4) Hot Foil Dies a couple months ago, and didn’t have the machine needed to play with them. So I’ve been thinking, and decided to use them like a letter press. I inked up the Fall Leaves with VersaFine Clair Pigment Ink in Tulip Red, Summertime Cheerful, Verdant and Pinecone, taped it to a panel of Mixed Media Cardstock and then did the same with the word “Thanks”, using Delicata Golden Glitz. I used a piece of heavyweight cardstock and rubber embossing pad, on my big shot platform, then added my panel with the foil plates adhered to it and then the regular top plate, ran it through my big shot twice (forward then back) and wow, other than a little over-inking where I tried to cover up with some sequins they turned out amazing. I used On Point Glue to adhere the sequins and Tear It! Tape to adhere the panel to my cardbase. I also heat embossed the secondary part of the sentiment using Mboss Gold Embossing Powder.

Hope you enjoy. Watch until the end and let me know which card you prefer, the card on the left without the sequins or the card on the right with the sequins. Oh, forgot that I used Gold Sheer Shimmer Spritz on my panel as well.

Thanks for watching, have a great day.


Art Supplies

Imagine:


• VersaFine Clair

• VersaMark Watermark Ink

• Paper Delicata

• Mboss

• Craft Mat

• On Point Glue

• Tear It! Tape

• Gold Sheer Shimmer Spritz


Other Products:

• Kraft Cardstock (heat embossed strip)
• Heavyweight Letter Press Cardstock
• Aww-Tumn Embellishment Sequin Mix