Hello! Today I’ve got a fun tutorial that’s all about making your own ephemera. Ephemera can be ticket stubs, advertisements, postage stamps, handwritten letters, etc. It’s fun to use “found” ephemera, but it’s also a blast to make your own. You can feel free to follow each of the “steps” below, or just choose the ones you like. There’s no real order or correct way to make these elements, and you can use them on any of your paper-crafting projects. I just decided to go with a tag today. This particular project is great if you need to loosen up, break out of a creative block, or you just feel like adding to your stash. Just have fun with it!
*Some affiliate links are used in this post. That means that if you shop through these links, I may receive a small compensation, at no cost to you. For more information, please see my Affiliates page.
Directions:
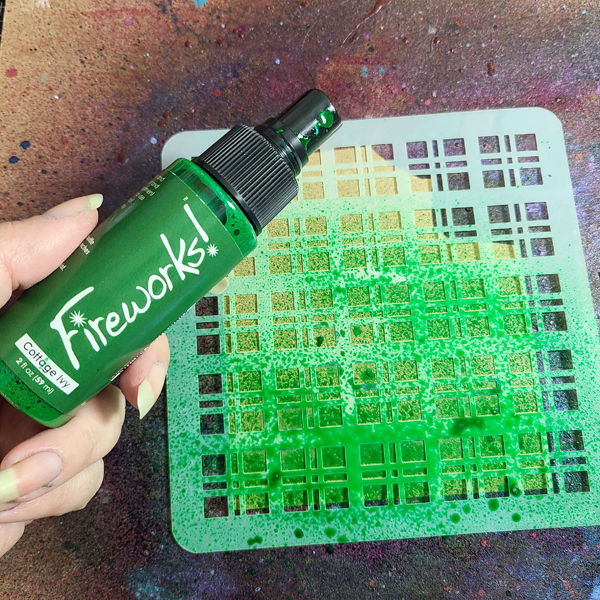
Step 1:
Grab some cardstock and a stencil, and start spraying them with Fireworks! Spray.
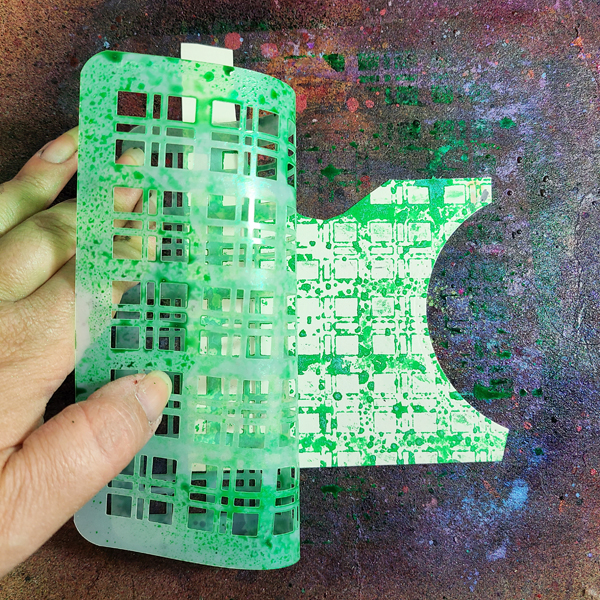
Step 2:
There’s a lot of spray left on that stencil, so don’t waste it! Grab another scrap of paper and flip the stencil (wet side down) on to it to get the reverse design. You can use a brayer or your hands to push the stencil into the paper to transfer the color better.

Step 3:
Still more on the stencil? Spray it with a little water to get the color moving and press it into a third piece of paper.

Step 4:
Grab some rubber stamps that have fun designs (especially solid images like this one), spray your craft mat with another color of Fireworks! Spray, and ink up the stamp in the puddle. Stamp some scrap paper with the wet stamp.
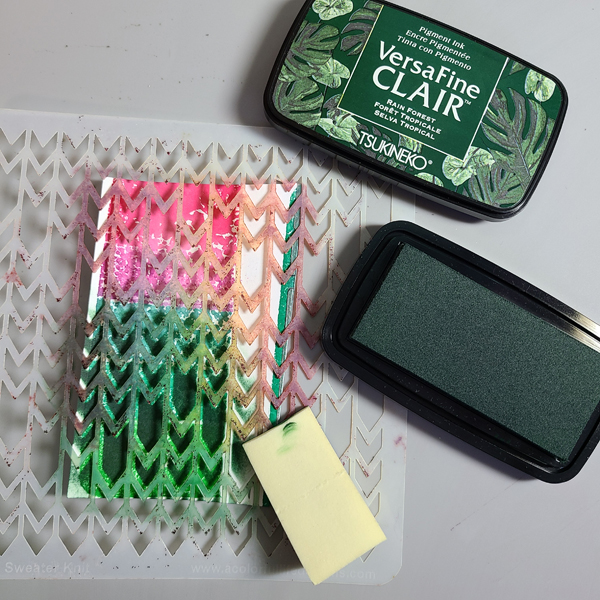
Step 5:
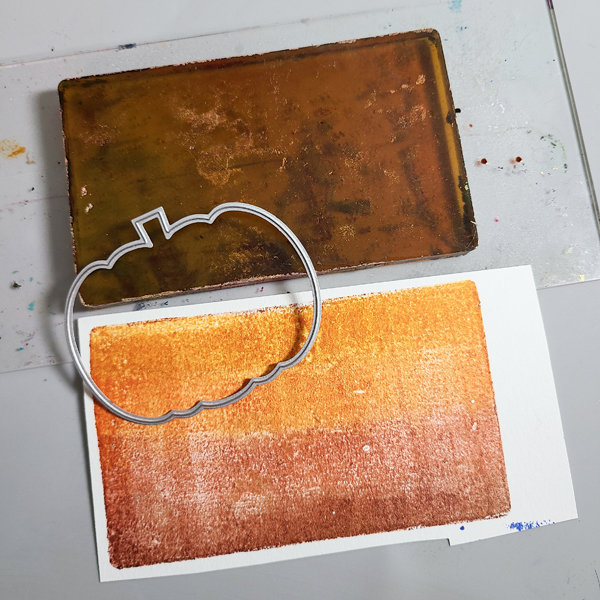
Apply Kaleidacolor inks to cardstock using your favorite method. I used the Fruitcake palette on my Gel Press with a brayer. Then, take a stencil and apply VersaFine Clair ink on top using a sponge dauber or cosmetic sponge.

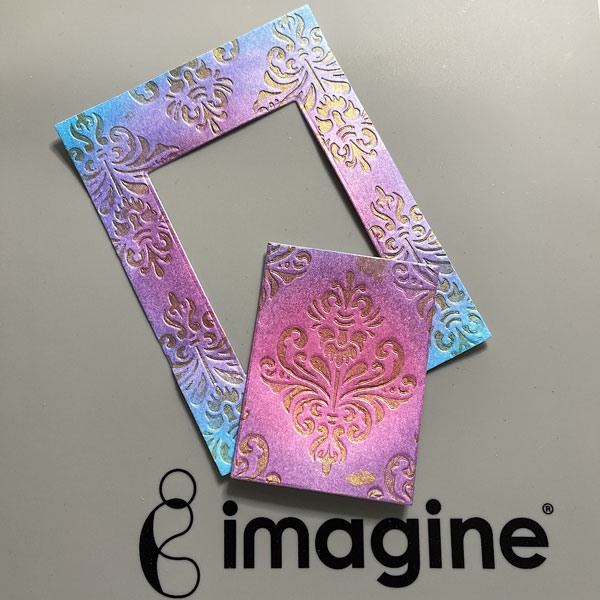
Step 6:
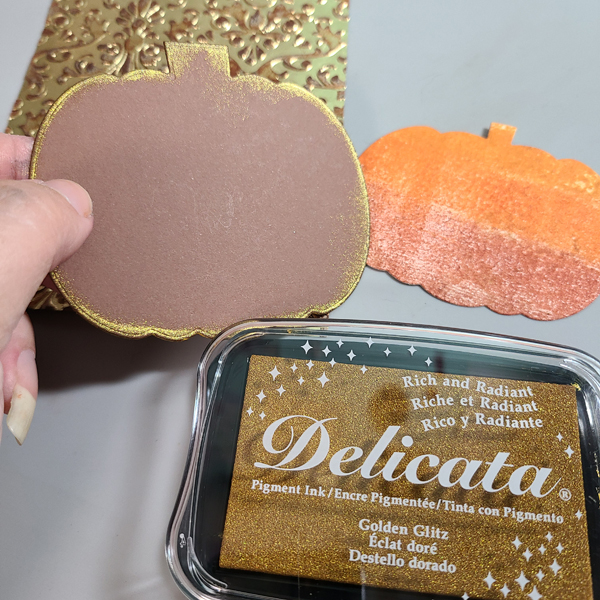
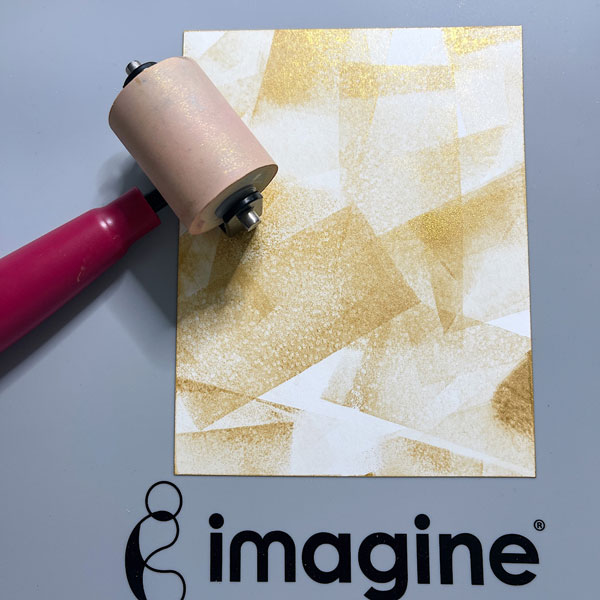
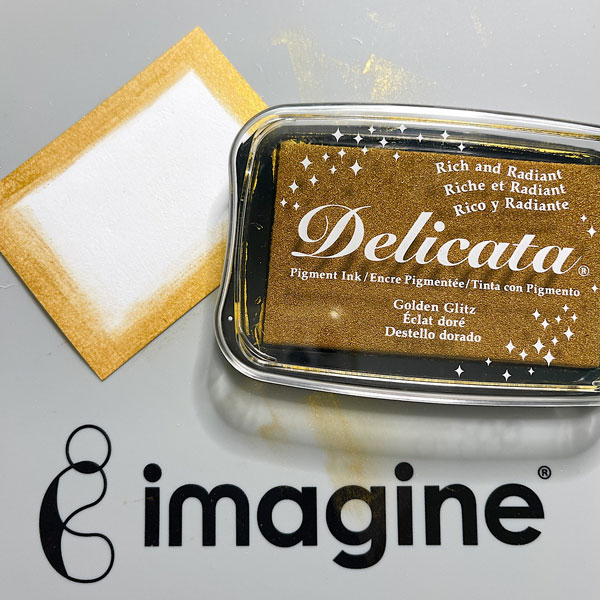
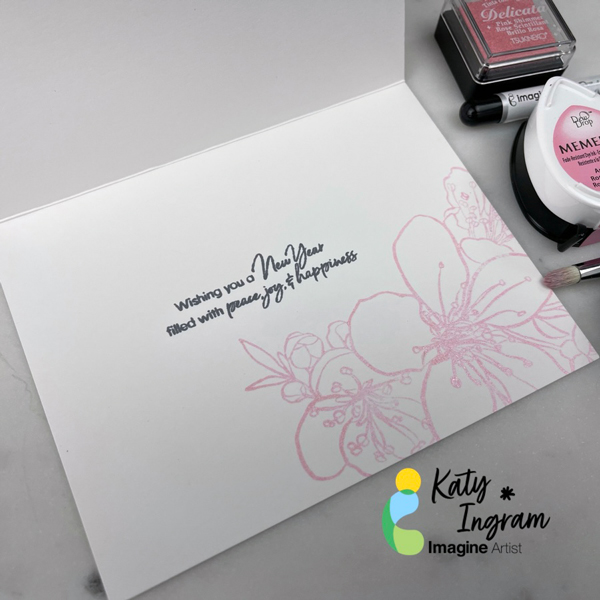
Run a piece of cardstock through an embossing folder. Then ink the raised areas with Delicata Ink for shine.

Step 7:
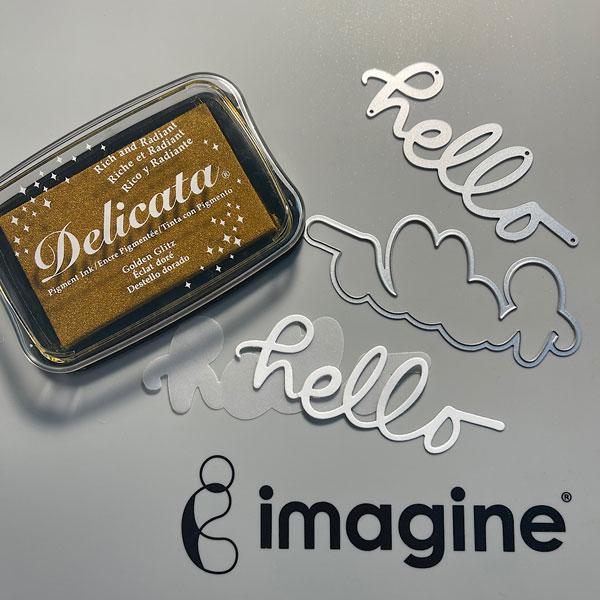
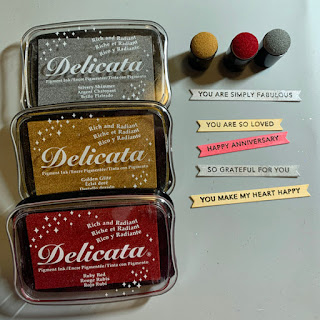
Stamp out a sentiment with VersaMark Ink and use your favorite Mboss embossing powder on it. For texture, tear the edges and ink them with Rich Cocoa Memento Ink.
Step 8:
Take some old book paper and flick Fireworks! Spray on it to get different sized droplets.
Step 9:
Stamp some small geometric shapes and die cut/fussy cut them.
Look at all the ephemera we’ve created by just using scraps!

Step 10:
Die cut a large tag out of cardstock. Start laying your ephemera on to the tag to see where you want your pieces to be.

Step 11:
Let pieces hang off the edges of your piece. You can cut them off later, if you wish. Don’t be afraid to move your elements around, cut them, tear them, etc.

Step 12:
Use different types of adhesive. I like using Tear It! Tape for the embossed layers, wet glue for flat layers, and foam tape or squares for elements that I want raised. I also love to use On Point Glue for sequins and rhinestones, which I added after I had all of my paper elements adhered.
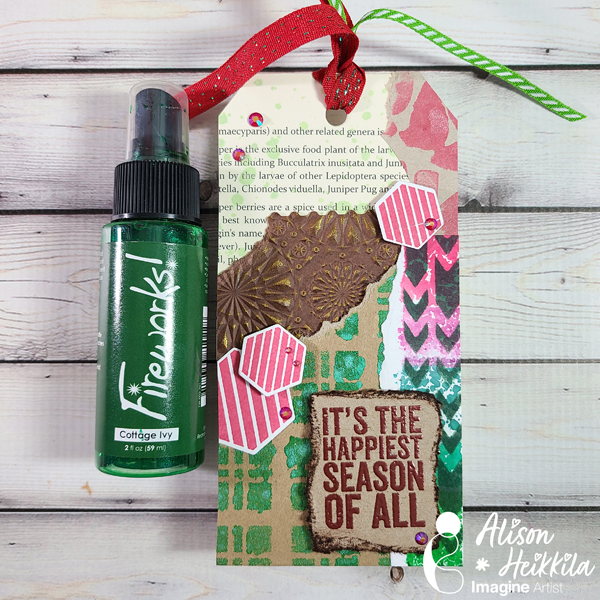
Here’s the finished tag. Again, make this however you like. It doesn’t need to be for the holidays, it doesn’t need to be a tag. Just grab a bunch of supplies and play. Whatever ephemera you have leftover can be used at another time.
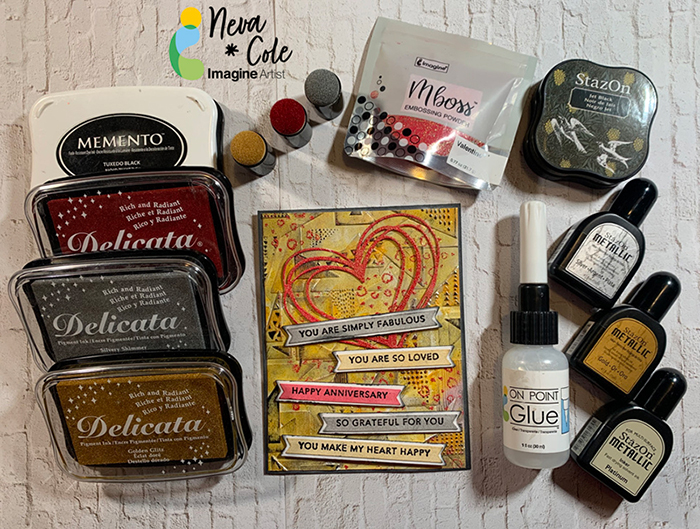
Art Supplies:
Imagine:
• Fireworks! Shimmery Craft Spray in Cottage Ivy, Lady Bug, and New Sprout
• Memento Ink in Rich Cocoa
• Kalediacolor Inks in Fruitcake
• VersaMark Ink
• Mboss Embossing Powder in Rose Gold
• VersaFine Clair Ink in Rain Forest
• Delicata Ink in Golden Gliz
• Tear It! Tape
• On Point Glue
Other:
• Stampers Anonymous: Bold Tidings Mini and Mod Cactus
• Sizzix: Tag Collection #658784, Kaleidoscope 3D Embossing Folder
• A Colorful Life Designs: Sweater Knit stencil, Make Some Plaid stencil
• Doodles Paper Playground: Bold Rhinestones (I only used the red)
• Simon Says Stamp/CZ Design: Hex Yeah (discontinued)
• Scraps of cardstock, old book paper, etc.