By Neva Cole –
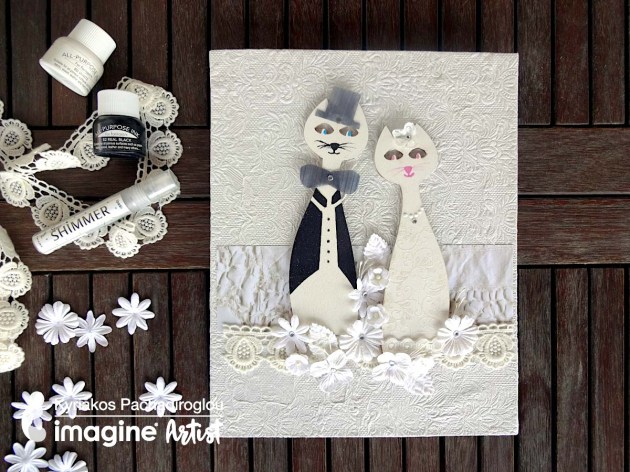
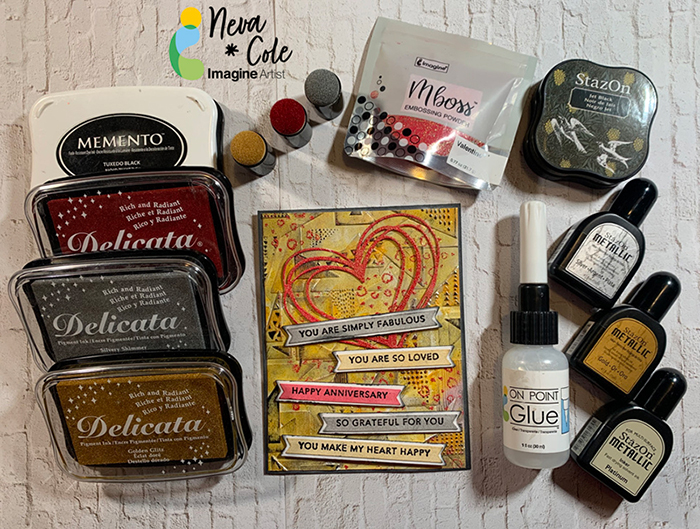
Today’s tutorial will demonstrate how to create multi layers of texture for a dramatic Anniversary Card. StazOn, Delicata, and Mboss will add amazing levels of metallic shimmer.Skill: Beginner
Time: 1 Hour
Directions:

Step 1
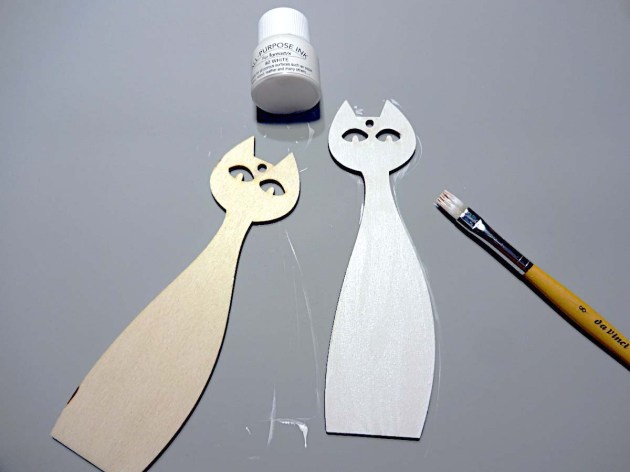
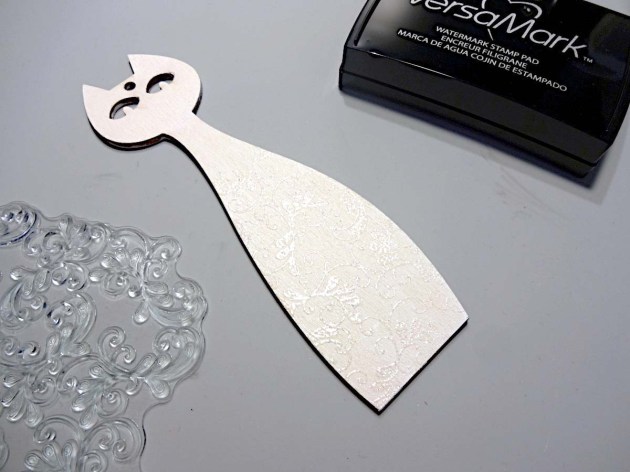
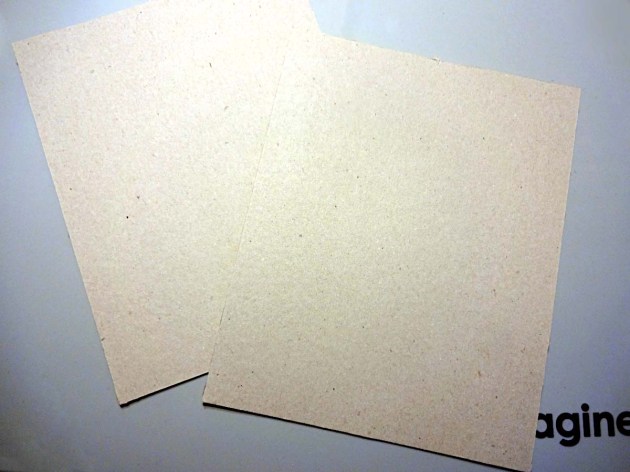
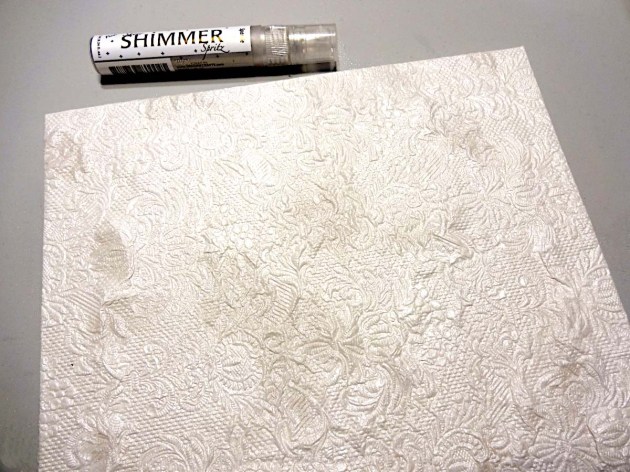
Trim white piece of sturdy cardstock to 4 1/8” x 5 3/8”. I used the backing of a paper pack, that had one shiny white side. First, I pressure embossed with Sizzix 3-D Textured Impressions Doodle Triangles. A makeup sponge was used to spread StazOn Metallic inks from re-inkers in Platinum, Silver and Gold randomly around the surface of the card front. StazOn dries on the sponge and makes it a one-time use tool. StazOn Jet Black ink is gently tapped over the raised portions of the card panel. Set aside to dry or heat with a heat gun.Step 2
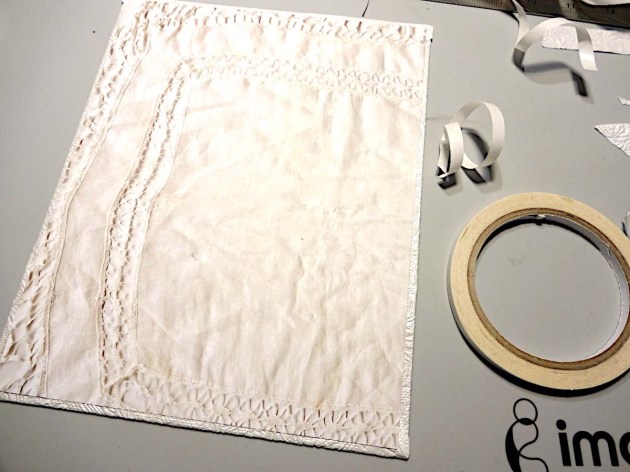
Using a stamp from my stash (manufacturer unknown) small hearts were stamped randomly in VersaMark ink and heat embossed in Mboss in Valentine.

Step 3
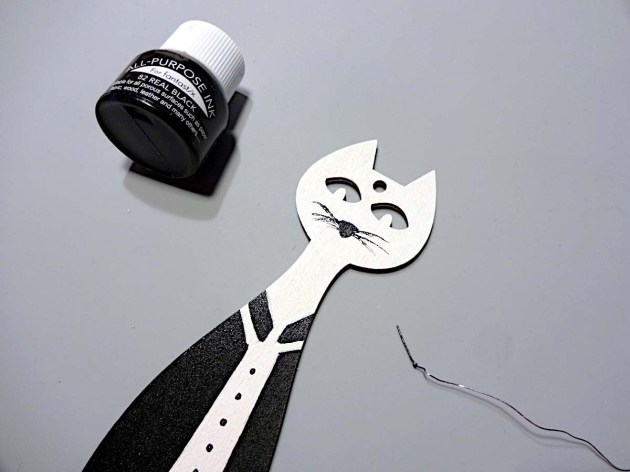
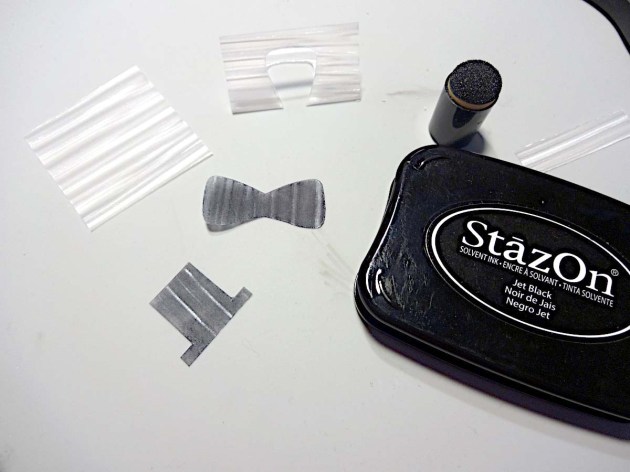
Memento Luxe in Tuxedo Black is used to stamp Taylored Expressions Simple Strips Background sentiments followed by heat embossing with black embossing powder. The matching die is used to die cut the entire set and five sentiments are selected for the front of the card.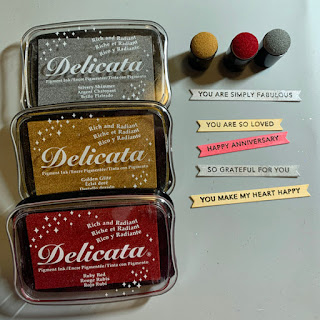
Step 4
Each sentiment strip is inked with Delicata in Silvery Shimmer, Golden Glitz or Ruby Red with an Ink Dauber. Since the sentiment is embossed, the ink will not change the color.
Step 5
The sentiment strips are backed with white cardstock with the matching backer die. The edges are inked with Memento Tuxedo Black and an ink blusher to add definition.
Step 6
A Scribble Heart die by Impression Obsession is die cut from white cardstock. The die is then inked with Versa Mark ink and heat embossed with Mboss in Valentine.
Step 7
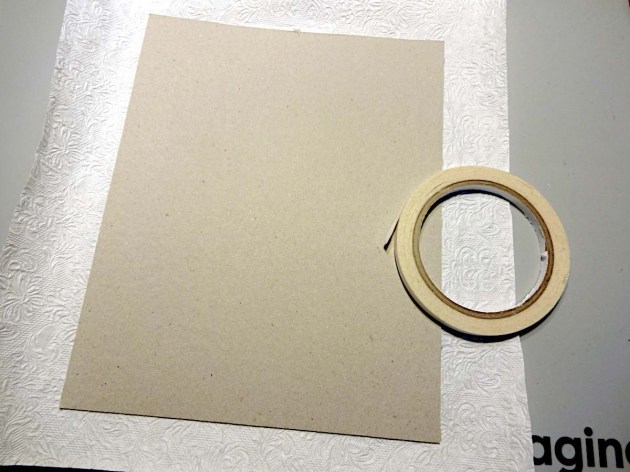
A white card base is trimmed to 5 ½” x 8 ½”. The edges are inked with Memento Tuxedo Black and an ink blusher.
Step 8
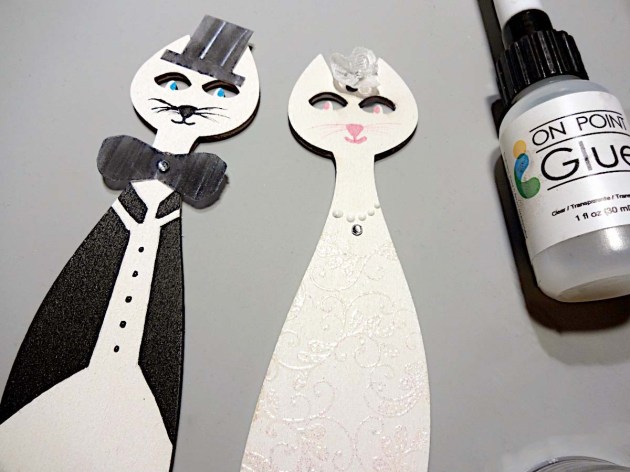
The card base is adhered to textured front with TearIt! Tape. The Heart is adhered with On Point Glue. The sentiment strips are adhered with dimension foam tape. A striking masculine anniversary card goal achieved!Art Supplies
Imagine
- StazOn Re-inkers—Platinum, Silver, Gold
- StazOn Jet Black ink pad
- VersaMark ink pad
- Mboss—Valentine
- Memento Luxe—Tuxedo Black
- Embossing Powder–Black
- Delicata—Silvery Shimmer, Golden Glitz, Ruby Red
- Memento Tuxedo Black
- Ink Blusher
- Sponge Dauber
- Tear It! Tape
- On Point Glue
- Sizzix 3-D Textured Impressions Doodle Triangles
- Make up sponge
- Background heart stamp (manufacturer unknown)
- Taylored Expressions Simple Strips Background Sentiments, Die, and Backer Die
- Impression Obsession Scribble Heart die
- Dimensional foam adhesive
- Black and White cardstock