Make a Holiday Gift Box Using Vertigo Translucent Sheets

By Neva Cole –

Vertigo is a beautiful translucent material to use in creating projects, in today’s tutorial, I am sharing tips and hints to make your project shine!  The perfect ink for this box is StazOn,  as it is the only ink that will dry on Vertigo and other plastics. 

Skill:  Intermediate

Time:  1 hour

Directions:

Step1:

Vertigo can be cut with scissors OR with a simple die.  Complex dies do not work well with most plastics, Vertigo included.
This particular box needed 8.5” by 5” section of Vertigo, 12” x 12” sheets can be purchased directly from Imagine Crafts website.  Recycled packaging may be substituted for Vertigo, however the results will not have the stunning effect the the patterns that Vertigo provides. The Pebbles pattern of Vertigo was used for my box.

Step 2:

Place a few drops ink from StazOn Blazing Red inker on a plastic surface to use as a palette. 
On the INSIDE  of the box use a cotton swab to color each of the pebbles from the center out. 
A little goes a long way with the translucent colors. 

Step 3:

Metallic StazOn ink is slightly less translucent than the other colors. 
To capture more shimmer, apply a drop or two of StazOn Metallic Gold on the INSIDE of the box
and move the ink with a cotton swab to color around the pebbles.

Step 4:

Continue to add StazOn Metallic Gold ink to cover the remaining areas of the inside of the box. 
Set aside to dry, as the Metallic ink is a bit thicker and takes a longer to dry. 

Step 5:

Using StazOn Jet Black, stamp the “Merry Christmas” sentiment on the OUTSIDE of the box.
This keeps the interior of the box ink from lifting and to have the correct orientation. 

Step 6:

Tear It! tape is perfect to hold the bottom of this gift box together. 
Assemble box and determine the best placement for the Tear It! tape. 
Unfold box and add Tear It! tape, my project called for five sections to hold the box in shape.

Remove Tear It! Tape liner and assemble gift box. 

Decorate with matching ribbon and fibers to close the top and keep your gift secure.

Art Supplies

Imagine:

Vertigo–Pebbles 12” x 12” sheet

StazOn Inkers–Blazing Red and Metallic Gold

StazOn Jet Black

 Tear It! Tape

Other:

Bakery Gift box die–Lifestyle Crafts

Cotton Swabs 

Sentiment–Christmas Blessings Taylored Expressions

Misc:  Gold Ric Rac and red fibers

Make a Beautiful Pumpkin Thank You Card

Thankful 12

By Alison Heikkila –

Greetings! Alison here and today my latest tutorial for Imagine is a textured, fall-themed thank you card. I can see making a bunch of these to put as place setting on your Thanksgiving table, as a thank you to your guests for celebrating the holidays with you. I used several simple techniques on this card that when combined, look really fancy and festive. 

Skill Level: Beginner to Intermediate
Time: 45 minutes- 1 Hour

Thankful 2

Directions:


Thankful 3
Step 1: 

Using a piece of metallic cardstock, run it through your die cutting machine with an embossing folder. 


Thankful 4
Step 2: 

Using a sanding block, a piece of sandpaper, or even a nail file, sand the raised areas of the embossed cardstock. This will give it an aged or distressed look. 

Step 3: 

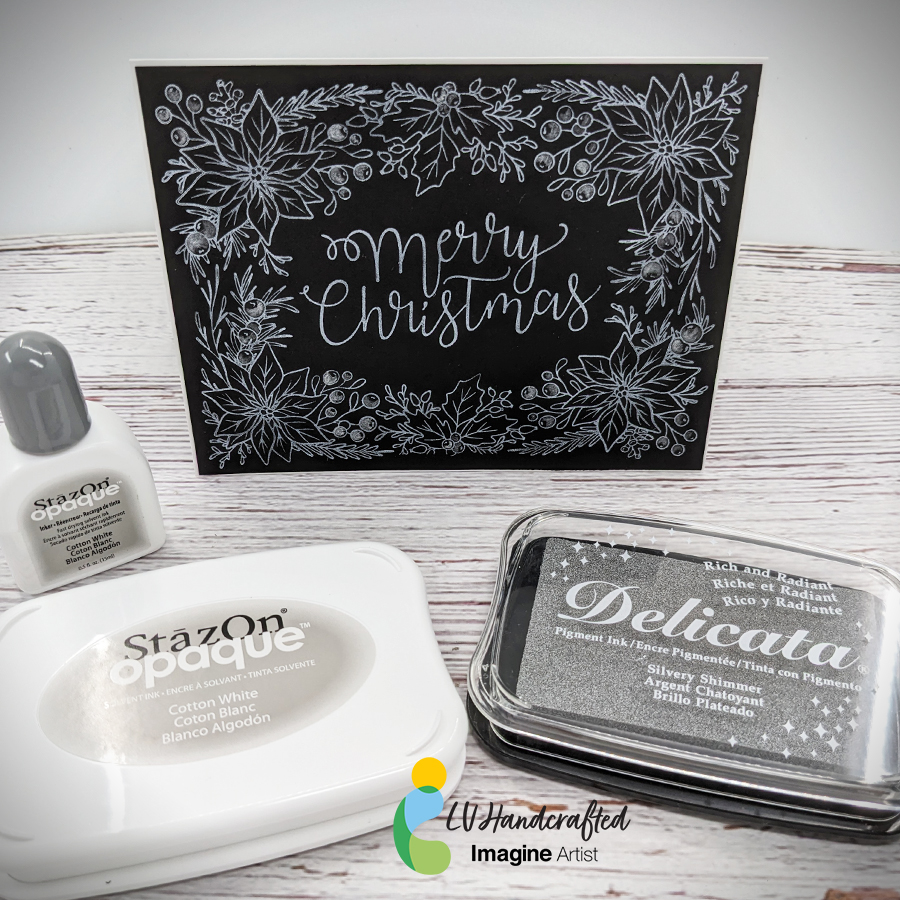
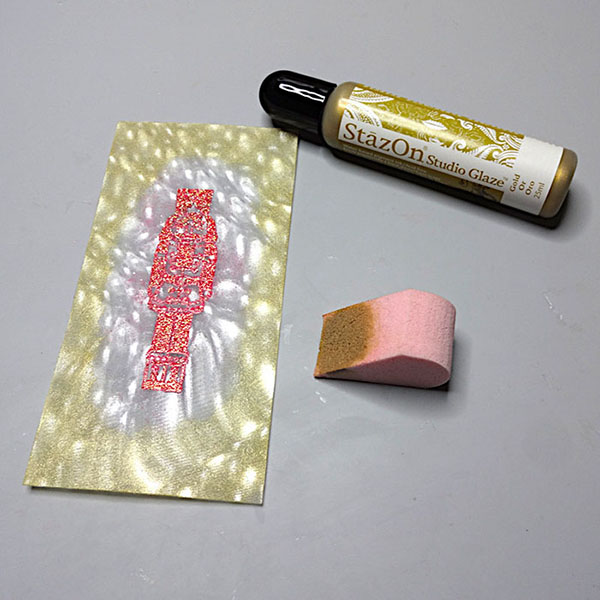
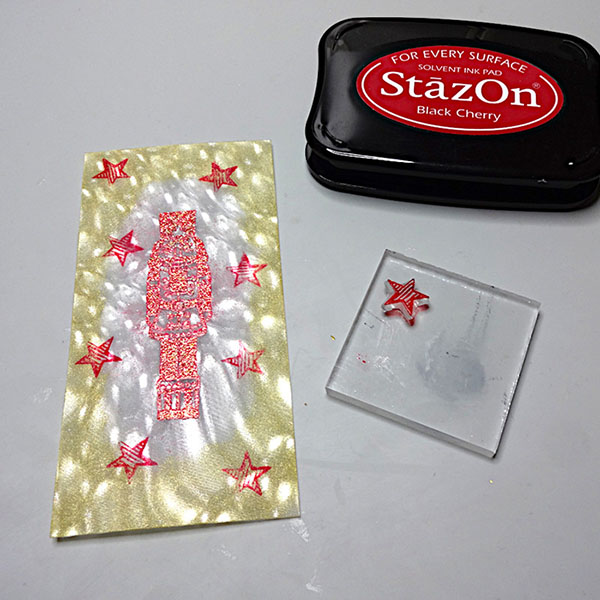
Gently rub Spiced Chai StazOn ink across the surface to add more interest to the piece of cardstock. 

Thankful 5

Step 4: 

On a Gel Press Plate, gently tap the Cappuccino Delight Kaleidacolor Inks across the surface. You can use a brayer to blend the colors, as well as a few spritzes of water or Ink Potion No. 9. 

Thankful 6

Step 5: 

Lay white cardstock on to the Gel Press Plate and rub to get the ink to transfer. Pull the print and let it dry. I pulled a couple of prints and then chose my favorite to use for this card. 
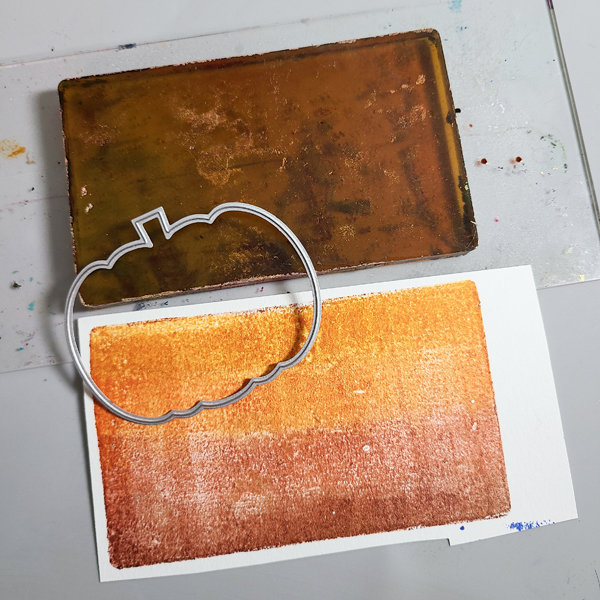
Thankful 7

Step 6: 

Die cut a pumpkin out of the monoprint.
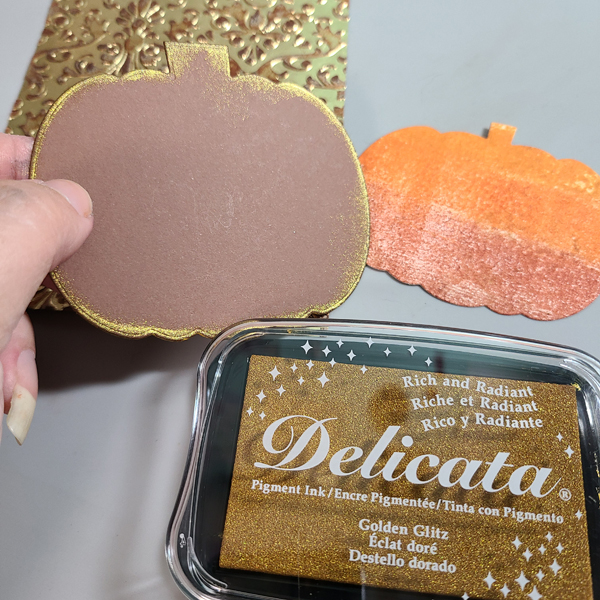
Thankful 8

Step 7: 

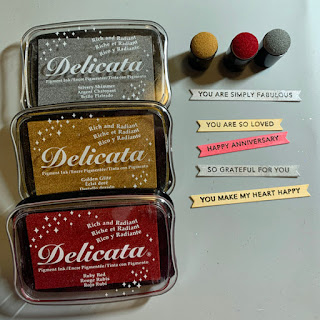
Die cut a bigger pumpkin out of brown cardstock and ink the edges with Golden Glitz Delicata Ink. 

Thankful 9

Step 8: 

Die cut the sentiment out of cream colored cardstock and ink the edges with Desert Sand Memento Ink. 

Thankful 10

Step 9: 

Add Tear It Tape to the back of the embossed panel. I like to use this adhesive when I am working with a piece that has a lot of texture. It holds everything in place really well, and you don’t need to worry about liquid adhesive getting “stuck” in the wells. 

Step 10: 

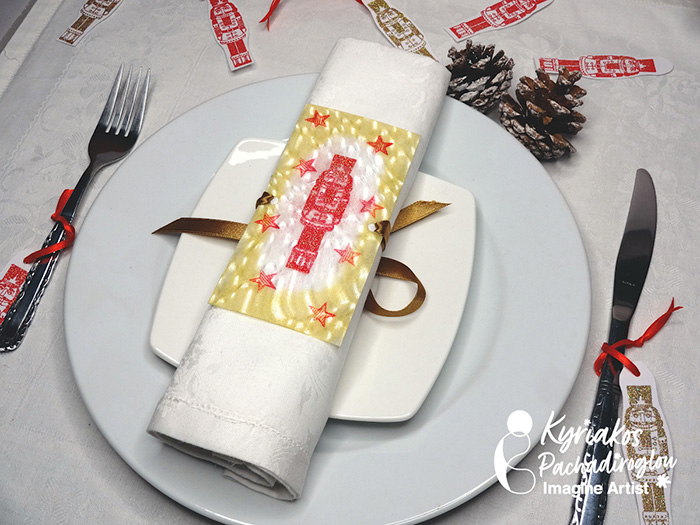
Assemble the rest of the card. I used On Point Glue to attach the rhinestones. 

Thankful 11 600

Isn’t it pretty? 

 I love all of the shine from the embossed panel. I also really like seeing all the colors on the pumpkin through the die cut. I hope you’ll give some of these techniques a try!
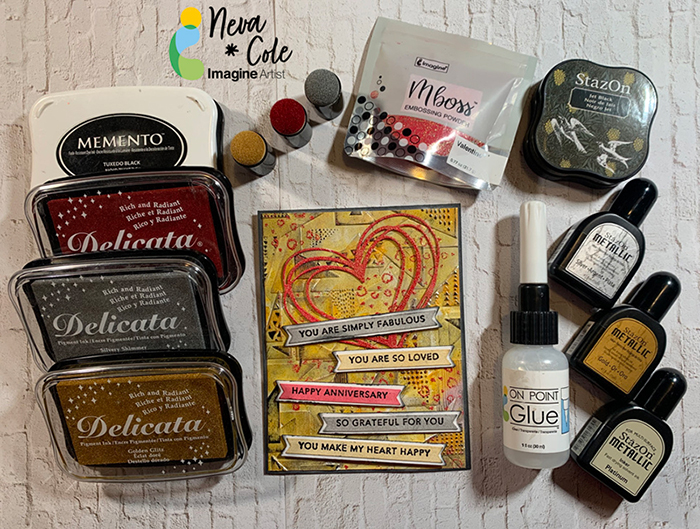
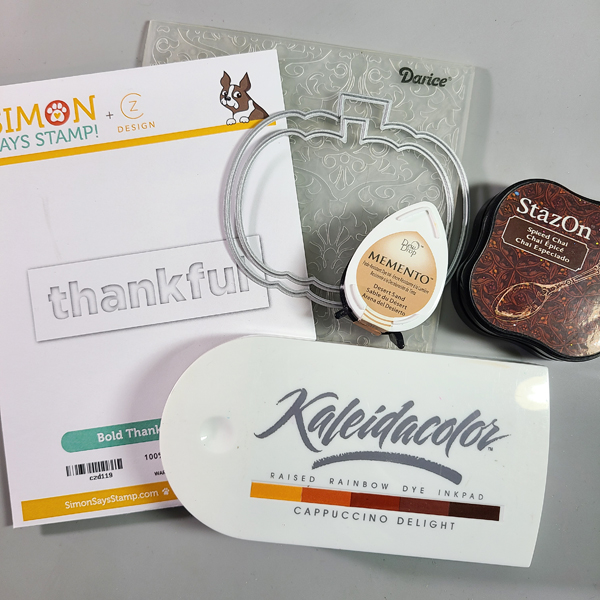
Art Supplies:

Imagine:

• StazOn Ink: Spiced Chai 

• Delicata Ink: Golden Glitz

• Kaleidacolor Ink: Cappuccino Delight 

• Memento Ink: Desert Sand

• Tear It! Tape

• On Point Glue

Other:

• Darice: Embossing Folder

• Gel Press: 3×5 Plate

• Recollections: Pumpkin Die Cuts

• Simon Says Stamp: Thankful Die

• Doodles Paper Playground: Gold Starburst Rhinestones

• Brown, Cream, and White cardstock

Create a Dramatic Anniversary Card with Multi Layers of Metallic Shimmer

2022-Jan-Neva-Anniversary_blog

By Neva Cole –

Today’s tutorial will demonstrate how to create multi layers of texture for a dramatic Anniversary Card.  StazOn, Delicata, and Mboss will add amazing levels of metallic shimmer.

Skill:  Beginner

Time:  1 Hour

Directions:

Step 1
Trim white piece of sturdy cardstock to 4 1/8” x 5 3/8”.  I used the backing of a paper pack, that had one shiny white side.  First, I pressure embossed with Sizzix 3-D Textured Impressions Doodle Triangles.  A makeup sponge was used to spread StazOn Metallic inks from re-inkers in Platinum, Silver and Gold randomly around the surface of the card front.  StazOn dries on the sponge and makes it a one-time use tool. StazOn Jet Black ink is gently tapped over the raised portions of the card panel.  Set aside to dry or heat with a heat gun.
Step 2
Using a stamp from my stash (manufacturer unknown) small hearts were stamped randomly in VersaMark ink and heat embossed in Mboss in Valentine.
Step 3
Memento Luxe in Tuxedo Black is used to stamp Taylored Expressions Simple Strips Background sentiments followed by heat embossing with black embossing powder.  The matching die is used to die cut the entire set and five sentiments are selected for the front of the card.
Step 4
Each sentiment strip is inked with Delicata in Silvery Shimmer, Golden Glitz or Ruby Red with an Ink Dauber.  Since the sentiment is embossed, the ink will not change the color.
Step 5
The sentiment strips are backed with white cardstock with the matching backer die.  The edges are inked with Memento Tuxedo Black and an ink blusher to add definition.
Step 6
A Scribble Heart die by Impression Obsession is die cut from white cardstock.  The die is then inked with Versa Mark ink and heat embossed with Mboss in Valentine.
Step 7
A white card base is trimmed to 5 ½” x 8 ½”.  The edges are inked with Memento Tuxedo Black and an ink blusher.
Step 8
The card base is adhered to textured front with TearIt! Tape.  The Heart is adhered with On Point Glue.  The sentiment strips are adhered with dimension foam tape.  A striking masculine anniversary card goal achieved!

Art Supplies

Imagine
Other
  • Sizzix 3-D Textured Impressions Doodle Triangles
  • Make up sponge
  • Background heart stamp (manufacturer unknown)
  • Taylored Expressions Simple Strips Background Sentiments, Die, and Backer Die
  • Impression Obsession Scribble Heart die
  • Dimensional foam adhesive
  • Black and White cardstock
Neva Cole http://snippetscrafter.blogspot.com/ n.cole@windward-performance.com

Easy to Make Christmas Napkin Holders

2021-Dec_19-kyriakos-xmas-table-decoration-main-wide-wm

By Kyriakos Pachadiroglou –

Stamp on Vertigo sheets to make sparkling napkin rings using Mboss Valentine embossing powder. Repeat stamping on white card stock to make little tags to decorate your festive table.


Skill: Beginner

Time: 1 Hour


Directions:

2021-dec-kyriakos-xmas-table-decoration-step1

Step 1

Cut 2 ½ x 5 in pieces of the Vertigo sheets and stamp with VersaMark watermark ink.

Cover with Mboss Valentine embossing powder and heat set.


2021-dec-kyriakos-xmas-table-decoration-step2

Step 2

Use an ink blusher to color around the stamped image with the StazOn Studio Glaze gold.


2021-dec-kyriakos-xmas-table-decoration-step3

Step 3

Stamp stars with the StazOn Black Cherry ink pad.


2021-dec-kyriakos-xmas-table-decoration-step4

Step 4

Punch one hold at the middle left and right long side edges and place satin ribbon.


2021-dec-kyriakos-xmas-table-decoration-step5
Step 5

Stamp the nutcracker stamp on white card stock with VersaMark watermark ink pad. Cover with Mboss Valentine embossing powder and heat set. Cut around. Repeat with the Mboss Sparkling Champagne Embossing Powder. 


Art Supplies:

Imagine

StazOn – Black Cherry

VersaMark – Original

StazOn Studio Glaze – Gold

Mboss – Valentine, Sparkling Champagne

Vertigo Sheet – Pebbles

Ink Blushers

Other

• Nutcracker Stamp

• Heat Tool

• Gold Satin Ribbon

• White Card Stock

• Hole Punch


Make Wooden Stamped Christmas Tree Ornaments

2021-dec-kyriakos-wooden-stamped-ornaments-square-IG

By Kyriakos Pachadiroglou –

Make wooden sign board style ornaments for your Christmas tree, colored with white All-Purpose ink and stamped Christmas designs with StazOn ink. Simple and easy to make.


Skill: Beginner

Time: 1 Hour

Directions:

2021-dec-kyriakos-wooden-stamped-ornaments-step1

Step 1

Place 6 wooden sticks next to each other. Cut two wooden sticks a bit longer than the total width of the above six ones. Place Tear It! Tape on the two and attach on the rest and create a sign board.


2021-dec-kyriakos-wooden-stamped-ornaments-step2

Step 2

Color the sign boards with white All-Purpose Ink and both sides.


2021-dec-kyriakos-wooden-stamped-ornaments-step3

Step 3

Stamp your favorite Christmas stamps using the StazOn Black Cherry ink pad, which will dry quickly and won’t bleed on the wood.


2021-dec-kyriakos-wooden-stamped-ornaments-step4

Step 4

Distress the edges with Memento Rich Cocoa ink pad.


2021-dec-kyriakos-wooden-stamped-ornaments-step5
Step 5

Add rhinestones using the On Point Glue.


2021-dec-kyriakos-wooden-stamped-ornaments-step6
Step 6

Wrap Baker’s twine on one side and some on the top to hand the ornament.


Art Supplies:

Imagine

• StazOn – Black Cherry

• Memento – Rich Cocoa

• All-Purpose Ink – White

• Sponge Daubers

• Tear It! Tape

• On Point Glue


Other

• Wooden sticks

• Christmas themed stamps

• Bakers twine

• Rhinestones


Wow your Dinner Guests with Stylist Hand Stamped Autumn Leaves

leaves-table-650

By Kyriakos Pachadiroglou –

Gather large leaves and stamp them with your favorite stamps and StazOn inks. Protect the leaves with the Creative Medium for a long lasting result. Decorate a holiday table, make an autumn wreath, add them to gift bags or to any seasonal project.

Skill: Beginner

Time: 1 Hour


Directions:

2021-nov-kyriakos-stamped-leaves-step1

Step 1

Gather leaves that are not completely dry. If they are not flat enough, use paper towels, spray with water and carefully press to flatten.


2021-nov-kyriakos-stamped-leaves-step2

Step 2

Cover the leaves on both sides with Creative MEDIUM using an Ink Blusher.


2021-nov-kyriakos-stamped-leaves-step3

Step 3

Stamp with StazOn Jet Black ink and your favorite stamp.


2021-nov-kyriakos-stamped-leaves-step4

Step 4

Add some color by distressing lightly with StazOn Black Cherry ink pad.


2021-nov-kyriakos-stamped-leaves-step5
Step 5

Stamp the thank you sentiment and tear the paper on all sides to make tags.


2021-nov-kyriakos-stamped-leaves-step6
Step 6

Distress the tags with MEMENTO Rich cocoa.


Art Supplies:

Imagine

• StazOn – Jet Black, Black Cherry

• MEMENTO – Rich Cocoa

• Creative MEDIUM – Clear

• Sponge Daubers

• Ink Blushers


Other

• Large Leaves

• Precious Remembrance School Stamp Set

• Kaiserkraft – Tea at Elsie’s Stamp Set

• Natural Color Heavy Card Stock