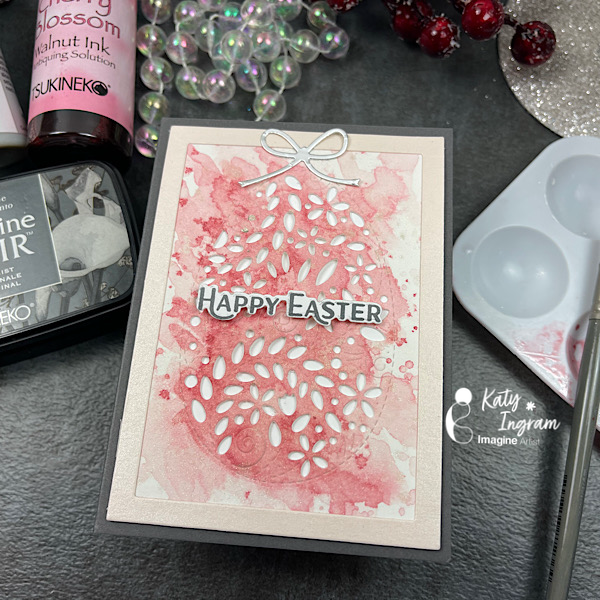
Hello Friends! Katy here with my latest video! In todays video I use some Cherry Blosom Walnut Ink to create a simple background for an Easter egg die cut I have in my stash. I kept the background simple and made an A1 size card, also known as an RSVP card size. I love that I can use the Walnut Inks like watercolors to create simple backgrounds. Video has all the details. Thanks for watching.
• Hot Pressed Watercolor paper • The Greetery Easter Morning Sentiments Stamp • Simon Says Stamp Filigree Egg Die – no longer available • Matte Silver Cardstock • Small bow die cut
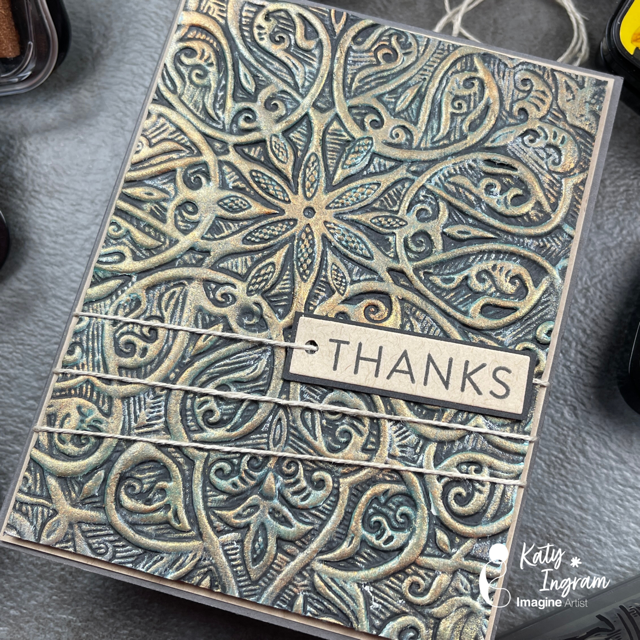
Hello Friends! Katy here and today I am excited to share this really cool background technique.
In today’s video tutorial, I am sharing how I use some All Purpose Inks, Delicata Inks and a 3D embossing folder to create a Gilded/Aged Celtic background. I have to admit I am in love with these backgrounds and in the video I show two ways to create it and both give different results depending on how you apply the ink. I also give some alternatives to the products I am using in the video, so be sure and watch to find out what they are. This technique will work with any embossing folder and I will for sure be using it with other folders I have in my stash.
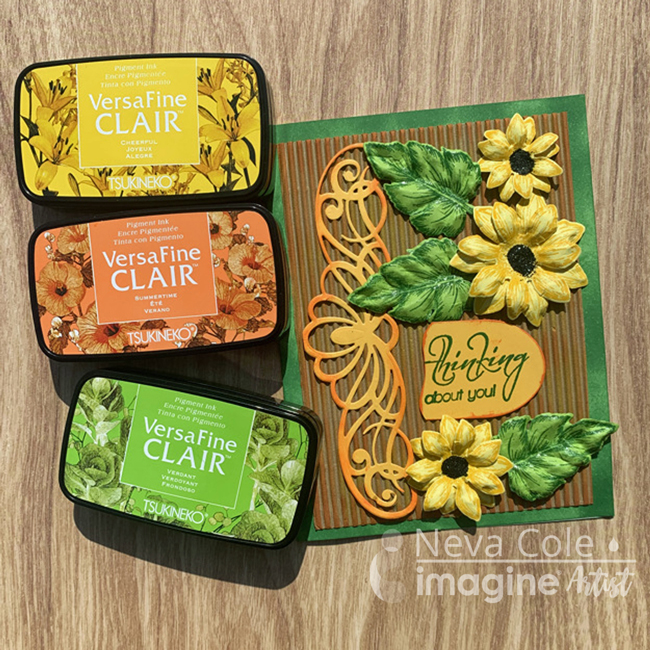
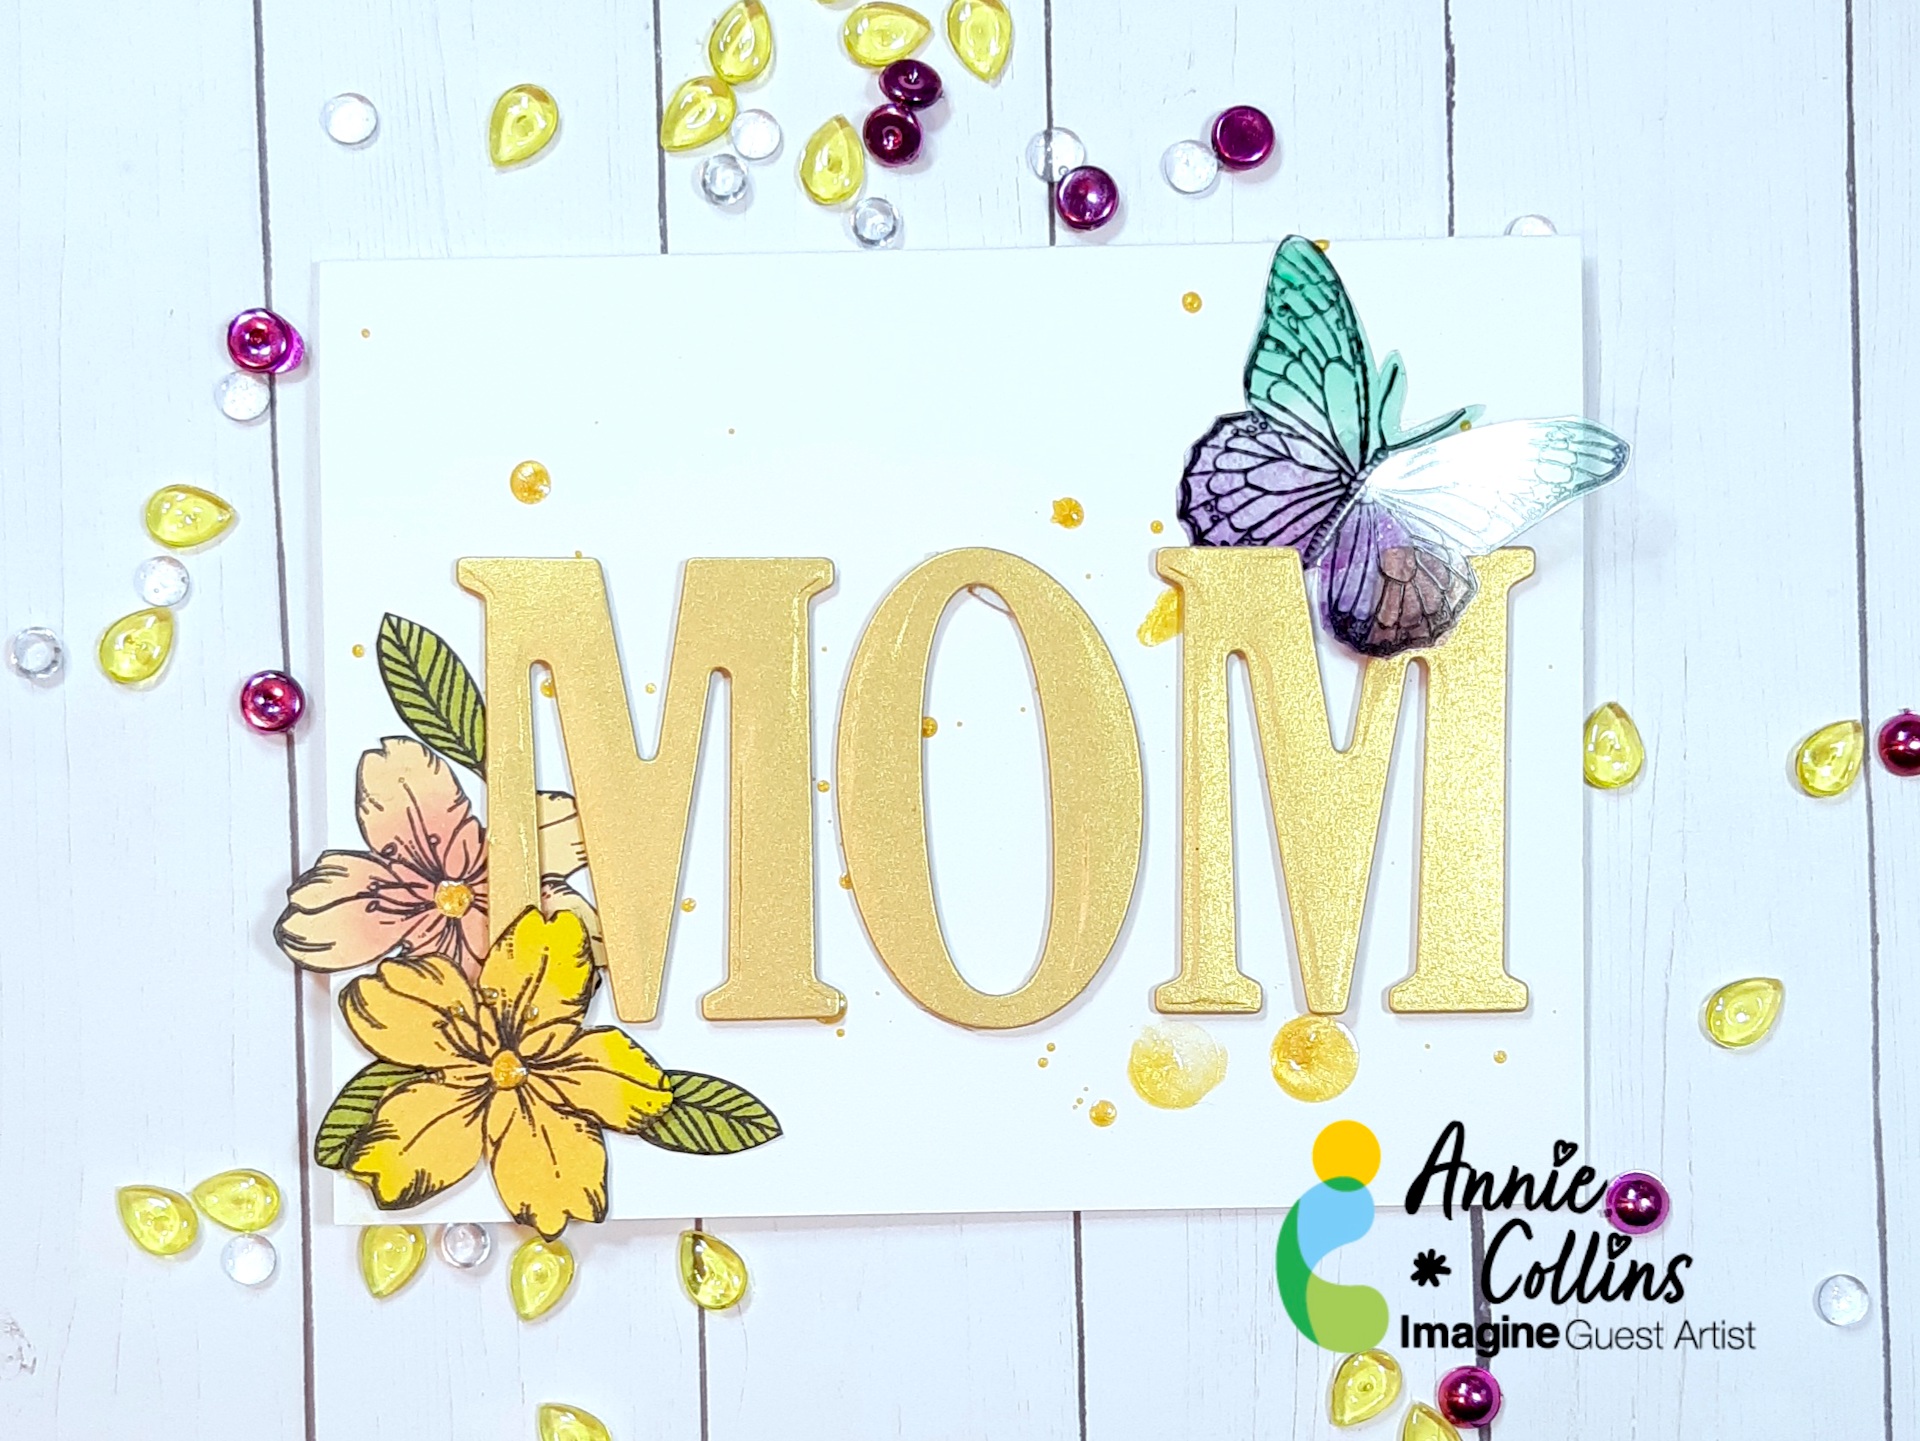
Versa Clair Fine is now my favorite pigment ink! So versatile and allowed me to create a beautifully colored card in just a few steps. This is one of the few cards that my husband has asked me to specifically make for a friend, it was easy to do with just a few inks, stamps, and dies!
Skill: Intermediate
Time: 2 hours
Directions:
Step 1:
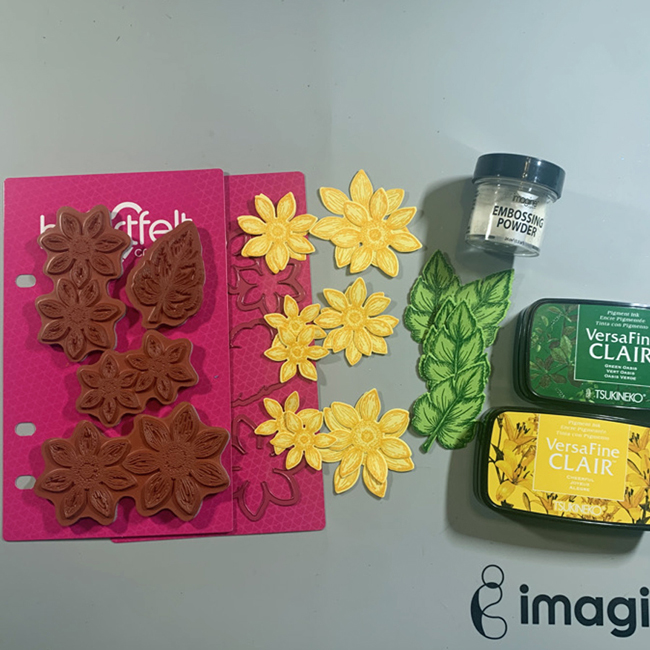
Stamp sunflower images on yellow cardstock with Versa Fine Clair Cheerful and heat emboss with clear embossing powder. Stamp leaf images on light green paper in Versa Fine Clair Green Oasis and heat emboss with clear embossing powder. Die cut with matching dies.
Step 2:
Place flowers and leaves face down in matching shaping mold and mist lightly with water. As the images are heat embossed, they will stay sharp and crisp. Close mold and pressure emboss.
Step 3:
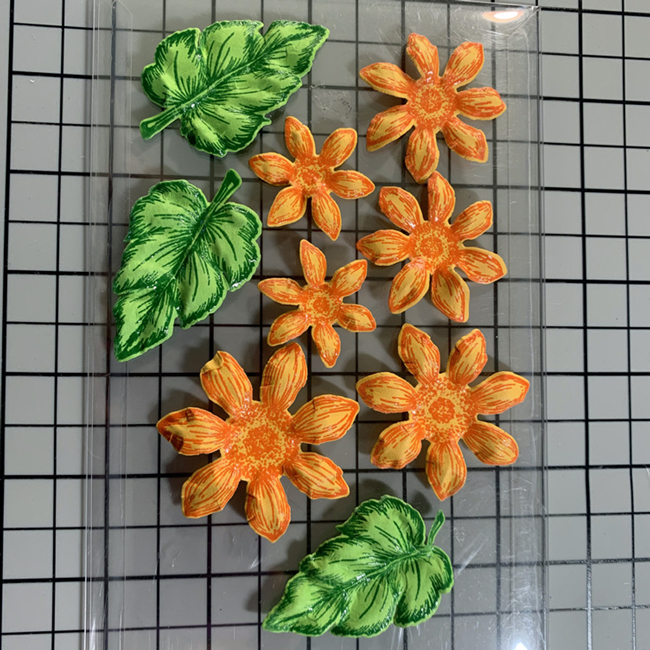
Remove flowers and leaves from mold and set aside to dry. Once dry assemble flowers with On Point Glue, adding black glitter to centers. (Not shown) Set aside to dry.
Step 4:
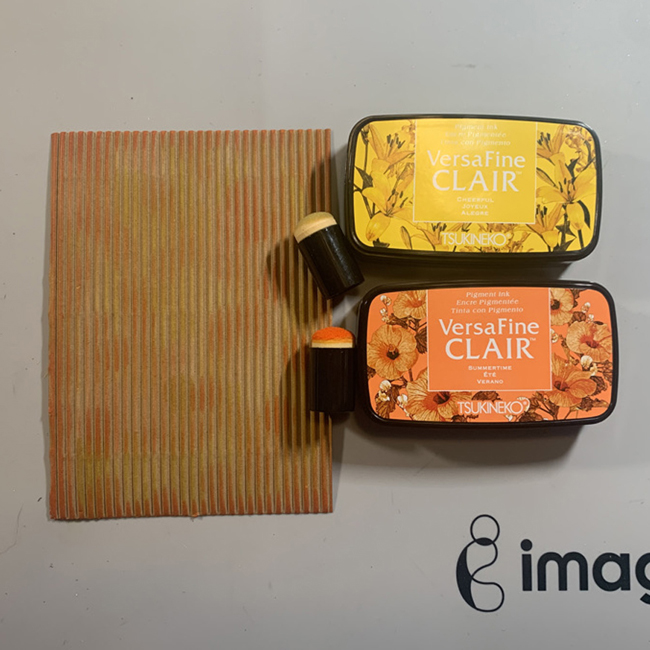
Ink the edges of an A7 size card with and ink dauber and Versa Fine Clair Green Oasis. Set aside to dry, as the ink is very juicy.
Step 5:
Sunflowers are a rustic flower, so corrugated cardstock seemed to be a good choice for a background. Versa Fine Clair in Cheerful and Summertime are inked randomly on the corrugated cardstock with ink daubers.
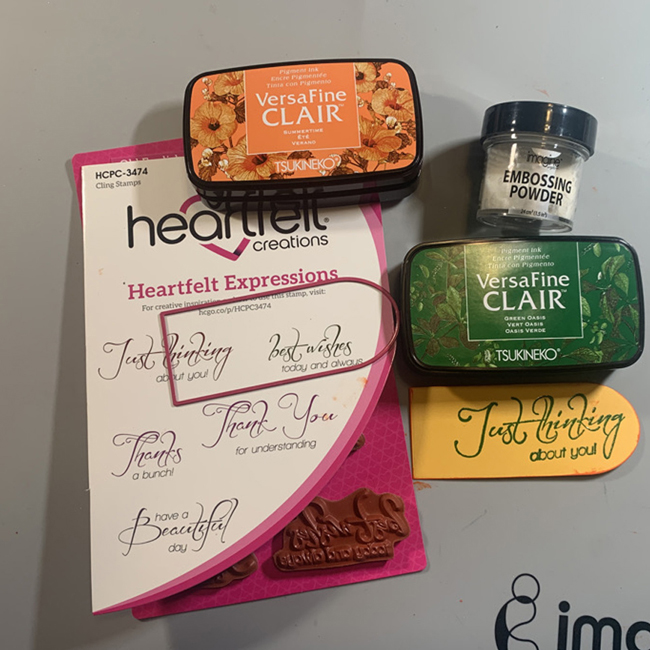
Step 6:
Ink the sentiment with Versa Fine Clair in Green Oasis and heat emboss with clear embossing powder. Die cut with die from the Eyelet Frame Gateway set. I trimmed off a portion of the sentiment, then edged the sentiment with Versa Fine Clair in Summertime.
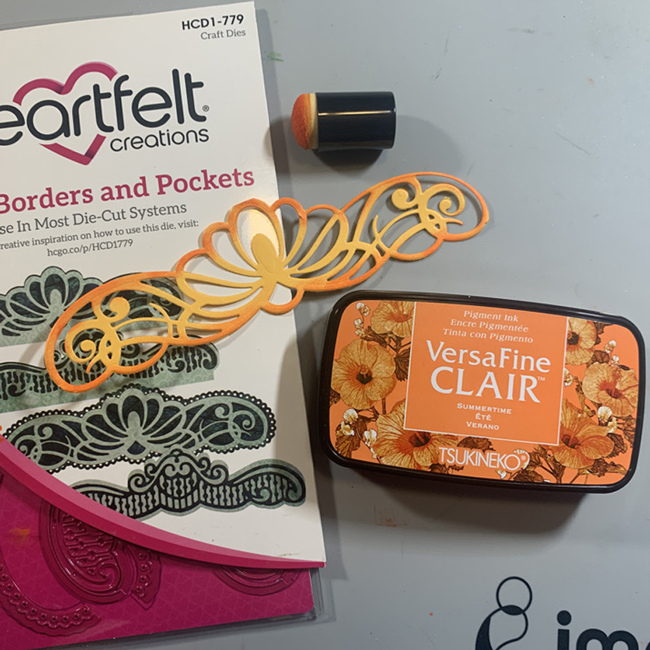
Step 7:
Die cut a Border from the Regal Boarder set using light orange paper. Gently shade the edges with Versa Fine Clair Summertime and an ink dauber.
Step 8:
Adhere corrugated cardstock to base card with Tear It Tape! Adhere border with On Point Glue Adhere flowers with Tear It Tape!
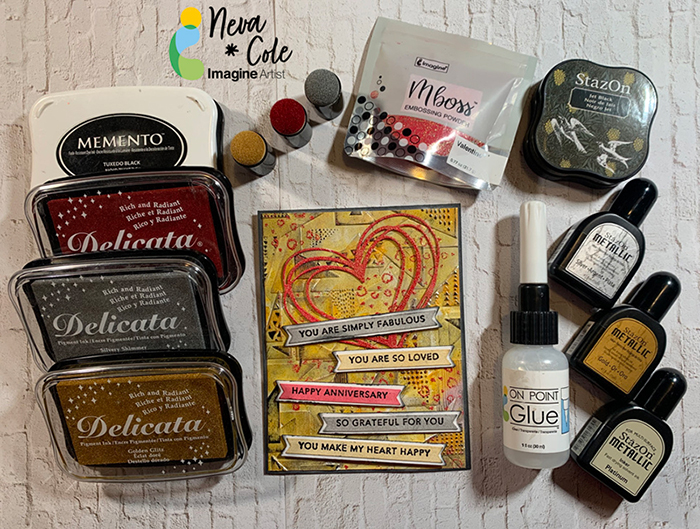
Today’s tutorial will demonstrate how to create multi layers of texture for a dramatic Anniversary Card. StazOn, Delicata, and Mboss will add amazing levels of metallic shimmer.
Skill:Beginner
Time:1 Hour
Directions:
Step 1
Trim white piece of sturdy cardstock to 4 1/8” x 5 3/8”. I used the backing of a paper pack, that had one shiny white side. First, I pressure embossed with Sizzix 3-D Textured Impressions Doodle Triangles. A makeup sponge was used to spread StazOn Metallic inks from re-inkers in Platinum, Silver and Gold randomly around the surface of the card front. StazOn dries on the sponge and makes it a one-time use tool. StazOn Jet Black ink is gently tapped over the raised portions of the card panel. Set aside to dry or heat with a heat gun.
Step 2
Using a stamp from my stash (manufacturer unknown) small hearts were stamped randomly in VersaMark ink and heat embossed in Mboss in Valentine.
Step 3
Memento Luxe in Tuxedo Black is used to stamp Taylored Expressions Simple Strips Background sentiments followed by heat embossing with black embossing powder. The matching die is used to die cut the entire set and five sentiments are selected for the front of the card.
Step 4
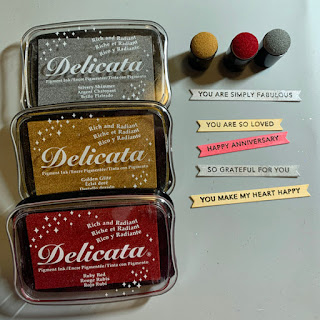
Each sentiment strip is inked with Delicata in Silvery Shimmer, Golden Glitz or Ruby Red with an Ink Dauber. Since the sentiment is embossed, the ink will not change the color.
Step 5
The sentiment strips are backed with white cardstock with the matching backer die. The edges are inked with Memento Tuxedo Black and an ink blusher to add definition.
Step 6
A Scribble Heart die by Impression Obsession is die cut from white cardstock. The die is then inked with Versa Mark ink and heat embossed with Mboss in Valentine.
Step 7
A white card base is trimmed to 5 ½” x 8 ½”. The edges are inked with Memento Tuxedo Black and an ink blusher.
Step 8
The card base is adhered to textured front with TearIt! Tape. The Heart is adhered with On Point Glue. The sentiment strips are adhered with dimension foam tape. A striking masculine anniversary card goal achieved!
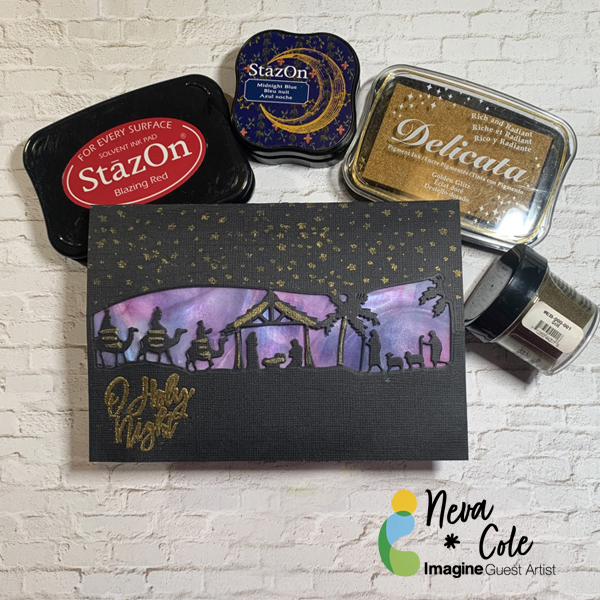
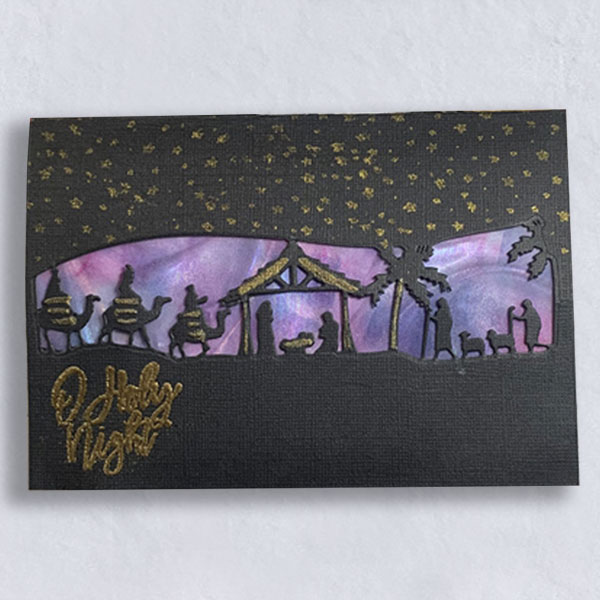
Today’s tutorial will feature several Imagine products, Delicata, StazOn, and Vertigo. Using silhouette style die cut creates a stunning yet quick and easy Christmas Card.
Skill:Beginner
Time:30 Minutes
Directions:
Step 1
Trim black cardstock to 6 ½” x 9” and fold in half. Center die on the front panel of the card base and die cut.
Step 2
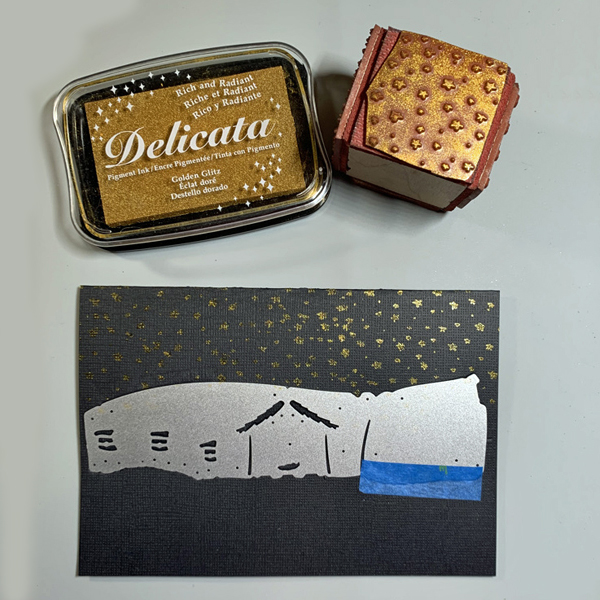
Leave the die in place and stamp the starry background with Delicata Golden Glitz.
Step 3
Use a Fantastix Brush Tip to brush in details left open in the die. Photo shows the die removed after this step.
Step 4
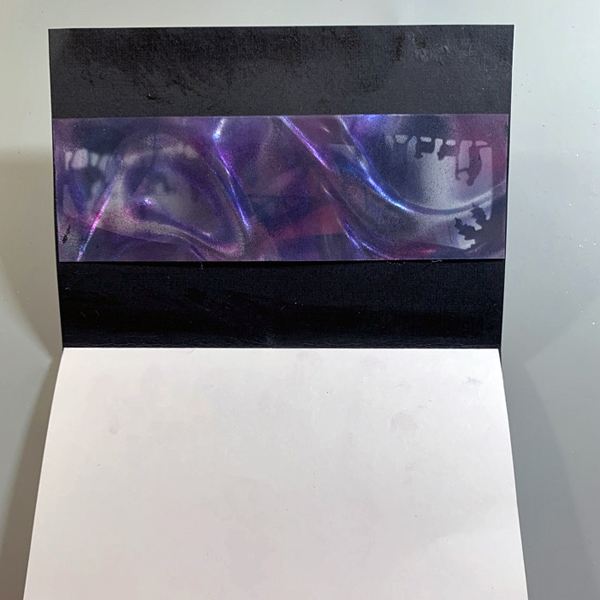
Trim a section of Taffeta Vertigo to 2” x 6 3/8”. Use an Ink Blusher to build layers of color in StazOn Blazing Red and Midnight Blue. As the color layers blend, the red, purple, and blue along with the Taffeta Vertigo creates a stunning night sky.
Step 5
Adhere Vertigo behind the opening in the die with small dots of On Point Glue. I glued around the edge and behind each small portion of the die scene. Trim white cardstock to 6 3/8” x 8 ¾” and fold in half. Adhere to the inside back of the card with Tear It! Tape.
Step 6
Apply Tear It! Tape to the front inside of the card and fold card closed. This allows the card to compensate for the two layers of cardstock.
Step 7
Stamp Oh Holy Night sentiment in Delicata Golden Glitz and heat emboss with Gold Embossing Powder.