By Monica Edwards
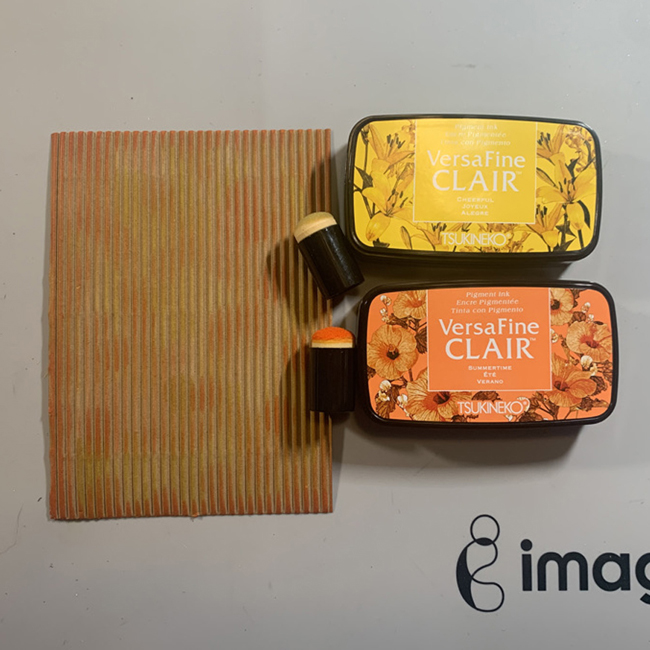
Welcome to the Imagine blog, today I will be showing everyone how you can get a watercolor look, coloring your images with Delicata inks and using Fabrico markers to highlight the fine details of the image.
A bit about Delicata inks. Delicata is the latest generation of metallic inkpad. Remarkably true and bright, it outshines other inkpads and provides stamping results that resemble the true effects of gold and silver leafing without the mess.
Skill Level: Intermediate
Time to Complete: 45min to 60min
DIRECTIONS

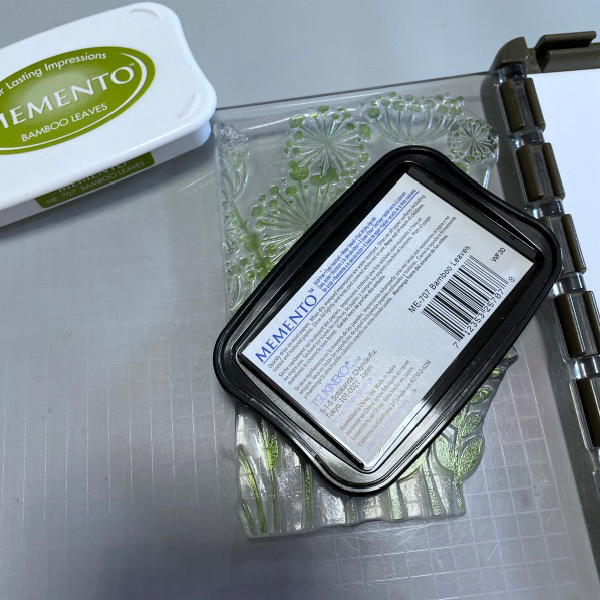
Step 1
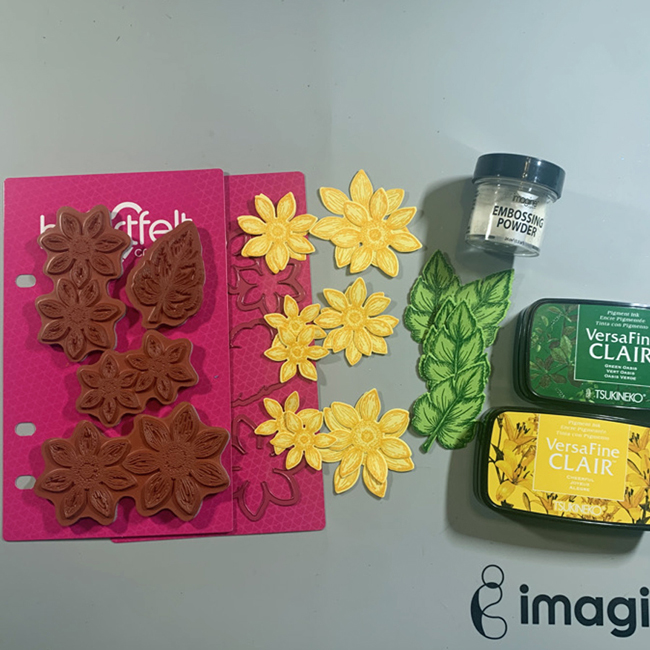
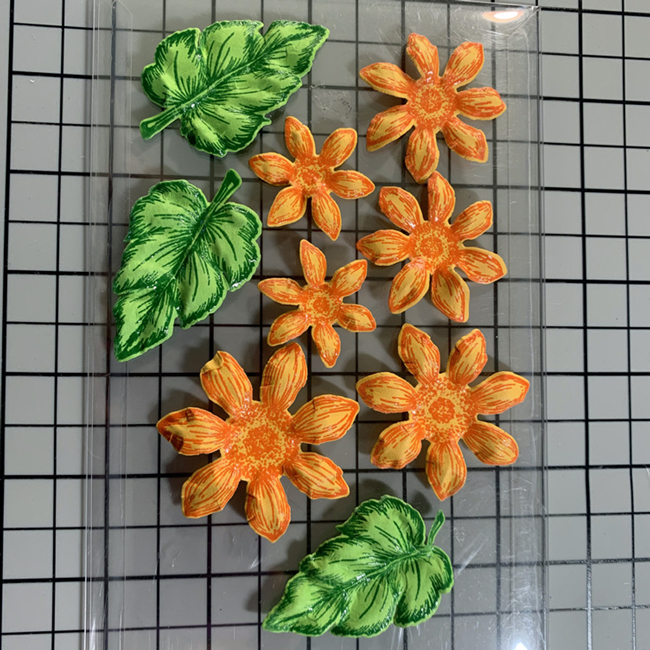
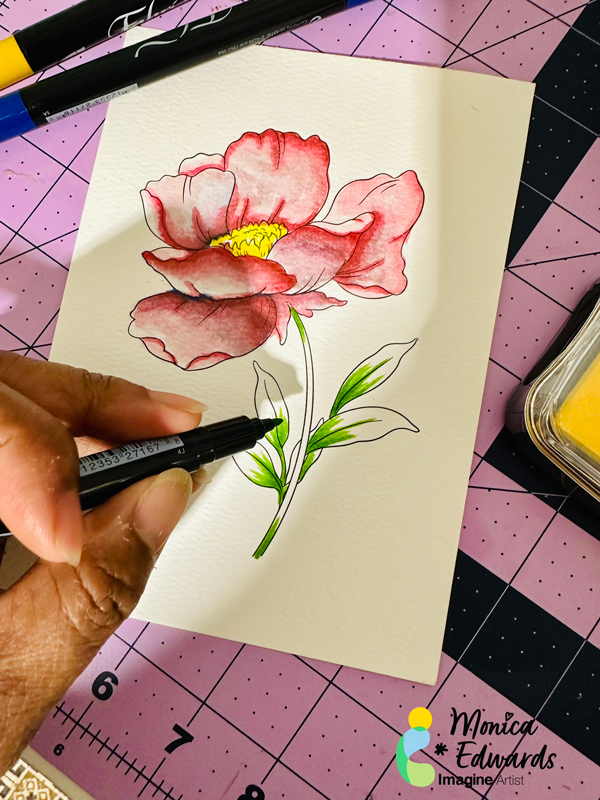
Stamp your image on watercolor paper using Stazon Black ink. Then take a water brush and color the image using Delicata ink in Ruby Red. Then, take your Fabrico marker in burgundy and outline the inner petals to give the image added depth.

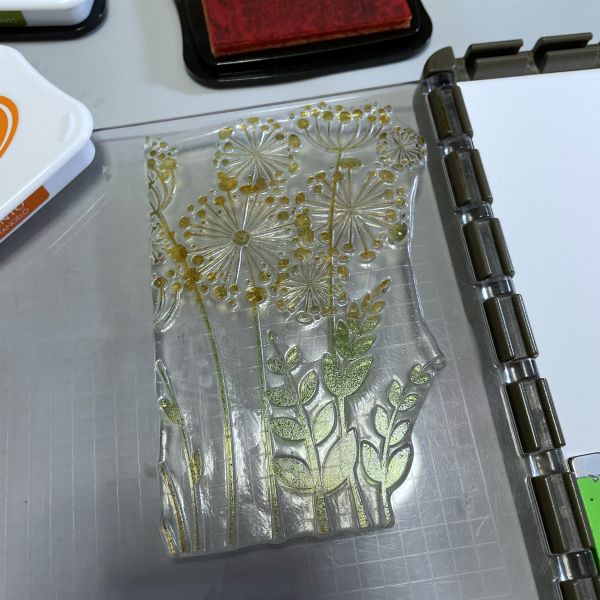
Step 2
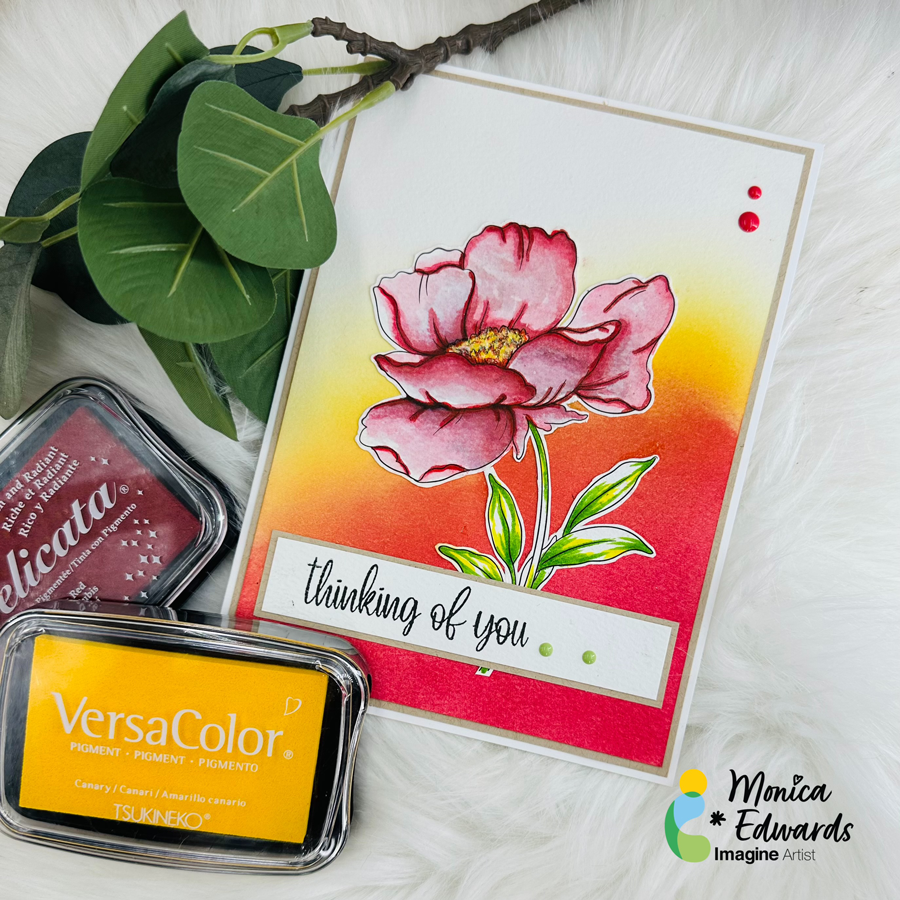
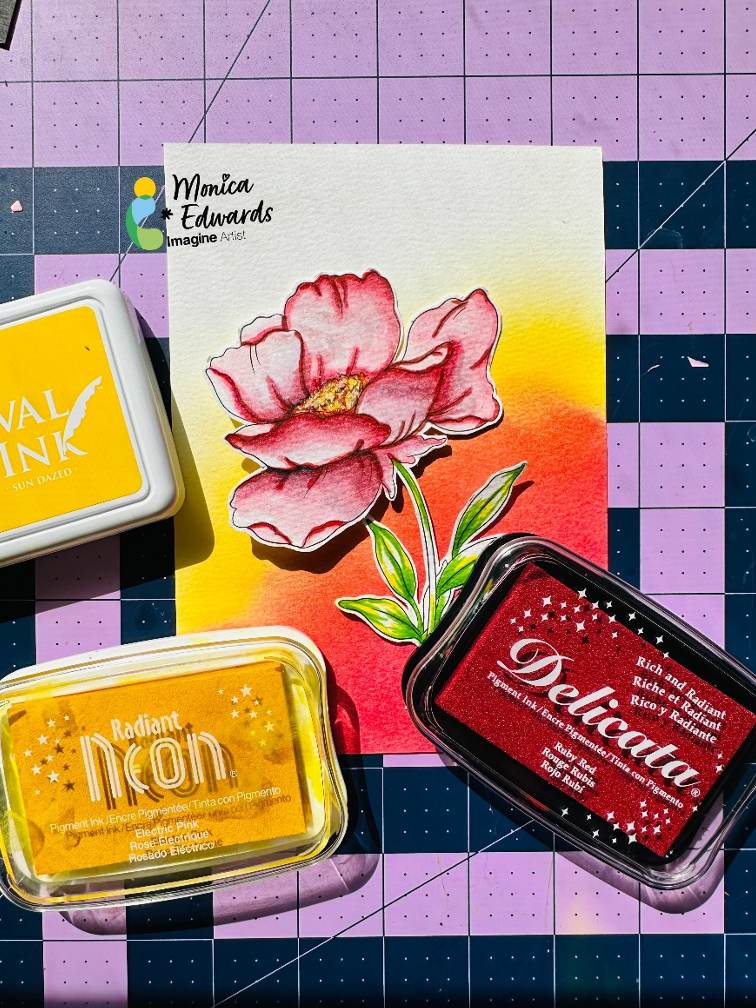
Mask the image and apply the Delicata Ruby Red ink and Radiant Neon Electric Yellow to create a blended background.
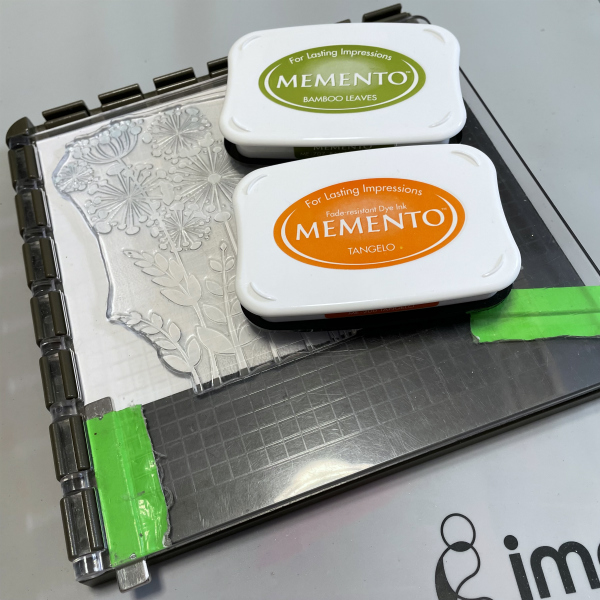
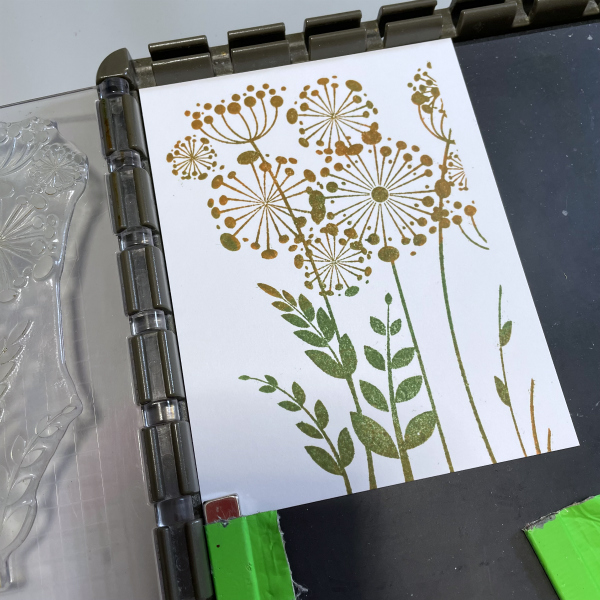
Step 3
Use the Fabrico pens in yellow and green to color your leaves leaving some white background
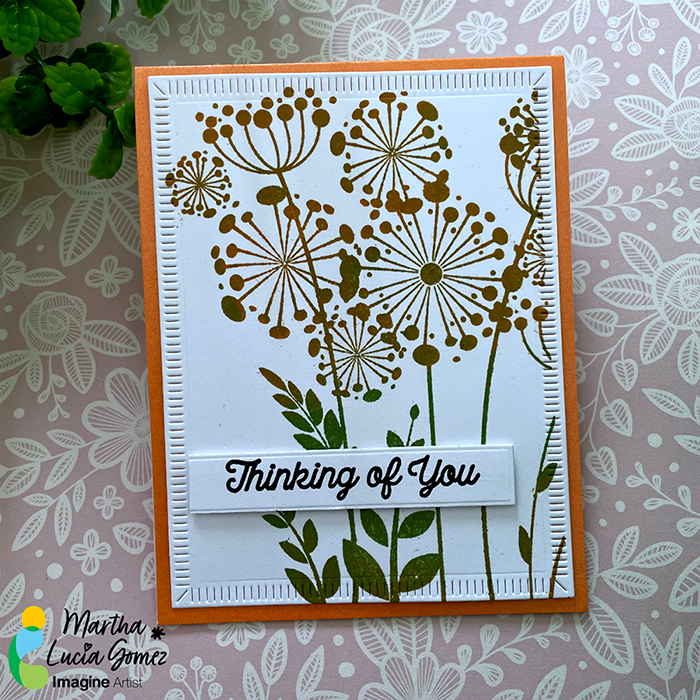
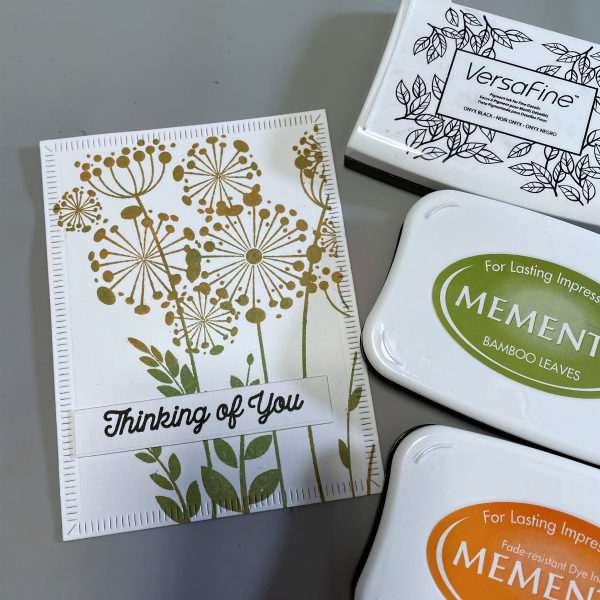
Step 4
Add a sentiment to complete the card
Craft Supplies
Imagine
- Sponge Dauber
- Craft Mat
- On-Point Glue
- Delicata Ruby Red
- Stazon Black
- Fabrico Burgundy
- Fabrico Real Black
- Radiant Neon Electric Yellow
Other Supplies Used:
Fabrico Watercolor Paper