
By Anna Escalada York
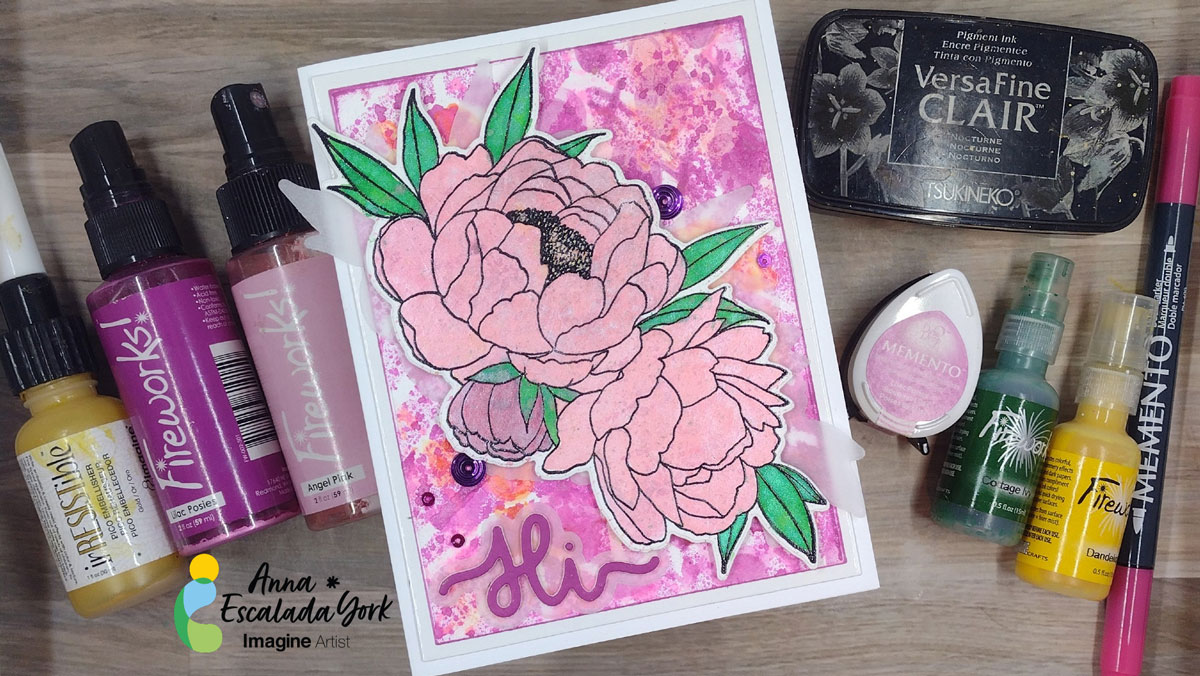
Summer in the Pacific Northwest is filled with beautiful flowers and the bluest sky. I know I appreciate them so much more since most of the year is so soggy. To celebrate the season, I made a colorful card filled with flowers.
Skill: Intermediate
Time: 2 hours
Directions:
Step 1:
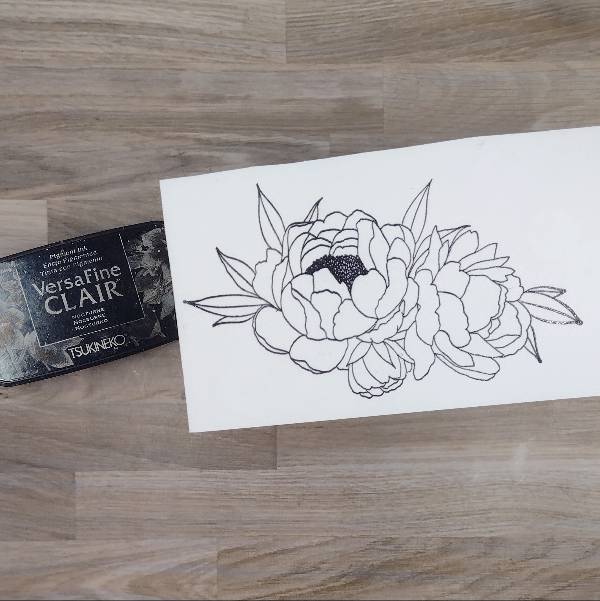
Stamp the large floral image onto watercolor paper with Nocturne VersaFine Clair Ink and heat emboss with clear embossing powder.
Then die cut the flower with the corresponding die. Also die cut a piece of vellum with the same die cut.
Step 2:
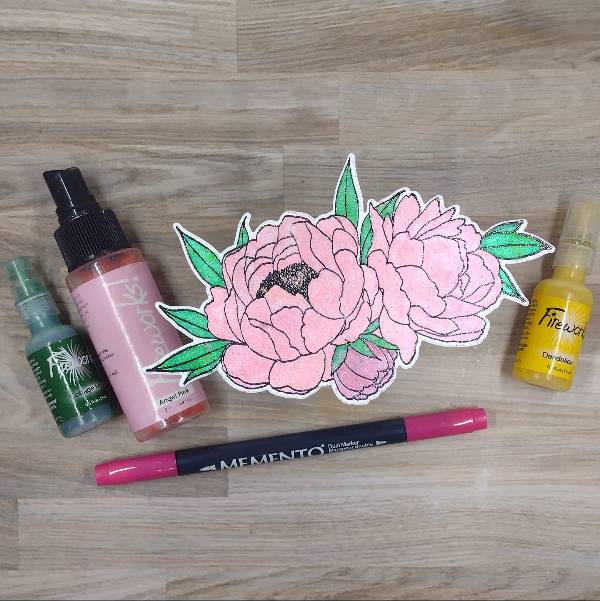
Watercolor the floral image. The larger two flowers were watercolored with Angel Pink Fireworks! Shimmery Craft Spray, the center of the largest flower with Dandelion Fireworks! Shimmery Craft Spray, and the leaves with Cottage Ivy Fireworks! Shimmery Craft Spray. The smallest flower was watercolored with a mix of Rose Bud Memento Dual Marker mixed with more Angel Pink Fireworks! Shimmery Craft Spray. After everything dried, the smallest flower’s color was made darker by adding a second layer of the combination of Rose Bud Memento Dual Marker mixed with Angel Pink Fireworks! Shimmery Craft Spray.
To cover up a few small blemishes, lightly splatter Cottage Ivy Fireworks! Shimmery Craft Spray over the flowers. Set aside to dry.
Step 3:
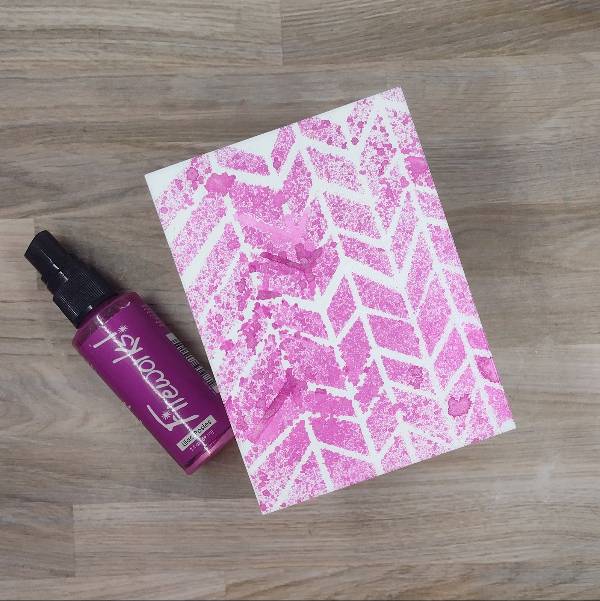
Spray Lilac Posies Fireworks! Shimmery Craft Spray through a stencil on a watercolor panel.
After the spray dried, die cut the panel with a mid-sized die from an A2-sized nesting die set. While at the die cutting machine, die cut a piece of glossy white cardstock with the next largest die from the A2-sized nesting die set.
Step 4:
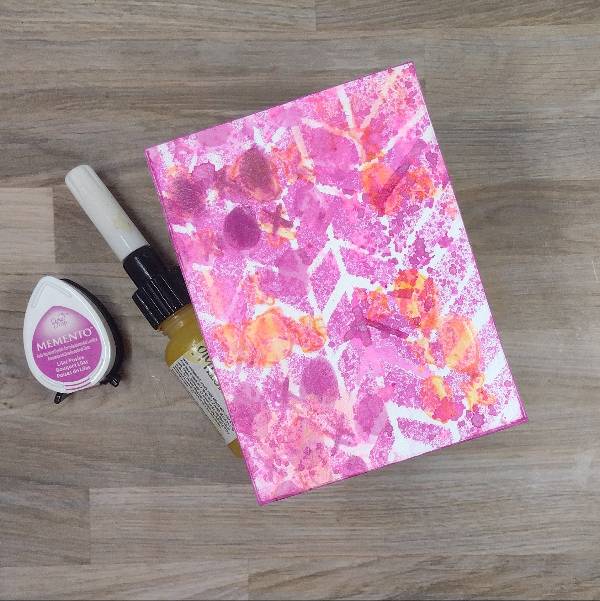
Ink blend Lilac Posies Memento Ink through selected parts of a second stencil. Then mix Gold irRESISTible Pico Embellisher with a little water to dilute it and use a small paintbrush to paint other parts of the stencil with the Gold irRESISTible onto the panel. Allow to dry.
Then press the Lilac Posies Memento Ink pad along the edge of the panel to add color to the edges of the panel.
Step 5:
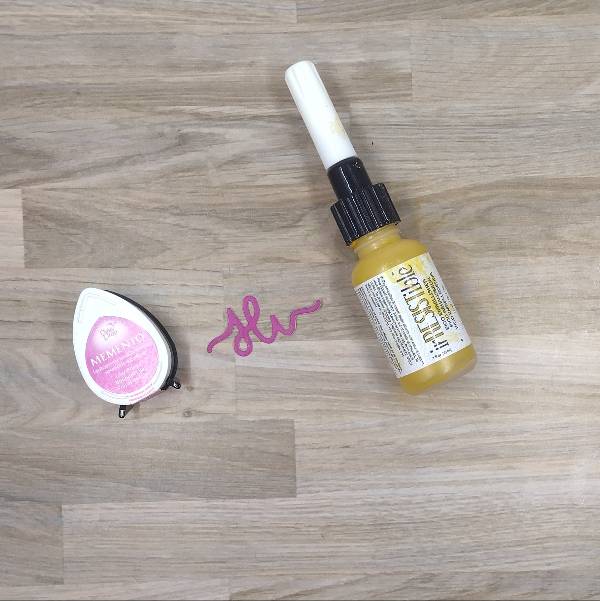
Press the Lilac Posies Memento Ink pad onto a small scrap of watercolor paper and allow to dry. Then die cut the colored scrap of watercolor paper with the sentiment die.
Also die cut a piece of vellum with the shadow layer of the sentiment as well as a couple of scraps of cardstock with the sentiment die.
Assemble the sentiment by gluing the three die cuts together. Then glue them onto the shadow layer of vellum and set the whole thing aside.
Step 6:
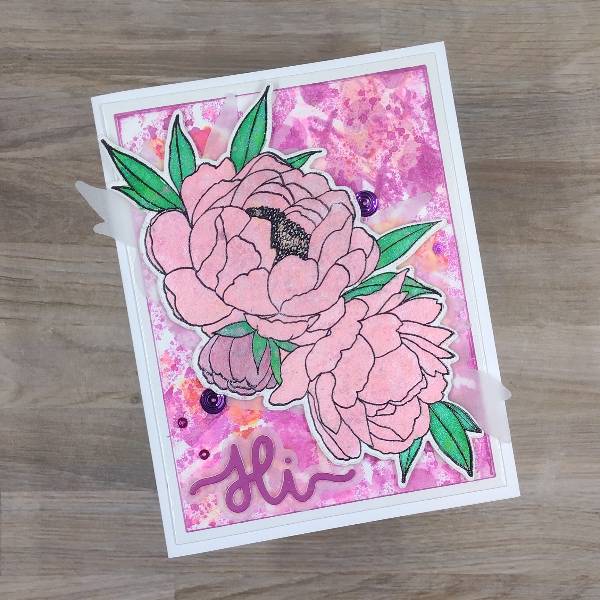
Assemble the card. Glue the vellum floral die cut onto the stenciled panel. Use foam tape to adhere the stamped floral image at an angle, allowing the vellum layer to peek out from underneath for extra dimension. Glue the sentiment on the lower left corner of the panel. Add purple and hot pink sequins around the floral image with more glue. Then attach the panel to the glossy cardstock matte layer. To finish the card, glue the whole card panel onto an A2-sized white cardbase.
Art Supplies
Imagine
• Fireworks! Shimmery Craft Spray
– Angel Pink
– Cottage Ivy
– Dandelion
– Lilac Posies
• irRESISTible – Gold Pico Embellisher
• Memento Dual Marker – Rose Bud
• Memento Ink – Lilac Posies
• VersaFine Clair Ink – Nocturne
Other Products:
• Altenew – foam tape
• Catherine Pooler Designs – sequin mix – Miami
• Echo Park – stencil – My Valentine: XO
• Emily Moore Designs – die set – “Hi, hey, hello” (small style)
• The Crafter’s Workshop – stencil – Chunky Chevron
• Unity Stamp Company – die set – Birthday Blooms
• Unity Stamp Company – stamp set – Birthday Blooms
• Waffle Flower – die set – A2 Layers
• Clear Embossing Powder
• Heat tool
• Glue
• Watercolor paper
• Glossy white cardstock
• Vellum

