
By Anna Escalada York
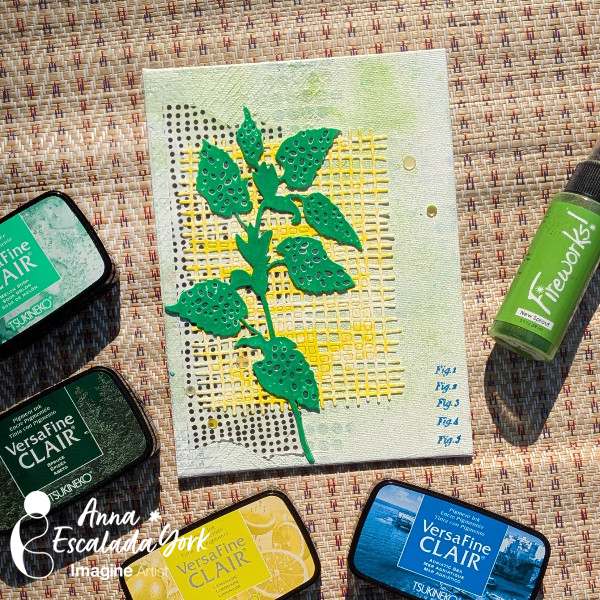
–The new VersaFine Clair ink colors are so bright and fun. I decided to use a few of them to make a piece of art to put up in our home.
Skill: Intermediate
Time: 2 hours
Directions:
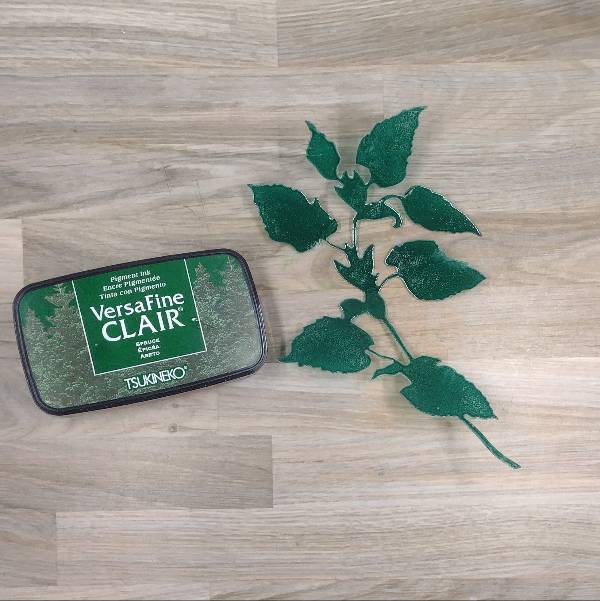
Step 1:
Press the bottom layer of a layering die cut of watercolor paper into the Spruce VersaFine Clair ink pad and set aside to dry.
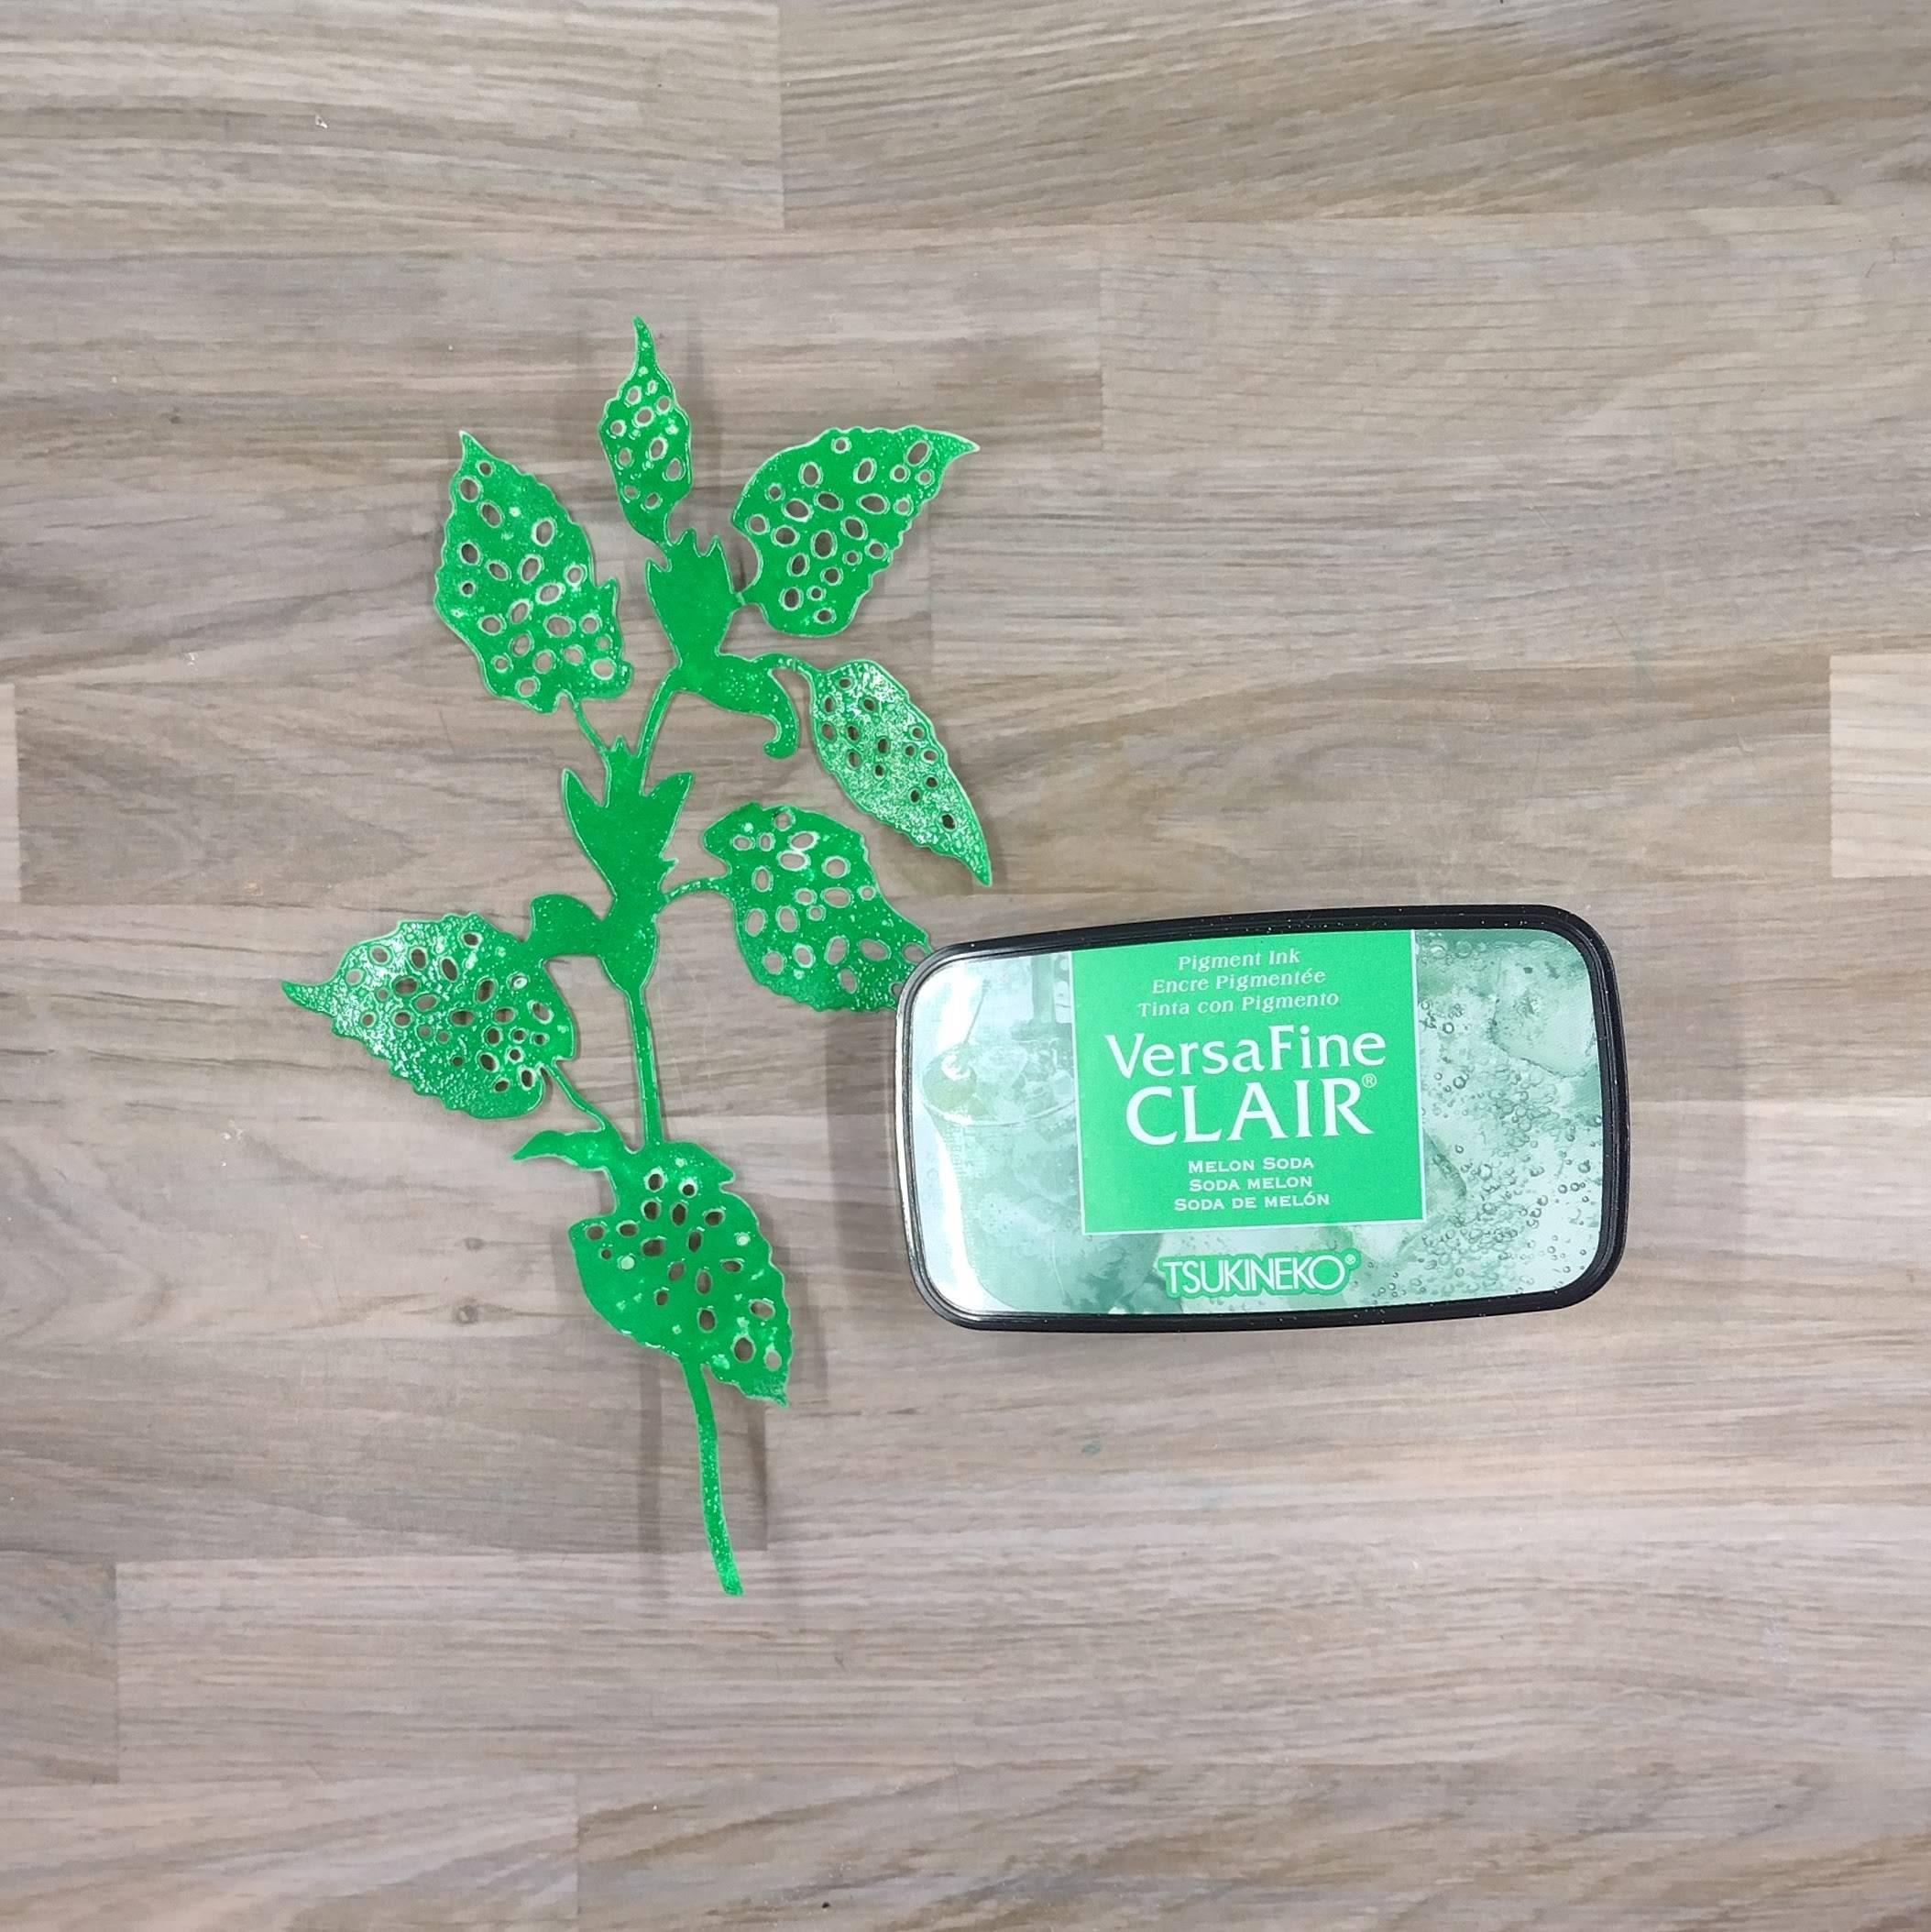
Step 2:
Press the top layer of die cut watercolor into the Melon Soda VersaFine Clair ink pad. Then heat emboss with clear embossing powder. Glue both layers together and set aside.
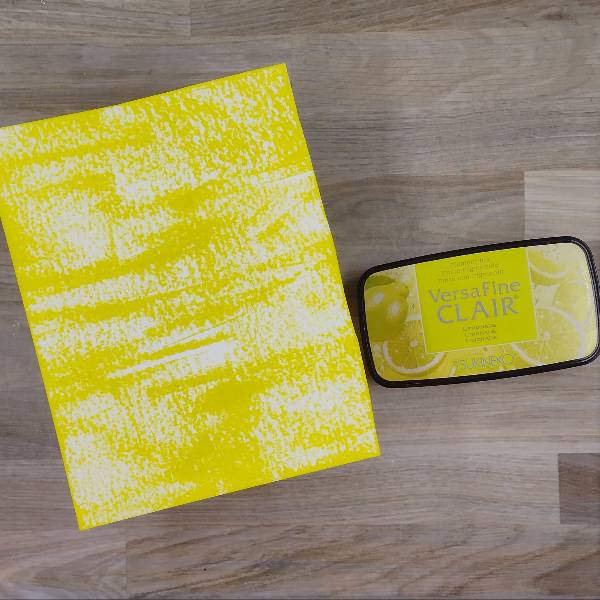
Step 3:
Run the Lemonade VersaFine Clair ink pad across a watercolor panel horizontally multiple times to give the panel a woodgrain-ish look. Die cut the panel with a burlap-design die.
Step 4:
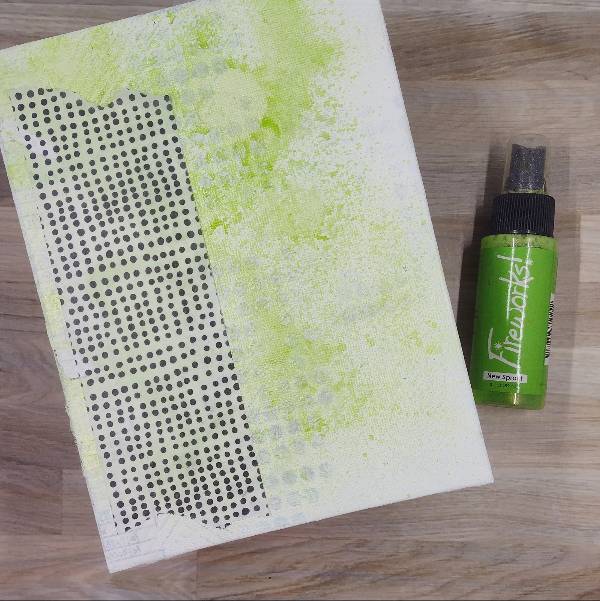
Paint a coat of gesso onto a cotton canvas panel with a large paintbrush and allow it to dry.
Create layered background texture by stamping the panel with a striped background stamp with Adriatic Sea VersaFine Clair ink and heat embossing with clear embossing powder, then adding another coat of gesso. Repeat with a dot background stamp and a strip of collage paper adhered along the left side. Cover everything with another thin coat of gesso, allowing hints of the stripes, dots, embossing, and collage paper to remain visible. Spray New Sprout Fireworks! Shimmer Spray onto the panel and allow it to dry. Add a large strip of washi tape along the left side.
Step 5:
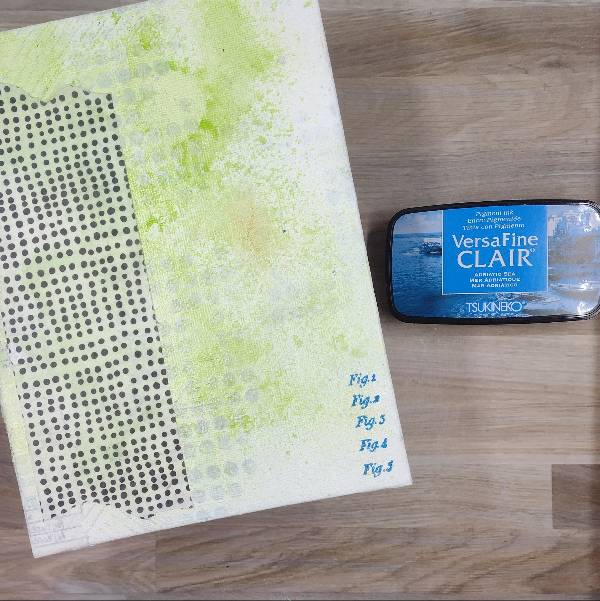
Stamp the sentiment on the lower right corner of the panel with Adriatic Sea VersaFine Clair. Heat emboss with more embossing powder.
Step 6:
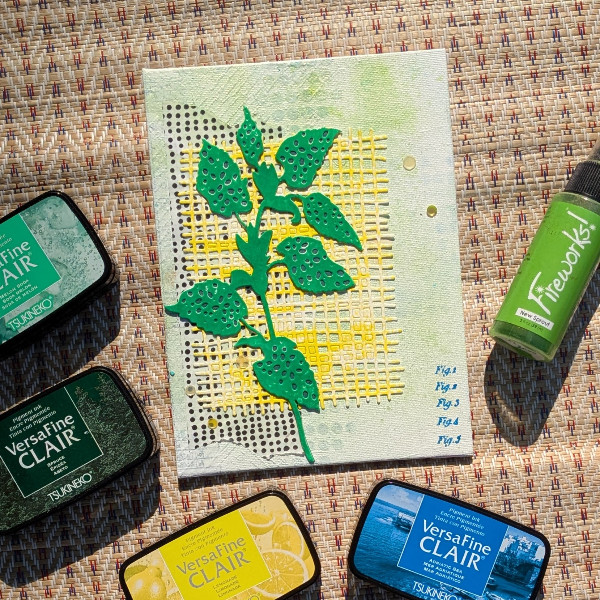
Glue the yellow burlap design die cut on the middle of the panel, and then glue the botanical die cut onto the panel. Glue yellow sequins on the lower left and upper right corners of the panel to finish the piece.
Art Supplies
Imagine
Fireworks! Craft Spray – New Sprout
VersaFine Clair Ink
– Adriatic Sea
– Lemonade
– Melon Soda
– Spruce
Other
Altenew – die set – Polka Dot Leaves
Altenew – washi tape – Many Dots washi tape (retired)
Altenew – stamp – Woven Stripes (for texture in the background)
Art Alternatives – Panel – 6” x 8” Economy Cotton Canvas Panel
Dylusions – stamp set – Basic Background (for texture in the background)
Honey Bee Stamps – die set – Burlap Background
Idea-ology – collage paper – Archives
Simon Says Stamp – sequins – Duckling Embellishment Mix
Stampers Anonymous – stamp set – Flower Garden (retired)
Golden – Gesso Semi-Opaque Acrylic Primer
Clear Embossing Powder
Heat tool
Glue
Watercolor paper

 Imagine Blog