Make a Fall Turnabout Card

By Ceal Pritchett

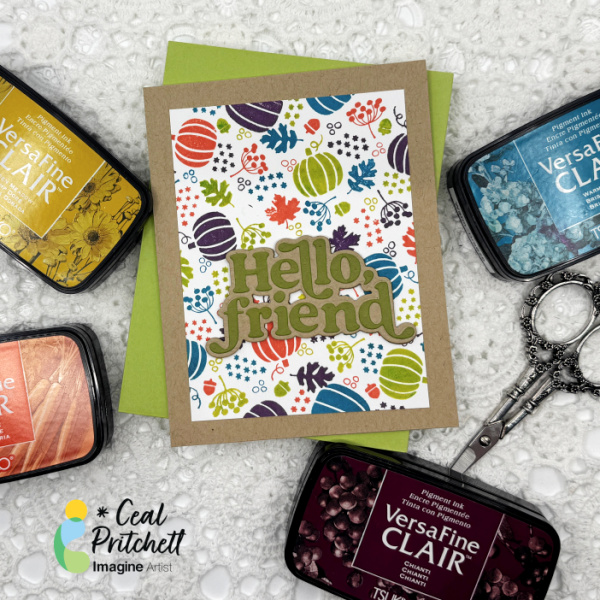
Hey there crafty friends! It’s Ceal, here. Today I am sharing how I made this colorful fall card using a turnabout stamp set, some VersaFine ink pads and the Stampwheel.

Time: 45 Minutes
Skill: Intermediate

Directions:
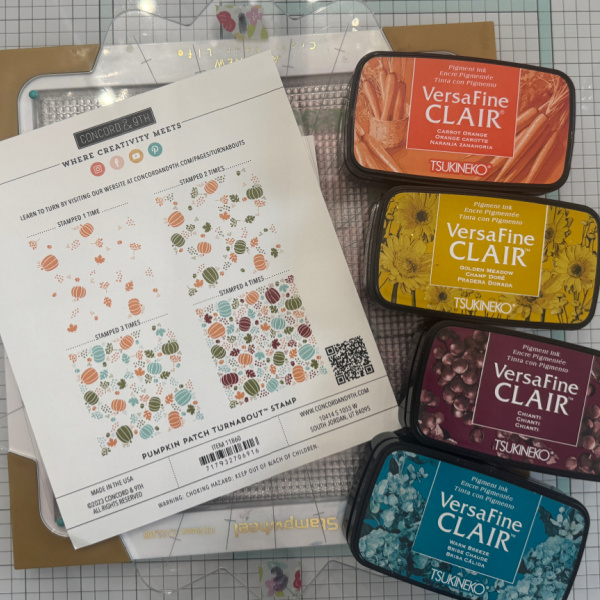
Gather Supplies:
I haven’t shared a turnabout card here yet and I wanted to do that because they are my favorites. Gather your supplies, you will need a stamp platform, a Turnabout stamp and some of your favorite inks. I love VersaFine Clair because they are so vibrant.
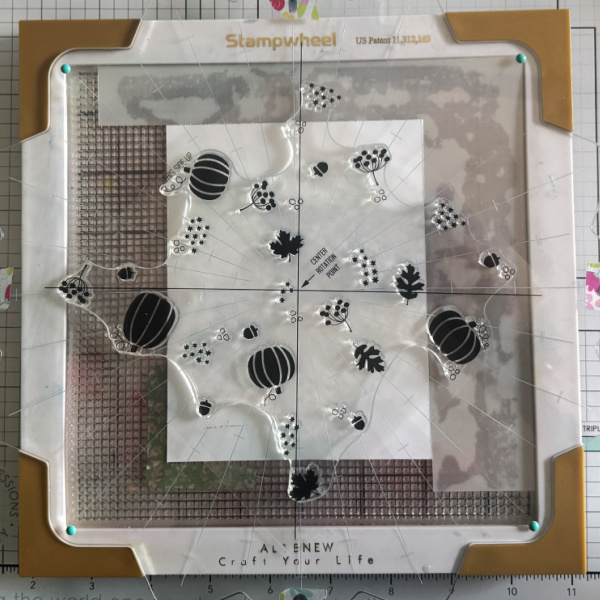
Step 1:
Line up our turnabout stamp using the alignment guide that comes with the stamp. The Stampwheel is easy to line it up because you line up the lines.
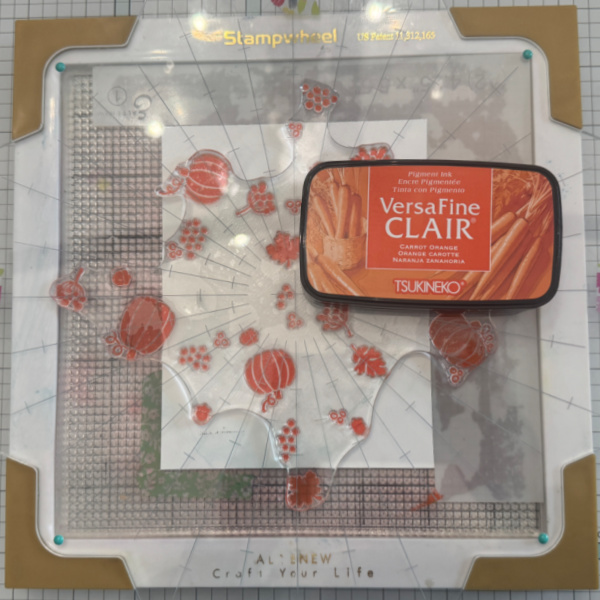
Step 2:
Ink up the stamp with the first color, I used Carrot Orange and placed it in the tabs at the top of the stamp wheel. I labeled my stamp wheel 1-4 so I would know where I am when stamping.
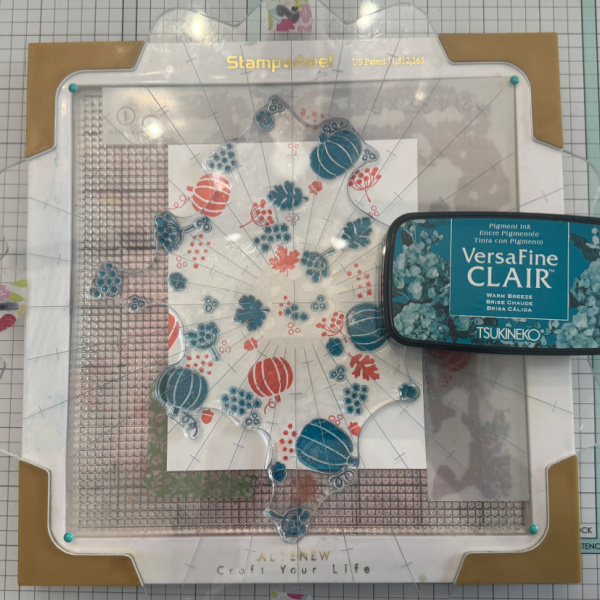
Step 3:
Rotate the top, ink up the stamp with the next color (I used Warm Breeze) and place the plate down in the tabs.
Step 4:
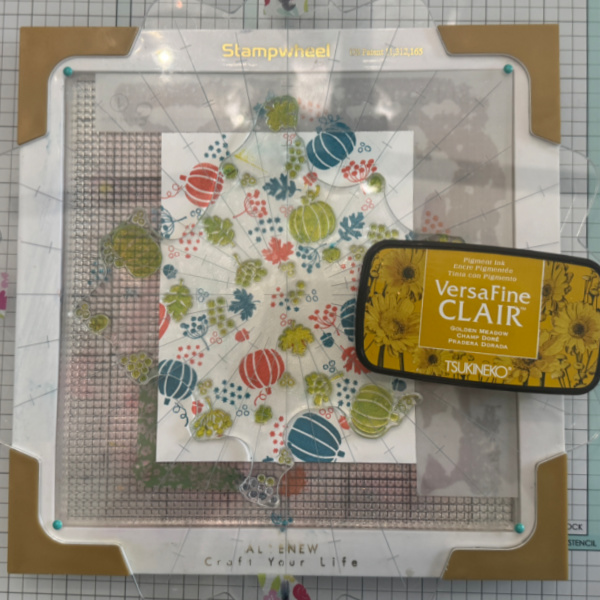
Rotate the plate and ink up with the next color, I used Golden Meadow (I think I had some blue left on my stamp therefore it turned green).
Step 5:
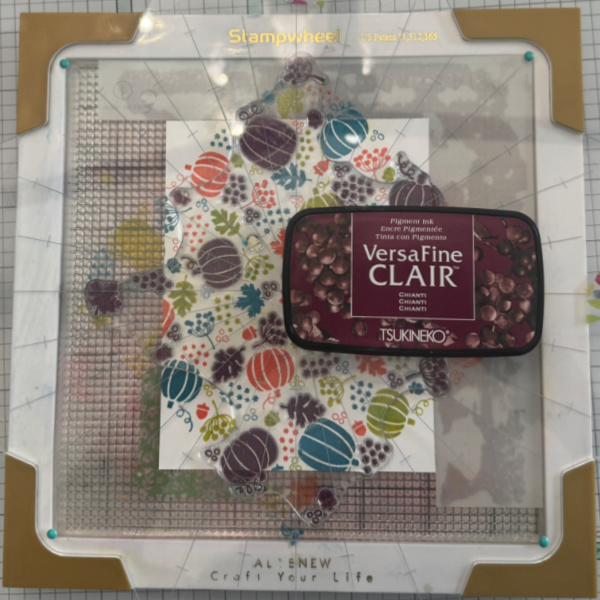
Rotate the plate and ink up the final color, I used Chianti. Next cut down your panel to 5 x 3.5 and adhere to the wheat panel
Step 6:
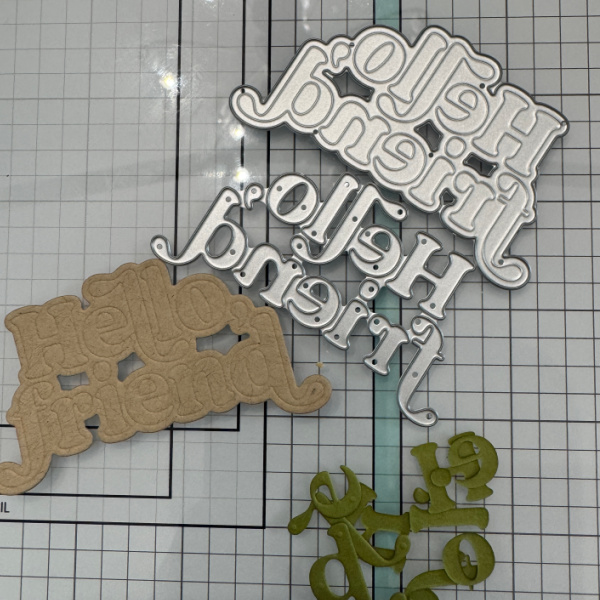
Die cut the sentiment and backer panel. I love how the die has where it scores the words into the backer so when you go to add the letters they fit perfectly.  To finish the card add the sentiment to the card.

Supplies:

Imagine Products
VersaFine Clair – Carrot Orange, Warm Breeze, Golden Meadow and Chianti

Other Products
Pumpkin Turnabout – Concord & 9th
Hello Friend – Kristina Werner for Concord & 9th
Create a Summer Vibes Card with VersaFine Clair
By Ceal Pritchett –

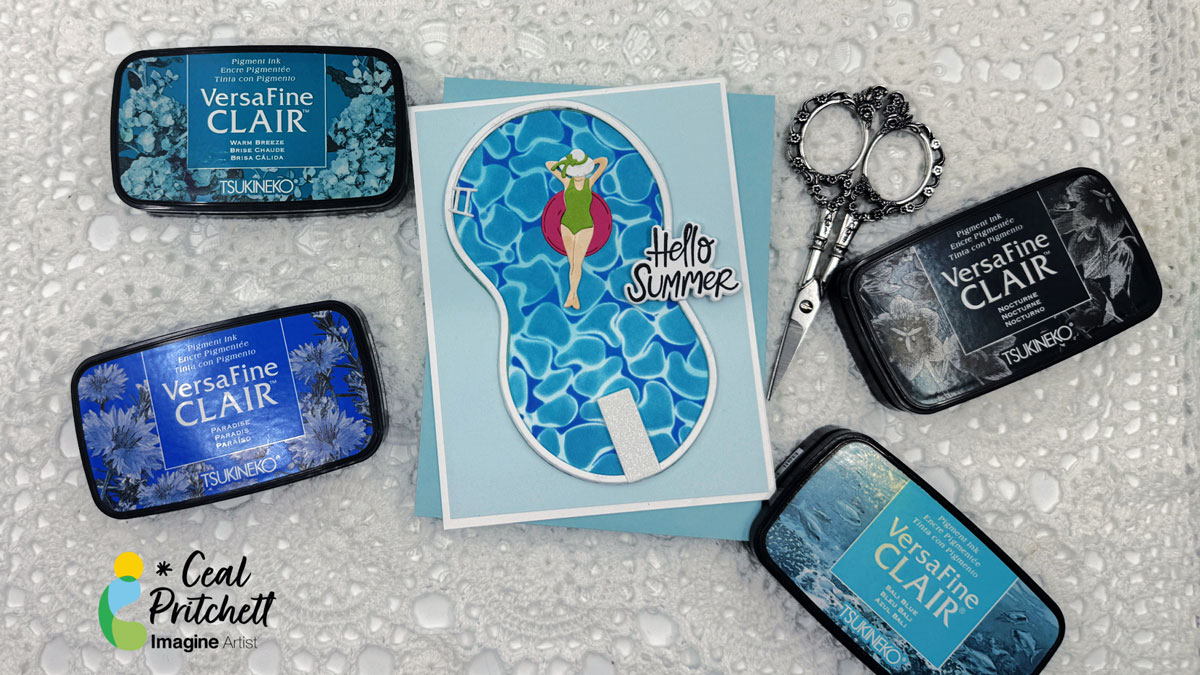
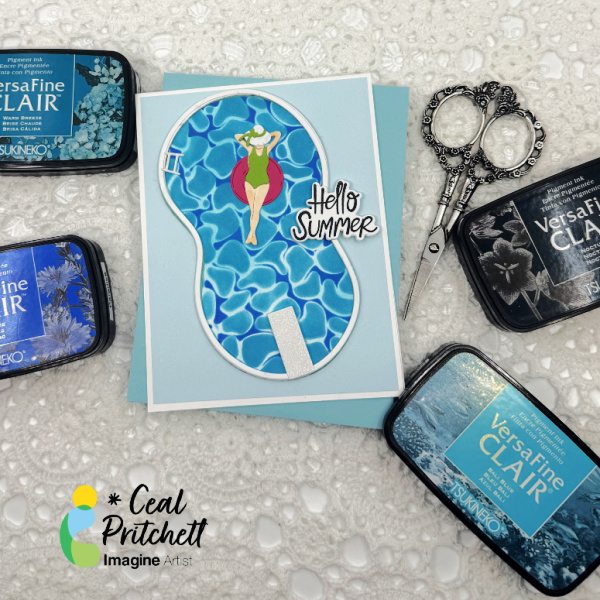
Hello friends, it’s Ceal here. Today I am sharing a summer card with you.
Skill: Intermediate
Time: 45 minutes

Directions:
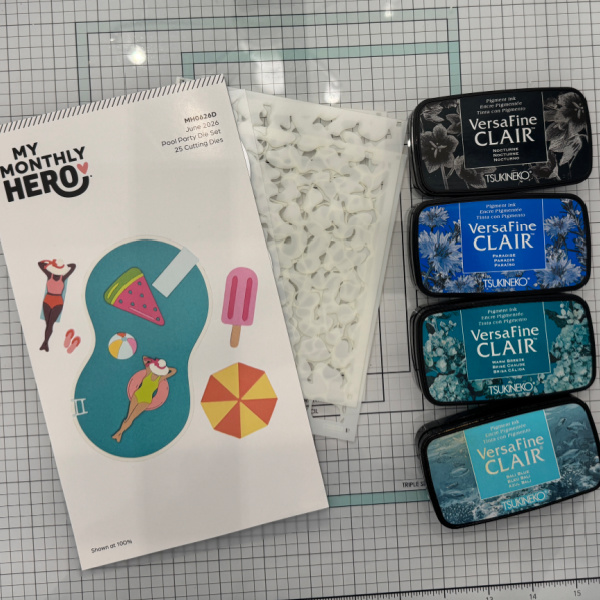
Gather your supplies. You will need a summer themed die set, layering stencils, three different shades of blue ink, a grip mat, a stamp positioning tool and a summer sentiment set.

Step 1:
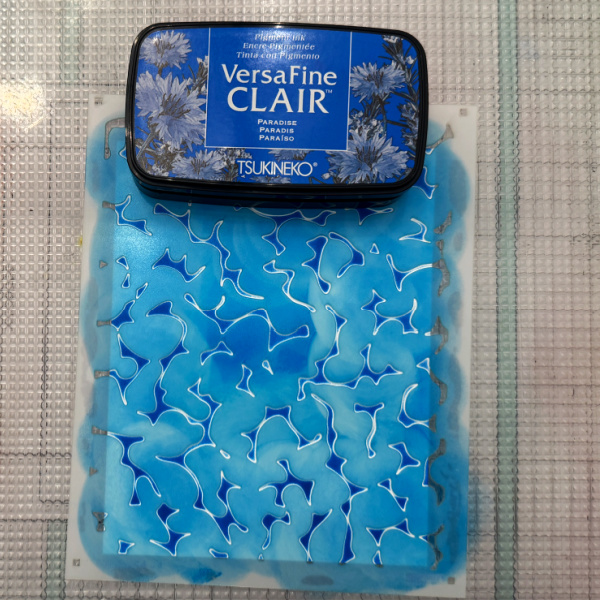
Using a blending tool and the first layering stencil, ink blend blue ink over the stencil. I used VersaFine Clair Paradise.

Step 2:
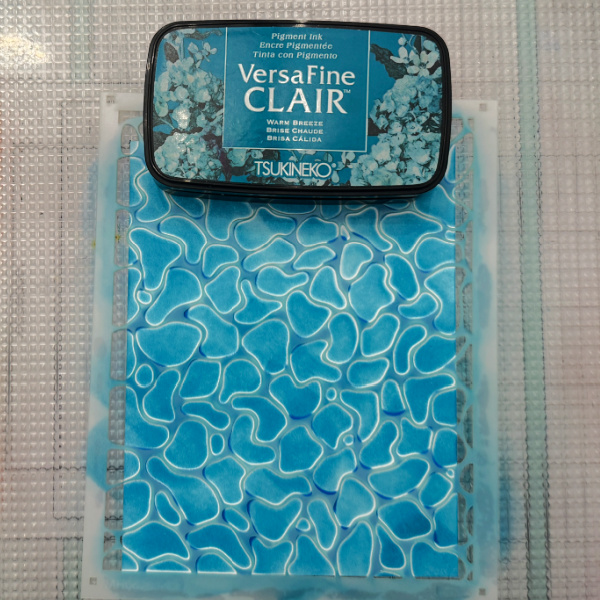
Using a blending tool and the second layering stencil, ink blend a different shade of blue over the stencil. I used VersaFine Clair Warm Breeze.

Step 3:
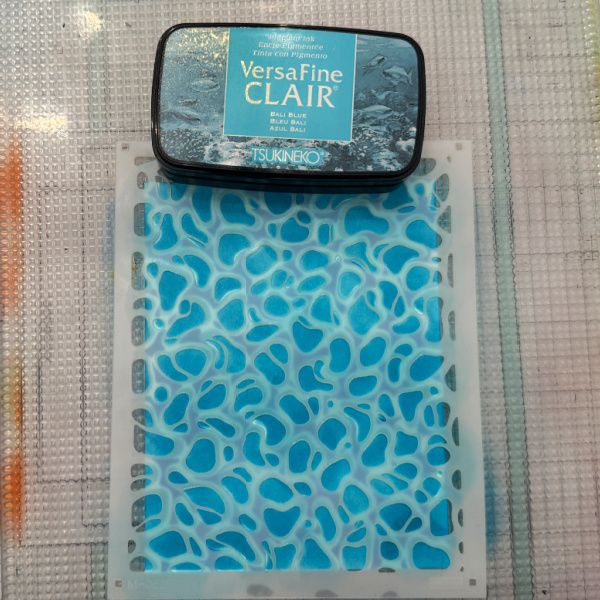
Using a blending toll and the third layering stencil, ink blend the third color of blue over the stencil. I used VersaFine Clair Bali Blue.

Step 4:
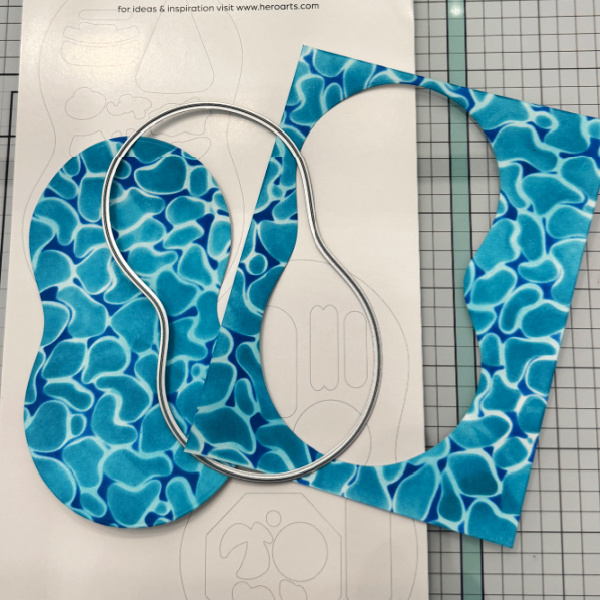
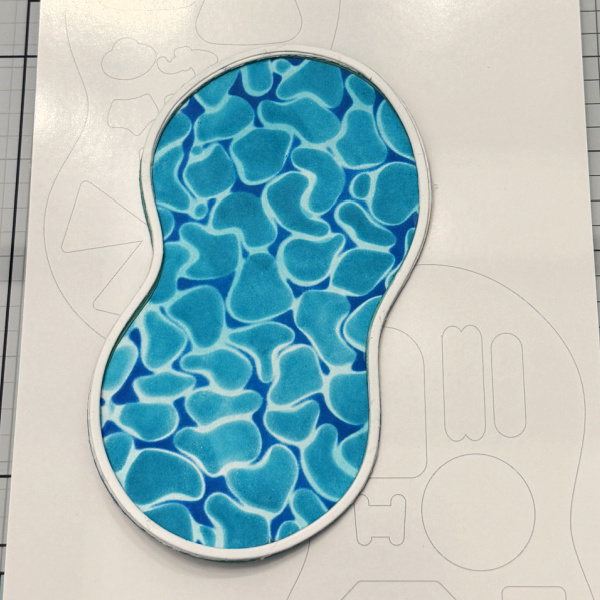
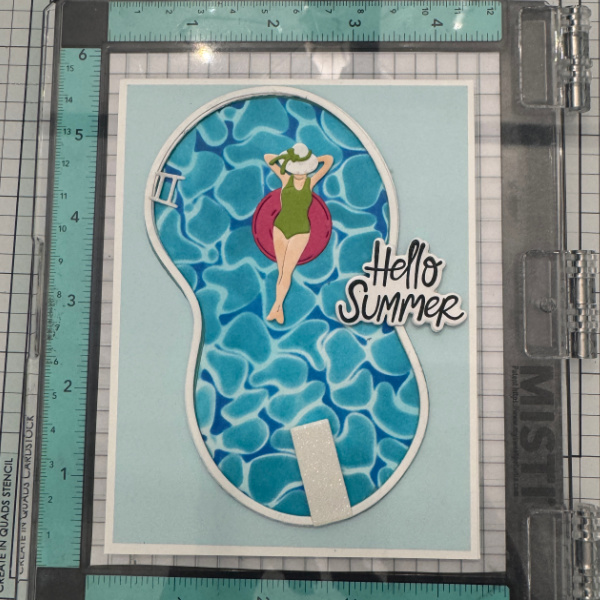
Using the “water” die and the finished panel of water, cut out the water for the pool.

Step 5:
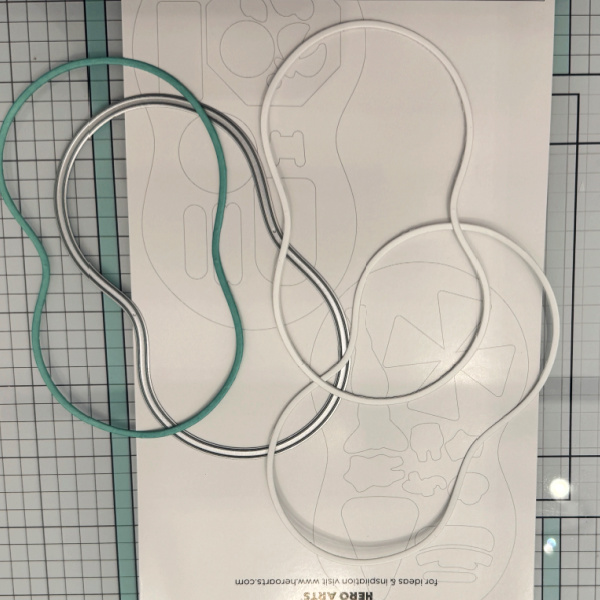
Using the “pool” die cut out the pool. Cut several but only use the pool outline.

Step 6:
Stack the pool outline around the water, where the water will be lower than the sides to make it more realistic

Step 7:
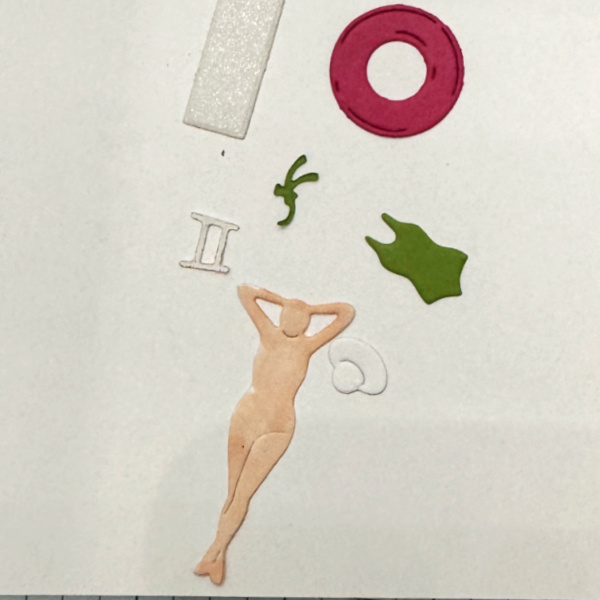
Cut out all the die cut pieces to place in the pool. For the girl I colored her with a Copic marker. The others are cut out of colored cardstock.

Step 8:
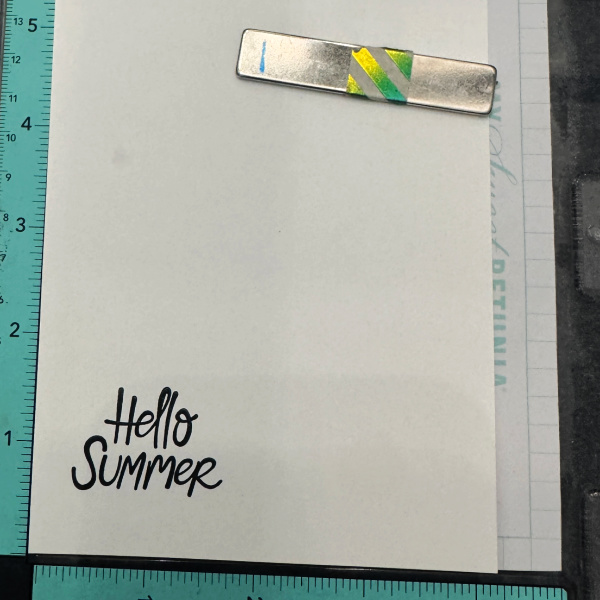
Stamp and cut out the sentiment.

Step 9:
Place all the elements in the pool and the sentiment on the side.

Supplies:

Imagine Products
VersaFine Clair Paradise
VersaFine Clair Warm Breeze
VersaFine Clair Bali Blue

Other Products
My Monthly Hero Pool Party Die set – Hero Arts
MMH Reflection Layering Stencil set – Hero Arts
Hello Summer Stamp & Cut – Hero Arts
Grip Mat – Altenew
Mini Misti – My Sweet Petunia

Make a Snowy Postage Collage Card

By Ceal Pritchett

Hello crafty friends!
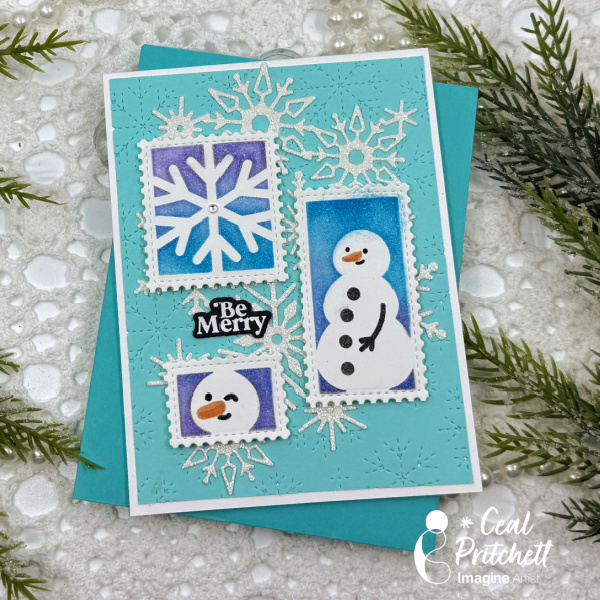
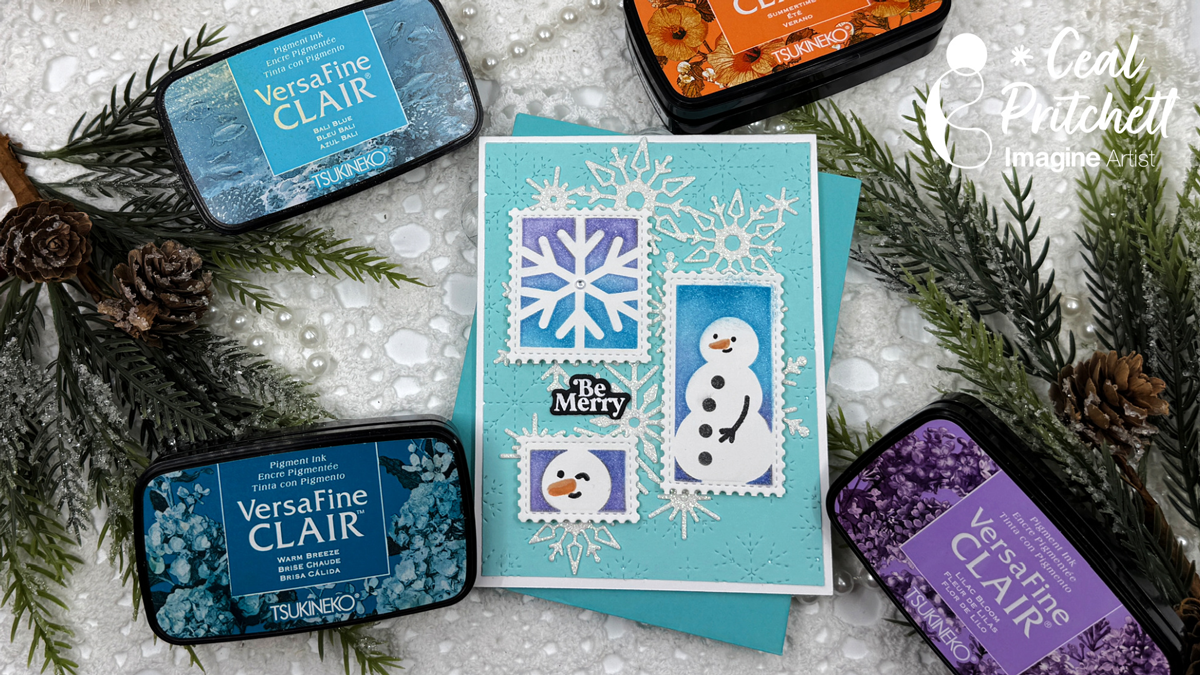
It’s Ceal here. Today I am sharing a postage collage Christmas card with you.

Skill: Intermediate
Time: 45 minutes

Directions:

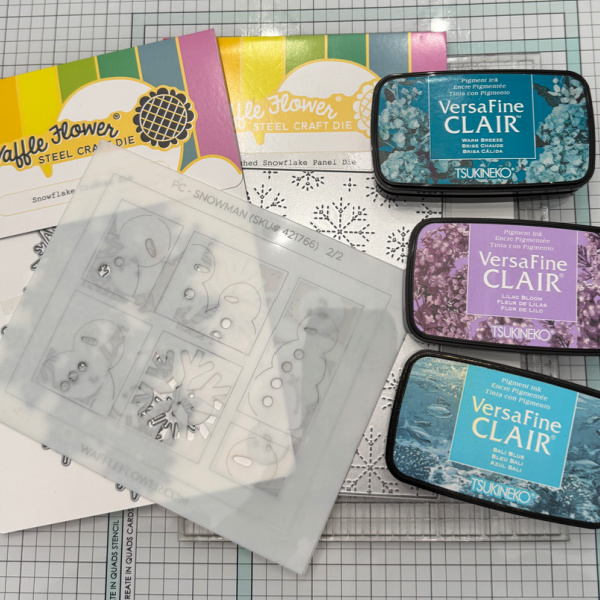
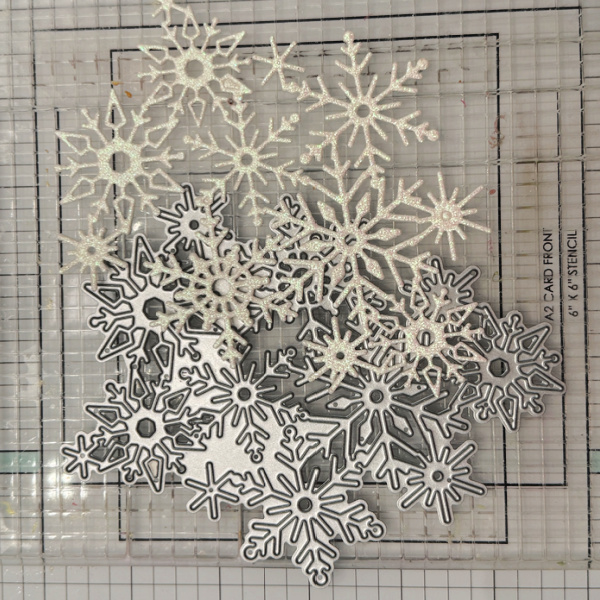
Gather your supplies. To make this card you will need a Postage Collage Layering Stencil, a snowflake cover plate die, a snowflake cluster background die and some inks. The inks I used are listed at the bottom of the tutorial.

Step 1:
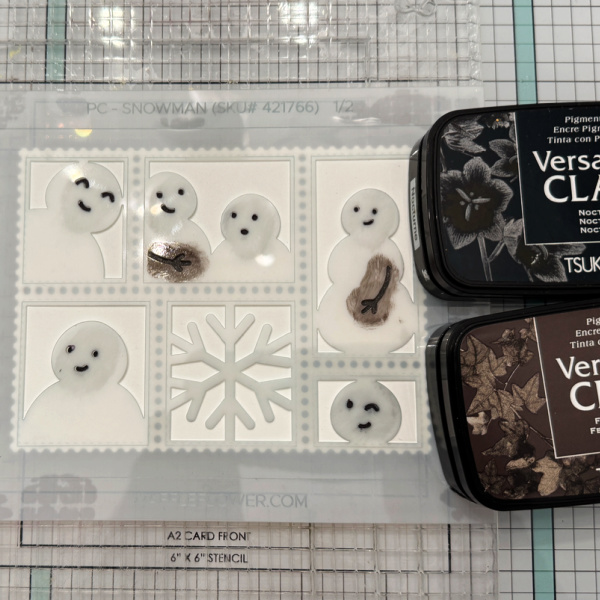
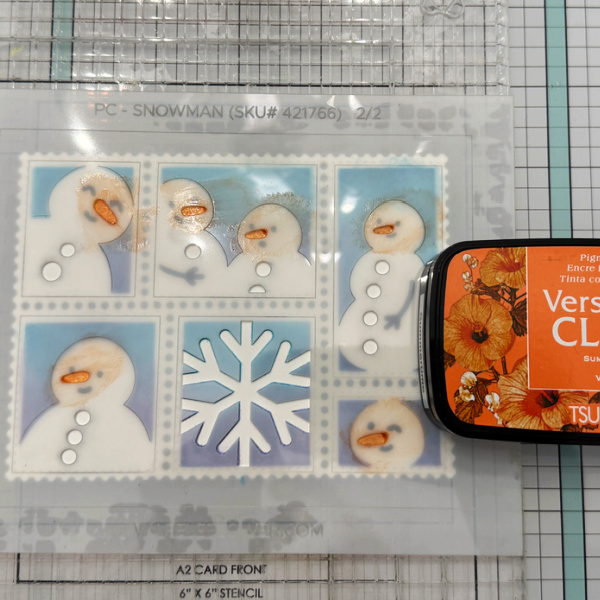
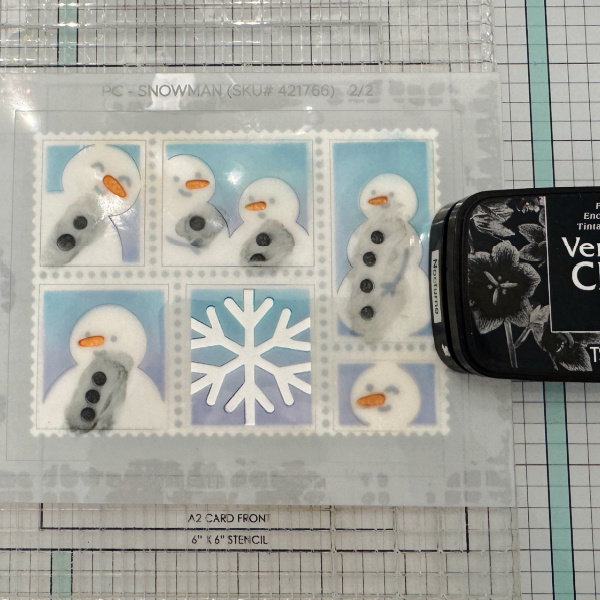
Cut out a postcard using a postage die. Ink blend VersaFine Clair Nocturne and VersaFine Clair Fallen Leaves for the eyes, mouth and arms on the first stencil.

Step 2:
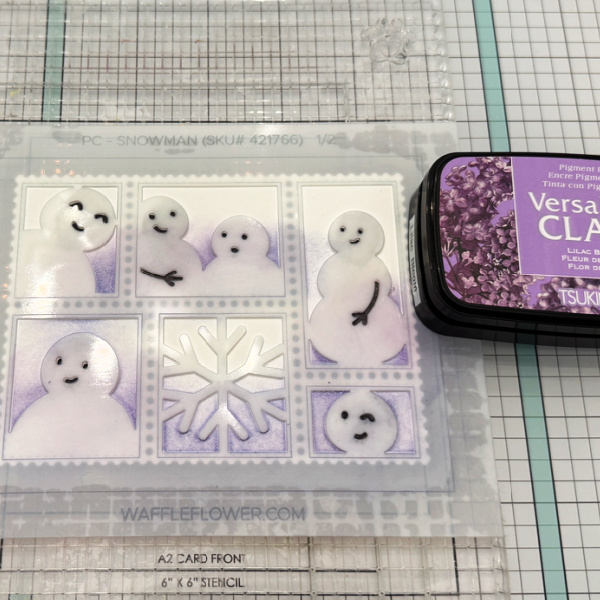
Ink blend VersaFine Clair Lilac Bloom over the bottom portion of the first stencil.

Step 3:
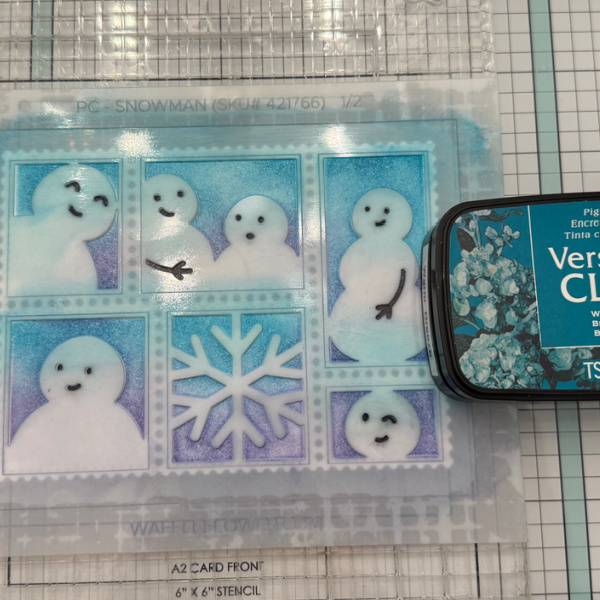
Ink blend VersaFine Clair Bal Blue over the middle portion of the first stencil.

Step 4:
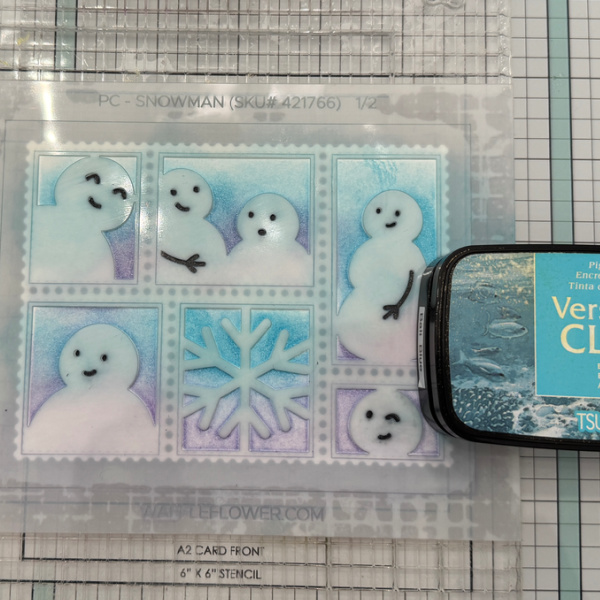
Ink blend VersaFine Clair Warm Breeze over the top portion of the first stencil.

Step 5:
Ink blend VersaFine Clair summertime over the noses and VersaFine Clair Nocturne over the buttons on the second stencil.

Step 6:
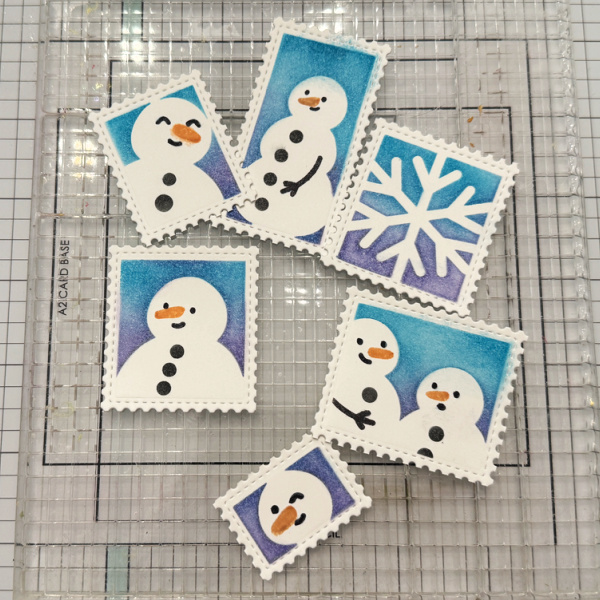
Cut apart the postage die to get individual stamps. Choose which ones you want to use on your project and save the rest.

Step 7:
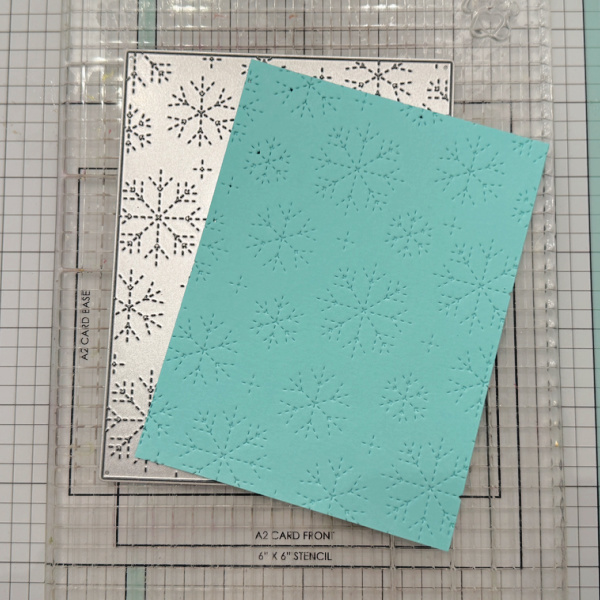
Cut out a background panel using the snowflake cover die.

Step 8:
Cut the snowflake cluster out of glitter paper.

Step 9:
Stamp and emboss the sentiment, then put all the pieces together to create the card.

Craft Supplies:

Imagine Products:

VersaFine Clair
– Nocturne
– Fallen Leaves
– Summertime
– Warm Breeze
– Bali Blue
– Lilac Bloom

Other Products:
Postage die – Waffle Flower
Layering Postage Stencil – Waffle Flower
Snowflake Cover Plate – Waffle Flower
Snowflake Cluster die – Waffle Flower
Sentiment – Waffle Flower

Purrfectly Bewitched Halloween Card

By Ceal Pritchett

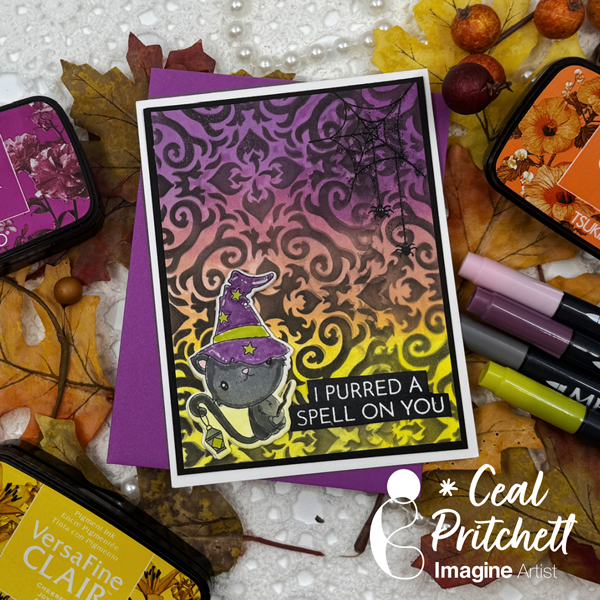
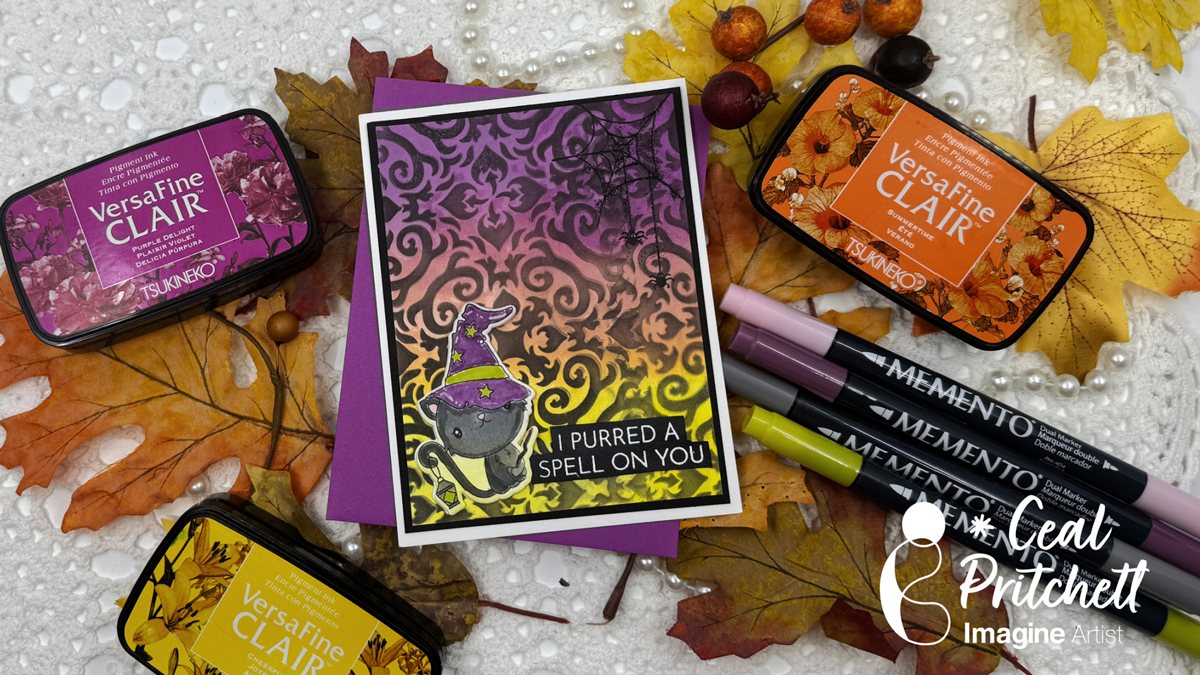
Hey there crafty friends! It’s Ceal, here. Today I am sharing a Halloween card with you.

Skill Level: Intermediate
Time: 30 Minutes

Directions:

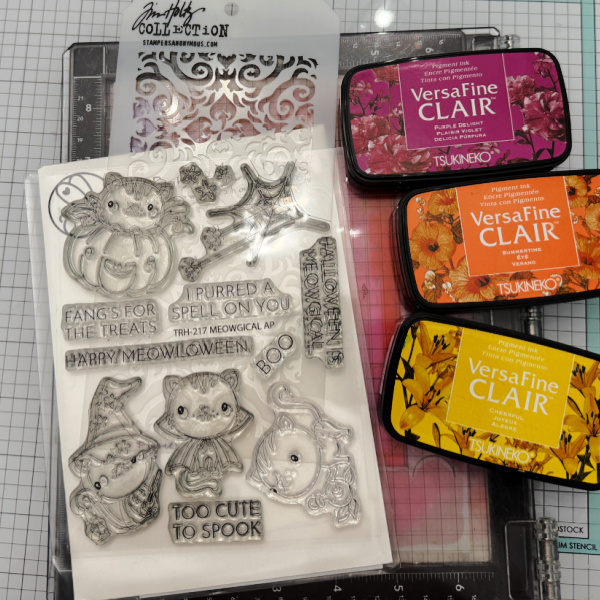
Gather your supplies. You will need a Halloween themed stamp set, a stencil, white and black embossing powder, some markers if you have a line art image and three Halloween colors of ink.

Step 1:
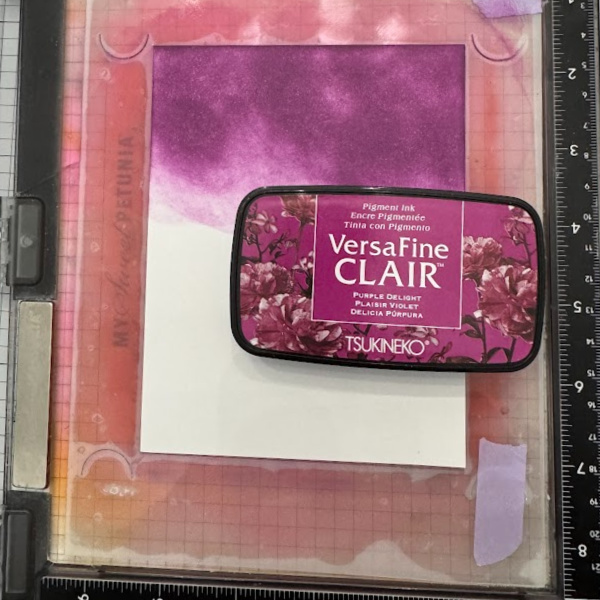
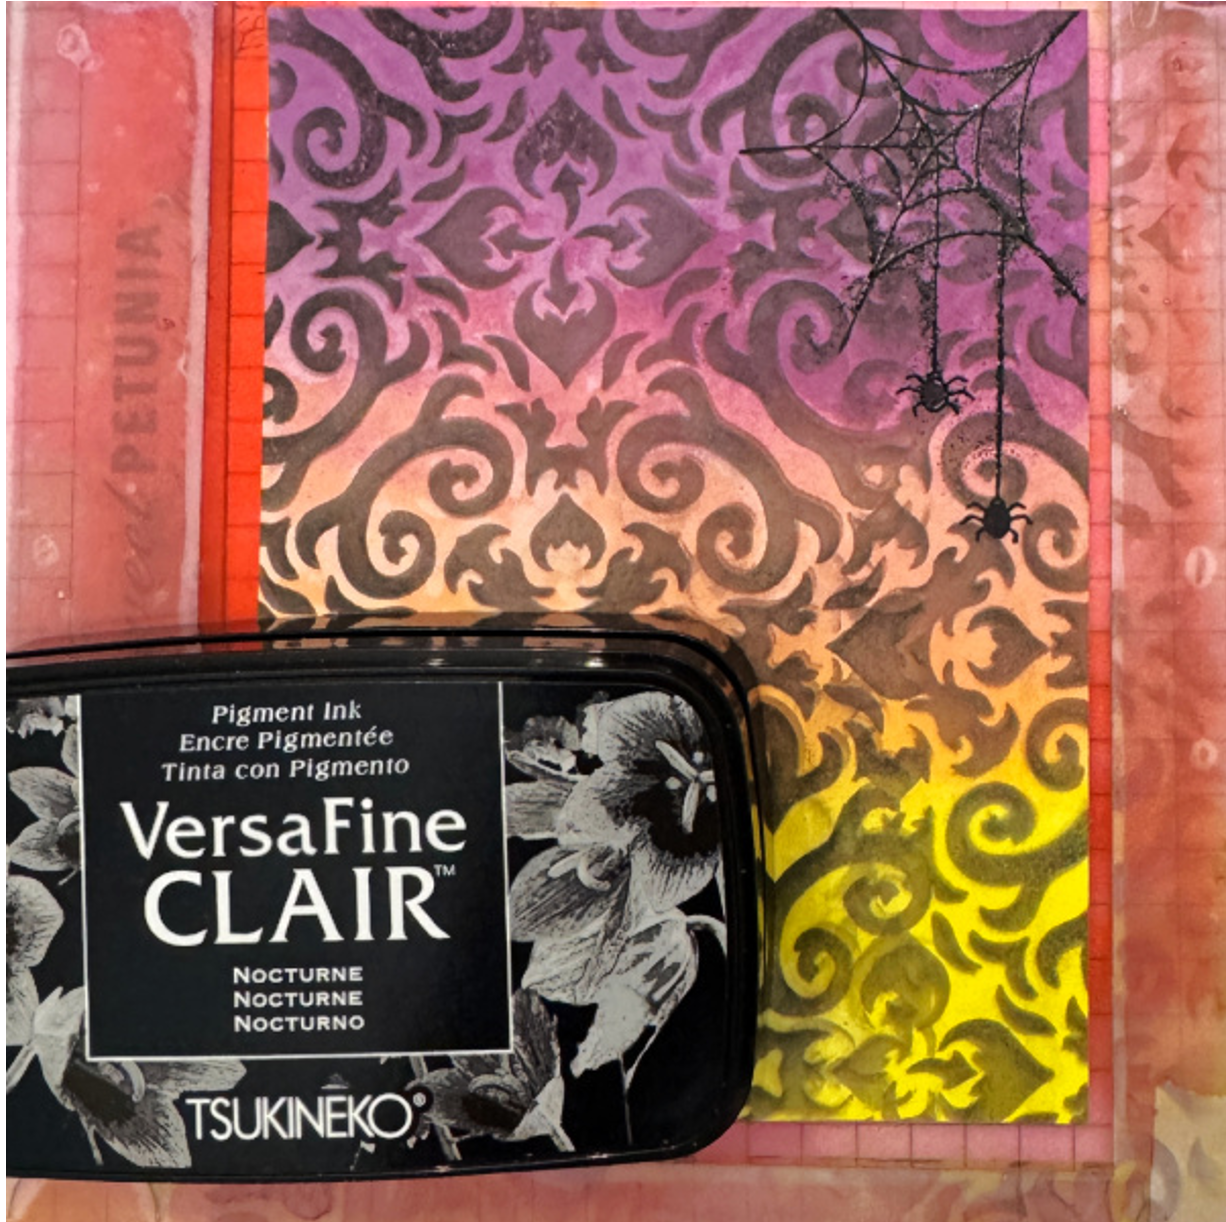
Ink Blend a purple ink (VersaFine Clair Purple Delight used) on a third of the panel.

Step 2:
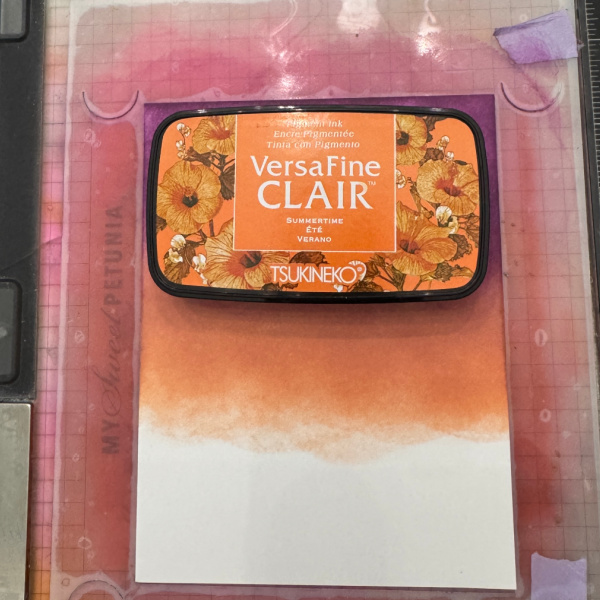
Ink Blend an orange (VersaFine Clair Summertime used) ink over the second third of the panel.

Step 3:
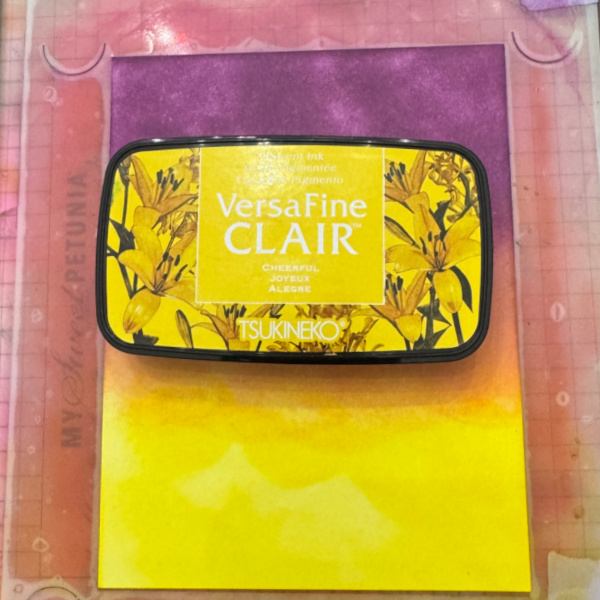
Ink Blend a yellow (VersaFine Clair Cheerful used) ink over the bottom third of the panel.

Step 4:
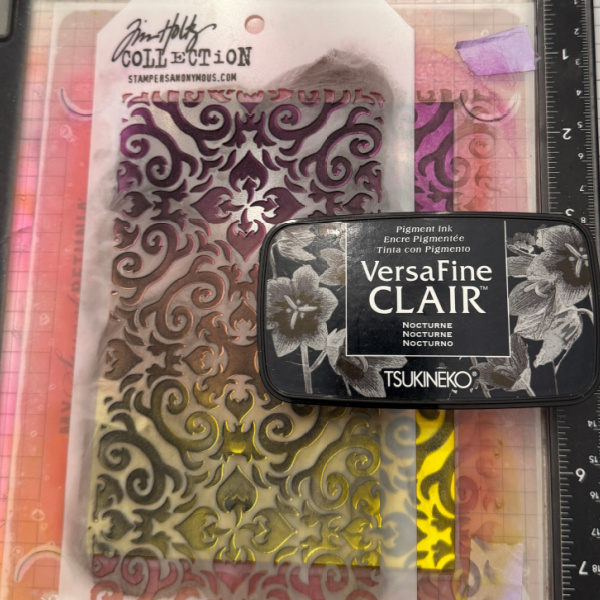
Place a stencil over the blended panel and add black (VersaFine Clair Nocturne used) ink over the stencil.

Step 5:
Stamp a spider web in the corner using black ink and then emboss with black powder.

Step 6:
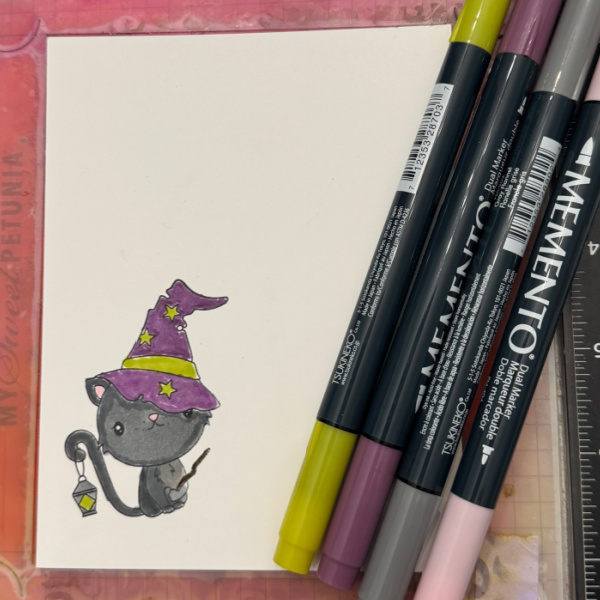
Stamp, color and cut out the image and add to the front of the card.

Supplies:

Imagine Products

VersaFine Clair – Nocturne, Summertime, Cheerful and Purple Delight
Memento Markers – Angel Pink, Pear Tart, Sweet Plum and Gray Flannel

Other Products
Meowgical stamp set – The Rabbit Hole Designs
Meowgical Coordinating dies – The Rabbit Hole Designs
Stencil – Tim Holtz

Independence Day Celebration Card

By Ceal Pritchett

Hello crafty friends!
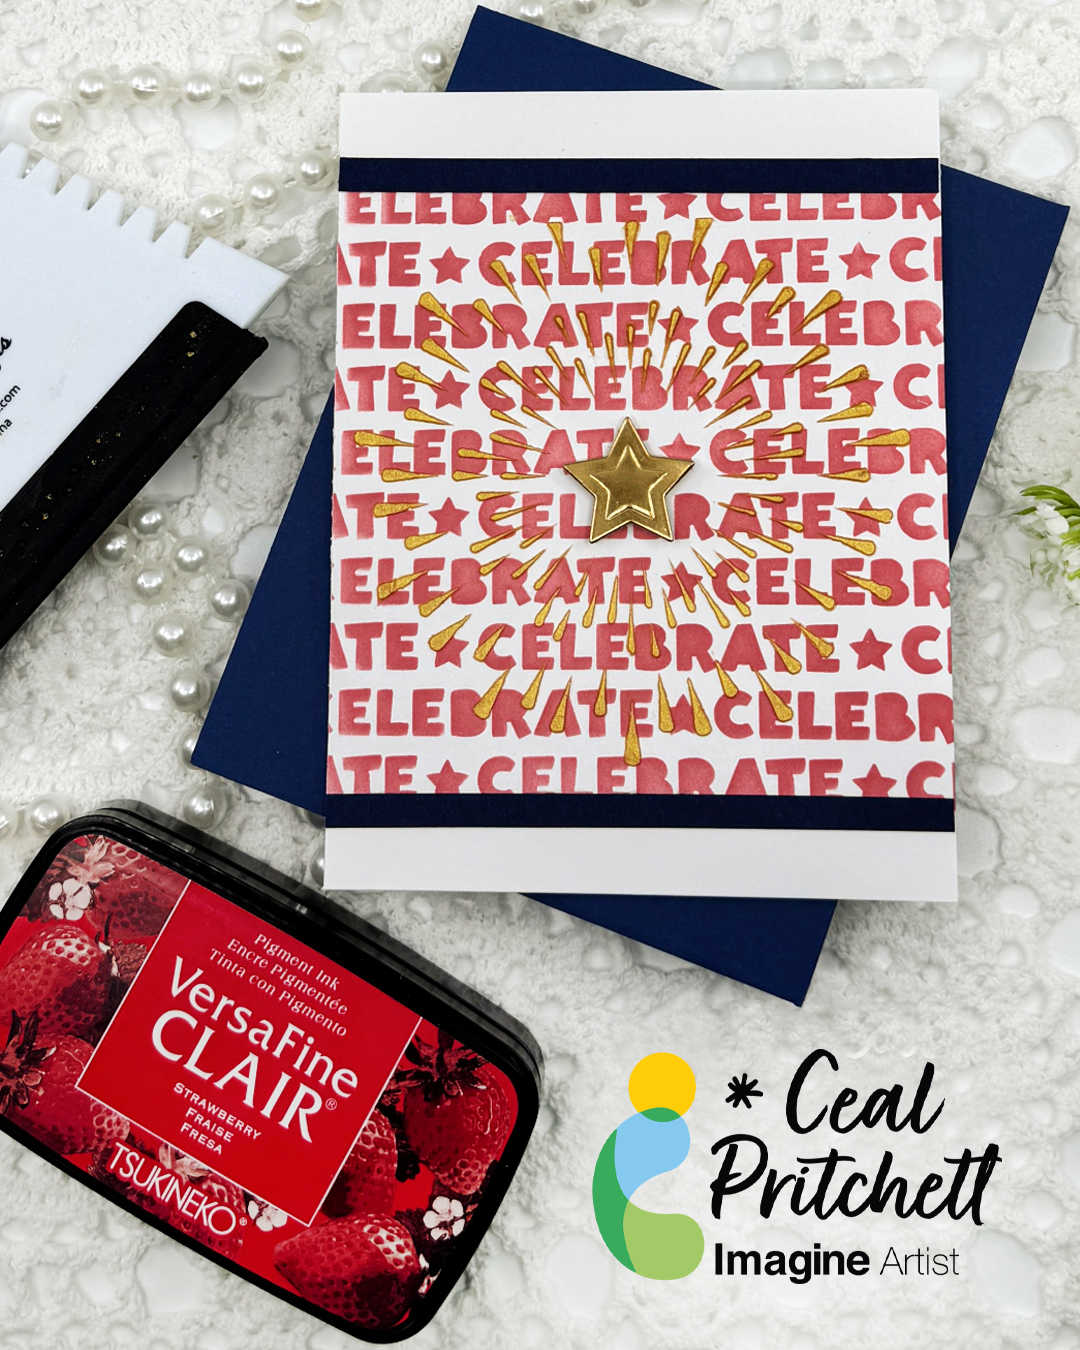
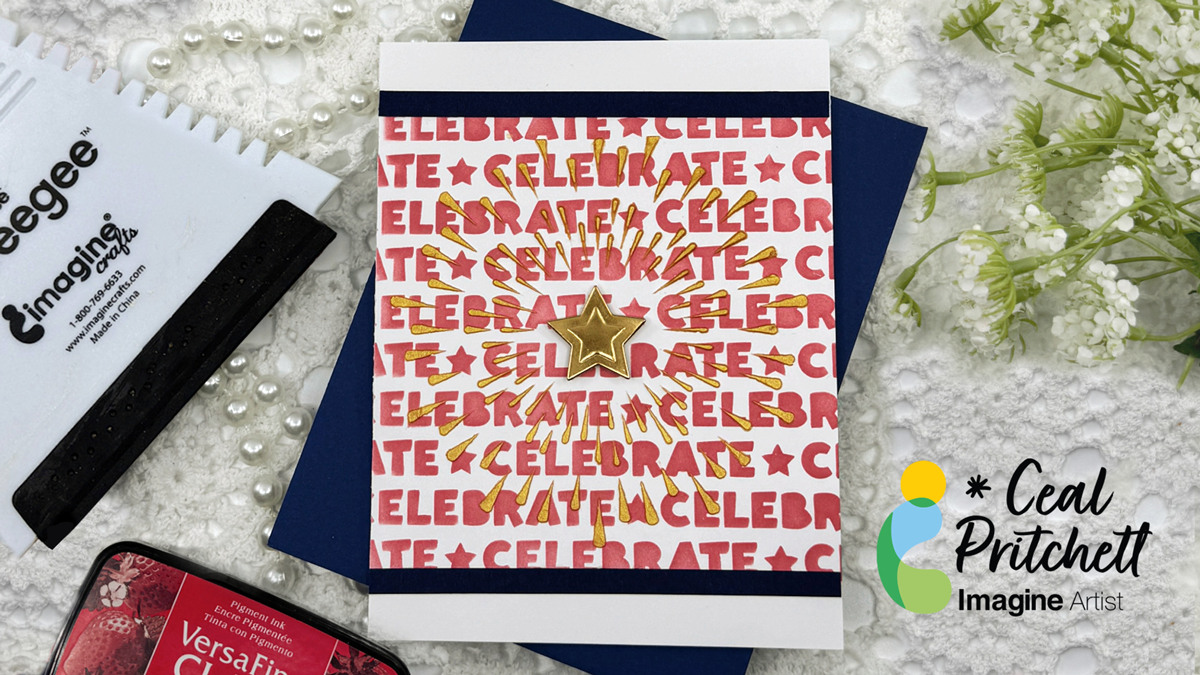
It’s Ceal, back to share another project with you.  We always have a cookout on the 4th of July and invite our family. I always make invitations to send out for it and I am sharing the one I made for this year.

Skill Level: Beginner to Intermediate
Time: 45 minutes to an hour

Directions:

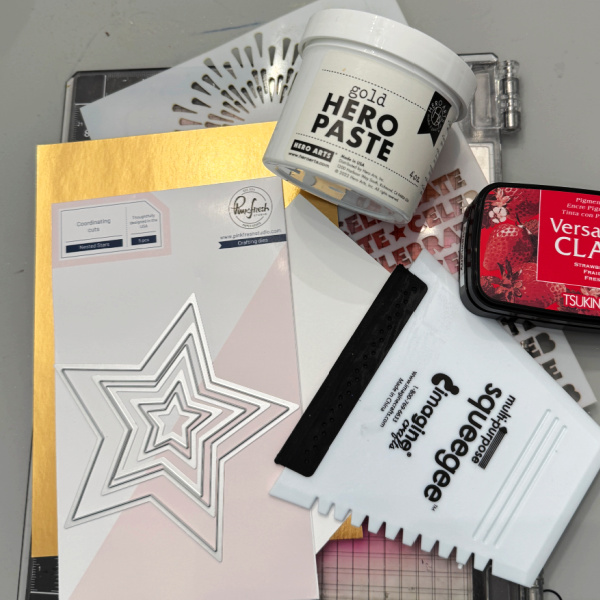
Gather your supplies. You will need an A2 card base, blue cardstock strips, a white panel, gold foil paper, star dies, a stencil that has July 4th elements on it, Ink, and paste of some sort.

Step 1:
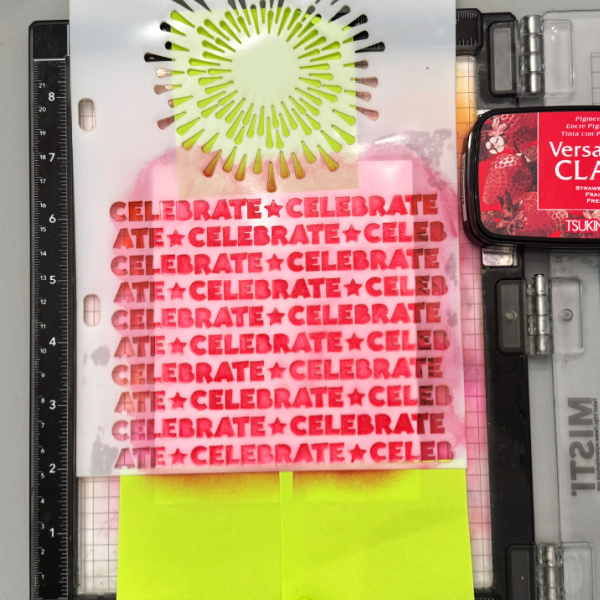
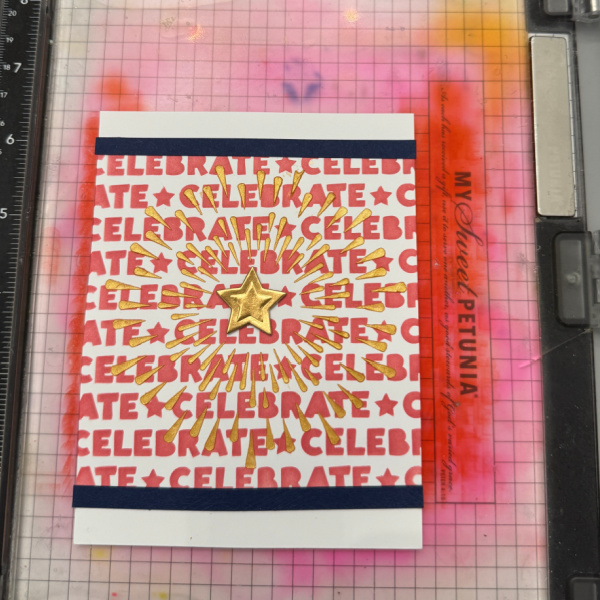
Place the white panel in the Misti or other stamp positioner on a grip or sticky mat. Mask off portions of the panel that you do not want ink on. Using Red (VersaFine Clair Strawberry used here ) ink and a blending tool cover the celebrate with ink. Remove stencil and clean for next step.

Step 2:
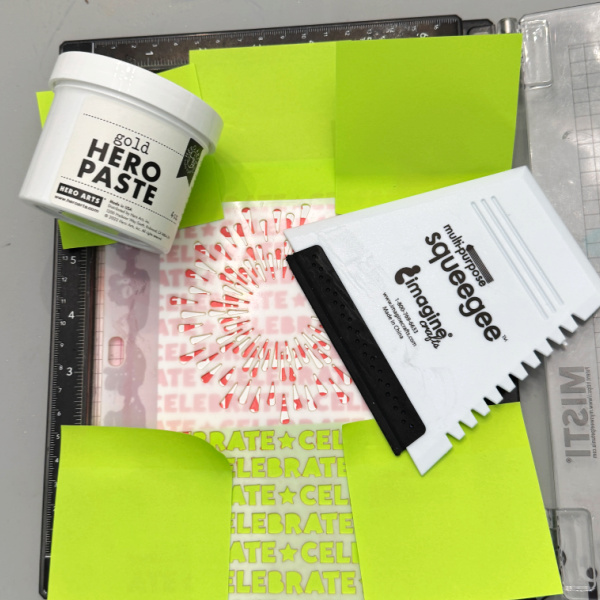
Lay the firework part of the stencil over the part that you just inked up and mask off the portion of the card so the paste will not get on it.

Step 3:
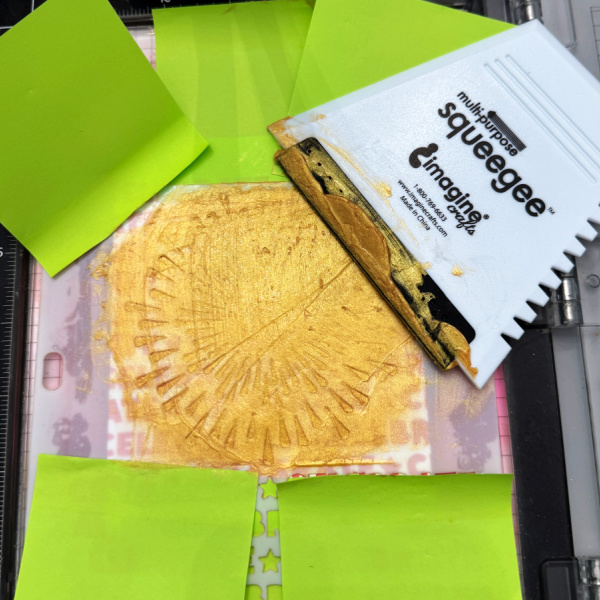
Using a squeegee spread the paste (I used gold) over the firework part of the stencil. Be sure to clean the squeegee and the stencil promptly because the paste will harden.

Step 4:
Add the star to the center of the firework and the blue strips of cardstock to each end of the panel. Add panel to the card base

Art Supplies:

Imagine Products:
• VersaFine Clair – Strawberry
• Squeegee

Other Supplies:
• Misti Stamping Tool – My Sweet Petunia
• Grip Mat – Waffle Flower Crafts
• Celebrate Stencil – Pink & Main
• Star Dies – Pinkfresh Studio
• Gold Paste – Hero Arts

Elegant Card for a Wedding or Engagement

By Ceal Pritchett

Hello crafty friends!
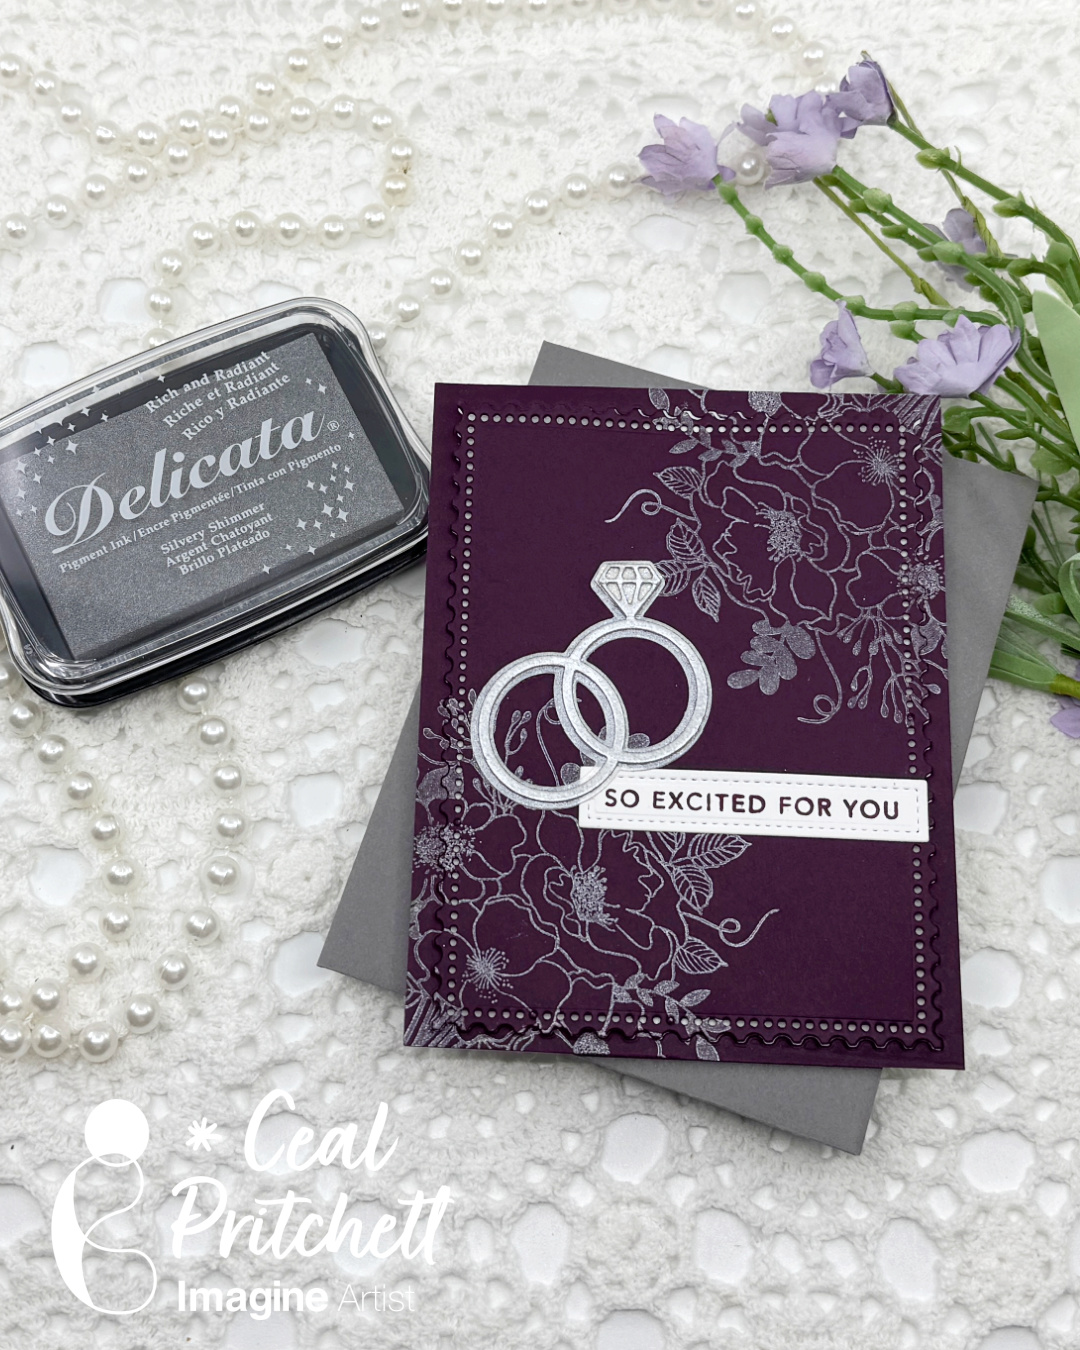
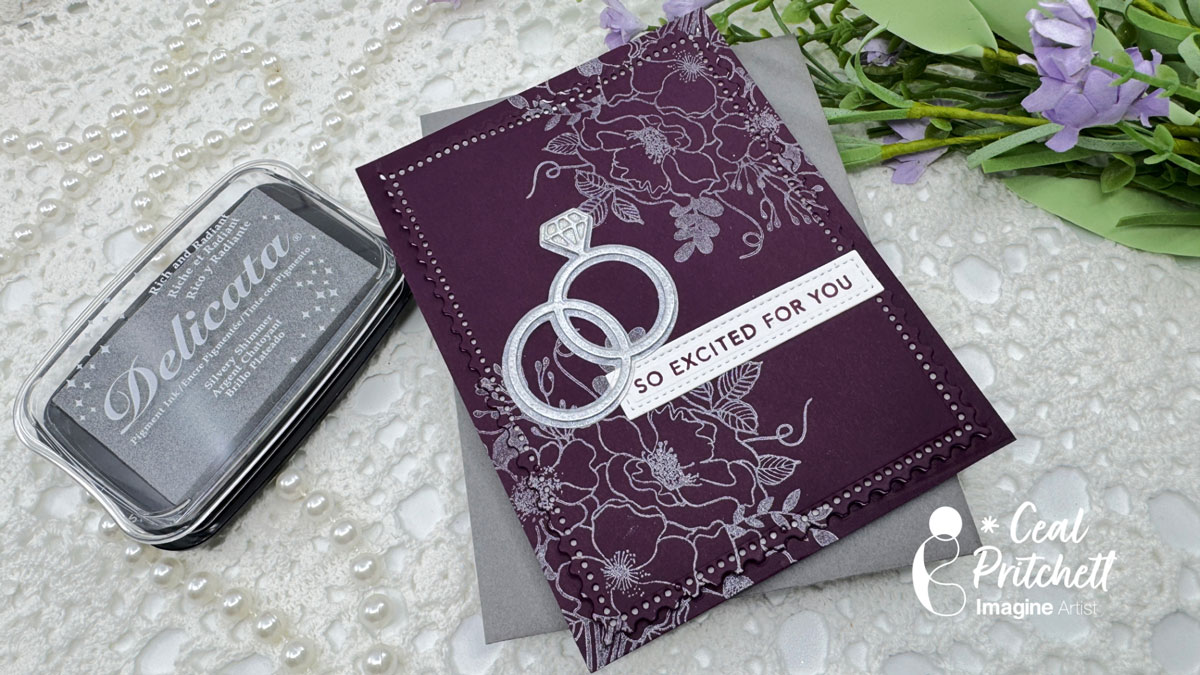
It’s Ceal, here. Today I am sharing how to create a simple but elegant wedding card. 

Skill Level: Intermediate to Advanced
Time: 45 Minutes

Directions:

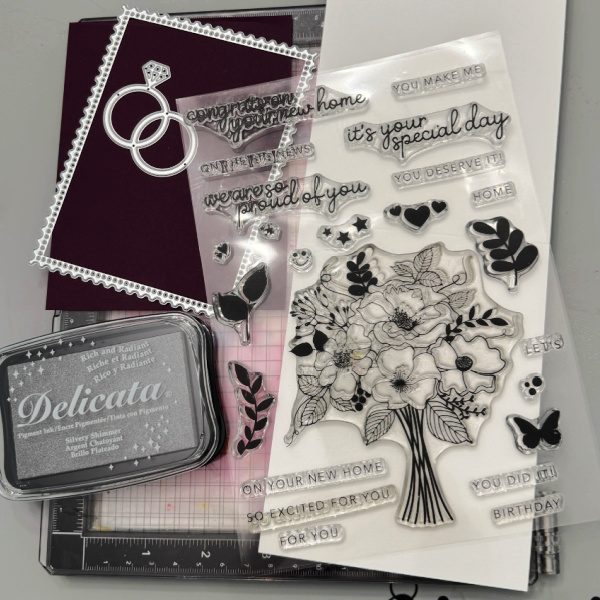
Gather your supplies. You will need a stamp set with a floral image and wedding sentiments. An A2 sized die and some wedding themed dies, a stamp positioner and a shimmer ink pad.

Step 1:
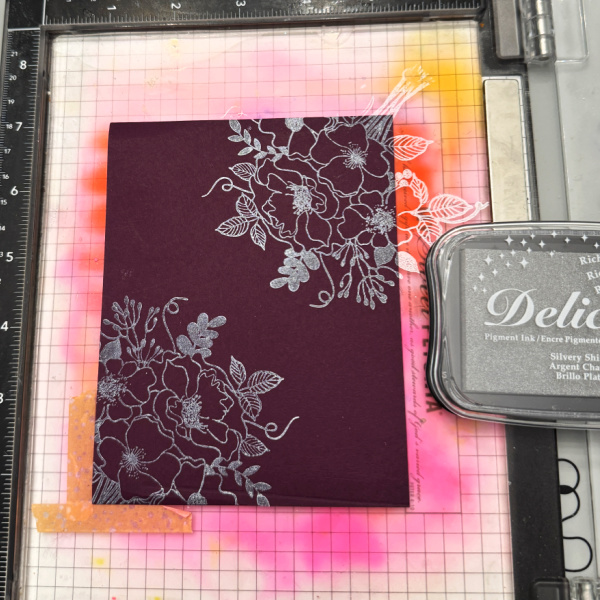
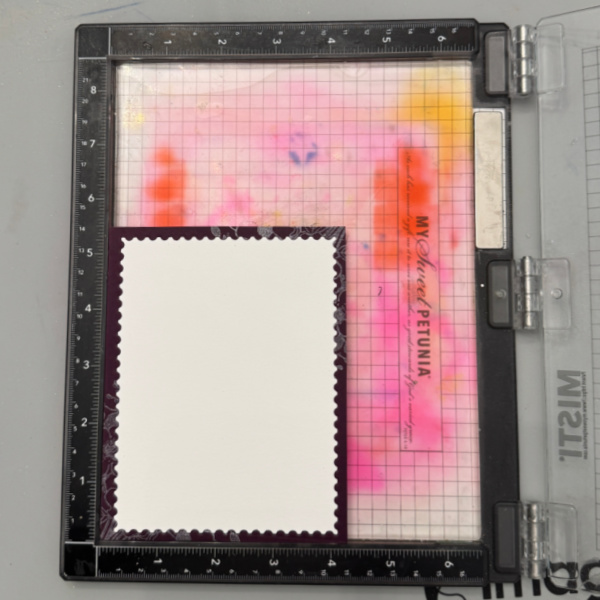
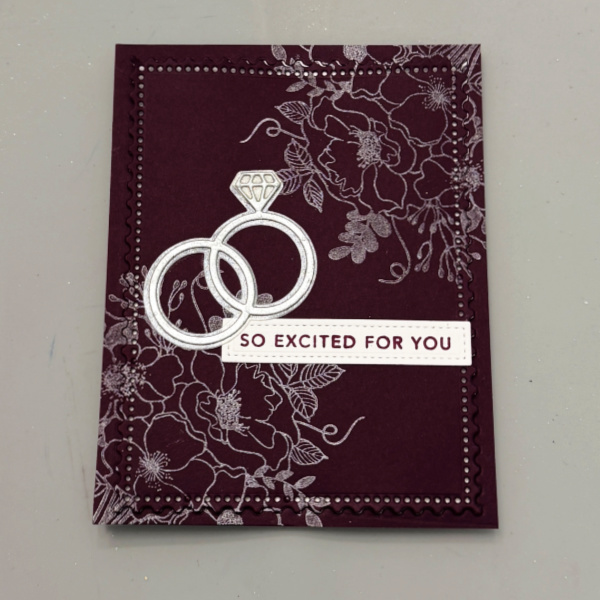
Using a Misti or stamp positioner and a grip mat place the cardstock panel in the center. Place the floral stamp on the corner of the panel and ink with shimmer ink (I used Delicata Silvery Shimmer) stamp, you may have to stamp more than once to get a clean image. Turn your paper, no need to move the stamp thanks to the Misti and ink it up and stamp again on the other corner. This ink is a pigment ink therefore it takes a little longer to dry, you can speed that up by heat setting it.

Step 2:
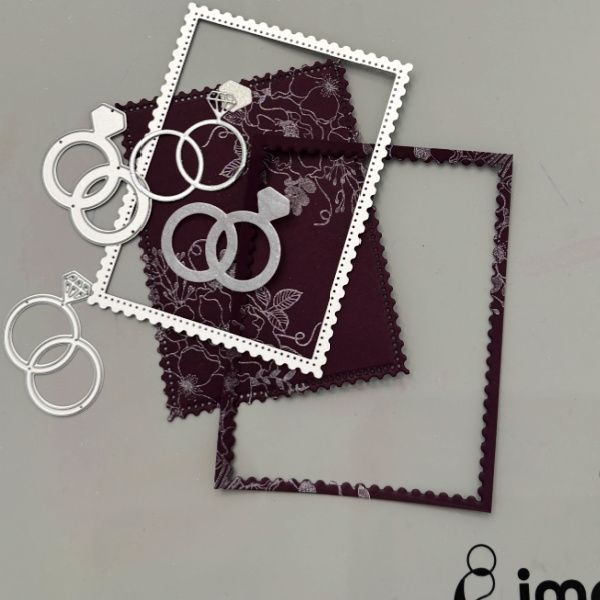
Cut the panel with the die keeping both pieces. Also cut out the wedding themed dies.

Step 3:
Place the card base in the corner of the Misti and then glue the borer of your die cut pieces down first. I always place it in the corner of the Misti, this helps me line it up.

Step 4:
Add the main die cut piece using foam tape to give it dimension.
Tip: after adding the foam adhesive to the panel also add some liquid glue, this allows you to move the panel to get it in place.

Stamp the greeting on a strip of paper and cut it out. Add all of the elements to the card.

Carft Supplies:

Imagine Products:
VersaFine Clair – Chianti
Delicata – Silvery Shimmer
On Point Glue

Other Products:
Scrapbook & Cards Today – Celebrations Delivered Stamps/Dies