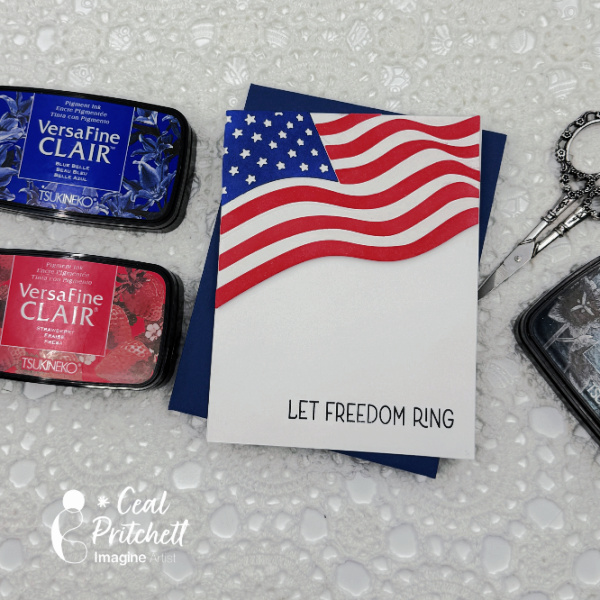
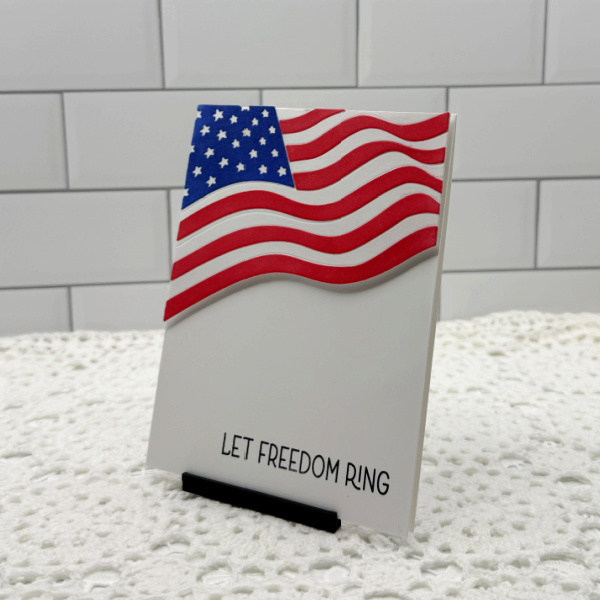
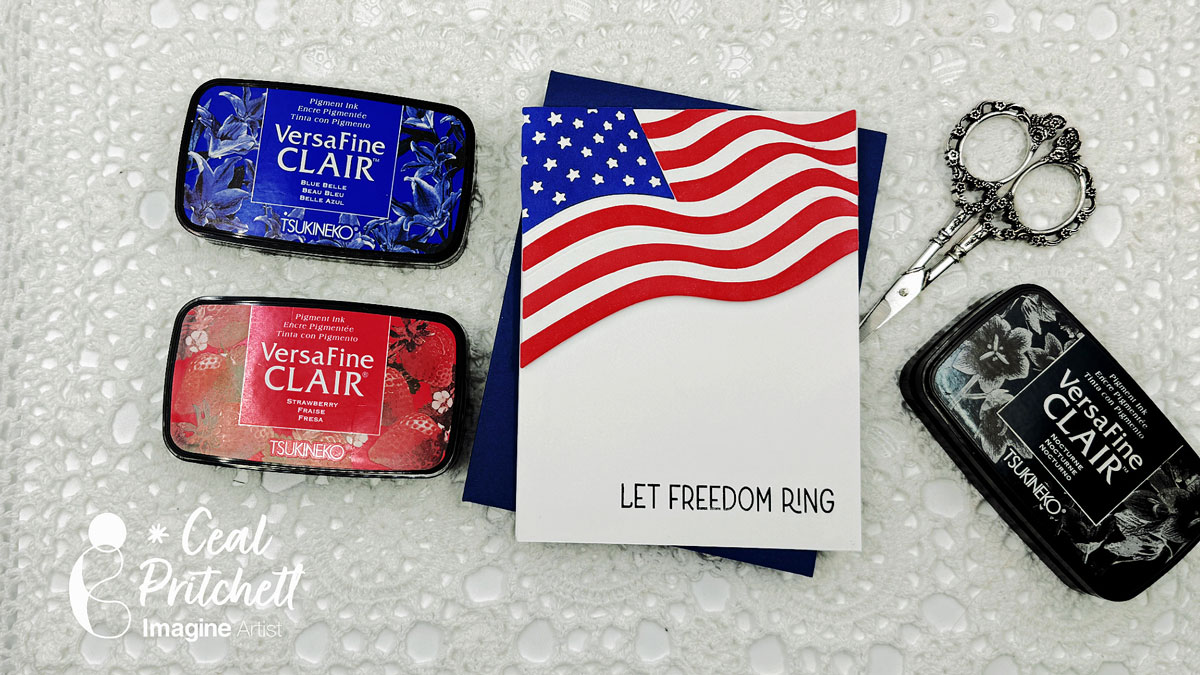
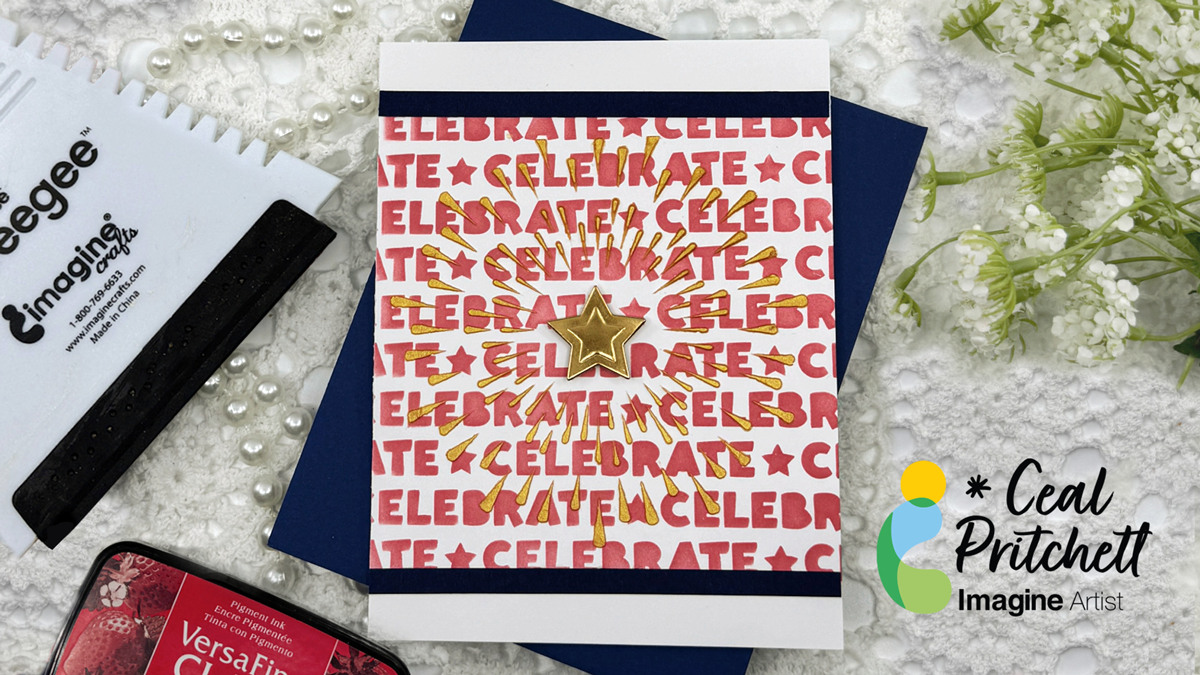
Hello crafty friends! It’s Ceal, here. – Today I am sharing this card for Independence Day. I throw an Independence Day celebration at my home each year and I send out invitations. This is my invitation for this year.
Skill: Beginner to Intermediate Time: 30 minutes
Directions:
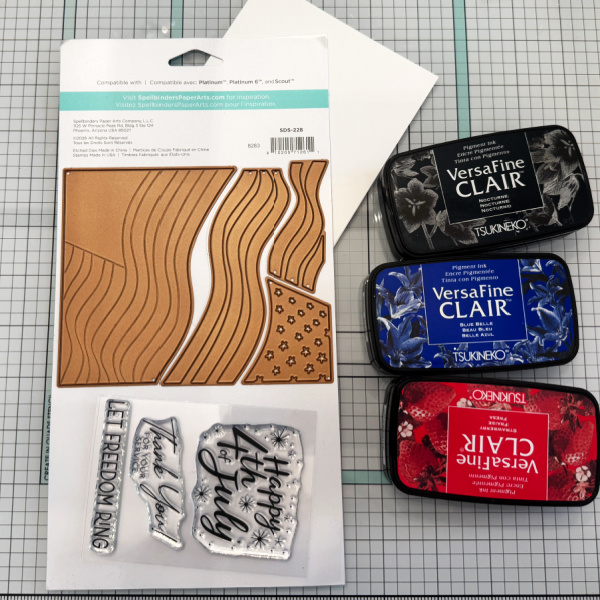
Gather your supplies, you will need a flag die cut set and red, blue and black inks, stamping platform, a grip mat and a ink blending tool.
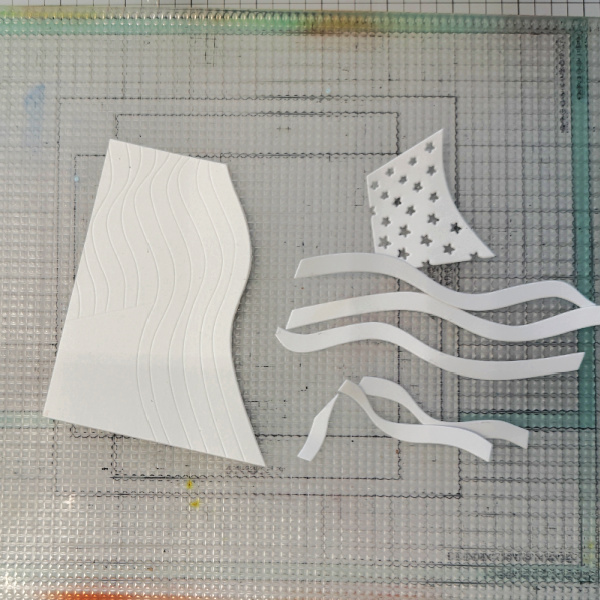
Step 1: Cut out the die cut pieces.
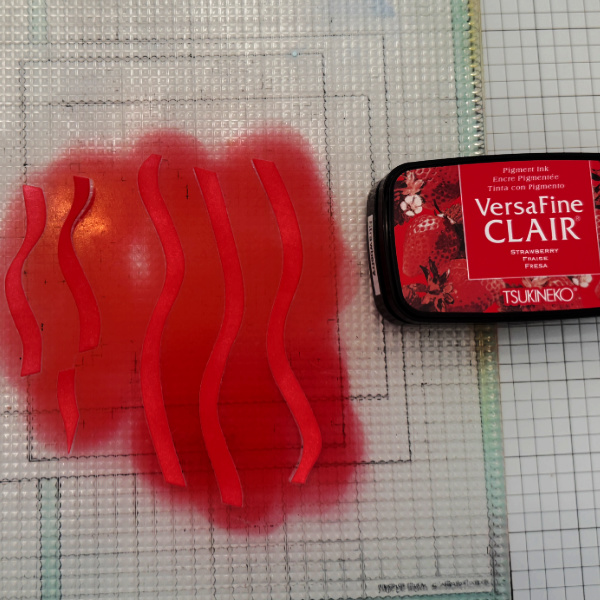
Step 2: Using an ink blending tool, ink blend red ink on the strips. I used VersaFine Clair Strawberry.
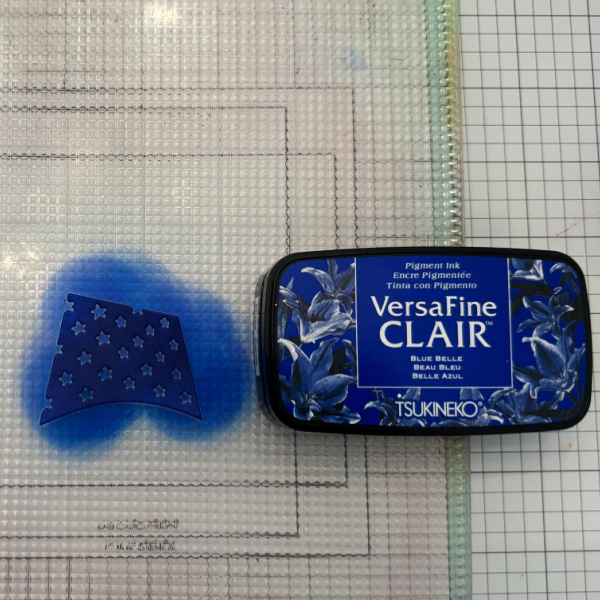
Step 3: Using an ink blending tool, ink blend blue ink on the star piece, I used VersaFine Clair Blue Belle.
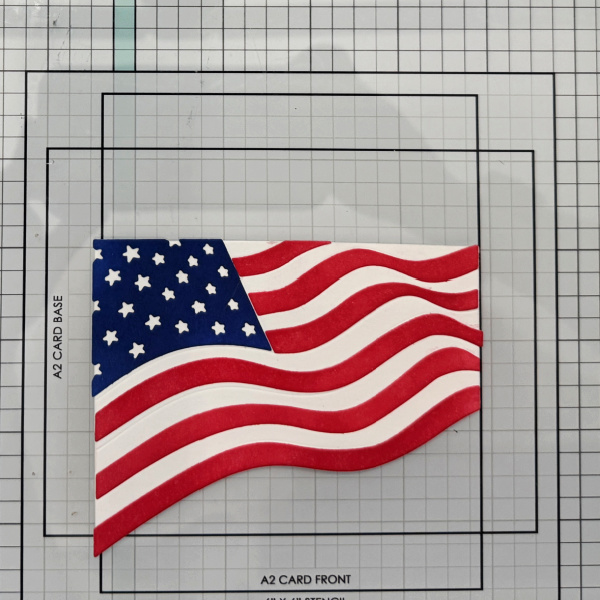
Step 4: Adhere the blue star piece and the red strips to the flag panel. This panel has lines to show where to place them.
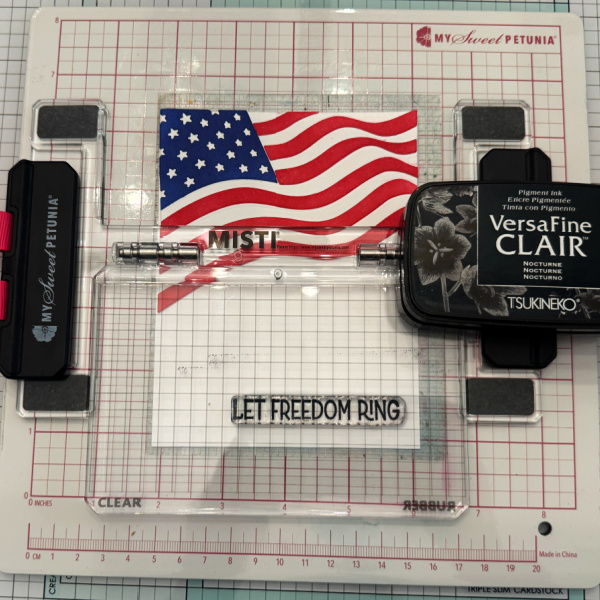
Step 5: Place the white panel into the Misti Lite and stamp the sentiment at the bottom of the panel.
Step 6: Adhere the flag to the panel that the sentiment is stamped on and adhere to card base.
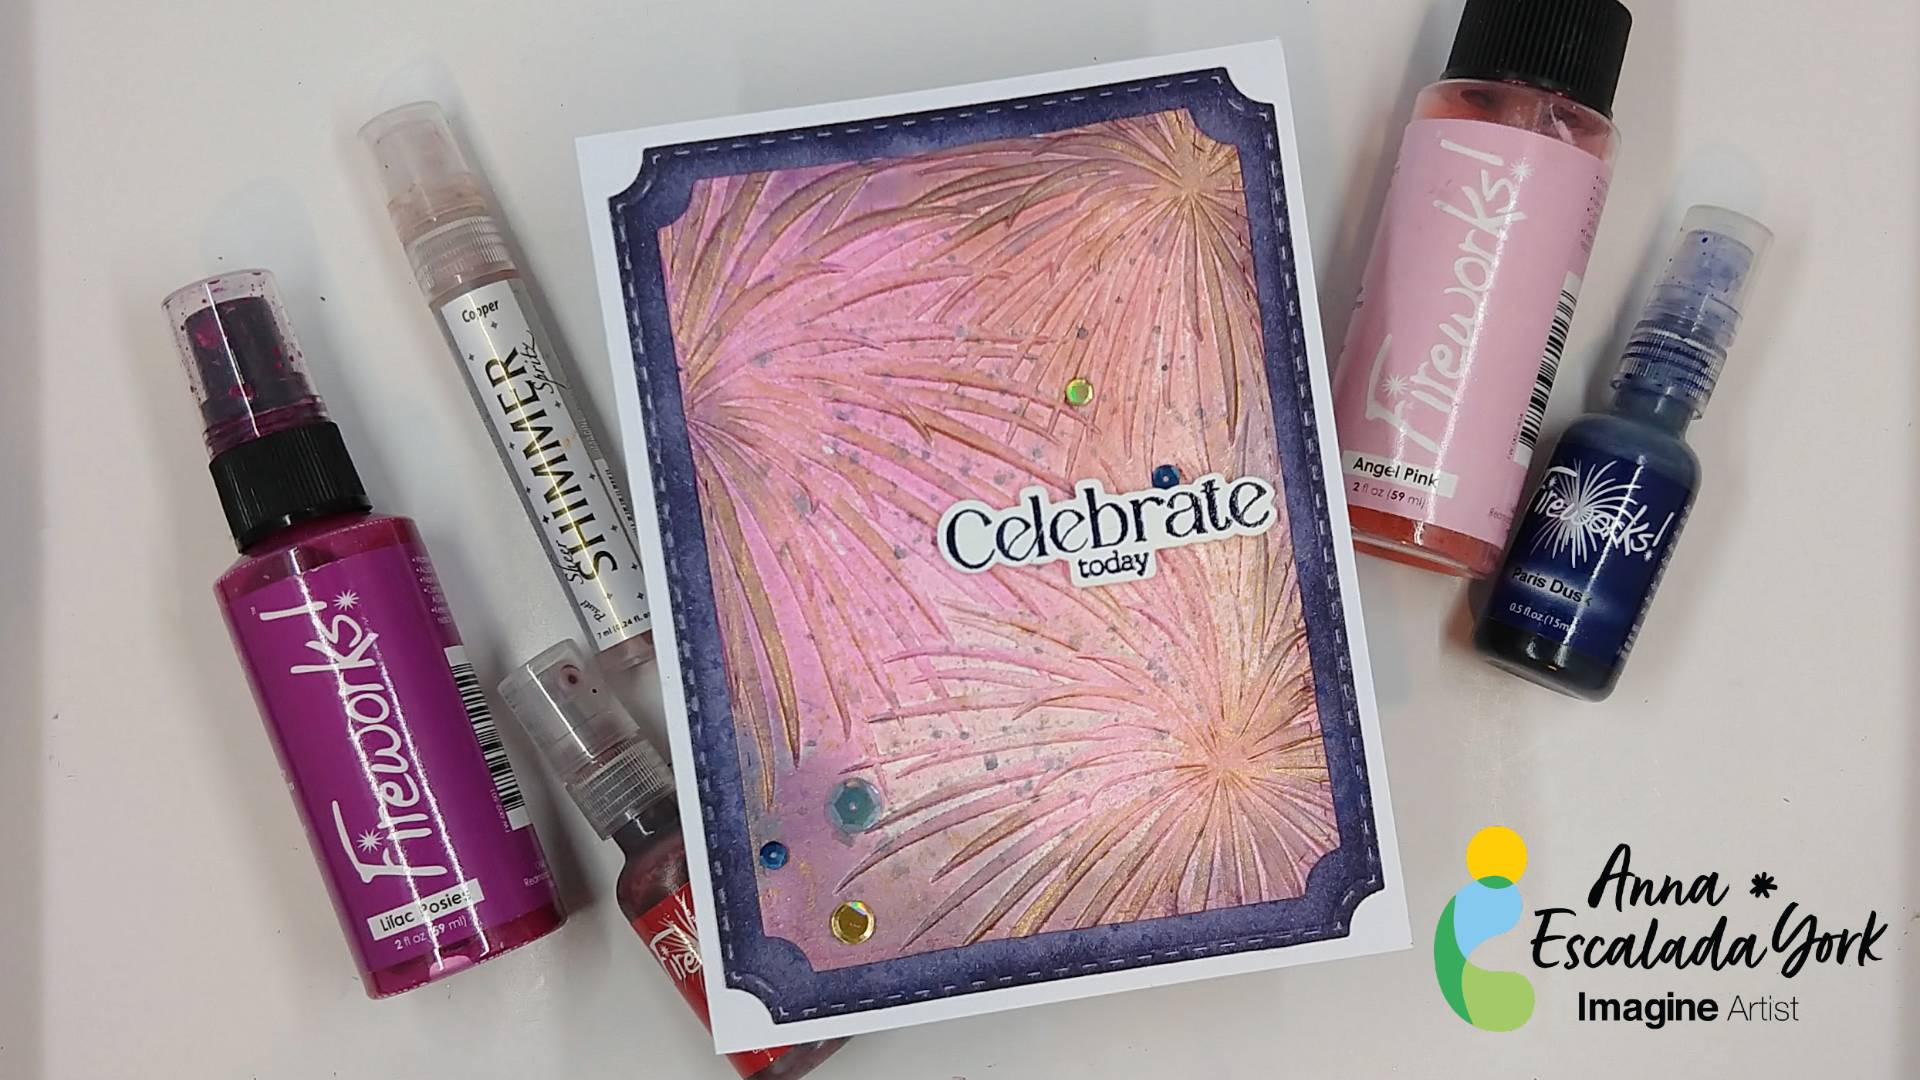
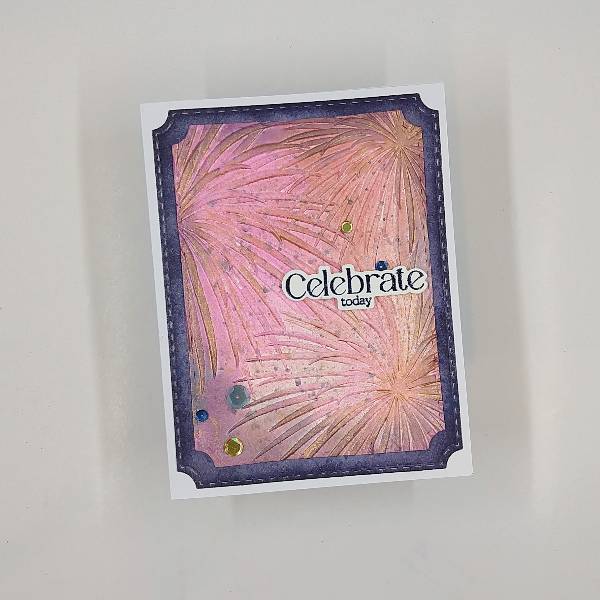
Today’s card was inspired by 4th of July celebrations, but is meant for a beloved coworker who is retiring after working at my school for over 25 years. She is one of the key people who everyone knew that they could turn to when they needed help and we will sorely miss her, but are so excited for her next adventure.
Skill: Intermediate Time: 1.5 hours
Directions:
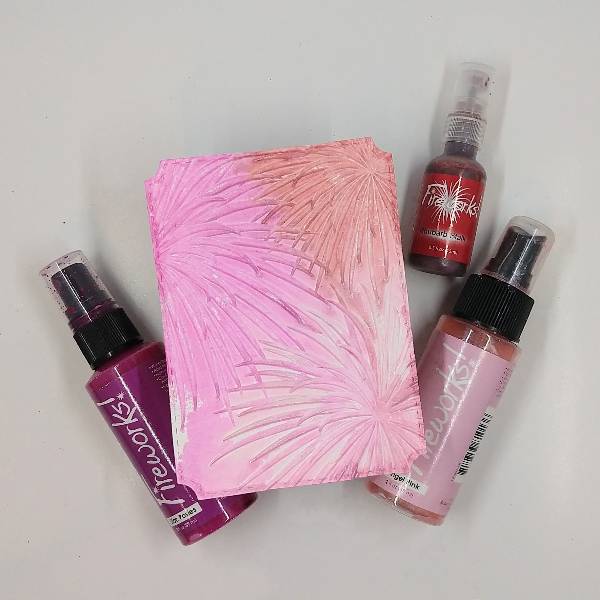
Step 1: Die cut a piece of watercolor paper with the second-largest die in an A2-sized die set. Spray Lilac Posies, Angel Pink and Rhubarb Stalk Fireworks! Craft Spray directly onto a fireworks embossing folder, trying to have the colors mix on the folder. Then add the watercolor paper panel onto the embossing folder and run the whole thing through a die cutting machine. The spray will move inside of the embossing folder when it is pressed through the machine, giving some interesting effects on your embossed panel. Allow the sprays to dry.
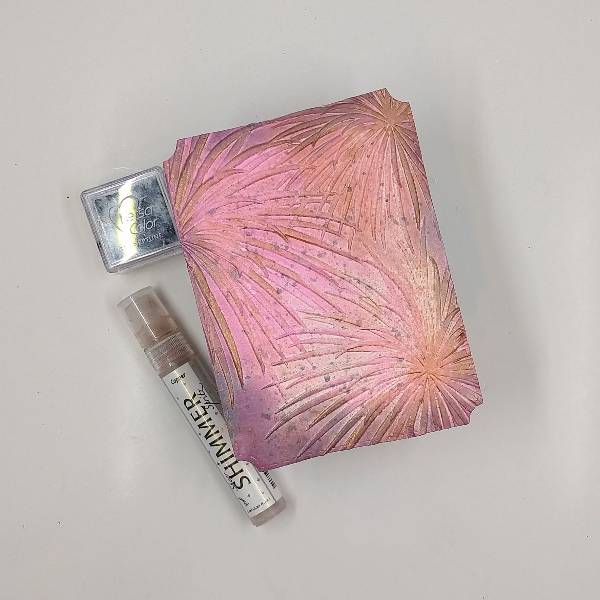
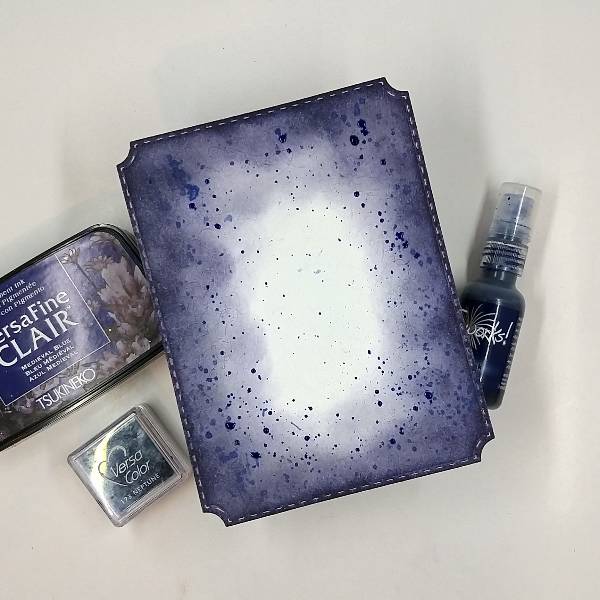
Step 2: Ink blend the edges of the embossed panel with Neptune VersaColor ink. Press the Neptune VersaColor ink pad onto a piece of scrap acetate and spray with water and then splatter the mix onto the panel with a thin paintbrush. Then spray the panel with Copper Shimmer Spritz. Spray more of the Copper Shimmer onto a clean piece of acetate and use the spritz to paint the raised parts of the panel (the tendrils or arms of the fireworks). Allow to dry.
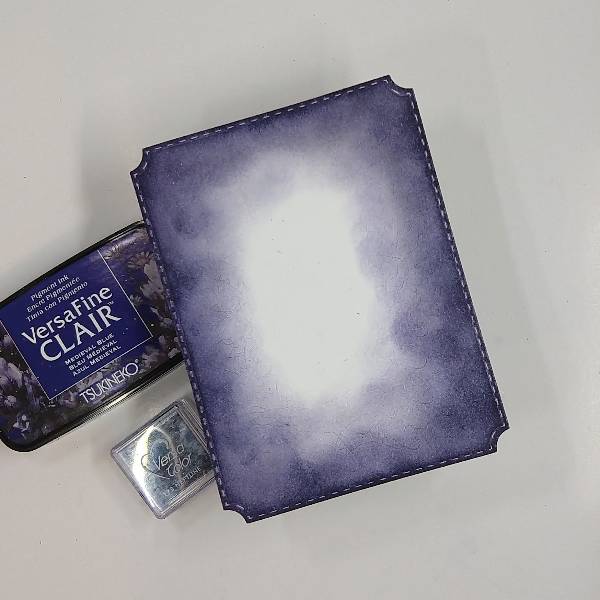
Step 3: Die cut another piece of watercolor paper with the largest die in the A2-sized die set. Using a sponge dauber, ink blend the edges with more of the Neptune VersaColor ink and then the extreme edges with Medieval Blue VersaFine Clair ink.
Step 4: Splatter Paris Dusk Fireworks! Craft Spray onto the panel and allow to dry.
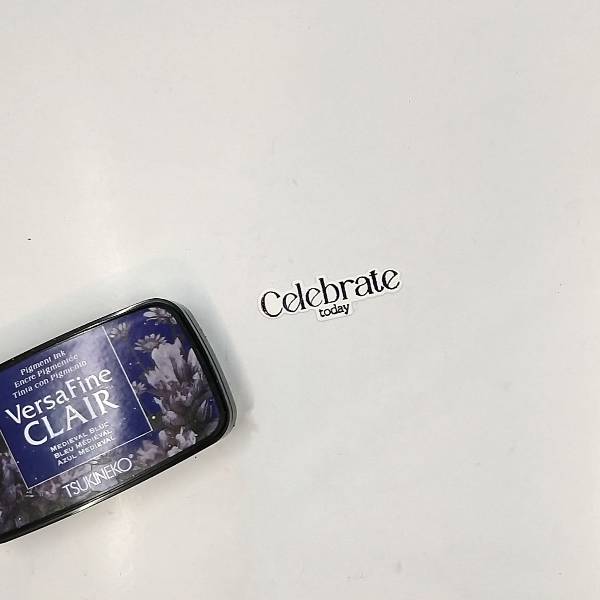
Step 5: Stamp a sentiment on a scrap of watercolor paper with Medieval Blue VersaFine Clair ink and heat emboss with clear embossing powder. Die cut the sentiment with the corresponding die.
Step 6: Glue the two panels together. Attach the sentiment with foam tape. Then glue sequins on the lower left corner and just above the sentiment. Finally, glue the whole thing onto an A2-sized white cardbase to finish the card.
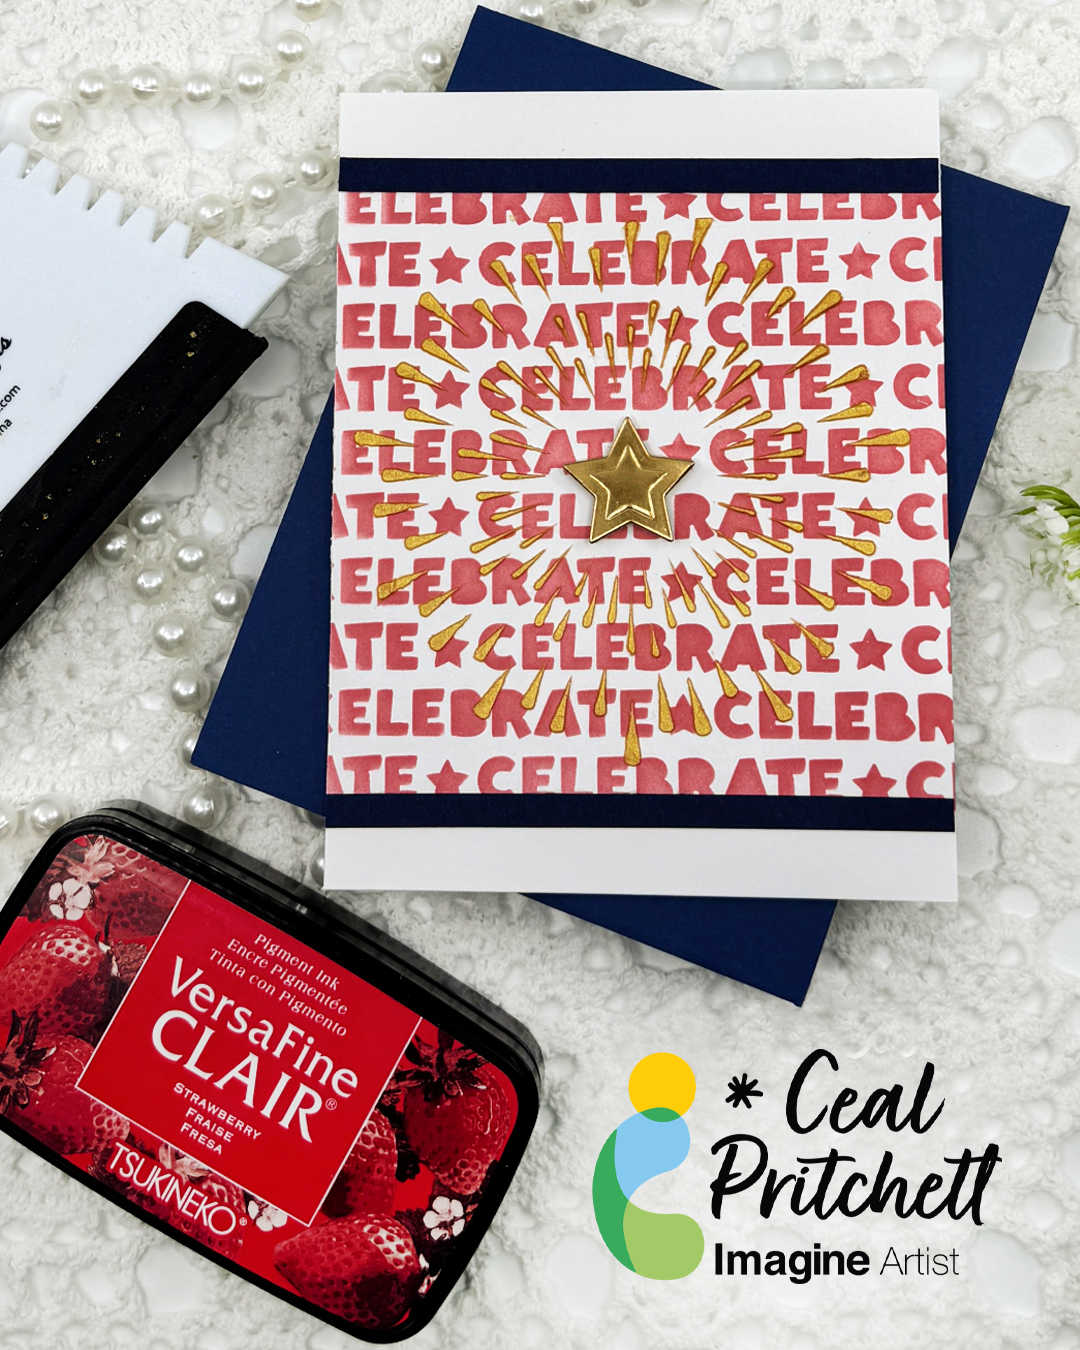
Hello crafty friends! It’s Ceal, back to share another project with you. We always have a cookout on the 4th of July and invite our family. I always make invitations to send out for it and I am sharing the one I made for this year.
Skill Level: Beginner to Intermediate Time: 45 minutes to an hour
Directions:
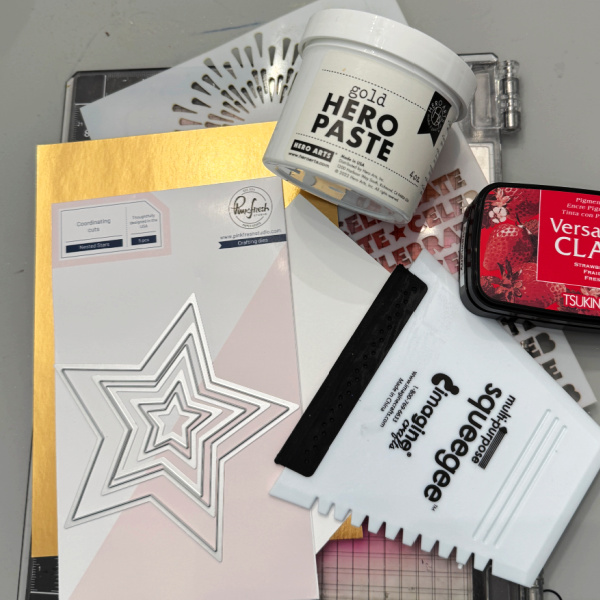
Gather your supplies. You will need an A2 card base, blue cardstock strips, a white panel, gold foil paper, star dies, a stencil that has July 4th elements on it, Ink, and paste of some sort.
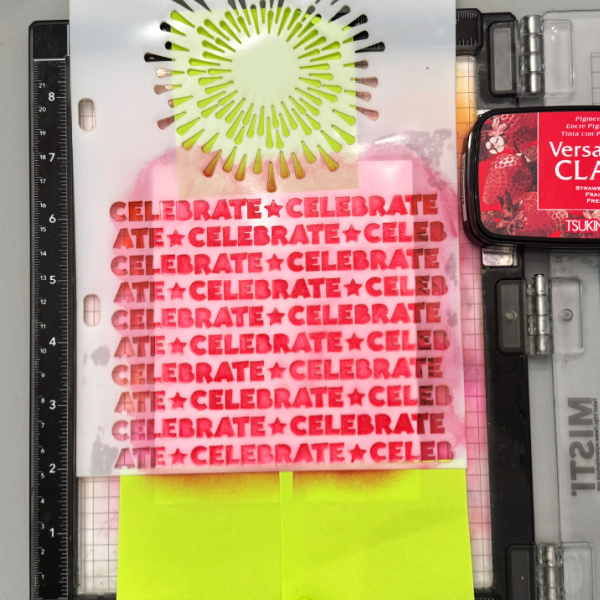
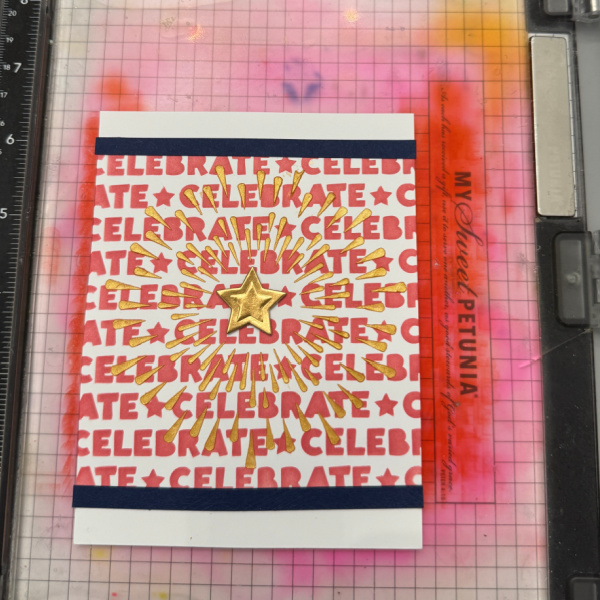
Step 1: Place the white panel in the Misti or other stamp positioner on a grip or sticky mat. Mask off portions of the panel that you do not want ink on. Using Red (VersaFine Clair Strawberry used here ) ink and a blending tool cover the celebrate with ink. Remove stencil and clean for next step.
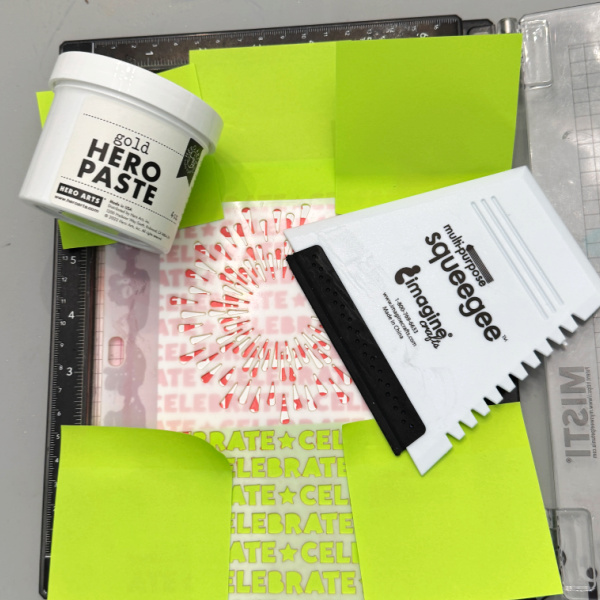
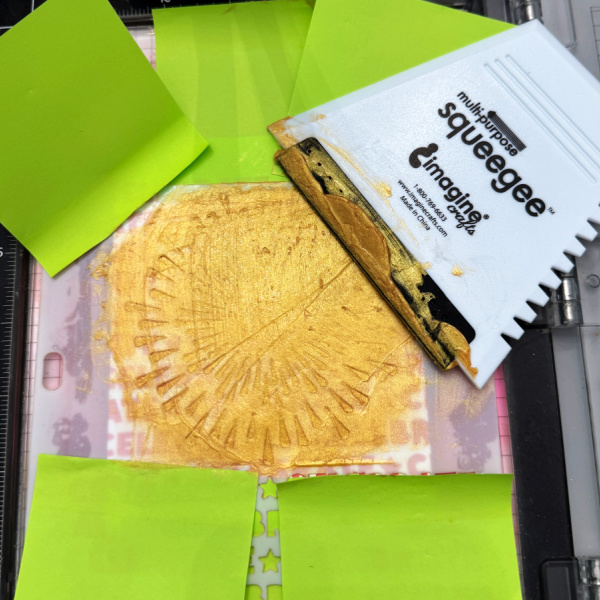
Step 2: Lay the firework part of the stencil over the part that you just inked up and mask off the portion of the card so the paste will not get on it.
Step 3: Using a squeegee spread the paste (I used gold) over the firework part of the stencil. Be sure to clean the squeegee and the stencil promptly because the paste will harden.
Step 4: Add the star to the center of the firework and the blue strips of cardstock to each end of the panel. Add panel to the card base
Other Supplies: • Misti Stamping Tool – My Sweet Petunia • Grip Mat – Waffle Flower Crafts • Celebrate Stencil – Pink & Main • Star Dies – Pinkfresh Studio • Gold Paste – Hero Arts
Hello my friends! Katy here and today I am going to show you how to create this super simple baby card using Fireworks! Shimmery Craft Sprays. In the video I show you how easy it is to add to paint with your fireworks sprays. This will give a nice even coverage allowing you to create your own colored paper. Check out the video below to see how it all came together. I hope you enjoy. Thanks for watching.
Skill: Beginner, Intermediate, Advanced
Time: about 30 minutes
• Honey Bee Stamps Baby Stamp Set
• Pinkfresh Studio Slimline Edgers Die Set
• Watercolor Paper
• White Card Base
• Concord and 9th Simple Serif Alphabet die set
• Grey Card Stock
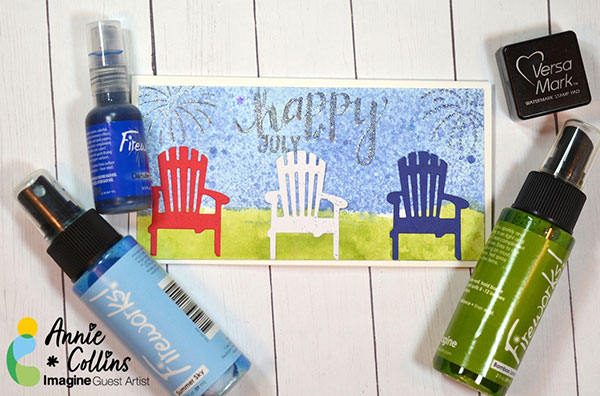
Hello my friends! Katy here and today I am going to show you how to create this super simple fourth of July card using Fireworks sprays in Danube Blue and Lady Bug, Memento Luxe ink in Wedding Dress and the Brushstix from Imagine. This card came together with several supplies, but when broken down into small steps anyone can create. Check out the video below to see how it all came together. I hope you enjoy. Thanks for watching.