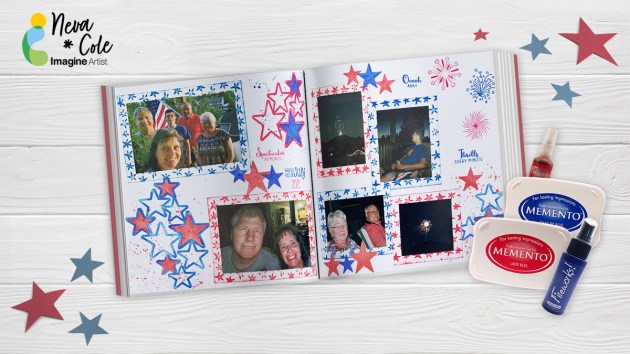
By Neva Cole –
Today I will share how easy it is to create a very cohesive layout using just two ink colors and the matching Fireworks! colors for an amazing Fourth of July scrapbook layout. With just white cardstock, an embossing folder, a large die cut, and stamps this layout is perfect for Independence Day
Skill: Beginner
Time: 30 Minutes
Directions:
Step 1
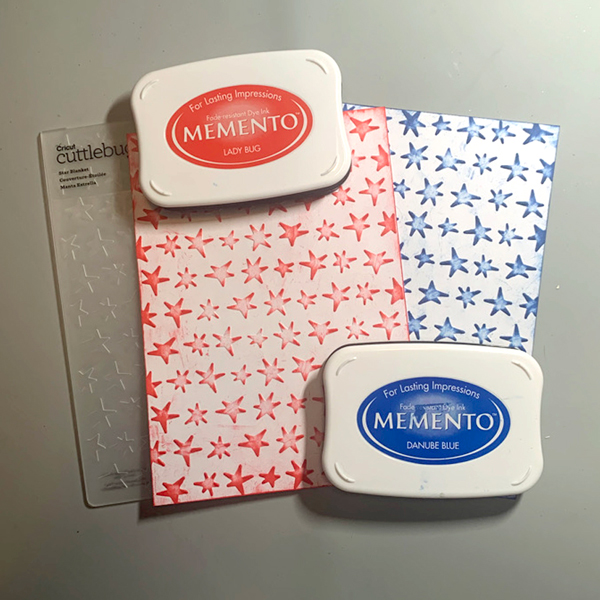
Trim white cardstock to 1” on each edge larger than the photos. Pressure emboss with Star Blanket. Ink raised portion of embossed areas and edges with Memento Danube Blue or Lady Bug. For my layout I trimmed two sections 5” x 7”, three sections 4” x 5”, and one section by 4” x 4” to back my photos.
Step 2
Die cut two sets from Spellbinders Cascading Stars die and remove the stars. Trim one outline die cut into a section of five stars, with the other being four stars. Use Jumbo Dauber to tap Memento Danube Blue over one die cut and the smaller portion of the trimmed die cut. Tapping the ink onto the paper keeps from damaging the die cut, which can occur if a rubbing motion is used. The larger portion of the trimmed die cut is inked in Memento Lady Bug. Continue to add ink until it is the desired hue.
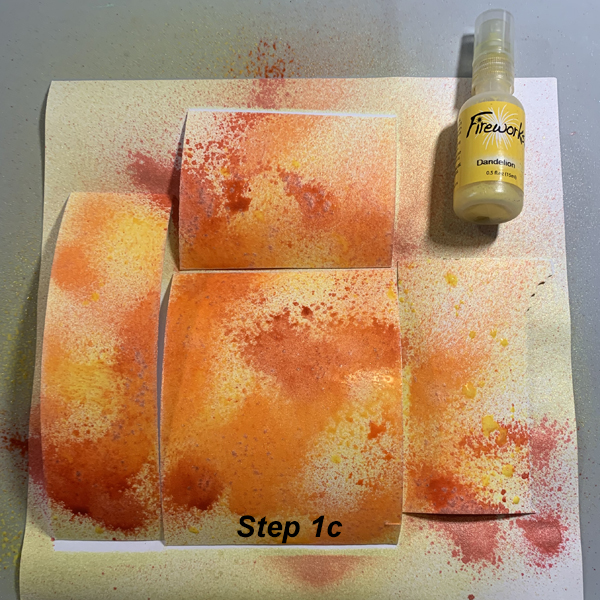
Step 3
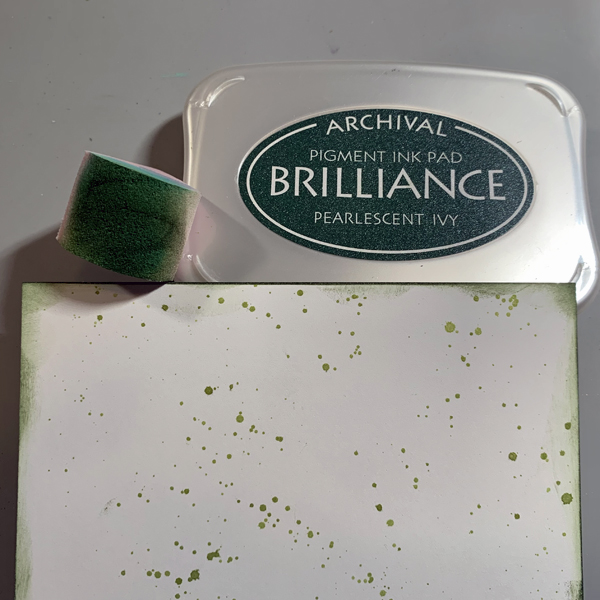
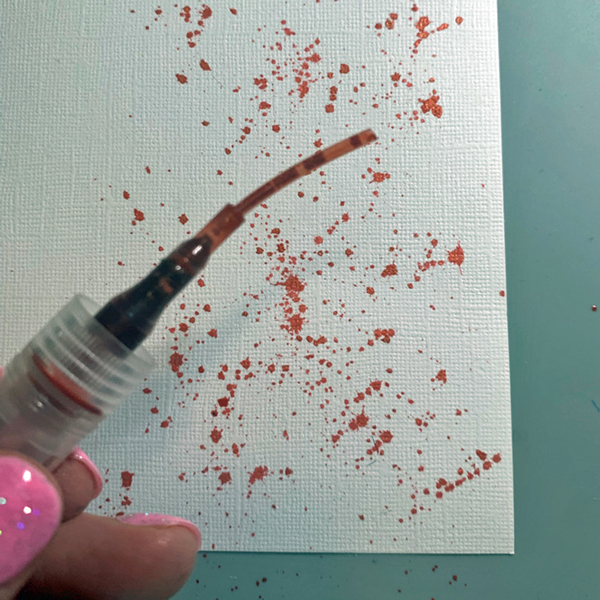
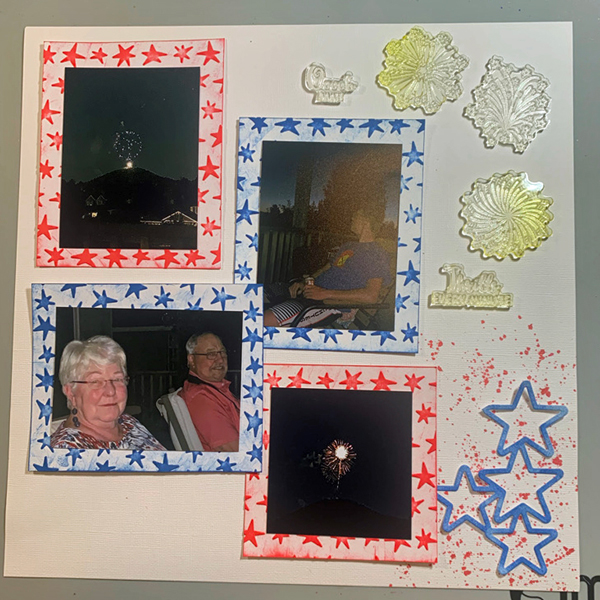
The splatter method is used with Fireworks! to add some interest to the white background. Shake the bottle to distribute glimmer and then remove spritzer nozzle and gently tap the top to splatter ink from the outside of the spray tube. Continue to tap until the desired amount of ink is on the paper. I choose sections where the die cuts would be eventually placed. I alternated the color choices from the die cut color. This is the lower right corner of the right page.
Step 4
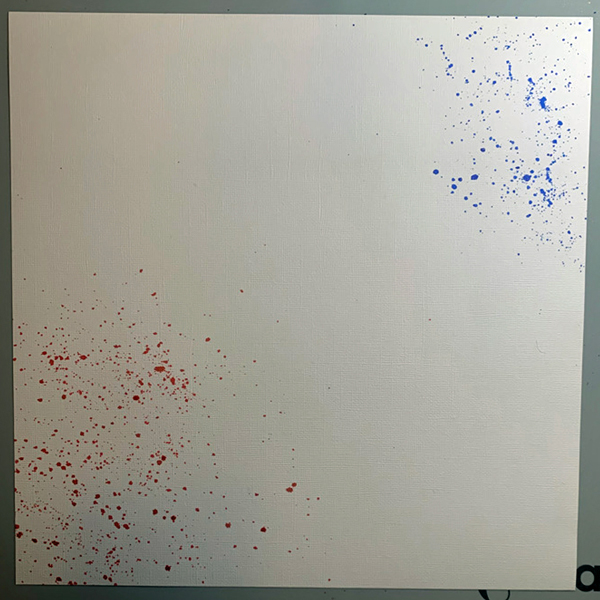
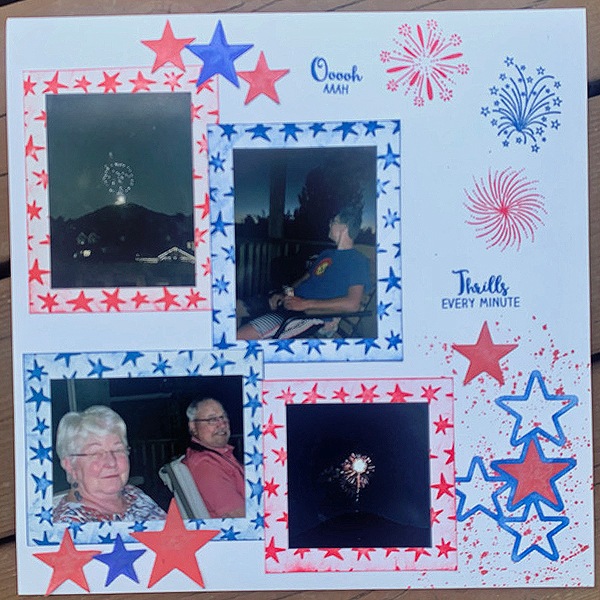
The left side of the layout shown completed with splattered Fireworks! in Memento Lady Bug and Danube Blue.
Step 5
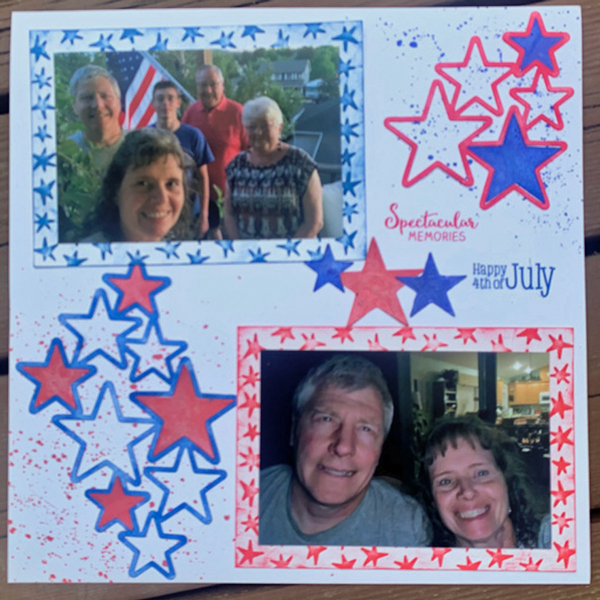
Determine placement placement of elements to add stamped sentiments. Place on layout and remove other elements. Use a stamp platform to stamp sentiments in proper position.
Step 6
On the right page the stamped elements are determined, then half are removed before stamping to allow for clean stamping of correct colors. The remaining elements are added and stamped. It was easier to stamp all the images Memento Lady Bug at one time, then follow with images in Memento Danube Blue.

Step 7
Spritz Fireworks! into a plastic tray or surface. Place die cut stars from step 2 face down on the Fireworks! ink to add color. Use tweezers to move around in the ink and add more ink to tray as needed. About a third of the stars were inked with Fireworks! in Lady Bug the remaining in Fireworks! Danube Blue.
Step 8:
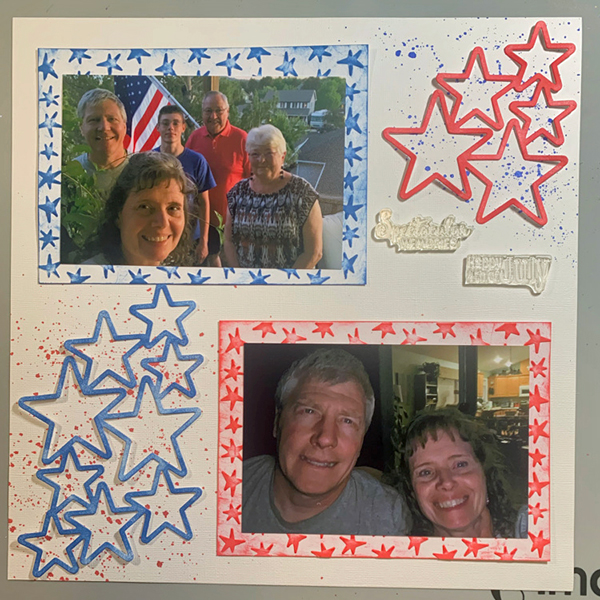
Determine correct placement of Fireworks! stars in the die cut. I rotated the star until it fit properly into the die cut area. Not all the stars are identical, so taking the time to find the right one was worth the effort for a seamless look.
Step 9:
Adhere elements to layout. Tear It! tape was used to adhere the photos to the textured mats. The die cuts are adhered with On Point Glue. The small dots around the star frames keep the layout clean and smudge free.
Art Supplies
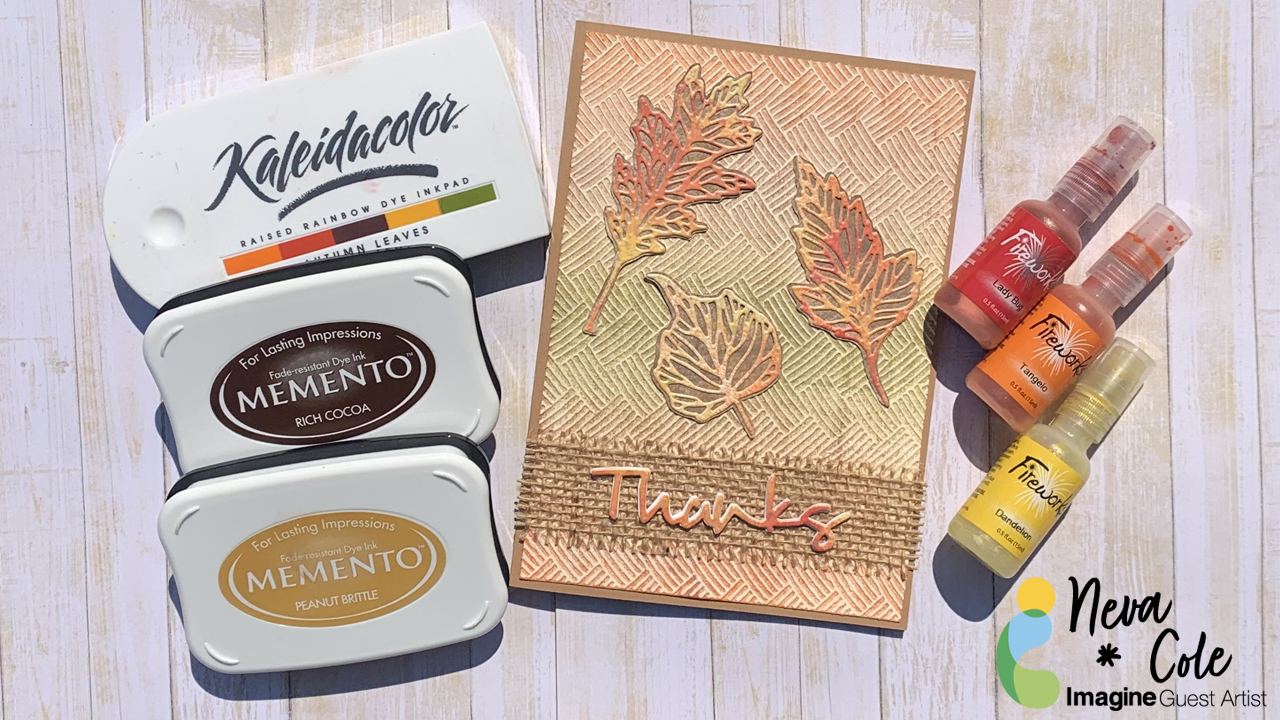
Imagine
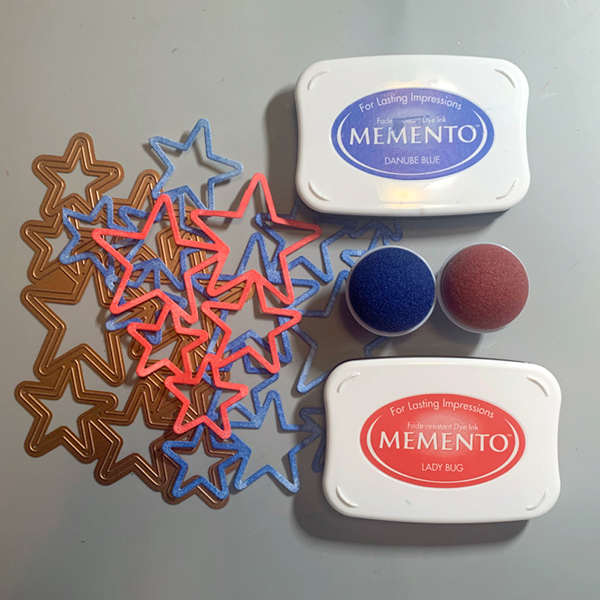
Memento–Lady Bug and Danube Blue
Fireworks!–Lady Bug and Danube Blue
Other
White Cardstock
Cuttlebug Star Blanket embossing folder
Spellbinders Cascading Stars
Technique Tuesday Spectacular Memories
Hero Arts CL493 Holiday Sentiments
Tweezers
Die Cut machine
Stamp Platform