Hello there! Today’s tutorial is to show you how easy is create texture with Memento Inks. This is a very simple process that you can create with a score lines and or embossing folders. On this card, I used Memento Ink Desert Sand, Peanut Brittle and Teal Zeal.
Hello there! Today’s tutorial is to show you how easy is create texture with Memento Inks. This is a very simple process that you can create with a score lines and or embossing folders. On this card, I used Memento Ink Desert Sand, Peanut Brittle and Teal Zeal.
Skill: Medium
Time: 45 minutes
Directions:
Step 1:
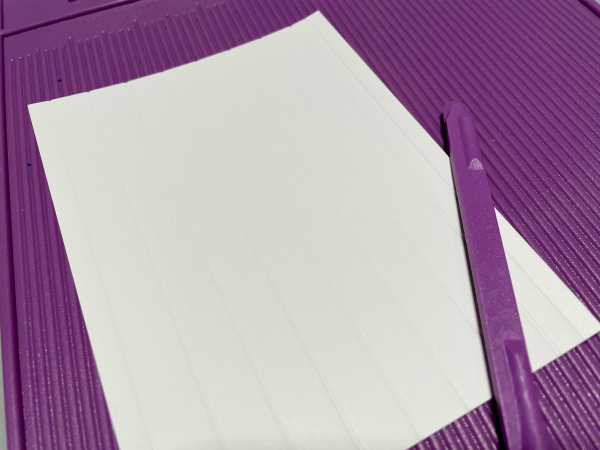
Create score lines over a piece of White Smooth Cardstock. This will be your top layer and you can decide the wide or directions of the lines accordingly with your design.
Step 2:
The lines of my sample card are 0.5” wide and I am using a regular size of cardstock for an A2 card, 5-1/2”x4-1/4”.
Step 3:
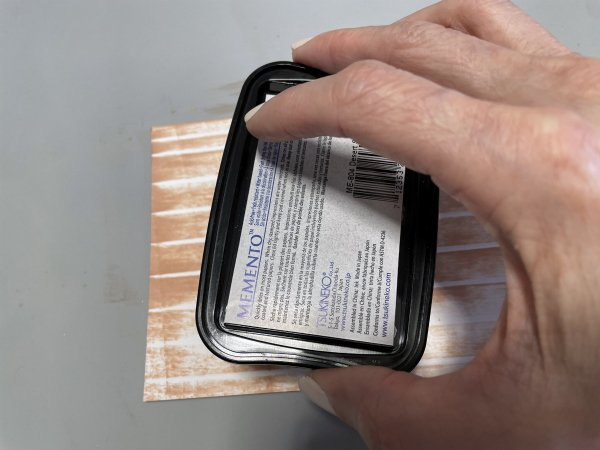
Pass the ink pad of Memento Ink Desert Sand directly over the scored panel following the vertical scored lines. Just keep in mind that you need to go border to border to obtain a uniform coverage.
Step 4:
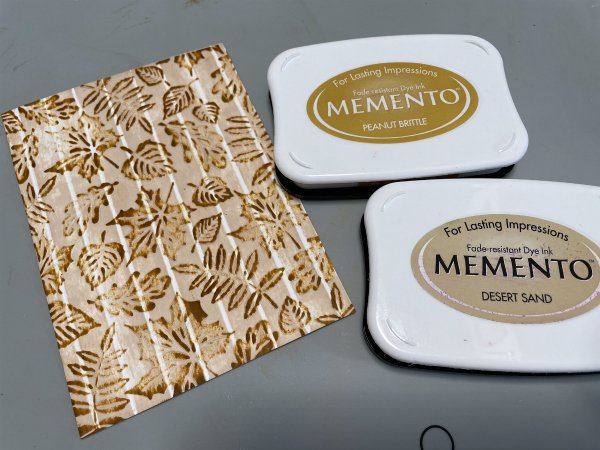
Before to introduce the inked layer inside of an embossing folder the type of image that you want to obtain. You can use the embossed raise or the debossing. In my sample, I used the emboss raise side. Pass your embossing sandwich through your die cut machine.
Step 5:
Using a different color of ink to cover the raised pattern of your embossing folder. On this card, I am using Memento Peanut Brittle
Step 6:
Let the ink dry naturally or speed the process with a heat tool. Now you can assemble the card and decorate it.
Step 7:
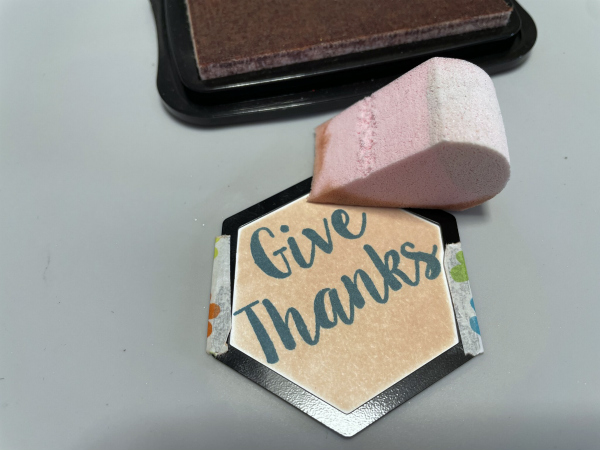
To make the message of the card, I used a clear stamp sentiment and an hexagon die cut. I stamped the sentiment with Memento Ink Teal Zeal.
Step 8:
I used the same die cut as frame to add some color to the message. I just applied the Memento Ink Desert Sand with a sponge after securing the die cut over it with washi tape.
Step 9:
To coordinate the colors of your card, you can pass an additional coat of ink to the top layer in a coordinating color with your card. In my sample, I used the Memento Ink Teal Zeal.
Just assemble your card and decorate with some embellishments. To paste the layers I used Tear It! Tape
Hi my crafty friends!Today I have a new tutorial for you that may help you to use your fall dies in a new way.I will be using the VersaColor Inks to make a mess, yes…a mess that turns out to be BEAUTIFUL!We will be creating gift card tags for any occasion using fall leaf dies.
Skill Level: Intermediate Time to Complete: 1 hour
Directions:
Step 1:
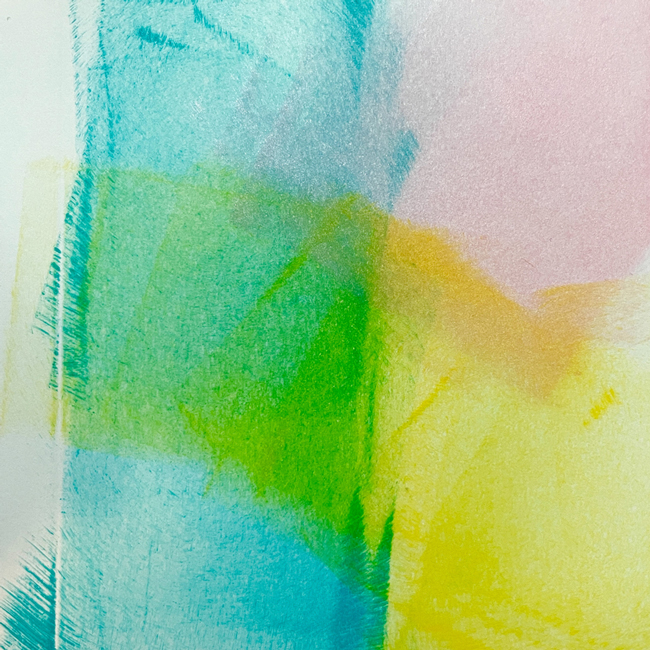
Make a mess.Yes, take a piece of 80lb card stock and swipe those VersaColor inks.Smoosh ‘em, splatter ‘em, do whatever you want with them.Use those reinkers that you have sitting on your shelf.
Step 2:
Let these panels dry.Because the VersaColor inks are a pigment ink they take a while to dry, let them dry!Go have a cup of coffee and take a peek at more inspiration on the Imagine Blog.
Step 3:
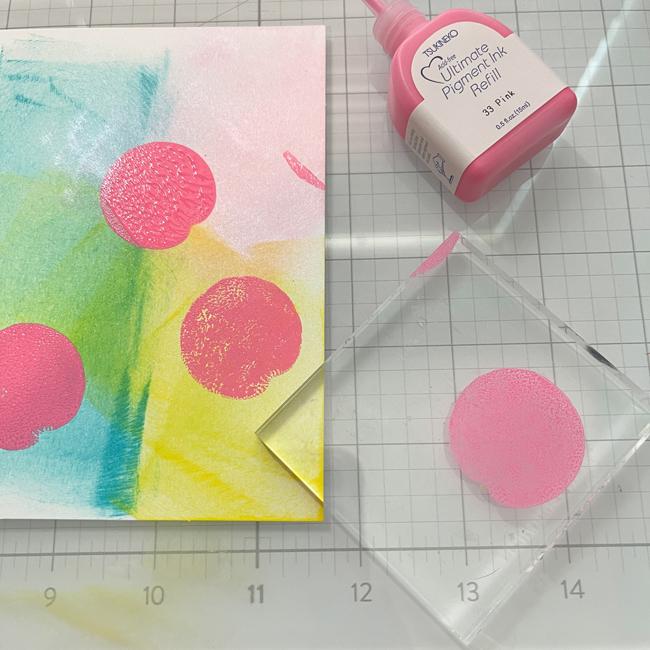
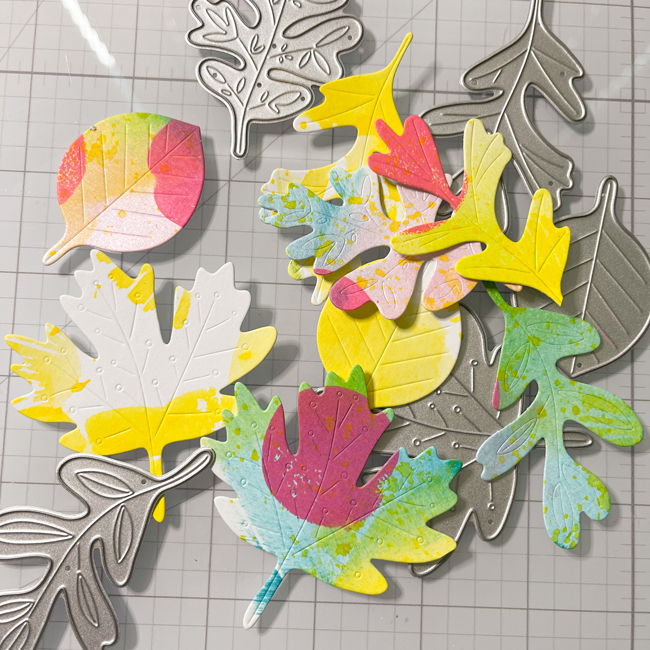
Use your leaf dies to cut several leaves from your messy panel. Trust me!Are they pretty?
Step 4:
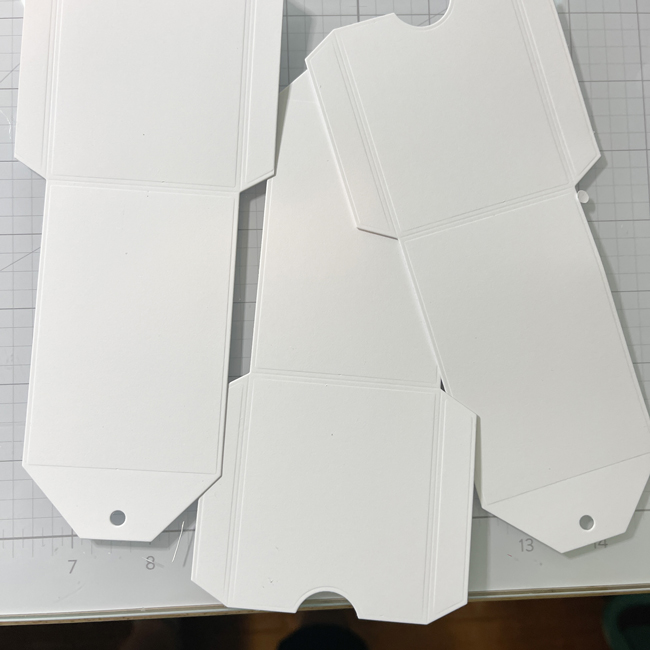
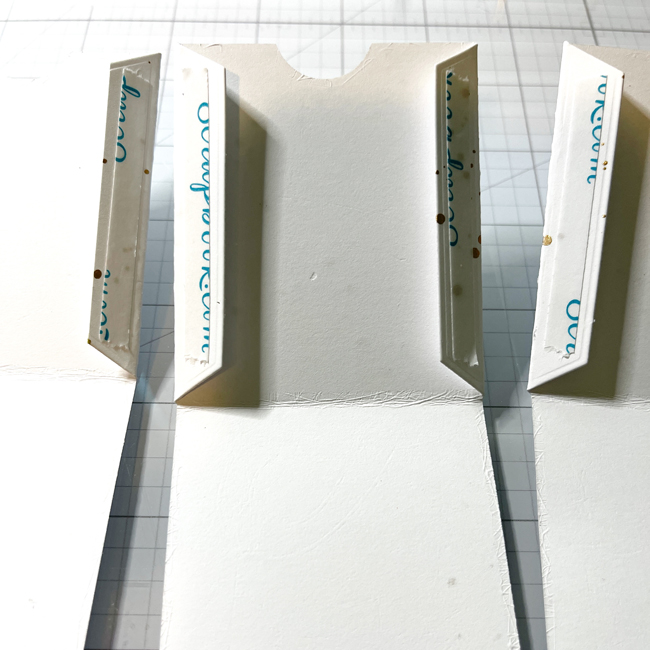
Use a gift card tag die to cut some tags. You should be able to get three holders from one sheet of 8.5” x 11”.
Step 5:
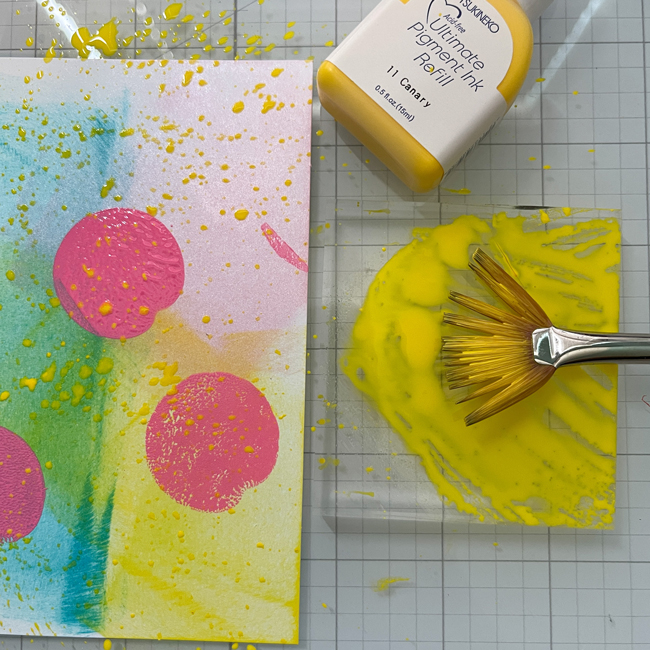
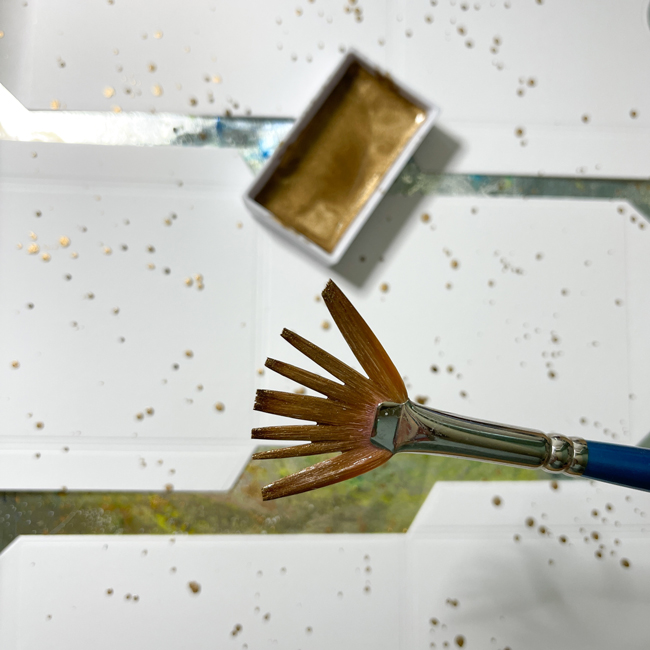
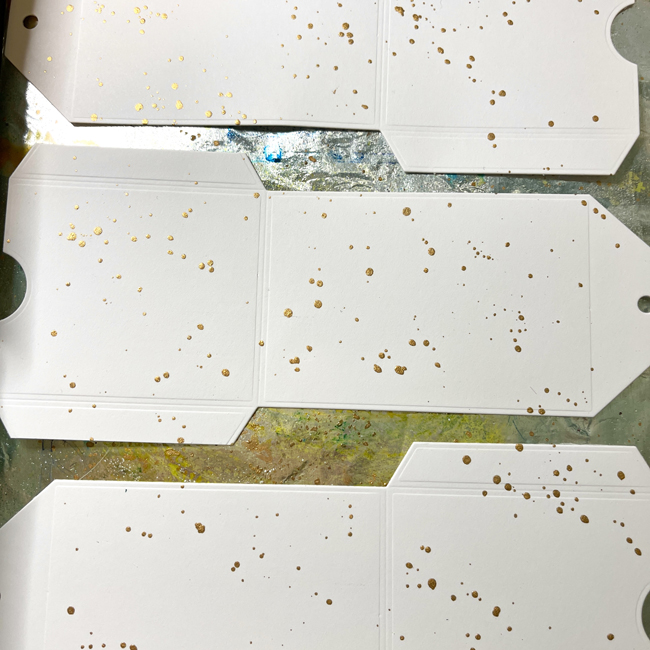
Once cut, splatter some gold watercolor paint all over the panels.
Step 6:
Fold and score your gift tags.Use the Imagine Tear It! Tape to assemble.
Step 7:
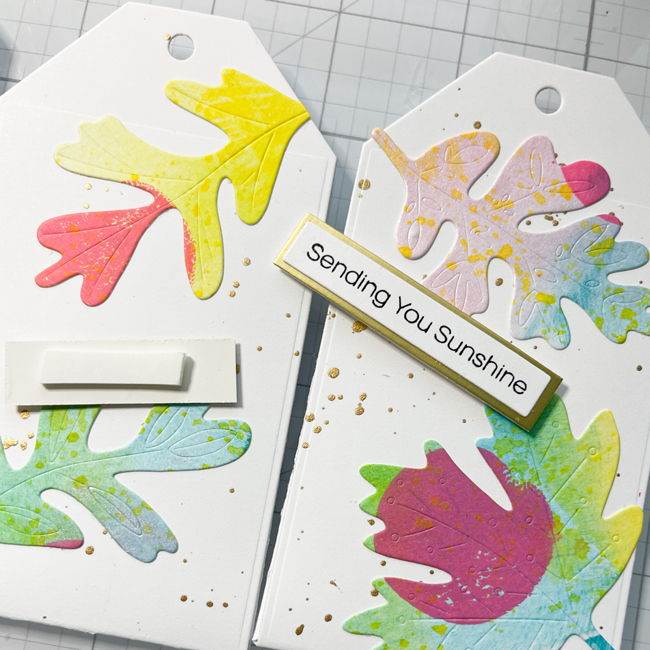
Lay out your pretty leaves and glue them down with Imagine On Point Glue.Trim off any excess.
Step 8
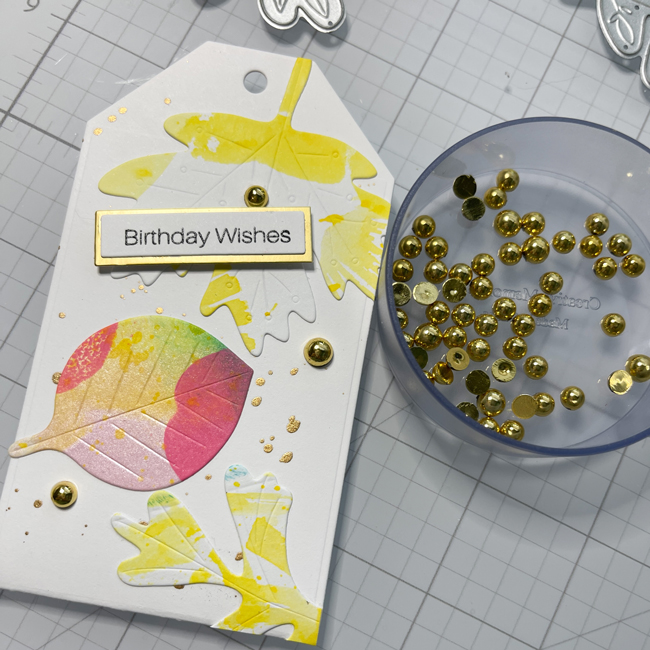
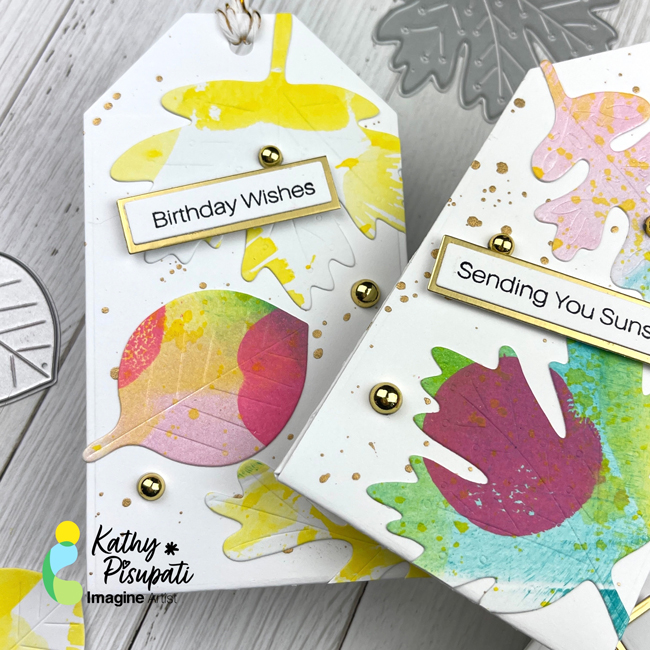
Stamp some sentiments, cut, and create a shadow strip from gold card stock.Adhere with On Point Glue.Put some foam tape on the back and adhere to your tags.Add some bling with the On Point Glue.
Step 9:
Loop some twine through the holes and the gift holders are done.I hope this has helped you seen those fall products in a new light.Thank you for stopping by the Imagine Blog!
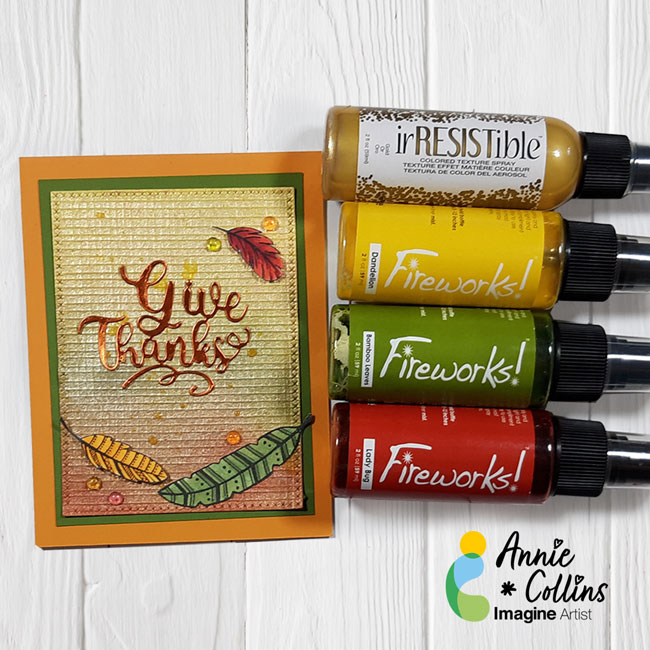
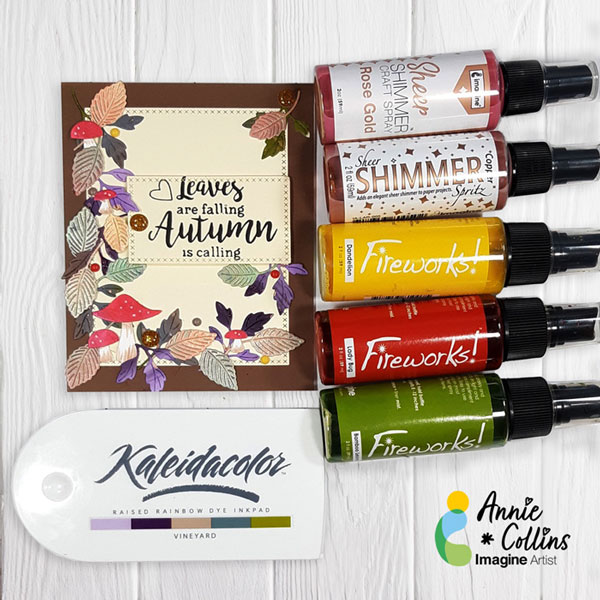
Hello crafty Friends – Annie here with a quick and easy Fall inspired card featuring a Fireworks! Shimmery Craft Sprays and irRESISTible Texture Spray.
Gather large leaves and stamp them with your favorite stamps and StazOn inks. Protect the leaves with the Creative Medium for a long lasting result. Decorate a holiday table, make an autumn wreath, add them to gift bags or to any seasonal project.
Skill: Beginner
Time: 1 Hour
Directions:
Step 1
Gather leaves that are not completely dry. If they are not flat enough, use paper towels, spray with water and carefully press to flatten.
Step 2
Cover the leaves on both sides with Creative MEDIUM using an Ink Blusher.
Step 3
Stamp with StazOn Jet Black ink and your favorite stamp.
Step 4
Add some color by distressing lightly with StazOn Black Cherry ink pad.
Step 5
Stamp the thank you sentiment and tear the paper on all sides to make tags.