By Martha Lucia Gomez –
Hello there! Today’s tutorial is to show you how easy is create texture with Memento Inks. This is a very simple process that you can create with a score lines and or embossing folders. On this card, I used Memento Ink Desert Sand, Peanut Brittle and Teal Zeal.
Skill: Medium
Time: 45 minutes
Directions:
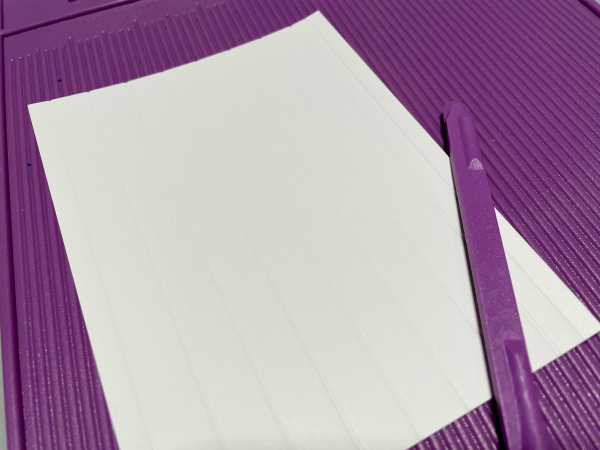
Step 1:
Create score lines over a piece of White Smooth Cardstock. This will be your top layer and you can decide the wide or directions of the lines accordingly with your design.

Step 2:
The lines of my sample card are 0.5” wide and I am using a regular size of cardstock for an A2 card, 5-1/2”x4-1/4”.
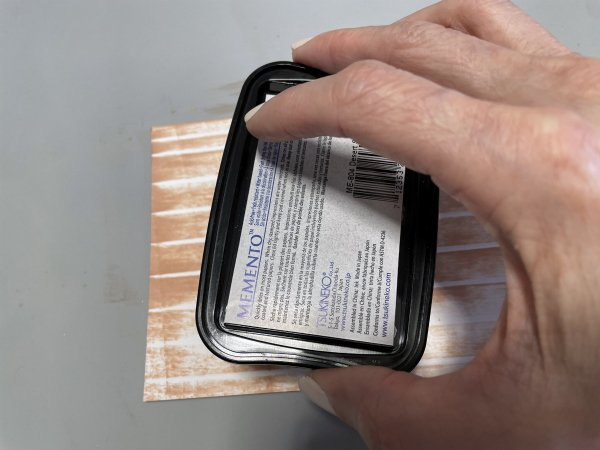

Step 3:
Pass the ink pad of Memento Ink Desert Sand directly over the scored panel following the vertical scored lines. Just keep in mind that you need to go border to border to obtain a uniform coverage.

Step 4:
Before to introduce the inked layer inside of an embossing folder the type of image that you want to obtain. You can use the embossed raise or the debossing. In my sample, I used the emboss raise side. Pass your embossing sandwich through your die cut machine.

Step 5:
Using a different color of ink to cover the raised pattern of your embossing folder. On this card, I am using Memento Peanut Brittle
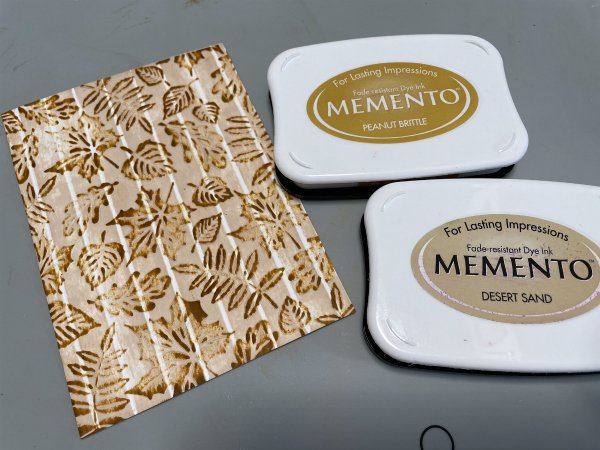
Step 6:
Let the ink dry naturally or speed the process with a heat tool. Now you can assemble the card and decorate it.

Step 7:
To make the message of the card, I used a clear stamp sentiment and an hexagon die cut. I stamped the sentiment with Memento Ink Teal Zeal.
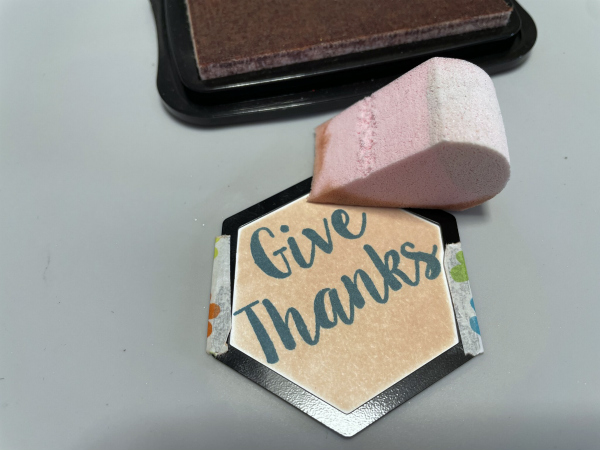
Step 8:
I used the same die cut as frame to add some color to the message. I just applied the Memento Ink Desert Sand with a sponge after securing the die cut over it with washi tape.

Step 9:
To coordinate the colors of your card, you can pass an additional coat of ink to the top layer in a coordinating color with your card. In my sample, I used the Memento Ink Teal Zeal.
Just assemble your card and decorate with some embellishments. To paste the layers I used Tear It! Tape
Art Supplies:
Imagine:
• Memento – Desert Sand, Peanut Brittle and Teal Zeal.
Other:
• Give Thanks Clear Stamp Set by Joy Clair Designs
• Scoring tool
• Falling Leaves Embossing Folder by Spellbinders
• Hexagon Nesting Dies by Diamond Press
• Die Cut Machine
• Positional Stamp Tool.