By Ceal Pritchett
Hello crafty friends!
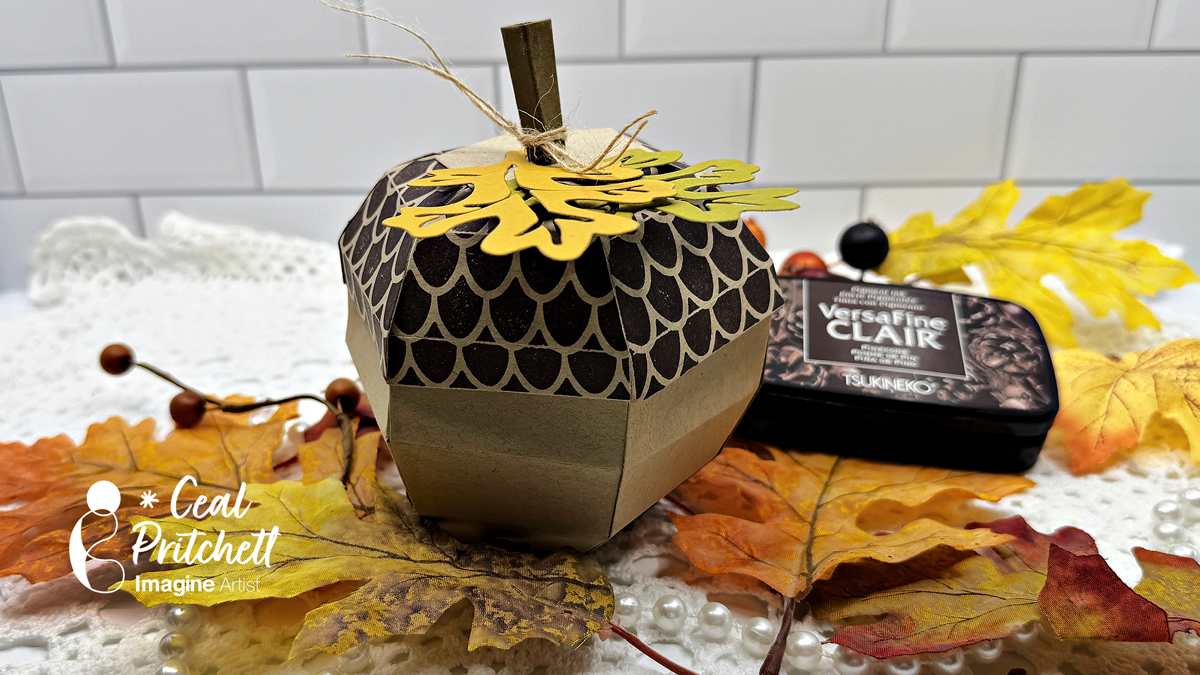
I’s Ceal, here. Today I am sharing a tutorial on how to make this acorn gift box.
Skill: Intermediate to Advanced
Time: 45 Minutes
Directions:
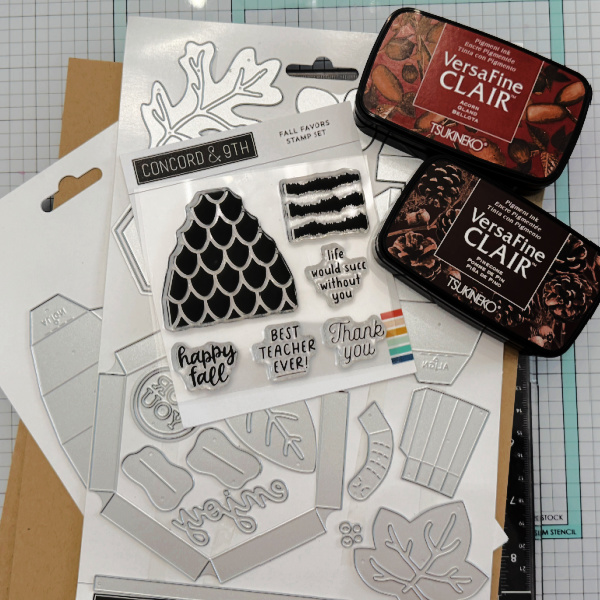
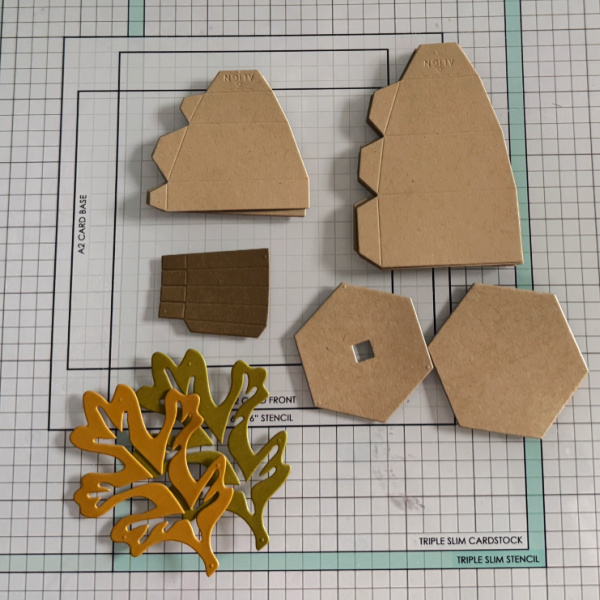
Gather your supplies. For this project you will need the Fall Favors Box die set and the coordinating stamp set. A dark brown ink (VersaFine Clair used here), Kraft and other colors of cardstock.
Step 1:
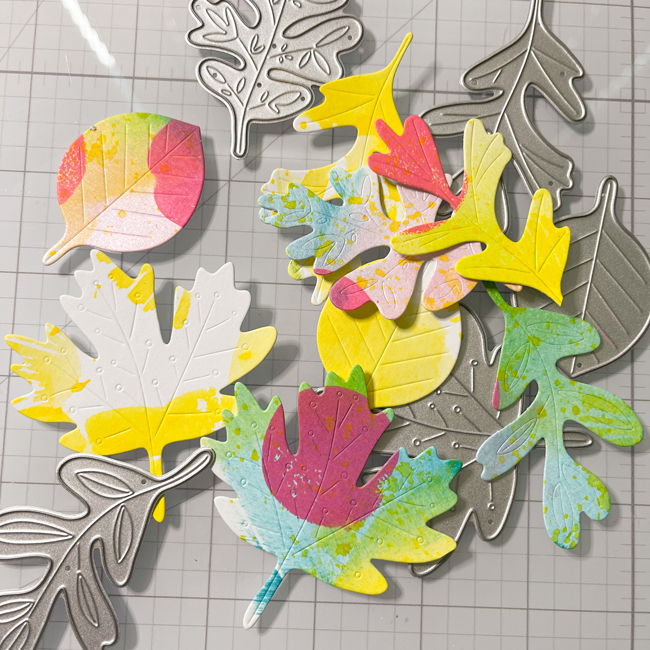
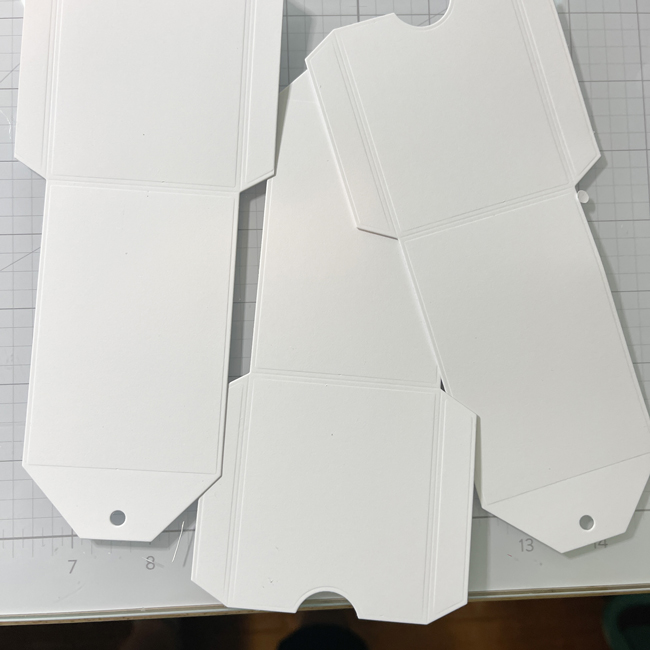
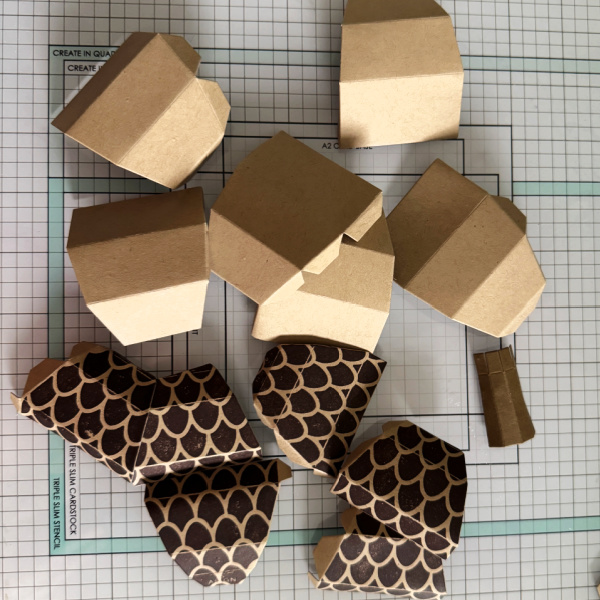
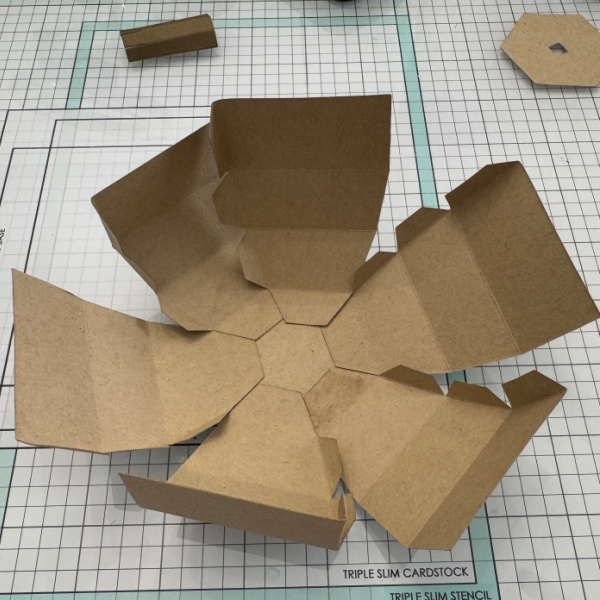
Out of kraft cardstock, cut six pieces each of the small (top) and large (bottom) of the acorn, along with the top and bottom hexagon pieces. Cut the stem out of a dark brown cardstock and the leaves out of your color of choice.
Step 2:
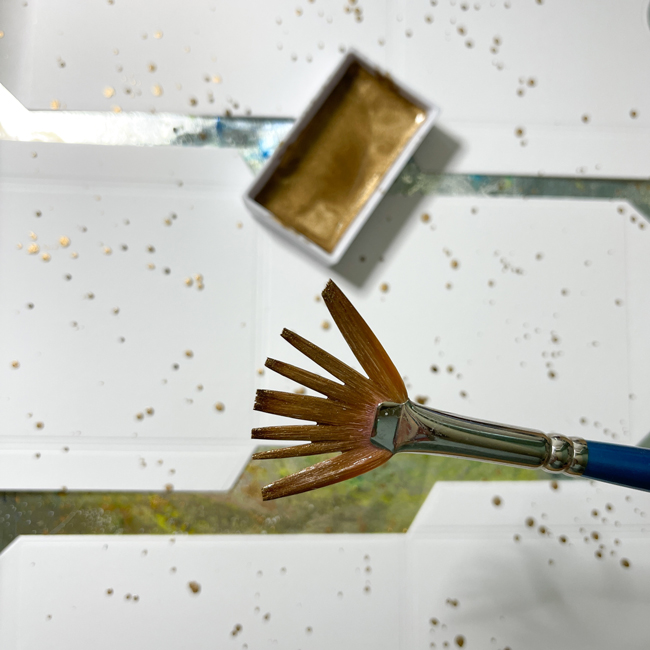
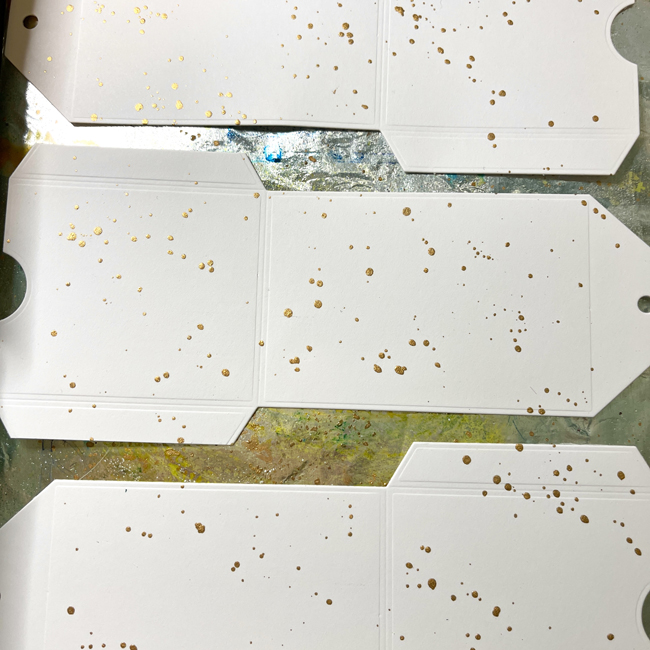
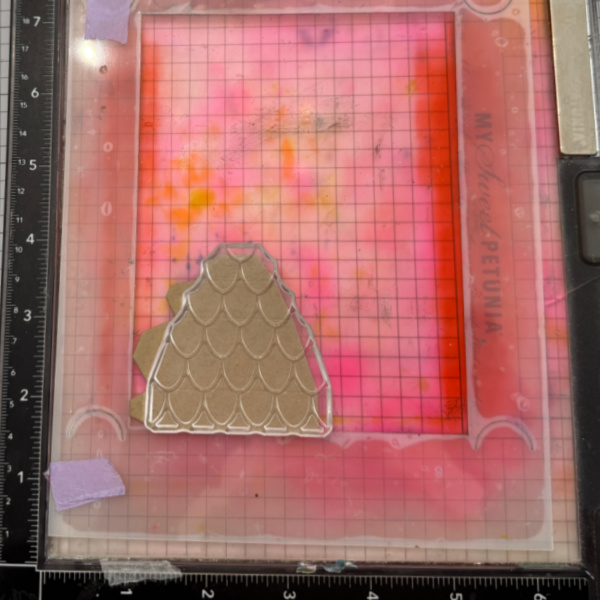
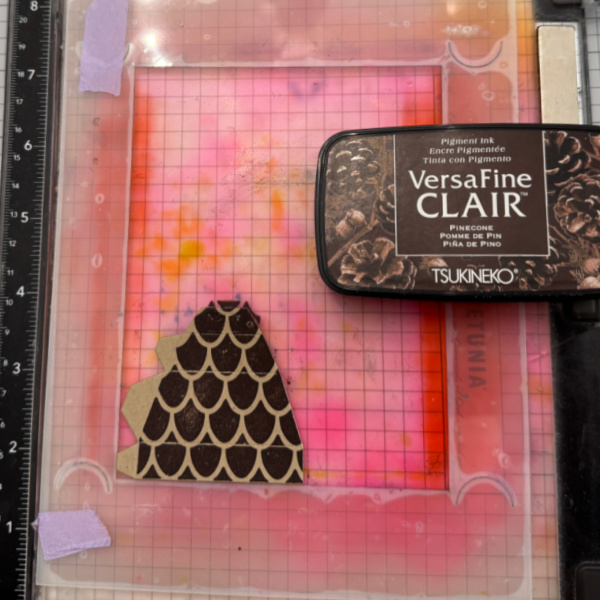
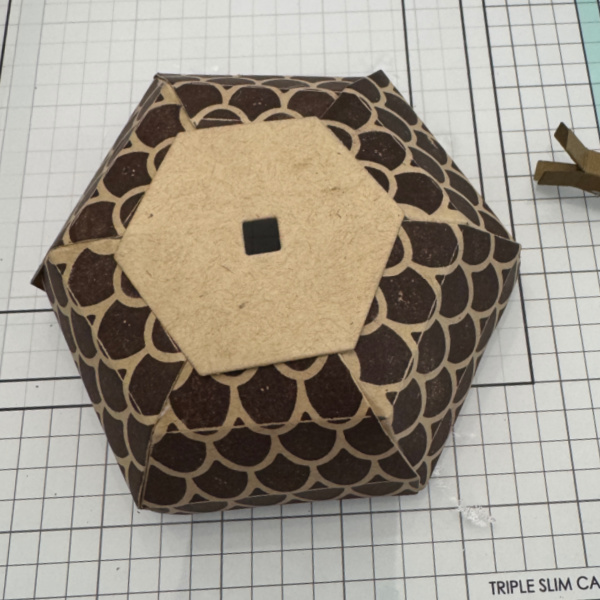
Line up the stamp that adds the detail to the acorn top and then stamp all six pieces with a dark brown ink, VersaFine Clair Pinecone used here.
Step 3:
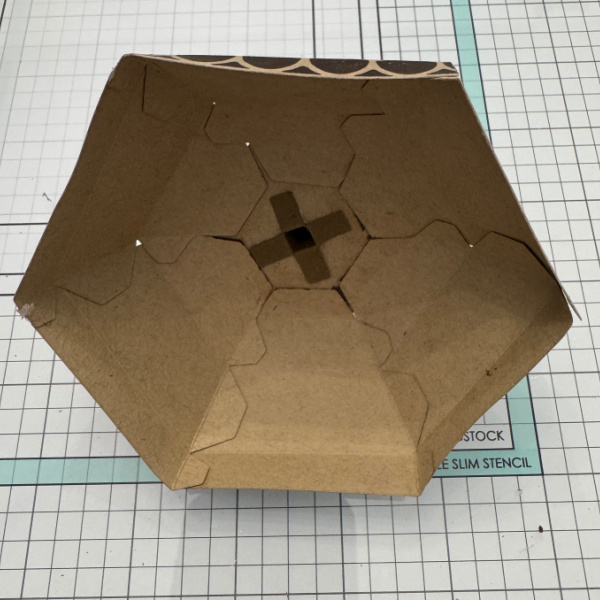
Crease all of the score line on all the die cut pieces. Do not use a bone folder, just simply crease them on the score lines.
Step 4:
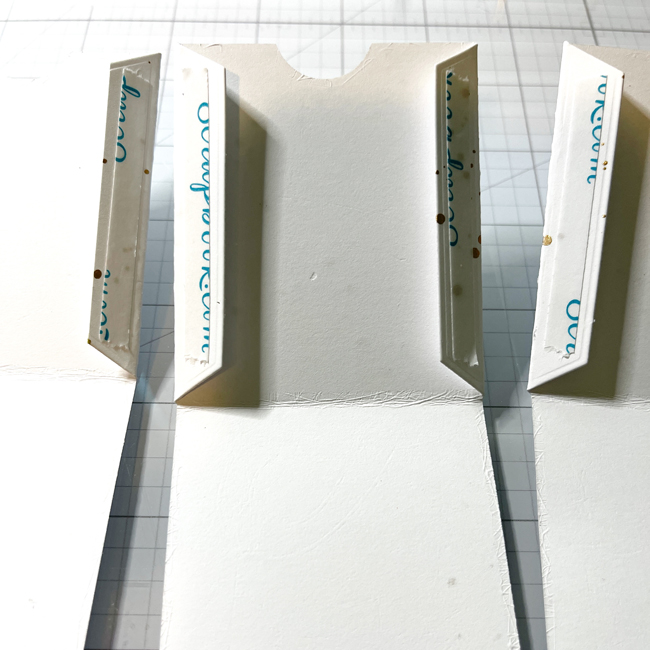
Align the large (bottom) pieces of the acorn on the hexagon as shown. Tip: I used liquid glue to allow me to move them as needed.
Step 5:
Align the small (top) pieces of the acorn on the hexagon with the square hole in it.
Step 6:
Fold the stem piece on the score lines and add h=glue to create the stem and then thread it through the square hole on the top. After threading it through the hole, fold back the tabs and glue down as shown.
Finish the project by adding the leaves and some twine.

Supplies:
Imagine Products
• VersaFine Clair: Nocturne
• VersaFine Clair: Pinecone
• On Point Glue
Other Products
• Fall Favors Box Dies – Concord & 9th
• Fall Favor Extras Dies – Concord & 9th
• Fall Favors Stamp Set – Concord & 9th