Make a Fun Valentine Card with Metallic Creative Medium

By Kathy Pisupati

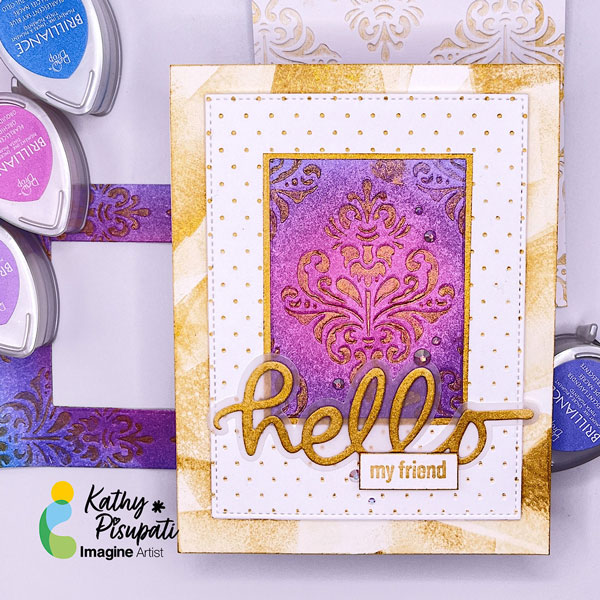
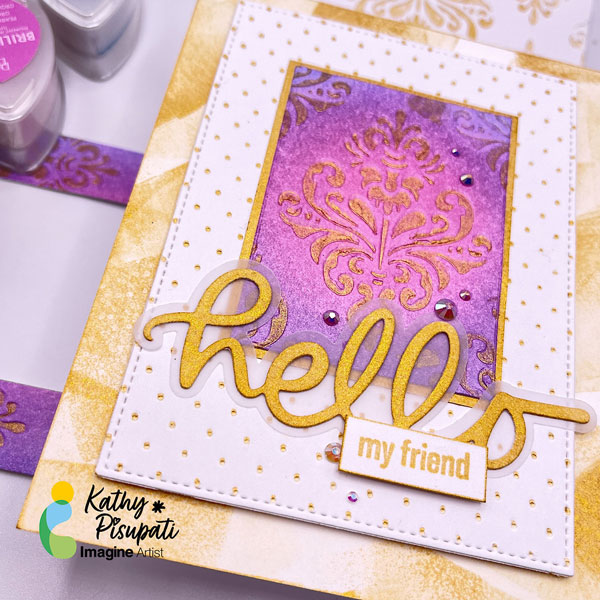
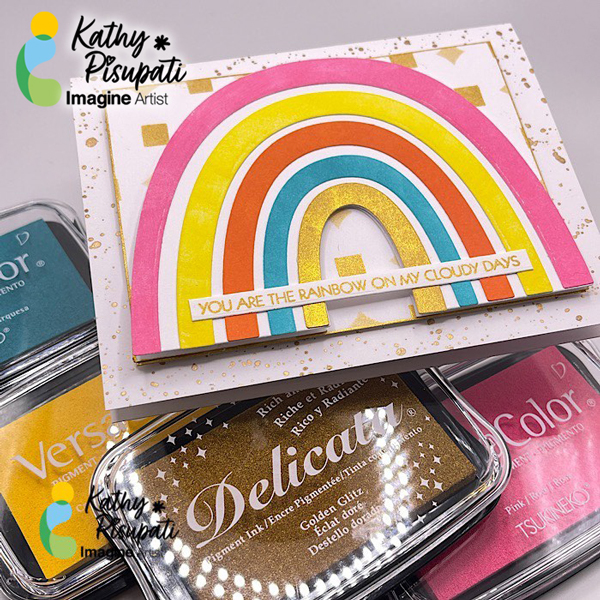
Good morning! I have a new tutorial for you using the beautiful Silver Metallic Creative Medium. It is the perfect medium to add dimension to your cards, scrapbooks, journals or any paper craft! Today I am creating a Valentine’s Day card for you so let’s get started!

Skill Level: Medium

Time to Complete: 1.5 hour

Directions:

Step 1

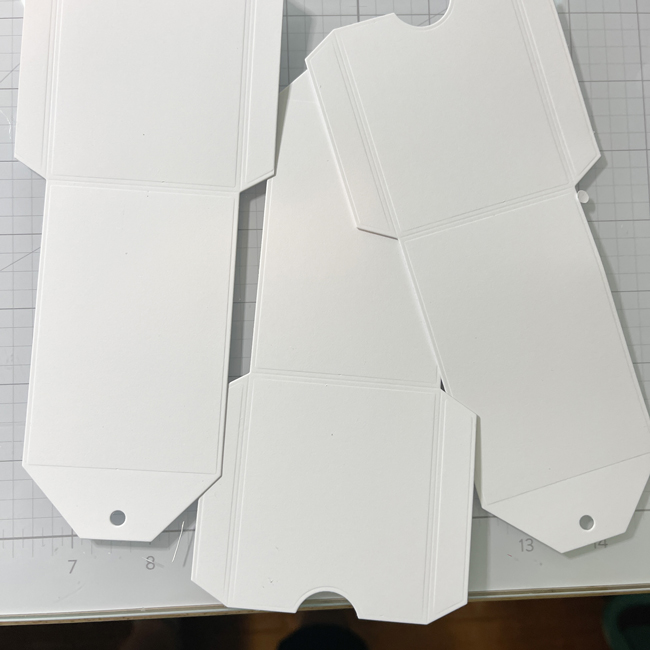
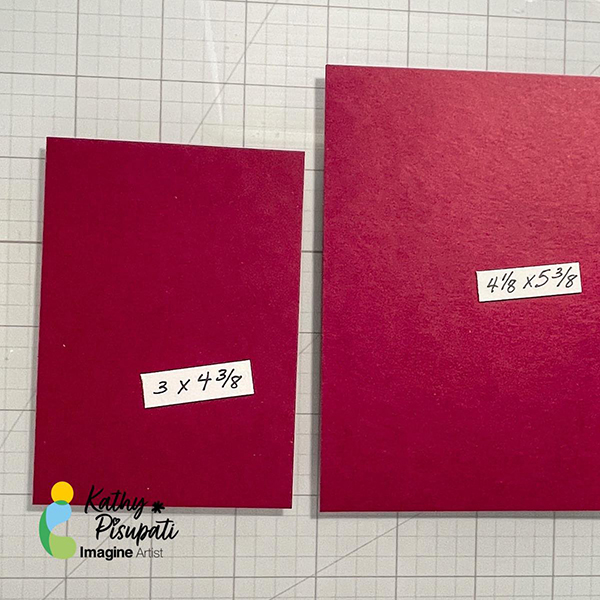
Cut, score and fold a piece of red card stock to create an A2 top-folding card base. Die-cut a piece of white card stock using the scalloped rectangle from the Gina K Design’s Master Layout 4 die set. Cut a piece of black card stock to roughly 4.25” x 5.5”

Step 2

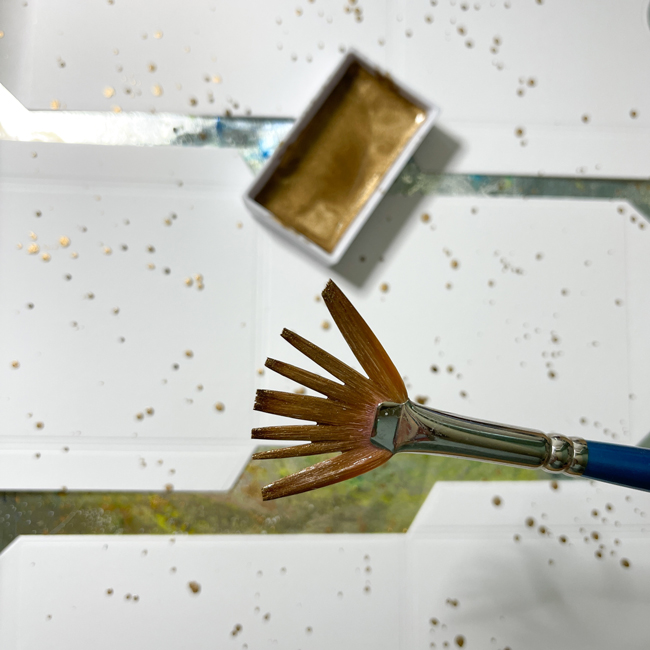
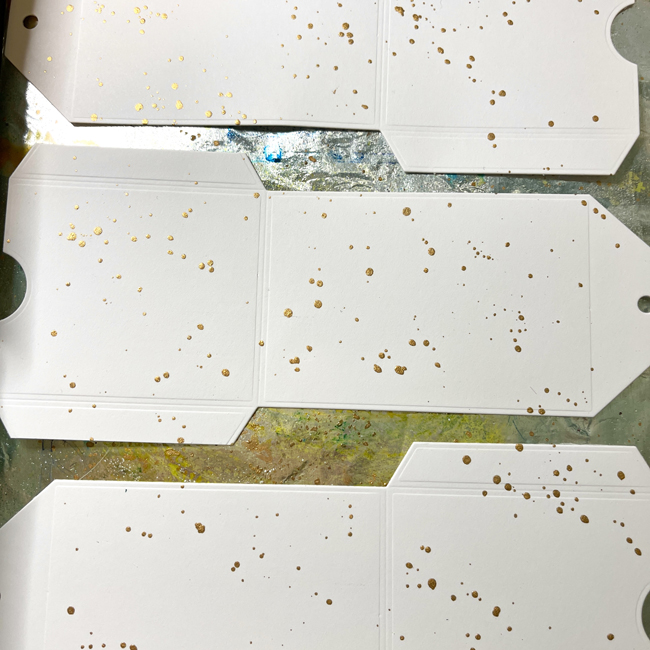
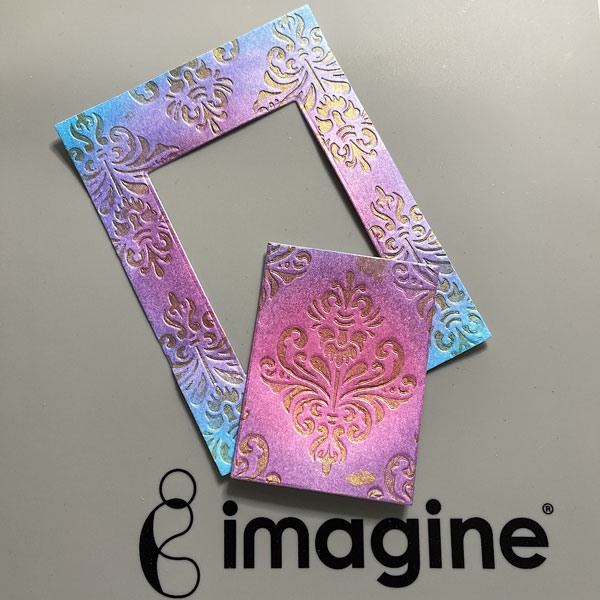
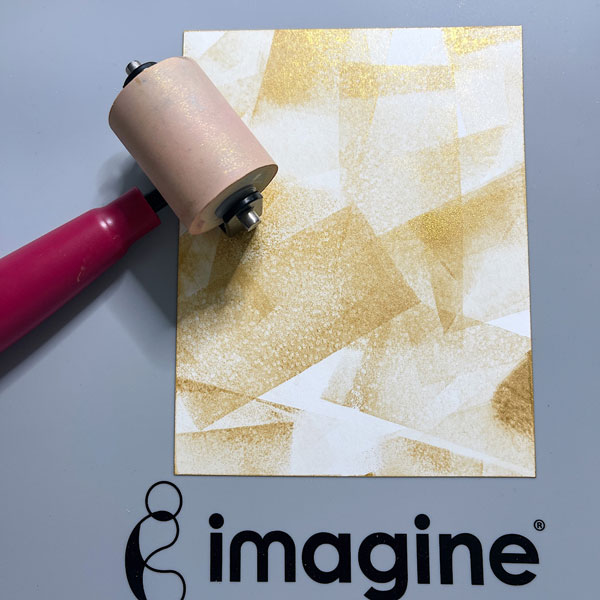
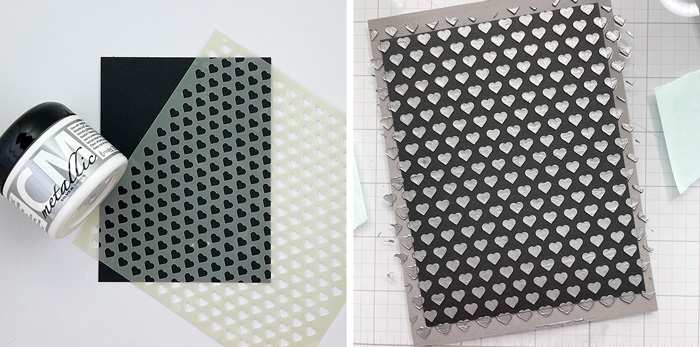
Tape your stencil to the black card panel. Using and Imagine Crafts Spatula and the Silver Metallic Creative Medium, swipe the medium over the entire panel. Remove and clean your stencil and allow panel to dry. Once dry cut the panel to 3 3/8” x 4.5”.

Step 3

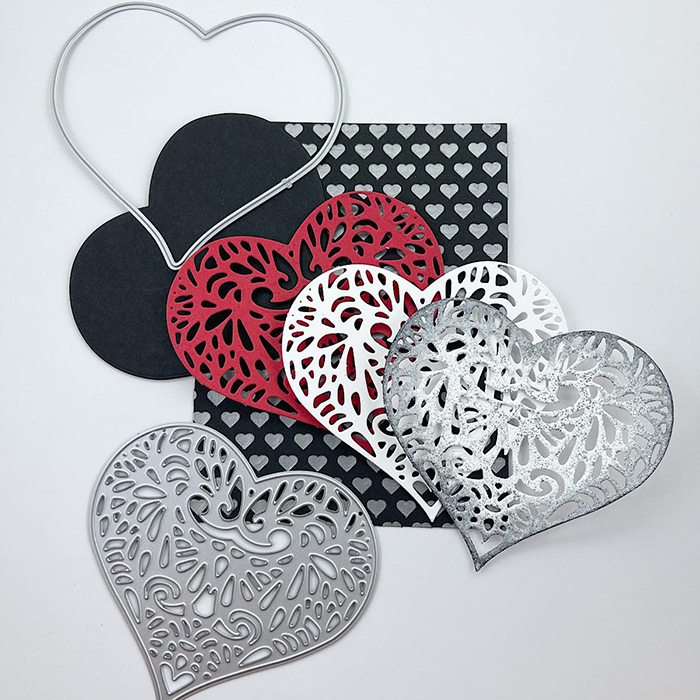
Using the Lacy Layered Heart Die from Kat Scrappiness cut 2 white hearts, 1 red and use the solid heart die to cut a heart from black card stock. Now we will emboss one of the white hearts. Cover the heart with VersaMark watermark ink and then sprinkle with your choice of embossing powder. I used WOW Antique Silver Powder. After heat embossing I glued the two white panels together with On Point. The using Imagine Craft Mixed Media Brush I blended some Versafine Clair Nocturne Ink around the edges. Then offset the red heart and glue it on. This was then glued to the center of the black, solid heart.

Step 4

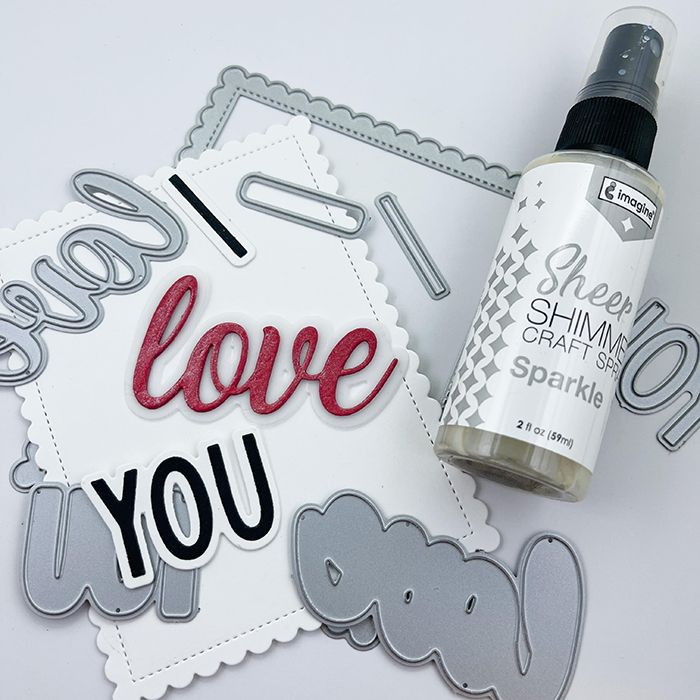
From the same red card stock cut three of the word LOVE from the Kat Scrappiness I Love You Sentiment w/Shadow. I cut the shadow from vellum. I spritzed the word LOVE with Sheer Shimmer Craft Spray in Silver. Cut the I and the YOU from black card stock and the shadows from white. Glue these together.

Step 5

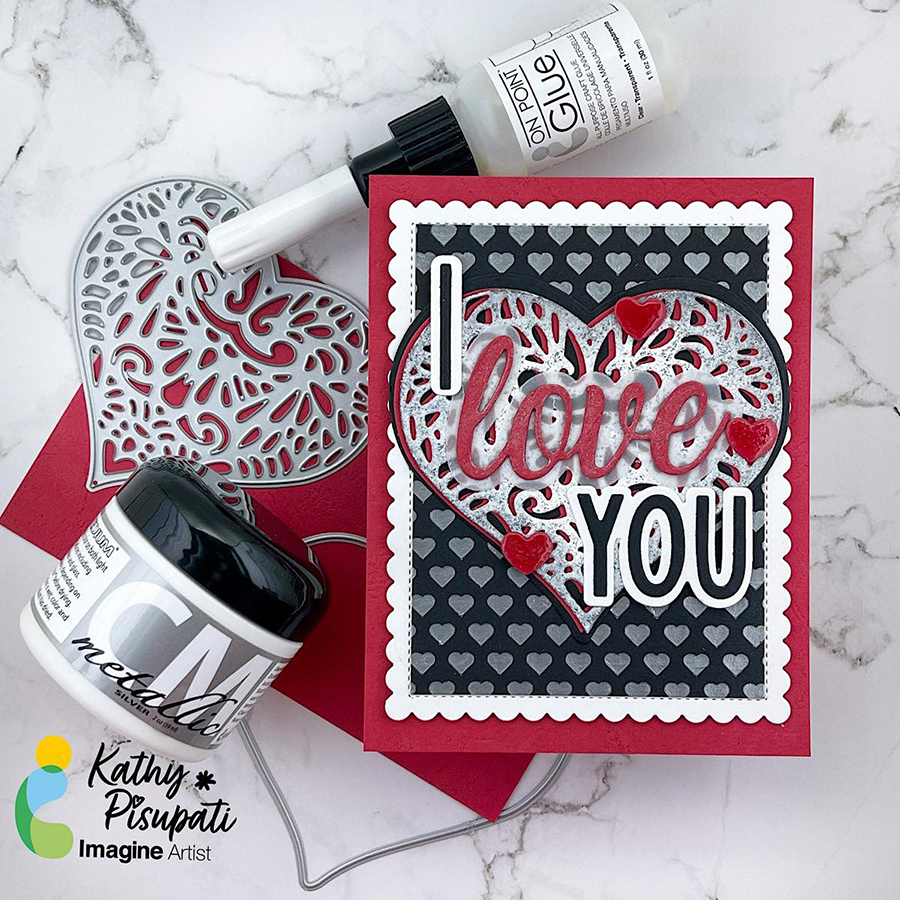
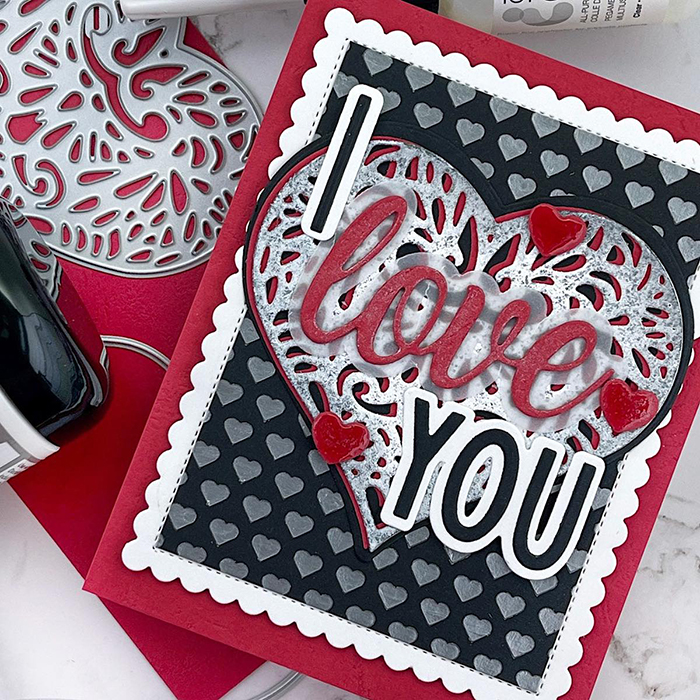
I also cut a few hearts using the die from Concord & 9th’s Sweet Summer die set and the red card stock. I covered them with Glossy Accents and used them as embellishments. For assembly I glued the main heart towards the top of the stenciled panel. the words were glued directly to the heart. For any of the sentiment that hung over the edge, I added a small piece of foam tape. Foam tape was added to the entire panel and then adhered to the red card base.

Thank you so much for stopping by and checking out this tutorial. I hope you have an amazing crafty day and a wonderful Valentine’s Day!

Supplies Used:

Imagine Crafts

Silver Metallic Creative Medium

VersaFine Clair Nocturne

VersaMark Watermark Ink

Sheer Shimmer Craft Spray

On Point Glue

Palette Knives

Mixed Media Brushes

Imagine Craft Silicone Mat

Others:

Kat Scrappiness I Love You Words with Shadow Dies

Kat Scrappiness Lacy Layered Heart

Simon Hurley Small Hearts Stencil

Gina K Design Master Lay Out 4 Dies

Concord & 9th Sweet Summer dies

Taylor end Expressions Oreo Card Stock

Red Card Stock

Neenah Classic Crest Solar White 110lb Card Stock

Glossy Accents

Platinum 6 Die-Cutting Machine

Paper Trimmer

Foam Tape

Embossing Heat Tool

Let’s Make Some Autumn Inspired Gift Card Tags

Kathy_October-Tutorial-last

By Kathy Pisupati –

Hi my crafty friends!  Today I have a new tutorial for you that may help you to use your fall dies in a new way.  I will be using the VersaColor Inks to make a mess, yes…a mess that turns out to be BEAUTIFUL!  We will be creating gift card tags for any occasion using fall leaf dies.

Skill Level: Intermediate
Time to Complete: 1 hour

Directions:

Kathy_October-Tutorial-01
Step 1:

Make a mess.  Yes, take a piece of 80lb card stock and swipe those VersaColor inks.  Smoosh ‘em, splatter ‘em, do whatever you want with them.  Use those reinkers that you have sitting on your shelf.


Kathy_October-Tutorial-04Kathy_October-Tutorial-02

Step 2:

Let these panels dry.  Because the VersaColor inks are a pigment ink they take a while to dry, let them dry!  Go have a cup of coffee and take a peek at more inspiration on the Imagine Blog.


Kathy_October-Tutorial-05
Step 3:

Use your leaf dies to cut several leaves from your messy panel. Trust me!  Are they pretty?


Kathy_October-Tutorial-06

Kathy_October-Tutorial-07
Step 4:

Use a gift card tag die to cut some tags. 
You should be able to get three holders from one sheet of 8.5” x 11”. 


Kathy_October-Tutorial-08

Kathy_October-Tutorial-09

Step 5:

Once cut, splatter some gold watercolor paint all over the panels.  


Kathy_October-Tutorial-10

Kathy_October-Tutorial-6b

Step 6:

Fold and score your gift tags.  Use the Imagine Tear It! Tape to assemble.


Kathy_October-Tutorial-6c
Step 7:

Lay out your pretty leaves and glue them down with Imagine On Point Glue.  Trim off any excess.  


Kathy_October-Tutorial-14

Step 8

Stamp some sentiments, cut, and create a shadow strip from gold card stock.  Adhere with On Point Glue.  Put some foam tape on the back and adhere to your tags.  Add some bling with the On Point Glue.


Kathy_October-Tutorial-9
Step 9:

Loop some twine through the holes and the gift holders are done.  I hope this has helped you seen those fall products in a new light.  Thank you for stopping by the Imagine Blog!

Supplies Used:

Imagine Crafts

• VersaColor: Turquoise, Canary and Pink Shimmer

• Imagine Craft Mat

• Sponge Daubers

• On Point Glue

Tear-It! Tape

Other

• Brutus Monroe – Stand Alone Leaf Dies

• Gina K Designs Gift Card Tag

• Kat Scrappiness Simple Sentiments Stamp & Die Bundle

• Kat Scrappiness Gold Pearls

• Foam Tape

• Metallic Gold Card Stock

• Paper Trimmer

• Die-Cutting Machine

• Twine

Let’s Make a Cheery Happy Hour Card

kathy_Pisupati_Sept_600x600_2-

By Kathy Pisupati –

Hi there!  Kathy here. Today I have a new tutorial for you that uses Delicata Golden Glitz and Ruby Red.  The shimmering quality of Delicata inks is perfect for this happy hour, wine card.  It may be hard to see all the shimmer but trust me it’s there!

Skill Level: Intermediate
Time to Complete: 1 hour

Directions:

 
Step 1
Step 1

You will need a top-folding card base measuring 4 1/4 x 5 1/2“. The rest of the panels we will create as we go. I have listed the size of each panel on the pictures for you.  After cutting this panel I used the Essentials by Ellen Rectangles for Stitching dies.  I don’t stitch but these dies cut beautiful little holes as a frame that will show the color below in the end.  Using Delicata Golden Glitz ink and clear embossing powder I stamped this image from Picket Fence Studio’s Just Wanna Have Wine stamp set.  I then heat embossed the sentiment.

Step 2A

Step 2a

Next, I stamped and embossed the wine bottle from the same Picket Fence Studio set.  Using the coordinating die I did this 3 times.

Step 2B

Step 2b

For the background I used the Picket Fence Studio Montage 6 x 6 stencil with the Delicata Ruby Red Ink.

Step 3

Step 3

From a coordinating-colored card stock cut two panels to the sizes in the picture below.  Adhere the sentiment panel on top of the small background and the stenciled panel to the larger panel with On Point Glue.

Step 4

Step 4

The stenciled panel was adhered directly to an A2 top-folding card base with the Tear It Tape.  The sentiment panel was added with foam tape and the wine bottles were popped up with foam tape as well.

Step 5
Step 5

Finally, I added a few Kat Scrappiness Gold Pearls for a bit of bling.

I hope you enjoy this card and the tutorial. Thanks for stopping by.  I appreciate all of you! 

Step-6

Supplies Used:

Imagine Crafts

Delicata Golden Glitz

Delicata Ruby Red

Imagine Craft Mat

Sponge Daubers

On Point Glue

Tear-It! Tape

Other

• Picket Fence Studio Montage 6 x 6 Stencil

• Picket Fence Studio Just Wanna Have Wine Stamps and Dies

• Kat Scrappiness Gold Pearls

• Clear embossing powder

• Embossing tool

• Spellbinders Platinum 6 Die-Cutting machine

• Colored card stock

• Neenah Classic Crest Solar White 110lb

• Paper Trimmer

• Teflon bone folder

• Foam Tape

Let’s Make a Dazzling Friendship Card

Kathy_Aug_Main-600

By Kathy Pisupati –

Good morning!  Kathy here, creating art for Imagine Crafts!  Today I have a new tutorial for you.   I must admit I am in LOVE with the Delicata Golden Glitz pigment ink. There are several reasons:

• The color is AMAZING!

• When I don’t feel like using gold embossing powder this works fabulous (and is less messy!).

• It works fabulous with sentiments.

• It is easy to clean up.

So today I have a project for you that uses the Delicata Golden Glitz and some beautiful Tsukineko Brilliance Dew Drops. The card didn’t start out as I planned but I am happy with the finished result. Please let me know what you think in the comments! Let’s make a card. 

Skill Level: Intermediate
Time to Complete: Two hours

Directions:

image_Step1
Step 1:

You will need a top-folding card base measuring 4 1/4 x 5 1/2“. The rest of the panels we will create as we go. So, the first thing I wanted to play with was the Brilliance Dew Drops. I ink blended them all over a piece of Neenah Classic Crest Solar White 110lb card stock. I then found an embossing folder. I chose an older folder from Spellbinders. I am not sure if it is still available, but it was called the Large Medallion. I dug out my brayer, inked it up with some Delicata Golden Glitz, and rolled it over the RAISED area of the embossing folder. I put in my ink blended panel and ran it through my die-cutting machine. Here is where the plan changed. I pulled out my Gina K Designs Master Layout 2 to get the “perfect” rectangle. I taped the die to the panel. Now here is a tip when you have a panel that is loaded up with ink like mine, BEFORE you pull off the tape, heat it with your heat tool on LOW. Yeah….I didn’t do that and ripped a chunk out of the frame I was going to use. Oh well, moving right along……I used a rectangle die from GKD Master Layout 7 to cut the middle out. I WILL save this card! 


image_Step2

Step 2:

I had a lot of gold ink on my brayer, so I inked up a Swiss Dot embossing folder and ran another piece of white card stock through my machine.


image_Step_3

Step 3:

I then rolled the excess ink on a piece of white card stock measuring 4.25” x 5.5”. Isn’t it pretty? I HAD to incorporate it!


image_Step-4

Step 4:

Cut a piece of white card stock an 1/8” larger than the focal point and with your Sponge Dauber, ink the edges of the rectangle with the Golden Glitz.


Image_Step-5

Step 5:

Die-cut your sentiment and using the Golden Glitz ink, use Imagine Crafts sponge daubers to apply your ink to the sentiment. Cut a shadow from the vellum. Glue these together.  Using the Delicata Golden Glitz stamp the smaller, MY FRIEND, sentiment. Cut this sentiment to size. I also inked the edges of this sentiment.


Image_Step-6

Step 6:

Now we can assemble the card. The focal point is glued to the gold border and then adhered to the Swiss dot panel with Imagine On Point Glue. The sentiment is also adhered to the panel with glue. The MY FRIEND strip sentiment was popped up with foam tape. Then I added foam tape to the Swiss dot panel and attached it to the background panel.

Finally, I used Imagine Tear It! Tape and attached it to the card base. I added a few gems, and the card is done!


Supplies Used:

Imagine Crafts

Delicata Golden Glitz

Brilliance Dew Drops: Pearlescent Lavender, Pearlescent Sky Blue, Orchid and Pearlescent Purple

Imagine Craft Mat

Sponge Daubers

On Point Glue

Tear-It! Tape


Other

Gina K Designs Master Layout 2

Gina K Designs Master Layout 7

SCT Let’s Stamp Together Kit July 2022-Sentiment

Cuttlebug Swiss Dot Embossing Folder

Crafty Meraki Gems

Brayer

Neenah Classic Crest Solar White 110lb

Paper Trimmer

Die-Cutting Machine

Foam Tape

How to Make a Fun Rainbow Card with VersaColor

Kathy_July_2022_Step_1-600

By Kathy Pisupati –

Hi there, Kathy here with Imagine Crafts with a new tutorial.  My space is limited so by using VersaColor pigment inks, I can reduce the amount of colored card stock I need on hand.

VersaColor pigment inks are bright and bold and coupled with the Delicata Golden Glitz it’s a winning combination.

Skill Level: Intermediate
Time to Complete: 1 hour with drying time

Directions:

Kathy_July_22_Step-1
Step 1:

You will need a card base measuring 4 1/4 x 5 1/2“. You will also need a panel that measures 4“ x 3 1/2“. I have also used the Rainbow Builder and Rainbow Accent dies from Honey Bee Stamps. You will die-cut  the rainbow card and the rainbow stripes from the accent set. 

Kathy_July_22_Step-2
Step 2

Using VersaColor & Delicata pigment inks, use Imagine Crafts sponge daubers to apply your ink to the rainbow stripes. I used the Delicata Golden Glitz for the smallest stripes. Allow these pieces to dry. 

Kathy_July_22_Step-3
Step 3

On the smaller card panel I used a stencil from Simon Says Stamp called Interlocking Circles Good Luck Charm. It is a Layered Stencil but I only used two of the layers. I used a heavy amount of Delicata Golden Glitz on the squares and a light amount on the diamonds. I also used the Daubers to ink around the edges of this panel.  On the front of the card panel, I splattered some gold watercolor paint.  I stamped a sentiment from Pink & Main, Spring Sentiments Stamp Set onto white card stock using the Delicata Golden Glitz Ink. I used my paper trimmer to cut the sentiment to size.

Kathy_July_22_Step-4
Step 4

Next use Imagine Craft On Point glue to adhere your stripes to the rainbow card die-cut.  I used Imagine Crafts Tear-It tape to adhere the rainbow card to the stencil panel. I also used Imagine Crafts On Point glue to adhere the sentiment to the front of the rainbow. Foam tape was used on the back of the stencil panel to adhere it to the card base.

Kathy_July_2022_IG_600

Supplies Used:

Imagine Crafts

Delicata Golden Glitz

VersaColor: Pink, Turquoise and Canary

Sponge Daubers

On Point Glue

Tear-It! Tape


Other

Honey Bee Rainbow Builder

Honey Bee Rainbow Accents

Pink & Main Spring Sentiment Stamps

Neenah Classic Crest Solar White 110lb

Paper Trimmer

Die-Cutting Machine

Foam Tape

Gold Watercolor paint

Paint brush