Hi my crafty friends! Today I have a new tutorial for you that may help you to use your fall dies in a new way. I will be using the VersaColor Inks to make a mess, yes…a mess that turns out to be BEAUTIFUL! We will be creating gift card tags for any occasion using fall leaf dies.
Skill Level: Intermediate
Time to Complete: 1 hour
Directions:
Step 1:
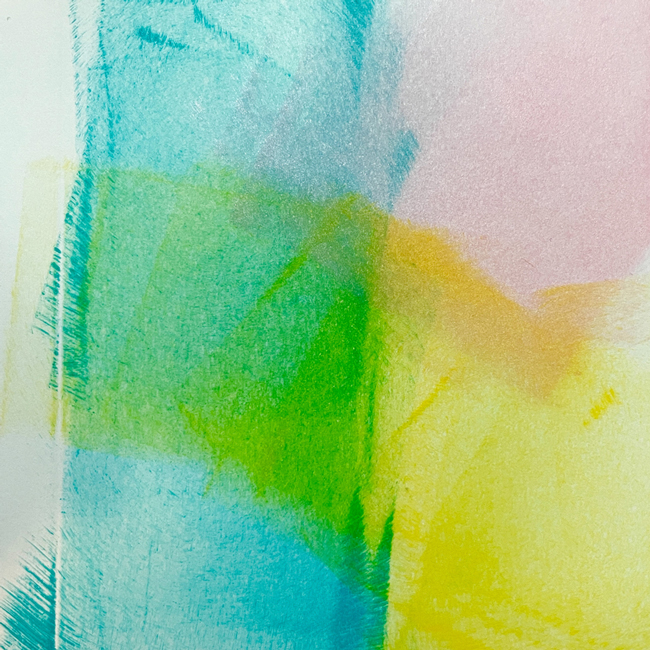
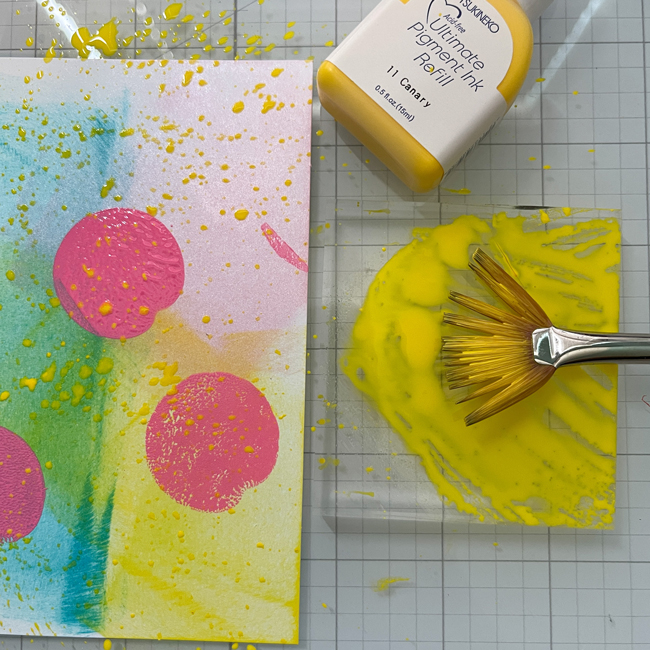
Make a mess. Yes, take a piece of 80lb card stock and swipe those VersaColor inks. Smoosh ‘em, splatter ‘em, do whatever you want with them. Use those reinkers that you have sitting on your shelf.
Step 2:
Let these panels dry. Because the VersaColor inks are a pigment ink they take a while to dry, let them dry! Go have a cup of coffee and take a peek at more inspiration on the Imagine Blog.
Step 3:
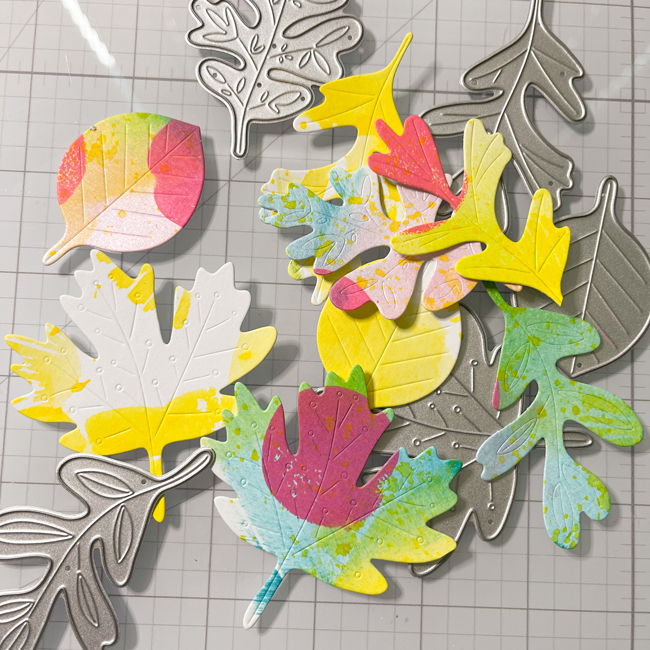
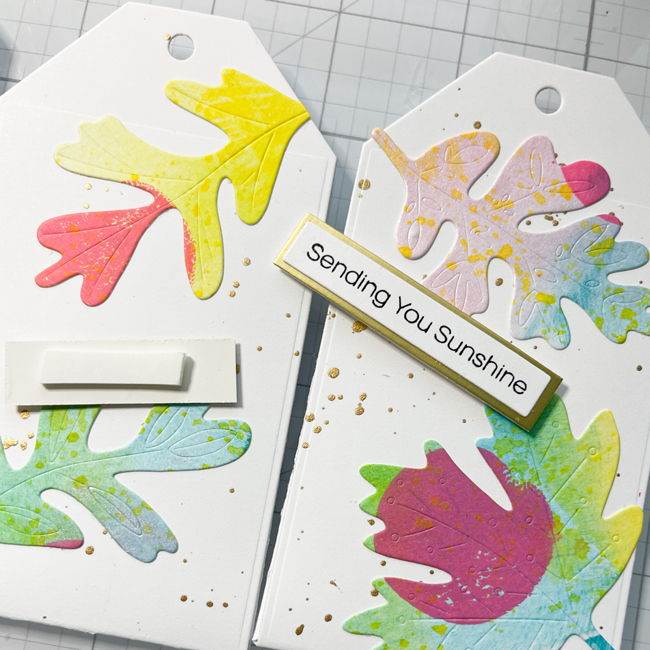
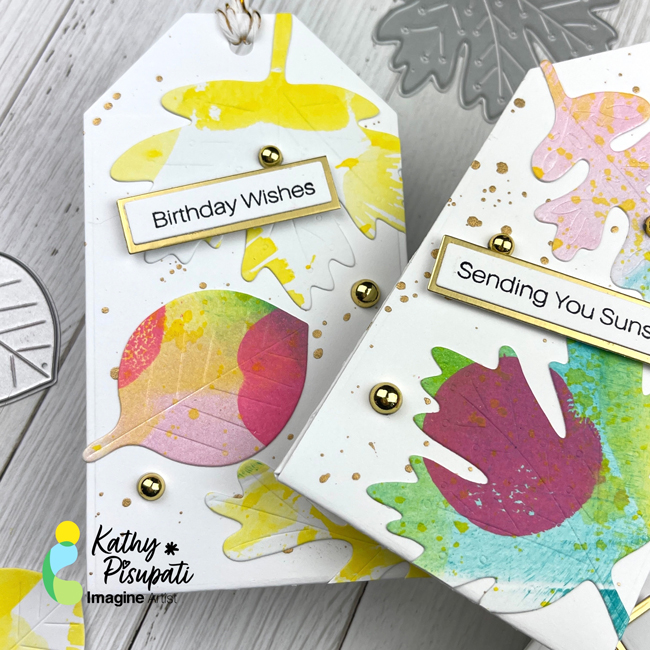
Use your leaf dies to cut several leaves from your messy panel. Trust me! Are they pretty?

Step 4:
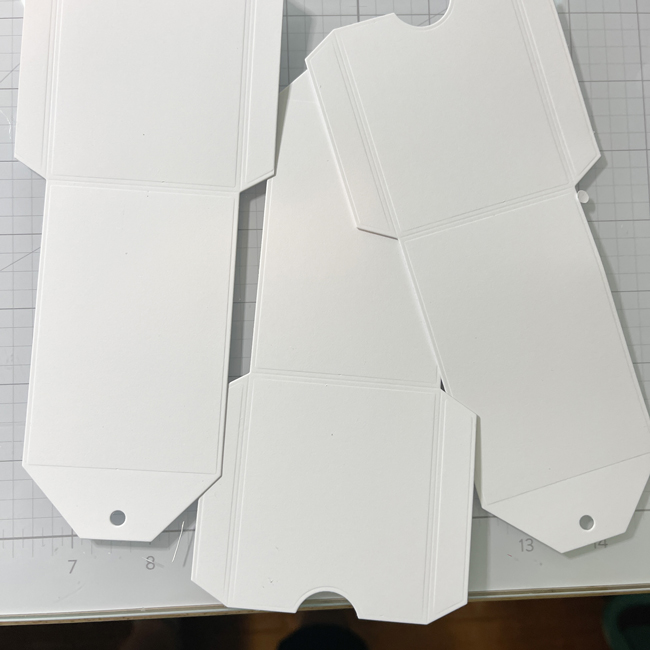
Use a gift card tag die to cut some tags.
You should be able to get three holders from one sheet of 8.5” x 11”.
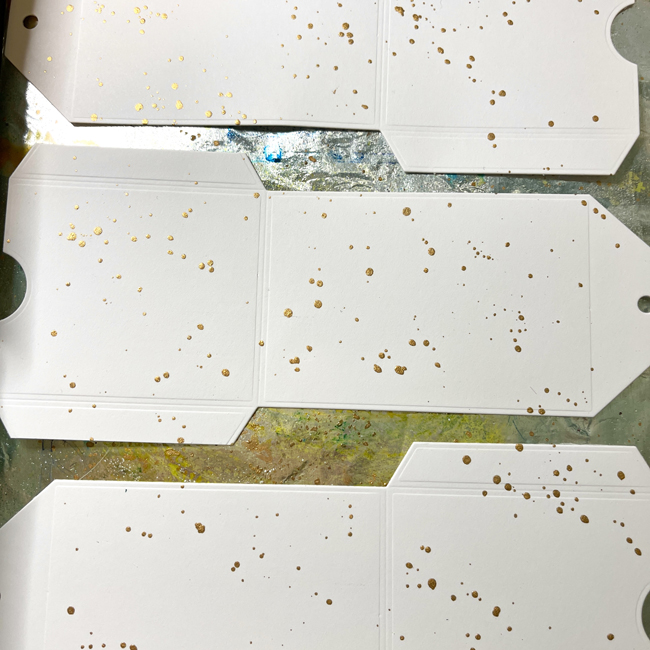
Step 5:
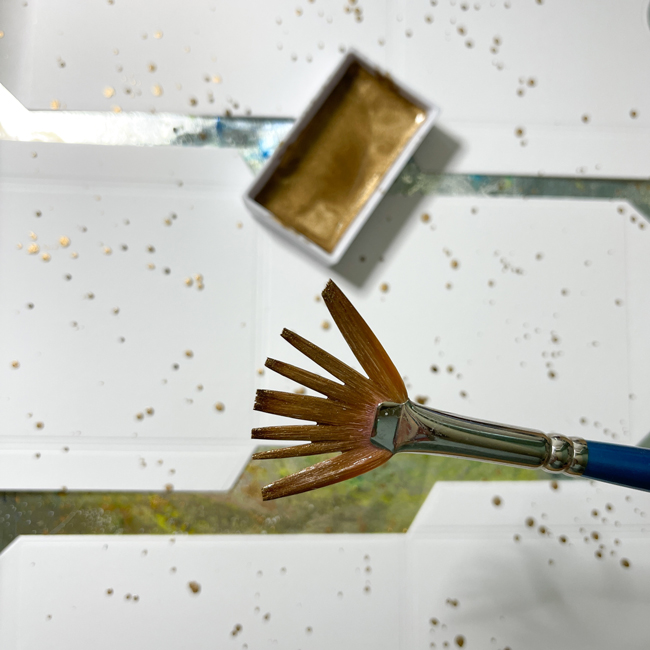
Once cut, splatter some gold watercolor paint all over the panels.
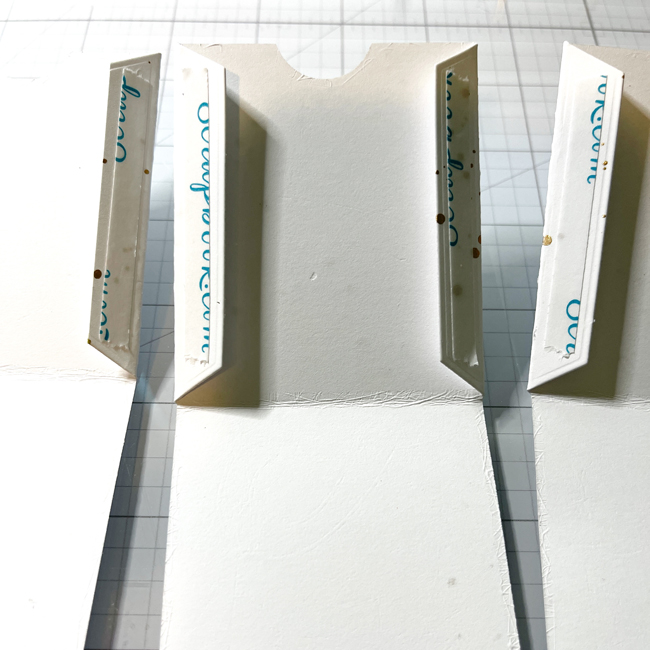

Step 6:
Fold and score your gift tags. Use the Imagine Tear It! Tape to assemble.
Step 7:
Lay out your pretty leaves and glue them down with Imagine On Point Glue. Trim off any excess.
Step 8
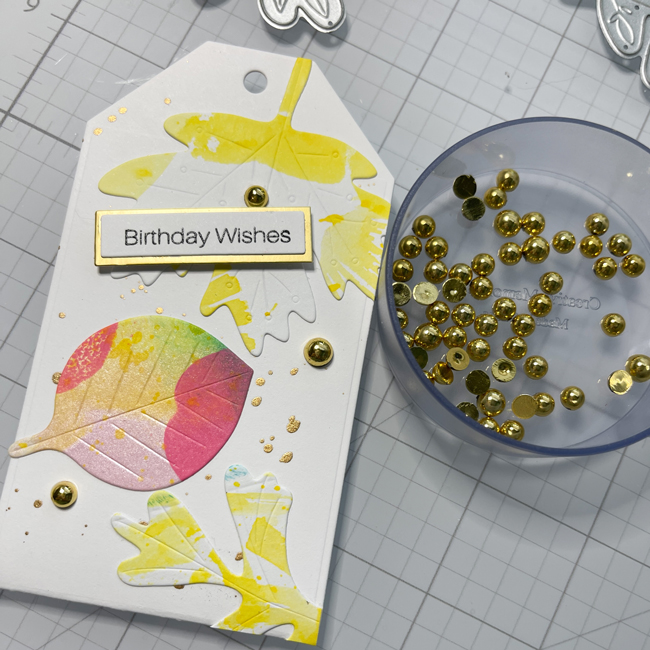
Stamp some sentiments, cut, and create a shadow strip from gold card stock. Adhere with On Point Glue. Put some foam tape on the back and adhere to your tags. Add some bling with the On Point Glue.
Step 9:
Loop some twine through the holes and the gift holders are done. I hope this has helped you seen those fall products in a new light. Thank you for stopping by the Imagine Blog!
Supplies Used:
Imagine Crafts
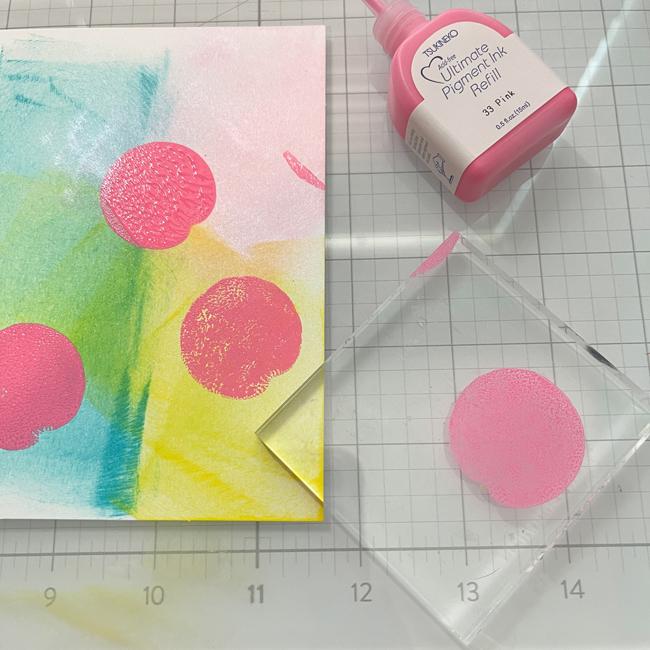
• VersaColor: Turquoise, Canary and Pink Shimmer
• Imagine Craft Mat
• Sponge Daubers
• On Point Glue
• Tear-It! Tape
Other
• Brutus Monroe – Stand Alone Leaf Dies
• Gina K Designs Gift Card Tag
• Kat Scrappiness Simple Sentiments Stamp & Die Bundle
• Kat Scrappiness Gold Pearls
• Foam Tape
• Metallic Gold Card Stock
• Paper Trimmer
• Die-Cutting Machine
• Twine