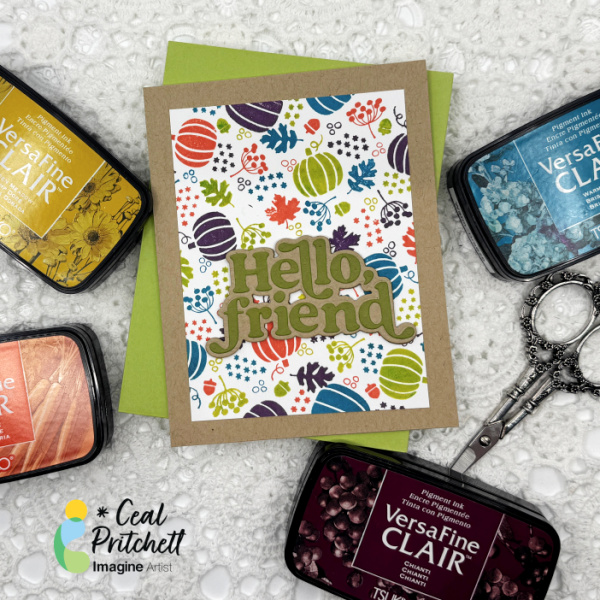
Hey there crafty friends! It’s Ceal, here. Today I am sharing how I made this colorful fall card using a turnabout stamp set, some VersaFine ink pads and the Stampwheel.
Time: 45 Minutes Skill: Intermediate
Directions:
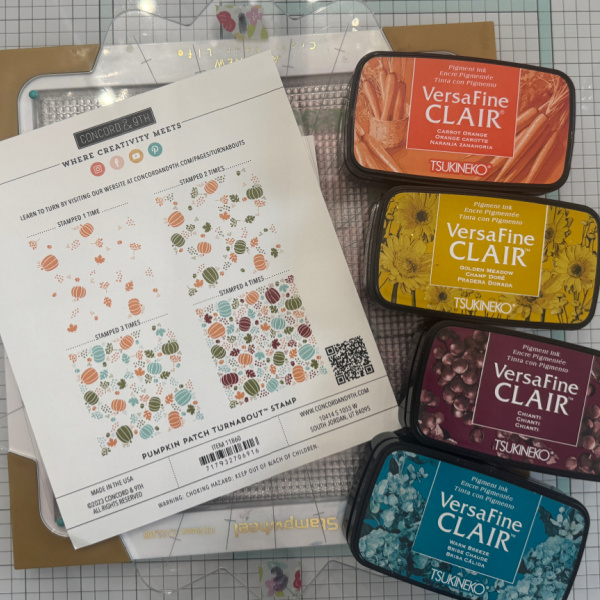
Gather Supplies: I haven’t shared a turnabout card here yet and I wanted to do that because they are my favorites. Gather your supplies, you will need a stamp platform, a Turnabout stamp and some of your favorite inks. I love VersaFine Clair because they are so vibrant.
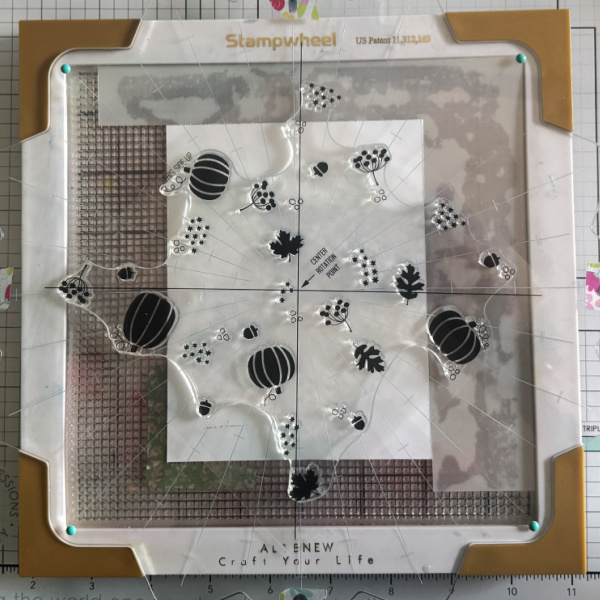
Step 1: Line up our turnabout stamp using the alignment guide that comes with the stamp. The Stampwheel is easy to line it up because you line up the lines.
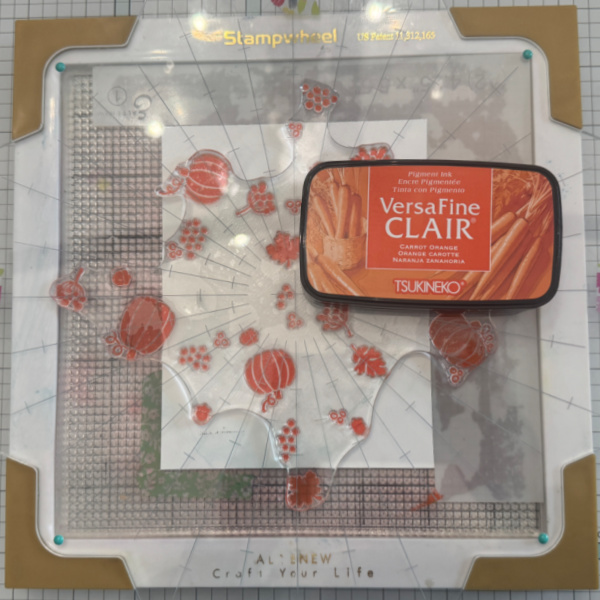
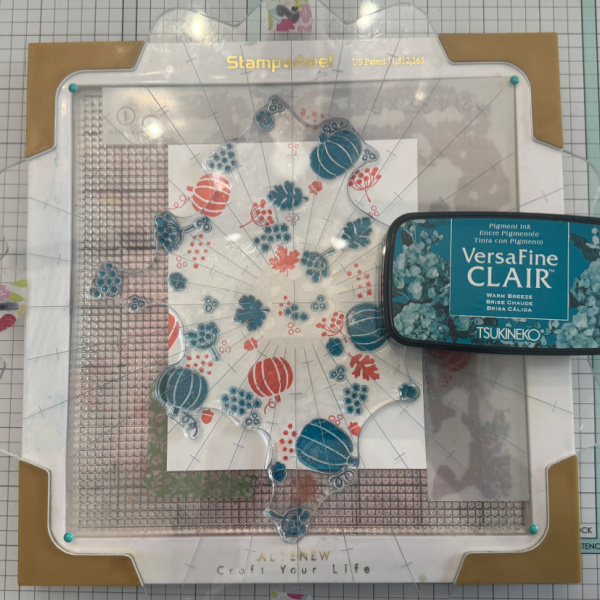
Step 2: Ink up the stamp with the first color, I used Carrot Orange and placed it in the tabs at the top of the stamp wheel. I labeled my stamp wheel 1-4 so I would know where I am when stamping.
Step 3: Rotate the top, ink up the stamp with the next color (I used Warm Breeze) and place the plate down in the tabs.
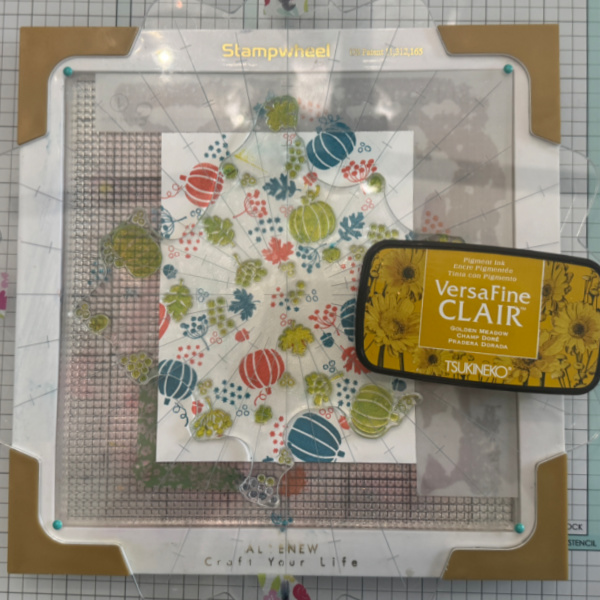
Step 4: Rotate the plate and ink up with the next color, I used Golden Meadow (I think I had some blue left on my stamp therefore it turned green).
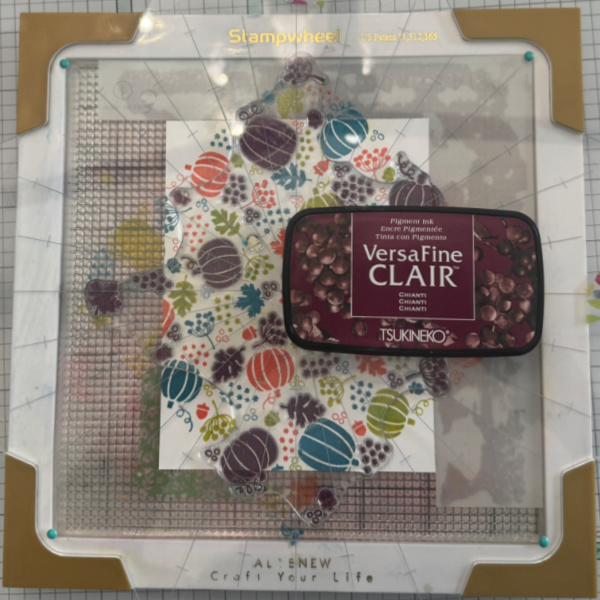
Step 5: Rotate the plate and ink up the final color, I used Chianti. Next cut down your panel to 5 x 3.5 and adhere to the wheat panel
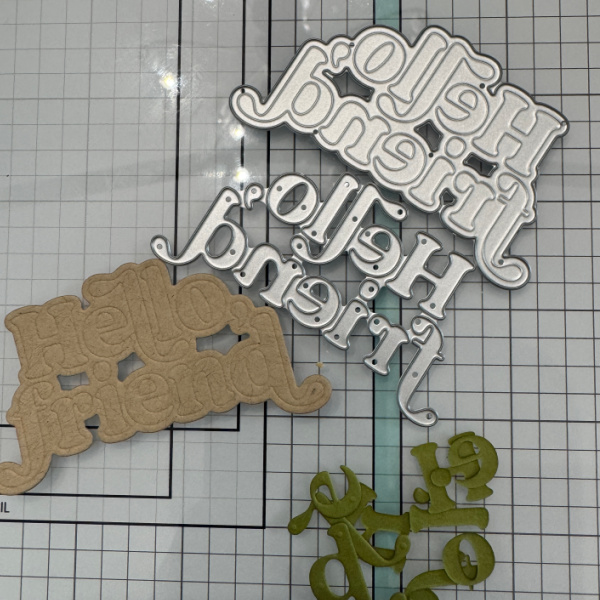
Step 6: Die cut the sentiment and backer panel. I love how the die has where it scores the words into the backer so when you go to add the letters they fit perfectly. To finish the card add the sentiment to the card.
Supplies:
Imagine Products VersaFine Clair – Carrot Orange, Warm Breeze, Golden Meadow and Chianti
Other Products Pumpkin Turnabout – Concord & 9th Hello Friend – Kristina Werner for Concord & 9th
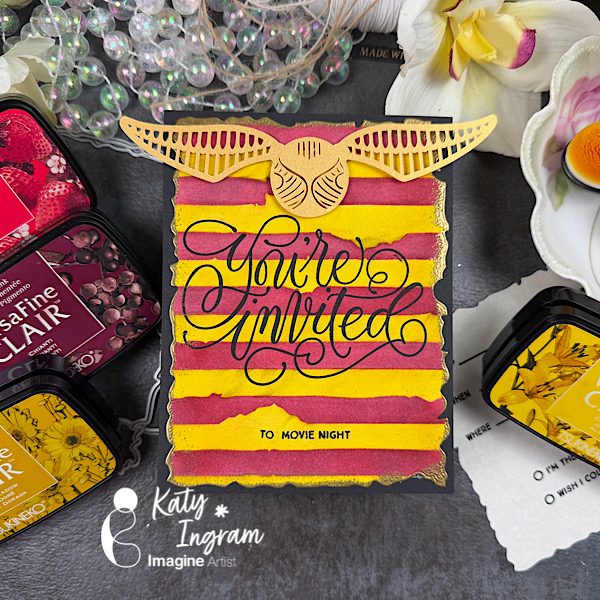
Hello Friends! Katy here with my latest video showcasing VersaFine Clair inks once again to create a Harry Potter theme invitation. Video has all the details. Thanks for watching.
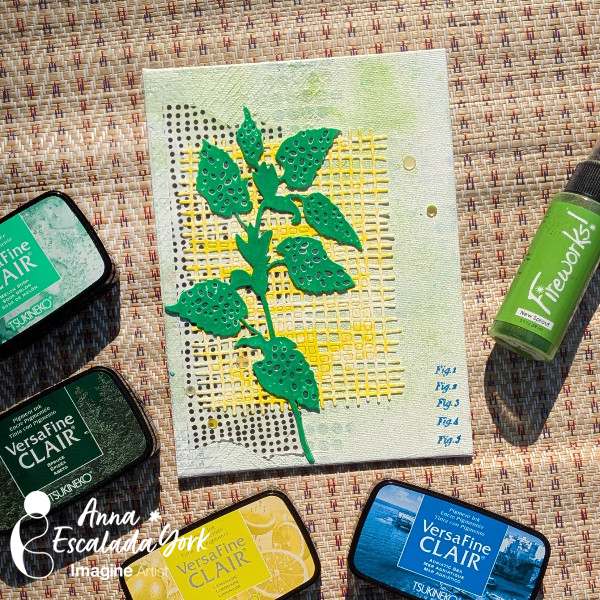
–The new VersaFine Clair ink colors are so bright and fun. I decided to use a few of them to make a piece of art to put up in our home.
Skill: Intermediate Time: 2 hours
Directions:
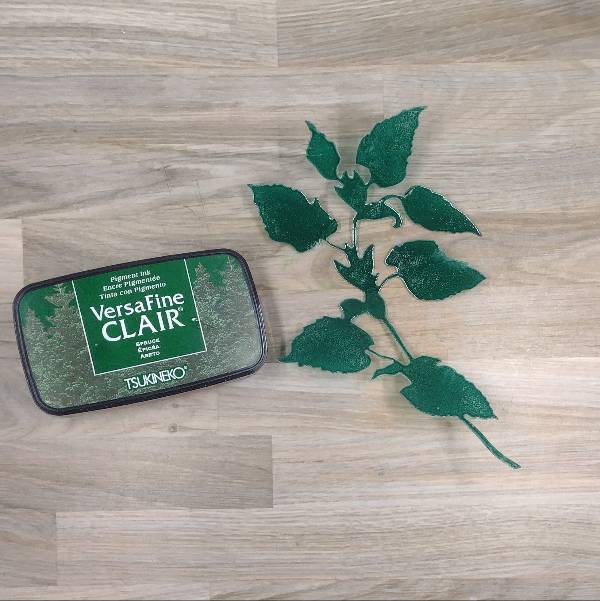
Step 1: Press the bottom layer of a layering die cut of watercolor paper into the Spruce VersaFine Clair ink pad and set aside to dry.
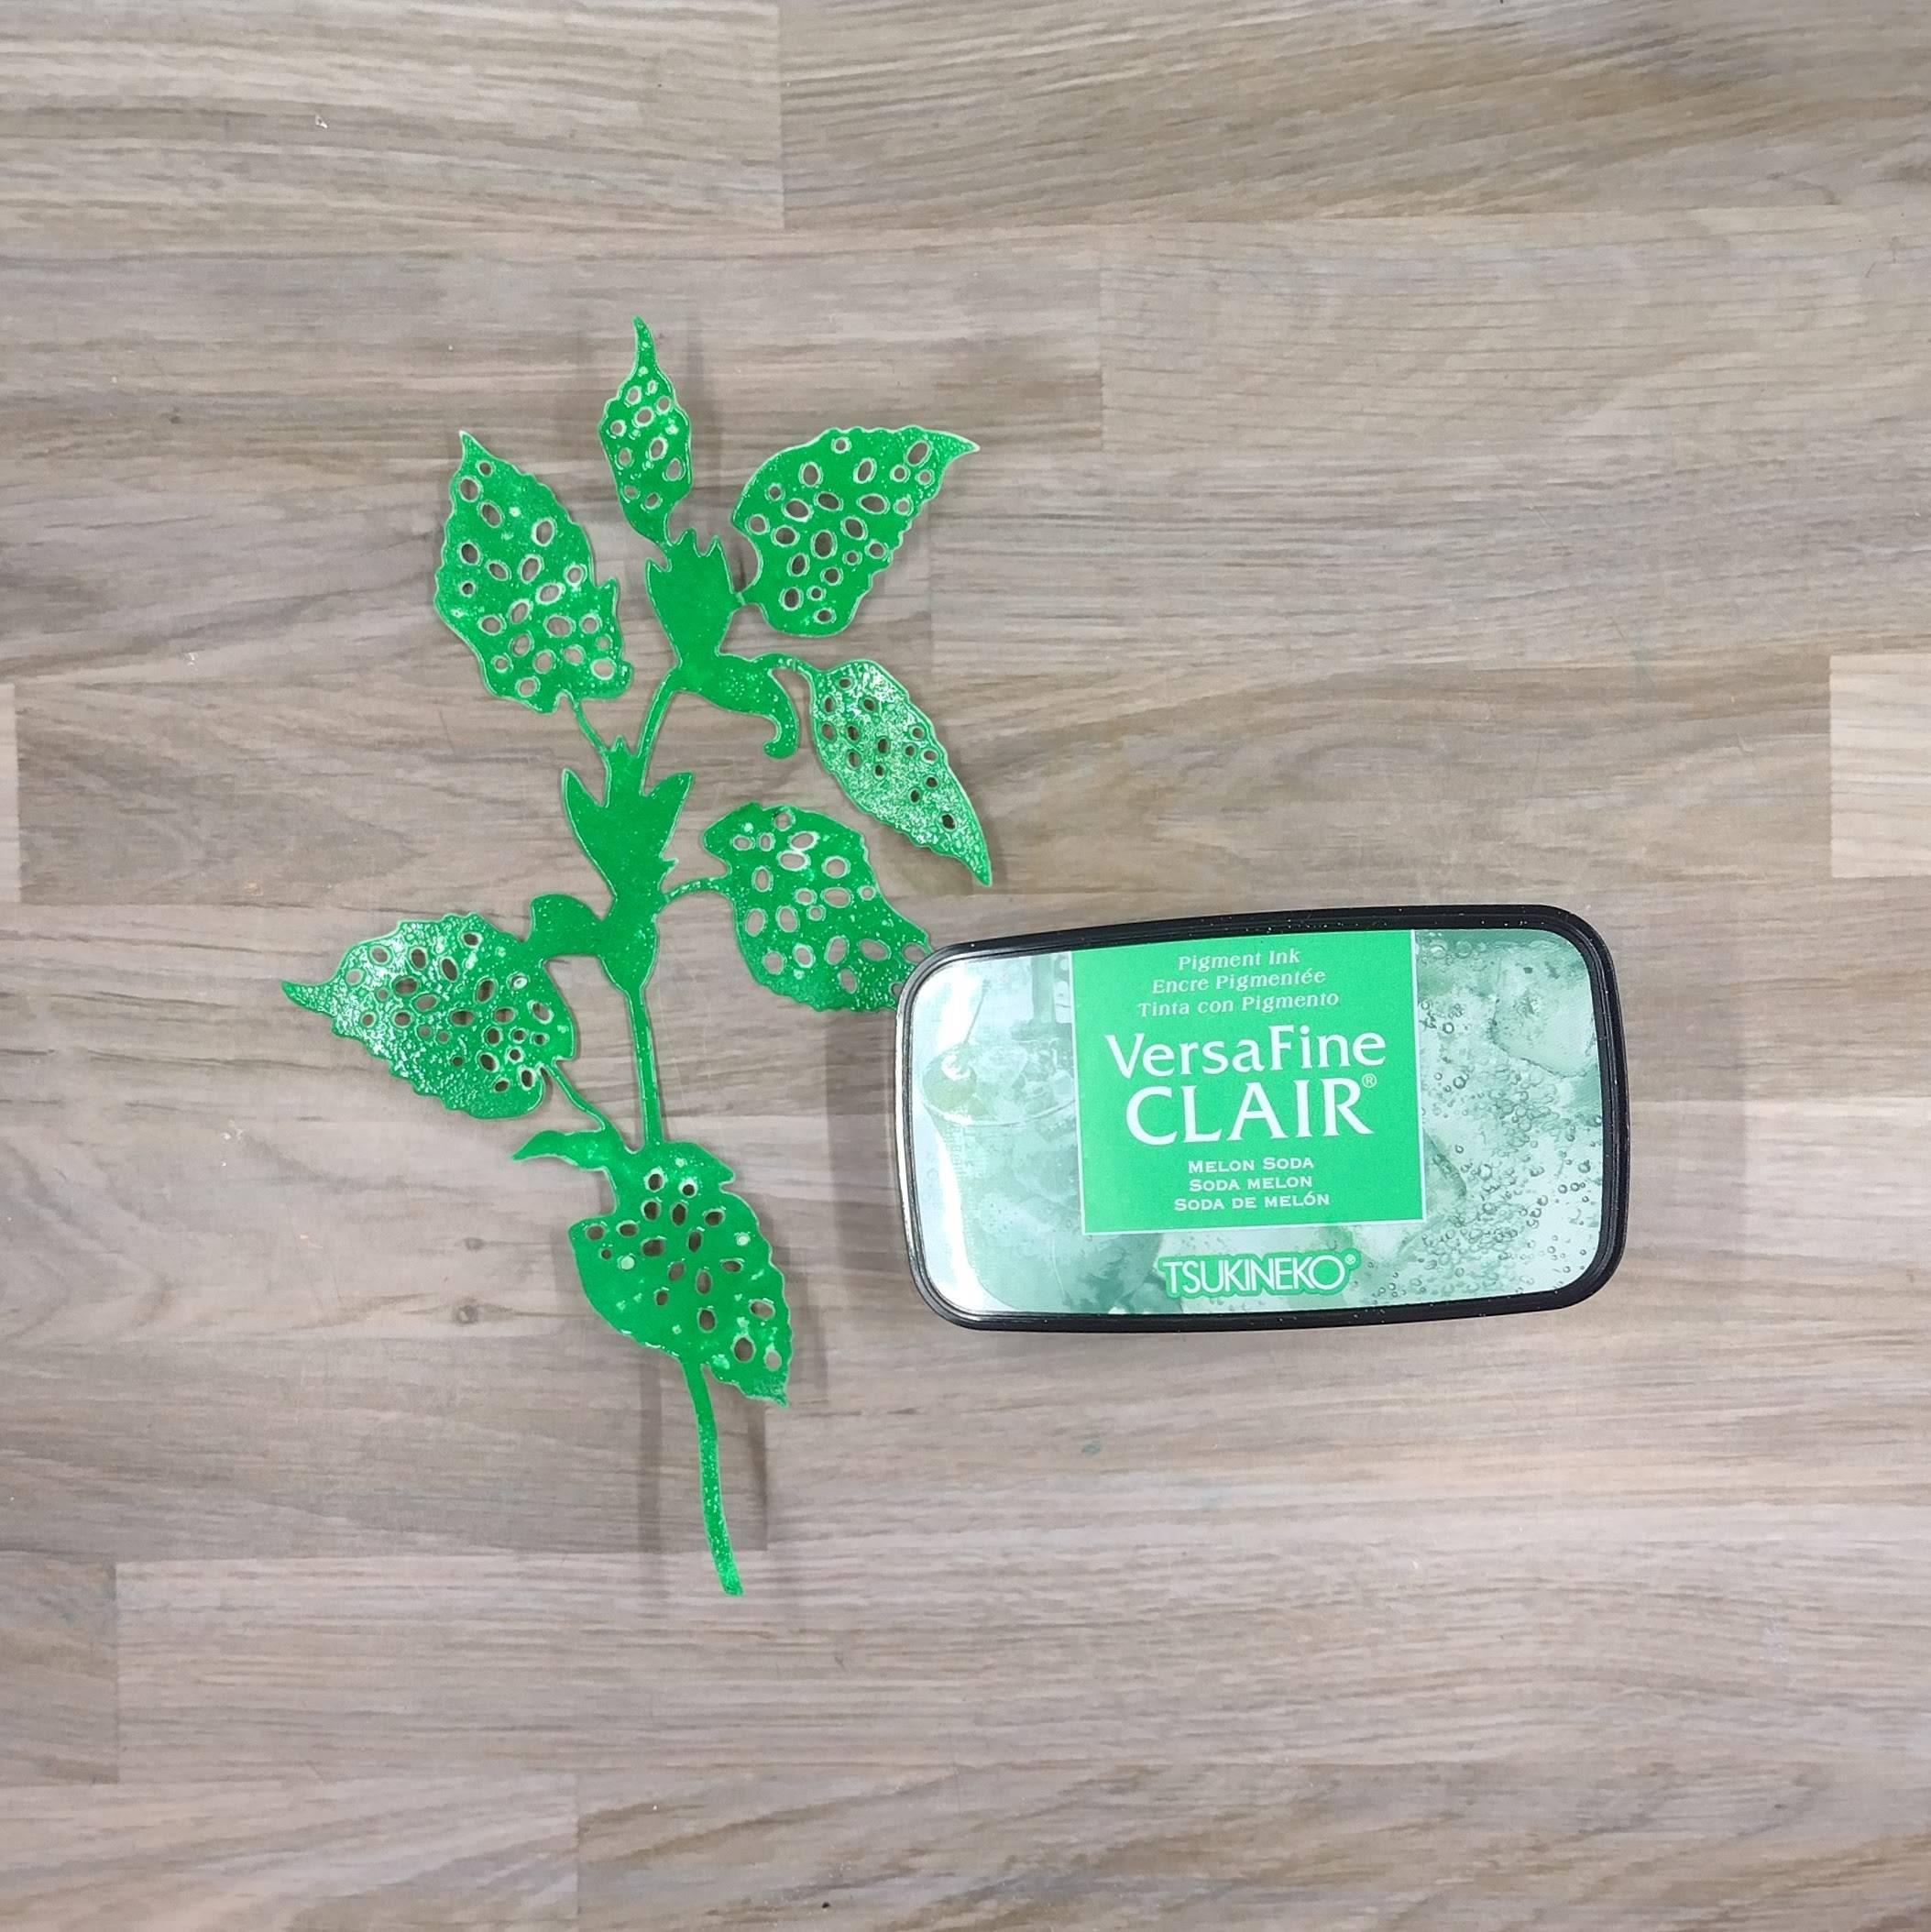
Step 2: Press the top layer of die cut watercolor into the Melon Soda VersaFine Clair ink pad. Then heat emboss with clear embossing powder. Glue both layers together and set aside.
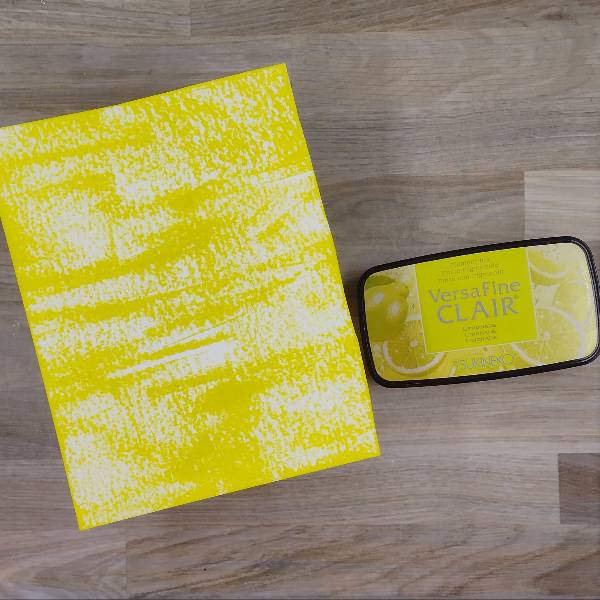
Step 3: Run the Lemonade VersaFine Clair ink pad across a watercolor panel horizontally multiple times to give the panel a woodgrain-ish look. Die cut the panel with a burlap-design die.
Step 4: Paint a coat of gesso onto a cotton canvas panel with a large paintbrush and allow it to dry.
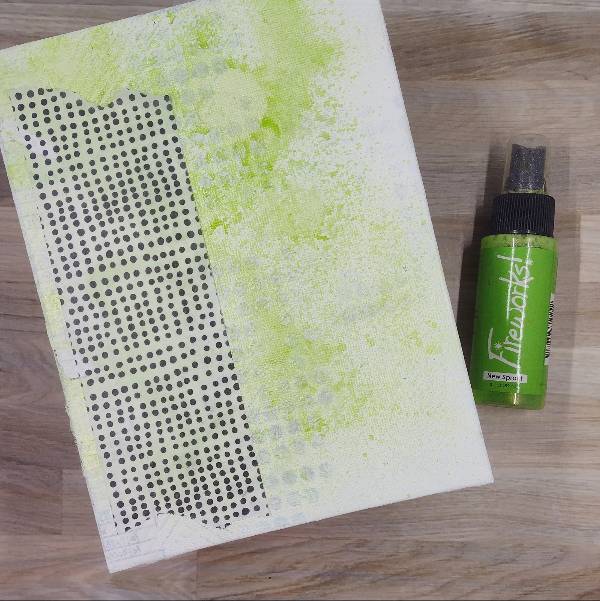
Create layered background texture by stamping the panel with a striped background stamp with Adriatic Sea VersaFine Clair ink and heat embossing with clear embossing powder, then adding another coat of gesso. Repeat with a dot background stamp and a strip of collage paper adhered along the left side. Cover everything with another thin coat of gesso, allowing hints of the stripes, dots, embossing, and collage paper to remain visible. Spray New Sprout Fireworks! Shimmer Spray onto the panel and allow it to dry. Add a large strip of washi tape along the left side.
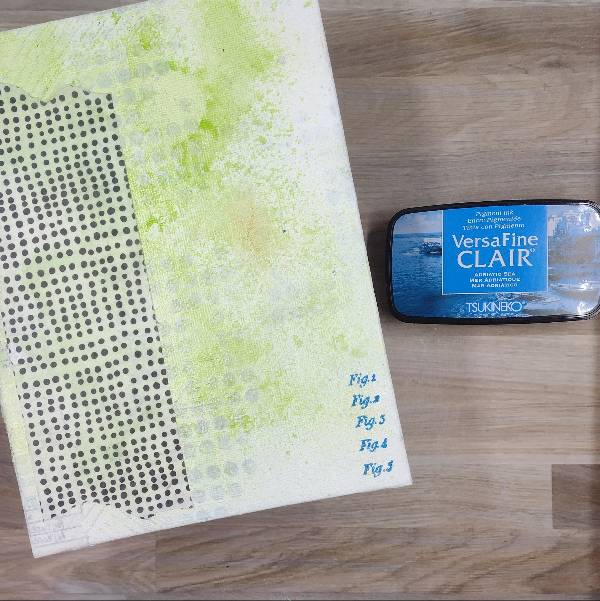
Step 5: Stamp the sentiment on the lower right corner of the panel with Adriatic Sea VersaFine Clair. Heat emboss with more embossing powder.
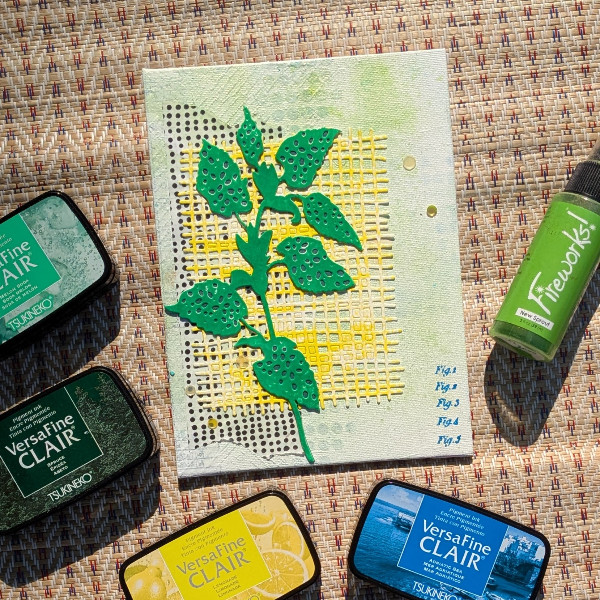
Step 6: Glue the yellow burlap design die cut on the middle of the panel, and then glue the botanical die cut onto the panel. Glue yellow sequins on the lower left and upper right corners of the panel to finish the piece.
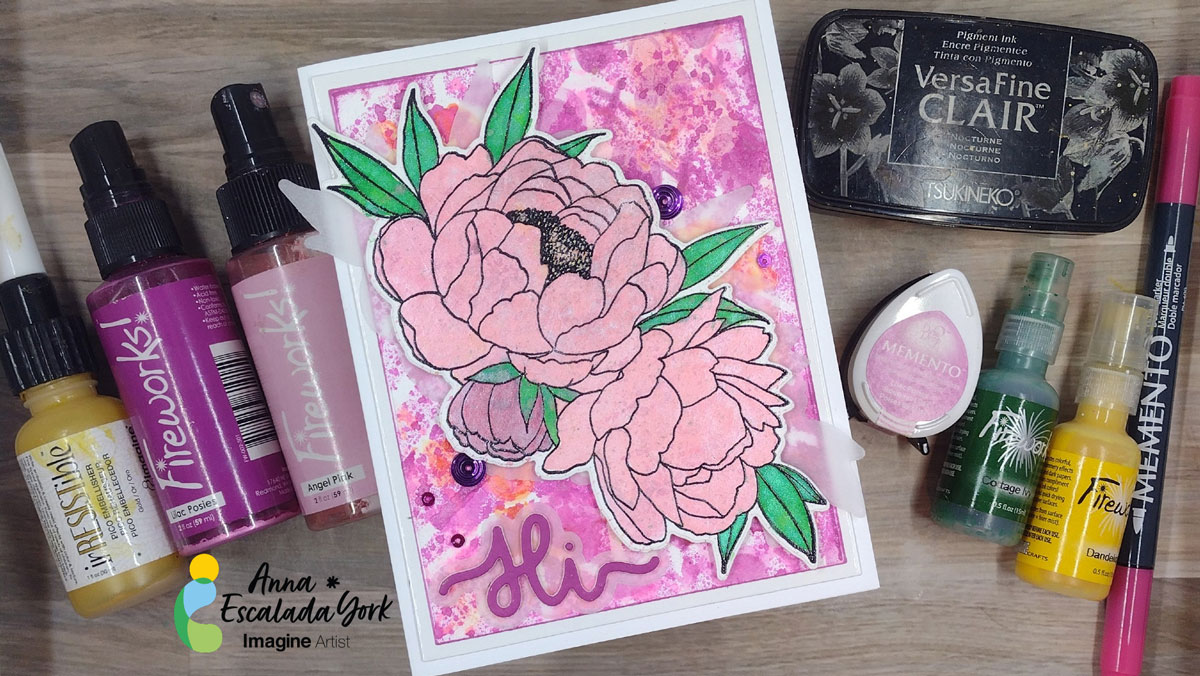
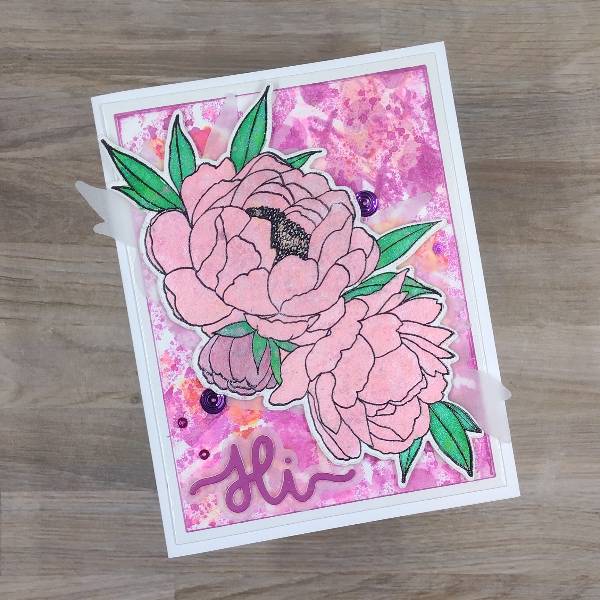
Summer in the Pacific Northwest is filled with beautiful flowers and the bluest sky. I know I appreciate them so much more since most of the year is so soggy. To celebrate the season, I made a colorful card filled with flowers.
Skill: Intermediate Time: 2 hours
Directions:
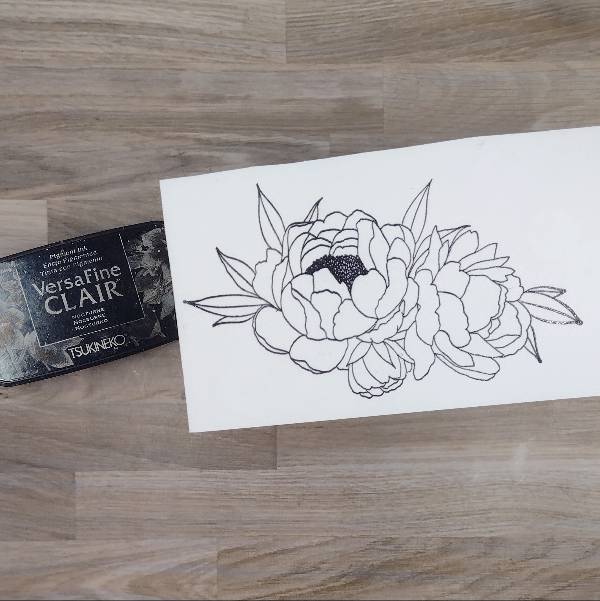
Step 1: Stamp the large floral image onto watercolor paper with Nocturne VersaFine Clair Ink and heat emboss with clear embossing powder.
Then die cut the flower with the corresponding die. Also die cut a piece of vellum with the same die cut.
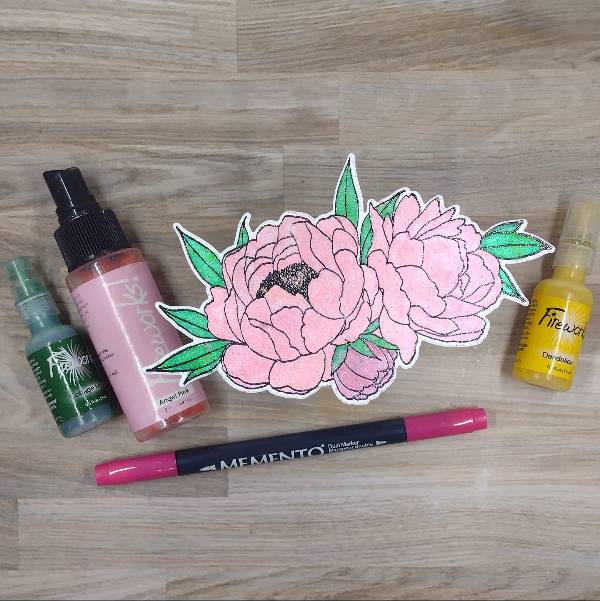
Step 2: Watercolor the floral image. The larger two flowers were watercolored with Angel Pink Fireworks! Shimmery Craft Spray, the center of the largest flower with Dandelion Fireworks! Shimmery Craft Spray, and the leaves with Cottage Ivy Fireworks! Shimmery Craft Spray. The smallest flower was watercolored with a mix of Rose Bud Memento Dual Marker mixed with more Angel Pink Fireworks! Shimmery Craft Spray. After everything dried, the smallest flower’s color was made darker by adding a second layer of the combination of Rose Bud Memento Dual Marker mixed with Angel Pink Fireworks! Shimmery Craft Spray.
To cover up a few small blemishes, lightly splatter Cottage Ivy Fireworks! Shimmery Craft Spray over the flowers. Set aside to dry.
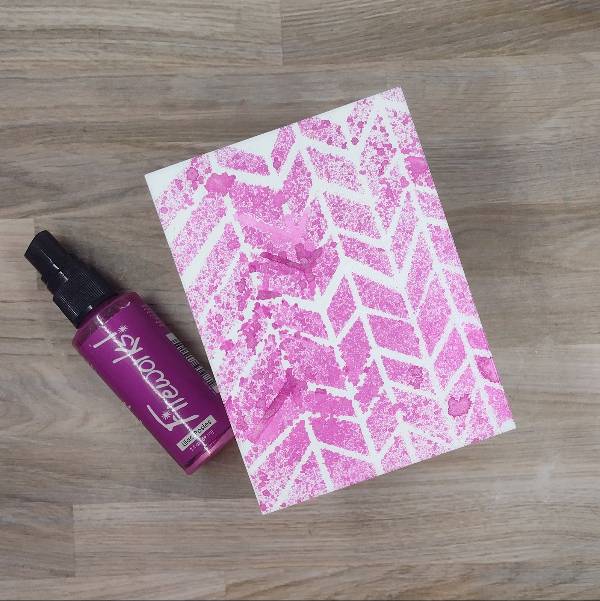
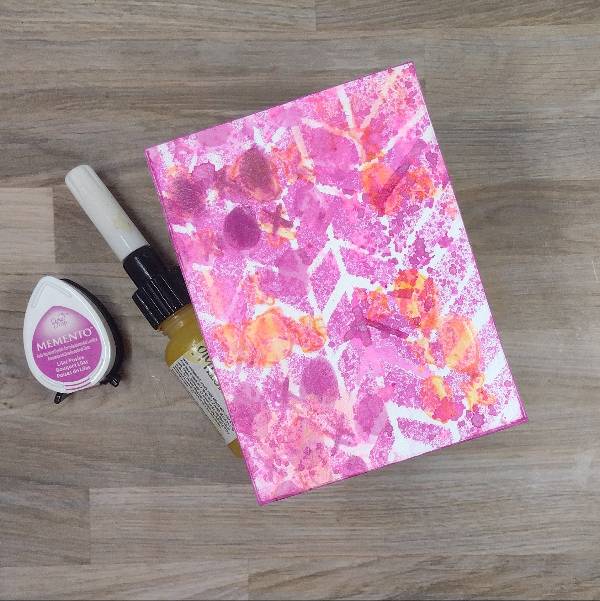
Step 3: Spray Lilac Posies Fireworks! Shimmery Craft Spray through a stencil on a watercolor panel.
After the spray dried, die cut the panel with a mid-sized die from an A2-sized nesting die set. While at the die cutting machine, die cut a piece of glossy white cardstock with the next largest die from the A2-sized nesting die set.
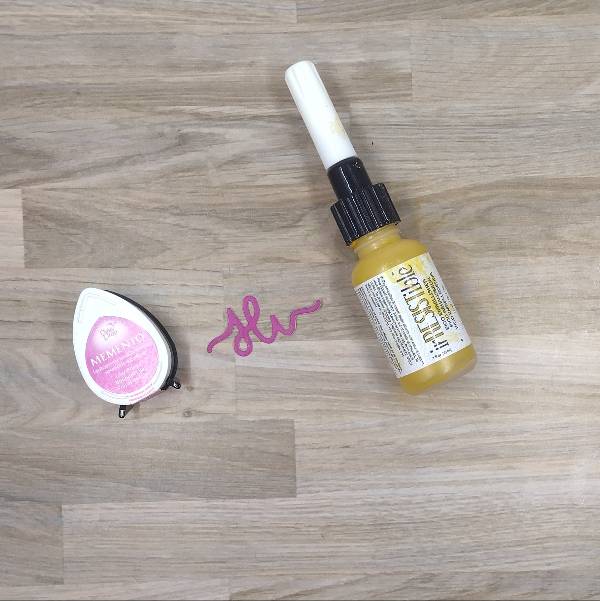
Step 4: Ink blend Lilac Posies Memento Ink through selected parts of a second stencil. Then mix Gold irRESISTible Pico Embellisher with a little water to dilute it and use a small paintbrush to paint other parts of the stencil with the Gold irRESISTible onto the panel. Allow to dry.
Then press the Lilac Posies Memento Ink pad along the edge of the panel to add color to the edges of the panel.
Step 5: Press the Lilac Posies Memento Ink pad onto a small scrap of watercolor paper and allow to dry. Then die cut the colored scrap of watercolor paper with the sentiment die.
Also die cut a piece of vellum with the shadow layer of the sentiment as well as a couple of scraps of cardstock with the sentiment die.
Assemble the sentiment by gluing the three die cuts together. Then glue them onto the shadow layer of vellum and set the whole thing aside.
Step 6: Assemble the card. Glue the vellum floral die cut onto the stenciled panel. Use foam tape to adhere the stamped floral image at an angle, allowing the vellum layer to peek out from underneath for extra dimension. Glue the sentiment on the lower left corner of the panel. Add purple and hot pink sequins around the floral image with more glue. Then attach the panel to the glossy cardstock matte layer. To finish the card, glue the whole card panel onto an A2-sized white cardbase.
Hello Friends! Katy here with my latest video showcasing VersaFine Clair inks to create a watery blue background and sparkling sea shell Summer vibe card. Video has all the details. Thanks for watching.
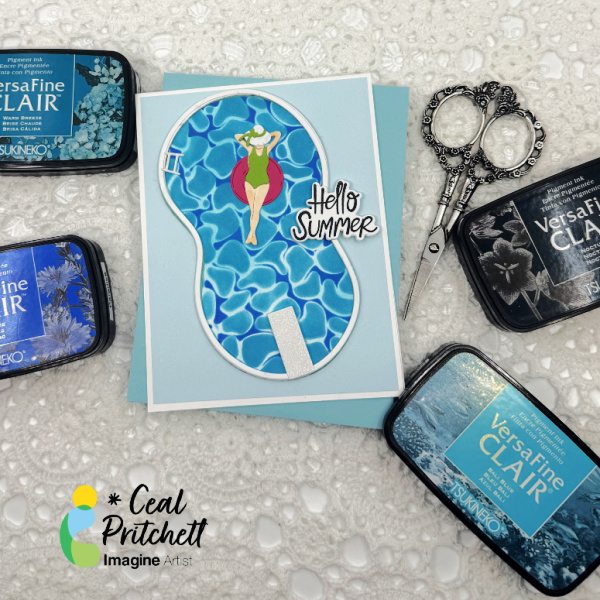
Hello friends, it’s Ceal here. Today I am sharing a summer card with you.
Skill: Intermediate Time: 45 minutes
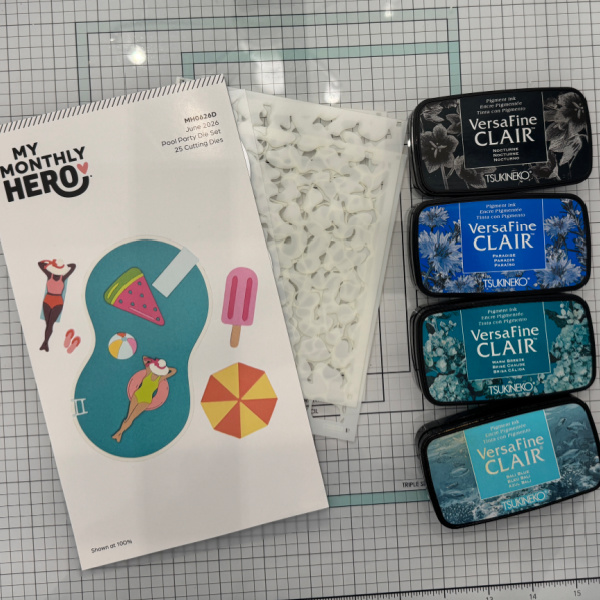
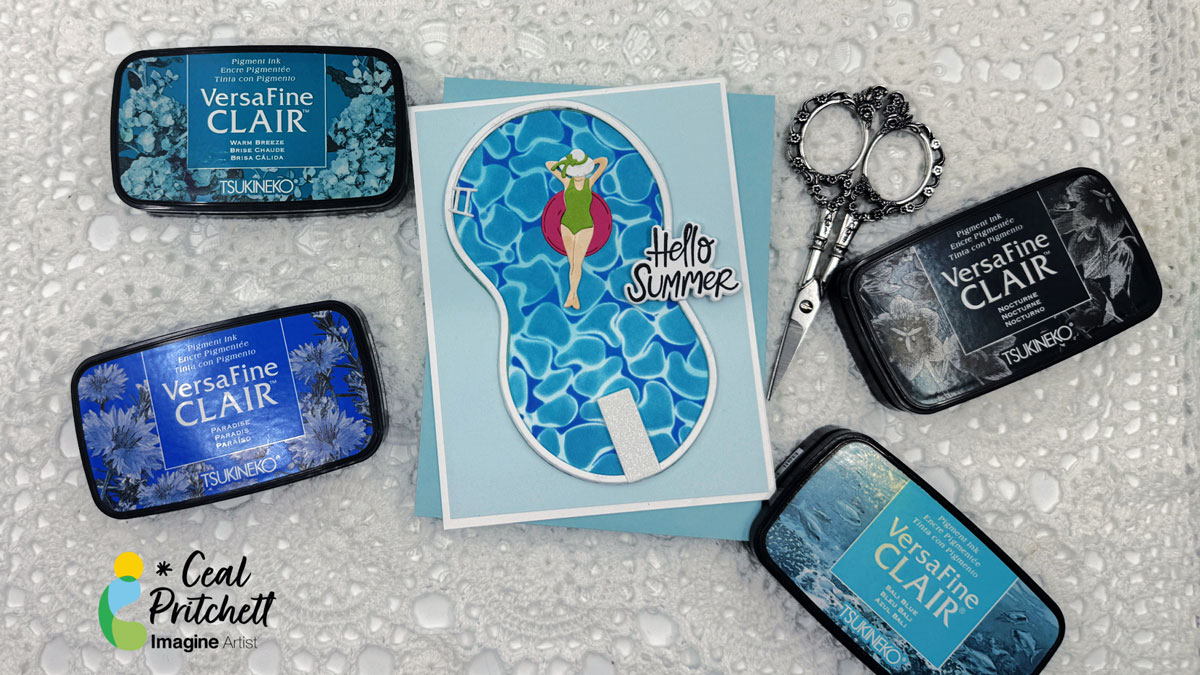
Directions: Gather your supplies. You will need a summer themed die set, layering stencils, three different shades of blue ink, a grip mat, a stamp positioning tool and a summer sentiment set.
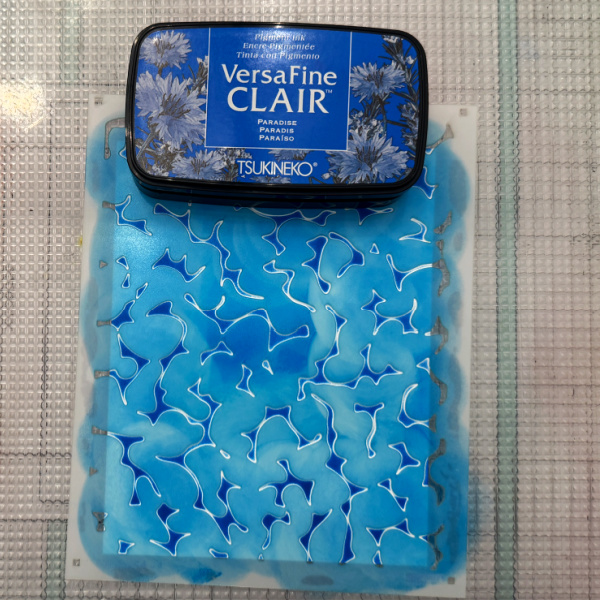
Step 1: Using a blending tool and the first layering stencil, ink blend blue ink over the stencil. I used VersaFine Clair Paradise.
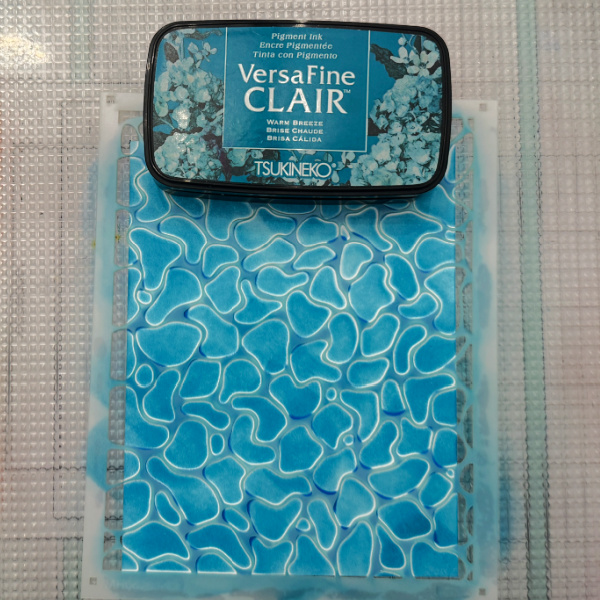
Step 2: Using a blending tool and the second layering stencil, ink blend a different shade of blue over the stencil. I used VersaFine Clair Warm Breeze.
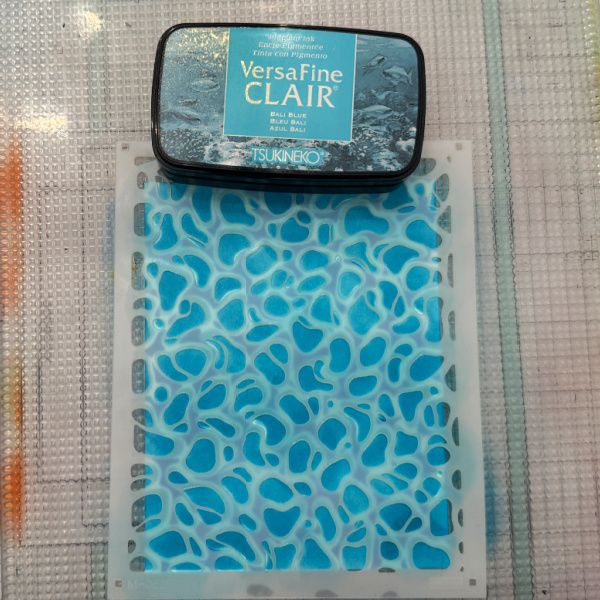
Step 3: Using a blending toll and the third layering stencil, ink blend the third color of blue over the stencil. I used VersaFine Clair Bali Blue.
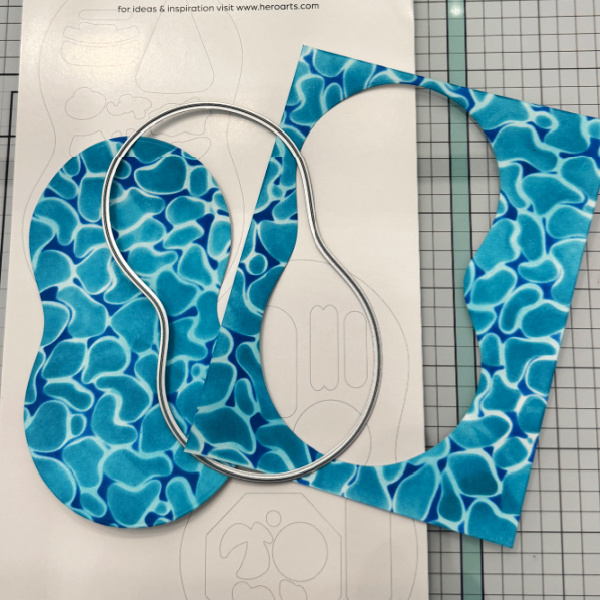
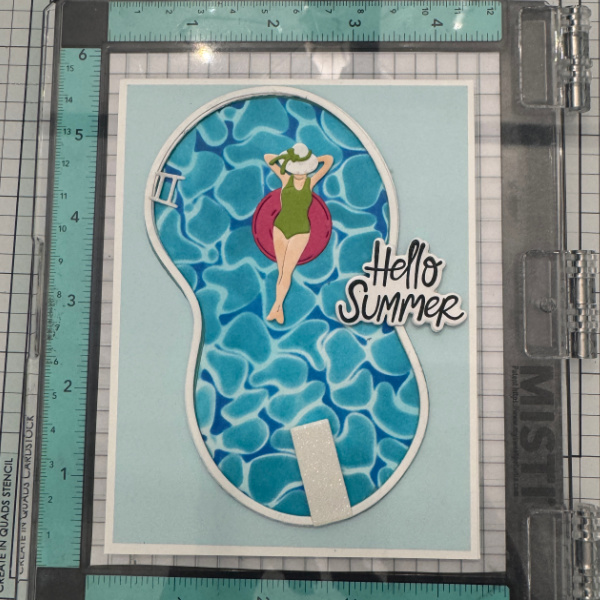
Step 4: Using the “water” die and the finished panel of water, cut out the water for the pool.
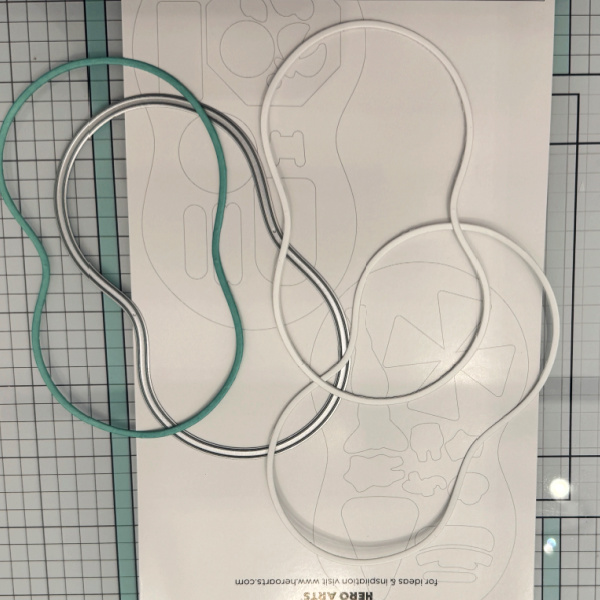
Step 5: Using the “pool” die cut out the pool. Cut several but only use the pool outline.
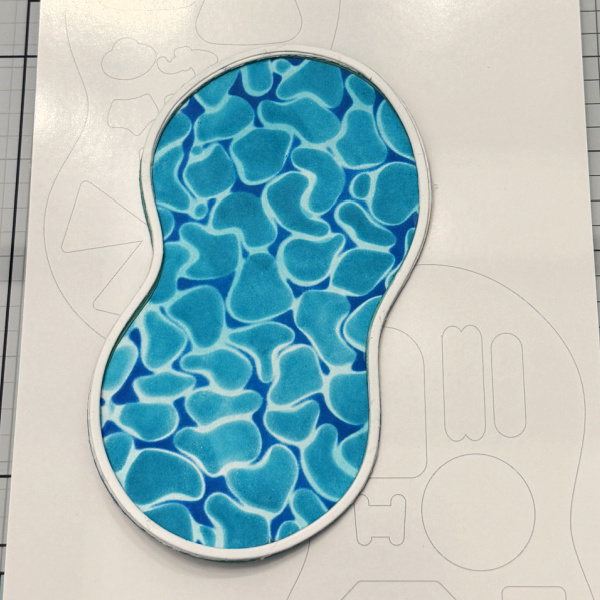
Step 6: Stack the pool outline around the water, where the water will be lower than the sides to make it more realistic
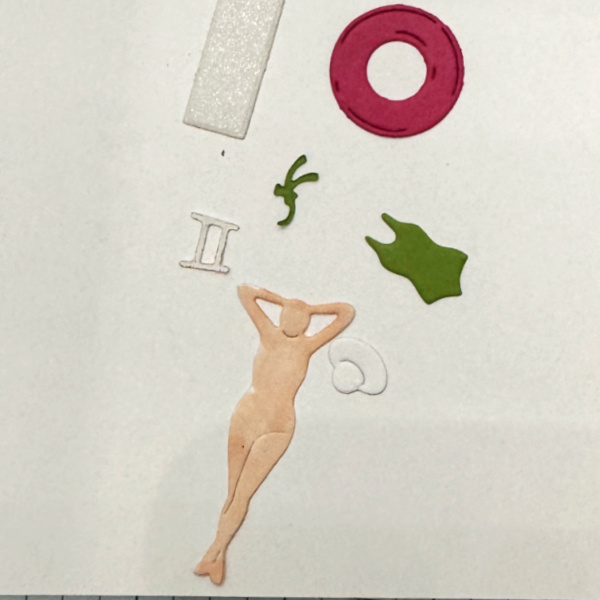
Step 7: Cut out all the die cut pieces to place in the pool. For the girl I colored her with a Copic marker. The others are cut out of colored cardstock.
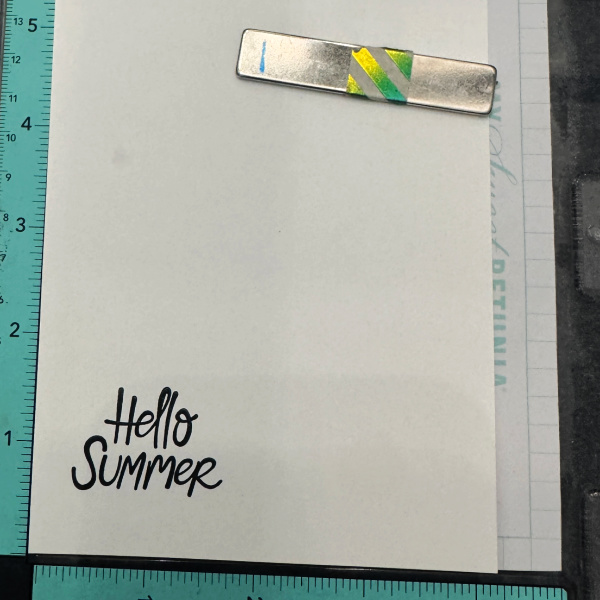
Step 8: Stamp and cut out the sentiment.
Step 9: Place all the elements in the pool and the sentiment on the side.
Other Products My Monthly Hero Pool Party Die set – Hero Arts MMH Reflection Layering Stencil set – Hero Arts Hello Summer Stamp & Cut – Hero Arts Grip Mat – Altenew Mini Misti – My Sweet Petunia